Discovering the Discovery... Basic Rebuild...

This site contains affiliate links for which LandyZone may be compensated if you make a purchase.

Rangy alloys on a Disco would they work matt black?


  • Total voters
    16
  • Poll closed .
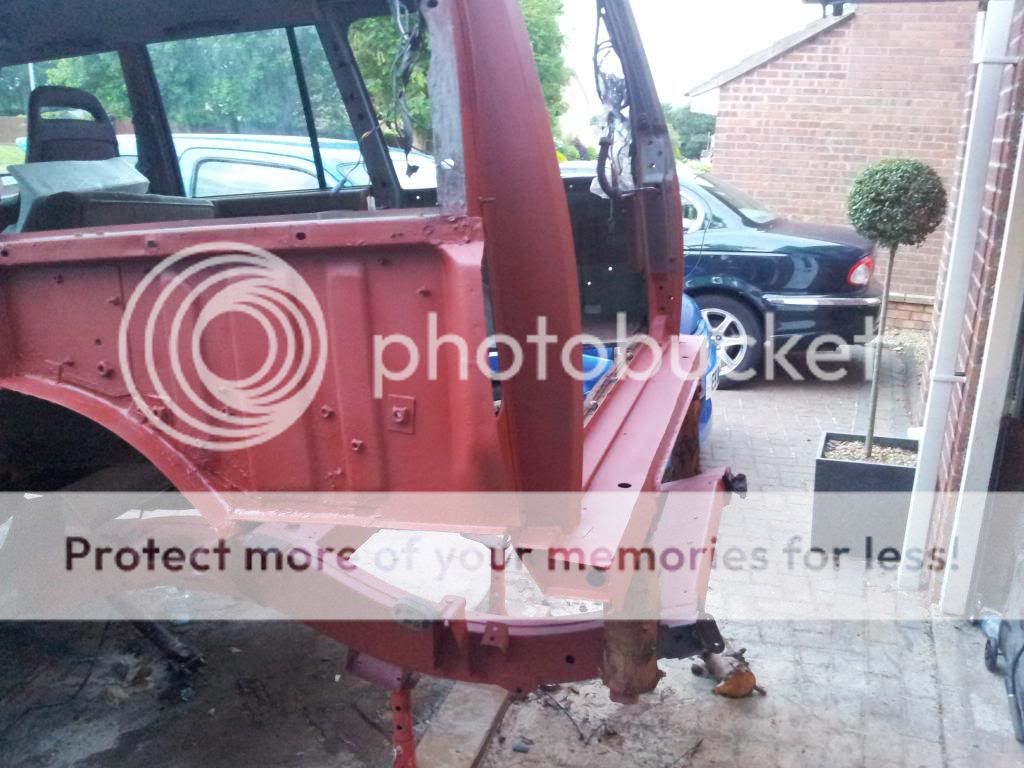
Tonight I was able to sneak a few hours in while I waited for the wife to come back from the airport. Thought I'd try out my new spray gun..... :mil66:
A neighbor of mine is a sprayer and he heard me so wondered over to see what was what. SO big thanks to Carmen for his tips... awesome... :D

Anyway here are the pics...


Cheers for looking guys and all the support...

Oh and Happy Independence Day to all the colonial folks .... :5bpatriot:.......:D
 
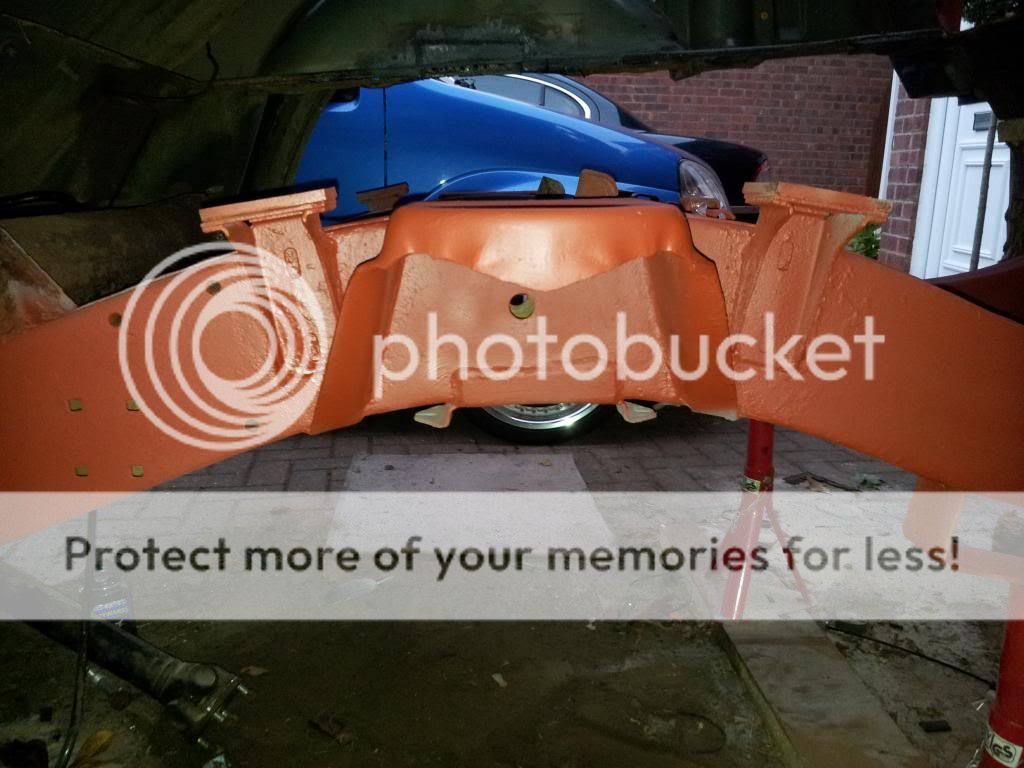
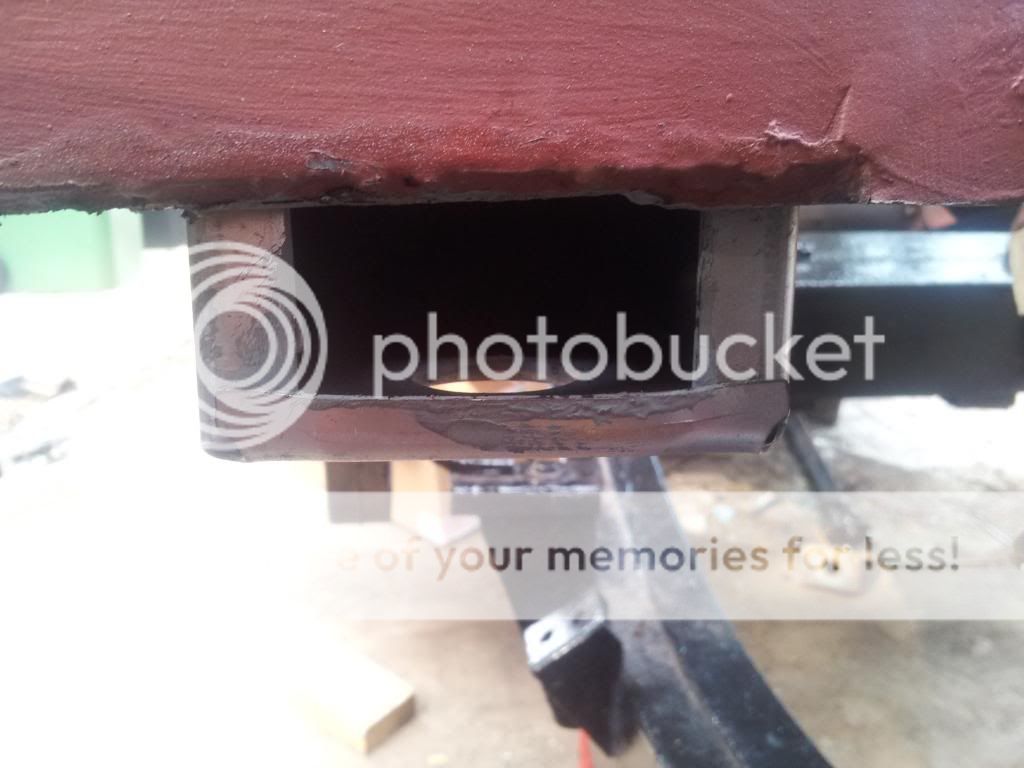
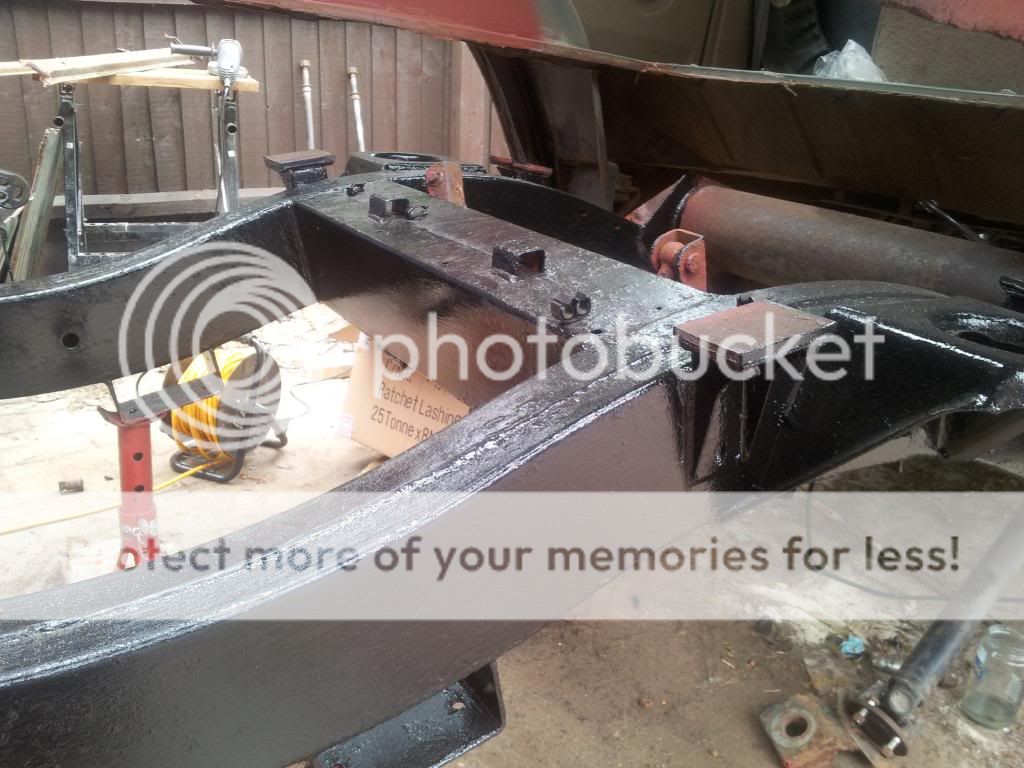
So although the weather was amazing this weekend :cool: I wasn't able to do a lot :5bcheers2: However I did get the red oxide finished where I really needed it which means this week I can get black enamel on and then next weekend get the rear body mounts cut out and replaced with my new ones. After I've done the painting I intend just to move a little further down the chassis while I have the body (at the back) in the air and get that cleaned up and painted. Really looking forward to being able to drop the rear back in to place and sorting the axle, rear underfloor cross memebers, fuel pump, brakes etc.... Getting paint back on does make you feel like you are moving forward even though it is small steps... :D
 
Last edited:
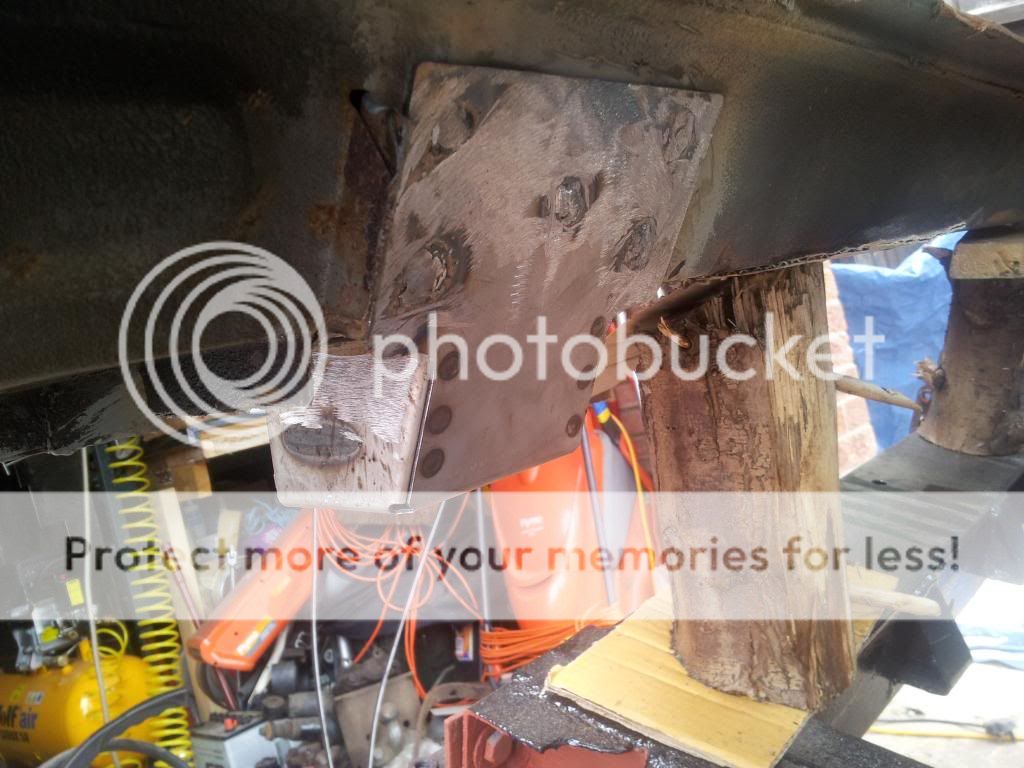
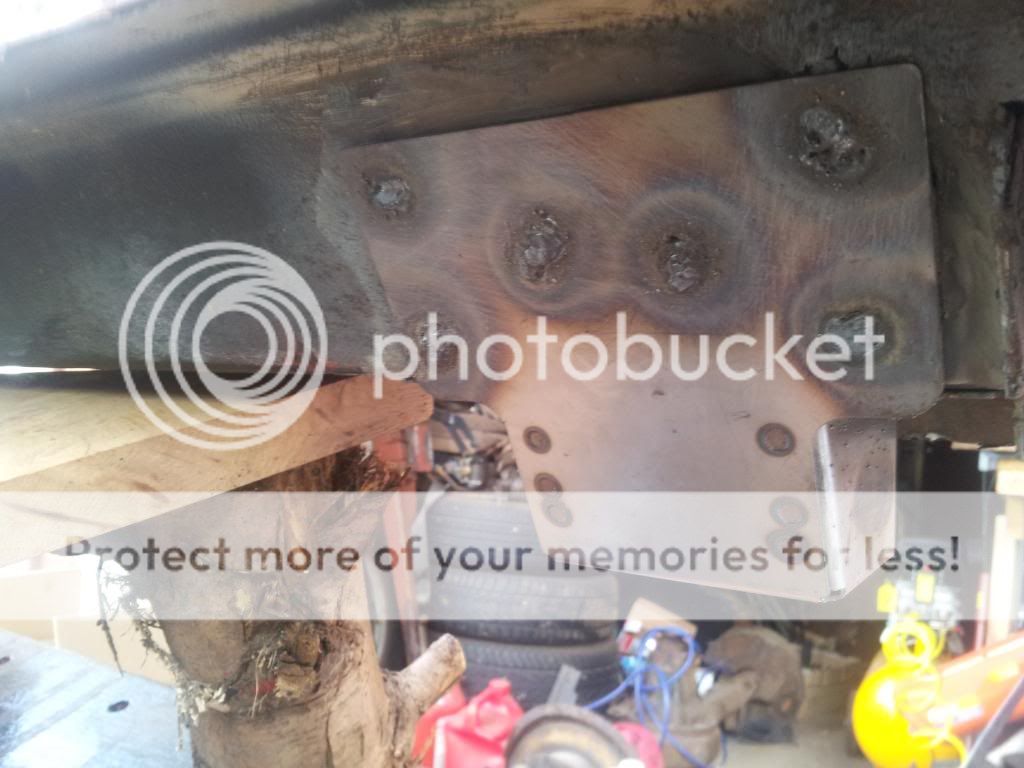
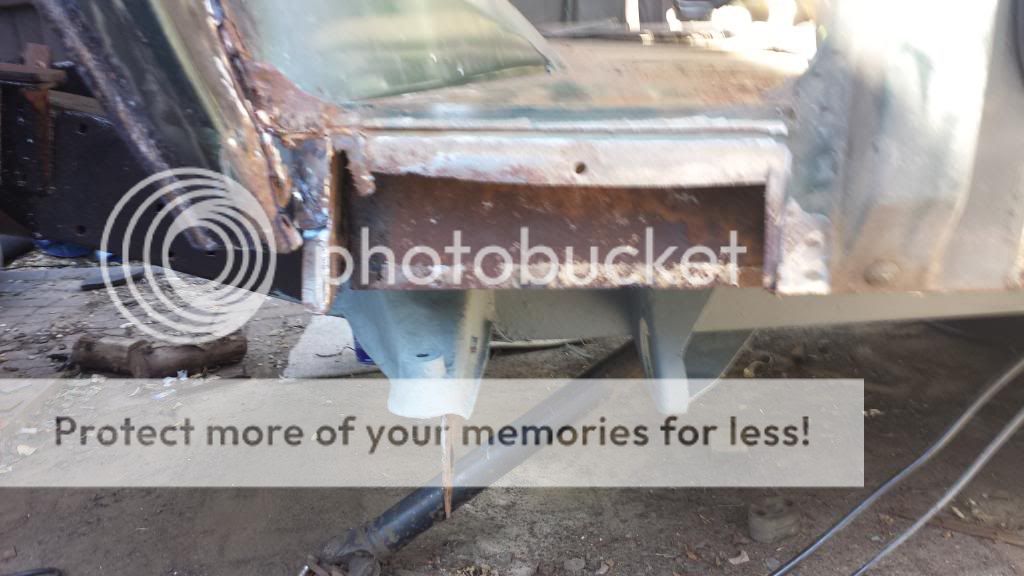
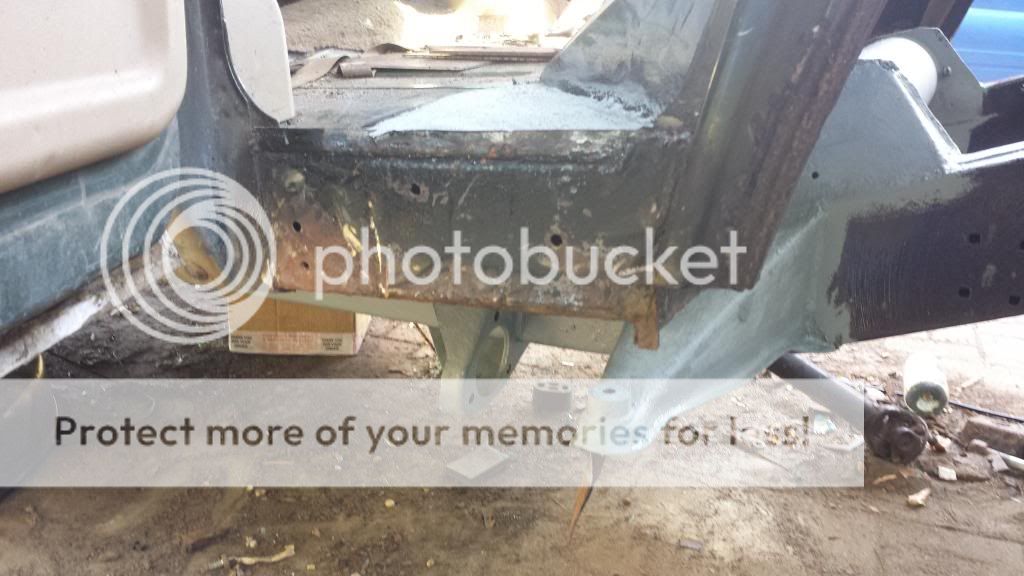
Been on holiday this week which means you probably expect loads to have been done..... Unfortunately :( I was away most of the week but last weekend I managed to get a fair amount done. First off I replaced the rear body mounts....


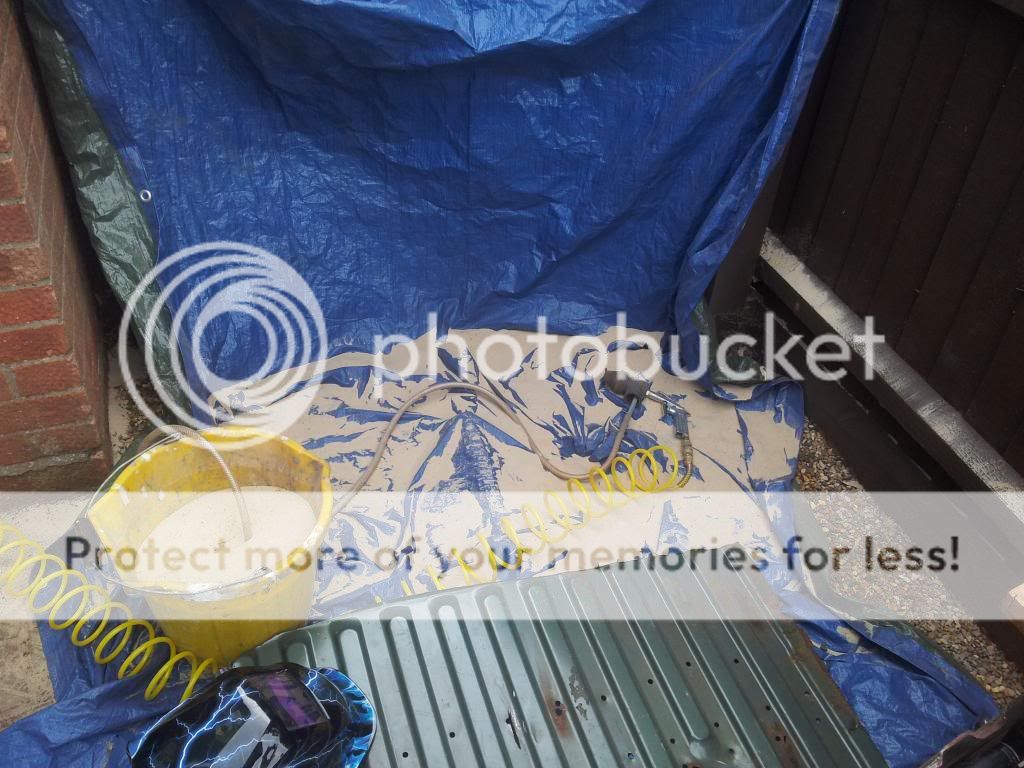
So they are now ready for painting... I also did a shed load of sand blasting to clean up some of the rear suspension parts..


Covered in sand by the end... Its simple set up and takes a while but really gets the rust off....


All cleaned and treated with Fertan.....


Was thinking about doing these but looked at the replacement price and can't be arsed so going to buy new ones...


Lastly got the black enamel out and started splashing that on....

So next step is cleaning up the final suspension bits, along with the rear axle and a little further along the chassis before the back gets lowered back in to place.

Pretty pleased with my progress so far.... I like it when I get jobs which have been looming in my mind filed under 'Another thing you must add to the list' finally completed... Unfortunately this weekend and the next are chocked with other exciting events so I'll just be doing bits here and there... However as always I'll keep the pictures coming...
 
Coming on well. I would love to have the room to tackle something like that:(

To be honest I'm running out of room fast... The garage is pretty much full and I'm keeping some stuff under cover outside. We only just have room for three vehicles across our drive so I'm having to be very careful about scraps of metal spreading :D my wife is skeptical enough with out me giving her punctures :rolleyes: however I am enjoying the project, I am slightly frustrated at times about how slowly its going but I can only spend so much time on it. Considering a weeks holiday at some point to really crack on and get past half way but we shall see.......
 
Hello again one and all,
It has been just over a month since I was able to post, a very busy summer and other priorities. However work has continued on the Landy and I have taken pictures... These I will be posting later. So the work done is as follows I have moved forward cleaned and resprayed about half way up the chassis, I have cut out and replaced some more rust from body bits and I have welded up and cleaned the axle. All of which you will be able to see later. Today i received the first big shipment of parts.:banana:
After reading a lot on here and some other places I came to the decision to use some britpart stuff and some oem stuff... IE Timken wheel bearings and monroe shocks. Now having looked though my stuff I opened the new brake calipers and I have a question. Also before anyone starts shouting at my about "searching", I have, and still can't quite find a straight forward answer. So here is my question..... :pop2:

The calipers I removed have a single inlet port, the new ones have two, one of which has a screw in it. My question is this, is it ok "safe" to blank one port off and just have the single pipe running in, or must I T it before the caliper and use both??
 
There the wrong calipers, there is 2 types of pipe setup, one is a single pipe like most cars and the other is a duel one with a split system so blanking wouldn't be an option.
 
Ok, so it looks like I've figured the photo thing thanks to Photobuckets help page about what you can and can't embed in certain places...:smash:

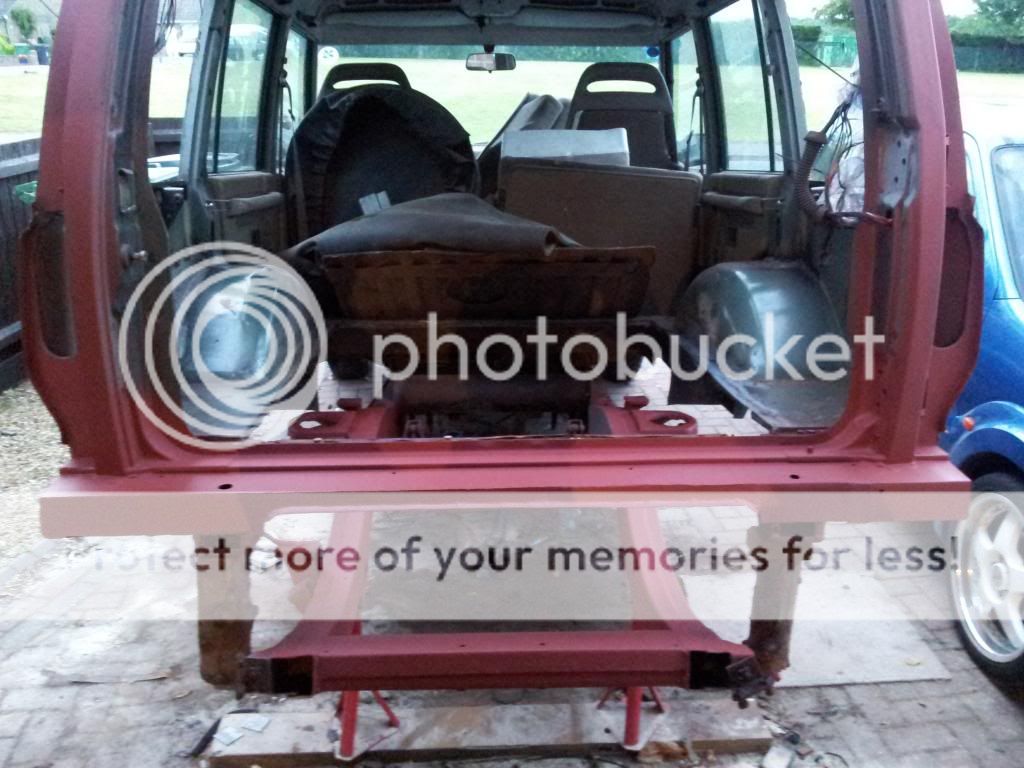
Well this weekend my best mate Stallion Steve came over and helped me basically destroy the rear end of :banana:.........the car.... :doh: Here are the photos of my progress so far ;)


Hope you like it.... just ordered some of the bits I need. Also contacted a local metal fabrication firm who can hopefully supply me with some sheet metal. I will keep you updated with photos as I go. I will also let people know when I'm doing specific jobs so if people want detailed photos I can take as I go. Let me know.. This week I hope to start getting rid of the rust and start priming....

Wow! I've never seen Doscovery so stiped naked ;)
Maybe one day I will have time to strip and rebuild mine.

Good luck!!!
 
There the wrong calipers, there is 2 types of pipe setup, one is a single pipe like most cars and the other is a duel one with a split system so blanking wouldn't be an option.

Ok, thats a bit odd, I've checked my order and what i have received is correct. I brought them from Island 4x4, they have a very specific date change over and vin change over. Mine is an LA vin number which they specify as the later brakes. I will just make sure when I get home, have a look at the old ones and double check they are different. I must have one of the last 200TDIs as it seems all my parts are falling in the middle ground. Thanks for your advice glad I asked...... :confused:
 
Wow! I've never seen Doscovery so stiped naked ;)
Maybe one day I will have time to strip and rebuild mine.

Good luck!!!

Cheers geezer... Don't worry about the time just do it :D If your quick enough at getting the bits off wheels and axle especially then it can't be moved and negotiations with the budget committee are a lot easier.... "Well if you want it off the drive then I need to buy........ (you fill in the blank)" She has to agree otherwise it is stuck there FOREVVVEEEERRRRR :D

P.S. If you start stripping be prepared to do the full monty.... :eek:
 
Ok, thats a bit odd, I've checked my order and what i have received is correct. I brought them from Island 4x4, they have a very specific date change over and vin change over. Mine is an LA vin number which they specify as the later brakes. I will just make sure when I get home, have a look at the old ones and double check they are different. I must have one of the last 200TDIs as it seems all my parts are falling in the middle ground. Thanks for your advice glad I asked...... :confused:

Yea I'm not sure when they changed but i have the 2 pipe on mine, but ill be changing it to the 1 pipe (have the calipers and new pipe) the only thing that could be done is have a T at the caliper, but needs to be spot on as its the breaks obviously
 
Yea I'm not sure when they changed but i have the 2 pipe on mine, but ill be changing it to the 1 pipe (have the calipers and new pipe) the only thing that could be done is have a T at the caliper, but needs to be spot on as its the breaks obviously

Well I went home and checked the lockheed ones I had pulled off and it turns out they are the same as the ones I purchased :confused:. They have two ports where you can insert pipes, an upper and lower if you will, the upper has been capped off with a screw and the pipe just went in to the lower. They seemed to work fine like that so I think I will do the same. Providing it still works the piston, it should be fine, there is nowhere for the fluid to go. I'll put it all together and see how I get on.
 
Well as I promised the other day here is a little picture update of everything.... well almost everything that I have done.


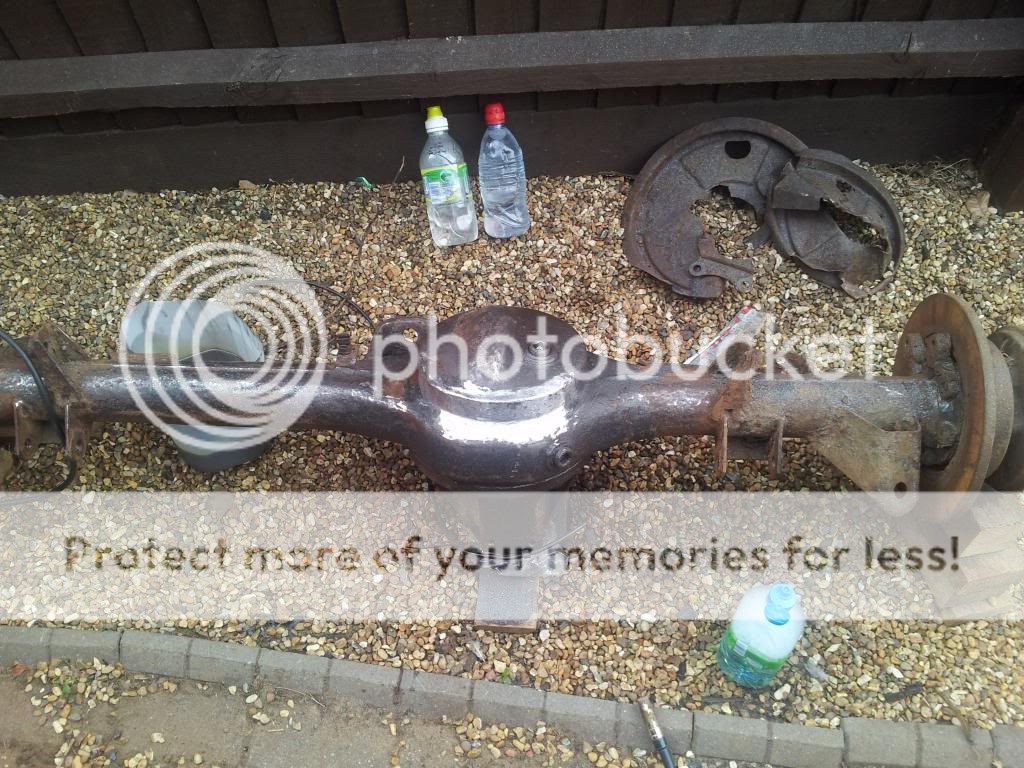
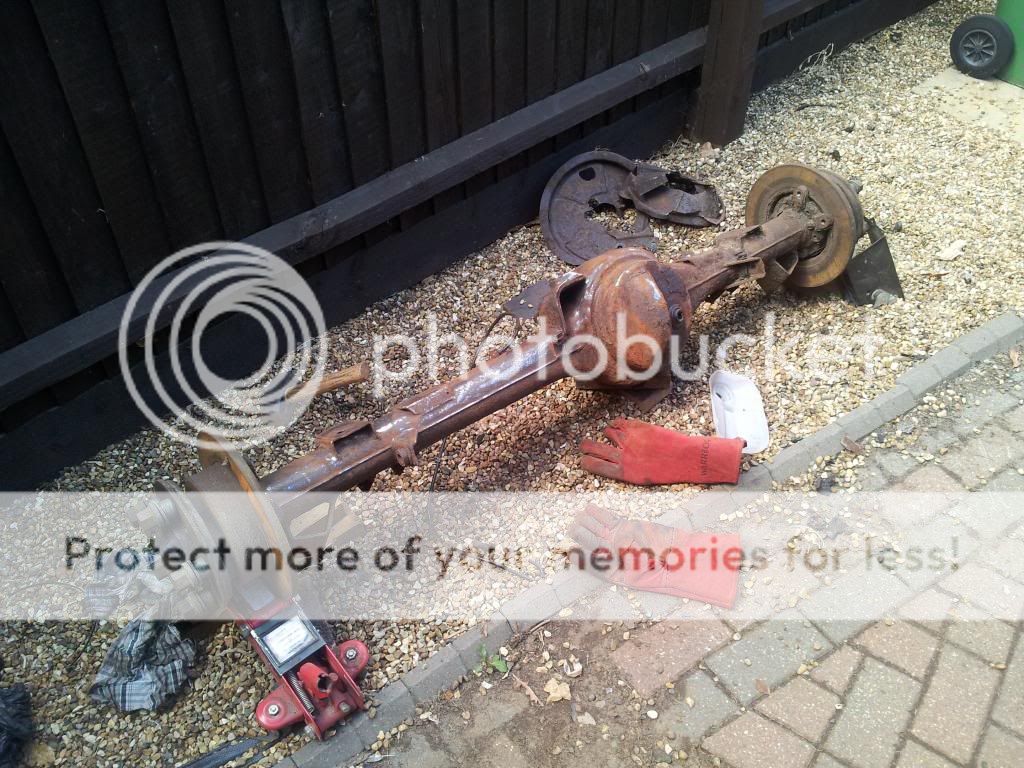
So here is the axle dragged out in to the light...


These were surprisingly tenacious when I tried to remove them even though you can see they are completely dead


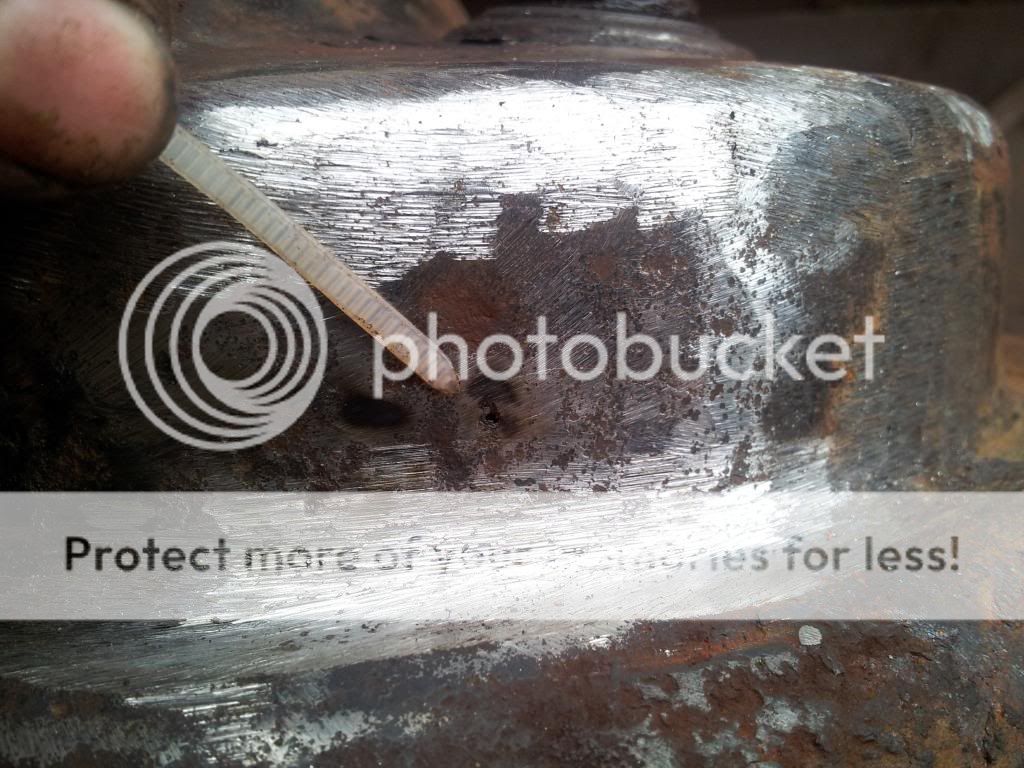
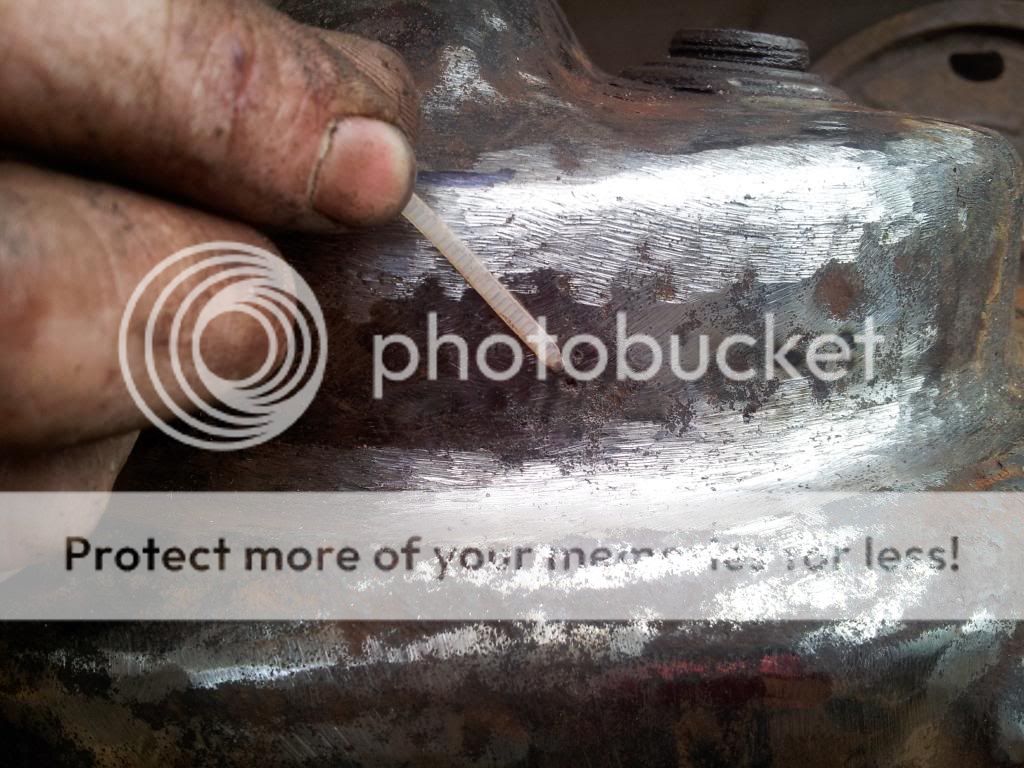
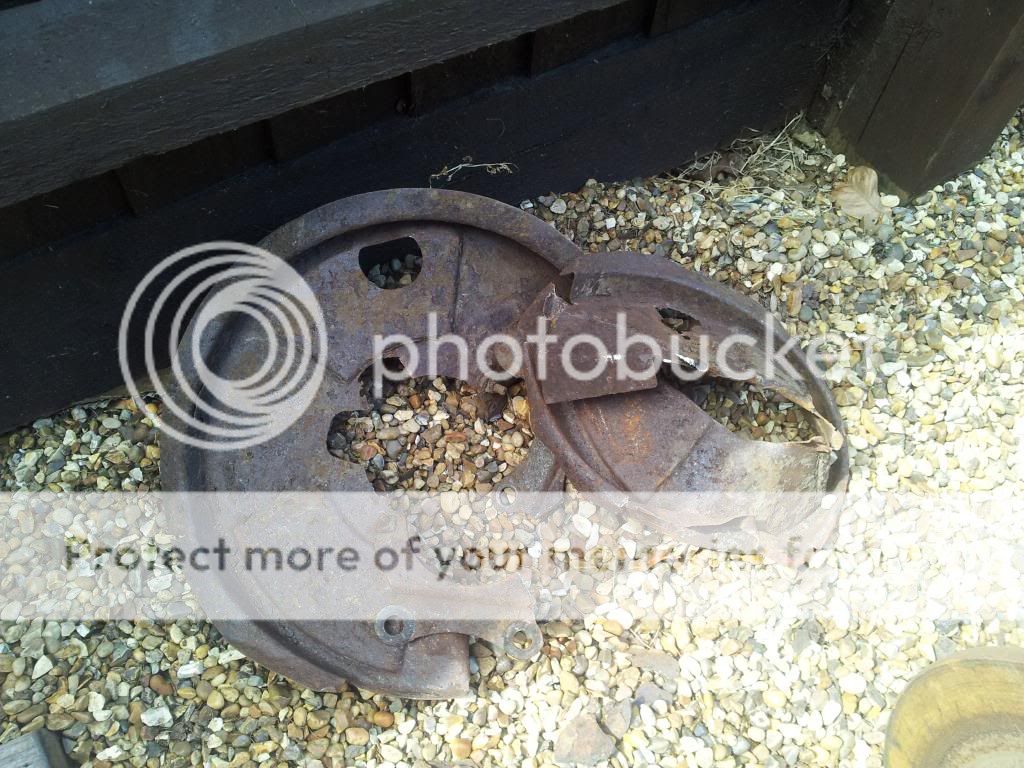
So on investigation of the gossamer pan here are some of the holes I found


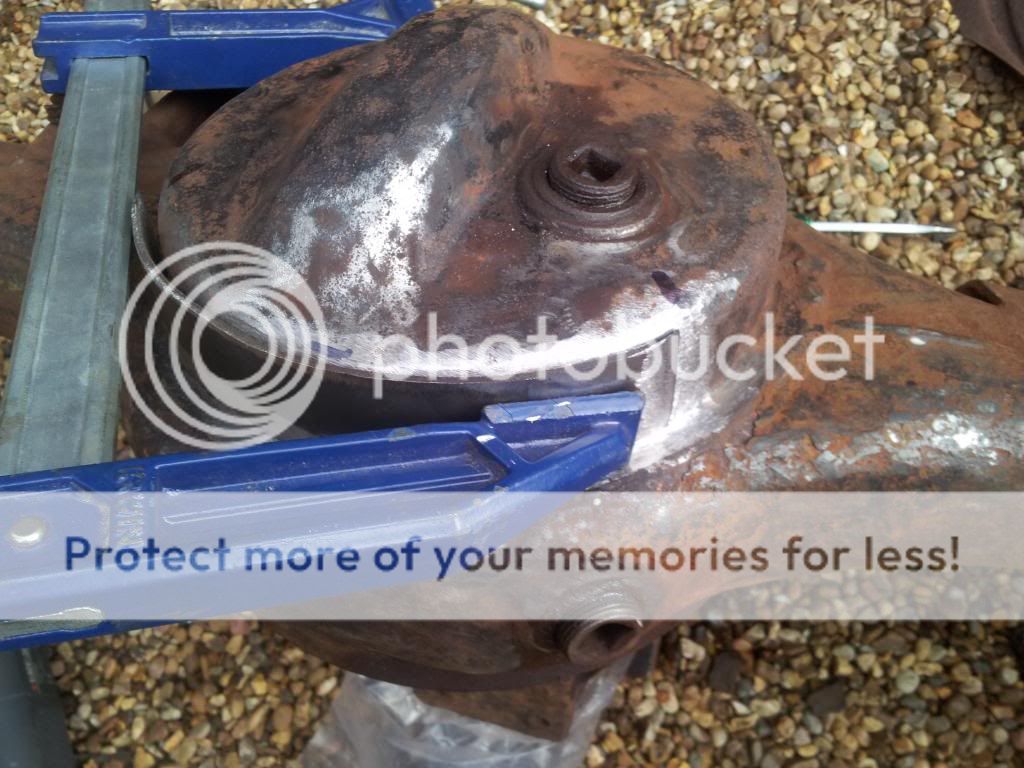
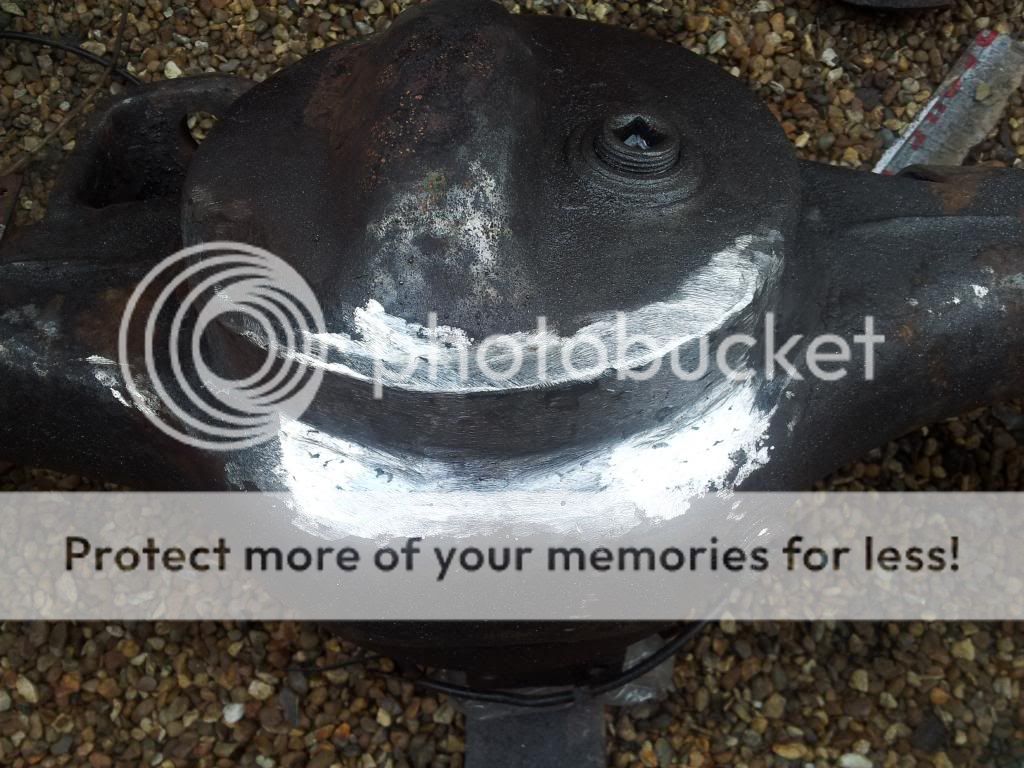
So as I am trying to make this a repair as much as I can type rebuild.... I decided to weld a new 2mm plate on the base. This should add protection and last a bit longer.... hopefully :D


Heres the finished weld


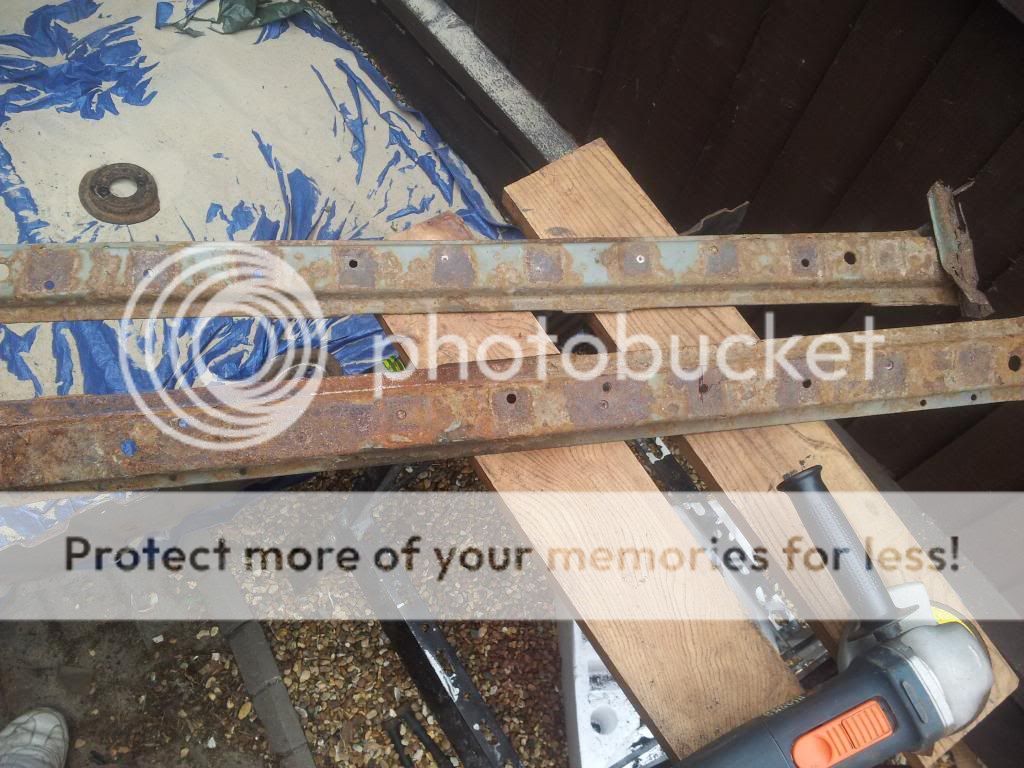
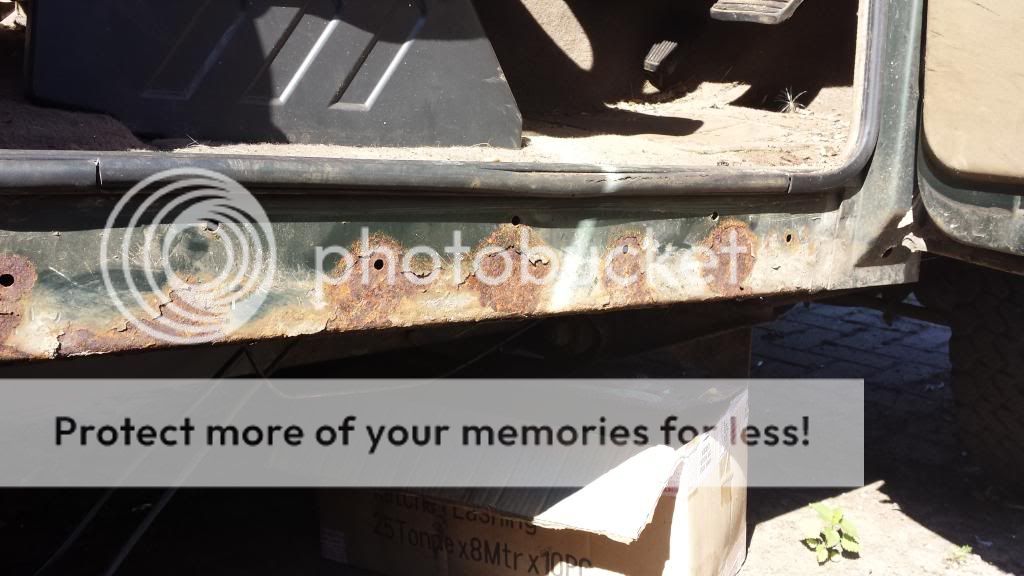
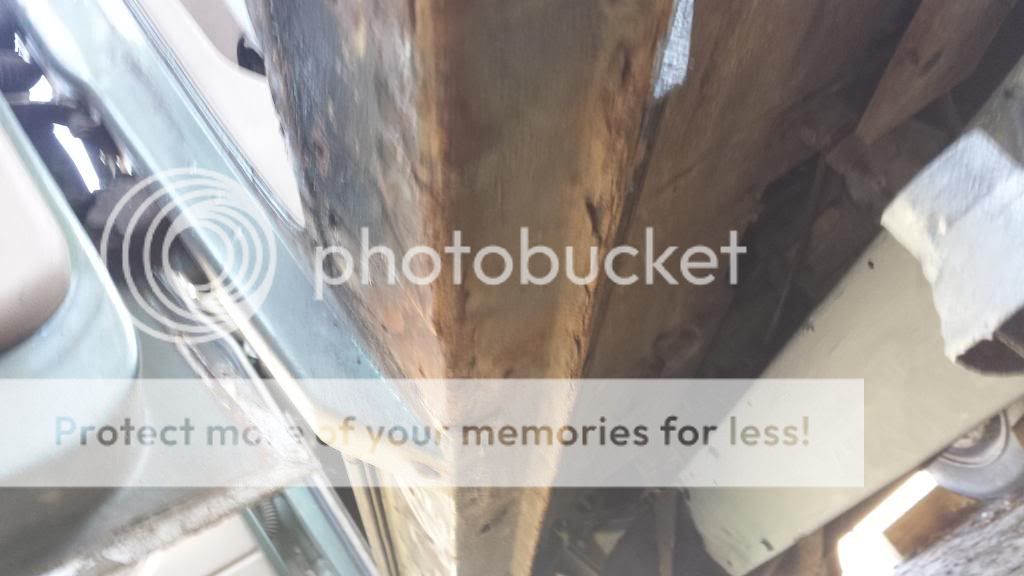
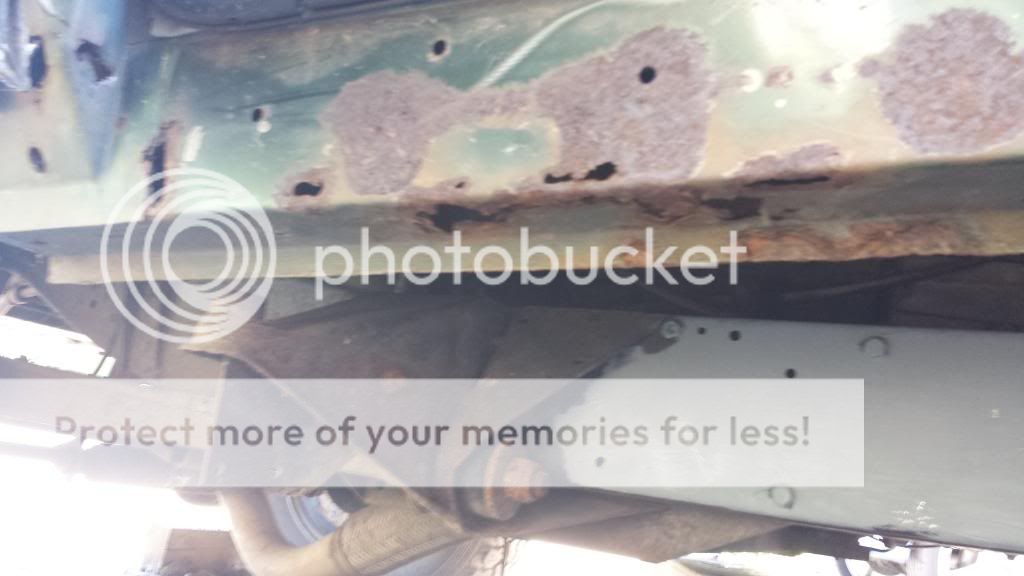
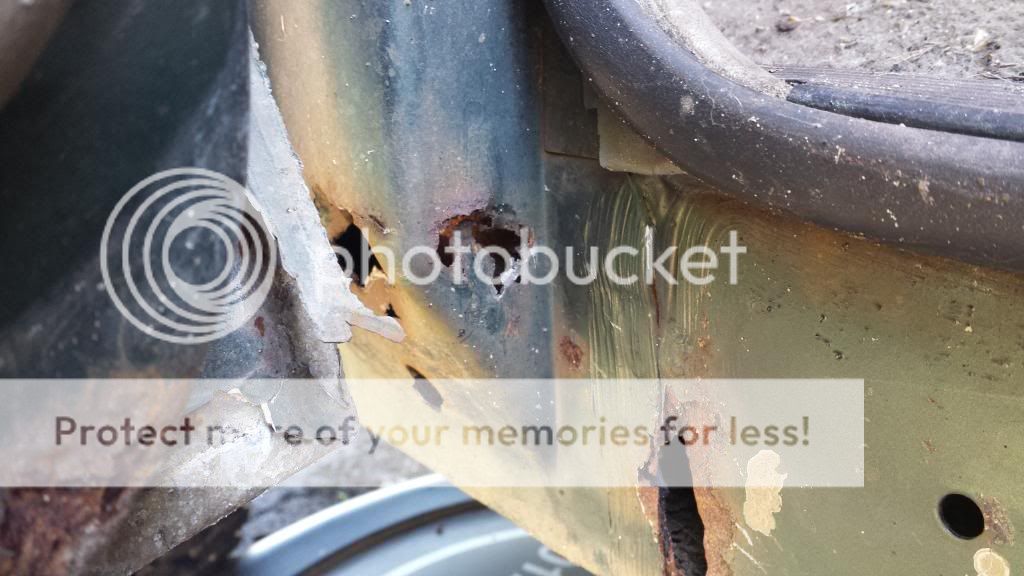
Now jumping on a bit I've carried on with the cutting out and cleaning up of the chassis and while doing that started on the sills.


This side has been done before at the back door


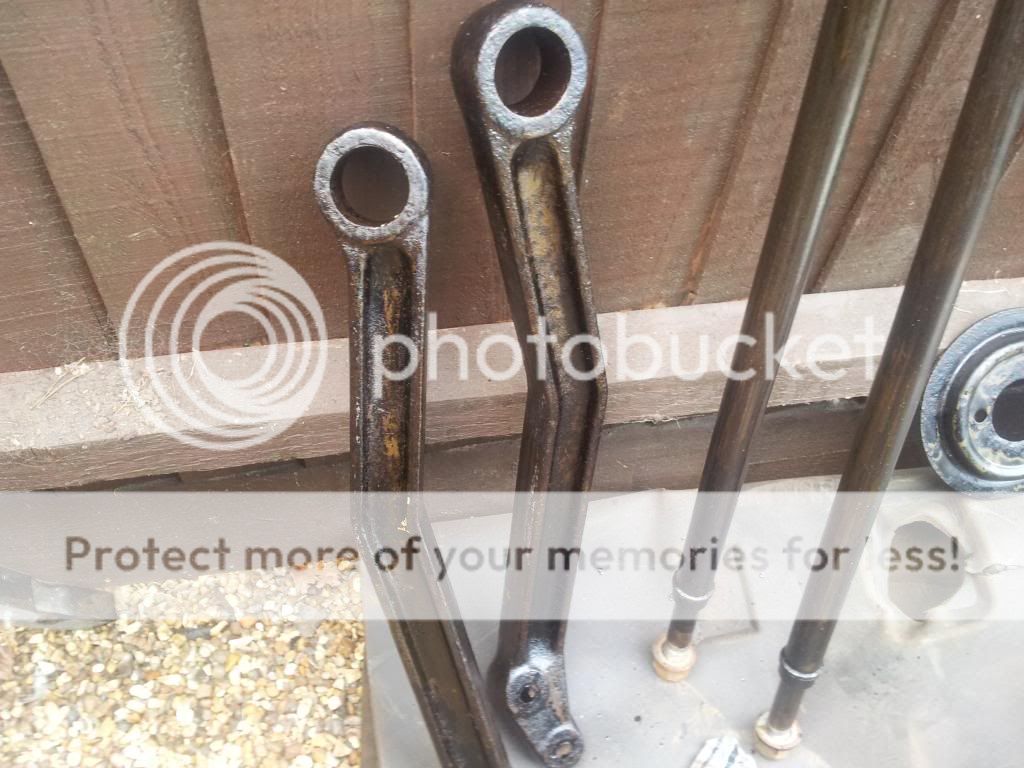
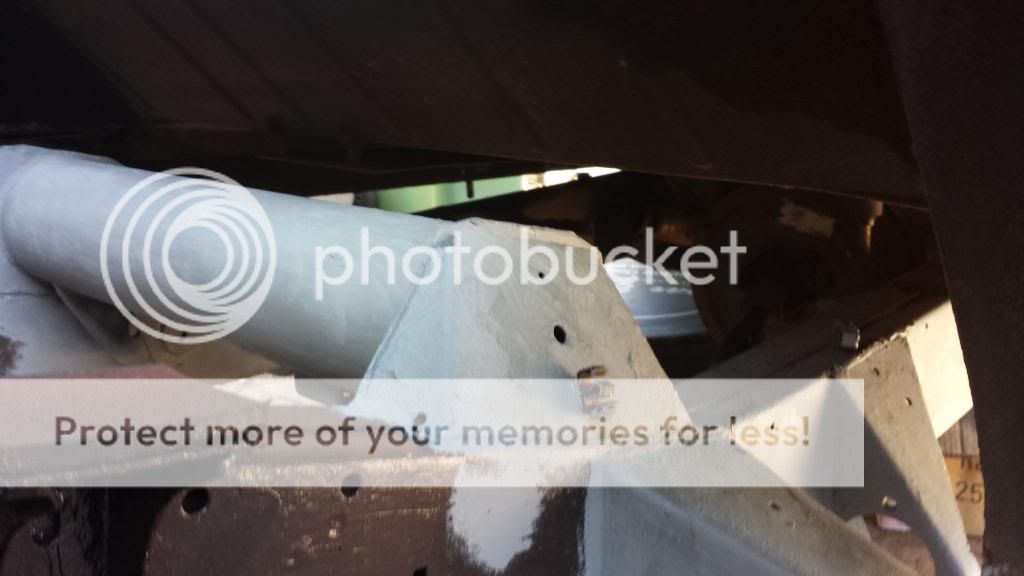
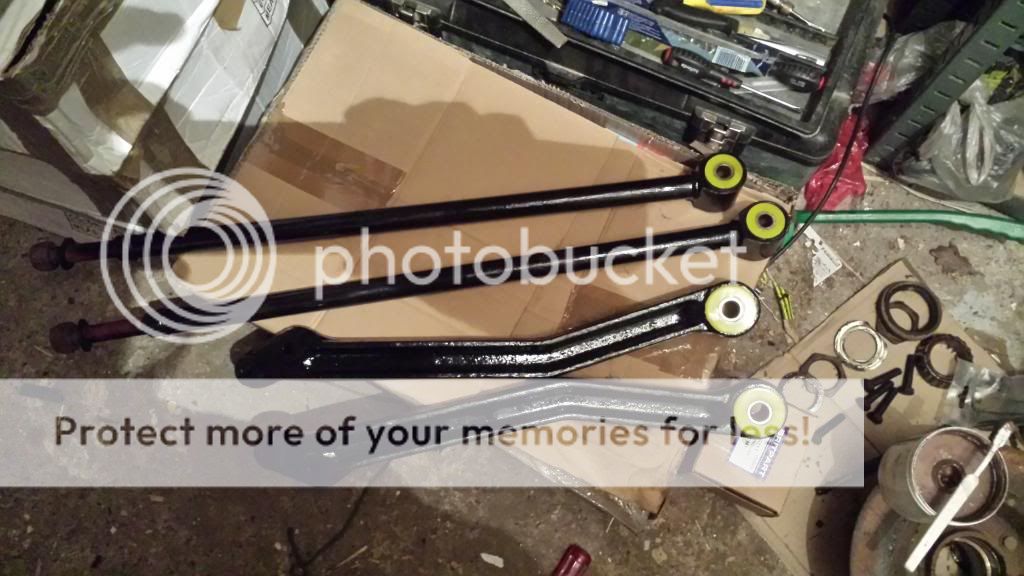
So jumping on again here are some of the rear suspension bits all glossy and new looking ready with bushes to go back on.


and lastly got round to pulling the hubs off. Decided to replace the wheel bearings while I'm there. Went for the Timken ones as I've heard they are good and it was only 15 quid per side for the little kit.

So over the next couple of weeks I will be putting the arse end back together suspension etc all back on. The only thing I am not doing yet is putting the rear floor I will leave that till last. Once again I will try and post photos and if anyone is interested in seeing anything closer let me know I will take pics while its all in bits :D
 
Your sills aint that bad, what you using to repair them with?

How did the welding go on the axle? I always thought they were cast not pressed steel so a pain to weld.


As James said all steel, so once cleaned up welded fine. I also welded two new plates where the springs attach and patched up the shock mount. My welding isn't great thats why i didn't want to weld a whole new pan on. I did wonder about tapping bolt holes and putting a new one on with a liquid gasket. effectively it would be the same as the other side where the diff is attached and would make it easy to replace in the future? After all there is no pressure involved. I have seen videos of some guys in america using polycarbonate... looks pretty cool as you see the diff working.... :D

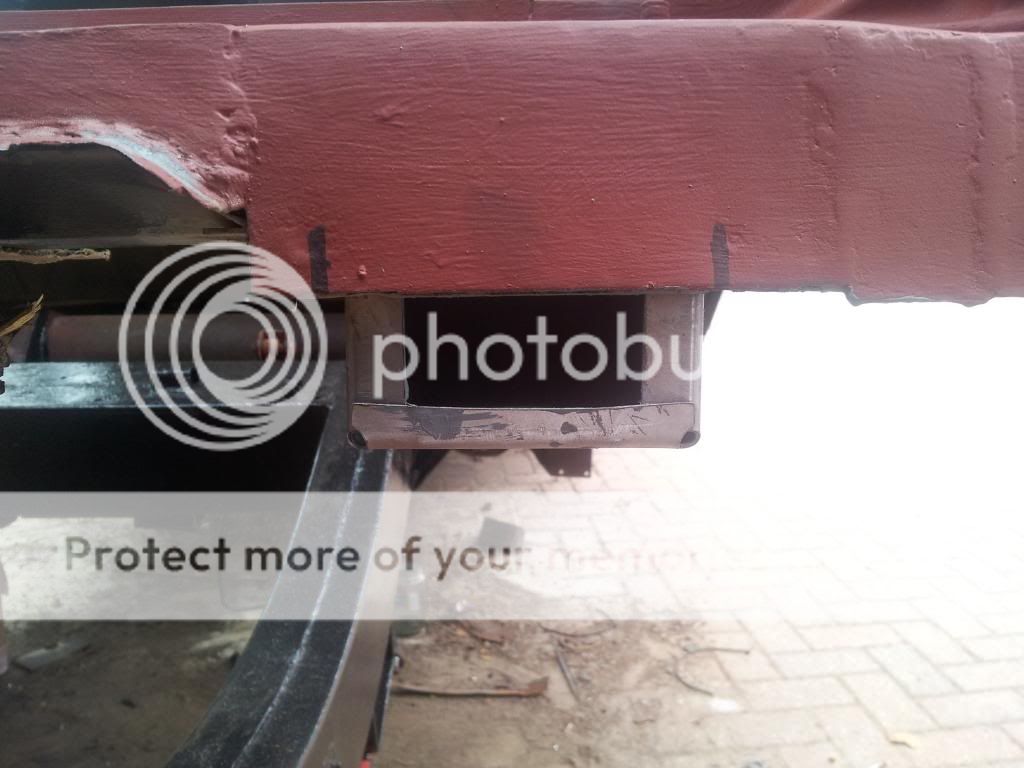
As for the sills they are not awful but I am going to shove some 120 x 60 box up in there. I will weld up the front end and then be making some bolt on tabs for the rear end. Once they are welded in position I will then fill the inside with waxoyl and paint the outside in cold galv. I saw a guy recently who just put rubber flaps on the front and end of his so that he could spray them through with a jet wash. The box section is about 70 - 80 quid off ebay but I might see if I can source some locally. The box should last pretty well....
 
Last edited:
As James said all steel, so once cleaned up welded fine. I also welded two new plates where the springs attach and patched up the shock mount. My welding isn't great thats why i didn't want to weld a whole new pan on. I did wonder about tapping bolt holes and putting a new one on with a liquid gasket. effectively it would be the same as the other side where the diff is attached and would make it easy to replace in the future? After all there is no pressure involved. I have seen videos of some guys in america using polycarbonate... looks pretty cool as you see the diff working.... :D

As for the sills they are not awful but I am going to shove some 120 x 60 box up in there. I will weld up the front end and then be making some bolt on tabs for the rear end. Once they are welded in position I will then fill the inside with waxoyl and paint the outside in cold galv. I saw a guy recently who just put rubber flaps on the front and end of his so that he could spray them through with a jet wash. The box section is about 70 - 80 quid off ebay but I might see if I can source some locally. The box should last pretty well....
700 I used 140x60 box and left the ends open, i sprayed as much stuff as i could in there and now simply wash it out on a regular basis after each off road day, mine doesnt do so much road work and gets washed regularly after playing so thought that way would be easier and tbh the sills are going to outlast the rest of the motor even if i didnt look after them.

by the way that box sounds pricey, get yourself down to your local steel stockist they have to be cheaper than that, mine was equivalent to 30 quid for 3.5 meters each side only needs to be 1400-1450 long depending how its going to sit
 
Back
Top