matty_daak
Active Member
- Posts
- 366
- Location
- Bristol
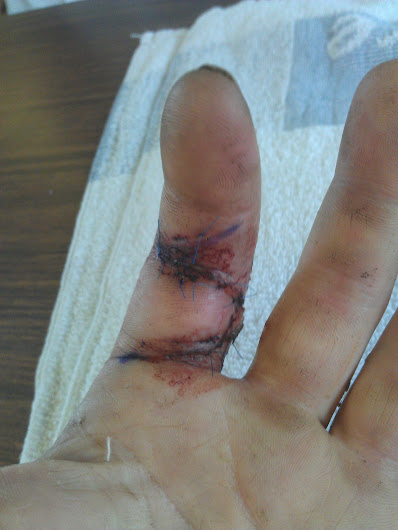
lol thanks for the compliments guys! ") I aint got any good pics of my finger... I might snap some tomorrow (got another hospital visit due!) Anyways.....
I aint got any good pics of my finger... I might snap some tomorrow (got another hospital visit due!) Anyways.....
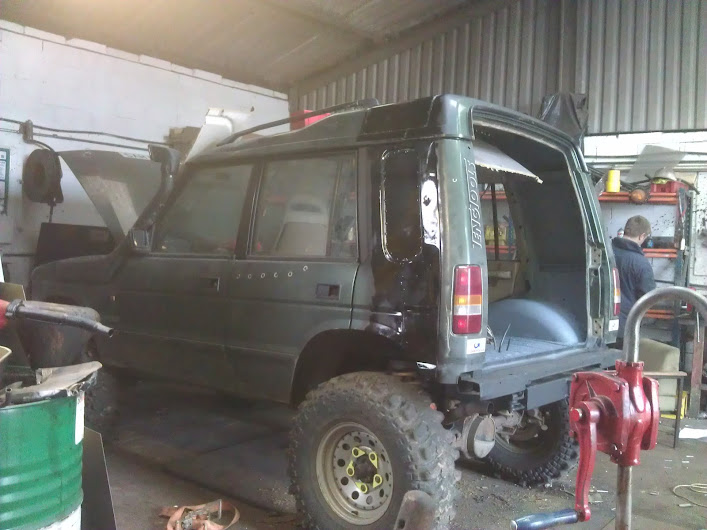
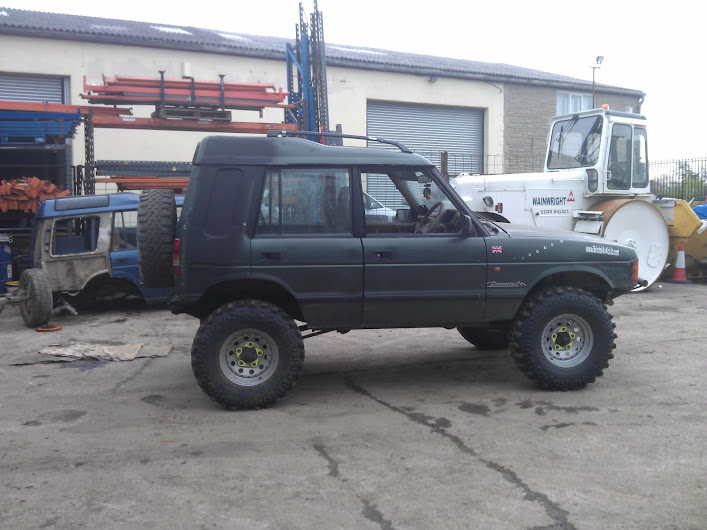
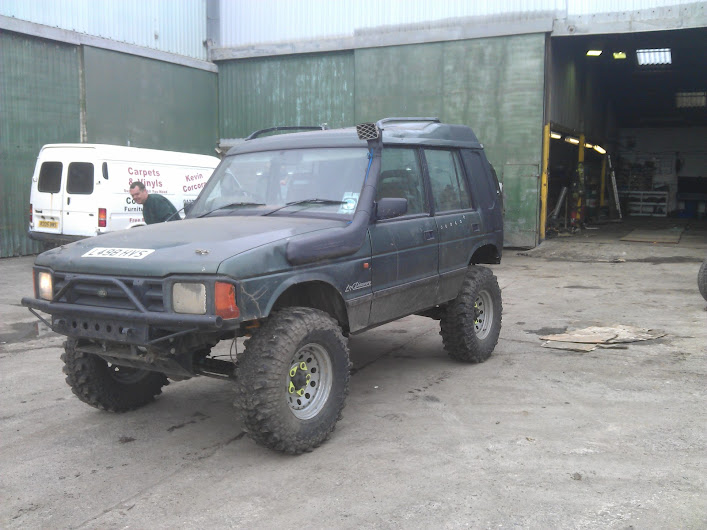
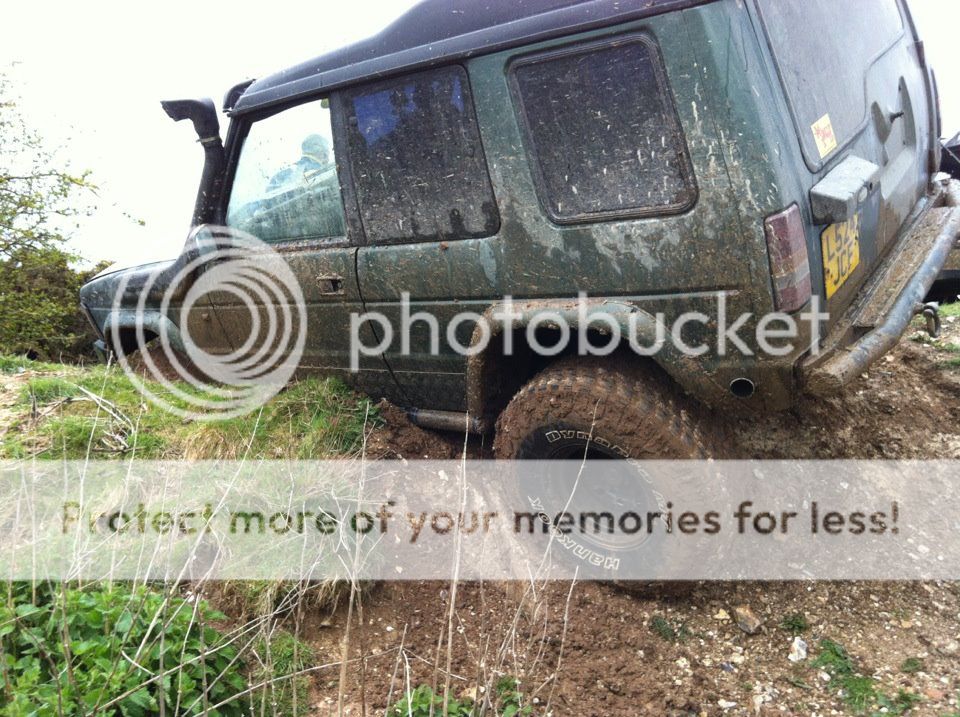
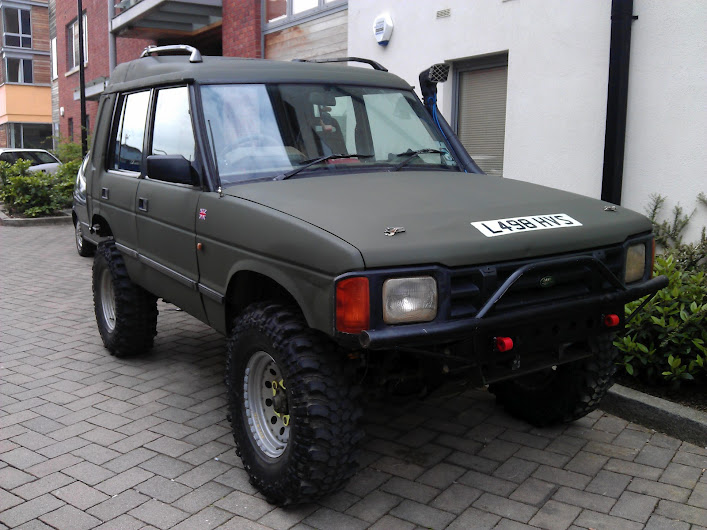
SHE'S UP AND RUNNING!!! :tea:
So here's the latest pics! I didn't manage to get any of the welding this morning as I wasn't there to supervise (make tea)
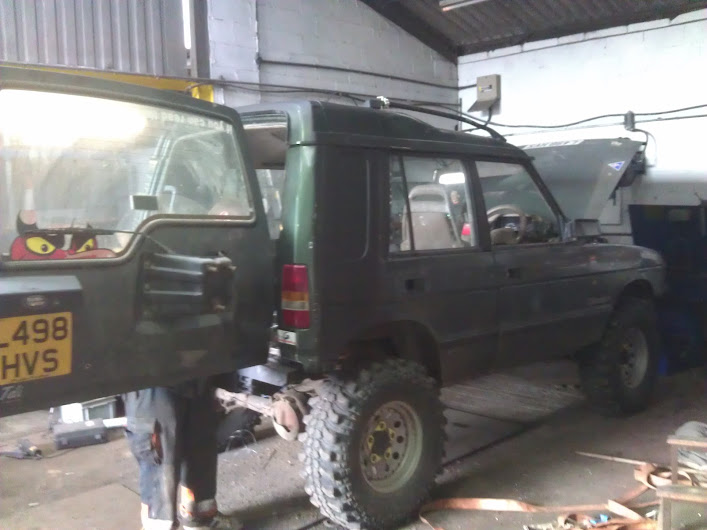
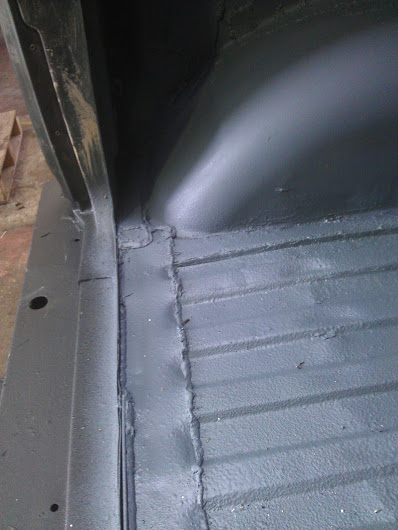
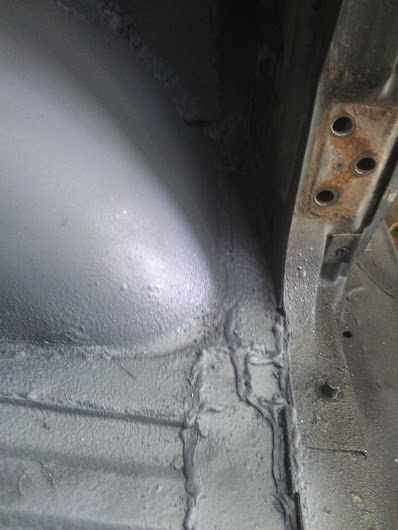
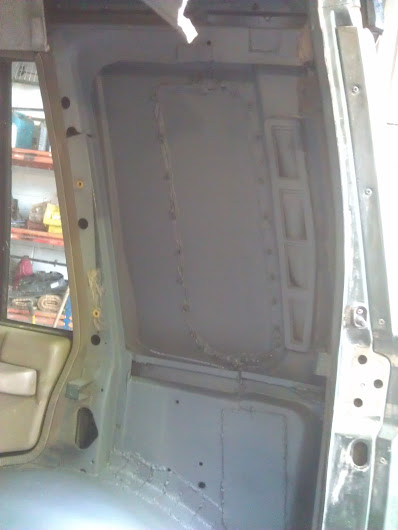
The gap in the boot floor was bridged using an off-cut from the roof, the guys tacked it to the rear piece then hammered it to follow the ridges on the boot floor. Then the hammered end was welded to each ridge and troff, ground back then covered with sealant. All of the welds were sealed, some of them weren't ground back as we couldn't get the grinder in there (couldn't be bothered!)
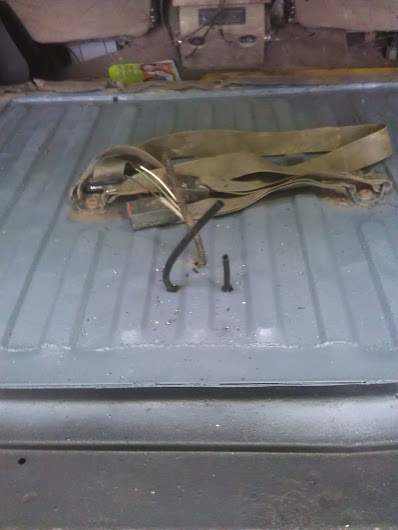
The fuel tank is a work in progress... for the moment I'm using the original tank just strapped in the boot until I sort out the rear seats and I can take some measurements from the boot and see what I can fit in there. So, the fuel lines for the moment will just poke through:
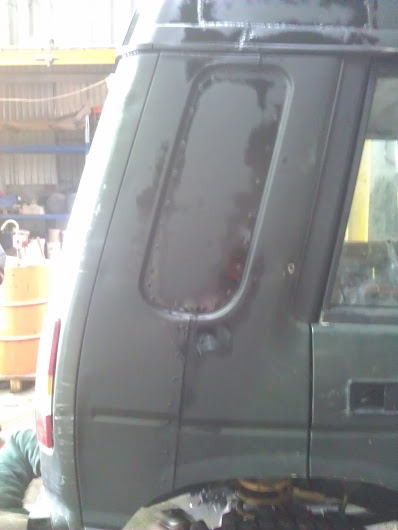
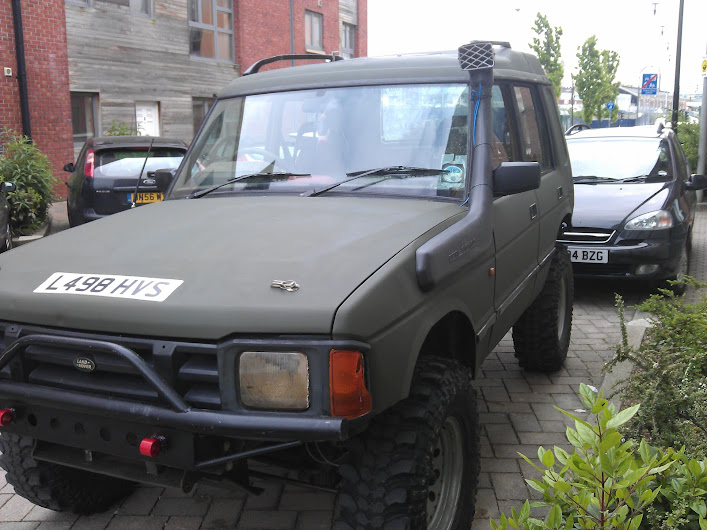
The side panels have been filled with a bit of 18 gauge steel plate, they were cut to shape then a line of sealant was applied then they were drilled and riveted insitue:
Just realised I'm jumping the gun... the outer skins were attached BEFORE the old window holes were plated, we had to cut off about two more inches as I had intentionally cut them too long just in case!
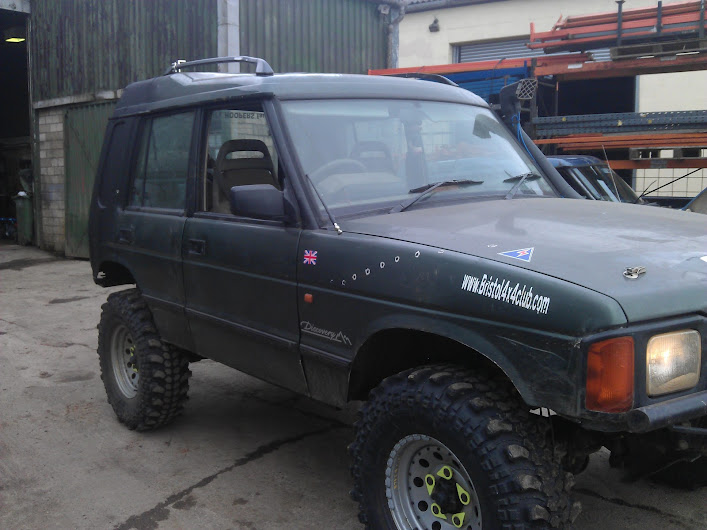
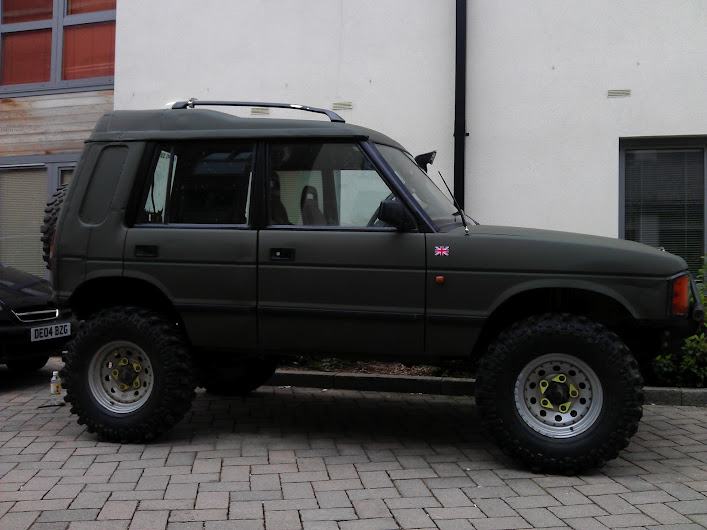
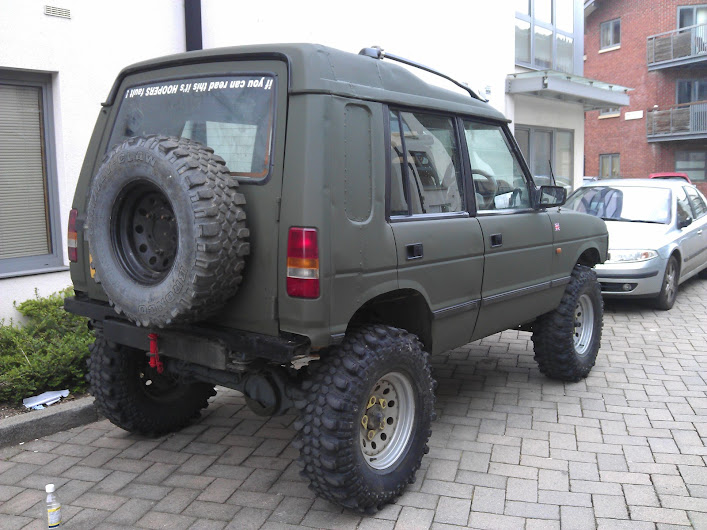
So the outer panels were fitted overlapping the front sections, sealed and riveted, the bottom of the panels were trimmed to match the wheel arches:
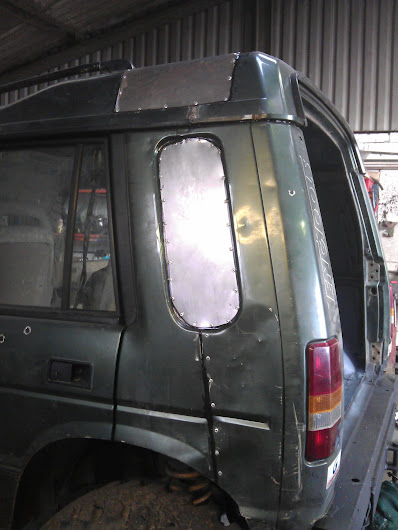
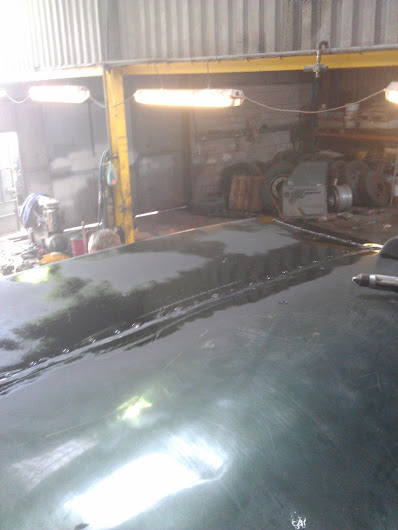
The alpine window holes were plated the same way, they were riveted at the bottom then bent to follow the curve of the roof. We were going to weld the roof as it's steel, however we couldn't be arsed so it got sealed and riveted like the sides! Well you can't see it anyway!
I aint got any good pics of my finger... I might snap some tomorrow (got another hospital visit due!) Anyways..... SHE'S UP AND RUNNING!!! :tea:
So here's the latest pics! I didn't manage to get any of the welding this morning as I wasn't there to supervise (make tea)
The gap in the boot floor was bridged using an off-cut from the roof, the guys tacked it to the rear piece then hammered it to follow the ridges on the boot floor. Then the hammered end was welded to each ridge and troff, ground back then covered with sealant. All of the welds were sealed, some of them weren't ground back as we couldn't get the grinder in there (couldn't be bothered!)
The fuel tank is a work in progress... for the moment I'm using the original tank just strapped in the boot until I sort out the rear seats and I can take some measurements from the boot and see what I can fit in there. So, the fuel lines for the moment will just poke through:
The side panels have been filled with a bit of 18 gauge steel plate, they were cut to shape then a line of sealant was applied then they were drilled and riveted insitue:
Just realised I'm jumping the gun... the outer skins were attached BEFORE the old window holes were plated, we had to cut off about two more inches as I had intentionally cut them too long just in case!
So the outer panels were fitted overlapping the front sections, sealed and riveted, the bottom of the panels were trimmed to match the wheel arches:
The alpine window holes were plated the same way, they were riveted at the bottom then bent to follow the curve of the roof. We were going to weld the roof as it's steel, however we couldn't be arsed so it got sealed and riveted like the sides! Well you can't see it anyway!