BennehBoy's D2 adventure

This site contains affiliate links for which LandyZone may be compensated if you make a purchase.
Got the last silicon hose on, was a lot easier with a bit of washing up liquid and some v hot water.

_MG_9592.jpg
 
Decided to bin the rear donut so bought the right replacement flange to fit a 200 TDI prop

_MG_9597.jpg


And the prop itself:

_MG_9607.jpg


Pretty easy job to do, the only pain in the arse bit is the centre spigot that has to be remoced from the old flange to get at the bolt, used a slide hammer and loads of heat and it finally came out
 
Developed a leak from the front OS driveshaft

Changed the oil seal using this tool a mate fabbed up:

_MG_9605.jpg


Photos are a bit crap - had the wrong settings on the camera, oops...

First job was to remove the wheel, caliper, carrier, disk, and unclip the ABS line...

_MG_9606.jpg


Then I had to fight with the hub, when I replaced it a year back I completely forgot to copper slip the back face so it had welded itself to the steering knuckle... FBH and Drift soon sorted that problem, and the hub, CV, and shaft slid out easily...

_MG_9602.jpg


I could now see the old seal, it wasn't completely shot but had a steady weep, I'd already cleaned up a lot of crap and oil from around it:

_MG_9603.jpg


Popped that out using a small crowbar. Greased up the new seal, then tamped it in using the bodge tool and a rubber mallet:

_MG_9604.jpg


Fed the hub & shaft back in and reassembled it all.

Easy peasy.
 
Since the remap the clutch was slipping in 4th and 5th so decided to get something a bit more meaty....

Rakeway solid flywheel, uprated clutch, and cast ali release bearing...

_MG_9608.jpg


Hoping to use a lift this time to do the swap out, doing my gearbox on the drive last time was a mare
 
Swapped in the new clutch & flyhweel, no more slipping!

Vibrates a bit low down but not too bad.

Some gearbox chatter in neutral but not enough to annoy me.
 
I've been driving around with 2 broken exhaust manifold studs for a while, and pestering a mate about creating a stainless steel tubular manifold for a while....

Well, my mate has created the manifold, and this evening it is going into guinea pig testing on my engine! :tup: :tup: :tup:

So this morning I started the strip down....

_MG_9609.jpg


After giving everything a chance to soak in (A LOT OF) plus gas for a while....

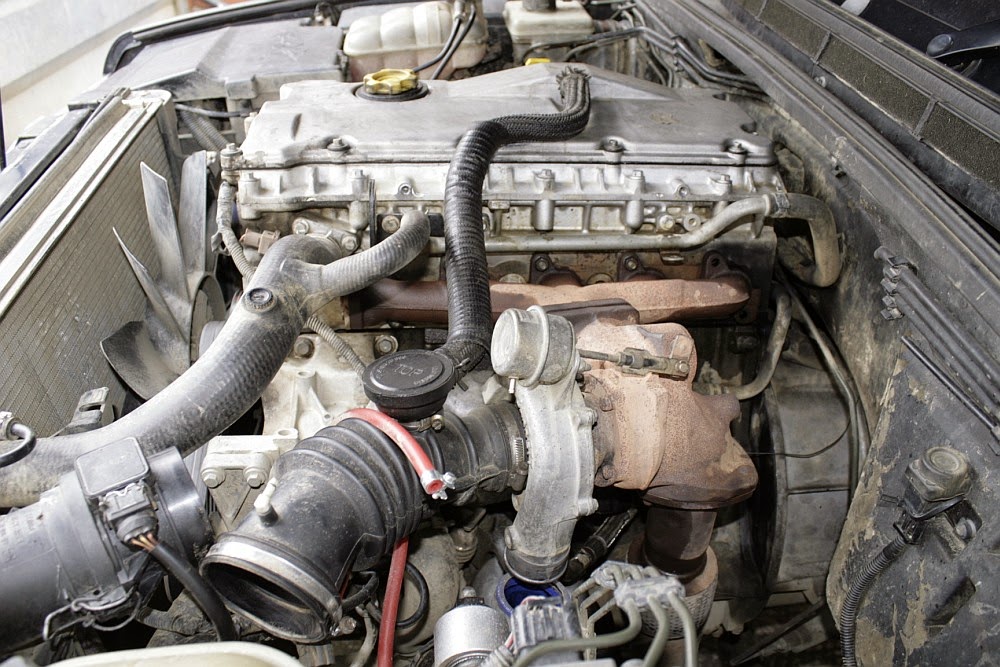
First remove the turbo heat shield, disconnect the turbo inlet hose behind the MAF, disconnect the turbo outlet hose, disconnect the vac hoses from the turbo and inlet hose, undo the turbo oil feed banjo & oil drain pipes, and unfasten the downpipe....

_MG_9610.jpg


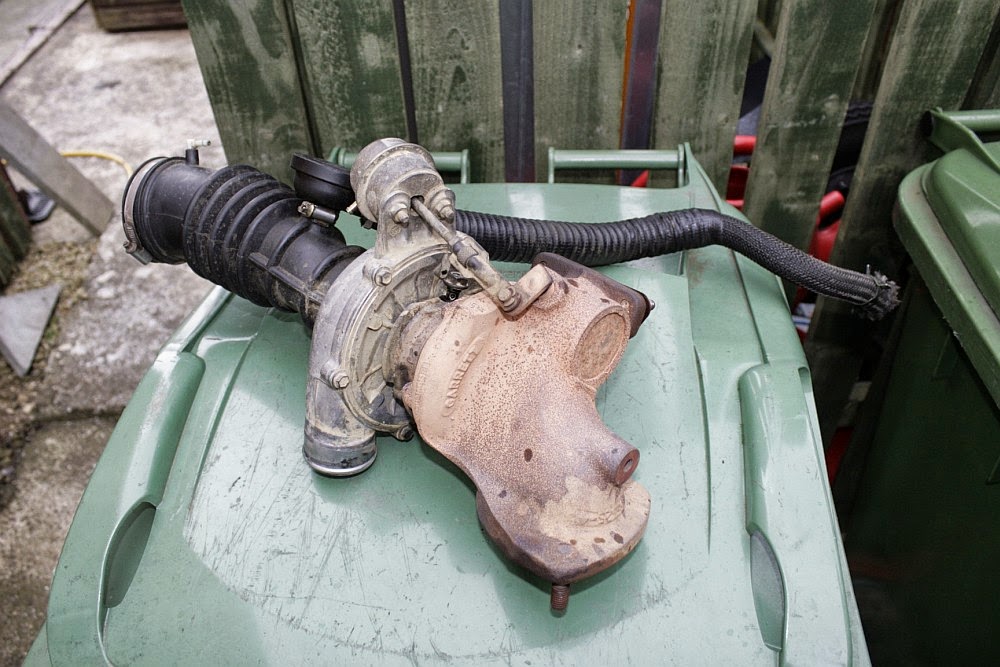
Undo the turbo to manifold nuts, I used a 13mm cranked spanner to get to the bottom one, the whole turbo assembly should then just lift out.

_MG_9611.jpg


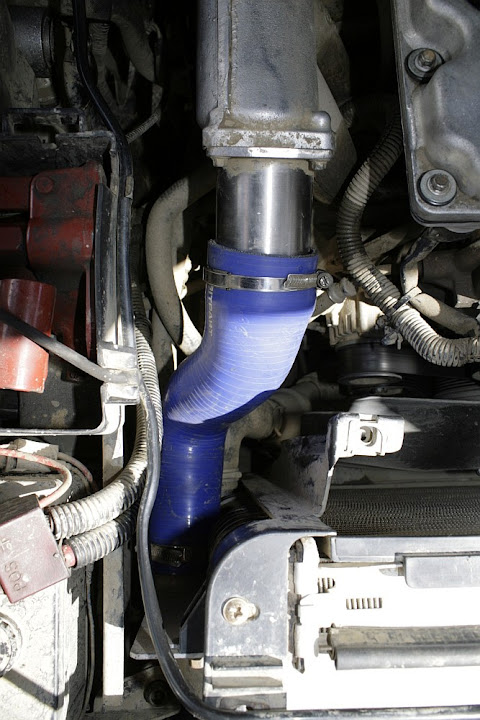
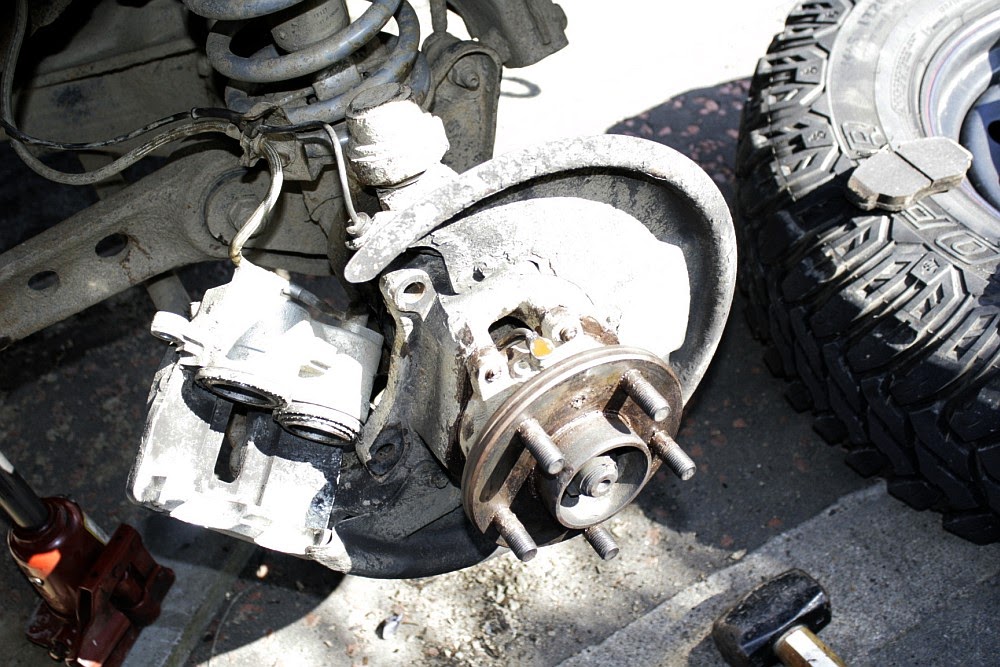
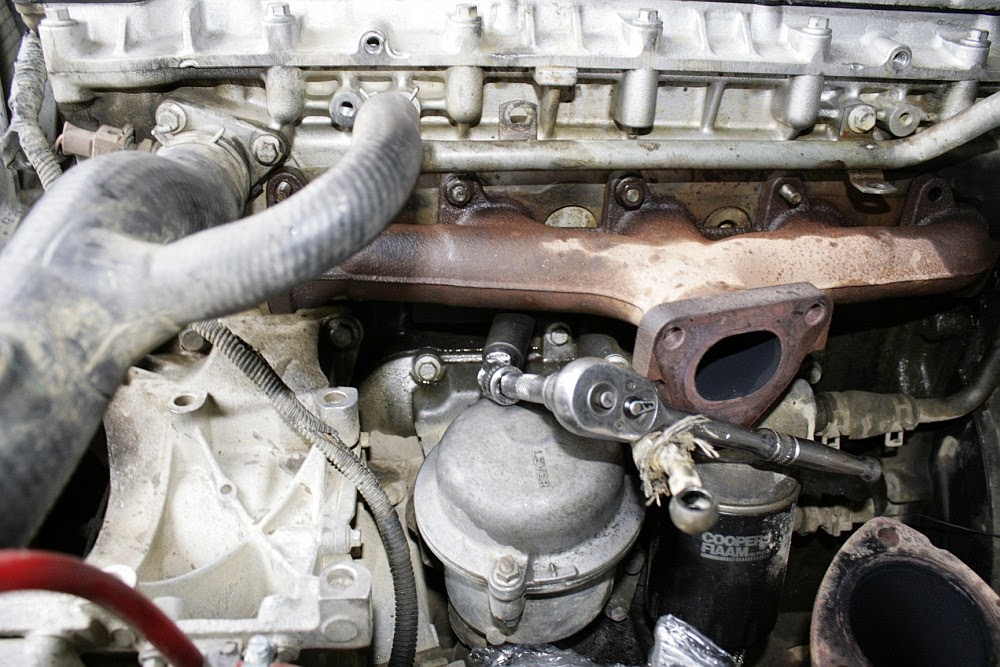
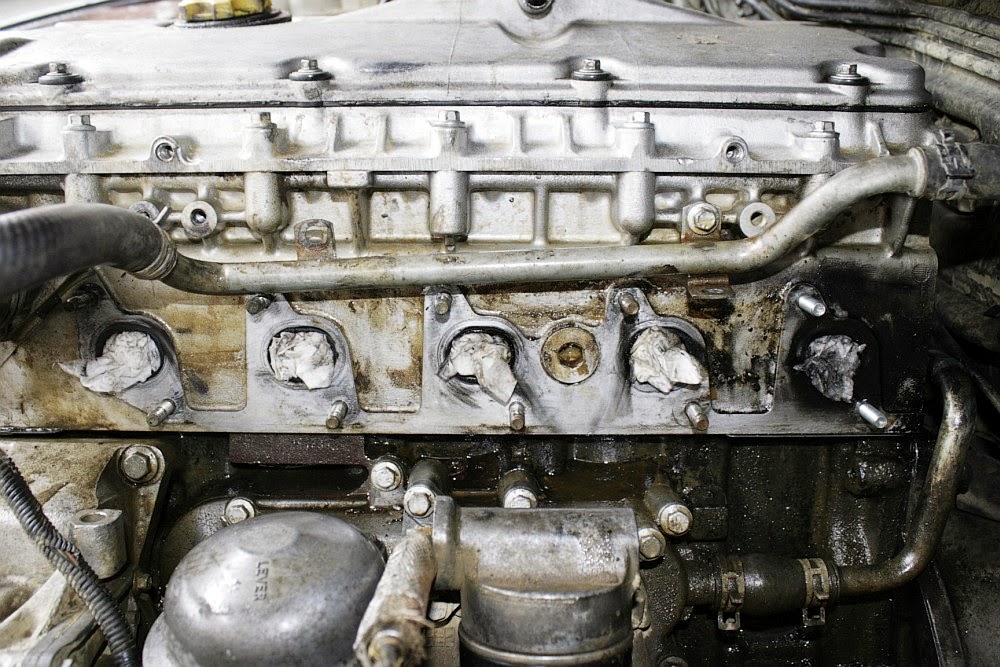
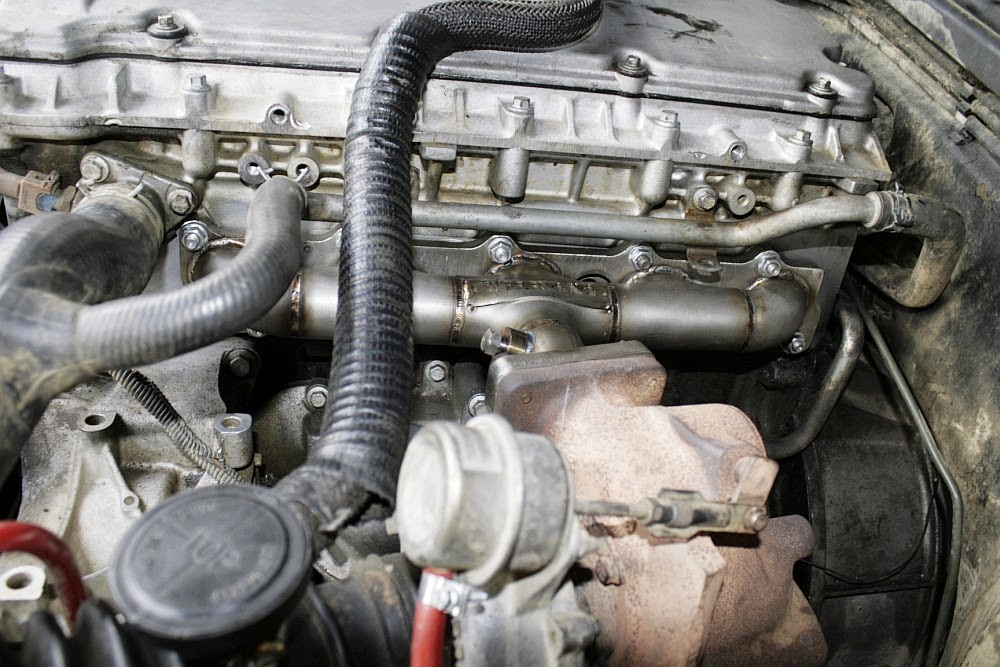
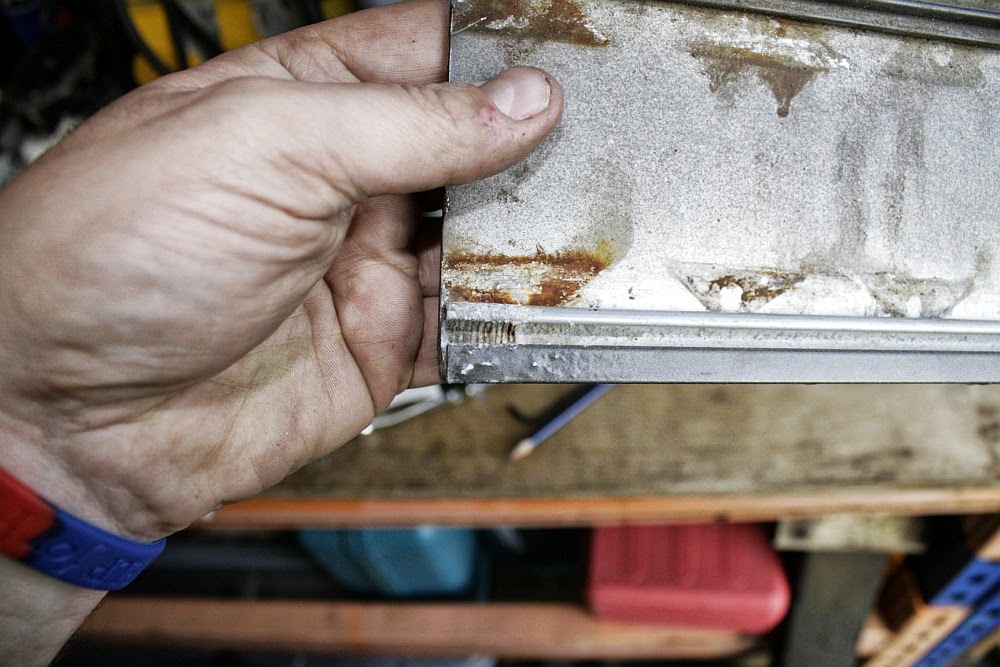
This is what you'll then see in the engine bay - at this point I removed the lifting bracket just to make access a little easier.

_MG_9612.jpg


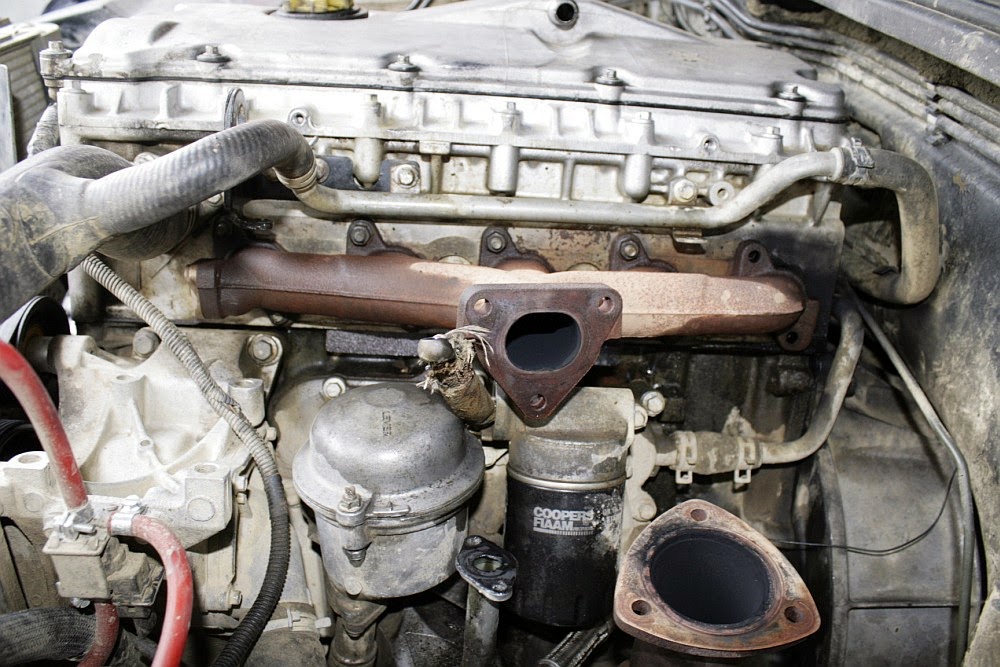
Thanks to the plus gas all of the stud nuts cracked off without issue, the only odd one was the one I've got an extenstion/wobble on in the above photo.... for some reason this nut was 12mm, but all the rest are 13. I suspect whoever attacked this last time couldn't get onto a 13 in there so fitted a 12mm nut - bizarre!

_MG_9613.jpg


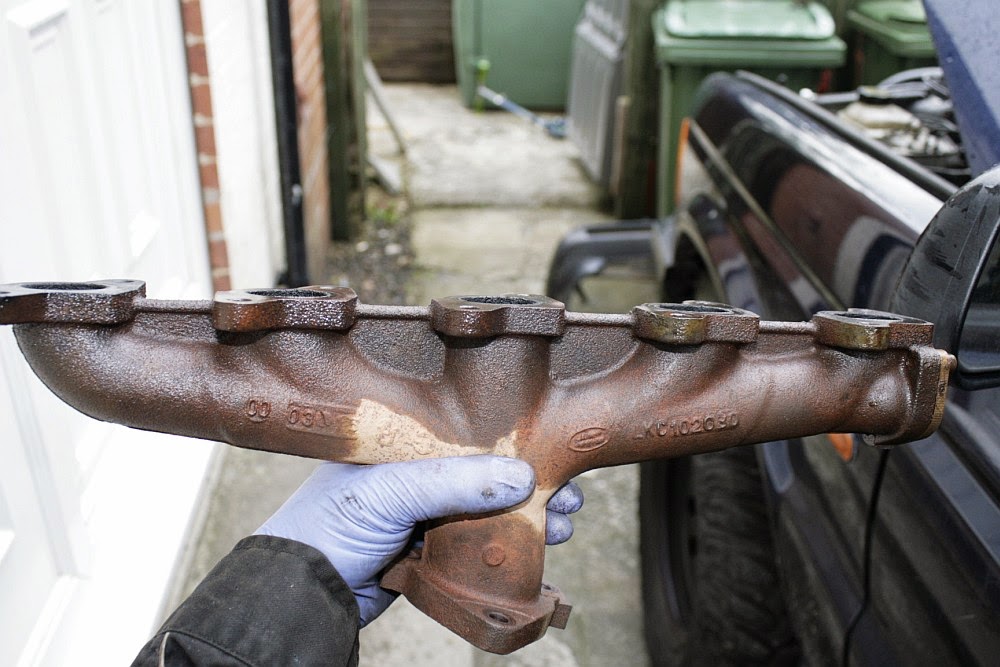
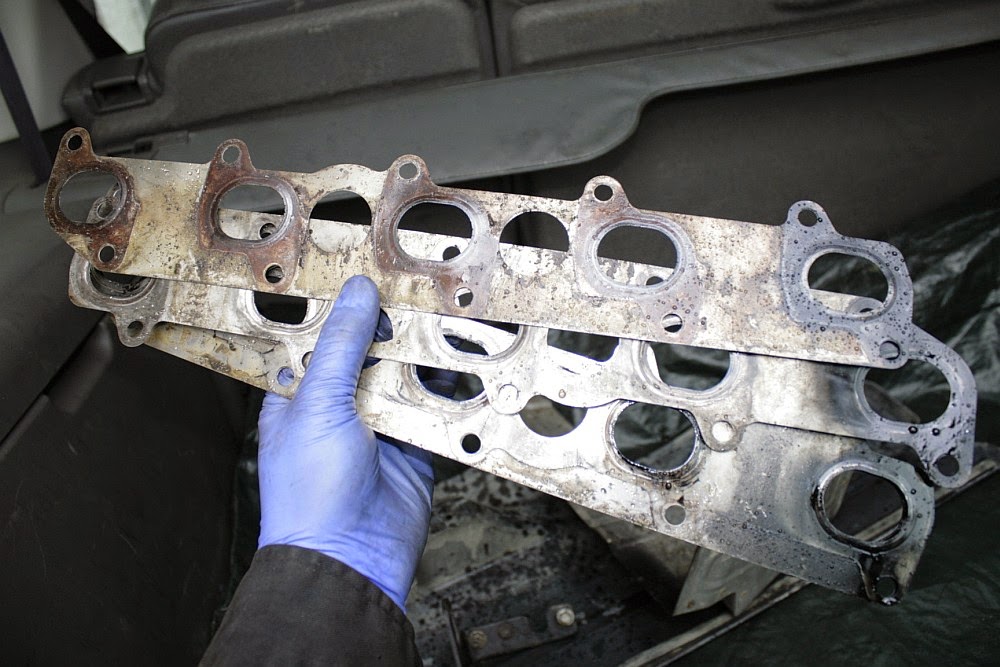
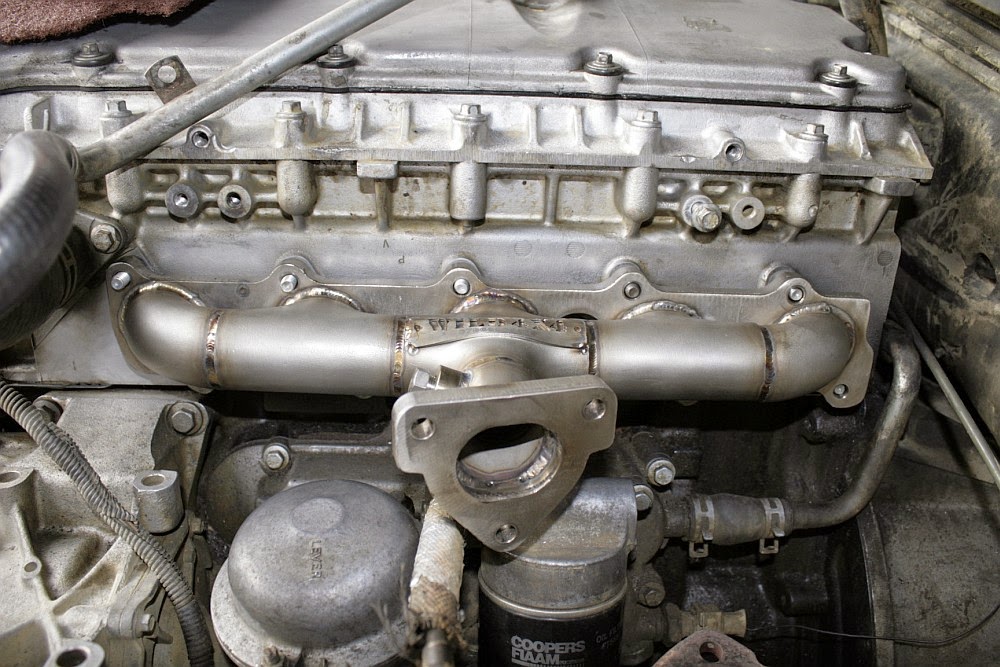
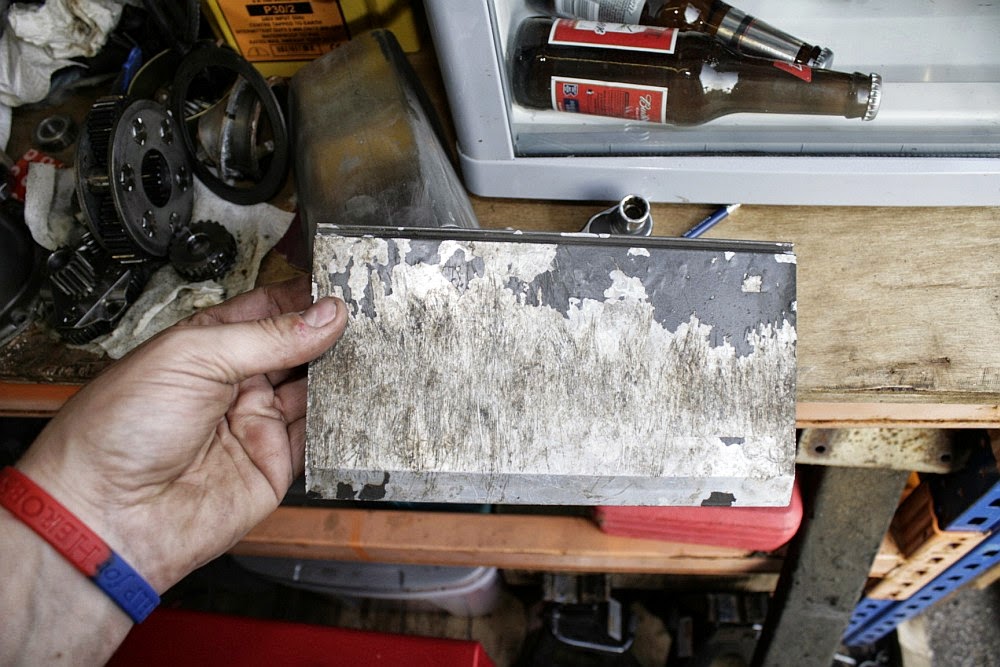
Manifold came off a treat - it has a very mild warp.

_MG_9614.jpg


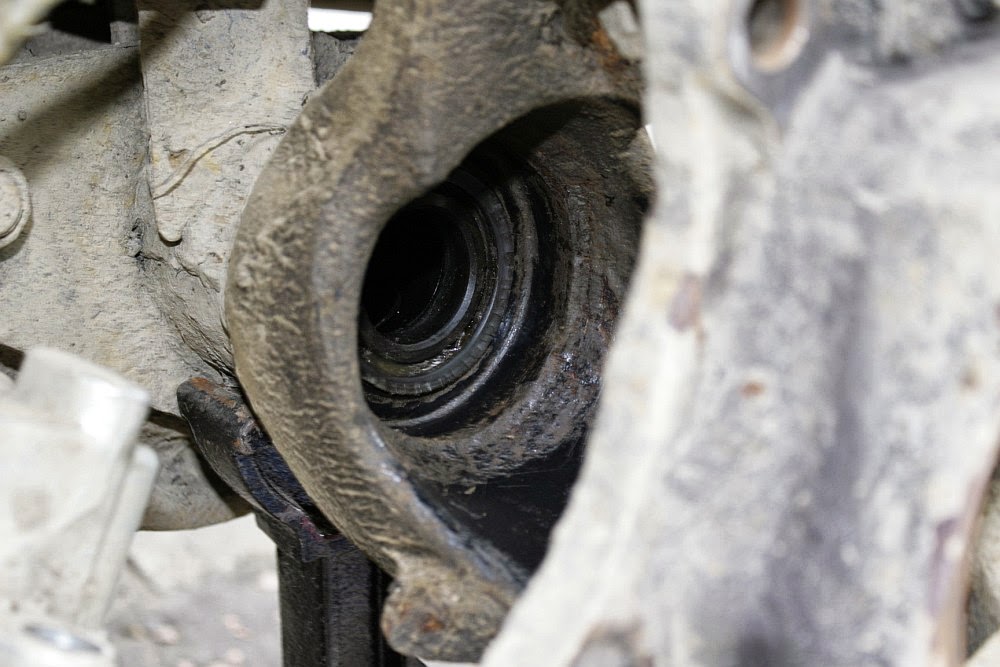
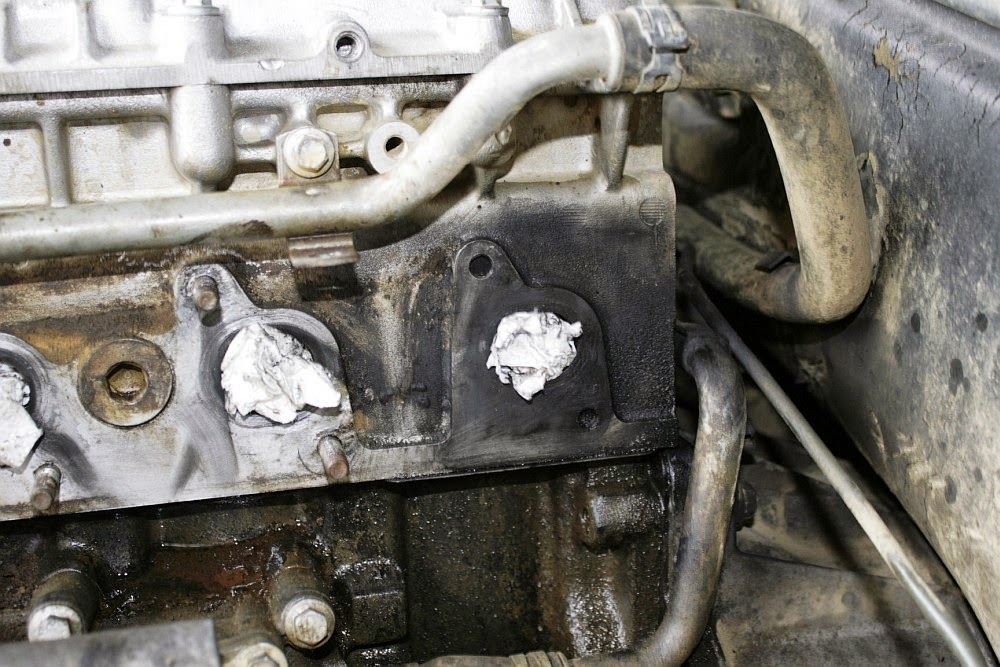
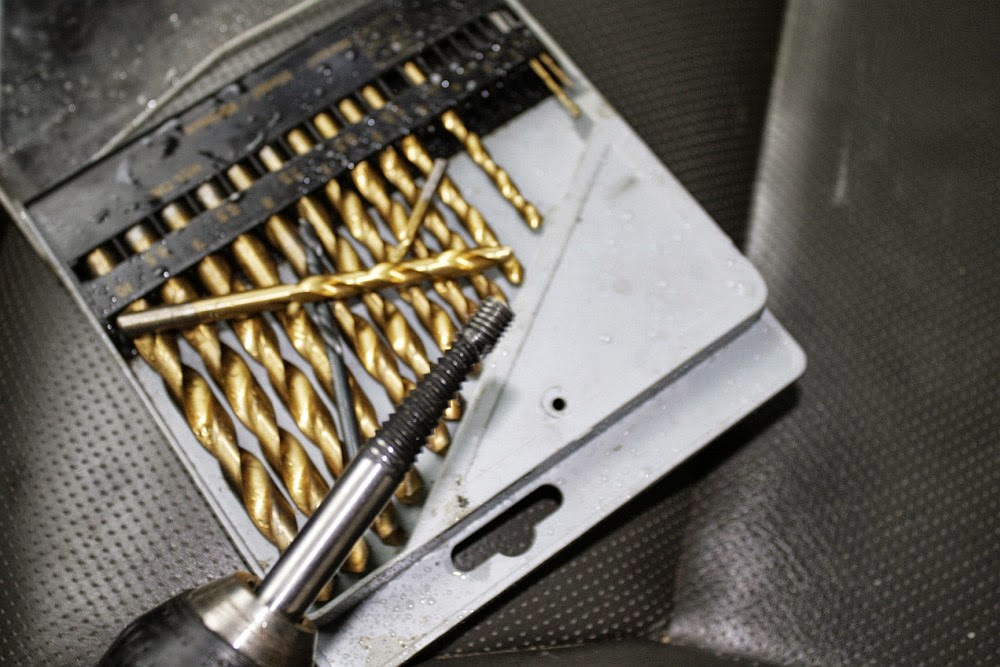
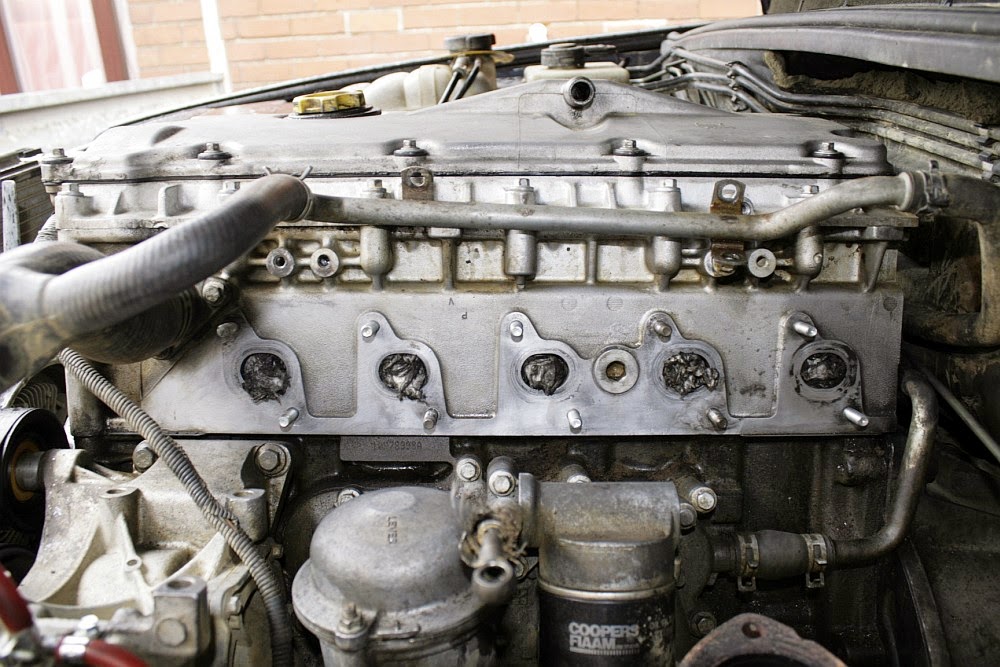
Now to tackle the two broken studs.... I bought a 4.5mm left handed drill bit hoping that it would wind out them out, after giving them a good wallop with a centre punch I got the bit on them but it just drilled in and they didn't unwind. So, out came the easy outs...

_MG_9615.jpg


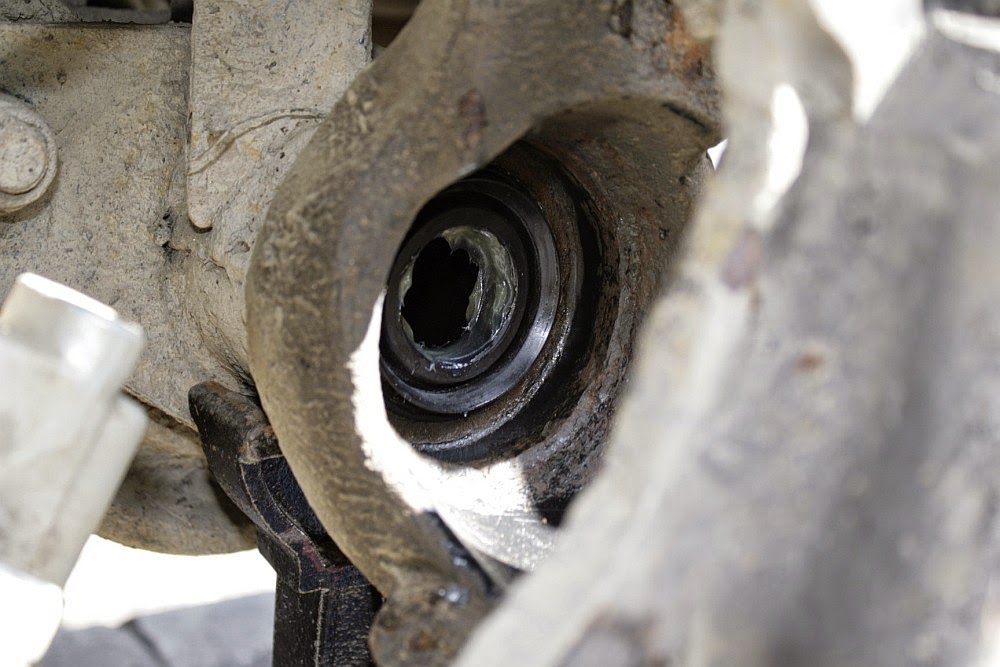
And they wound out first time.

_MG_9616.jpg


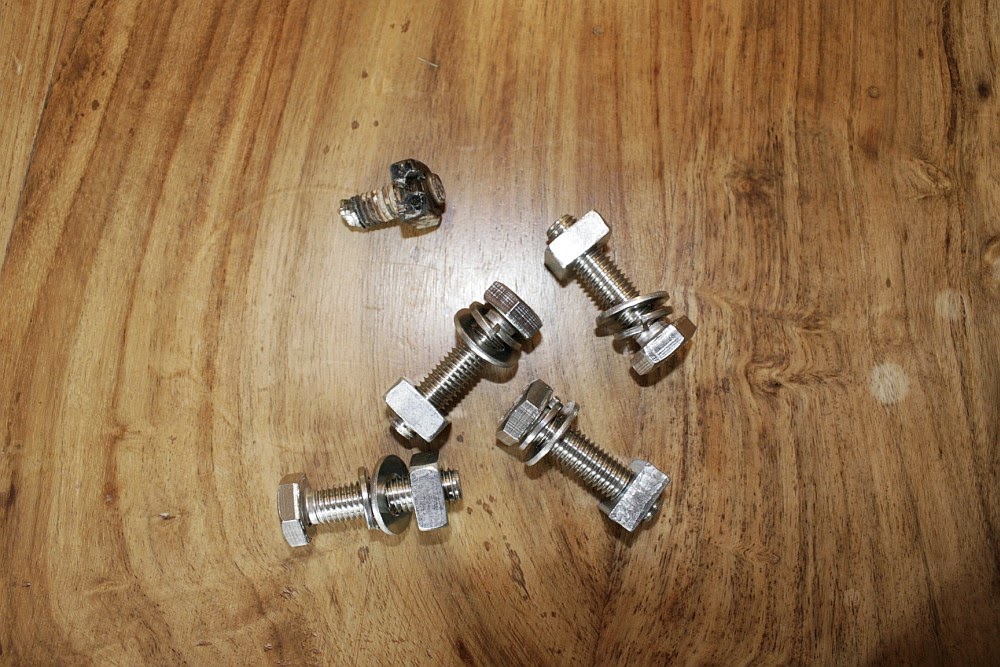
Two new STOCK studs in, I've heard so much conflicting evidence about uprated studs that I figured I'd spend £3 instead of £40.

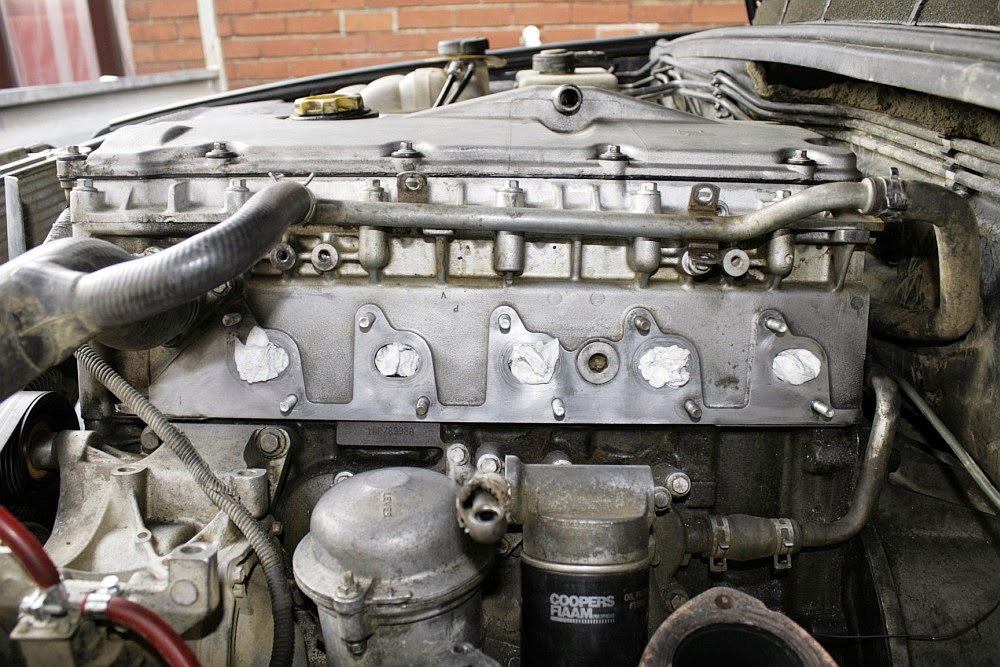
At this point I decided not to tempt fate and try remove the other studs.... I might change my mind when my mate shows up with the new manifold later :lol1: :lol1:

As you can see in the photos, I used a LOT of plus gas, soaked everything at every stage, and it really paid off.
 
Managed to swap out all but three studs, got to the point of starting to round the rear nut with the spanner I was using - think I might give em another go with a ring spanner over the rear one next....

_MG_9617.jpg


Looks a bit cleaner now, but scotchbrite isn't touching the sooting on the rear port, need some wire wool or fine grit paper, but not got any to hand :/

_MG_9618.jpg


Hmmm, pretty sure there aren't supposed to be 2 gaskets fitted! One of them has delaminated.
 
_MG_9619.jpg


Fully cleaned

_MG_9620.jpg


Shiny new toy :tup: :tup:

_MG_9621.jpg


All done :biggrin:

Went for a burn and wow, it's even quicker than before - not just saying that, it really is - blew the turbo hose off because in my rush I hadn't fastened it with the hose tool just a screwdriver... but it's faaaaaaast :lol1:
 
Picked up a Warn XD9000i that I won on ebay today, had a really good chat with the seller who was a top bloke - not bad for 80 notes!

Here's the beastie:
_MG_9657.jpg


Main obvious problem was that the clutch lever for the free spool was missing, you can see that the area of housing is damaged where the detent screw fits for the lever. So I've ordered a new housing assembly which comes with lever and gaskets from Devon 4x4.
_MG_9658.jpg


Removed the 10 allen bolts holding the gear assembly to see what state the planetary gears were in - first impression was that the grease was very hard but what I could see of the gears looked good:
_MG_9659.jpg


Hex shaft and 'drive splined' look good but again gummed up with old grease:
_MG_9660.jpg


Top cover off and the solenoids are in amazingly good shape:
_MG_9662.jpg


Dissasembled the gear assembly and cleaned off the excess grease - all the gears operate well and there's no damage (had some lubrication for me too):
_MG_9661.jpg


Got the motor housing cover off after a fight, the long bolts that hold it on were in a state and took some extracting, the cover itself needed lots of tapping with a rubber mallet to free it up. A whole pile of grey crap came out - looks to be remnants of dissimilar metal corrosion from the motor end cap:
_MG_9663.jpg

_MG_9667.jpg


The bearing that sits on the end of the motor shaft next to where the brushes contact is siezed:
_MG_9664.jpg


The end cap itself is very corroded:
_MG_9665.jpg

_MG_9666.jpg


The winch came with this isolating solenoid which I may reuse.
_MG_9669.jpg


Got a couple of problems to sort out, the two lower allen bolts that hold the end plates to the bottom tray of the solenoid pack are completely seized in by dissimilar metal corrosion and have rounded - suspect I'm going to have to drill them out.
 
Some more work on the Winch....

Drilled out the seized/rounded end plate bolts, this meant I could get the drum off and remove the wire rope...
_MG_9673.jpg


Also allowed me to knock the motor out of the end plate, it was pretty solidly in the bearing...
_MG_9672.jpg


Degreased all the planet gears using gunk and white spirit, then gave them a healthy coating of light oil to inhibit rusting...
_MG_9674.jpg


Next job is to repaint.
 
Bought some replacement end plate bolts from the local bolt specialist - got them in stainless which will hopefully stop them rusting in this time - had to drill 2 of them out, so these will go in with some copper slip on them:
_MG_9675.jpg
 
Picked up some high quality replacement bearings from a local bearing specialist:

_MG_9676.jpg


Sanded one of the side plates down ready for painting:
_MG_9677.jpg
 
Wander lead cable disconnected from the solenoids so I could remove the socket from the side plate.
_MG_9678.jpg


Corrosion that caused the allen bolts to seize and round
_MG_9679.jpg


Paint scoured off the underside of the solenoid tray by the wire rope
_MG_9680.jpg
 
Did some sanding and priming...
_MG_9681.jpg


The primer has peeled some of the old paint so I'll resand and prime again before painting.

Winch remote control arrived:

_MG_9682.jpg
 
The knackered bearing on the end of the motor shaft really didn't want to come off by being pulled, prised, or twisted, even had the MAPP gas on it to try and expand it enough to move...

So clamped it in my vice and got the grinder to it...
_MG_9684.jpg

Off in seconds

Here's the new bearing pushed onto the end of the motor shaft:
_MG_9685.jpg


Then I thought I'd better have a look at cleaning up the VERY corroded motor end cap - they are impossible to source new here in the UK. So I made an improvised way of clamping it down that would be easy to get at all the angles:
_MG_9686.jpg


Started to come up a treat after not long with a wire brush attachement on the Makita:
_MG_9687.jpg


Think I'll paint it up and fill the crack with sealant.

Almost like new:
_MG_9688.jpg


First coat of satin black...
_MG_9689.jpg
 
Can't get the hex rod out of the break assembly, had plus gas on it, MAPP gas on it, FBH on it, but no joy at all - just going to leave well enough alone - can still get the assembly in bits to clean it.

_MG_9690.jpg


Did some more painting, including the drum...
_MG_9691.jpg


Wasn't expecting the lacquer to make the bits this shiny...

_MG_9692.jpg


3 coats applied.
 
Well, the good news is that the motor and solenoid pack work, I put the winch back together minus the gearbox because I'm still waiting for a gasket to arrive :tup: :tup:

One of the solenoids is a bit sticky but I'm hoping it might free up.

Bad news is that because I didn't have the gearbox on, I got a bit giddy and the hex shaft and break assembly wind out from the motor couple, which has just stripped all the circlip retaining lugs off the end of the break assembly.

Unless I can find a used spare this is going to cost me about £100 :sad:

_MG_9693.jpg


Kicking myself.
 
Got a file on it and managed to fit 2 smaller diameter circlips...
_MG_9696.CR2.jpg


Before:
_MG_9657.jpg


After:
_MG_9694.jpg


Doesn't look too shabby if you ignore my greasy finger marks.
 
Bought some new stainless fasteners, the retaining bolts are mild steel but a dollop of copper slip should stop any corrosion.

You can see where I had to destroy the existing nuts so they'd open out a bit and release the broken bolt shafts, the remains of the dissimilar metal corrosion is pretty obvious on the threads - once the nut was opened up the studs wound out with a stilson. Had to unpick all the corrosion round the nut with a sewing needle! Took an age.

_MG_9695.jpg
 
Back
Top