BennehBoy's D2 adventure

This site contains affiliate links for which LandyZone may be compensated if you make a purchase.
Replaced the gash chrome steel wheel nuts with genuine LR ones
OK, OK, some piccies...

_MG_9417.jpg


And here's the leather interior:

_MG_9418.jpg
 
Developed a whine in the drivetrain which I thought was the gearbox, so managed to snag a FREE replacement R380 from a mate.

Bought a load of other bits at the same time

_MG_9443.jpg
 
Busy weekend ahead...

_MG_9445.jpg


Transfer box is coming off - the input seal and intermediate seals are getting replaced.
Gearbox is coming out and a replacement courtesy of monkifone is going in - got new input/output seals just in case (look good though)
Clutch, cover, release bearing & spigot bush are being replaced.
Rear crank seal is being replaced
Sump gasket is being replaced
Oil pump bolt is being replaced with a loctite'd one
Oil filters are being renewed
All oils except the diffs are getting dropped and replaced
Rear prop donut is being replaced.

Crikey - gonna be cream crackered! :crazy1: :crazy1:
 
So, big job started....

Centre console out:
_MG_9447.JPG


Transfer tunnel cover off:
_MG_9449.JPG


Had a fight with the cross members, rear one is off, front one still to come off - 2 bolts need drifting off.

Had a fight getting the props off until a mate showed up with his prop tool, absolute life saver :tup:
_MG_9451.JPG


Prop off:
_MG_9452.JPG


xfer box out:
_MG_9455.JPG


Found some odd looking bits in the input to it:
_MG_9454.JPG


Turns out those are bits of diff thrust washer

Also, the front prop needs rebuilding, UJ's are cream crackered.
 
Front prop off and you can see one of the UJ's is cream crackered:
_MG_9456.JPG


Slave cylinder disconnected:
_MG_9457.JPG


Downpipe off - had to rotate the front cross member to one side because one of the bolts is being a sod.
_MG_9458.JPG


Bolts out of the bell housing & starter off and moved aside.
_MG_9459.JPG


Got the gearbox and bell dropped off after a bit of persuasion, turns out we forgot to unplug the CPS plug - oops. Anyhow, look at all the oil inside here - looks to be coming from above - ie the rocker cover!!! Even though the gasket has been done it's still leaking :yawn:
_MG_9460.JPG


Old gearbox:
_MG_9461.JPG


Release bearing is also fubar!
_MG_9463.JPG


Back of the engine after cleaning the mating face
_MG_9465.JPG


Degreased bell:
_MG_9466.JPG


Apparently reassembly is the reverse of dissassembly.
 
Well, it's all fun and games, yet another part to order: the retaining peg for my clutch fork/release bearing - mine seems to have been eaten...

The little silver clip is what I needed:
V884.jpg


Here's mine:
_MG_9467.JPG
 
So I started work on the Transfer box today:

Working in my shed there's not even room to swing a cat:
_MG_9470.JPG


First job is to get the handbrake assembly off the tranfer box, remove the screw from the drum, pull drum off, remove the 4 bolts holding the backplate to the tbox housing and slide up over the flange (cheers for the advice Del).

After cleaning round everything it's time to remove the intermediate shaft locking plate, stake nut and securing bolt:
_MG_9468.JPG


Turns out that the stake nut wasn't even finger tight, it should be torqued up to 88NM!!! :crazy1:

Remove the bolt that protrudes enough to stop the shaft sliding out toward the front of the box, then very gently tap the shaft out with a rubber mallet or similar:
_MG_9469.JPG


After removing the o-ring from inside the housing at the rear of the box, I could see the tell tale 'shave mark' where it's been force fitted at the factory:
_MG_9471.JPG


Next grease up the replacement o-rings, fit one over the front of the shaft, and the other into the recess in the housing. Then using a small phillips screwdriver to guide the rear side of the shaft, very gently tap the shaft back in from the front.

Unfortunately my first attempt ended up with another shaved o-ring:
_MG_9472.JPG


A quick trip to Huddersfield Land Rover centre sorted that out - 20p each lol:
_MG_9473.JPG


And repeating but even more gently with the hammer resulted in a snug fit with no rubber shavings!
Note how the stake nut is in a different position now that it's not just hand tight:
_MG_9474.JPG
 
Did some more work on the car...

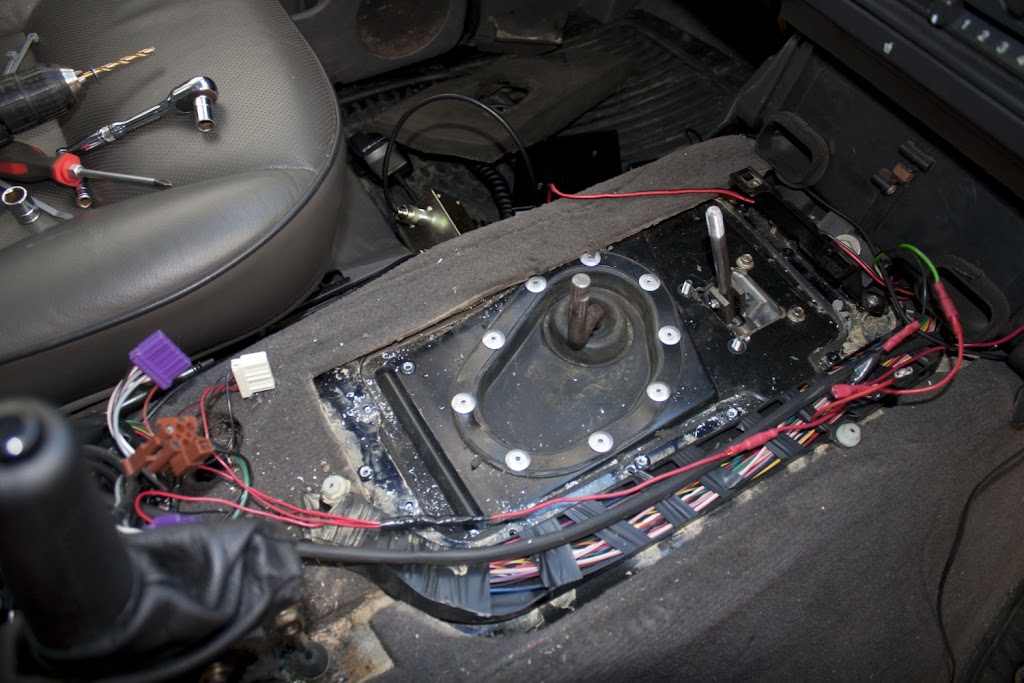
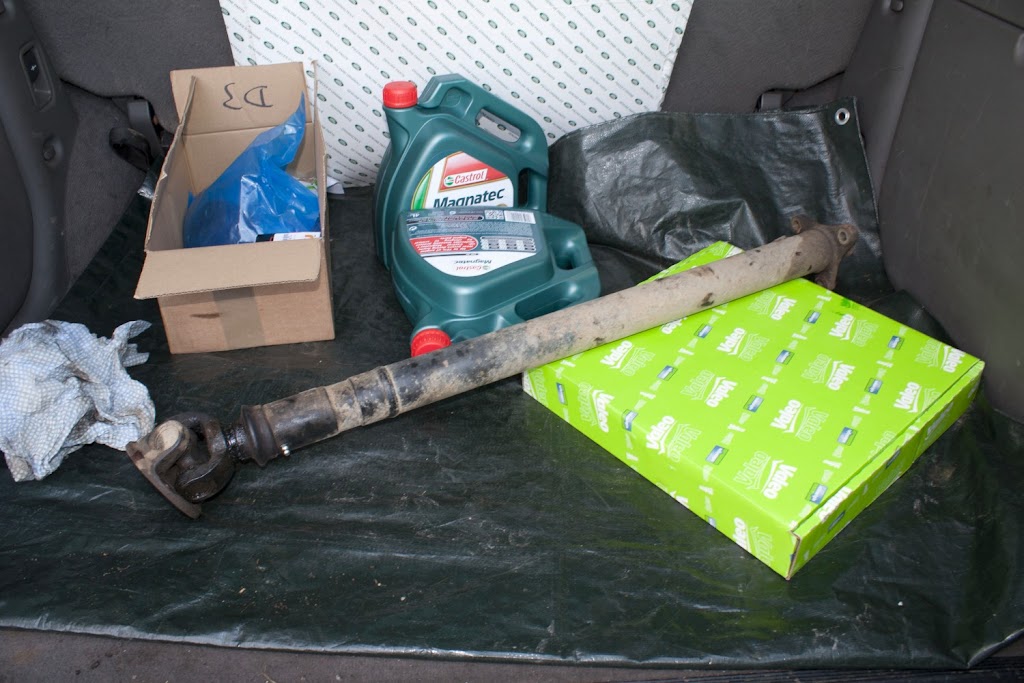
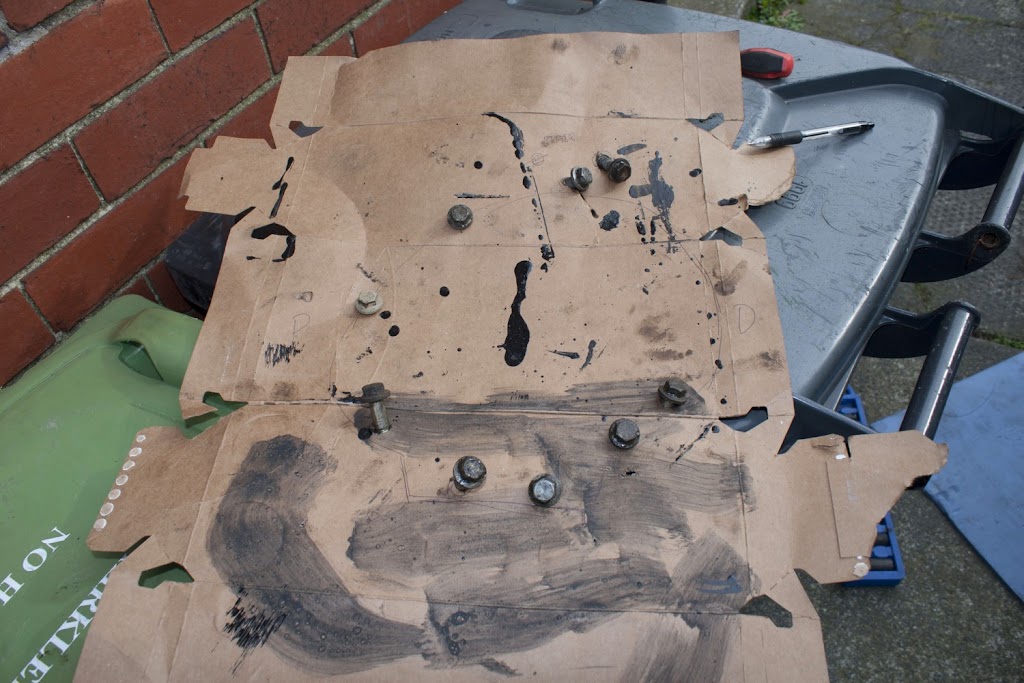
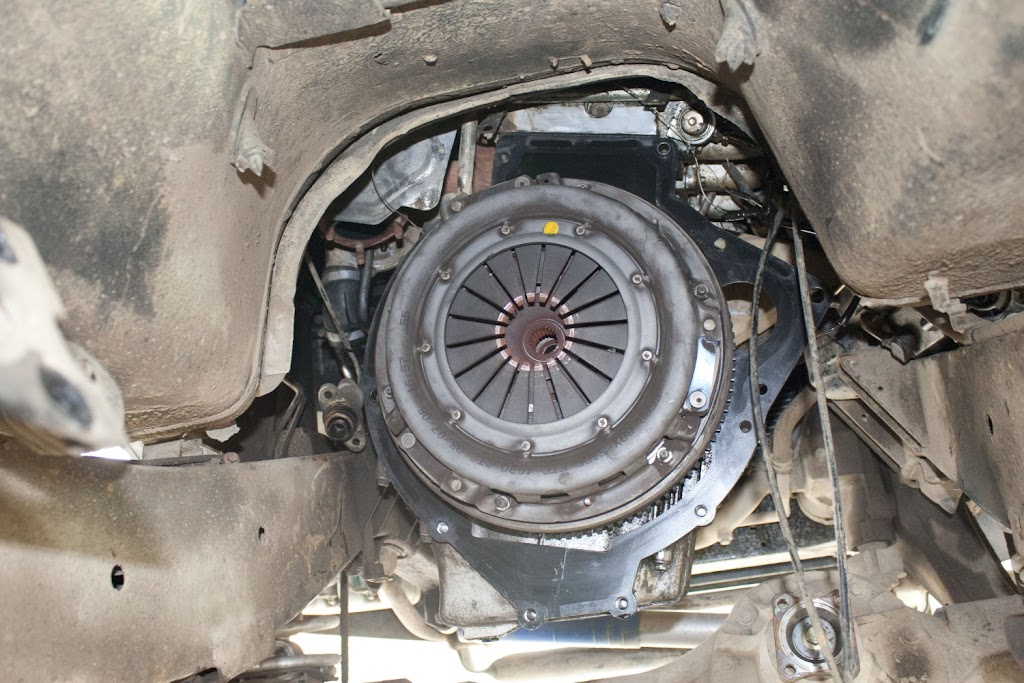
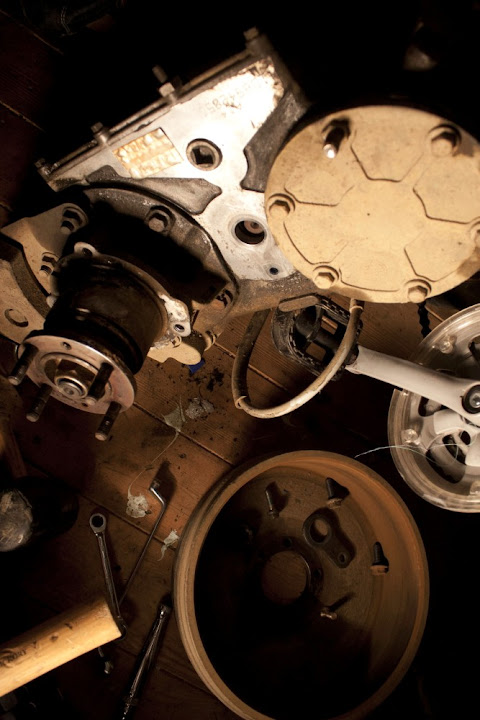
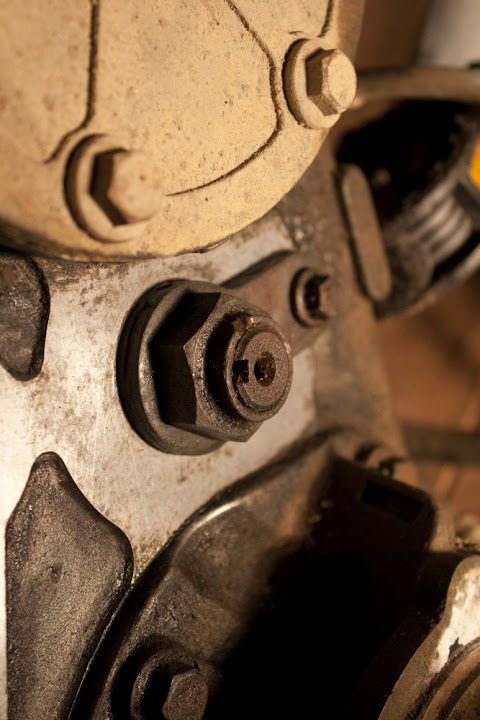
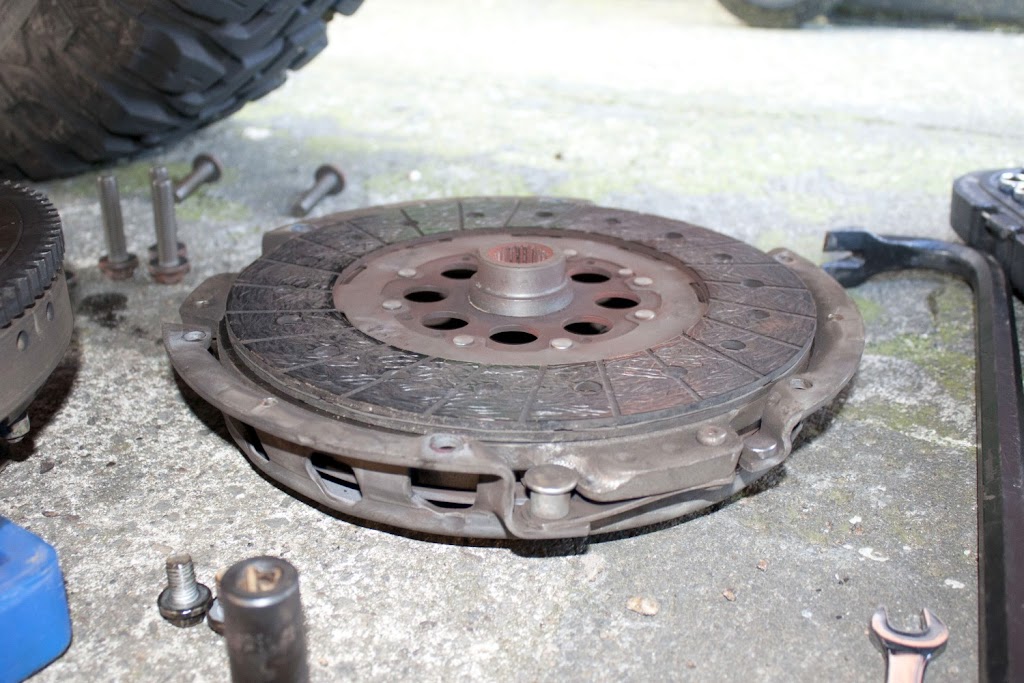
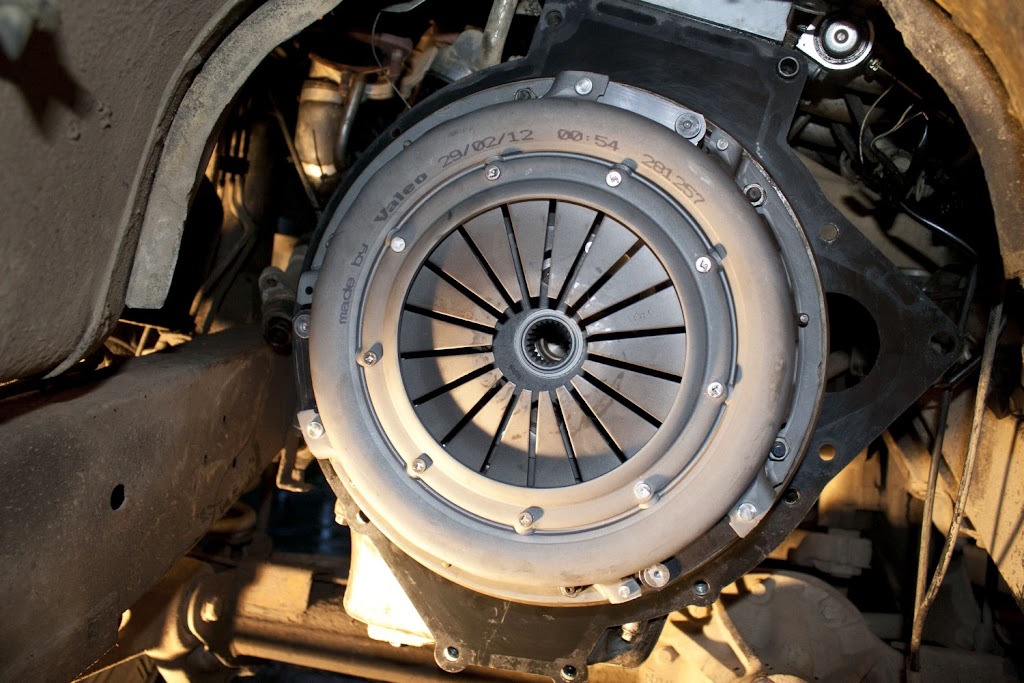
First job was to remove the old clutch plate and cover, one of the locating dowels had clearly been bent by the last person in here, so I had to gently prise the cover off with a crowbar after removing the cover securing nuts. The clutch isn't in bad shape at all, but whilst I'm in I may as well replace it:
_MG_9476.JPG


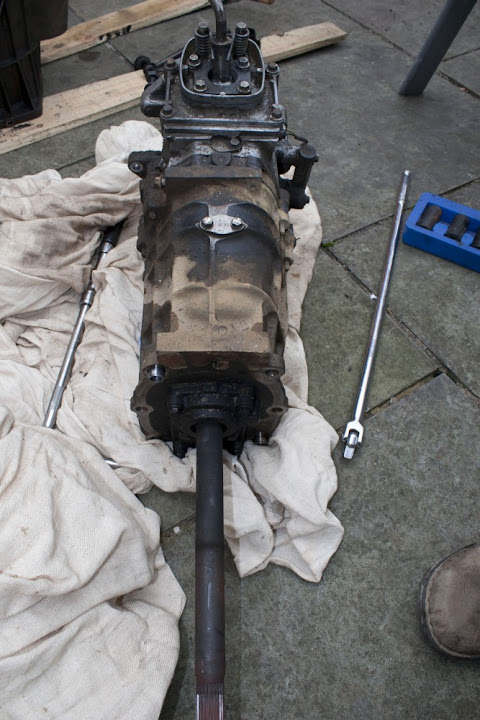
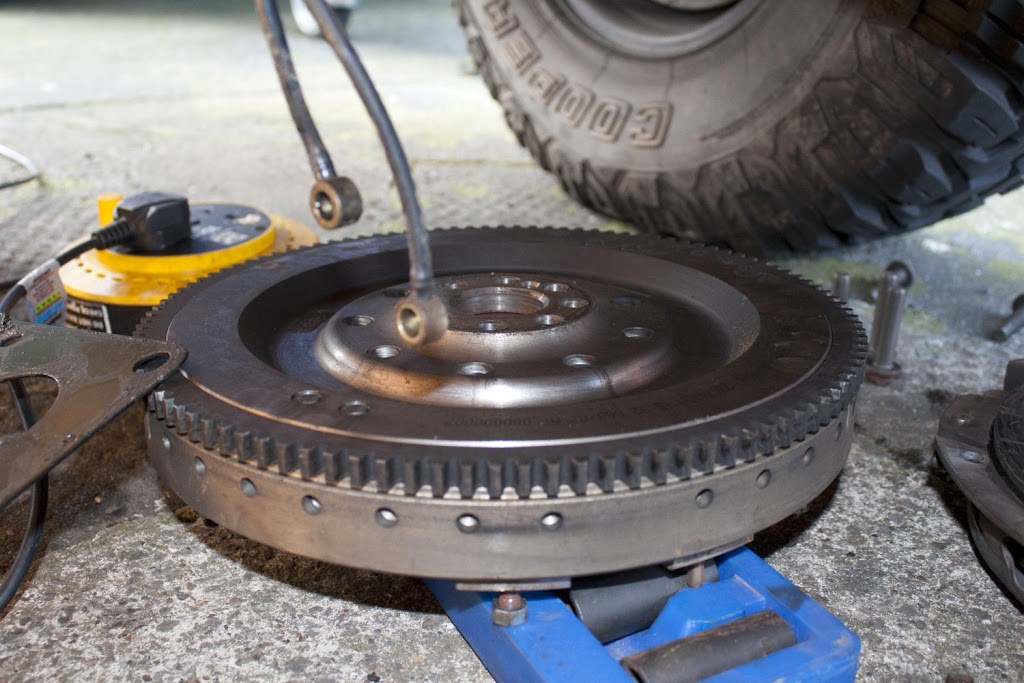
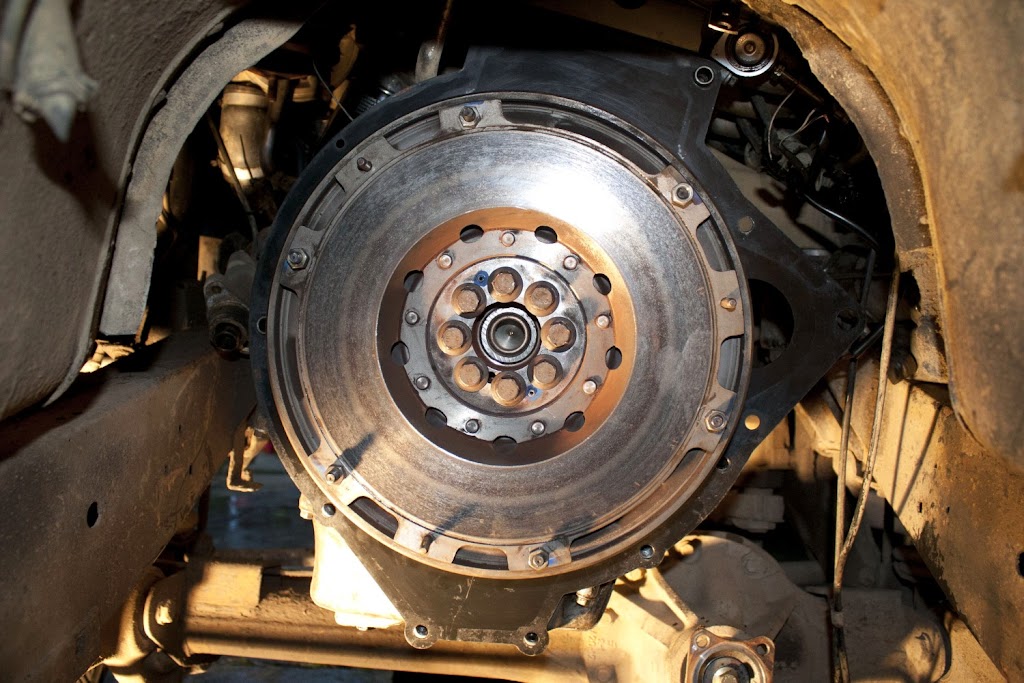
With that done I could get the flywheel off, but first I had to brace the main pulley bolt using a breaker bar and suitable socket:
_MG_9477.JPG


The flywheel was in really good condition

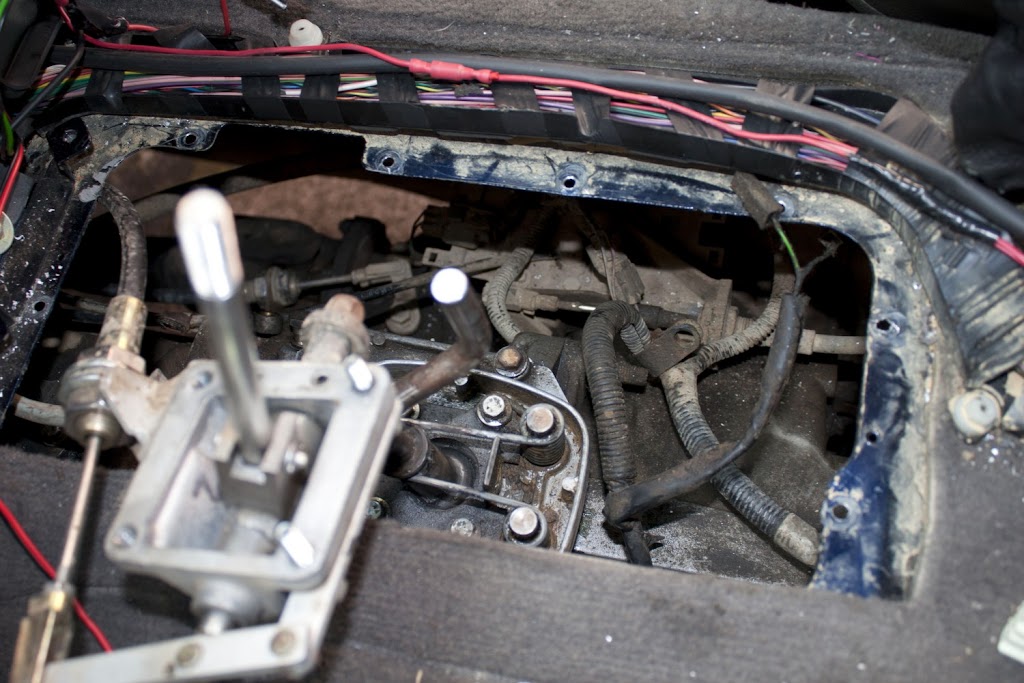
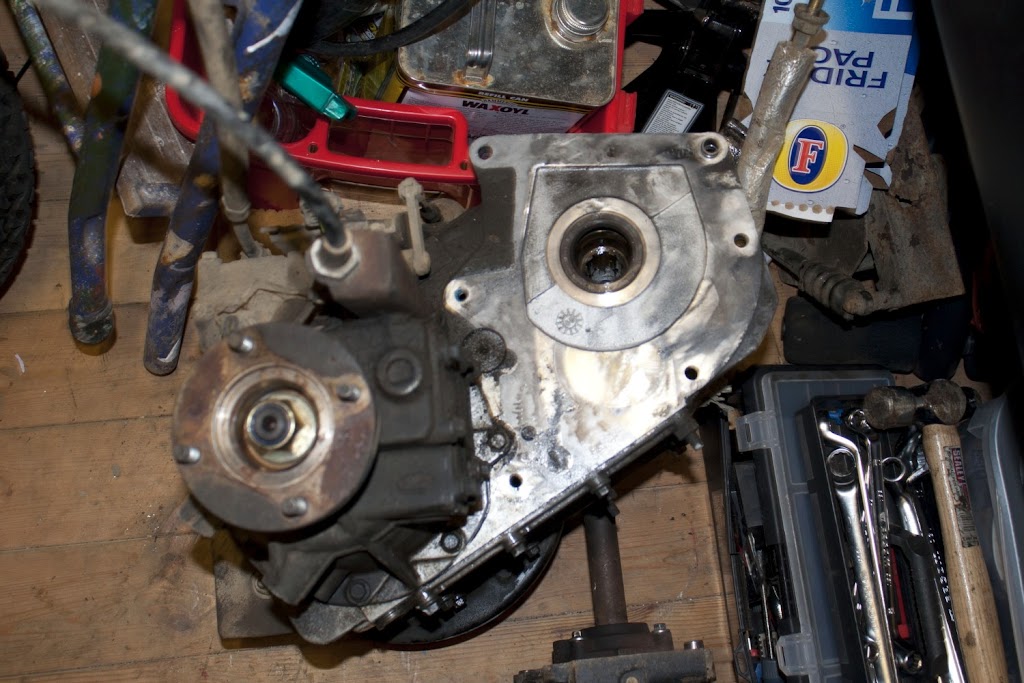
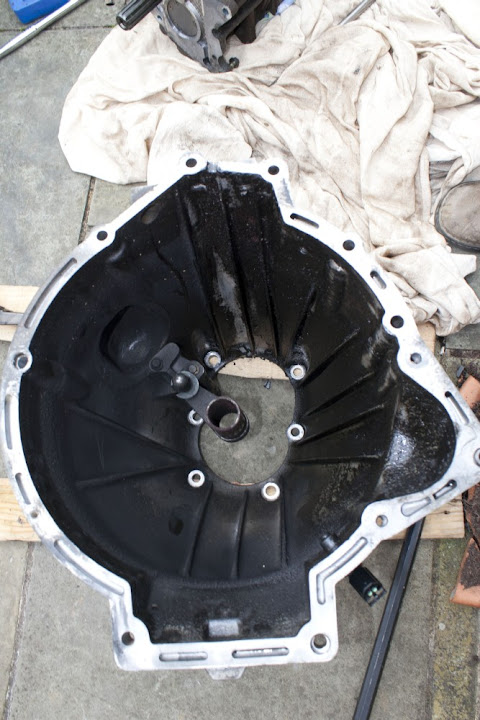
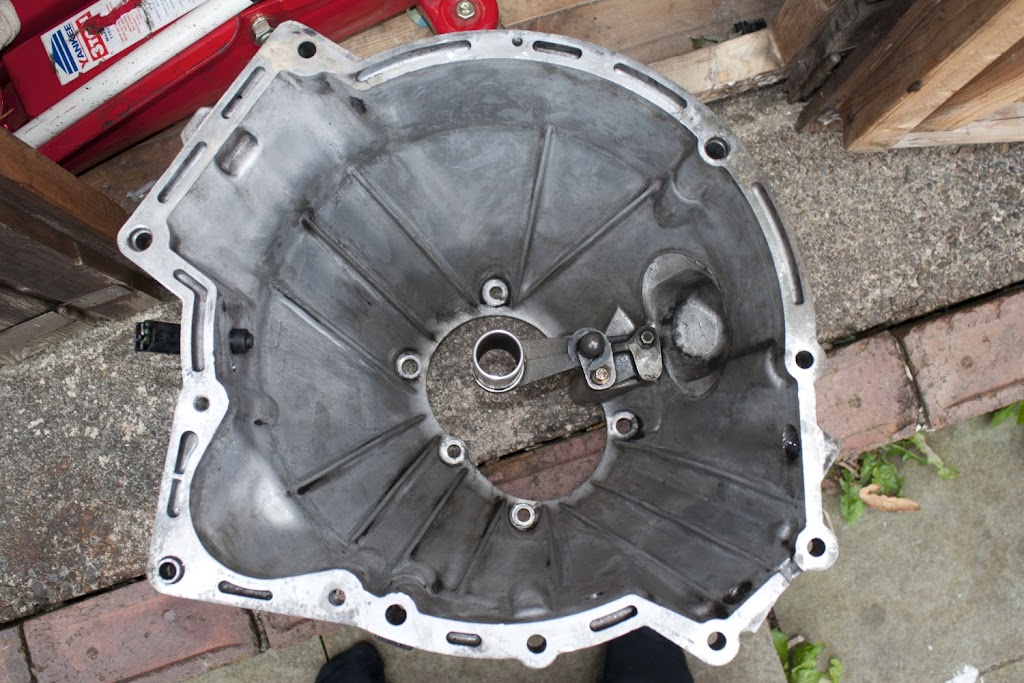
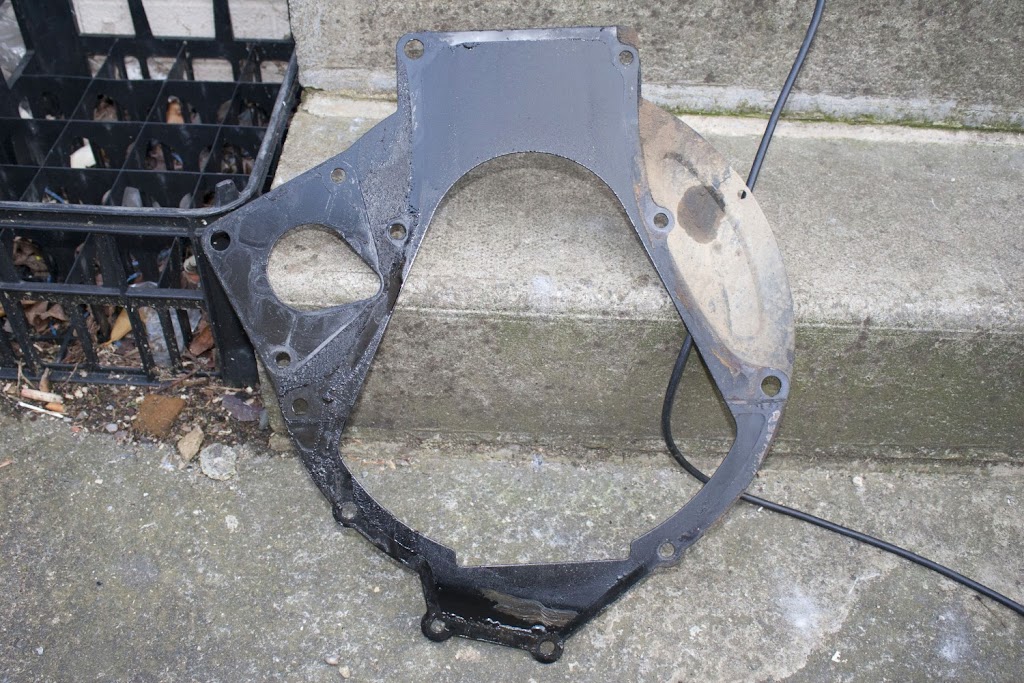
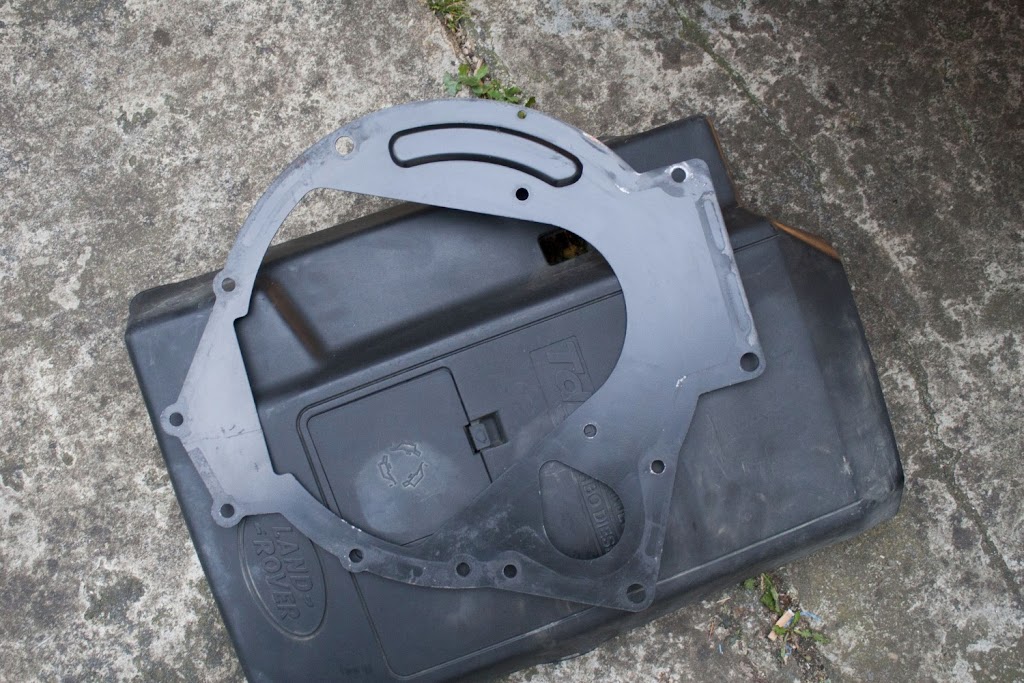
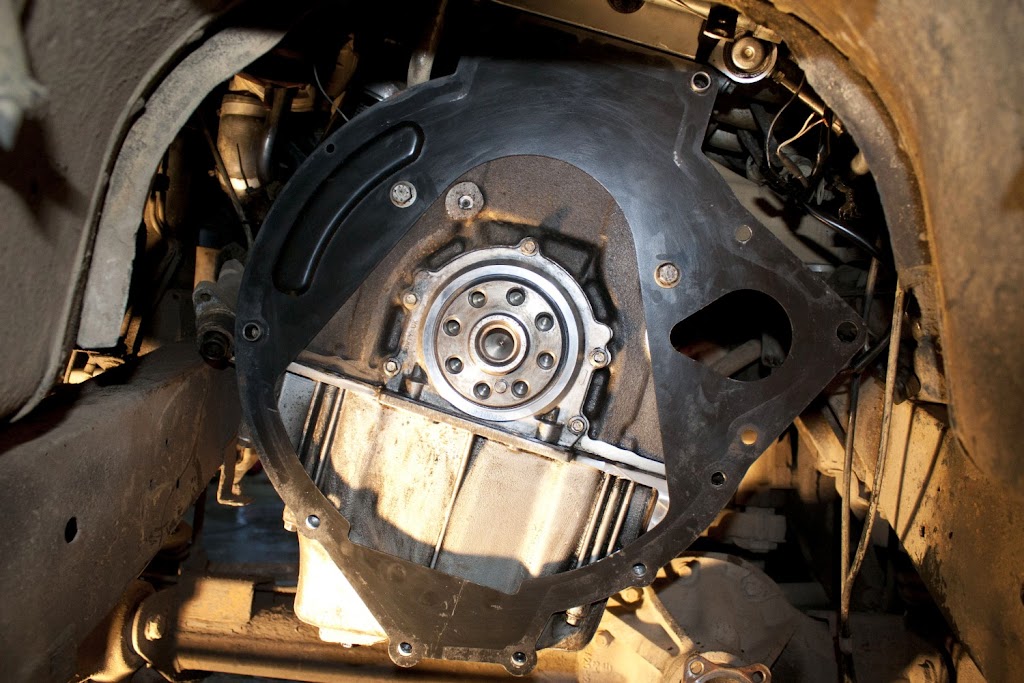
Next job was to remove the filthy bell gasket so I could give it a good clean and get a closer look at the rear of the block:
_MG_9478.JPG


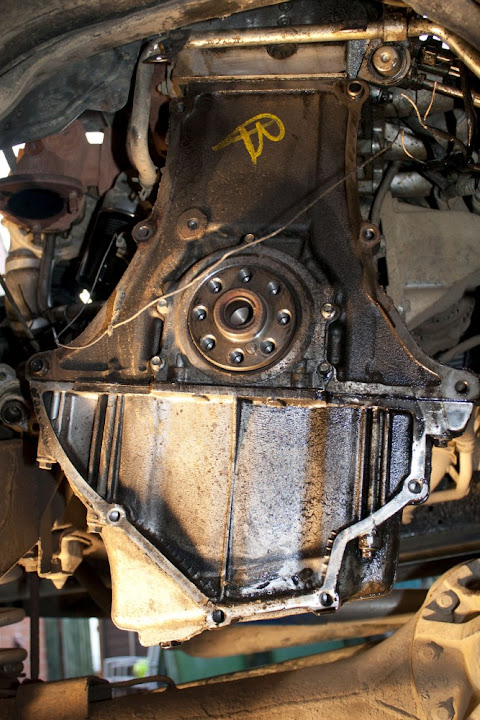
Gave it a bit of a wipe down:
_MG_9479.JPG


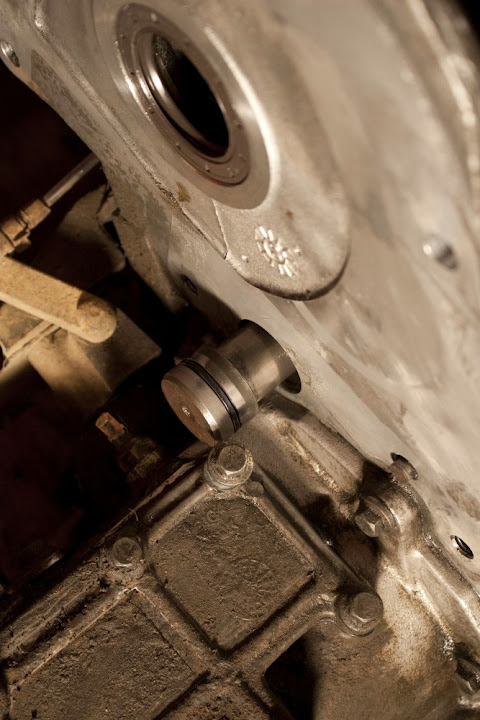
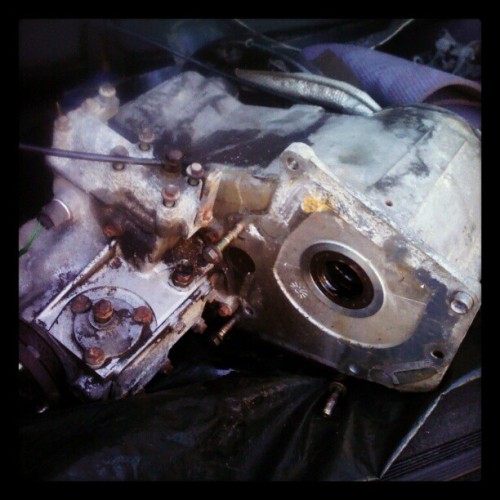
Now it can clearly be seen that all the oil which had contaminated the bell housing over the years was leakage from the rocker cover gasket down the back of the head and into the bell, there are clear oil streaks down the drivers side of the block:
_MG_9475.JPG


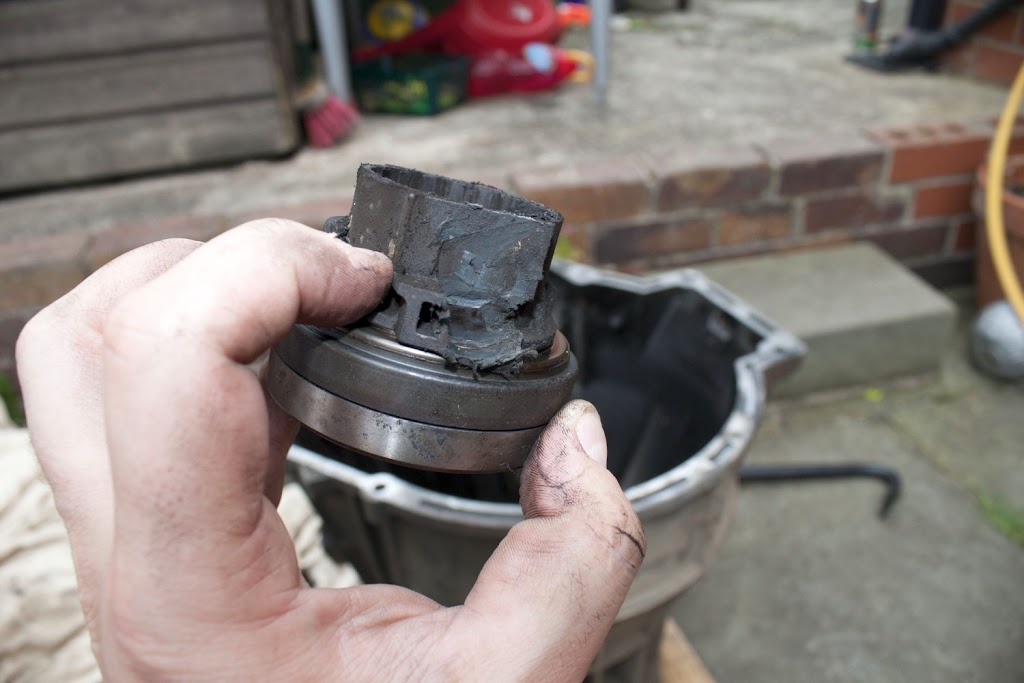
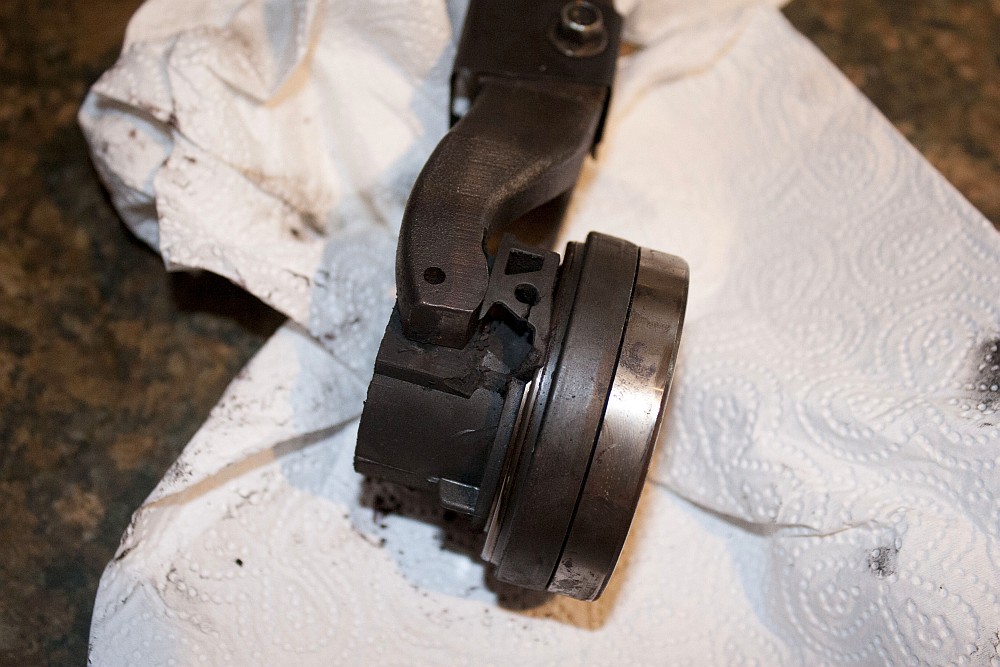
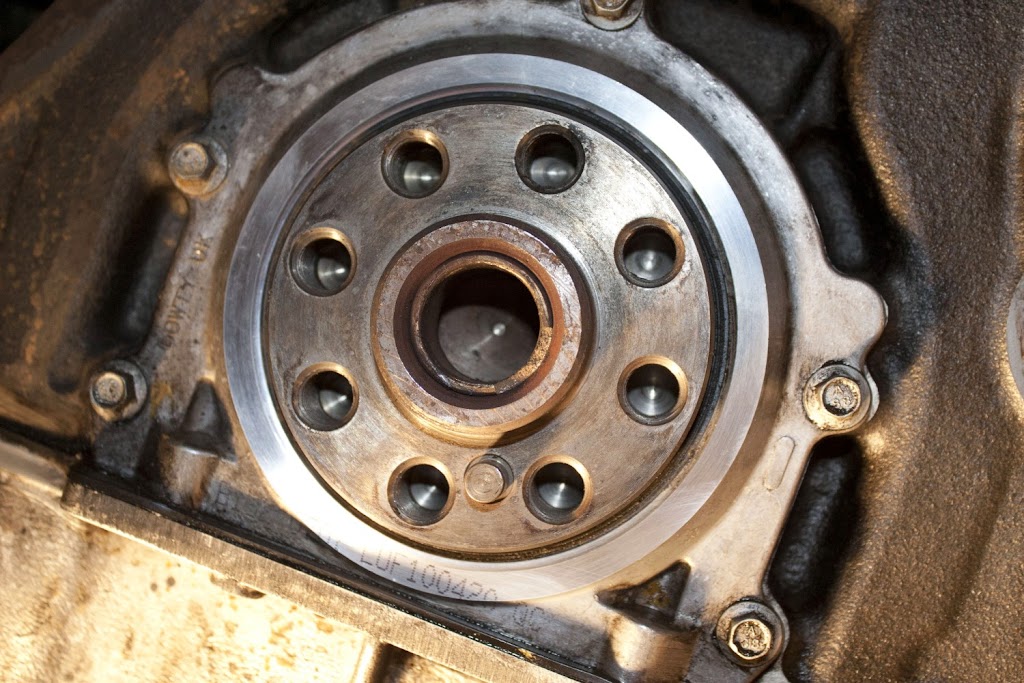
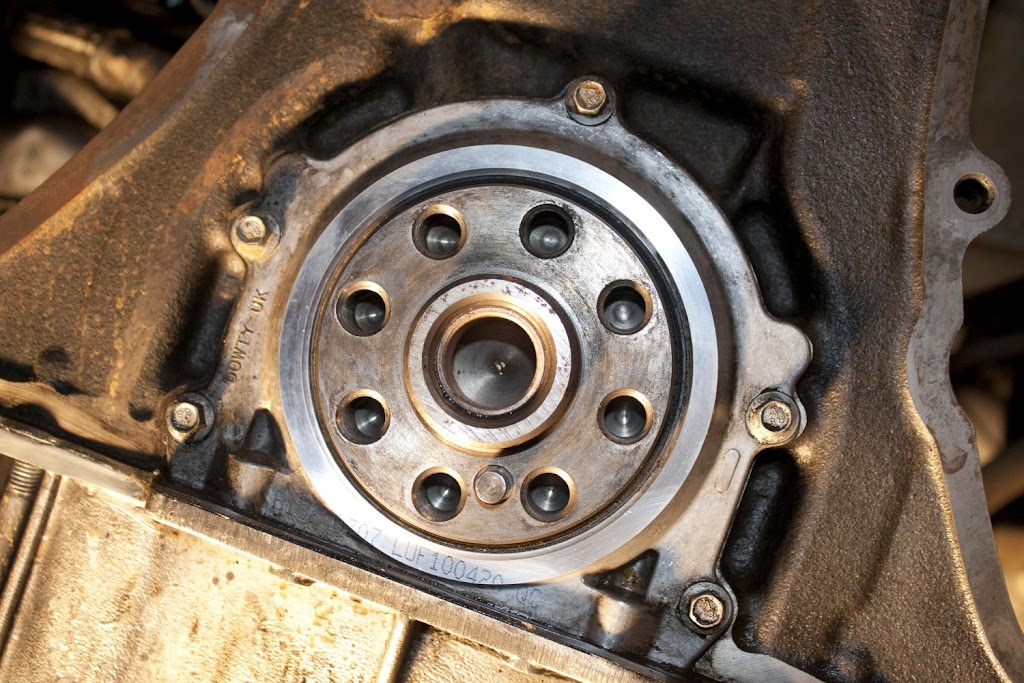
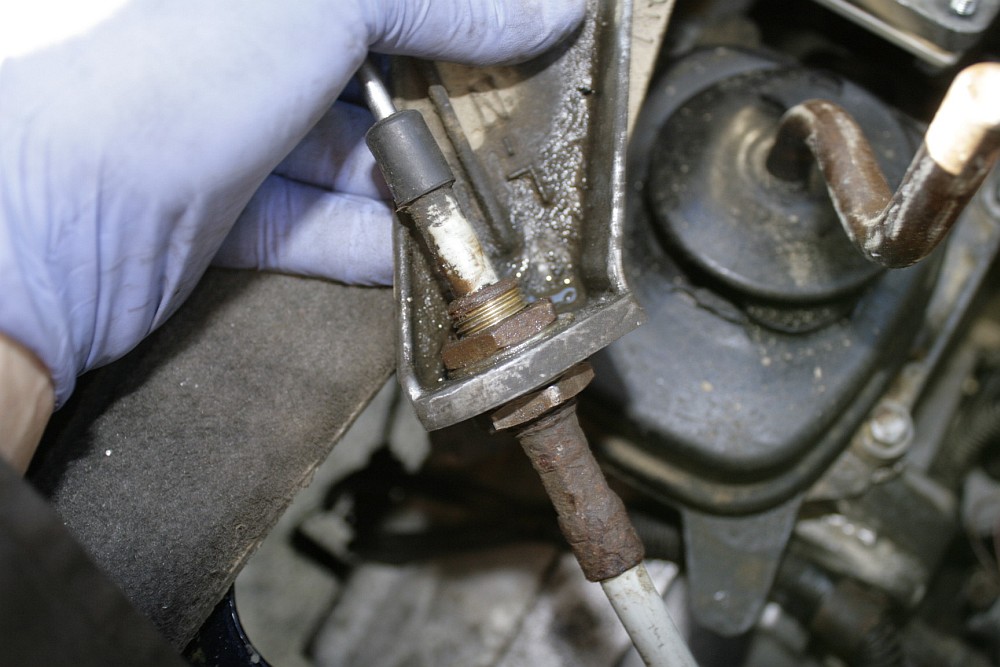
Gave the main oil seal a wipe over, couldn't see any signs of leaks from it, but what can easily be seen is a chunk missing from the spigot bush in the rear of the crank:
_MG_9480.JPG


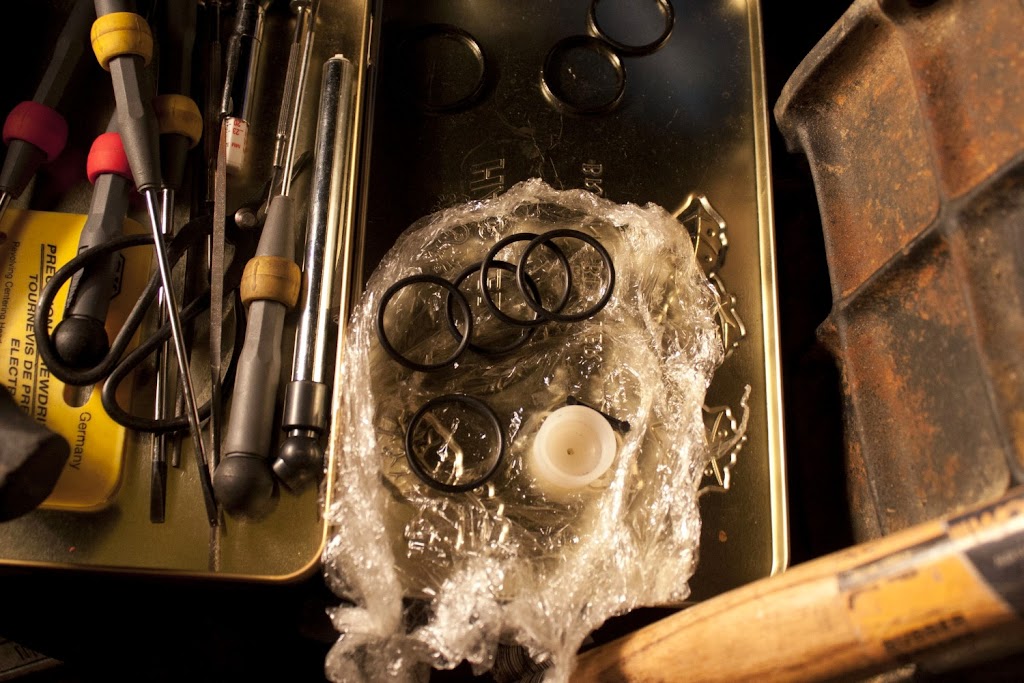
Because the sump gasket and rear crank seal seem to be fine I've decided to leave well enough alone and NOT fit the new ones that I bought, if the sump does turn out to be leaking than I can replace it with the gearbox back on.

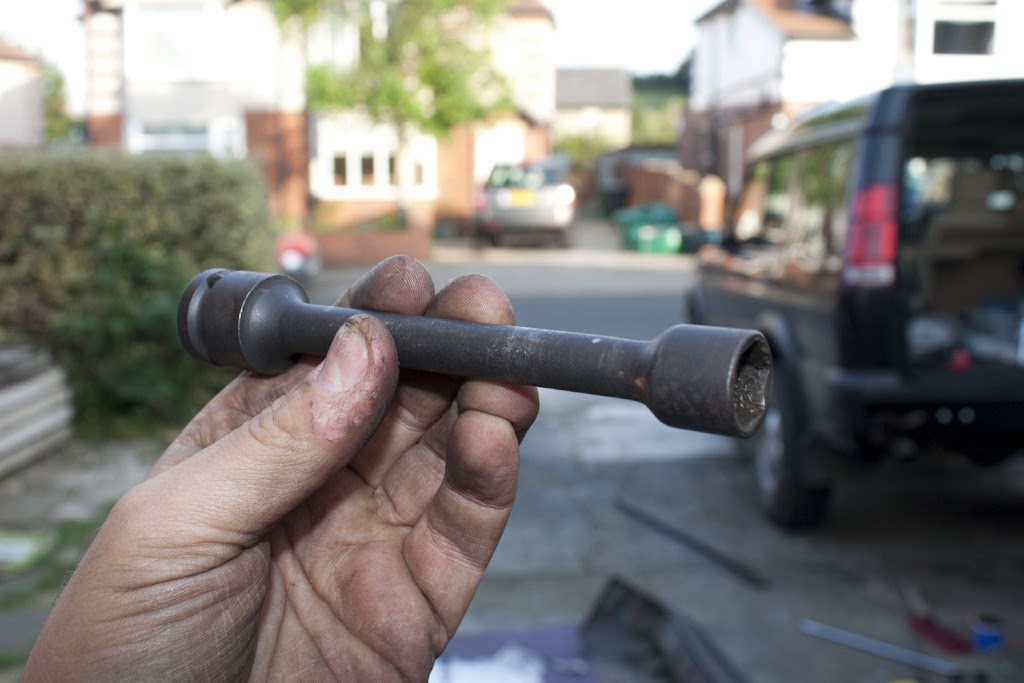
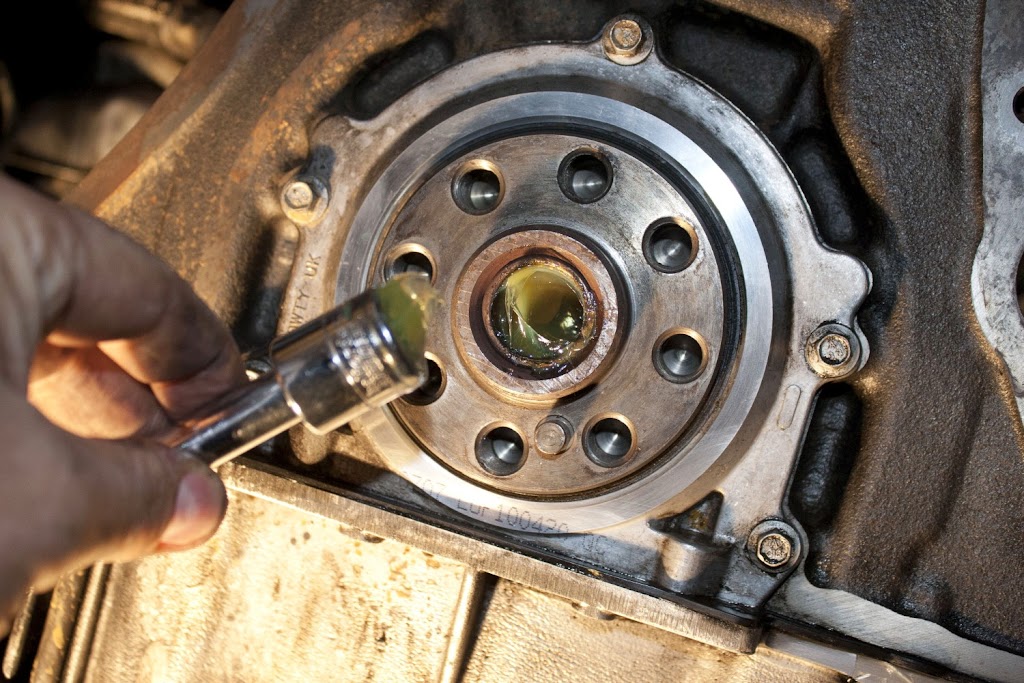
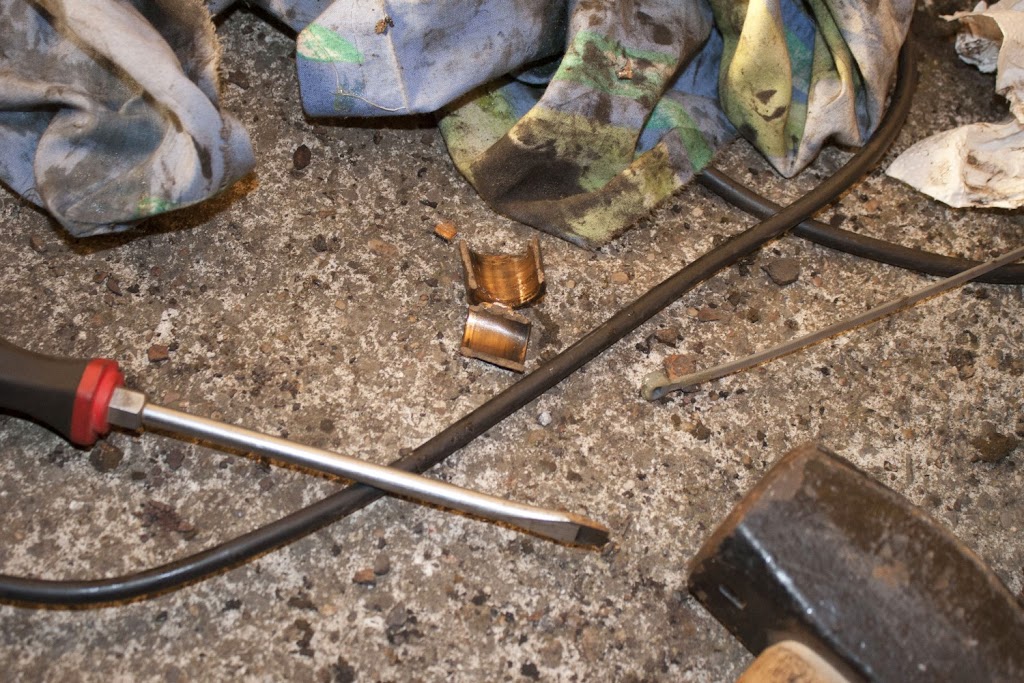
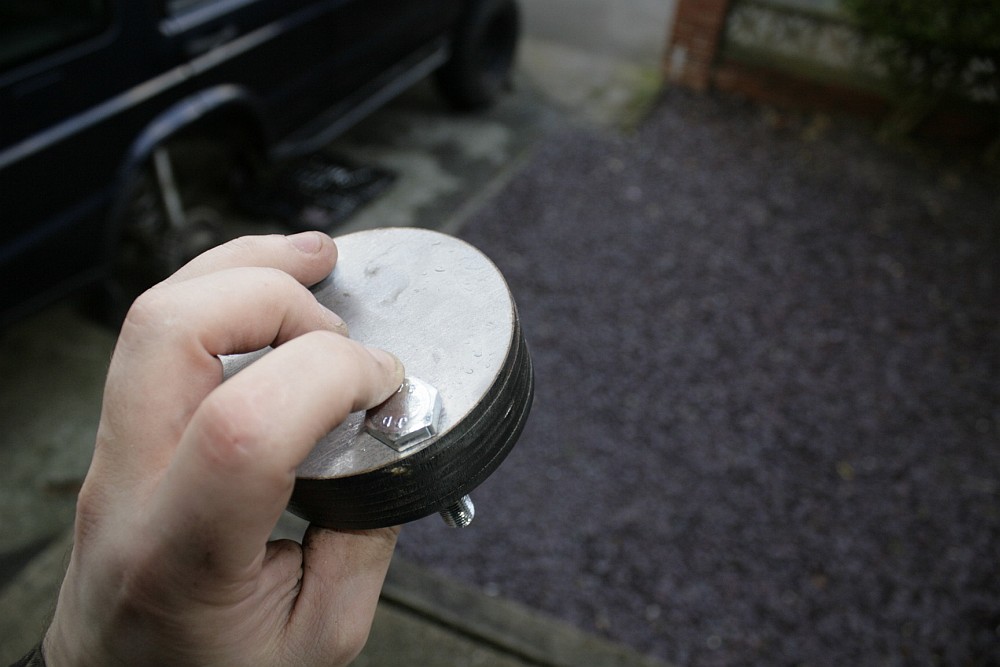
Packed the spigot with grease, and used a snug fitting socker with 6 inch extension inserted the wrong way round, covered with cloth and whacked in with a hammer - this is supposed to force the spigot out, but it was having none of it:
_MG_9481.JPG


Used a screwdriver and lump hammer to break it up instead, it's made of brass so disintegrates easily:
_MG_9482.JPG


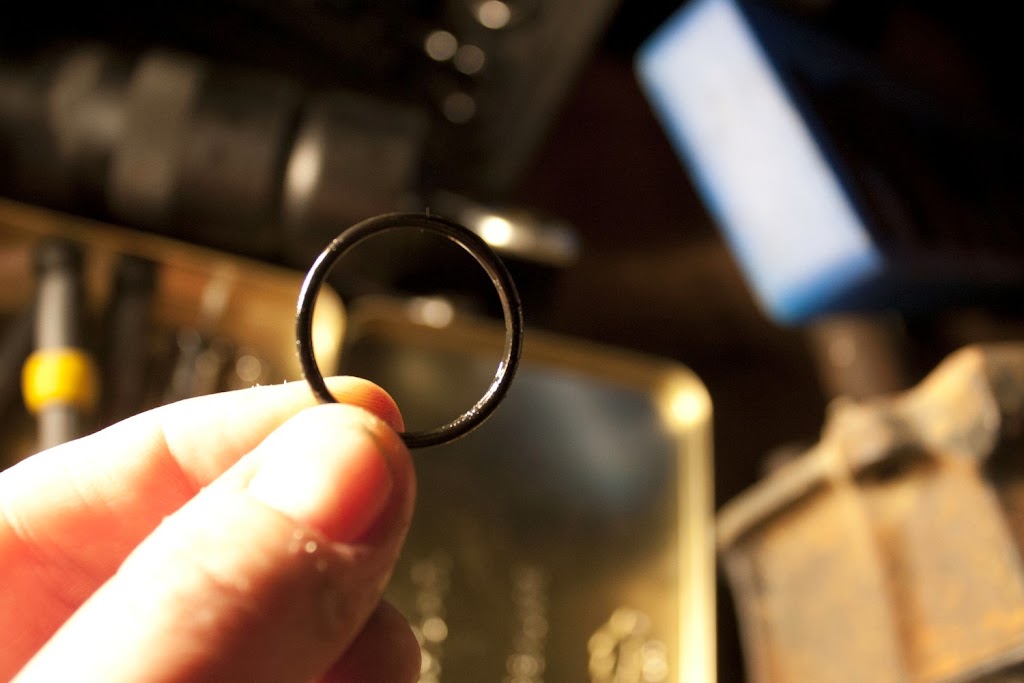
Drove the new spigot in with a suitably sized socket and a rubber mallet:
_MG_9483.JPG


Remounted the bell gasket:
_MG_9484.JPG


Refitted the flywheel - torqued up bolts to 110NM:
_MG_9485.JPG


Used a long 14mm socket and 6 inch extension as a locating tool for the new clutch:
_MG_9486.JPG


Then fitted the new clutch cover plate after love tapping the bent dowel back into shape:
_MG_9487.JPG
 
Refurbed the knackered prop:

Before:
_MG_9456.JPG

The needle rollers in the bust cap were completely turned to dust!

Karden end after:
_MG_9489.JPG


T'other end after:
_MG_9490.JPG


Just a slight improvement :lol1: :lol1:
 
Got it all back together, only to find the whine was still there! FOOOOOOOOOOK!!!

So had to bag a replacement t-box...

tumblr_mbs791XFvm1qb39yxo1_500.jpg


Along with 3 new seals and a change of oil
 
Finally got round to a job that I'd been putting off for a while.... putting the lift springs on the right way round - yep, like a tard I put them on the wrong way round when I got them, didn't realise they were handed.

Also replaced the DS upper spring seat which had a broken stud....

Here's the truck sitting too high on the PS:
_MG_9492.JPG


Wheels off and axle stand on the chassis, you can already see how much more level it is, and that the axle is anything but...
_MG_9493.JPG


Shock turrets and shocks out, and springs dropped out:
_MG_9494.JPG


Old broken upper spring seat:
_MG_9495.JPG


New upper spring seat:
_MG_9496.JPG


The all important handedness markings on the springs:
_MG_9497.JPG


All back together and looking decidedly more level:
_MG_9499.JPG


Total time, approx 1hr.
 
I noticed that the metal part of the turbo to intercooler ducting has been rubbing away at my new PAS pipes - so much so that the new pipe was in danger of rubbing through - no idea why the new pipes sit so close to the turbo ducting that they touch, probably a lazy bend on the metal section that connects to the PAS pump.

Anyhow, a bit of old bed sheet came to the rescue...

_MG_9502.jpg


Secured it round the bracket that the PAS reservoir sits on.
 
After swapping a new transfer box in but re-using my old hi/lo selector cable and housings I'd been having problems getting the box easily into hi range, it would go in partially then click in with a shudder once I'd driven a short way.

So I checked in RAVE and it turns out there are 2 nuts that can be loosened around a collar that holds the cable in place on the housing, these allow the cable to be advanced or backed off from the hi/lo selector arm - but they are a swine to get to with everything mounted up.

This morning I did all the usual centre console removal and rivet drilling out to get the transfer tunnel cover off, then removed the tbox breather and the 4 bolts that hold the collar housing to the tbox...

So here're are the offending nuts, they really are hard to get to unless you remove the entire housing...
_MG_9504.jpg


Here's pic of a small allen key going through the alignment holes in the selector, this indicated the position the lever should be in when the tbox is correctly engaged in 'hi'. Adjusting the nuts on the colalr housing then allows you to make sure the clevis meets the hi/lo armature on the tbox in the right place.
_MG_9506.jpg


And here's the correct adjustment, as you can see it was off by quite a bit - the liquid is plus gas...
_MG_9505.jpg


Working fine now.
 
So after pranging my bumper at Parkwood, it was pretty obvious that my rear springs have 'relaxed' a bit since I bought them - Terrafirma hmmmz

My mate very kindly cut me some spacers out of some fancy steel that won't rust (it's not stainless), He declined to make me a new chassis from it...

Here're the spacers:
_MG_9507.jpg


Here's where they go, under the rear spring seats - looking a bit mucky after offroading:
_MG_9508.jpg


Here's what it looks like after - sitting much higher (not that it's up on the kerb so probably a bit lower on this side than normal):
_MG_9509.jpg
 
Broke my rear wiper arm last weekend, ordered a new replacement off ebay for 14 quid... You can see where I've flipped and modded the spare carrier to fit the bigger STT

_MG_9519.jpg


Pretty easy to replace, remove the spare, undo the nut that holds the arm on, unclip the door trim and cut the sheet plastic to get to the union that connects the washer tube.

Fit the new arm, pus the washer tube through the grommet and reconnect at the union.

Spare back on, refit door card, job done.

_MG_9523.jpg
 
Did a 200 mile round trip to Solihull yesterday, when I got close to home I realised that the car sounded like a hover craft when the turbo kicked in.

Popped the bonnet and discovered this:

_MG_9582.jpg


A 'slow' trip over to adventure 4x4 in Morley and I've now got these fitted:

_MG_9583.jpg


Not replaced the intercooler to inlet manifold hose yet, seems to be a bit of a sod to get the silicon one in there.

The PAS pipe now sits away from the metal IC inlet pipe, so obvious after the fact why it was rubbing.
 
Brakes have not been the best for a while on my truck, snakes under heavy breaking, squeels under any braking. I rebuilt the calipers last year and really could not be bothered to do that again, so....

4x new calipers
4x new disks
4x new sets of brake pads

Lots of tools
An non return valve bleed hose
Nanocom to do automated bleeds

2.5 hrs start to finish

_MG_9588.CR2.jpg


Jobs a good un!
 
Back
Top