BennehBoy's D2 adventure

This site contains affiliate links for which LandyZone may be compensated if you make a purchase.
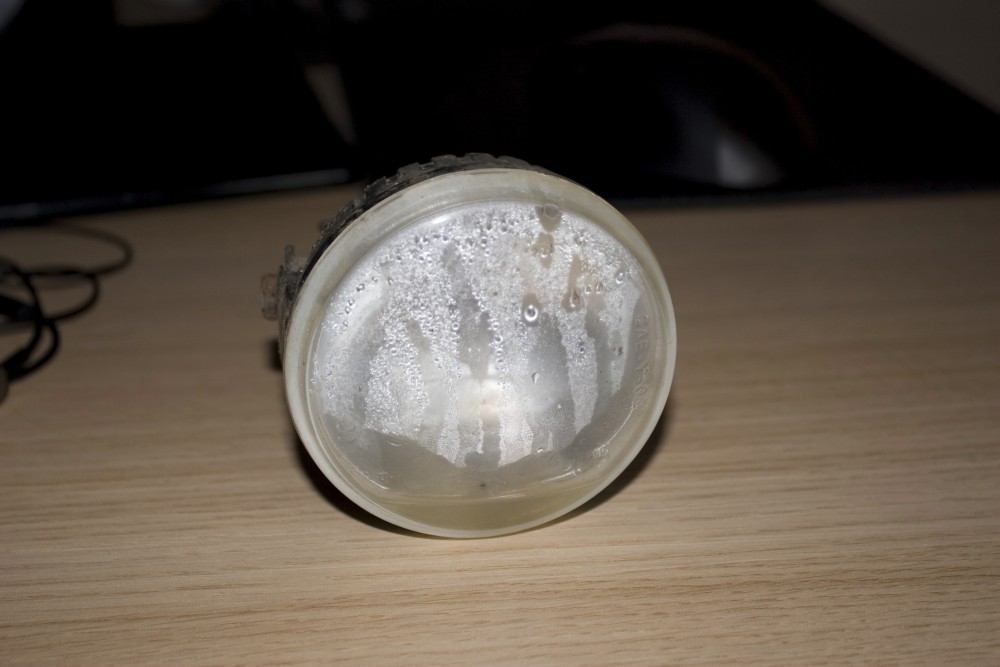
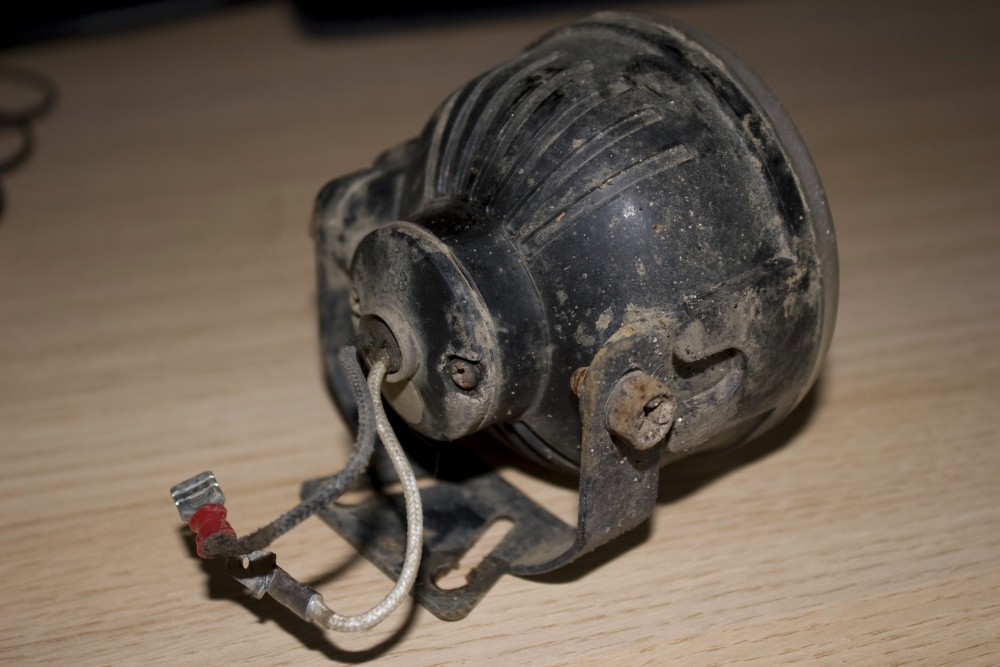
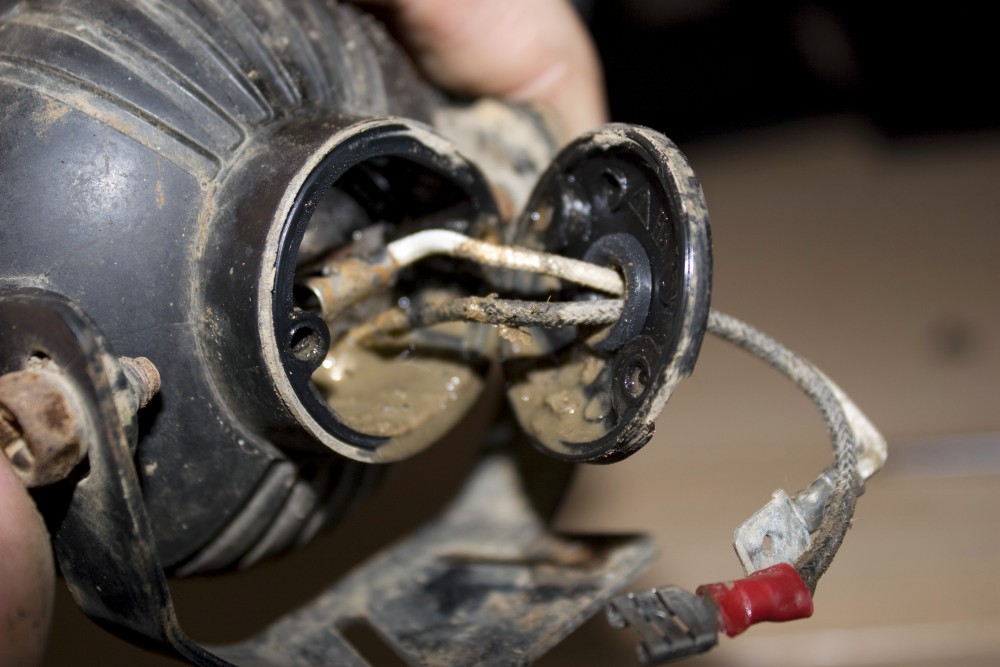
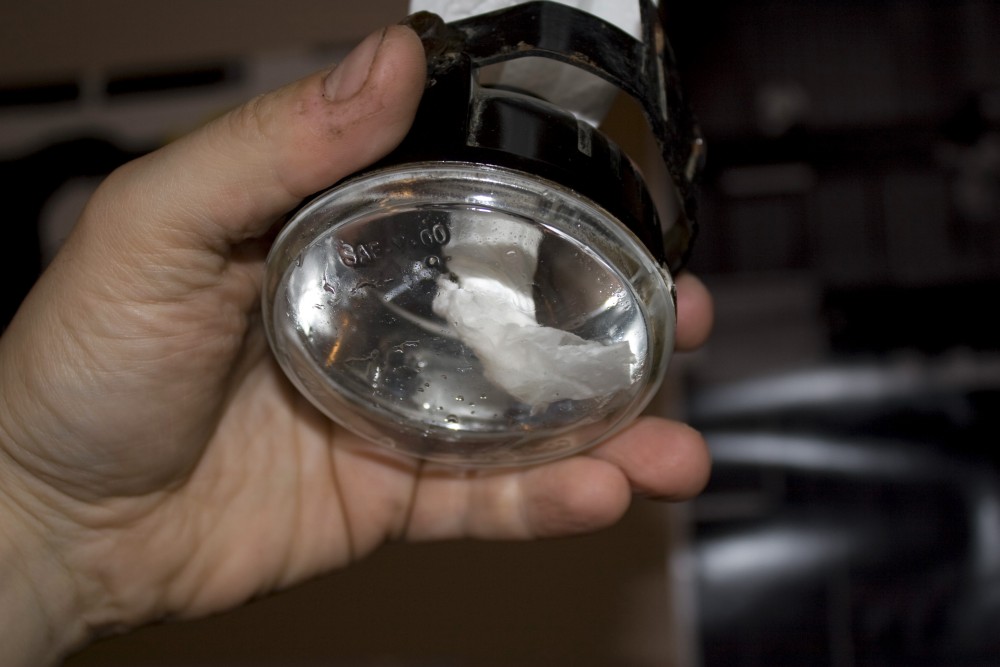
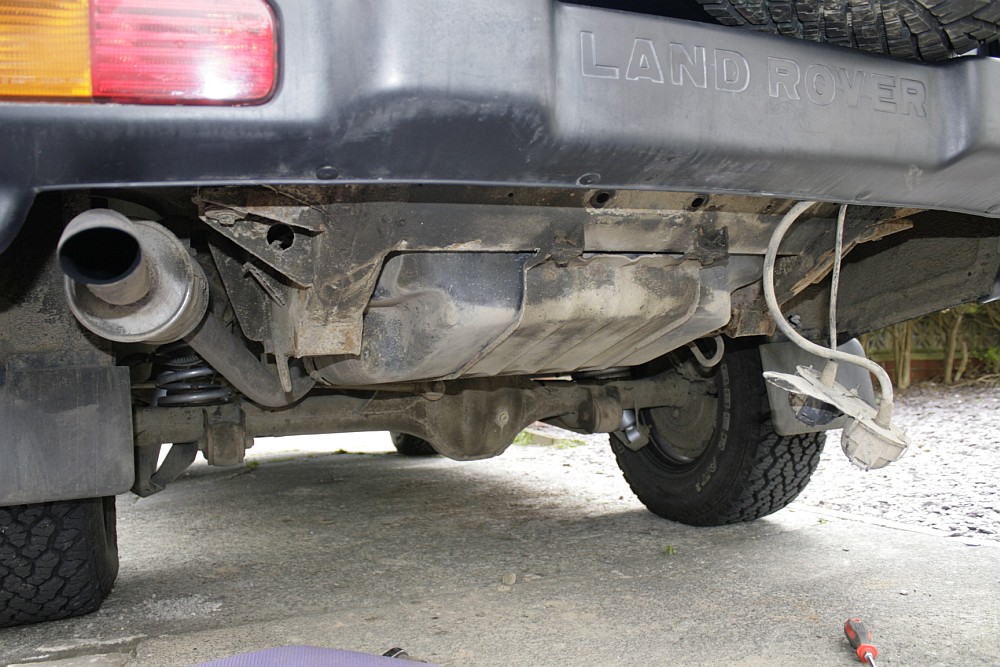
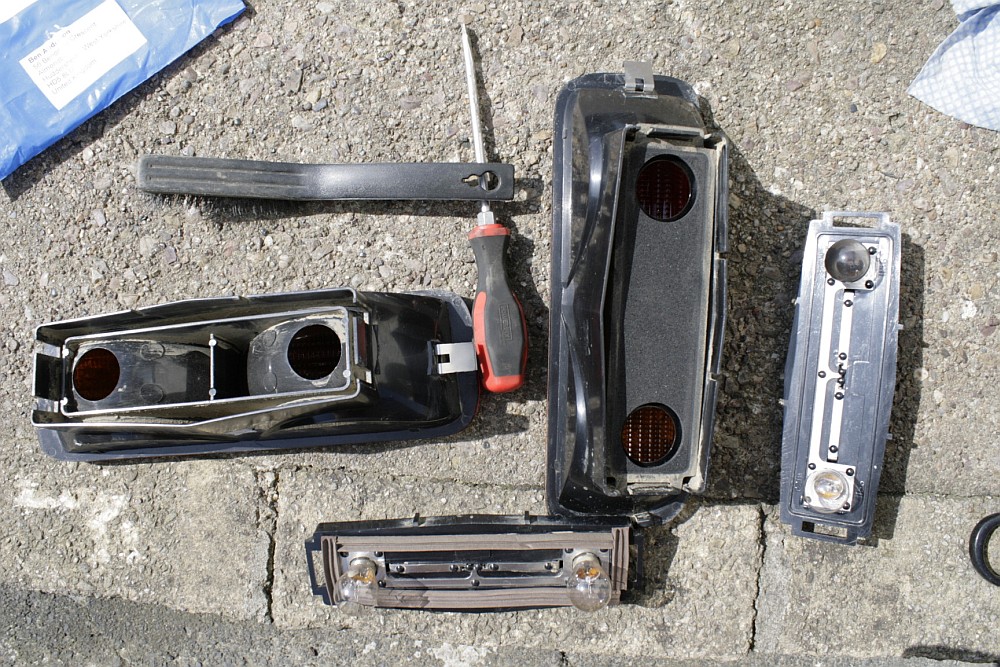
Oh I also broke my front bumper at Yarwell, bust the fog lights off hitting water too fast, oops.

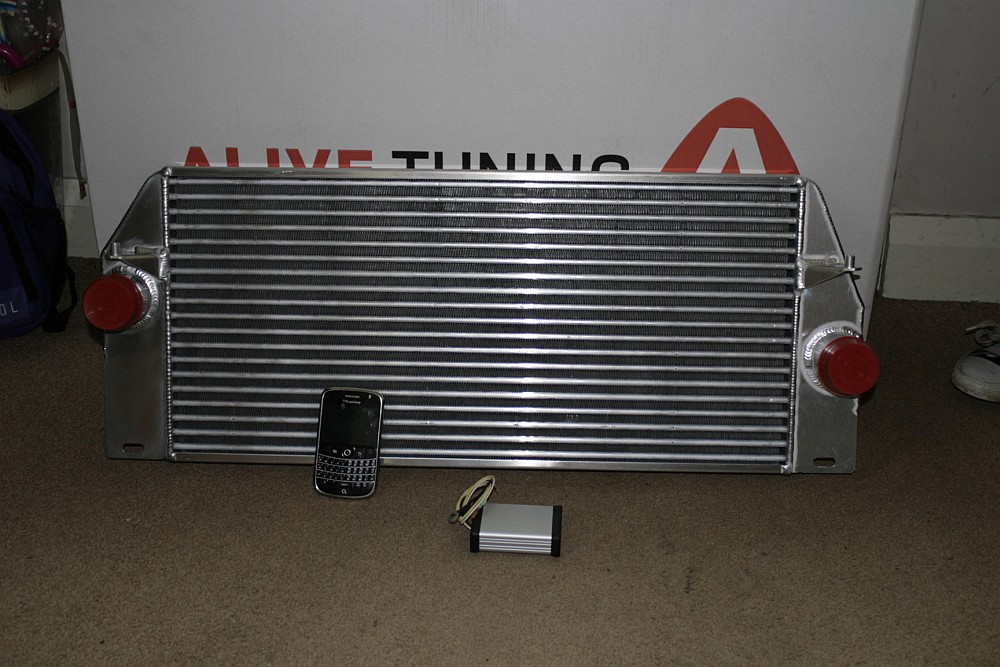
Still it meant I could some more new bits....

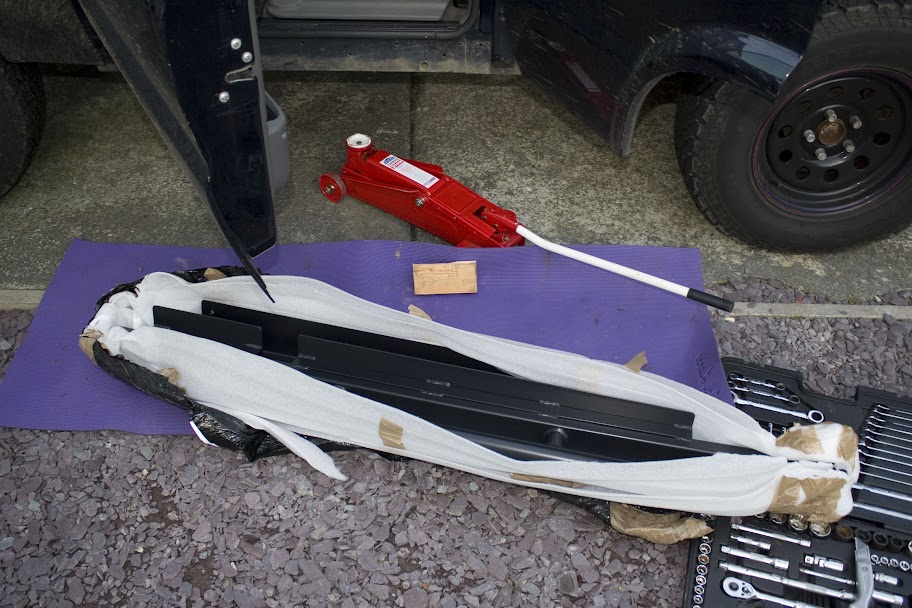
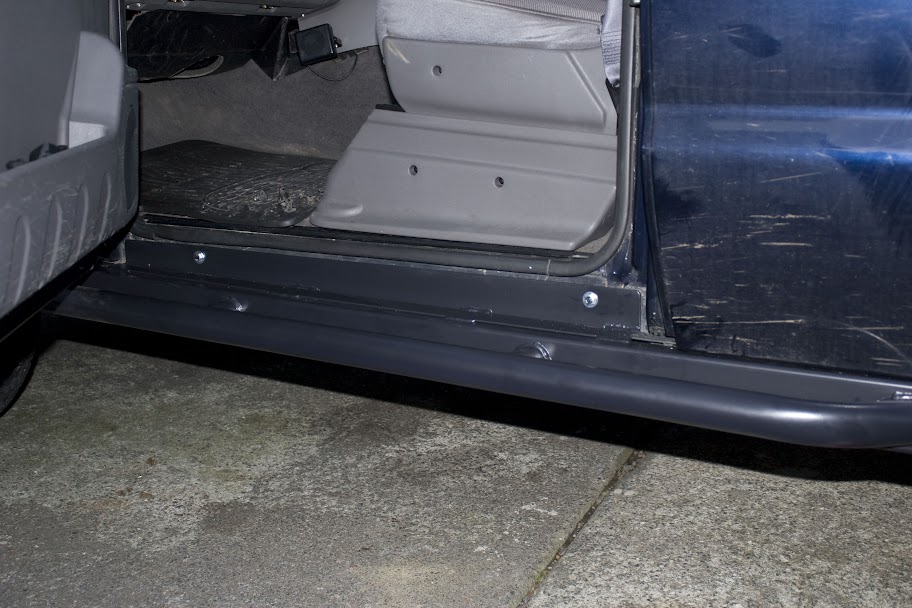
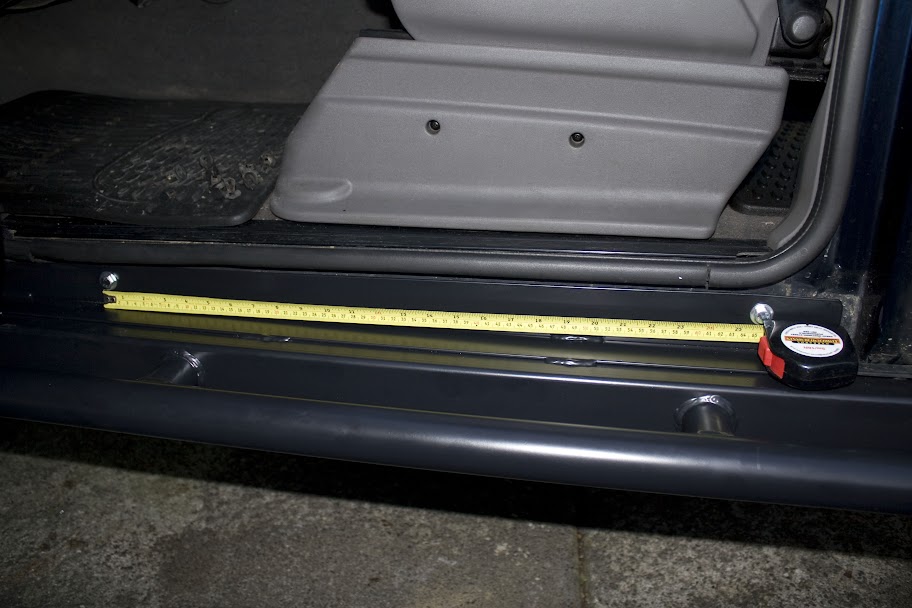
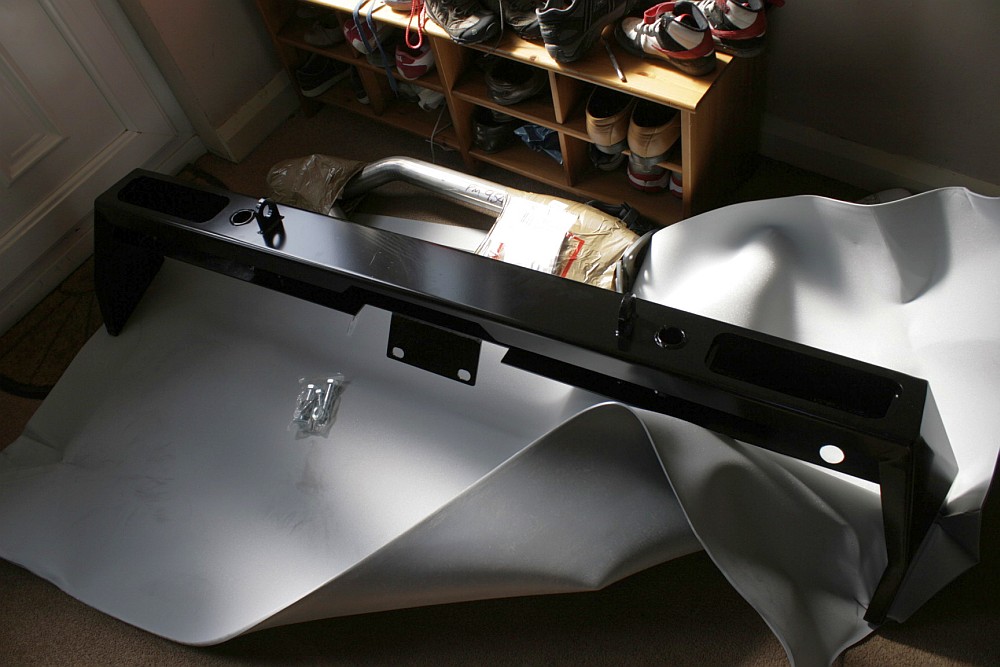
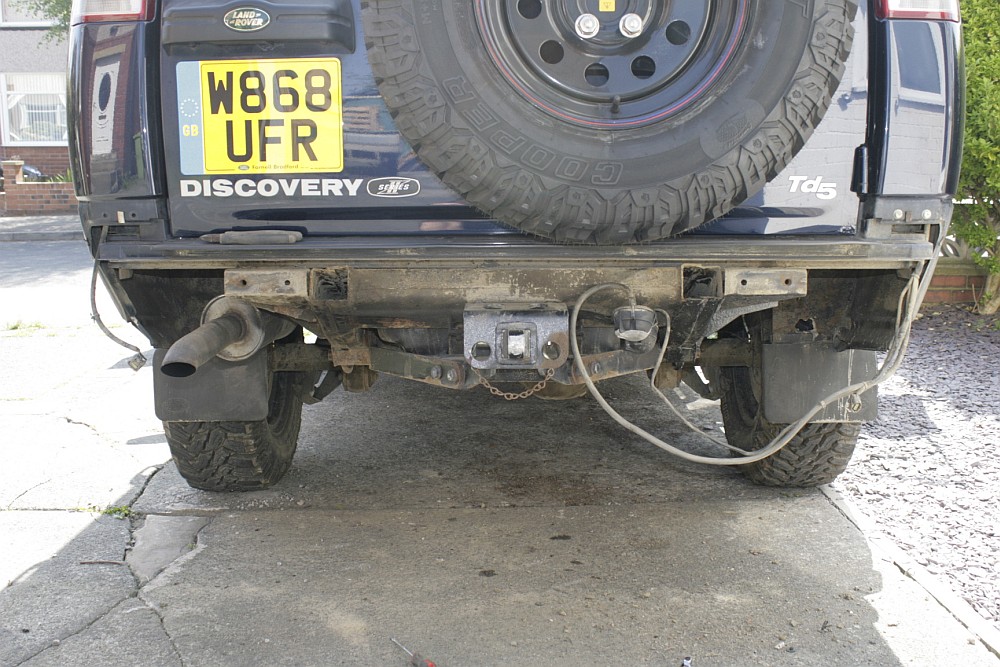
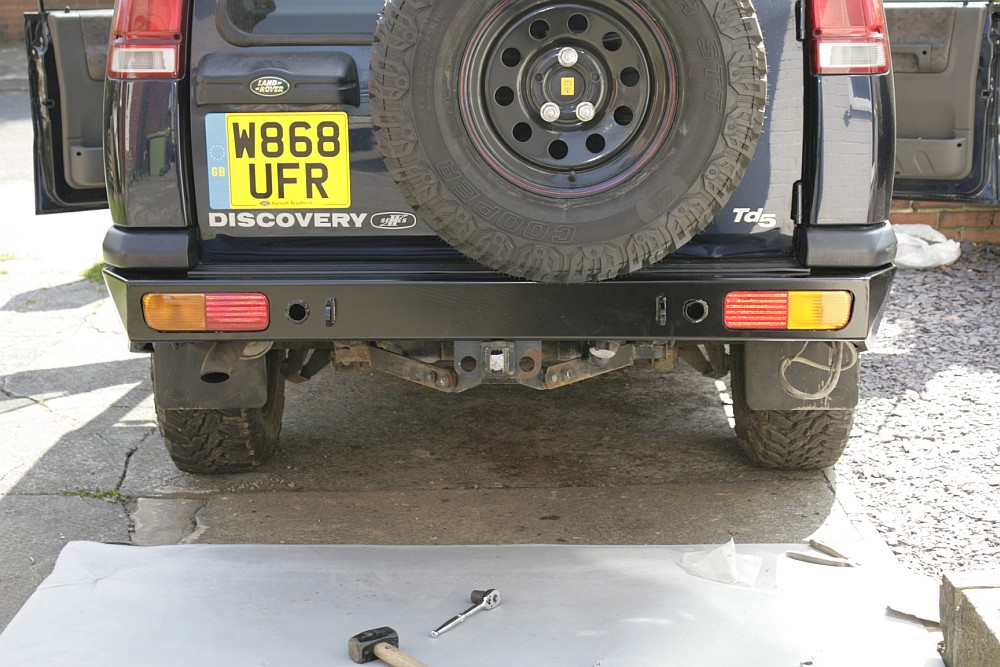
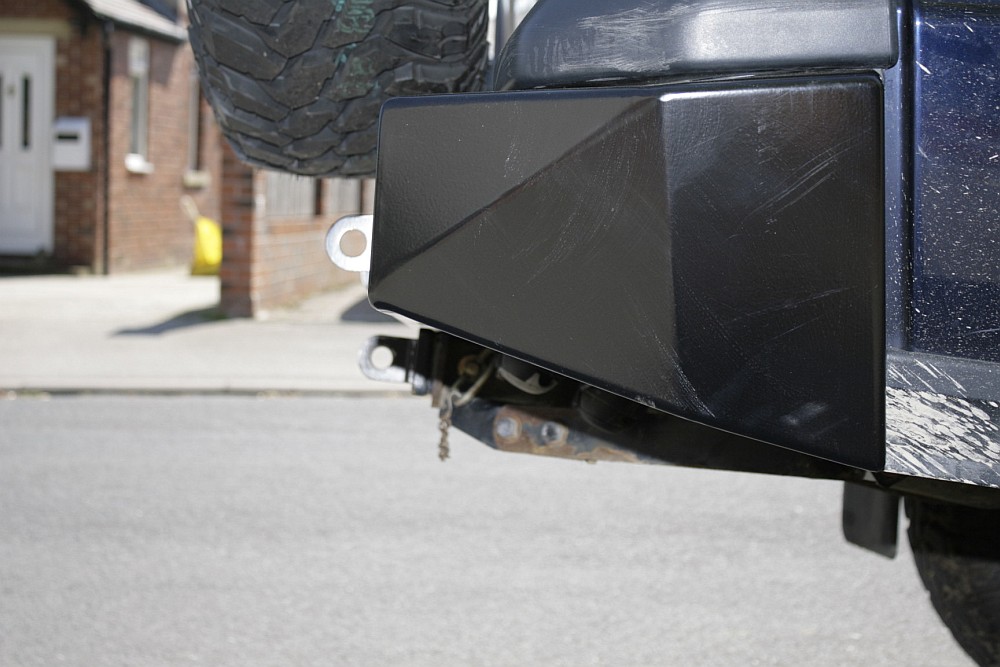
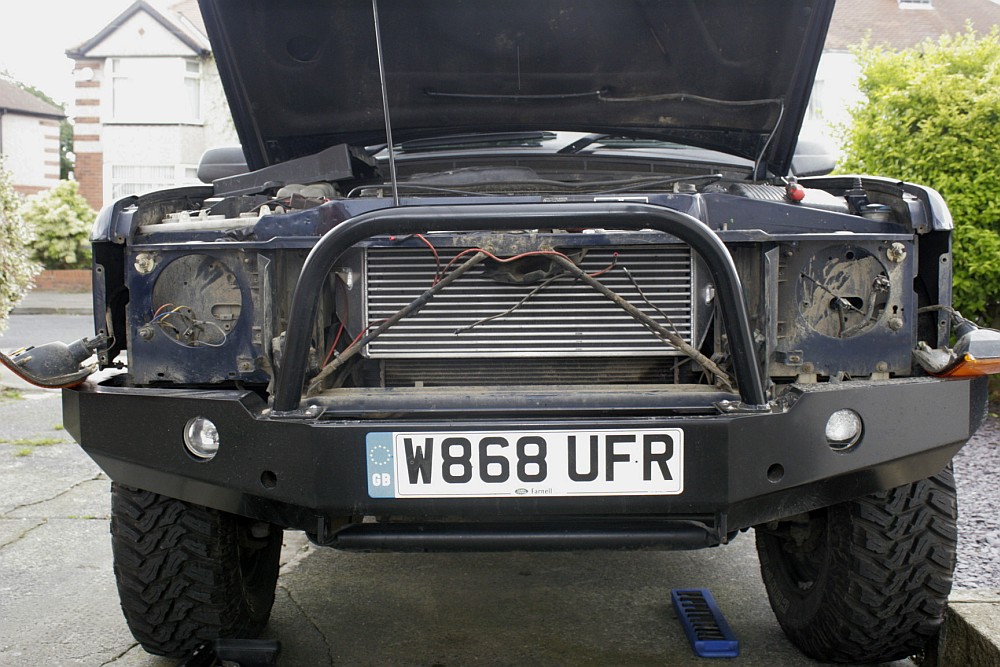
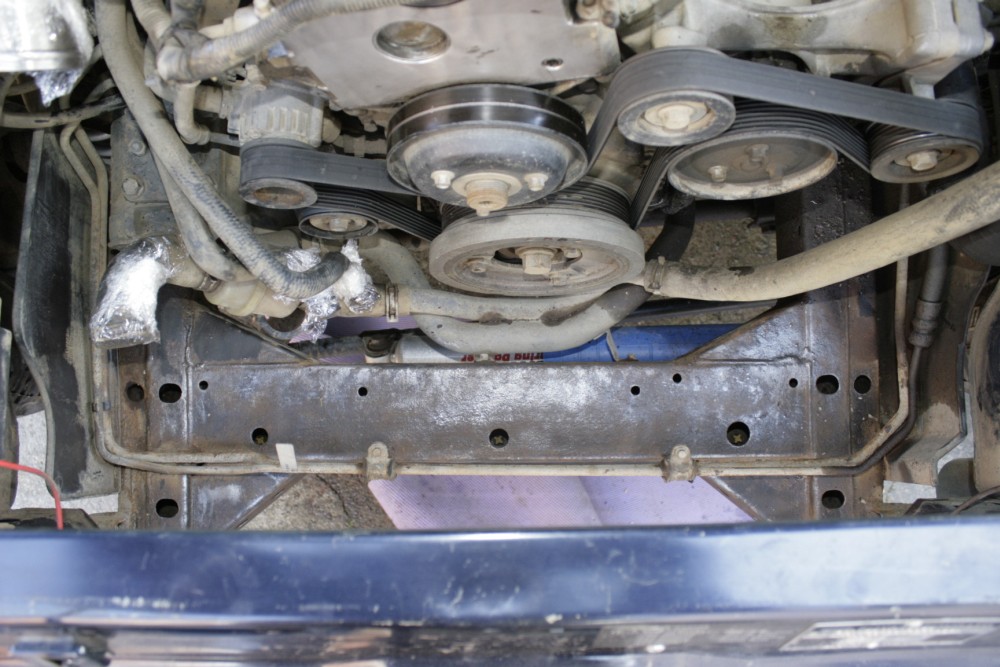
New bumper and spots fitted:

_MG_9137.jpg


I didn't take any photos of fitting the bumper but it's a doddle....

* Remove the extended wheel arch liners from the front bottom of the wheel arches
* Remove the side bolts that attach the bumper to the wings
* disconnect foglamp wiring
* Place a bucket under the headlamp washer pump and disconnect the pipe from it - allow to drain.
* Remove the 4 bolts securing the bumper to the crush cans and lower it off.
* Remove crush can bolts & crush cans
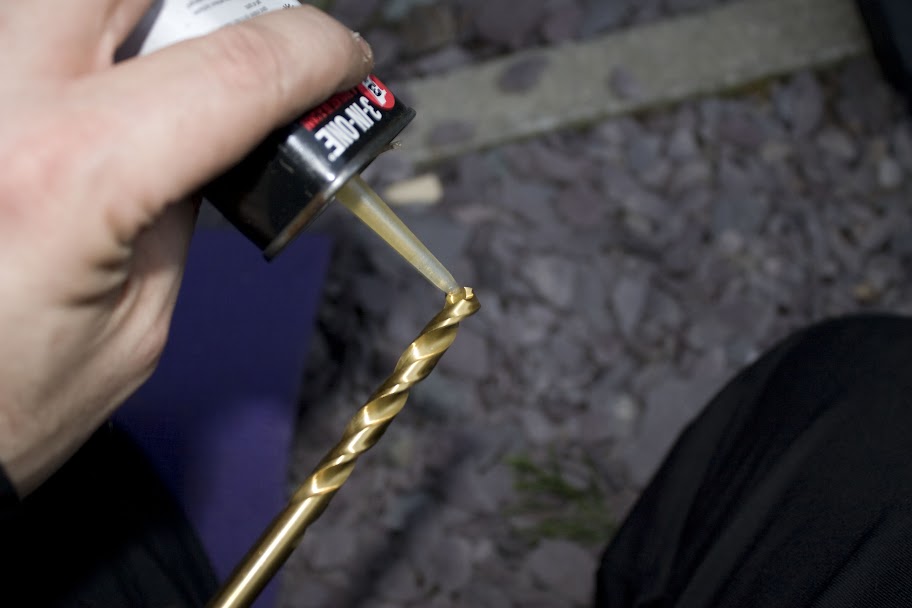
* disconnect the washer pump electrical connector and plug the pipe with a self tapping screw
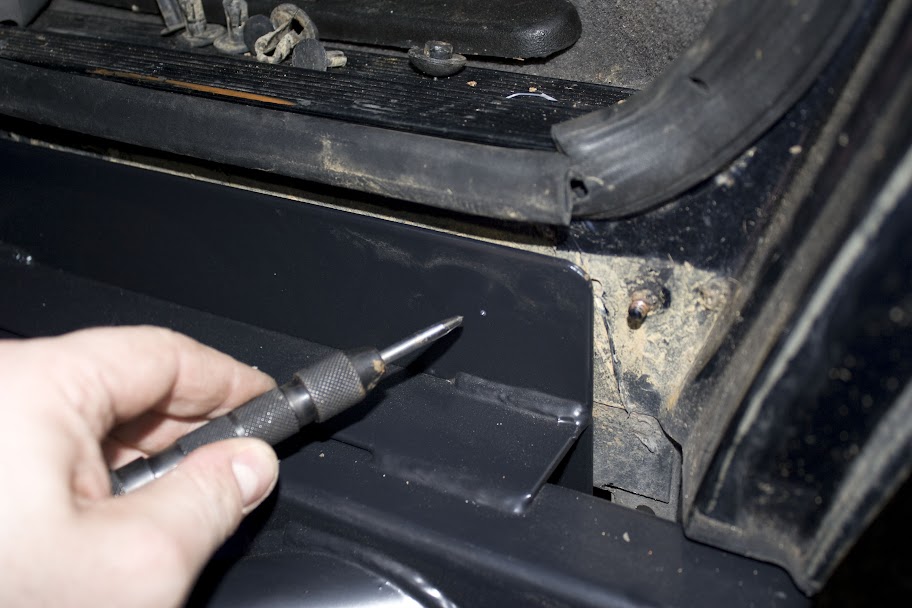
* lift new bumper into place, and tap fit with FBH
* fit new bolts :)

I wired the in bumper 55W spots into my foglamp wiring - took me a while to work out why they weren't working, realised that I had been pressing the rear fogs button and not the front OOPS! :lol1:

So next job was fitting the 100W spots to the light hoop.

So bolted them on...

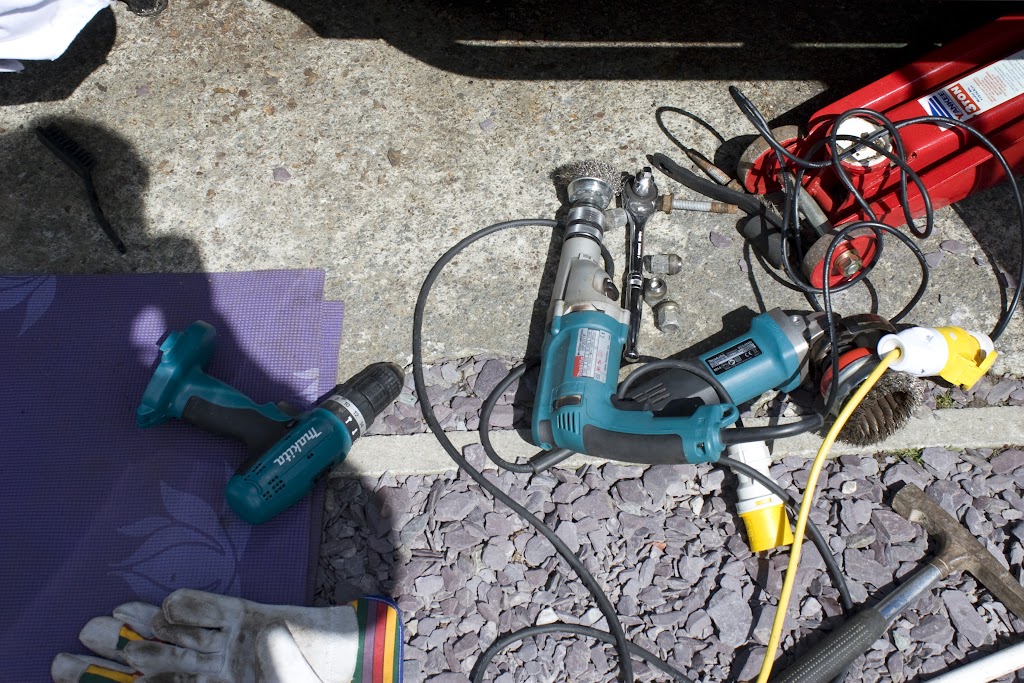
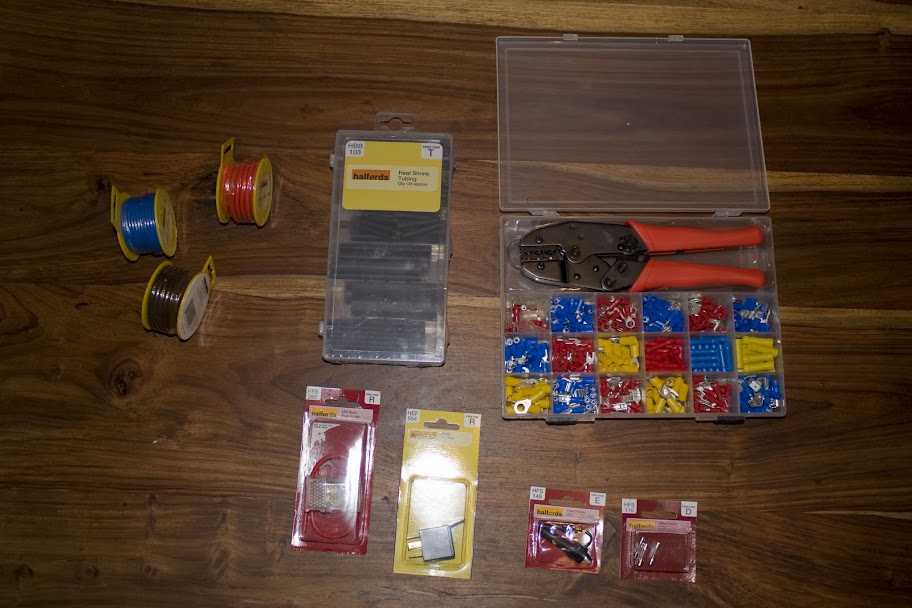
Used this stack of bits to create a light loom:

_MG_9127.jpg


Then drilled a small hole in battery compartment and screwed the 12V 30A 4 pin relay into it...

_MG_9131.jpg


Earthed the relay via pin 85 to the earth bracket in the battery box using brown 27A cable:

_MG_9132.jpg


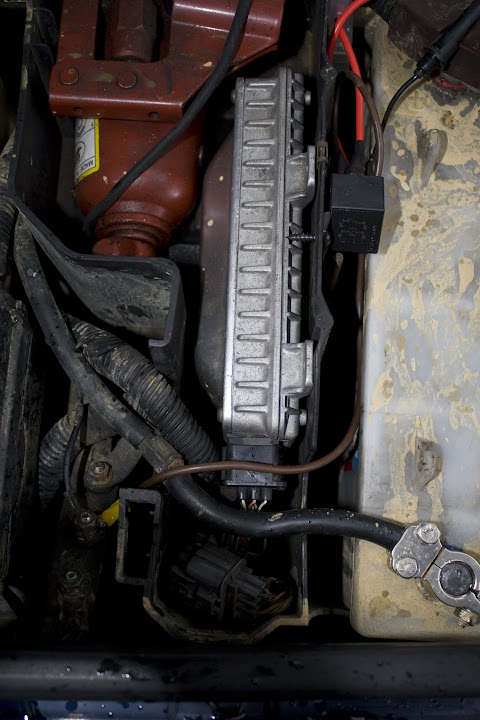
Connected an LED blade fuse holder up to pin 87 using a 25A spade connector, this is the feed to the lights (left fuse out to begin). The blade holder came prewired with 25A cable. (see photo above)

Using 25A yellow spade connectors I ran some 27A red cable to behind the first spot. Joined this to two more pieces of red 27A cable using a domestic connector block (might revisit this bit).

_MG_9130.jpg


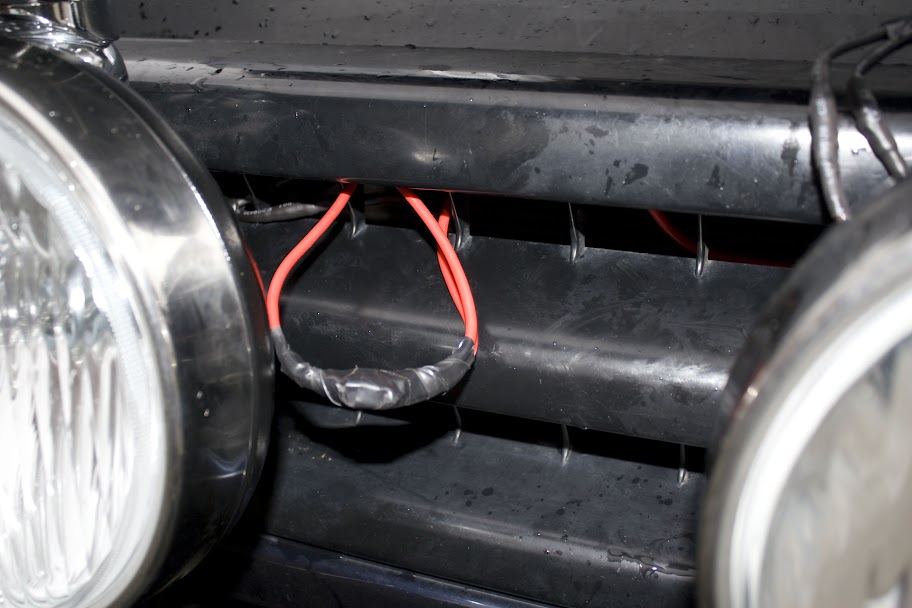
Connected these red feeds to the bullet connectors that came fitted to the lights (~10A each).

Using Brown 27A cable (overkill) earthed both spots near the airbox:

_MG_9128.jpg


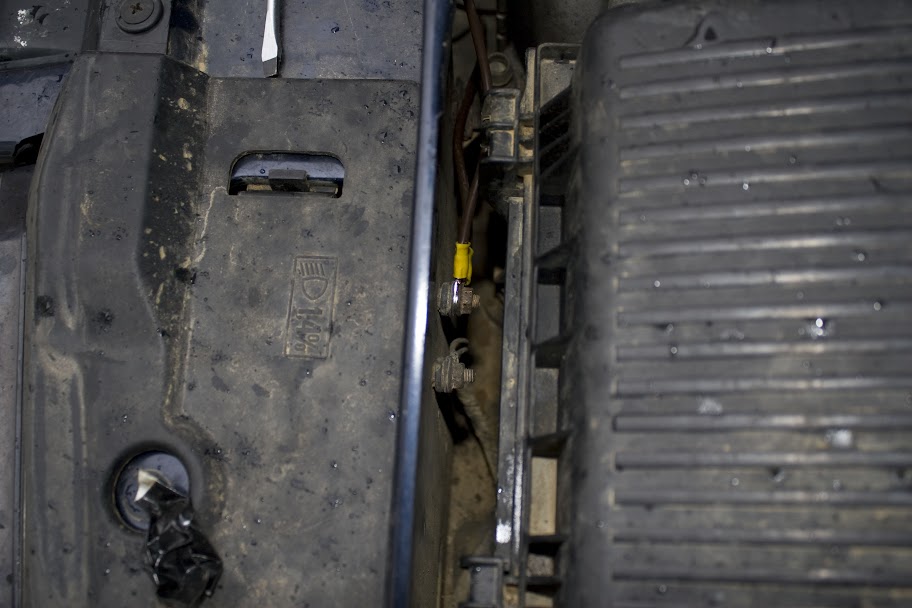
Connected an inline fuse holder (and glass 1 amp fuse) to the control feed of the relay, pin 86 (see third photo). Then wired the other end of this using 5A blue cable down to the offside headlamp box.

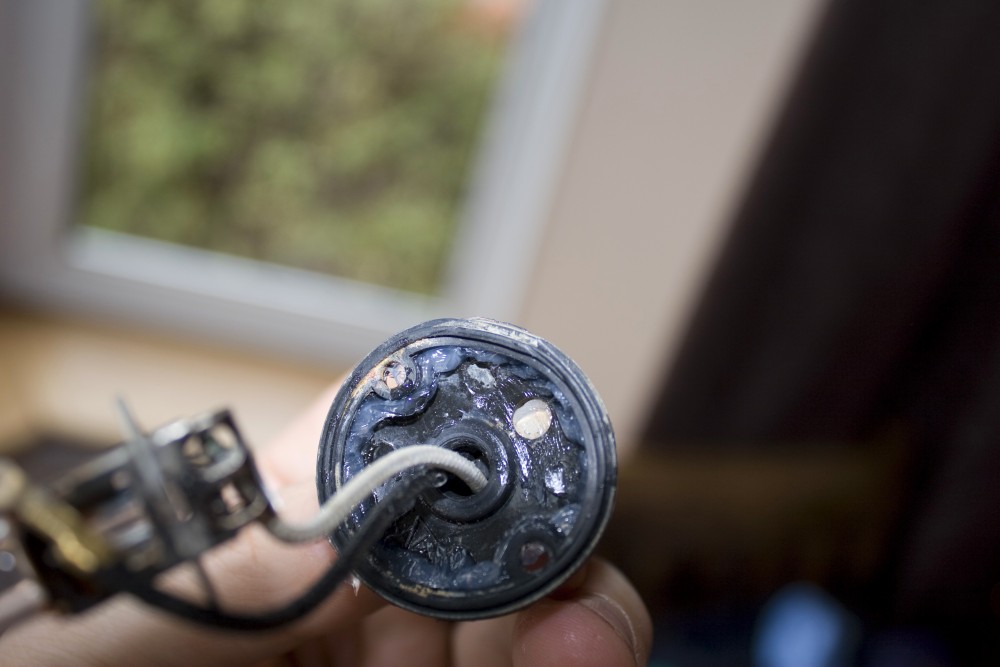
Also wired in a new H4 connector for that headlamp because mine was already smashed when I bought the vehicle:

_MG_9133.jpg


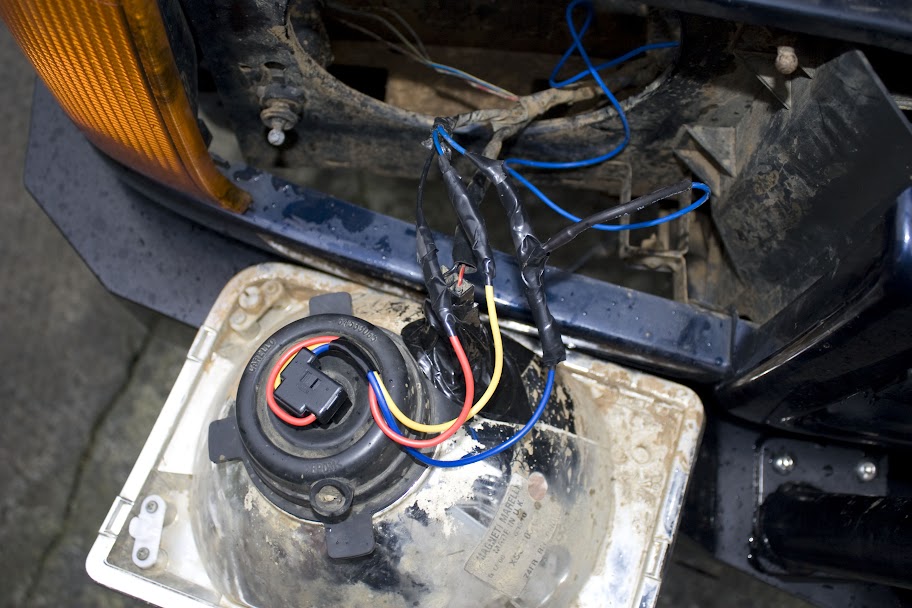
Using a piggy back connector I wired the control line from the relay into the mainbeam feed on the H4.

Last bit of wiring was the battery feed into pin 30 of the relay using red 27A cable and yellow 25 Amp connectors, spade at the relay end and ring at the battery end - a small nut was then used to lock this onto the positive battery clamp.

Finally a 20A fuse was inserted into the LED fuse holder.

Result:

_MG_9135.jpg


The rewired headlamp was not lighting low or full beam properly when I first completed the wiring, I used BUTT connectors to join the H4 earth to the car loom, it turned out that this connection was poor so I rewired it with spades. This poor earth also affected the relay operation, it was not getting a good control signal to turn the spots off, although they would turn on - odd!

One last note, I used heat shrink wrap on ALL the connections (except the connector block), and also taped over these where I though it might need it:

_MG_9129.jpg


I'll be getting some split cable conduit to protect the higher power feed lines, just need to source some cheaply.
 
Got some rock/tree sliders...

Fitting time start to finish was about 1.5 hrs including lots of photo taking.

If there's one thing that you should definitely get then it's a high quality HSS drill bit for the job (8mm), don't scrimp on this as it can be the difference between simples and very hard.

Here's some of the things you might need:

_MG_9147.jpg


* A good mains powered drill (or a professional cordless), mines 110V because I'm stupid enough to electrocute myself with a 240V one.
* HSS 8mm drill bit.
* M8 bolts & nylock nuts
* M8 20mm washers - you don't need these but I prefer to use them.
* Ratchet with 10mm socket - for the nut which holds the plastic trim on (with some sliders you might have to cut the stud off too).
* 3 in 1 oil to luibricate the drill bit.
* Stanley knife to open the packaging - make sure you have a grown up around to help with this :lol1:
* flat blade screwdriver - to remove the sill trim clips.
Stuff not in the picture:
* 13mm spanner & 13mm ratchet, these are to tighten the M8 bolt and nuts.
* Trolley jack + wood block
* FBH - to persuade the bolts through.

First thing to do is remove the plastic sill trims, use a flat bladed screwdriver to lever the trim clip center pins out:
_MG_9139.jpg


Next remove trim clip outers:
_MG_9142.jpg


Now remove the plastic screw from the rear of the trim:
_MG_9141.jpg


Using the ratchet and 10mm socket reach under the front of the trim and remove the nut (top one in the picture):
_MG_9143.jpg


Mine sheared the stud on the offside:
_MG_9145.jpg


You might need to cut the stud off if it gets in the way of your sliders - depends which you fit (I didn't have to):
_MG_9157.jpg


The sill trim should now just pull or fall off:
_MG_9146.jpg


Now comes the tricky part if you are doing this alone.... get the trolley jack to one side of you whilst balancing the slider on your knees directly under where it will fit (oh and yes the slider in this picture is for the other side!).
_MG_9148.jpg


Using a block of wood to protect the slider powder coat crank the jack up so that it takes the weight of the slider but is not holding it tightly against the sill.
_MG_9149.jpg


You need to tap the slider left or right so that the bits which go round the B pillar are evenly spaced:
_MG_9150.jpg

Make sure you remove the pillar finisher from the plastic sill trims so you can mastic it in place later...

Once central jack the slider fully up:
_MG_9151.jpg


Without removing your doors it can be quite tricky getting enough access to drill through the sliders and sills exactly where you want to in an evenly spaced pattern. I decided to go for one bolt for the small section under the passenger door, and 4 at the front. My thinking being that the kids are lighter than me :red:

So on to the drilling... use a punch to mark where you want to drill:
_MG_9152.jpg

This one is actually in the wrong place as theirs no back plate on the slider behind there - oops!

Put a drop of 3-in-1 on your bit so you don't burn out the bit... DO NOT put lots of pressure on, just a light persuasion and let the drill and bit do the hard work. If you work up a sweat then something is wrong!
_MG_9153.jpg


For the drivers door fastenings I drilled near the B post first, just after the bend up of the door seal, I then drilled as close to the front of the vehicle as the door would allow the drill to get to:
_MG_9154.jpg


Next I measured the gap, 66cm, so I popped a bolt in at 22cm spacing:
_MG_9155.jpg


One side done:
_MG_9156.jpg


Repeat for the other side.
 
Did some stuff where I forgot to take photos.

Fitted a new front offside wheelhub
Replaced broken bonnet release cable (ballache!)
Replaced all the brake pads
 
Got a TF 2 inch lift kit...

A nice shiny box of bits arrived:
_MG_9219.jpg


The front shocks are coming later... Anyhow couldn't wait so I thought I'd fit the new steering damper, MD +2 rear springs & +2 shocks...

The old steering damper:
_MG_9216.jpg


When off, it was very very easy to compress:
_MG_9217.jpg


New one on, I wish the rest of the car was as shiny!
_MG_9218.jpg


Measuring floor to wheel arch height before putting the lift in, 33 inches:
_MG_9220.jpg


First I put the NSR shocker in, I'd lent my axle stands to Doobie and couldnt do the springs until he drop them round...
_MG_9221.jpg


This turned out to be a mistake because it really reduced the room to manoeuvre that was needed to wind the spring compressors in and out... (I put the shocker on last on the OSR)

Spring on, after a LOT of arsing about with the compressors:
_MG_9222.jpg


Oh and it also decided to wee it down mid way through the job [taz.gif]

Wheel back on and re-measure - 35 inches :tup:
_MG_9223.jpg


Repeat for the other side.

I'm going to wait for the remaining shocks to arrive before tackling the front, I could put the new springs on but I'd just have to fart about again getting the turrets out twice, so why waste the energy?

I just need some bigger tyres to fill out the arches now :lol1: :lol1:

Oh and the rear pads need changing - sigh, never ends does it.
 
When I did the rear lift I noticed that the brake pads were in a bad way, almost to the metal!

So the Mintex pads ordered from JGS arrived today and I thought I'd stick them on.

I was expecting it to be a quick job after having done a few sets of breaks in the last month - how wrong I was! :crazy1:

Took the first caliper off and tried to push the piston in but it was having none of it [taz.gif] I peeled the gaiter back to be greeted by this:

_MG_9226.jpg


The only thing for it was to try and recondition the piston, so I pumped it all the way out, caught the fluid from the caliper in a jug, and set to with a fine gauge wire brush...

_MG_9227.jpg


All the crap was now gone but there's some slight marks on the piston - will sort this when I do a full brakes rebuild this summer.

So I then flushed out the caliper and gator and inserted the piston back in, release the bleed screw and pushed the piston all the way back in by hand.

I greased up the very dry guide pins whilst I was at it - chances are this will melt and run out so will be redoing this with some high temp grease this weekend.

_MG_9228.jpg


New pads on, fasten it all back up, then manually bled it using a length of rubber hose into the aforementioned jug.

I hoped the other side would be better, but unfortunately not :rolleye:
 
Found a water feature in my bumper...

_MG_9229.jpg


You can clearly see the breather diaphragm is at the bottom of the spot here (shouldn't it be at the top??)
_MG_9230.jpg


Upon disassembly part of the problem became obvious:
_MG_9231.jpg


Apart from being full of water, whichever twit assembled the fitting nipped the gasket in the housing, allowing water to enter:
_MG_9236.jpg


You can see above that I remounted the gasket with silicon.

The grommet for the cables was also pretty much 'useless', you can see light through it here, along with the inside of the breather diaphragm:
_MG_9235.jpg


The actual bulb mount was also fitted upside down, leaving a gap for water entering the rear housing to make it into the lens :/

So next stop was to wash out the interior, then soak up as much excess water as possible:
_MG_9232.jpg


Next was a hair-drier to heat the housing up and hopefully dispel any water:
_MG_9233.jpg


Next was reassembly and sealing.

Now it's time to check the other one!
 
Well, I'm pretty gutted at the moment, was just doing some work on the car and I found this....

_MG_9238.jpg


Two whacking big chassis holes one left of the OS damper mount and the other all around the ride height sensor mount.

I gave the entire rear end the good news with a masonry hammer, and thankfully this looks to be the only bad bit.
 
Got some welding done at my mates place:

We run out of time to do both holes but managed to plate the biggest one up nicely.
5612dfc4-eab4-cc0f.jpg

Proper welder
5612dfc4-eac5-acbc.jpg

Chassis cleaned up ready for welding
5612dfc4-eae6-be94.jpg

Plate nearly welded in
5612dfc4-eb06-8cce.jpg
 
Sun was out so decided I'd better paint up the welding that my buddy sorted for me.

First call was to get out just about every power tool that I own:
_MG_9239.jpg


Set to on the affected area with a masonry hammer to get the loose scall off, then the above tools, and some wire brushed for the hard to reach bits and ended up with this:
_MG_9241.jpg


Next out cam some rust proof paint I snagged at B&Q - no idea if it's any good but time will tell:
_MG_9242.jpg


Paint applied, left the bit that needs welding still undone and cleaned as best I could (will need attacking with a finer gauge wire wool tool later):
_MG_9243.jpg


_MG_9244.jpg


Just waiting for it to dry now then the damper and wheel will be put back on.
 
Got giddy again and decided I was going to cleanup and paint the entire chassis, didn't get right far though!

Took 5 hours just to do the offside rail back from the rear door. Yeah it's absolutely covered in rust :/

Thought I'd get more done so I dropped off the NAS hitch and rear step:
_MG_9261.jpg


Which gave me some more room to work:
_MG_9262.jpg

The very back of the chassis is mint, there's a thick coat of waxoil, wish the middle was the same :/

Used a masonry hammer, chisels, wire brushes, grinder, kitchen sink to get as much loose rust off as I could, bleeding hard work because of the limited space:
_MG_9263.jpg


Some collateral damage:
_MG_9264.jpg

Always wear goggles when doing this type of work!

And the finished product:
_MG_9265.jpg


Looks a lot better, the paint says it can go right onto rust, so hopefully it should starve it of moisture and oxygen - will keep my eyes on it. Has to be better than just rust though eh!
 
Some new bits arrived:

5x cooper discoverer STT 265/75/16's
_MG_9271.jpg


+2" front shocks and HD springs, & BF goodrich extended SS hoses. These were on backorder...
_MG_9270.jpg


So, to get the tyres on I'll need to fit the front lift, cracked on with that this aft (and it was hard graft in pouring rain!):
_MG_9272.jpg


1) Jacked up the car, wheel off, propped the chassis on an axle stand.

2) Remove the top bolt holding the dampers to the turret.

3) removed the 4 bolts securing the turret and lift off.

4) using lots of extensions removed the 2 bolts holding the damper in, and lift out.

5) use the pot jack to force the axle down, then spring compressors to get the old spring out.

6) compress the new spring

7) wire brush all the seats and copper grease them

9) insert new spring (curse and swear a bit)

10) remove the pot jack, jack the axle back up to compress the spring ( to give easier access to bolt the new damper in)

11) put in new damper and torque down the bottom bolts

12) drop turret over damper and loosely fasten top bolt

13) Torque down the turret

14) Torque up the top damper bolt

15) refit wheel

16) jack up, remove axle stand, and then drop jack out.

Repeat other side!

Here's the spring and damper in place:
_MG_9273.jpg


And all done, she no longer sits like BA's truck from the A-team (ie bum in the air):
_MG_9274.jpg


Too late to get the tyres done :/
 
more toys arrived...

_MG_9275.jpg


And out of the box - blackberry is for scale...

_MG_9277.jpg


Was in too much of a rush to get it on and forgot to take any photos.
 
Pranged the factory rear bumper whilst laning around Lincolnshire so had to get another shiny bit....

_MG_9285.jpg


Britpart rear HD bumper, and 2x stainless straight through centre pipes (one for me, one for a mate).

Had already got the STT's fitted but forgot to take pics!

First job was to get the rear bumper lights out so I could easily get at the fixing bolts...
_MG_9286.jpg


As you can see the lights are filthy
_MG_9287.jpg


Gave them a clean:
_MG_9288.jpg


Found that there was no gasket in the nearside one (and a bulb was going black on the other), so fitted some door seal:
_MG_9289.jpg


Removed the two bolts securing the bumper and dropped it off:
_MG_9290.jpg


Fitted the new one on - it uses 4 bolts, 2 same as above, and 2 that secure into the tow hitch holes on the rear of the chassis, so I undid the 2 holding my NAS hitch and pushed it down enough to fit the bumper flange between it and the chassis...
_MG_9291.jpg


I'd bought some new trim clips for the rear bumper corner trims too - bit pricey at 5.79 for 3 from JGS but work really well.
 
Some more pics.

_MG_9293.jpg


Some wipe down marks on, it was a bit dusty when fitted.

_MG_9294.jpg


You can clearly see the markings on the metal under the finish in this on, minor issue really.

_MG_9295.jpg


Side view.
 
Had it's MOT and got advisories on the Rad & PAS, so bought yet more bits

OK, my new radiator, pas pipes, & thermostat arrived, along with extreme weather PAS fluid, and 'extreme' antifreeze.

So, I decided to strip the truck down ready to crack on sorting it all out....

Headlamps & driving lamps off, grill off...
_MG_9329.jpg


The leaking radiator:
_MG_9330.jpg

_MG_9331.jpg


The leaking PAS pipe (or so I thought!!!)
_MG_9332.jpg


Coolant drain:
_MG_9333.jpg


Rad and intercooler out:
_MG_9335.jpg


Both bottom corners knackered:
_MG_9334.jpg


So, I then had a good look at the PAS pipes, only to find that the leak ISN'T on the main pipes, but on the reservoir to pump pipe! DOH! the lower pipe has rubbed through where it touches this pipe cuasing the ATF to run down the lower pipe - and making me think the union had failed. grrrr

So, PAS pipe fix is now on hold until parts arrive on Monday.

But, if you look up you can see the chassis was a mess, so I had at it with the cup brush ready to repaint it:
_MG_9336.jpg


To be continued....
 
Did more bits where I forgot pictures!!!!

Fitted straight through SS centre pipe.

Leather interior & door cards fitted.

Starter motor rebuilt.

Seat wiring loom fitted.
 
Back
Top