Bennehboy
Well-Known Member
- Posts
- 2,260
- Location
- Huddersfield
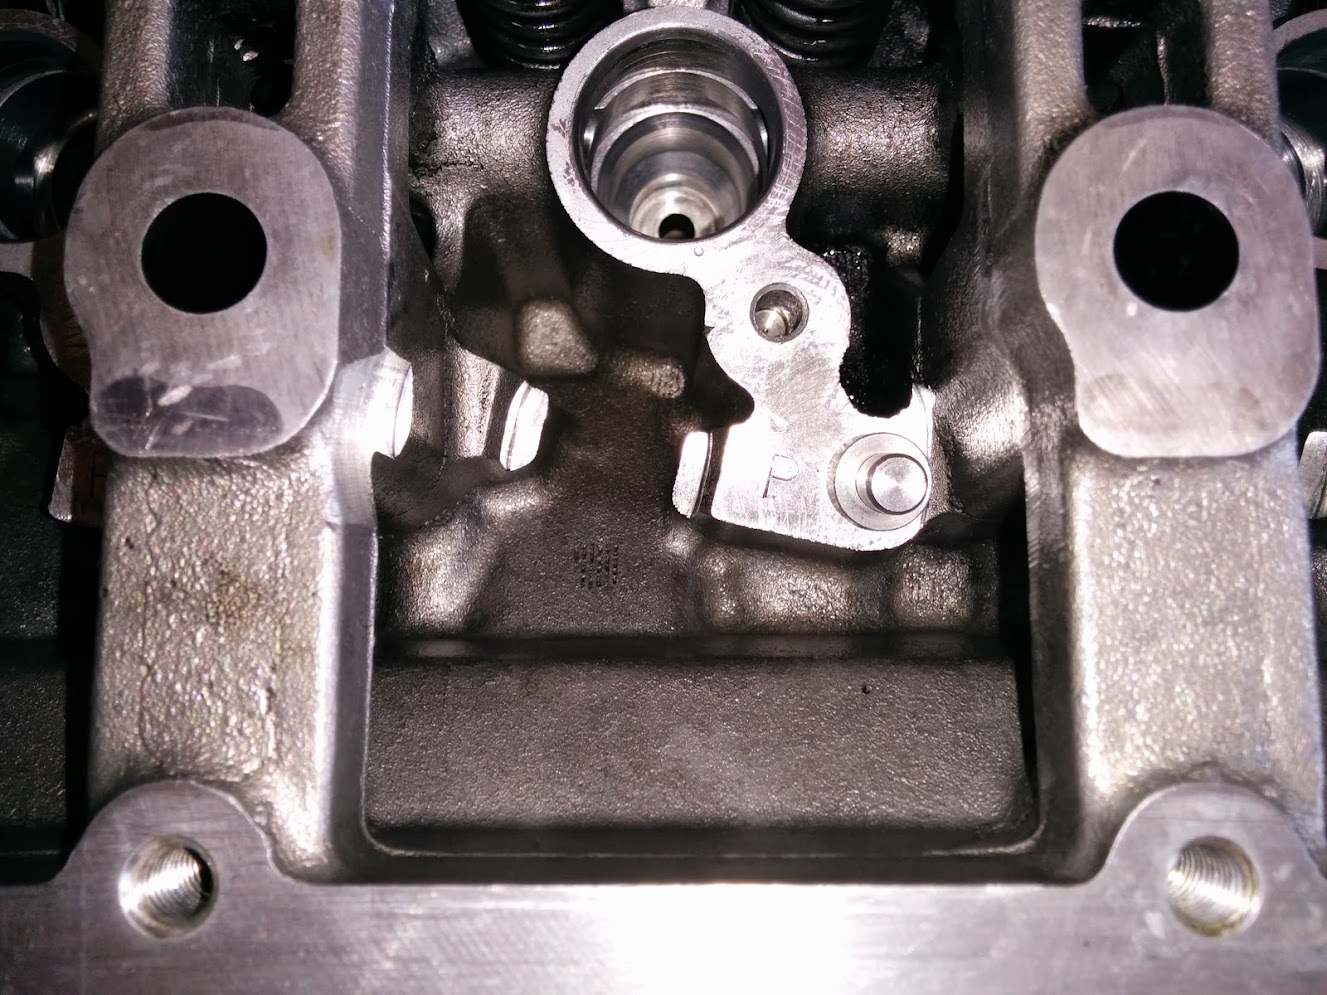
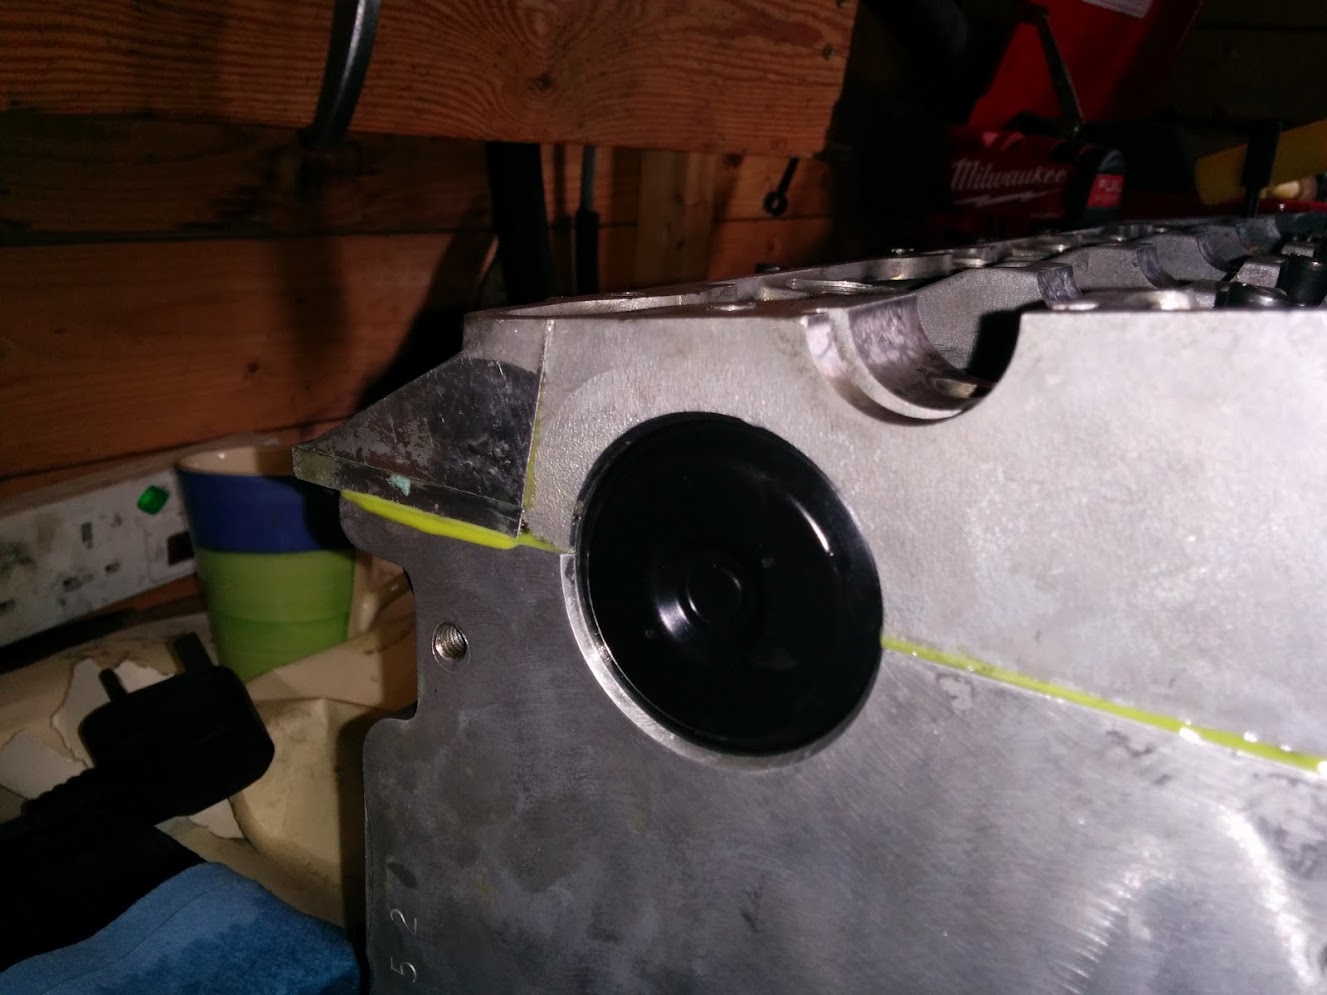
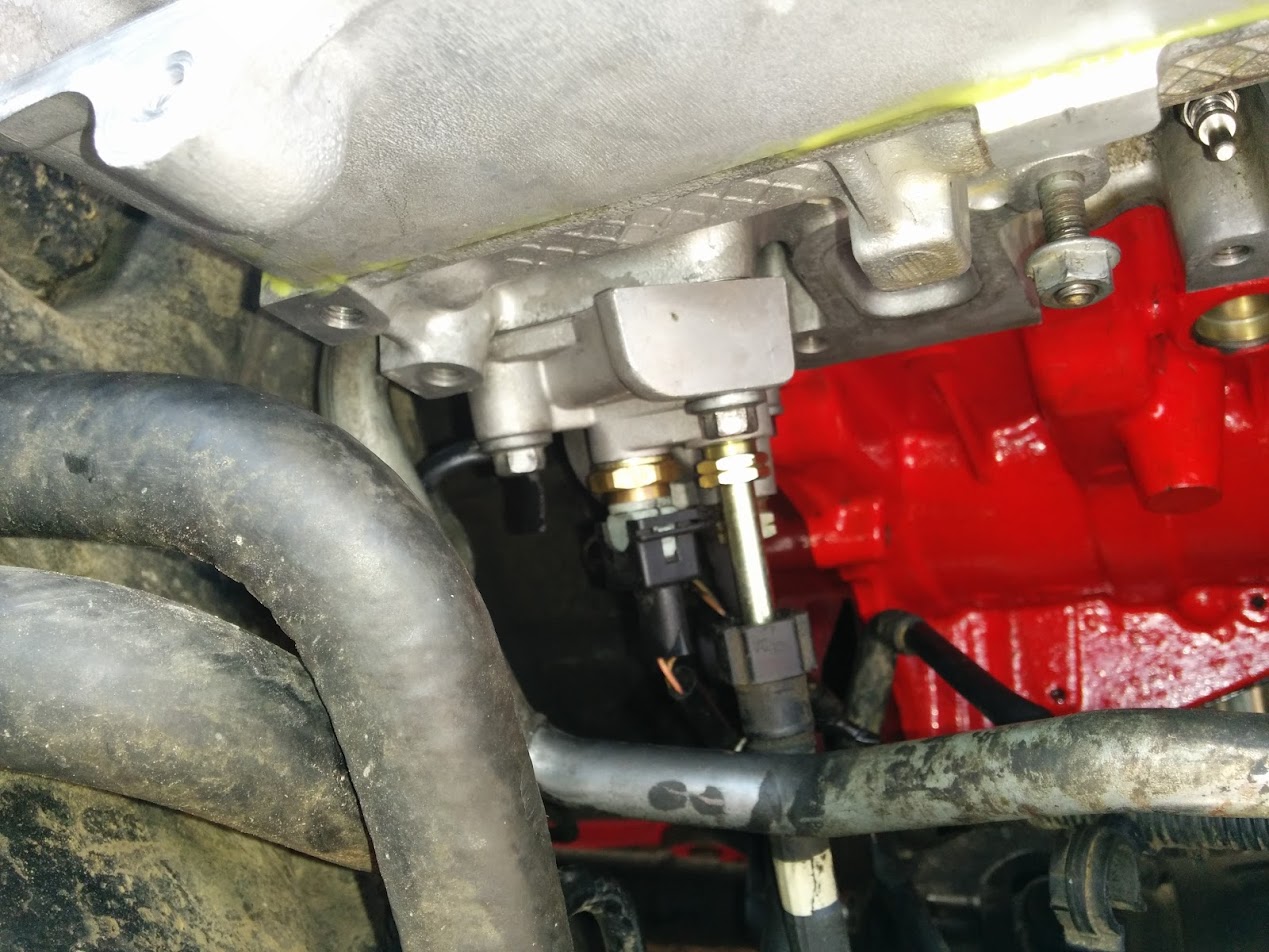
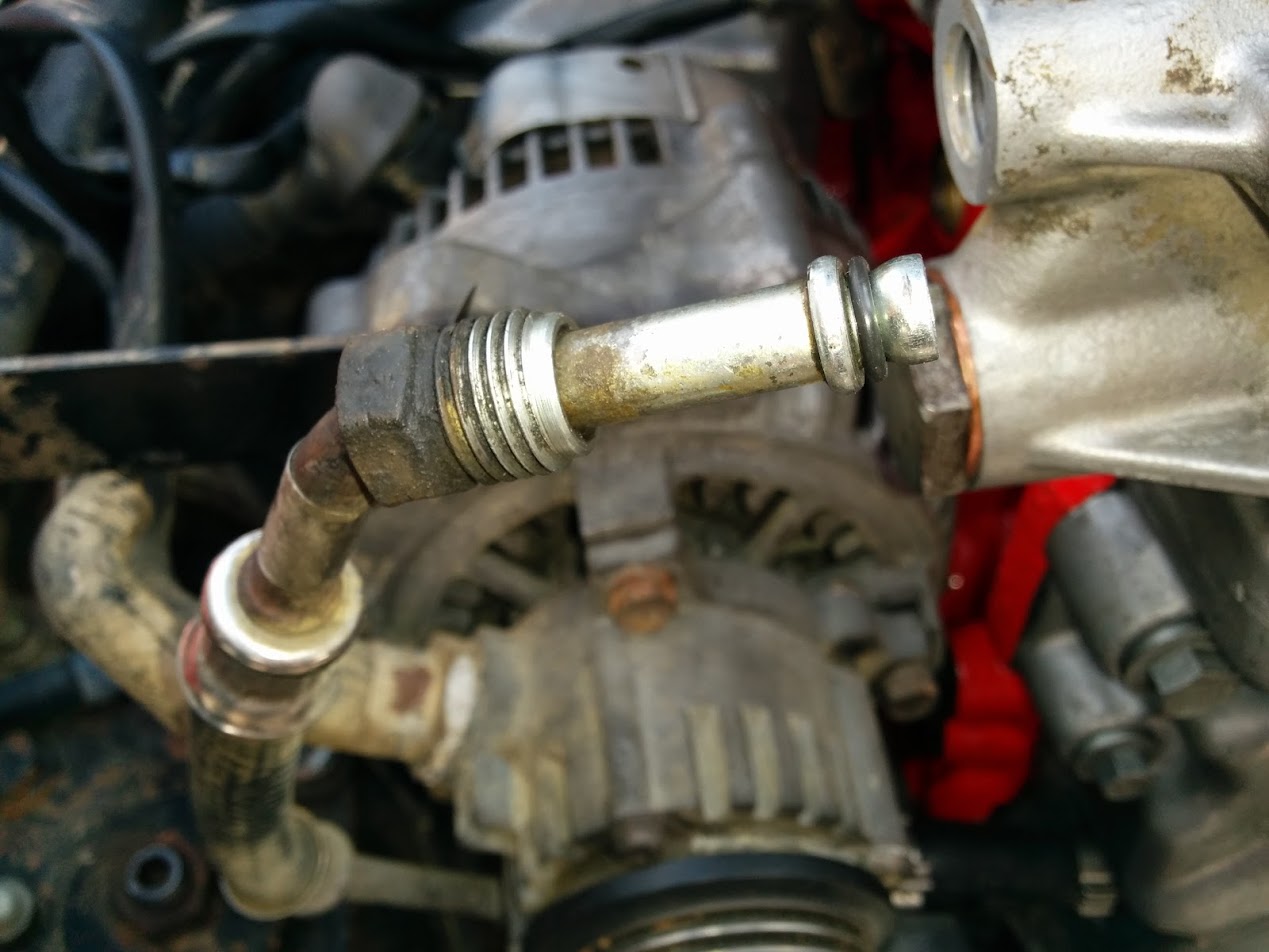
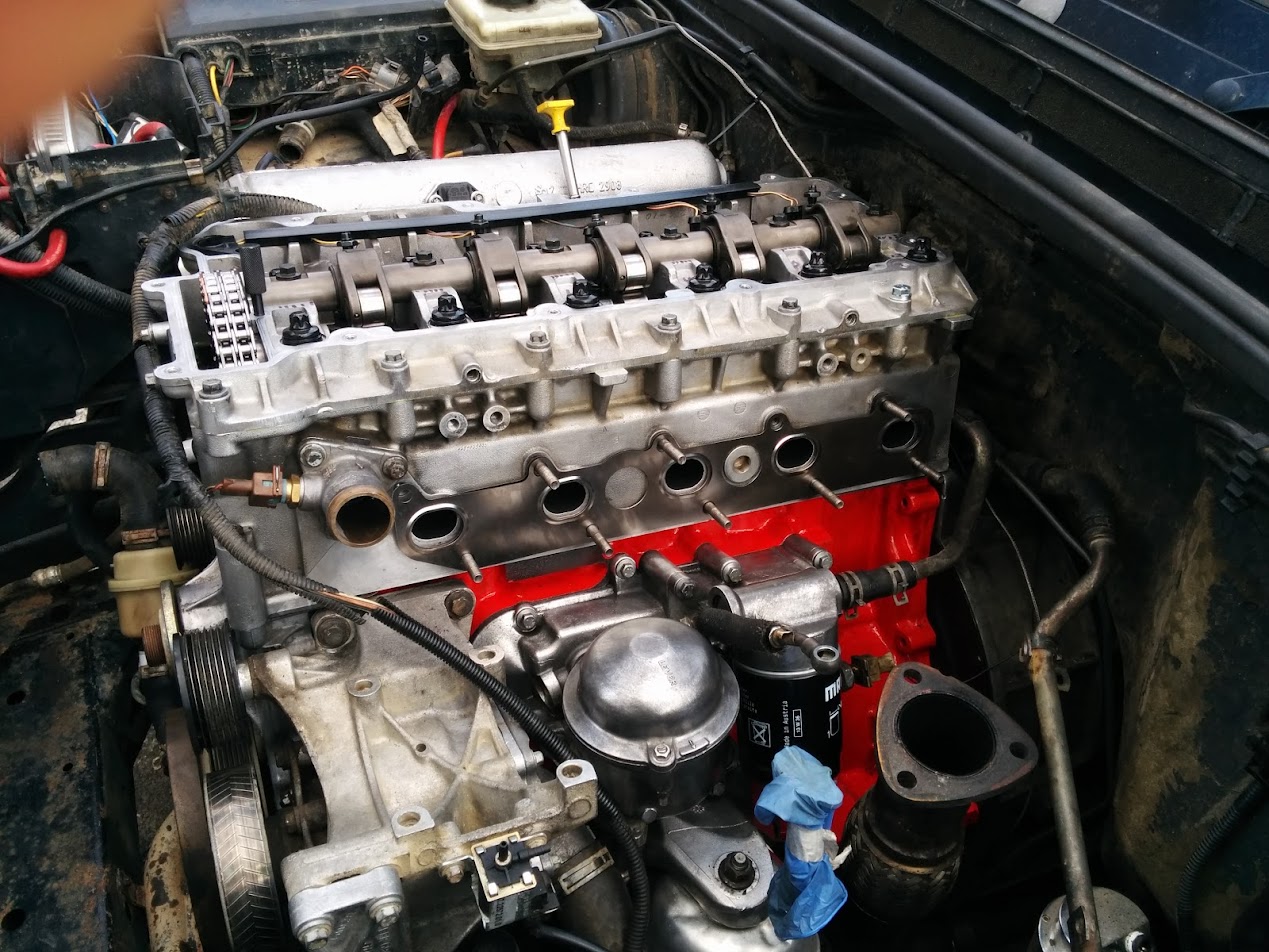
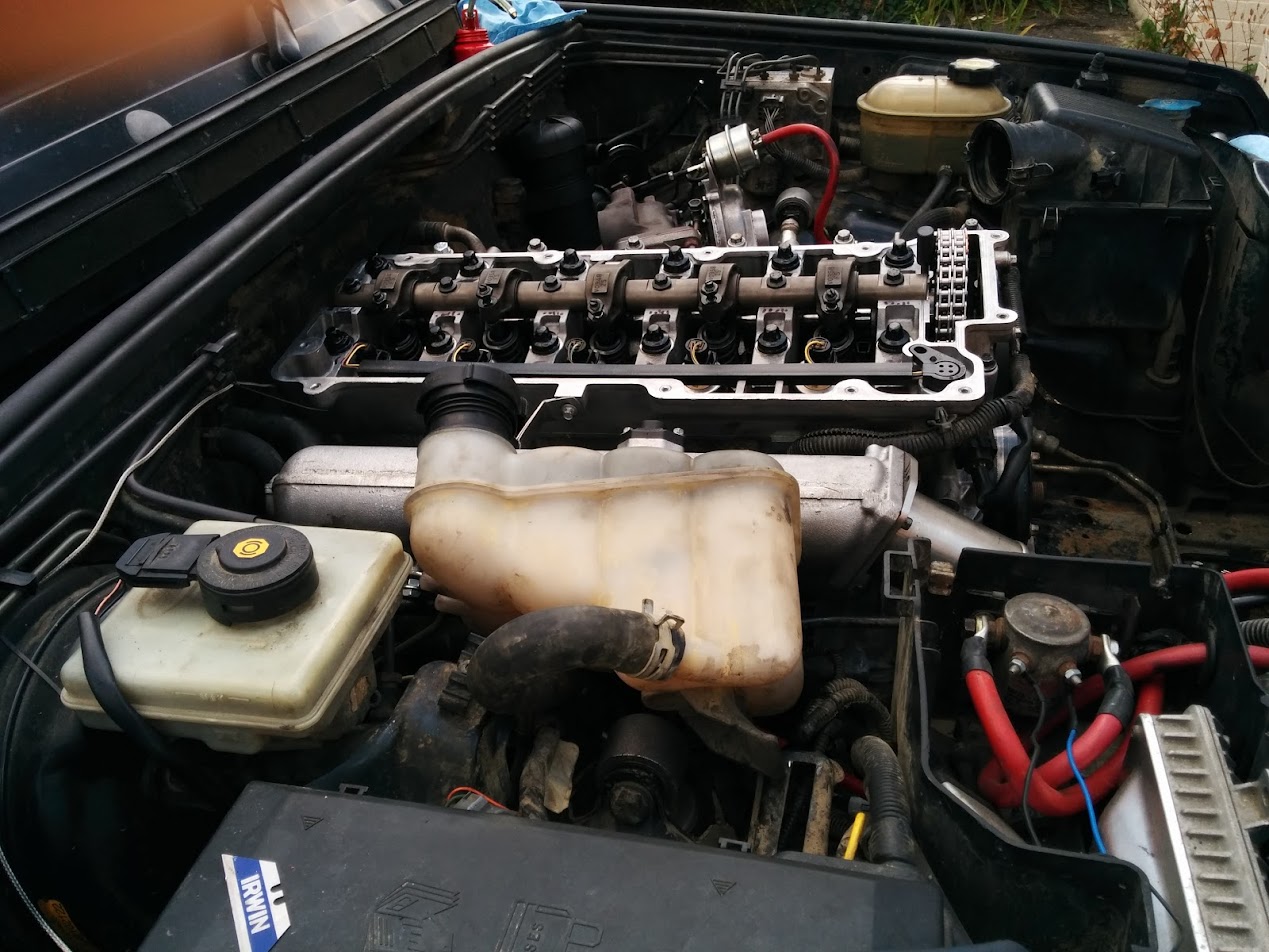
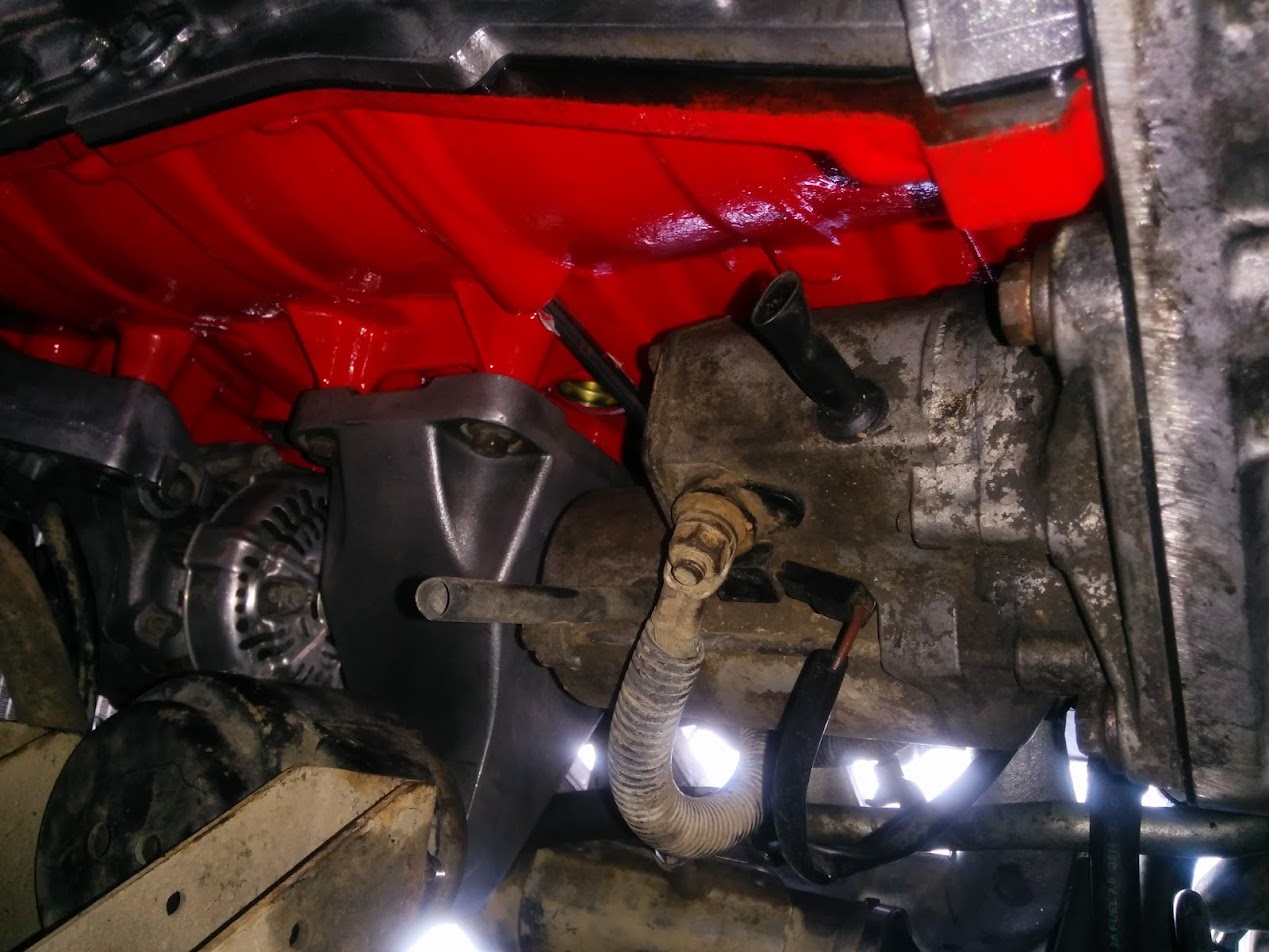
Made a mistake, drivers side engine mount is on upside down LOL!
Hope that's the only one.
Hope that's the only one.
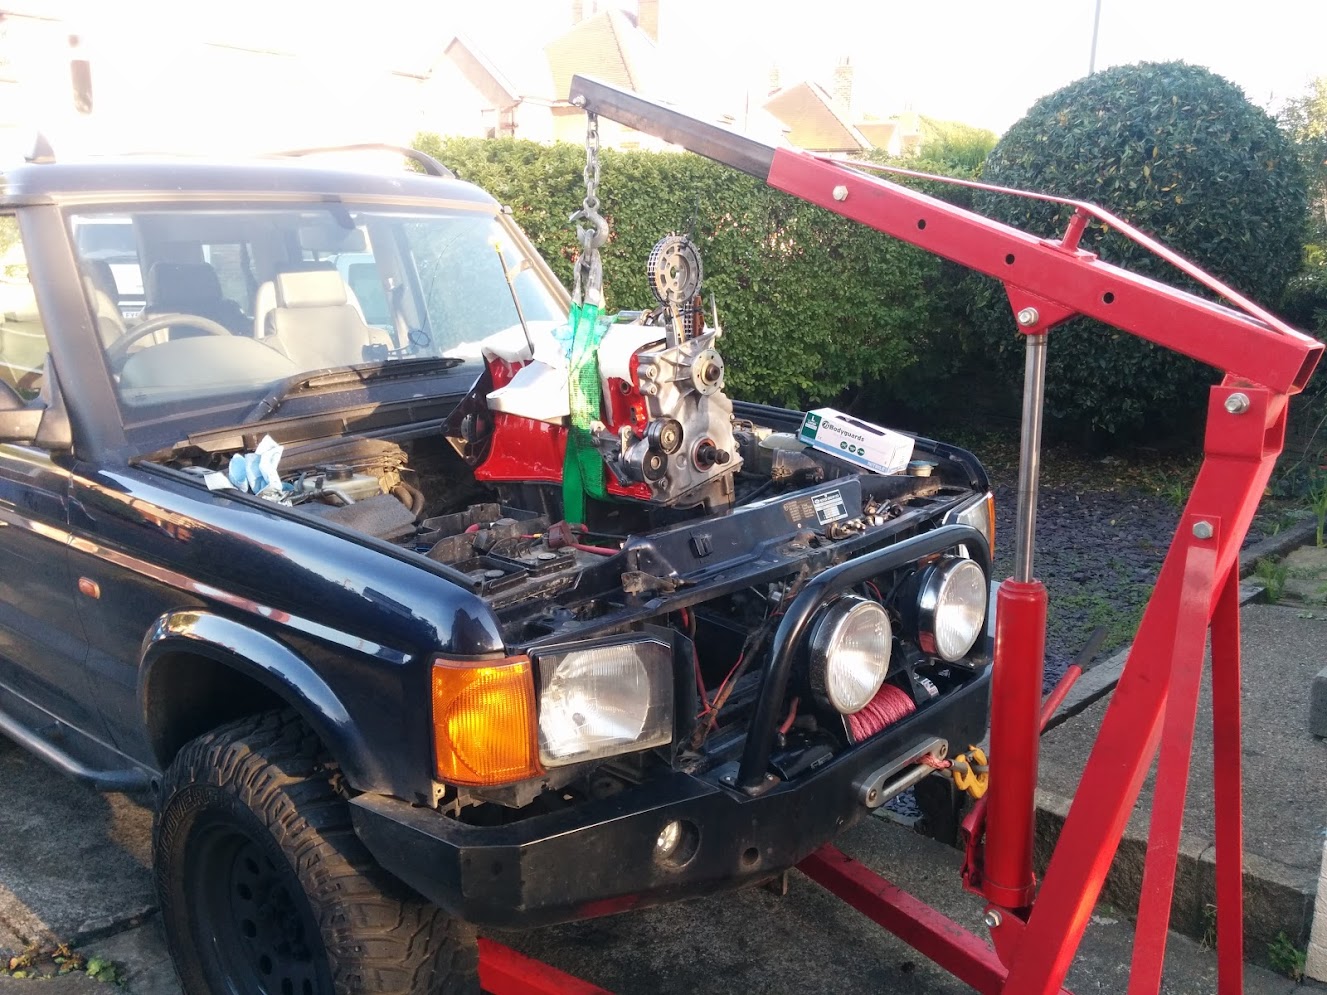
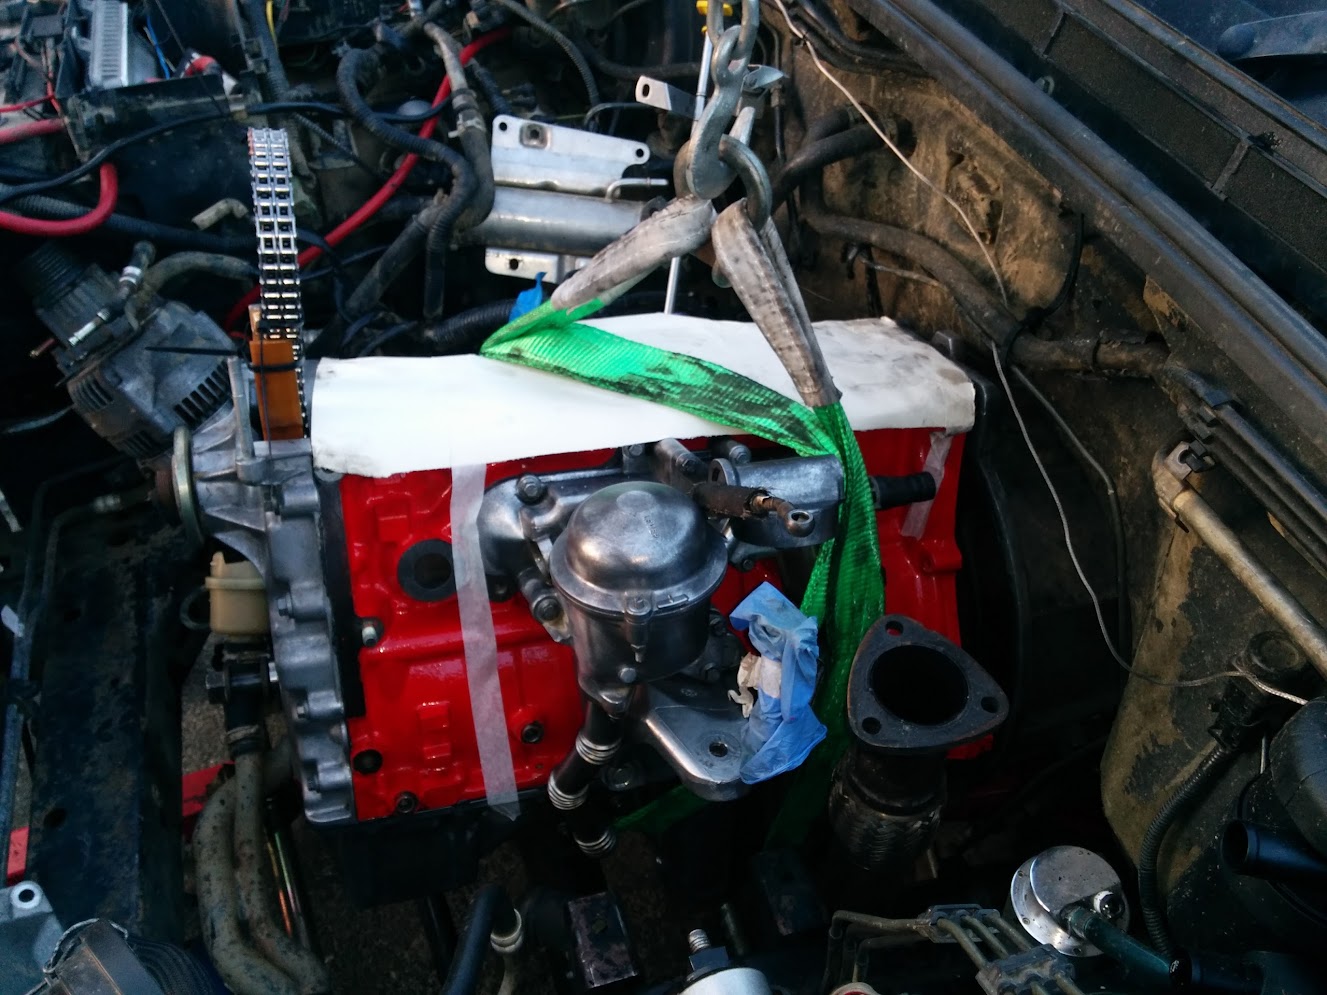
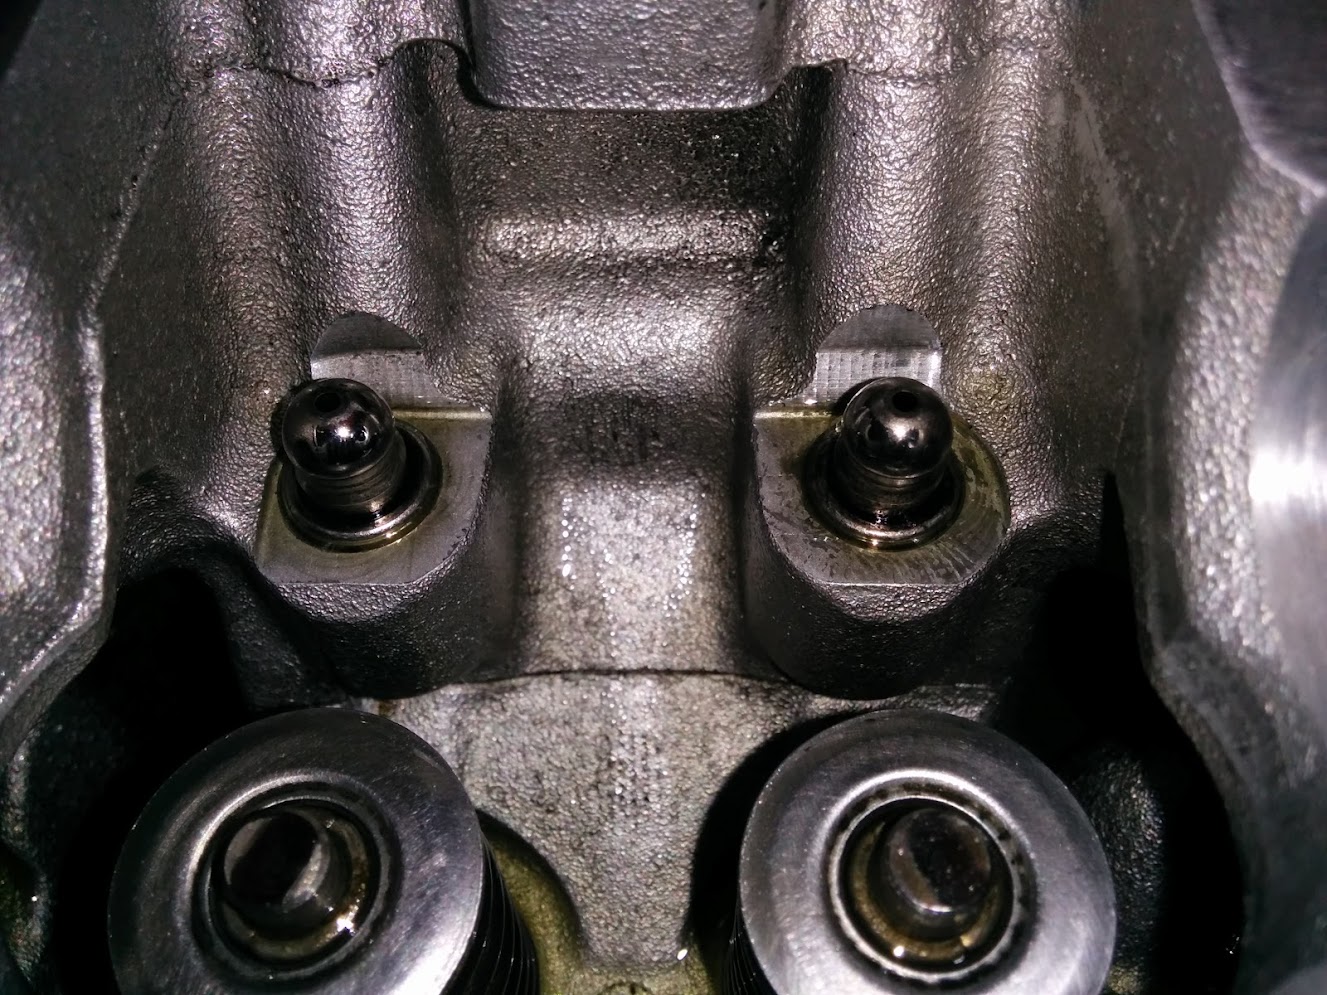
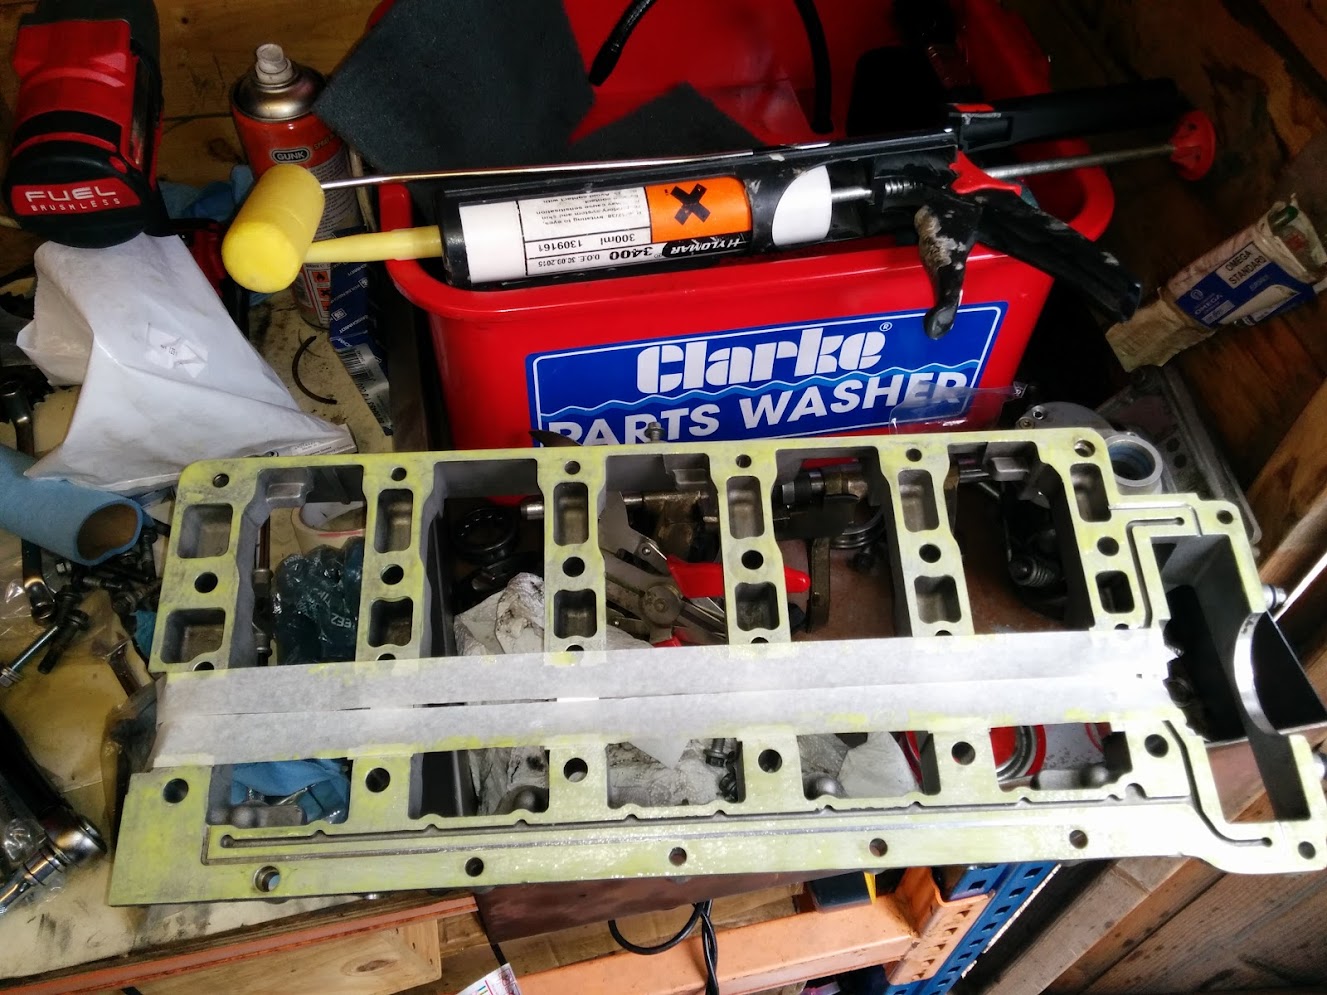
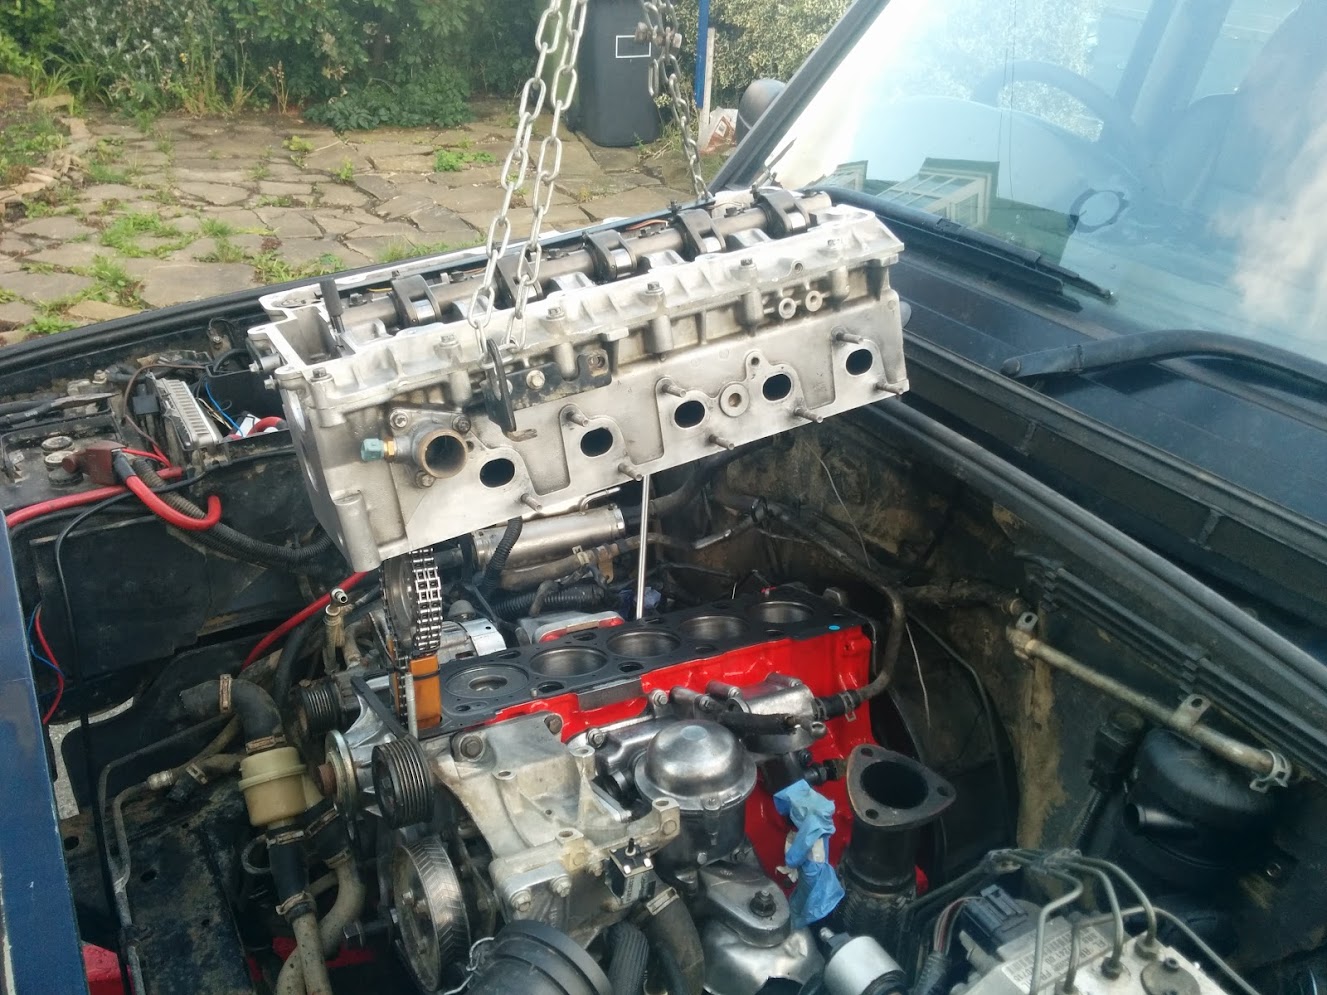
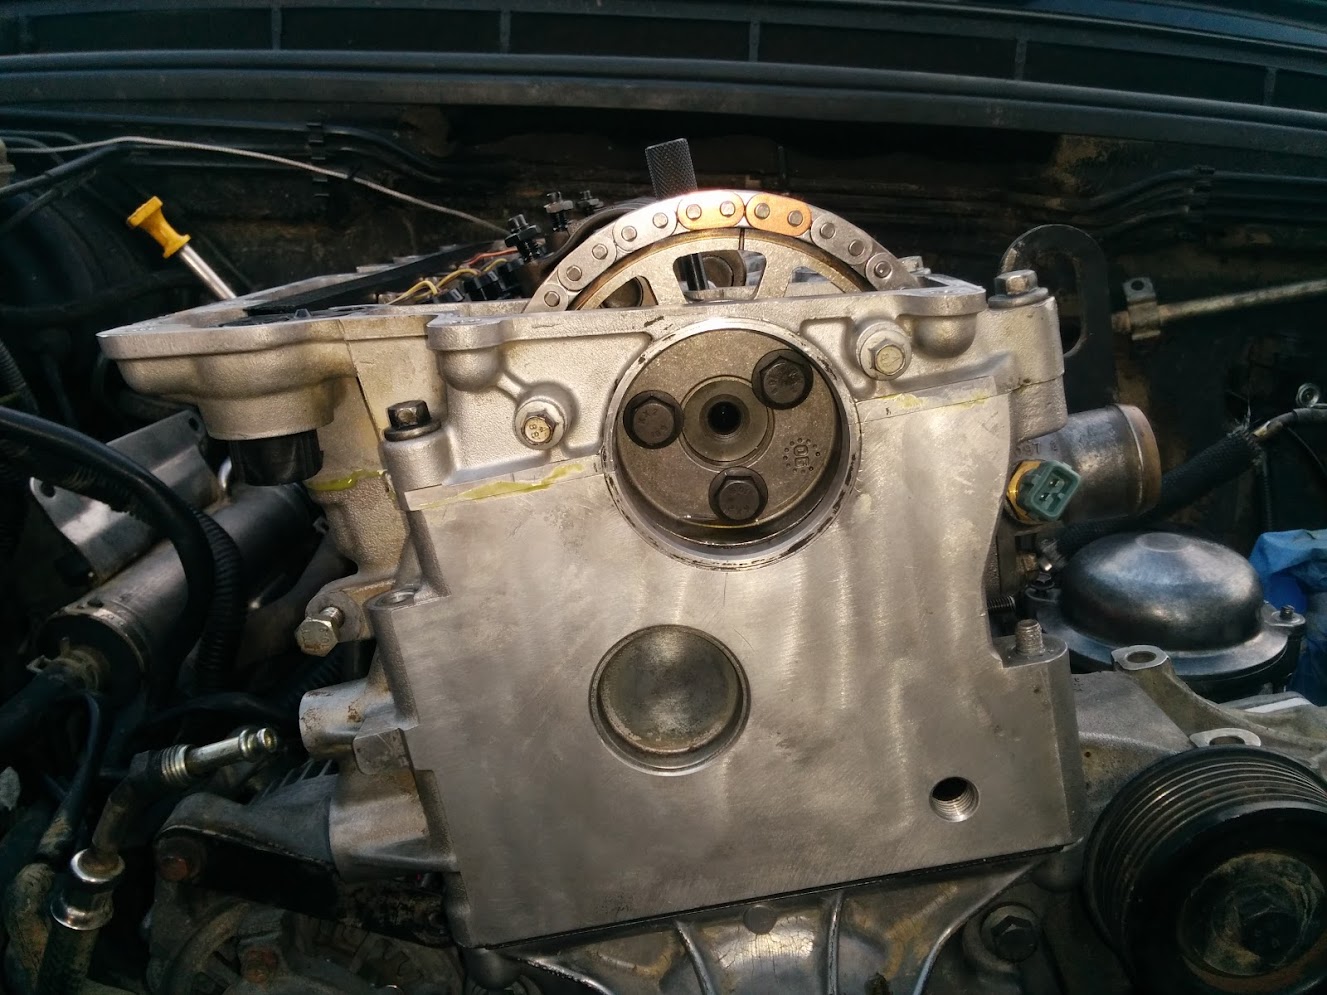
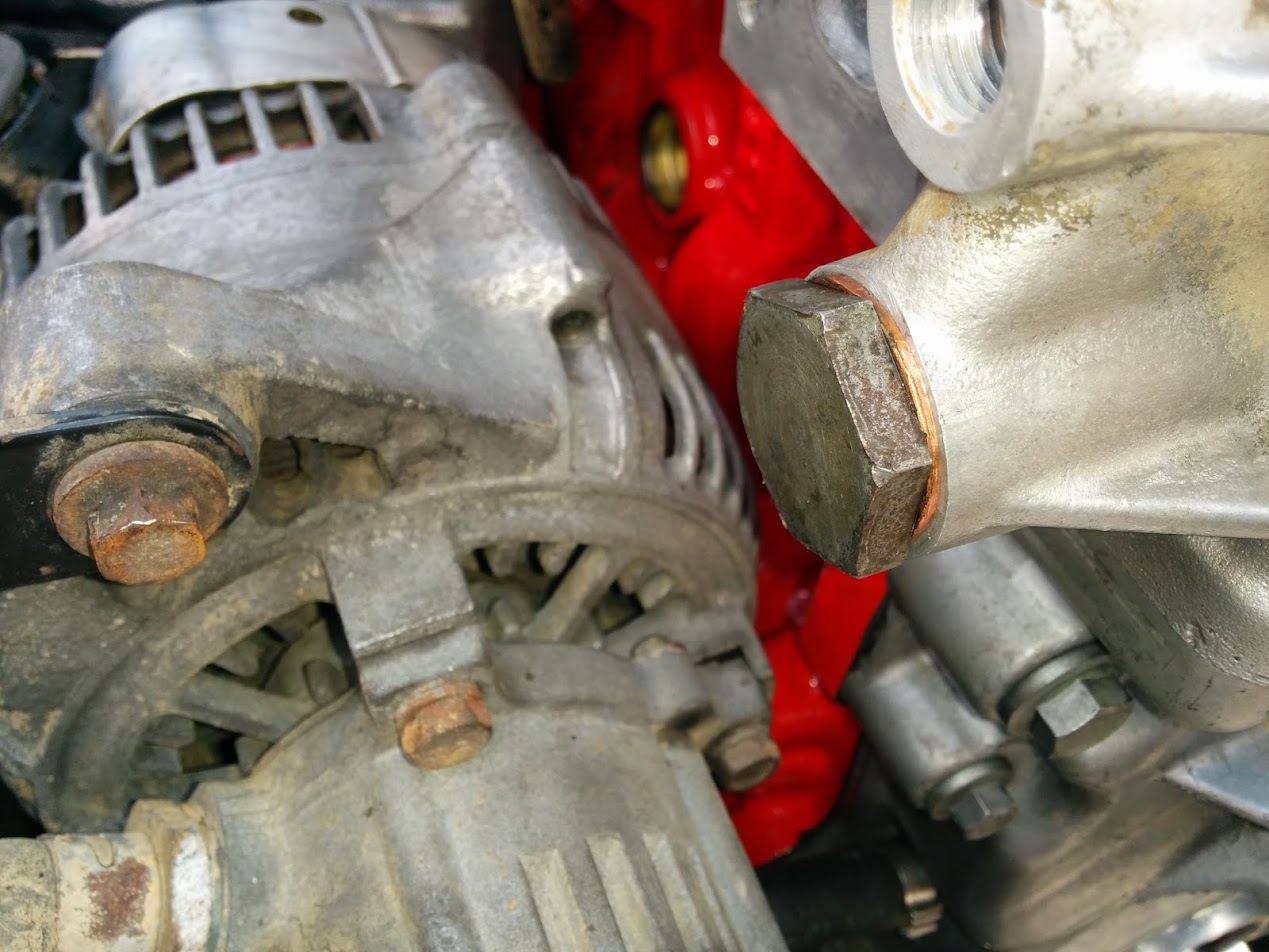
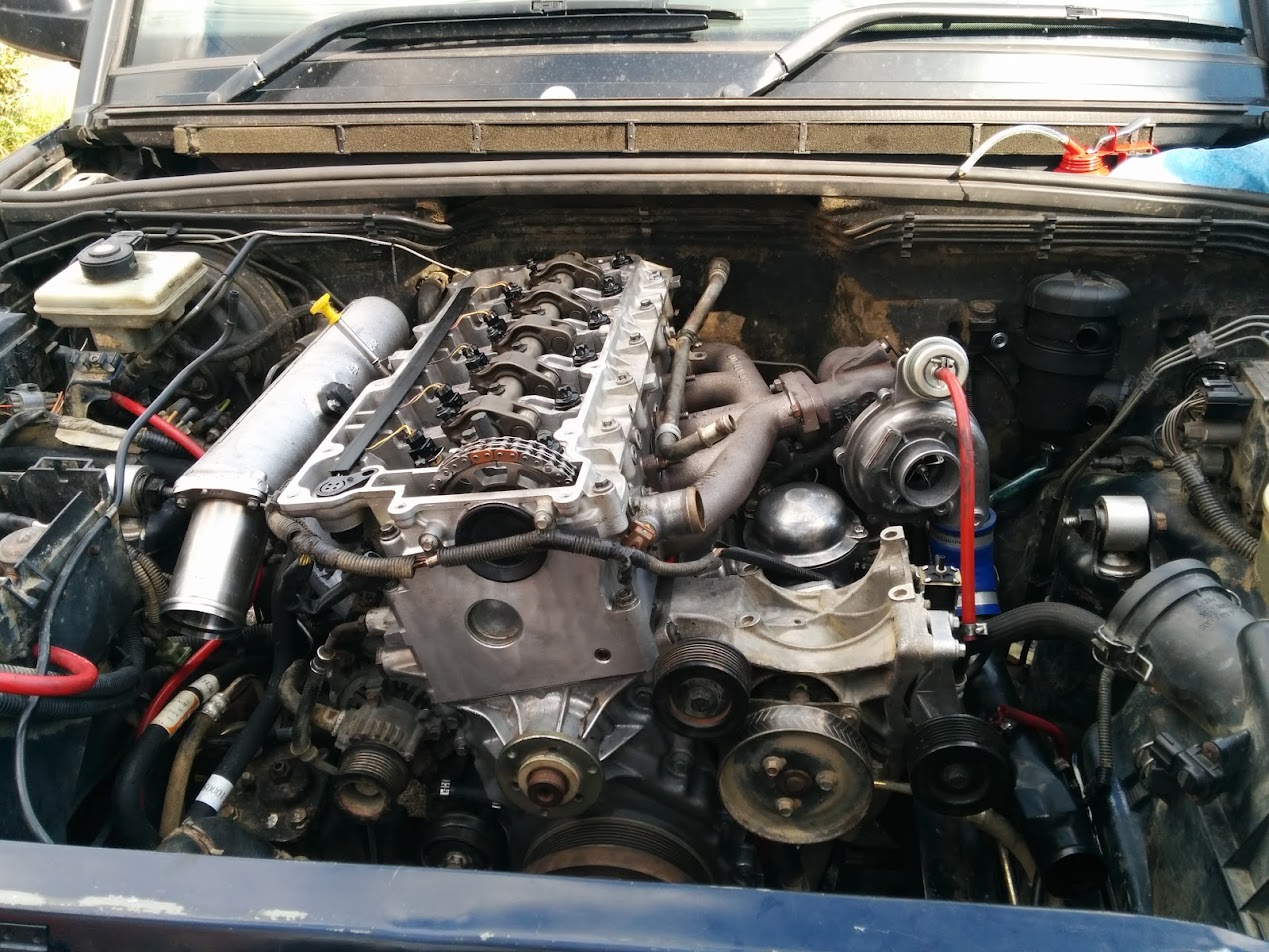
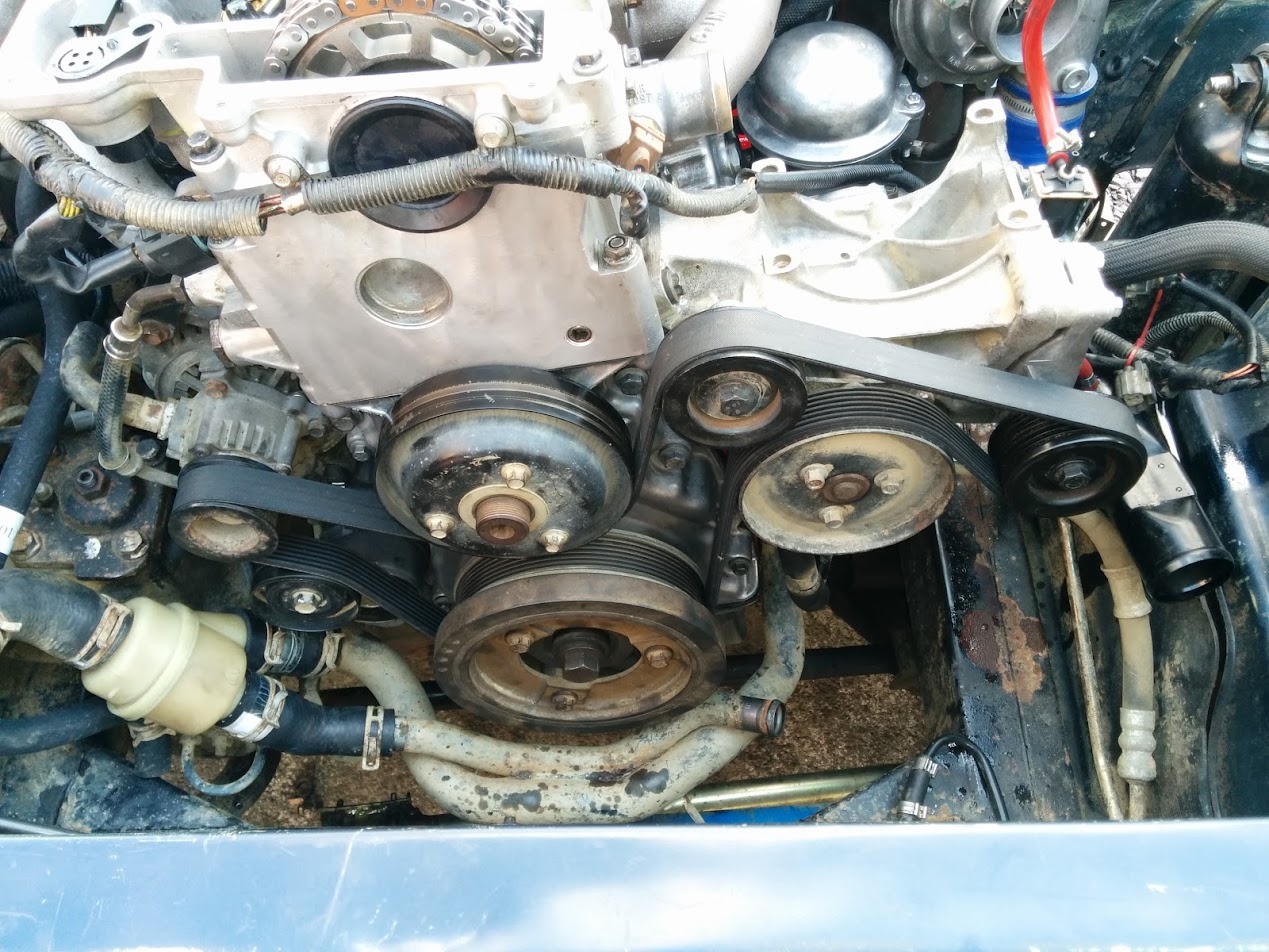
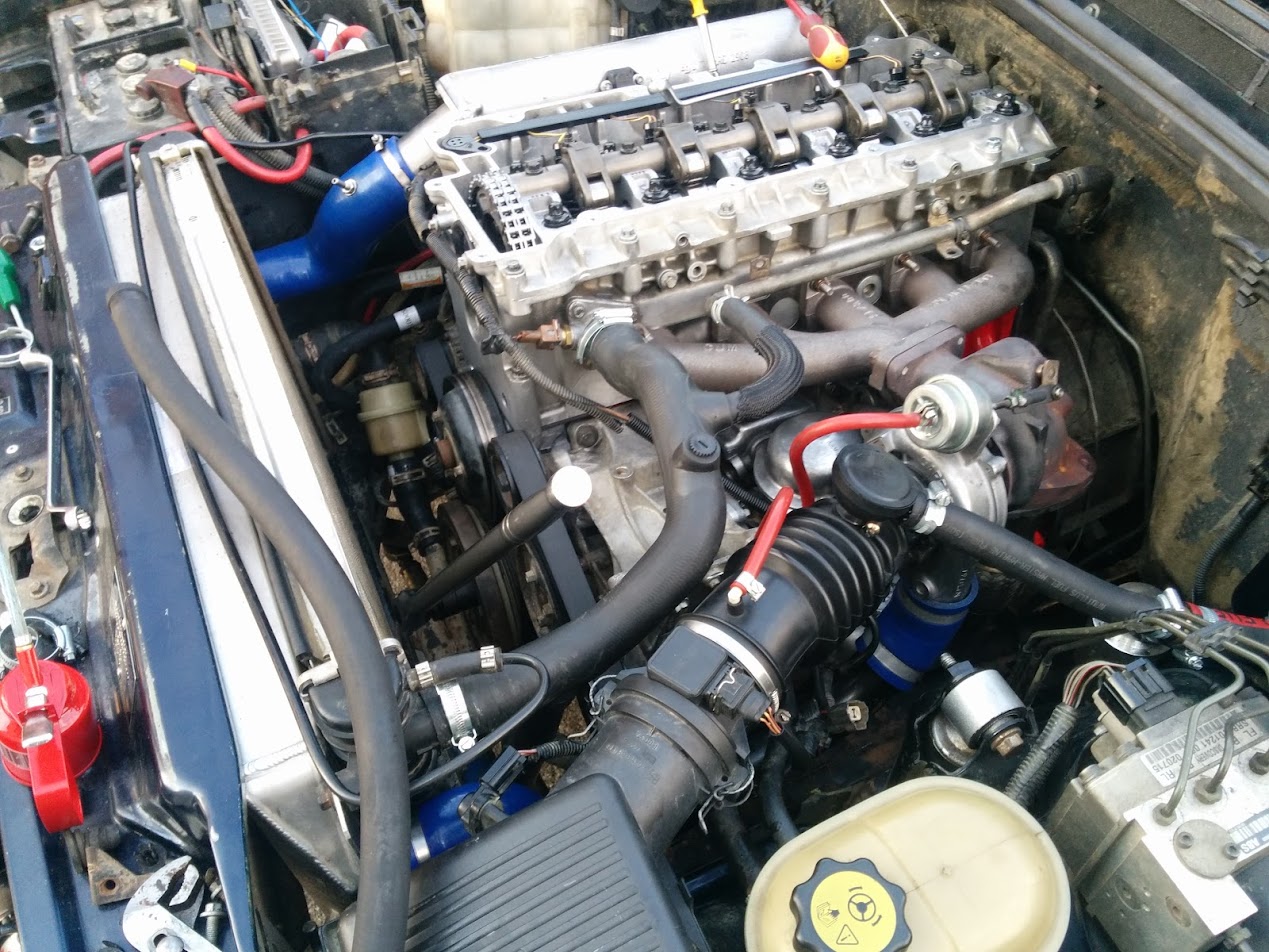
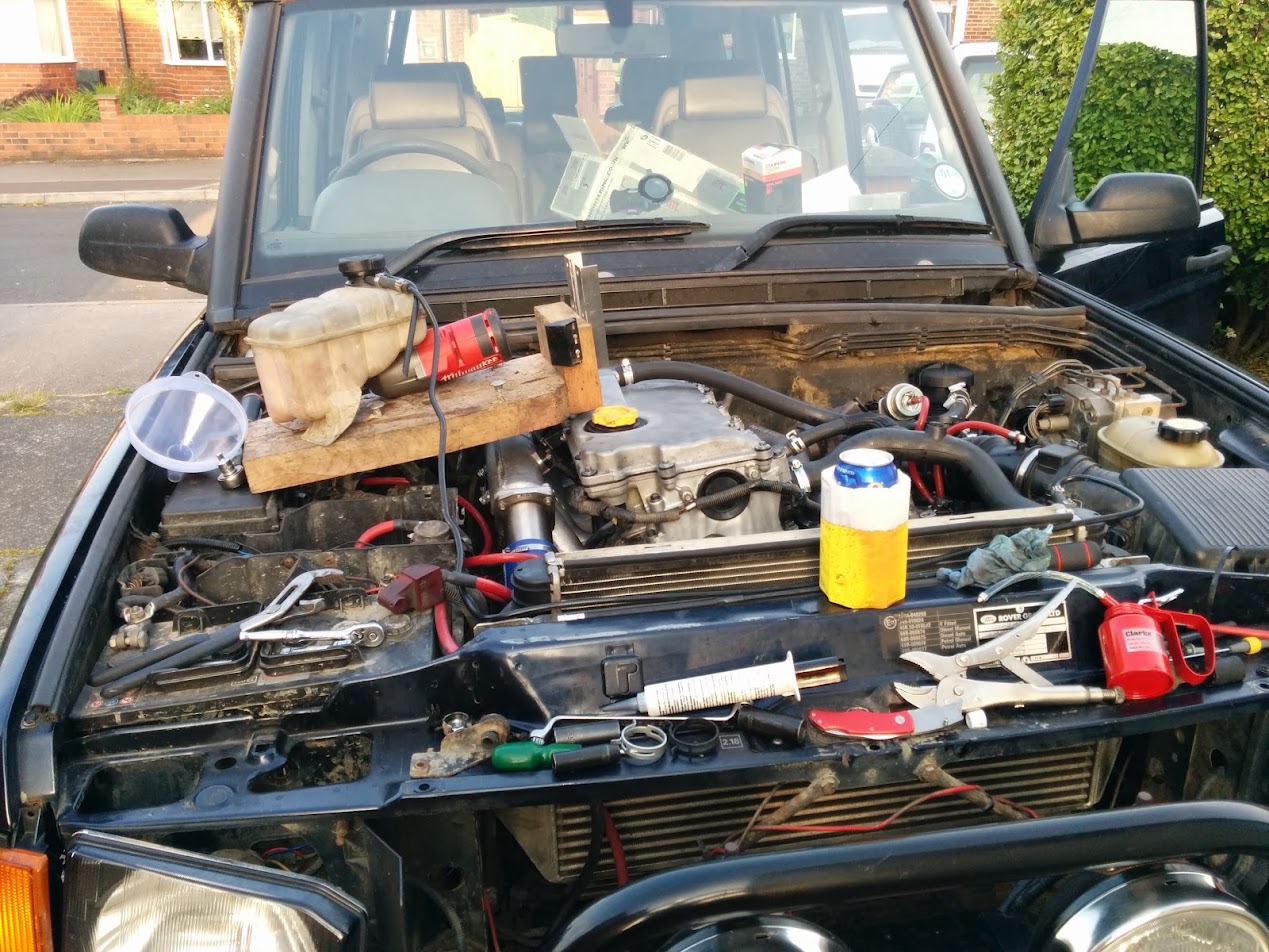
Going back in....
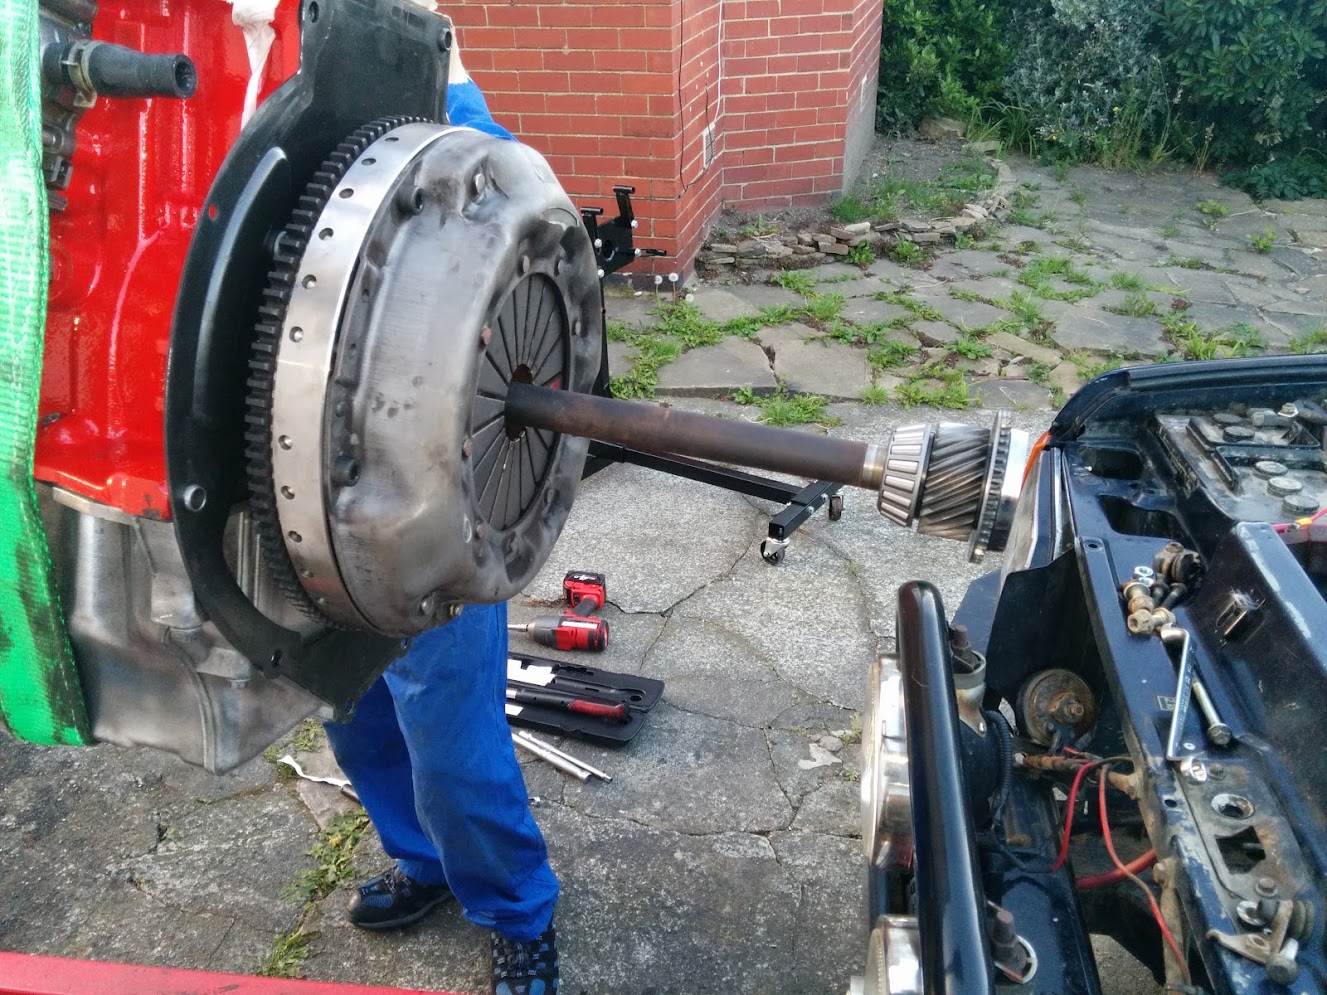
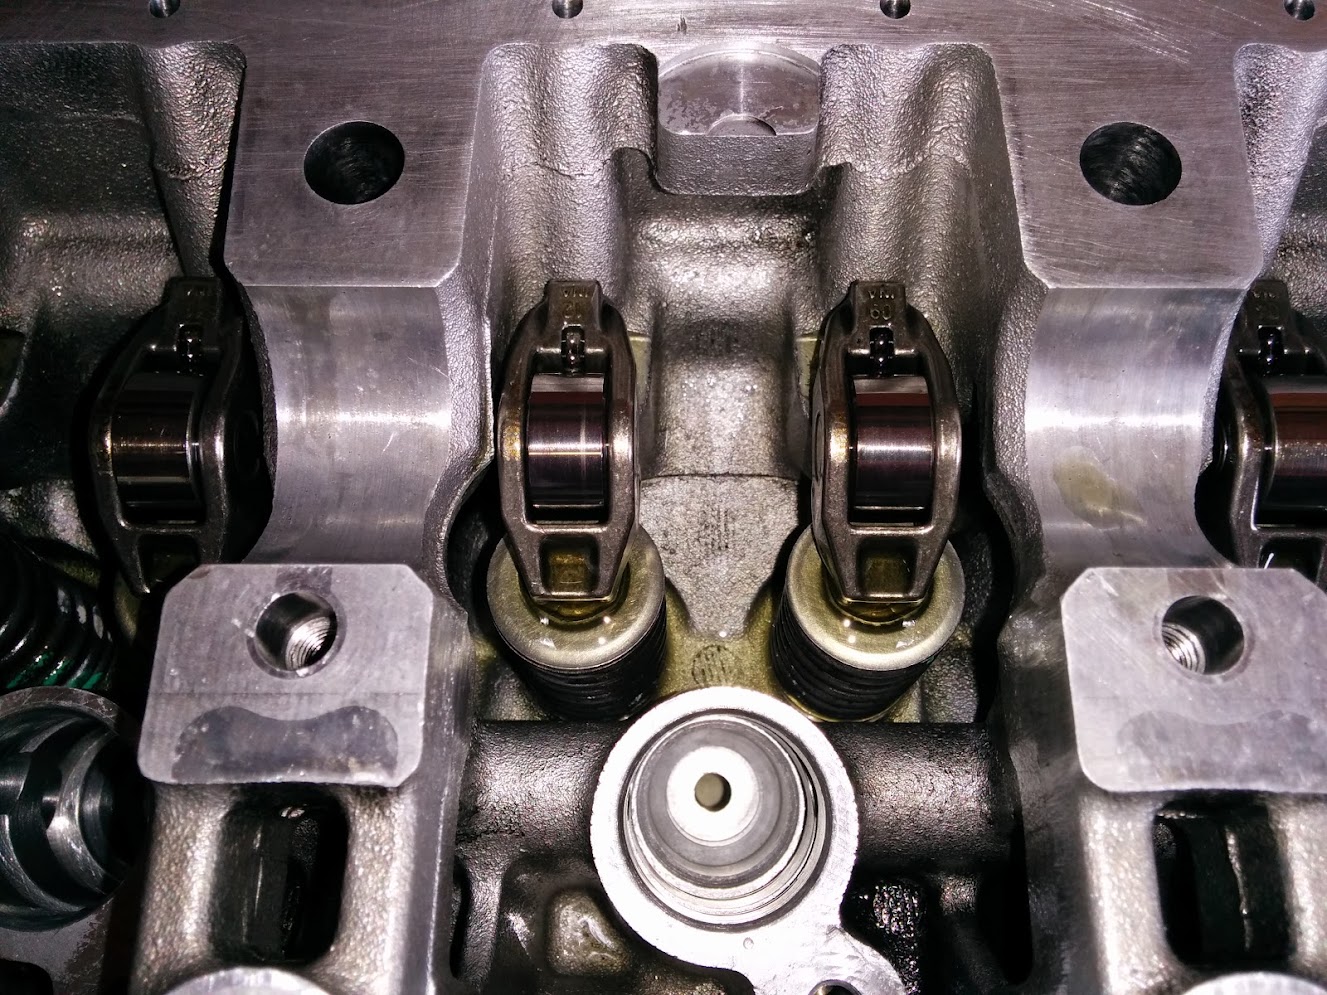
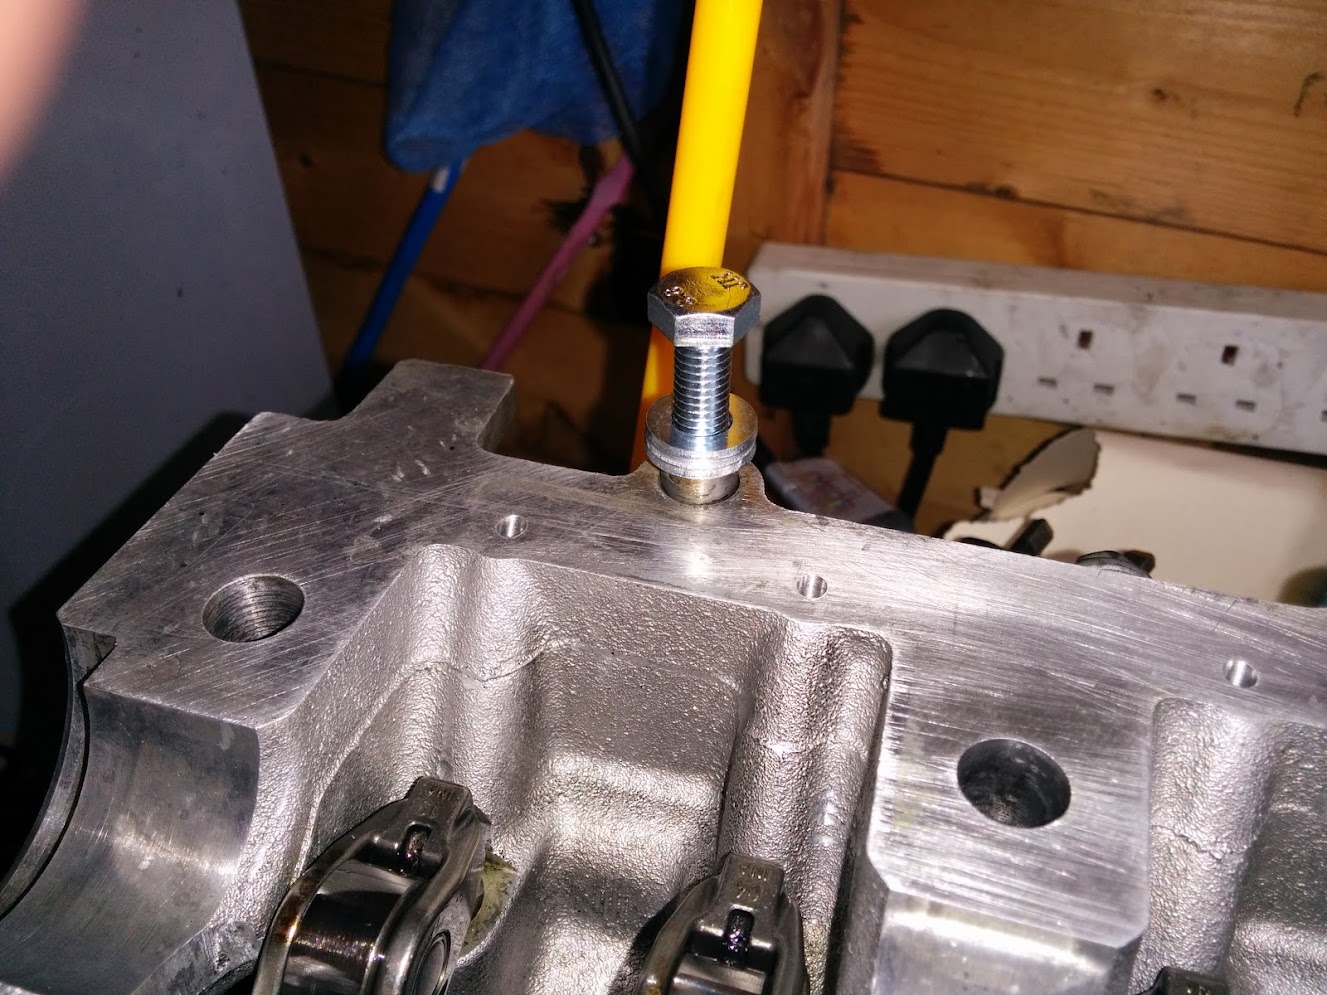
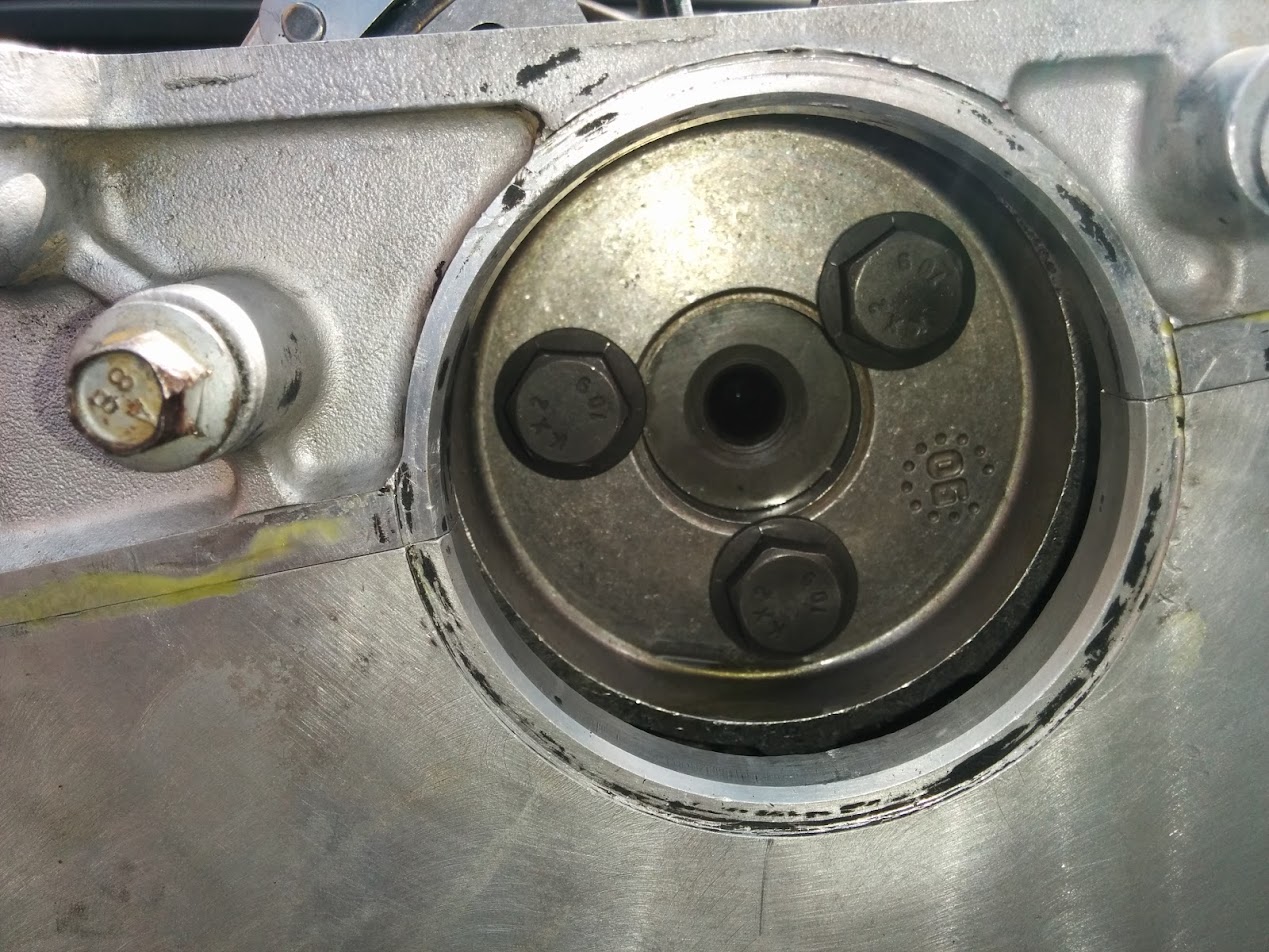
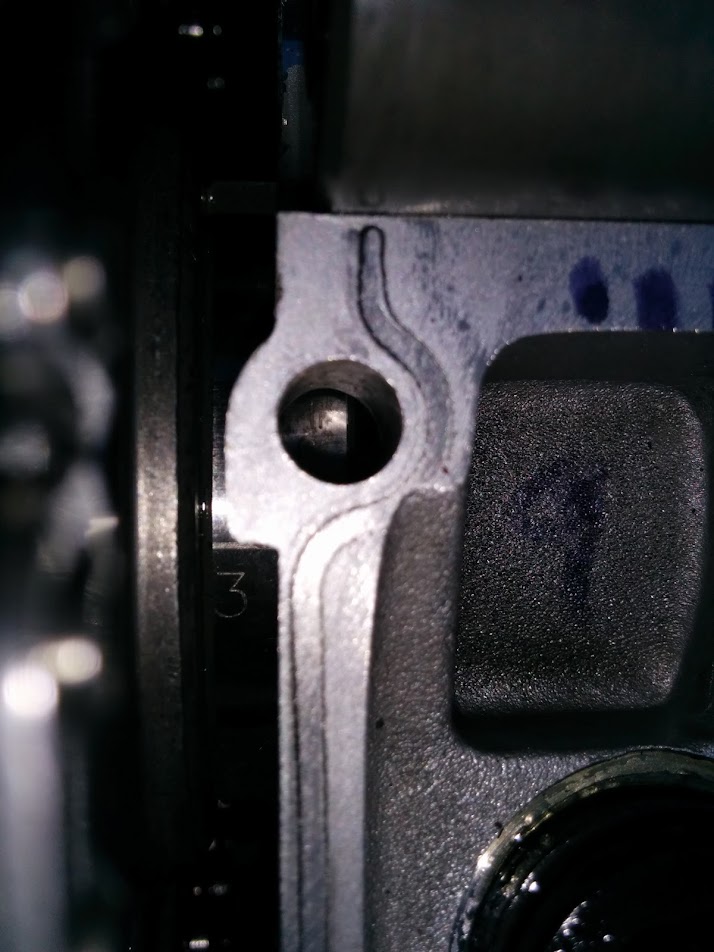
And back out... used a socket to align the clutch and well erm it was a pants alignment, rembered I had the perfect tool in the shed.... (engine has grown legs)
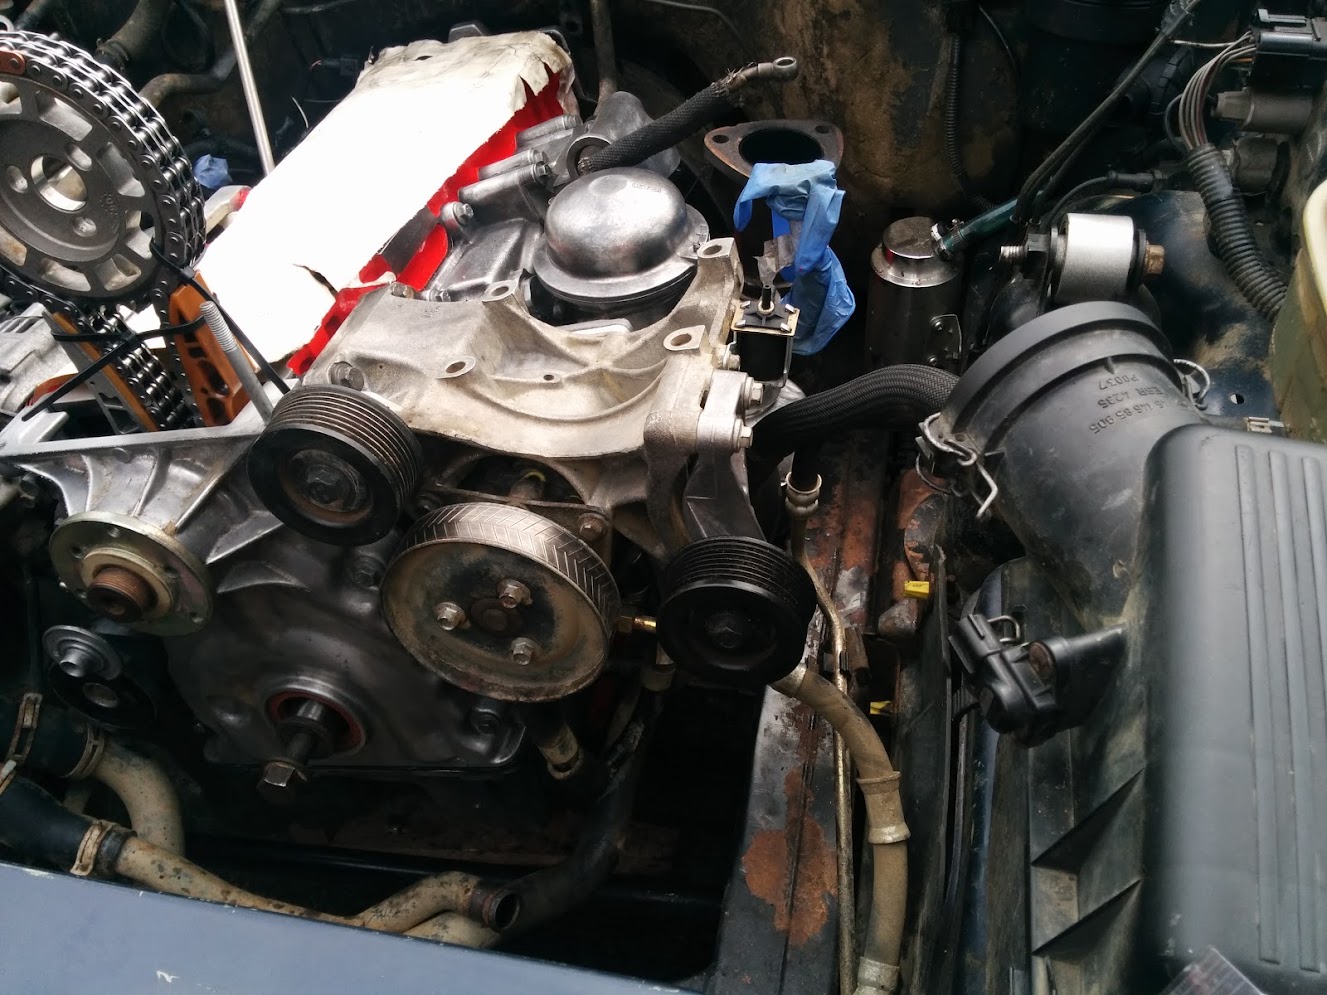
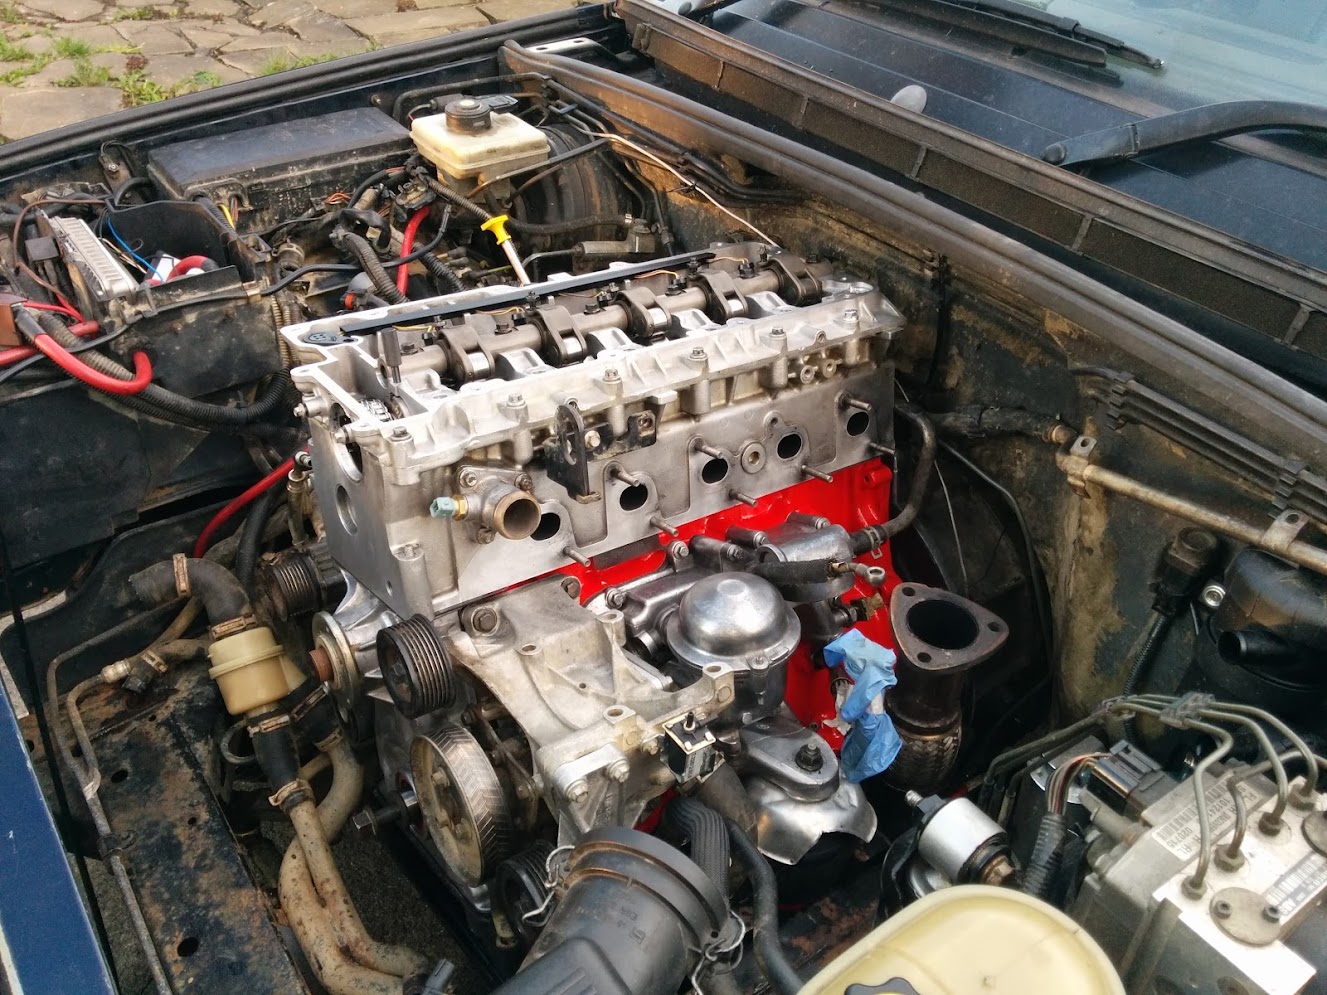
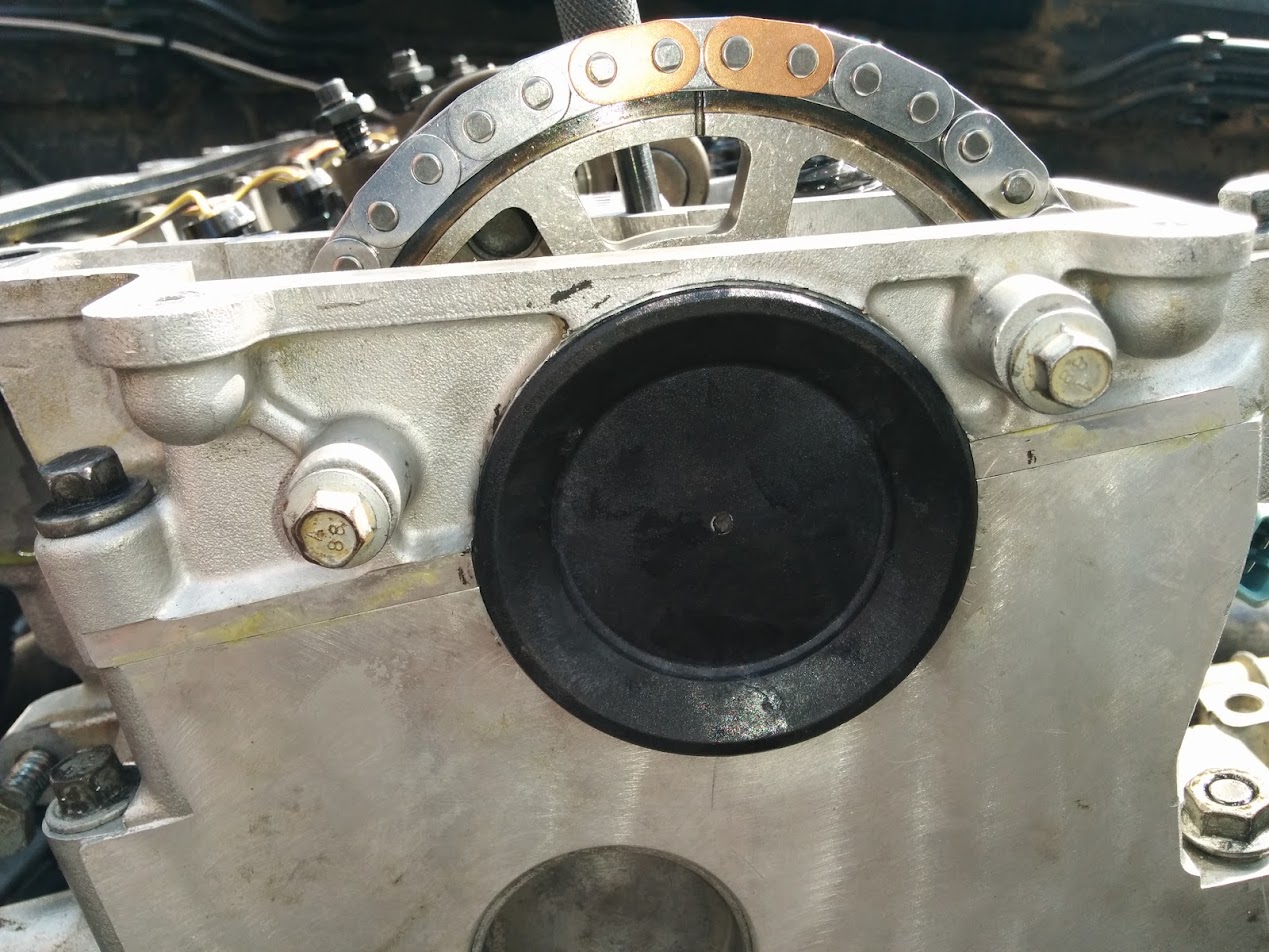
And it's in, YAY!
Splendid work mate.
Have a 3.5 V8 in the shed looking for love.... If only I could spare the time...and money


Tis a thing of true beauty Benneh. Why are you slinging it in an old Disco? It should be in an art gallery somewhere, or a posh blokes front room.
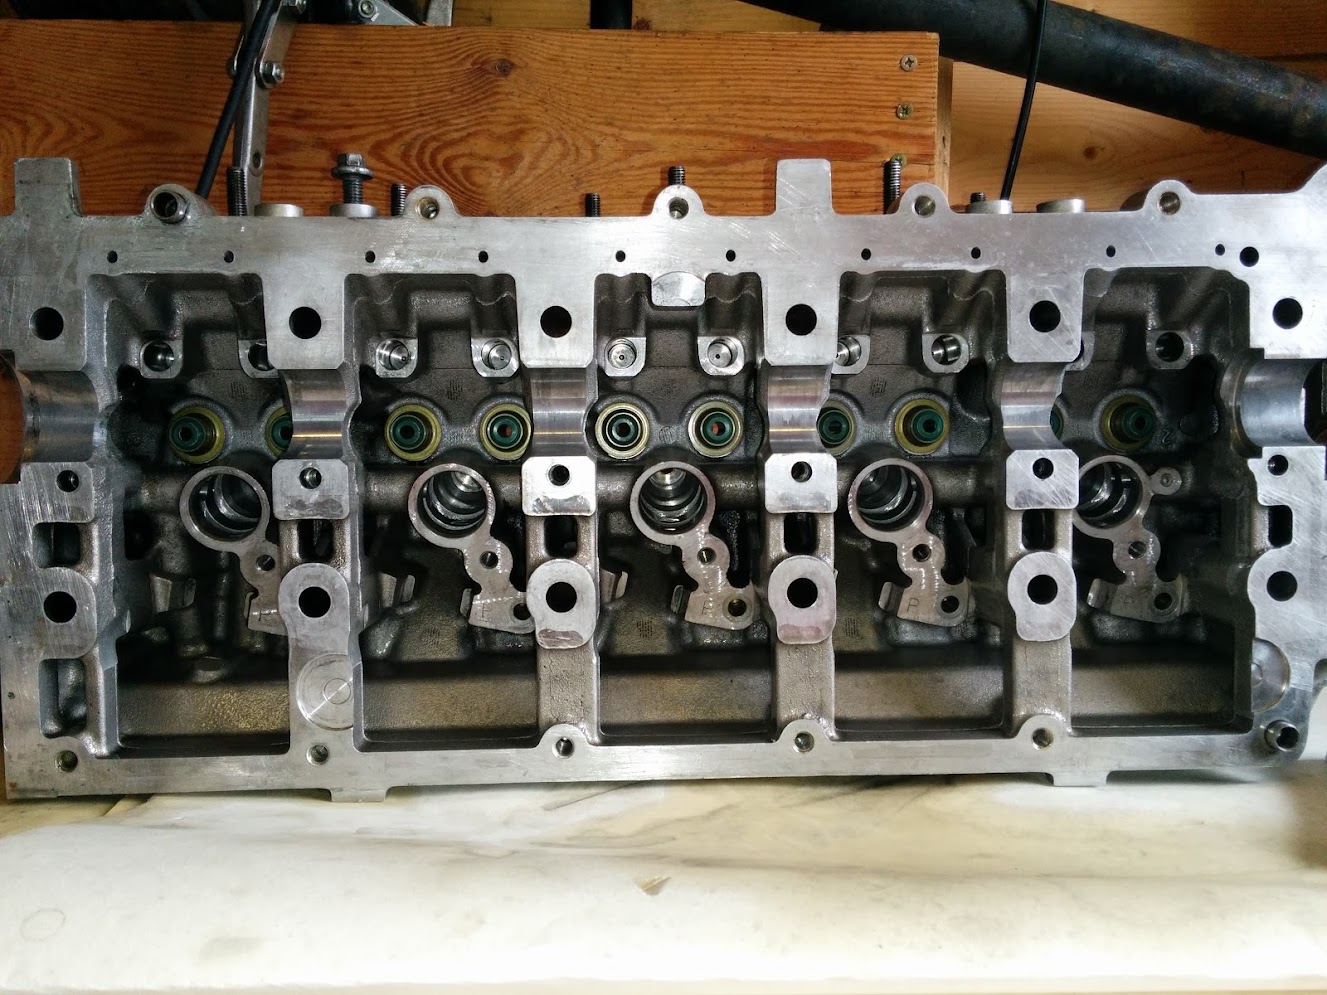
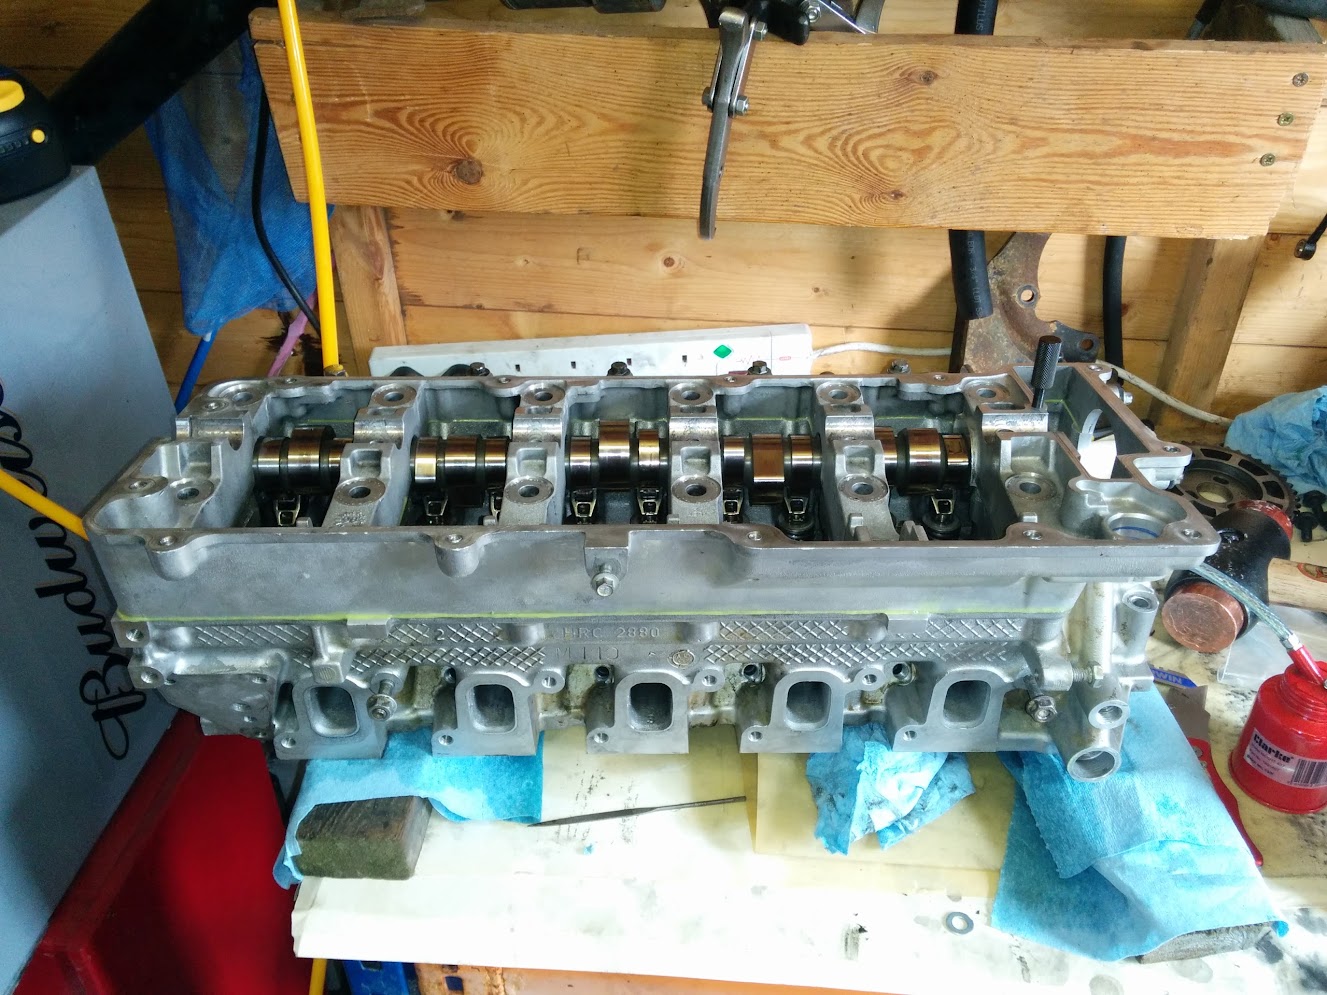
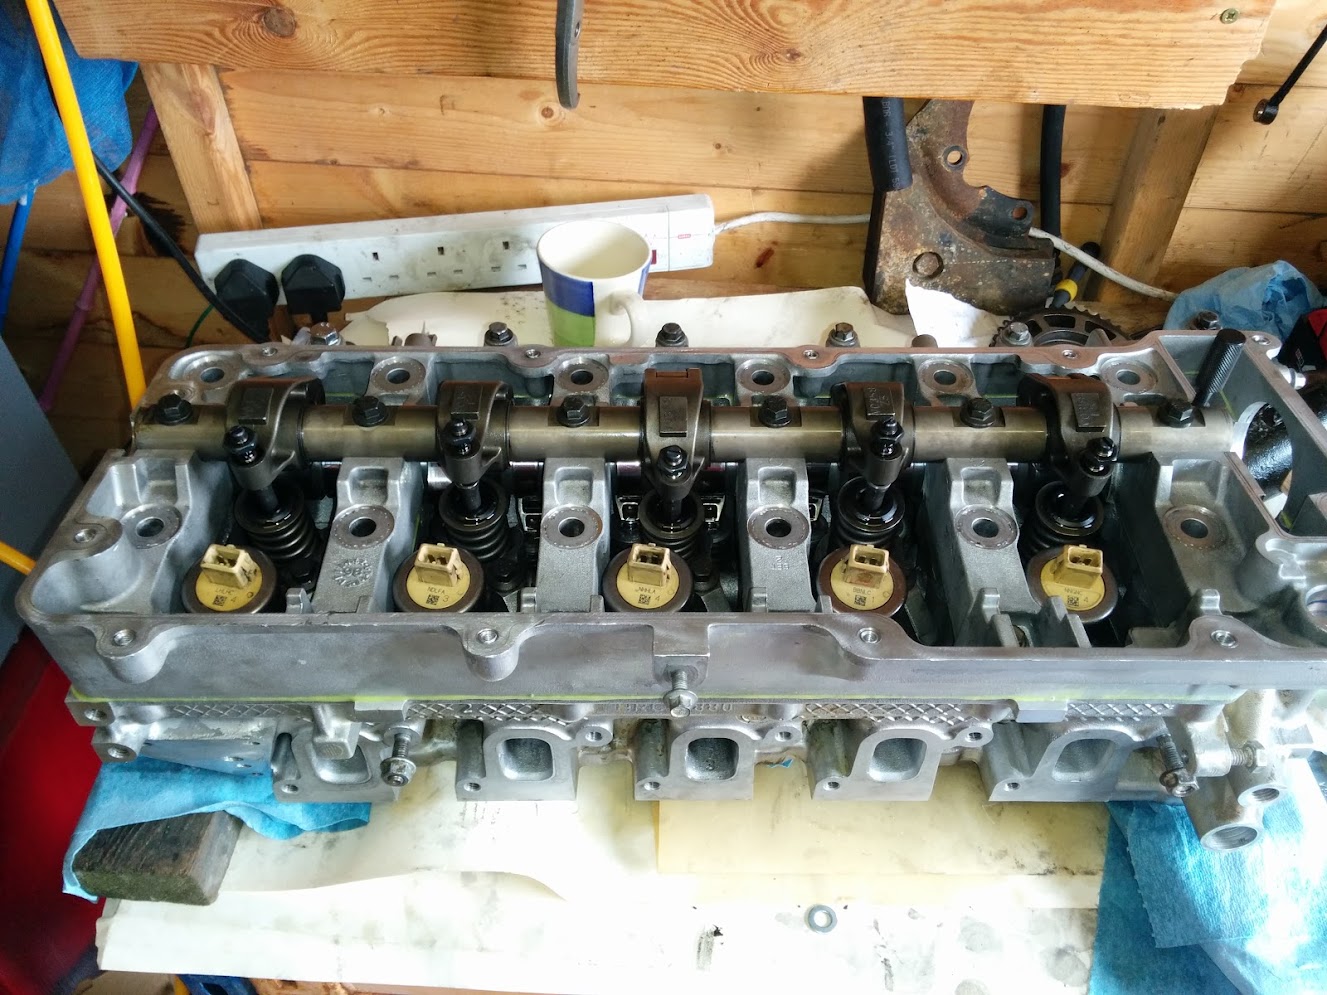
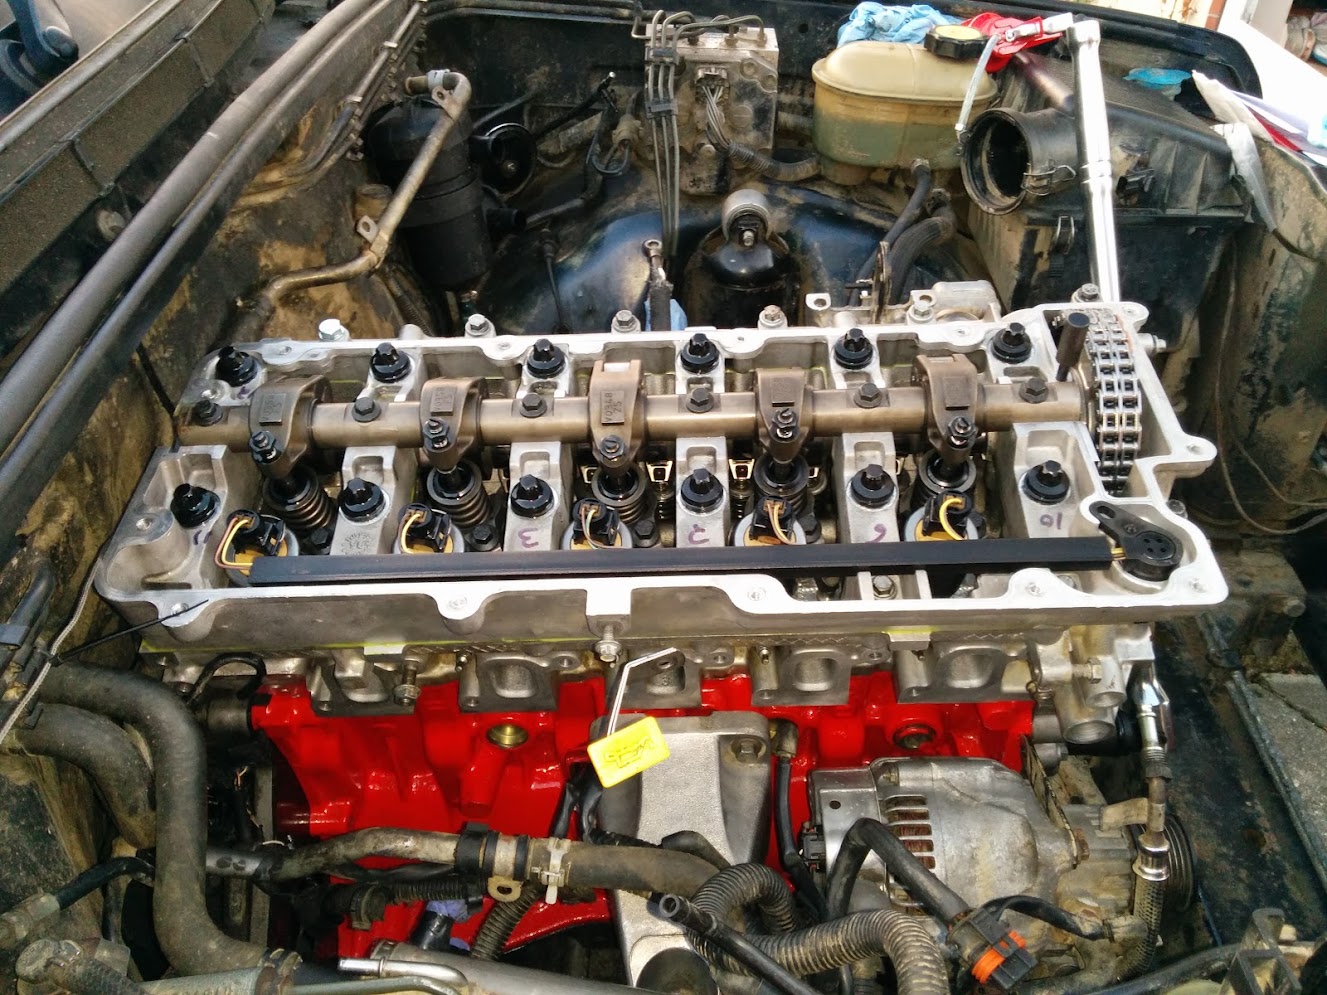
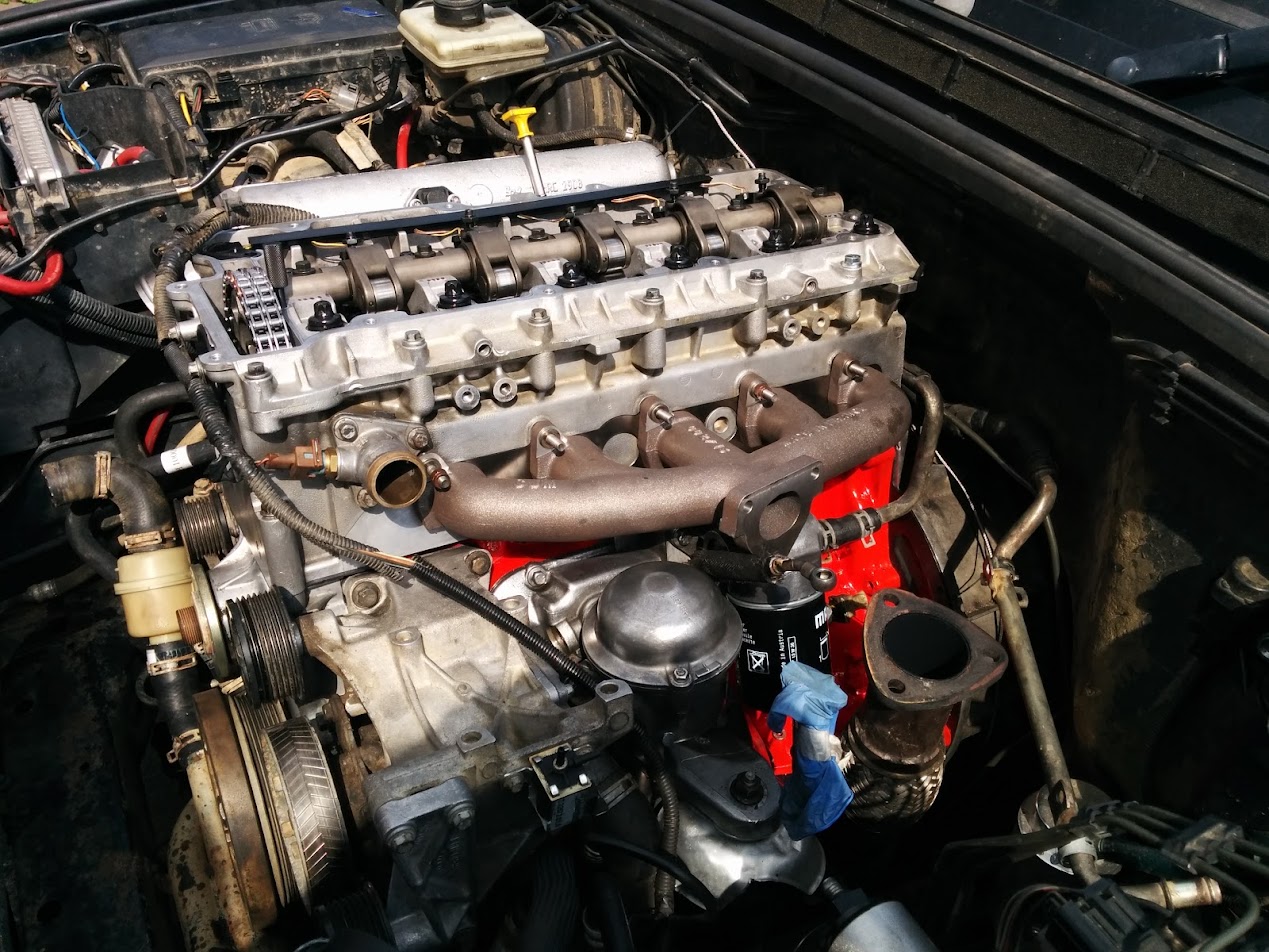
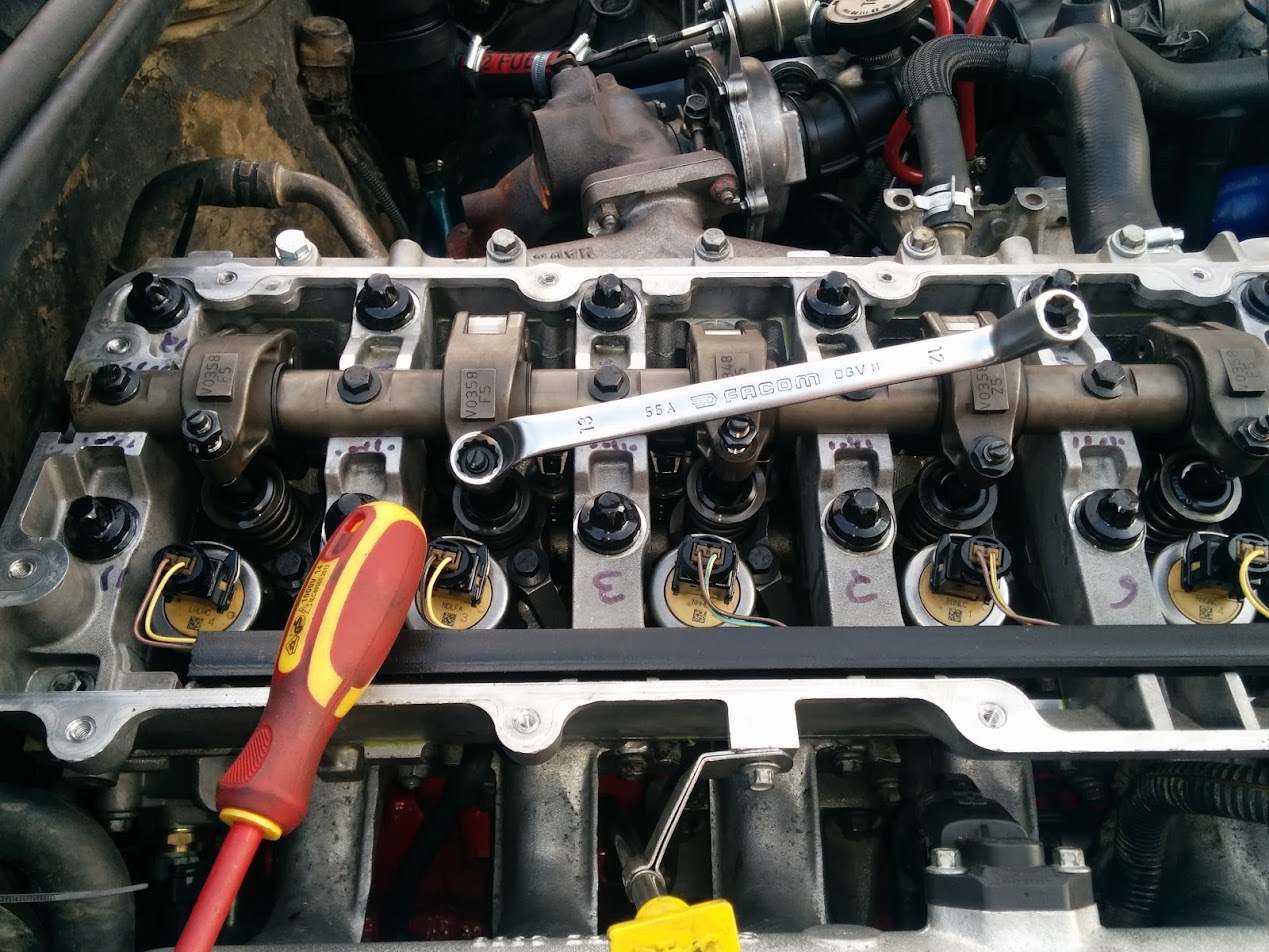
Others may disagree here, but I would be tempted to put the inlet manifold on the head before fitting it, as I don't have hands like Jimmy Savile.


Great to see it running. You must be chuffed!
Now you need to find another job to keep us hooked on this thread
raise:Welcome To LandyZone, the Land Rover Forums!
Here at LandyZone we have plenty of very knowledgable members so if you have any questions about your Land Rover or just want to connect with other Landy owners, you're in the right place.
Registering is free and easy just click here, we hope to see you on the forums soon!