Bankz's 110 Double Cab

This site contains affiliate links for which LandyZone may be compensated if you make a purchase.
STACK Boost Gauge fitted :cool::cool:


They are a little OTT with their connections but everything is supplied, inc a T-Piece to tap into the actuator, however I have gone off the Inlet.

Just fits behind the dash, mounting depth is actually rather deep!

Rest of the suspension arrived too, I do love these big bore shocks, they are truly made for LRs! Doubt ill have much of a chance to fit them until at least next week.

Tomorrow should be able to get the Gore filter head fitted and the intercooler.
 
Last edited:
Had some time this weekend so thought I would get on with a few jobs.

First up decided to fit the Allisport intercooler. Much better quality and larger than the Serck I have in my 90. Decided to fit the intercooler with the AC gubbins in place, while this didnt make things easy during fitment, it saves a lot of time and money but not removing it!

I did have to unbolt the rad to give enough space to fit it IC in. As per usual and the sheer ridiculousness of LR the insane plastic captive nuts obviously just spin round and round. So I had to cut the old intercooler off. What is wrong with just a regular nut and bolt I do not know!
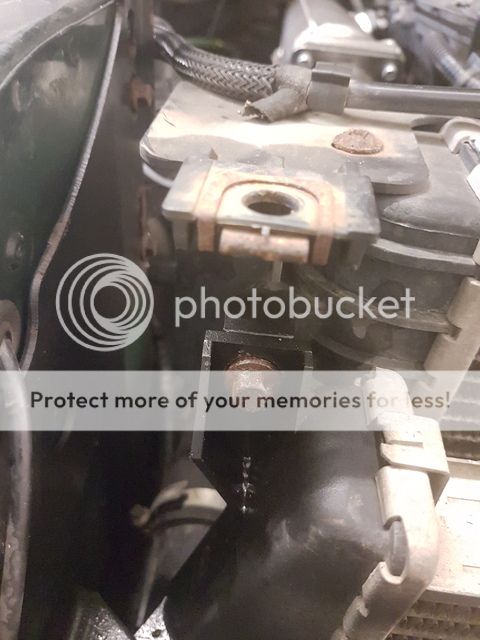


Slotted a nut in captive space then put a smaller bolt through and nut on the outside, makes for much easier removal if I ever have to take it off.

All fitted! Didn't actually take that long, 2 - 3 hours maybe
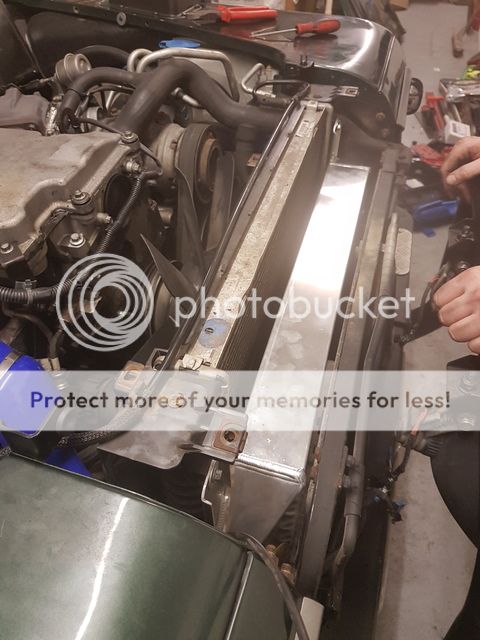

Nice Allisport hoses, which are ever so slightly too long, which causes the hose to bend a little but nothing to worry about. I might cut a little bit out where the boost gauge fitment is, so I can slide the hose on further.
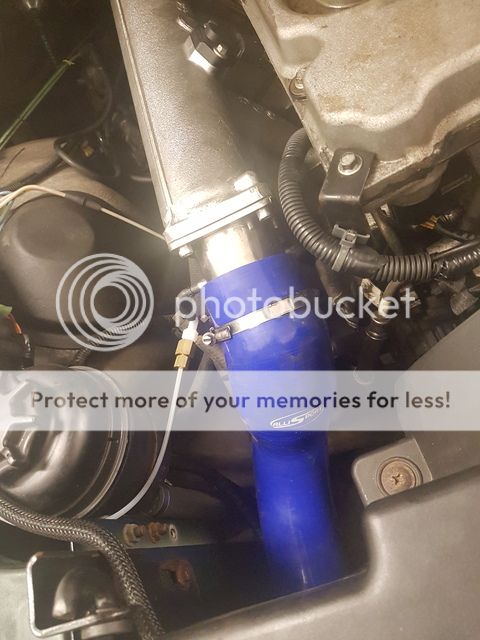


Next weekend I may pull the inlet manifold off, give that a bloody good clean! Any tips? Do these bolts have a tendency to sheer like the manifold bolts? Got a new gasket to use.

Next was the fuel filter head, pretty easy job, or so I thought...

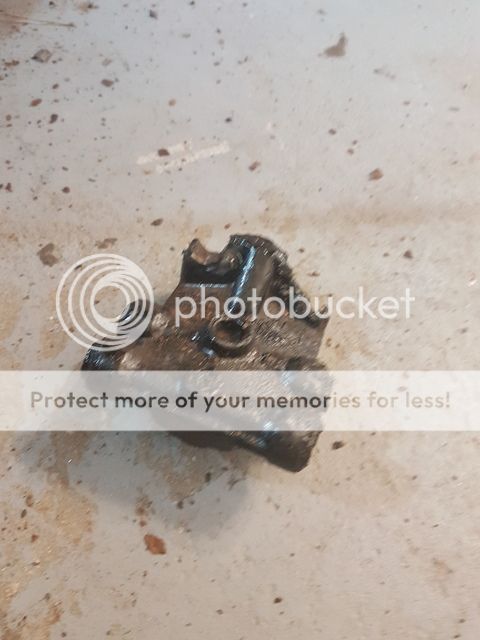
As I expected the old one was very badly corroded
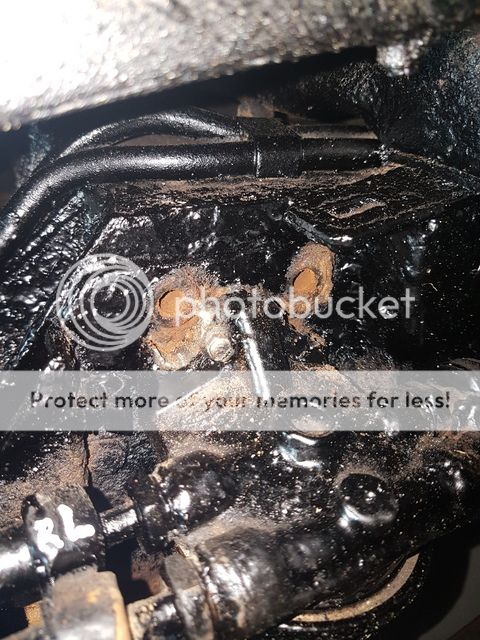


New Gore unit fitted, didnt take long
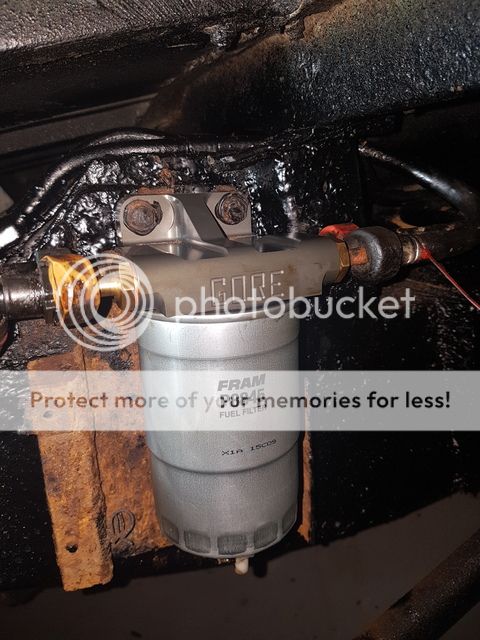

Got all the connectors refitted with new copper washers, I also cleaned up all the brass fittings so they are almost like new. Went to purge the system and I get this -


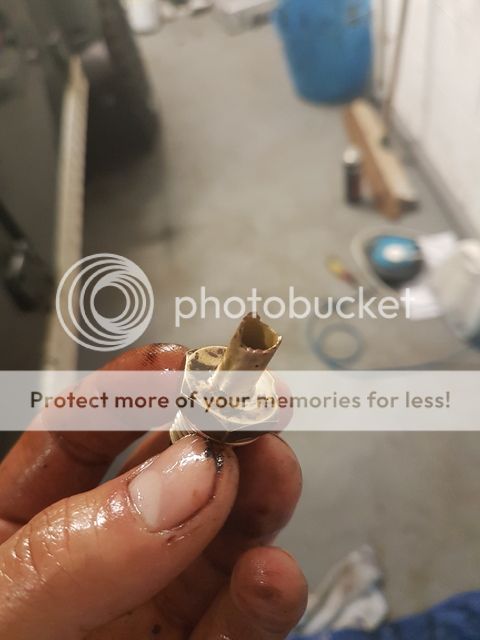
Joy! :mad: It's as though the internal seal on the female push fit connector has failed.... Going to take another look tomorrow, see if I can make it seat better, if not anyone know what the part number is for a new one? I couldnt find anything online bar ebay which had a 1 month delivery time!

Even though it is ****ing fuel, the cause of the slow starting was the filter head drawing in air, now starts on the button so I am happy about that.

Bit of good news, I thought since the wheel was off (pain in the ass the remove and fit!) I would fit the new rear spring. This was much more difficult than changing the springs on the 90! The springs where 'seized' into the chassis mount/seat and I could only just get the body high enough to fit the new spring, even though it was pretty compressed! Had undo the shock, sit on the axle and push the spring in place! Took a fair while but all done. Only raised it by about 20mm which I'm glad about.
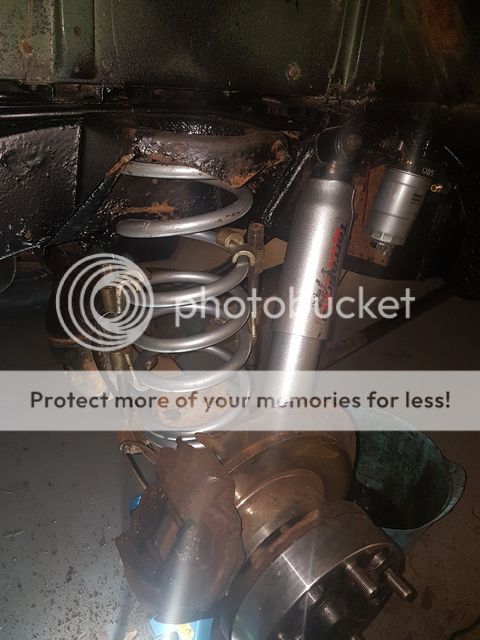


Also fitted the Provent 200 today -
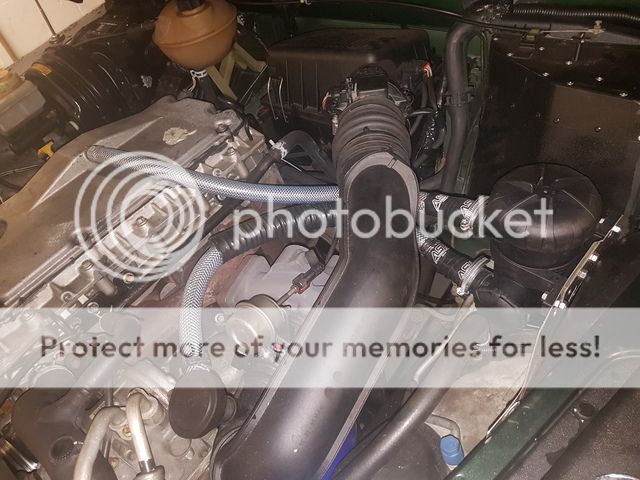

Pretty solid where it is, got a non-return hose that runs down to the bottom with a tap to drain when required.
 
Last edited:
Hi Mate,

Nice thread. What made you think that the slow starting on your td5 was due to the filter head? Also why did you go for this one over LR one and where did you get it from? What would you describe as 'slow starting'?

Also what does the Provent 200 do?

Cheers.
 
Nice thread. Thanks! :D

What made you think that the slow starting on your td5 was due to the filter head?
The standard heads rot away and a notorious for becoming
porous thus drawing in air with the fuel causing a slow start.


Also why did you go for this one over LR one and where did you get it from?
www.goreproducts.com - Decided to buy this one as the genuine LR ones are £120 inc a filter, this was £110 and should last forever.

What would you describe as 'slow starting'?
Cranks for a couple seconds longer than it should, doesn't start instantly.

Also what does the Provent 200 do?
The Provent is an improved crankcase breather/oil catch can. It considerably slows down the accumulation of oil building up in the intercooler and inlet manifold which become clogged/lined with oil which in turn hinders performance and MPG in the long run.
 
Fuel filter head drama continues! It turns out the leak was down to a hairline crack in the male connector. I replaced it with the old airbleed valve connector, minus the air bleed valve. I also did not reuse the non-return valve that was there as according to the diagram I had it was never meant to be there... :confused::confused:


Once I replaced the connector the leak was solved! :D System purged and starts on the button now. Very happy indeed.

Also fitted a Pipercross performance filter. I've always been against these kind of filters in the past but Jose convinced me, just got to clean it every 5k or so, which is round about how many miles I do per year anyway so ties in well. It came in a sealed plastic bag, does it need to be oiled before use? Or does it come pre-oiled?

Alpine underseat sub arrived too, its almost exactly the same size as the back of the cubbybox which is a bloody good coincidence! Should get that fitted during the week, maybe the weekend.


Since I've done a whole tank on the current 'flush' oil decided to change that too. All went well until I found the inner bolt on the centrifugal filter housing has sheered off in the past as now its held together with a nut and bolt :mad:o_Oo_O while it works it makes the job considerably longer. There is just enough space to get a spanner in to hold the nut if the main oil filter is off. So ill look into replacing that in the future.

Either way, fresh oil, fresh genuine oil filters, fresh fuel filter, fresh Pipercross air filter, everything running smooth! So far... Since the IC is in boost is upped to 18psi, sounds awesome :cool::cool: Video either later or tomorrow!
 
Last edited:
Rear shocks and springs done! Passenger side was much easier to do, think it only took about 30mins.

Moved on to the fronts.... I forgot how much of a pig the shocks are to remove! Took me 2 hours to get the bottom nut off :eek::confused::confused:

Wouldnt budge with the spanner so went for nut splitters, which refused to line up so kept taking chunks out ****ed. Eventually burnt the bushes off to seat the splitter better, hey presto off the ****er comes.

Should get the passenger side front done tonight. Drivers side can wait!
 
Pics -

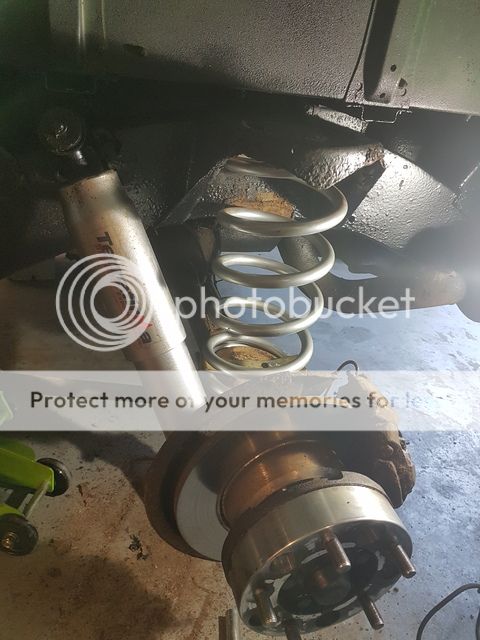
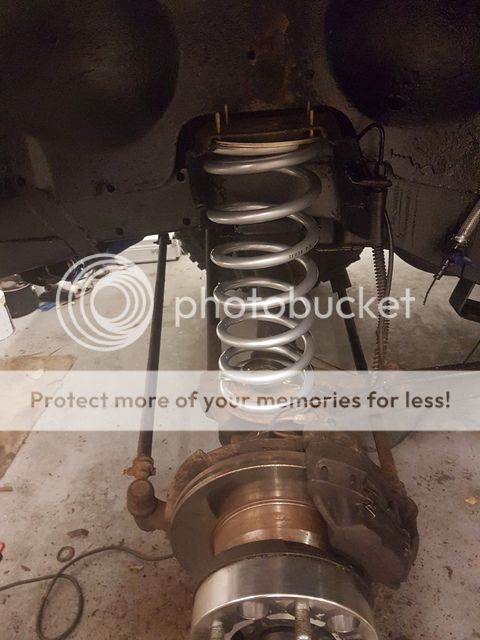
Rear spring going in. Changing suspension at home a high lift jack really is invaluable, makes the job considerably easier to do!

Fit the spring clamps on while all the springs are still partially compressed, tighten up in situ, then lift the body, much quicker and easier.


All in!


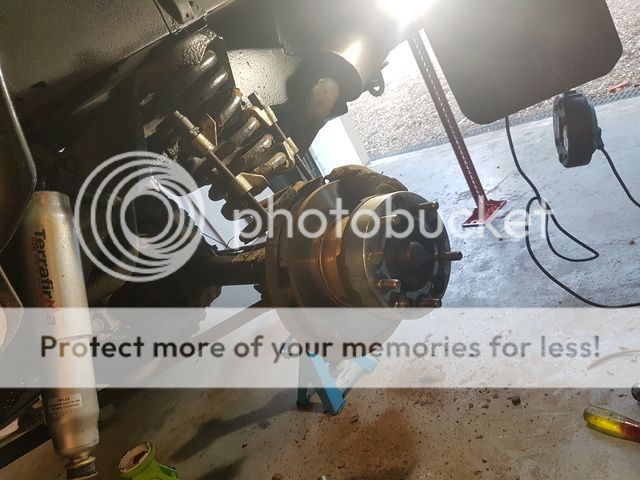
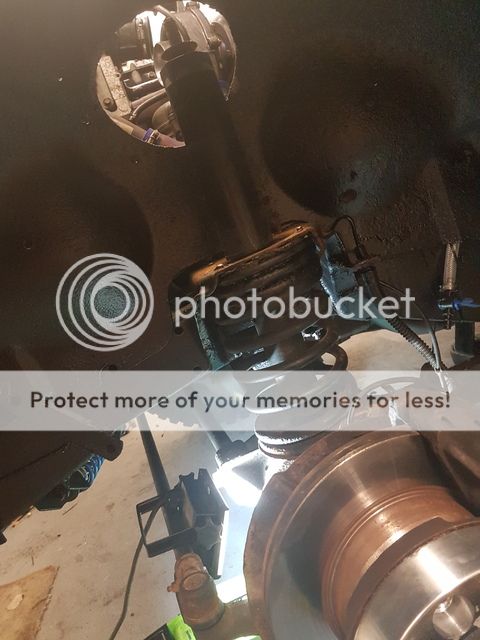
Starting the front, after an hour this is how far I got because the shock nut on the axle is such a dick to get to


Ended up taking another two hours with a mixture of nut splitters and a blow torch!

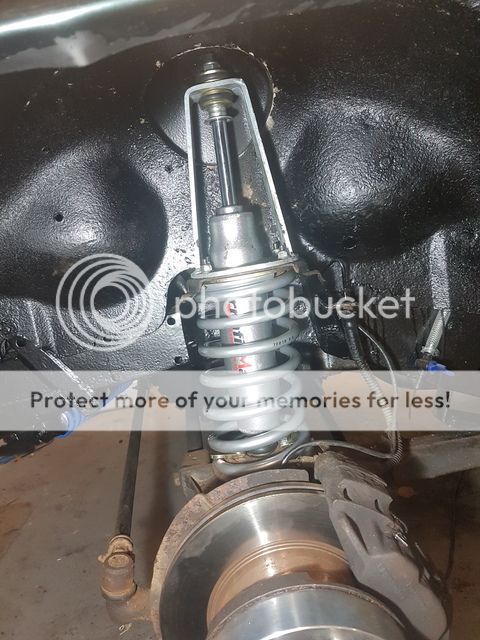
Spring finally in!


All done! Gywn Lewis standard height turrets, best option imo as you should be able to remove the shock through the turret with removing anything else.


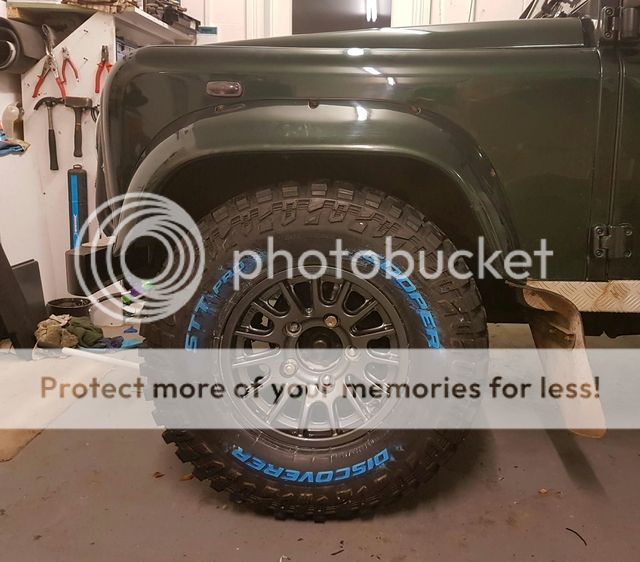
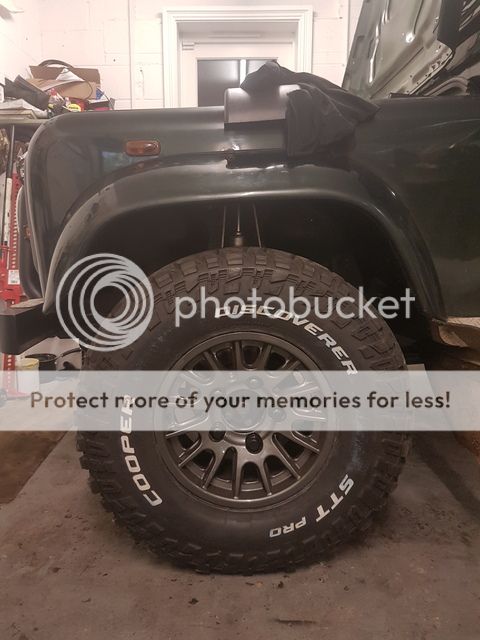
Sits much better now -

Before -


After -


Raised it by about an 1.5"s, once everything else is fitted (cage, bumpers etc) it should drop down to a "1" lift". Got Gigglepin fitting +2 Braided Brake lines early next year, just not a job I want to even attempt. I despise brake unions and brake bleeding!

Going to check the articulation again once the other side is done, see if I need extended bump stops or spacers.

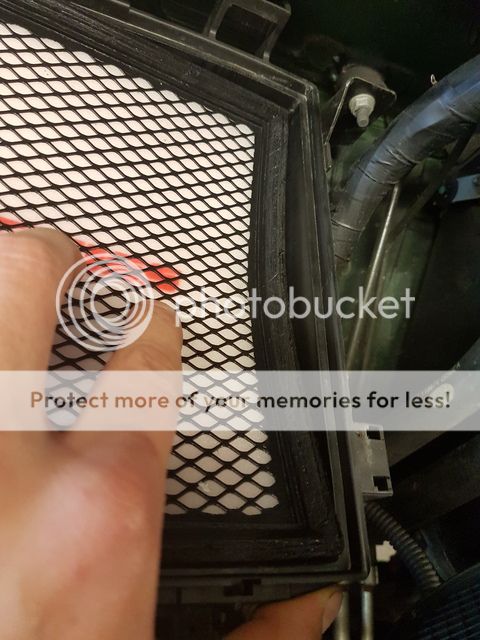
Did notice something a miss with the Pipercross filter, it does seem to fit the airbox 100%, seems like quite a loose. I'm not certain its fully sealed in there.


Just feels very 'loose' in there. Anyone else had a similar experience?
 
Bit wonky :rolleyes:


All done now! Drivers side was much quicker to do, even though the bottom shock nut was siezed solid. Quickest way I found is to burn the bottom bush off, smack it with a hammer gives a better face to mount the nut splitter on.

Got it off eventually! :) It is pretty tall now, once the cage is on I not sure it will fit in the garage! Going to have to modify the garage door supports to give a little extra space! :rolleyes:

Going to fit the sub today and put in a spare 12v feed save me having to remove the seat again should I decide to fit anything else before the aux fuse box goes in next year.

In relation to the Pipercross filter, apparently some do have fitting issues, Pipercross are looking into it, may well be replaced.
 
Back
Top