12j reassembly

This site contains affiliate links for which LandyZone may be compensated if you make a purchase.
.... These can be quite a sweet running engine, my old lump is much smoother and less noisy than my previous 200tdi. Yours will have the full 67BHP too, which should push the Landy along nicely...

If I get it started (touch wood), I'm hoping it will noticeably better than the old one not just because of better compression but the old one had an old imperial head on it. Although the valve sizes are the same, the valve tracts are much more modern on the new casting.
The imperial head valve tracts were quite long with almost a right angle turn at the end. The new ones are shorter and curved so you can see more of the back of the valve.
Don't really fancy a 200tdi due to noise and looks. If this engine isn't enough, maybe I'll look for a turbo diesel.

Do cetane boosters make much of a difference?
 
we use cetane boosters, and they certainly do make a difference - might be worth speaking to one of the oil companies technical depts to see what they would think about boosted diesel in that engine....
 
Stc803. Hrc1474 is an early one but it is a metric head. Never seen one so I couldn't comment on the valve tracts.
 
work done to a price rather than up to a standard?

Hmmm, not too sure about that. They're not much less than turners. I deliberately didn't go for the cheaper ones because I believe in paying for quality......that worked well then.
 
I've just taken the crank pulley off my 2.5na and it has quite a groove worn on it where the timing cover dust seal goes, so the question is do I need a new one? I used one of those Lidl compressors with a windy gun to take the nut off, it didn't undo the nut but it loosened it off enough that I could get it off very easily. It has impressed me and it sounds like a proper garage when I work on the Landy. I will have to start charging myself garage rates lol
 
Last edited:
If I get it started (touch wood), I'm hoping it will noticeably better than the old one not just because of better compression but the old one had an old imperial head on it. Although the valve sizes are the same, the valve tracts are much more modern on the new casting.
The imperial head valve tracts were quite long with almost a right angle turn at the end. The new ones are shorter and curved so you can see more of the back of the valve.
Don't really fancy a 200tdi due to noise and looks. If this engine isn't enough, maybe I'll look for a turbo diesel.

Do cetane boosters make much of a difference?

I and others on the 90/110/defender forum have good experiences of using Millers ECOmax. It lubricates the fuel system and adds a little cetane boost
 
This is what happens if you don't put the thrust plate on the end of the cam. And that's an engine that didnt actually run (just turned over on starter. If it ran, I don't know if the cam sprocket would machine it's way to freedom or the belt would fail first.
f25b4fcbdf0995b23e8b2c3eeaef9953.jpg


Clean tidy engine is introduced to its dirty untidy home. I have found it easier to fit the engine with the engine mounts removed because of the extra wiggling you can do. Down side is that the offside mount is awkward to fit if the pump is mounted.
If you're doing this on your own, a load leveller is a help because changing the pivot point allows the engine to tip making it easier to engage the gearbox and lowering the eyelets lets the engine twist helping the studs go in the bell housing.
b695ea5e9e7ff63beca5d14624254295.jpg


Almost ready to go. One last problem was the temp sender (only an issue if you're using a series temp sender unit). The plugs at the back of the head are an unusual (to me) size of m21x1.75 and M16 x 1.00. Couldn't find a thread adapter so I drilled and tapped the m21 plug to take the 5/8 unf temp sender.
There seem to be variations in the threads so it's worth double checking change points and casting numbers.
e87b2feecb18cb7e537798876ac6b9d3.jpg
 
Last edited:
Alas, alackaday. And woe. Weep for me my brethren, for I am undone.

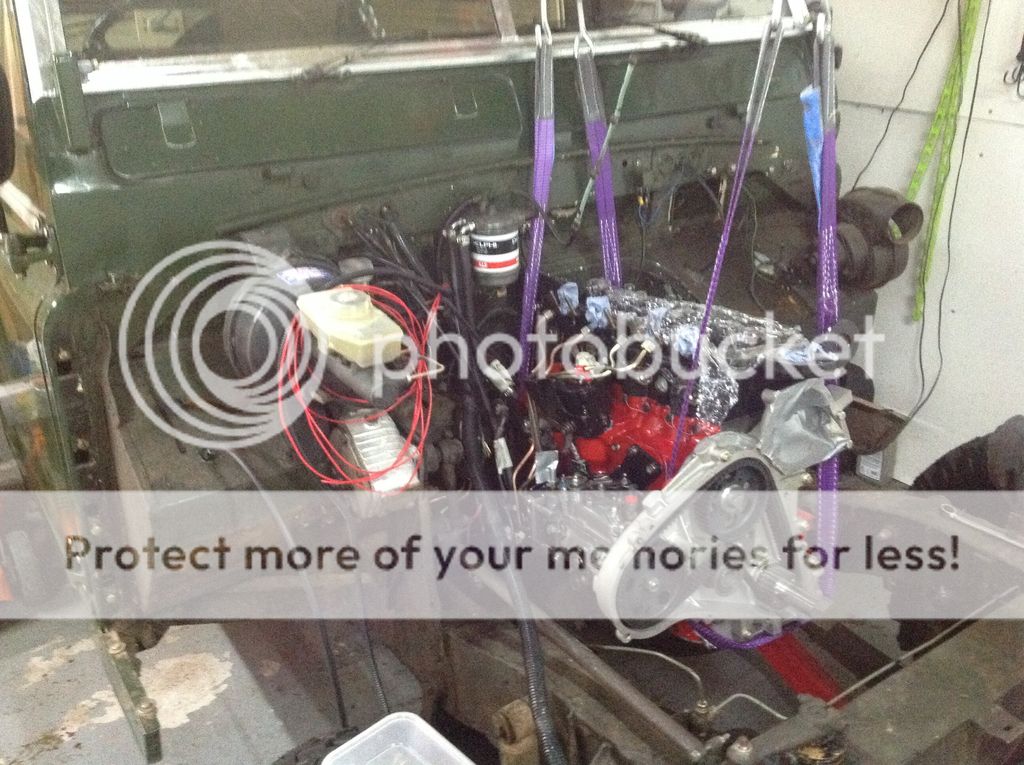
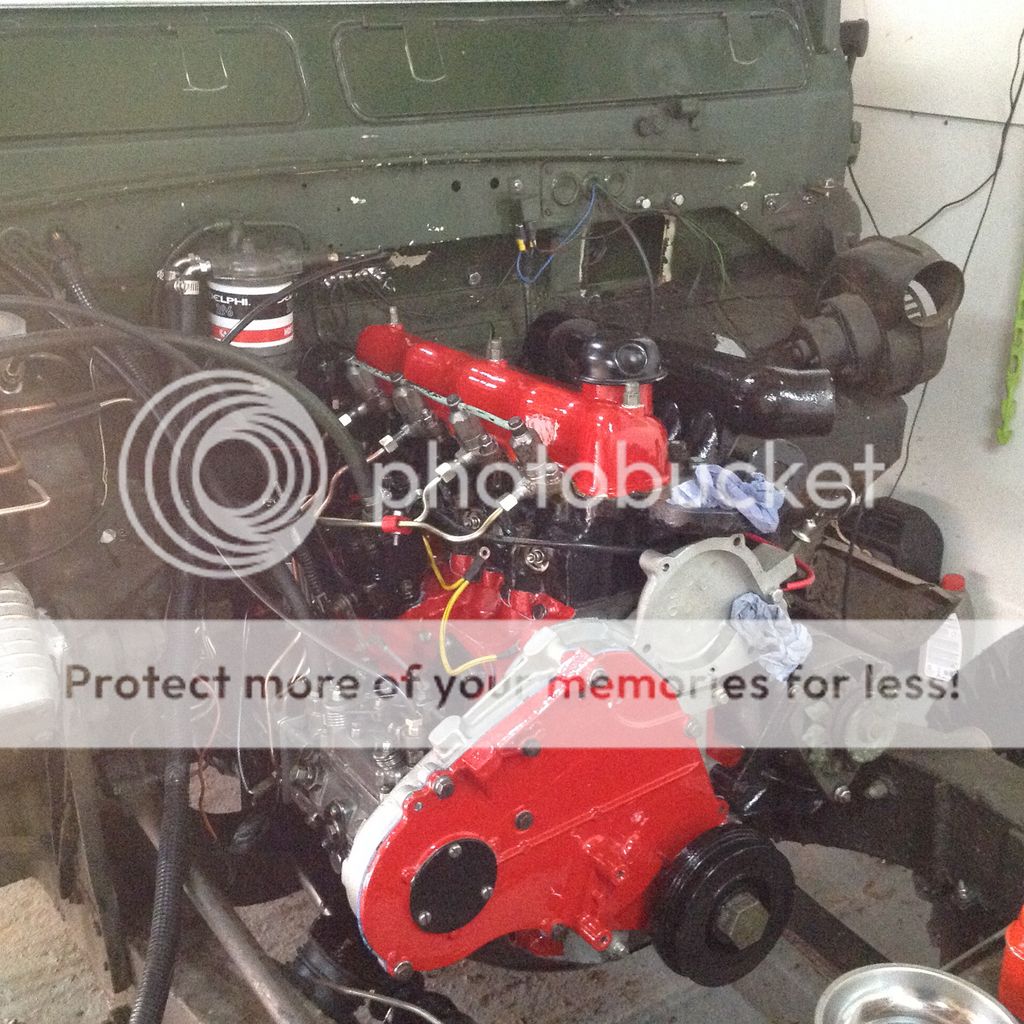
The day began so well; turned the engine over to get some oil pressure, primed on the lever then after a few seconds of turning over produced some firing and some black smoke.
Some minutes of turning over produced some more firing and black smoke but it didn't catch and continue running.
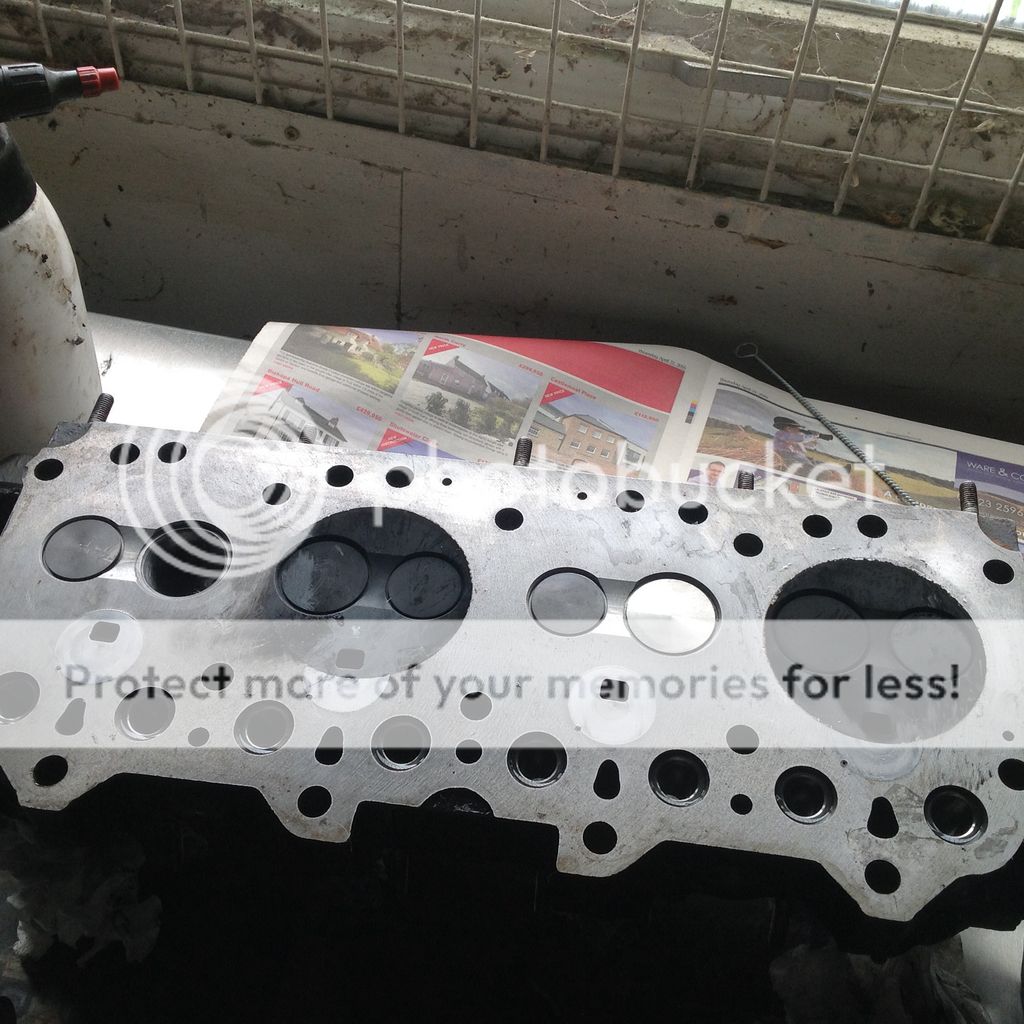
Some hours of turning over (and denial) produced the same result so I was forced to admit that something was wrong. Taking the manifolds off and using my (now) trusty leak down gauge, it was apparent that the valves were leaking. Badly leaking on two cylinders and a much smaller leak on the other two. So off with its head.

Using your skill and judgement, see if you can see which cylinders were firing and which were not....

14ec62cbfd93cd35dd4ddffb2787014a.jpg


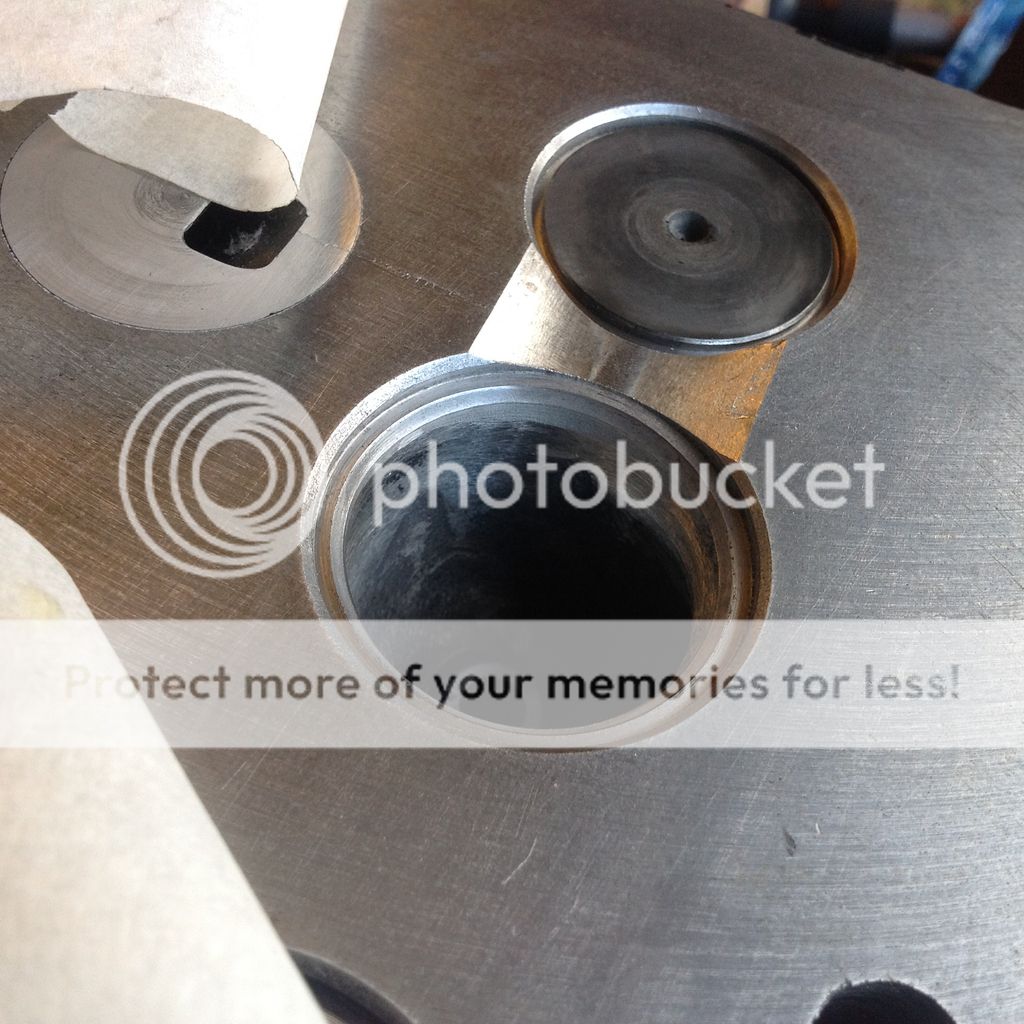
The valve seats looked alright but not that well cut. The bike heads ive had done come off the serdi machine looked smooth and pristine. These look cut by hand in comparison.
The valve in guide sideways movement was almost bang on the 0.15mm maximum. Not good I think.
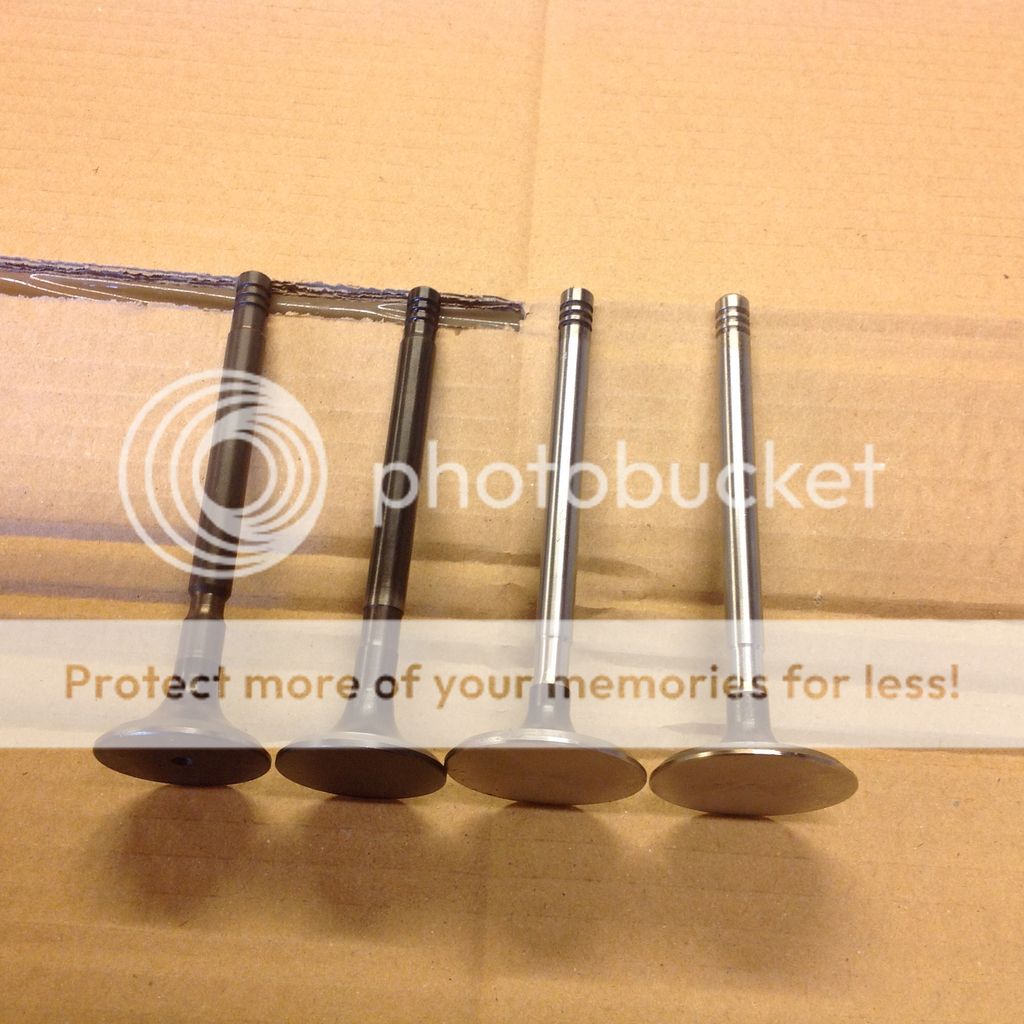
Valve stem measured at 8.65 and 7.88 mm. This is against a range in my manual of 8.682-8.694 and 7.899-7.912.
So the the are already outside spec. I don't think this is wear because the stems were perfectly cylindrical.
I got some new oe valves which measured at 8.68 and 7.89, still right at the bottom of the range. The new valves reduced the sideways movement to 0.10mm. The oe valves looked better finished and the exhaust valve has the all important dimple on the face (oe valves are the left ones)

a9f94d1e9673f430f7ed70a60660f335.jpg


When I've had bike heads done, the guides were honed to the valve stem to give the right clearance. Not sure if that's something that's not done on cars.
So now to the valve seats. The head did go to hamlins a while ago but I only asked them to pressure test the casting and check for warp. They did that and also cleaned out a load of grit that was in the valve tracts. Seems like I should have got the valve seats recut as well.
Back to hamlins, who rather worryingly now recognise me. Not in a good way but in a laugh and point at the idiot way.
As well as my other gripes, I have a new one. This head is supposed to be a stage one head. I wasn't expecting a cavernous polished porting job because they said the work was concentrated in the valve seat area. But after intensive examination and a question to hamlins (who, not for the first time, looked at me like I was a drooling imbecile) it appears that the valves are standard with no back cuts and the seat is a adequate standard 3 angle job. It seems that the stage one just refers to lubeing up before they **** you up the ****.
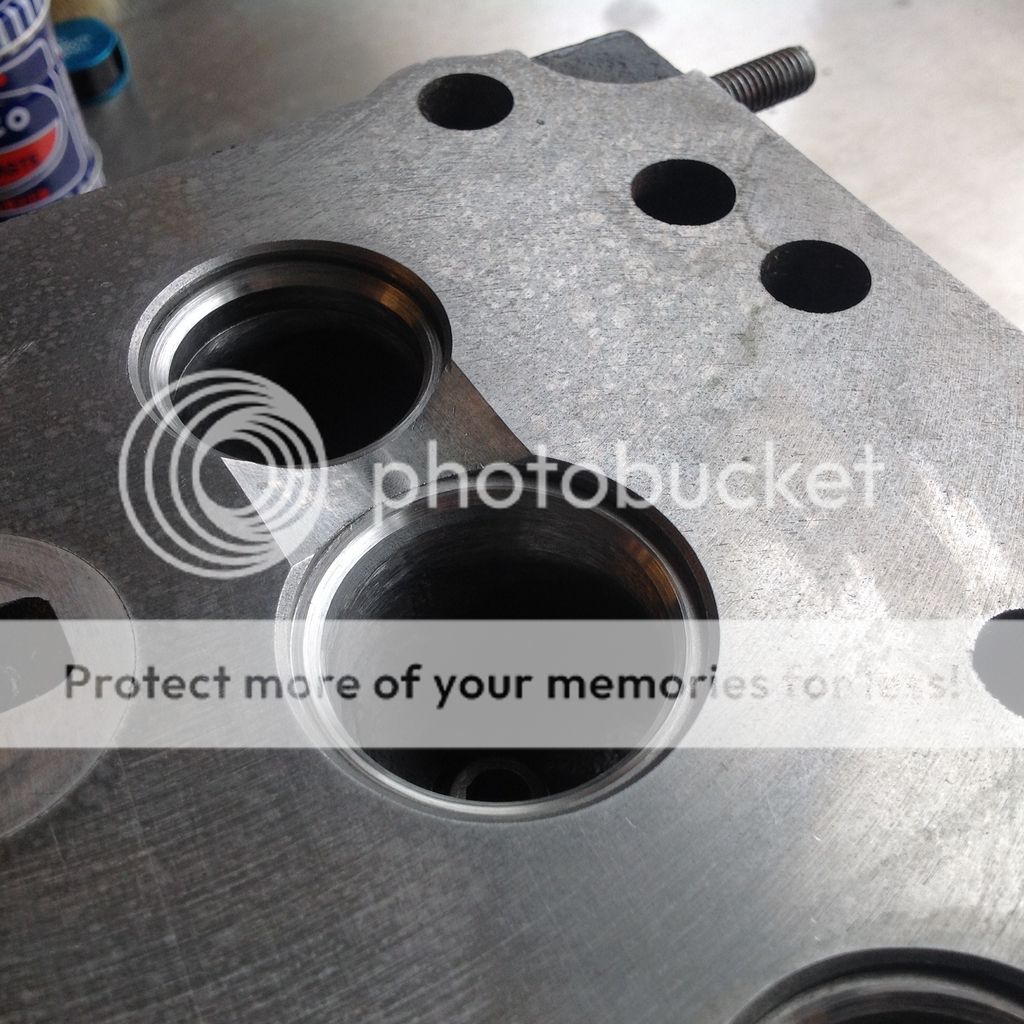
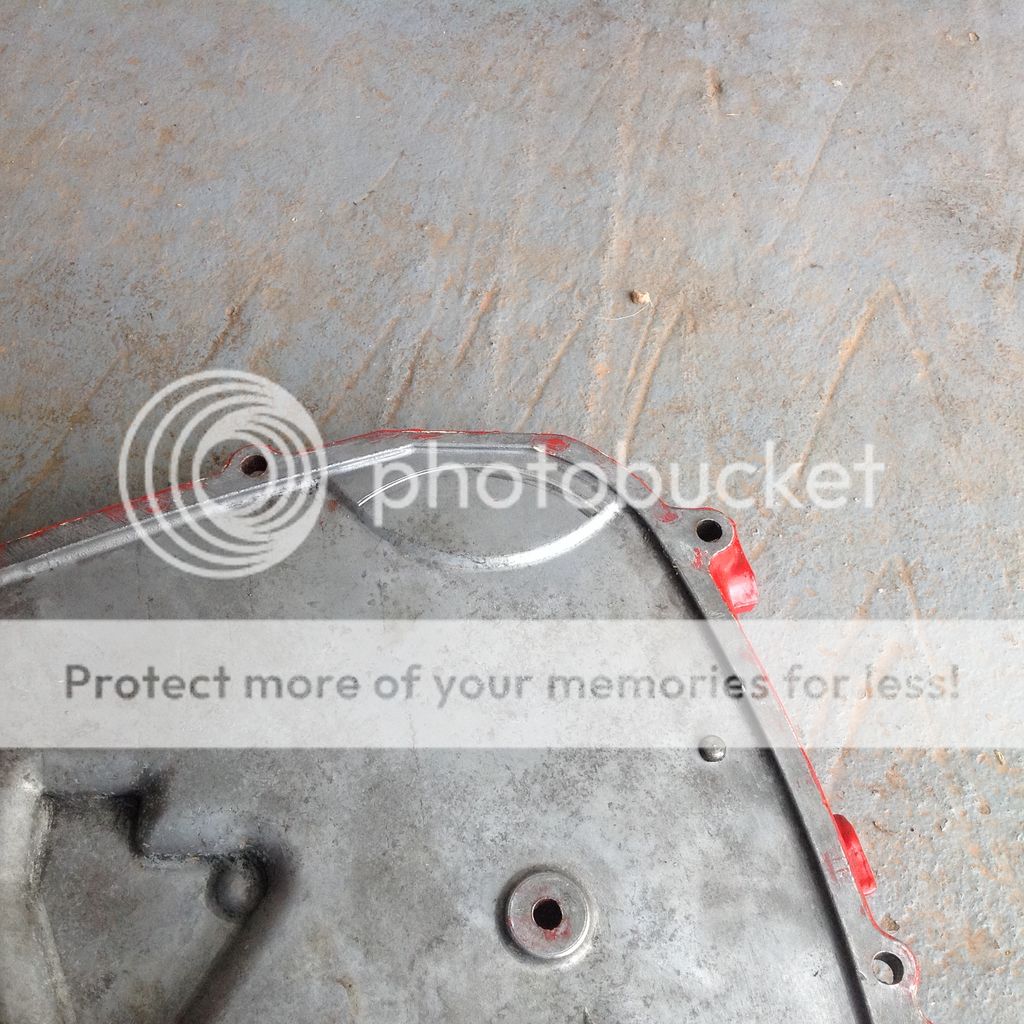
Anyway, hamlins recut the seats and vacuum tested it. Seemed OK. At home, I put brake cleaner in the valve tract and saw no leakage.
Seats from ACR.

f923964904ee3b8d224059f905d90c9d.jpg


Seats from hamlins

3b49268e03545504bf68631e339932c4.jpg


Back on the motor. Exactly the same. Won't start and massive leakage from the valves on cylinders 1 and 3.
Now at a total loss, best guess is that the seats are moving when they start getting banged by the valves (if that's even possible). The one thing I really wish I'd done is to do a leak down test before trying to start.

My only two options seem to be a new exchange head or get the seats replaced on this one. Neither is cheap.
Think I might move on to something else for a while before I get suicidal.
 
its definitely timed right? i mean the valves arent leaking because they are held open a bit are they?
tappets adjusted okay?
etcetera?

have you hand lapped the valves?
 
Back
Top