12j reassembly

This site contains affiliate links for which LandyZone may be compensated if you make a purchase.

SpringDon

Well-Known Member
Posts
1,757
Location
Somerset
Part one -At last the thread you've all been waiting for (probably), the rebuild of my recon 2.5 na diesel.

A quick review - If you want to play along at home, first you need to spend £2000 on a recon cylinder head and 3/4 engine from ACR landrover, find no compression and the camshaft falling out, send it back then find no compression again and an oil leak then decide to strip the motor and find automotive component remanufacturing wash their hands of it because of the "unauthorised" strip down.
.
.
.
Done that? Stopped bursting into tears occasionally yet? Got the wife to talk to you yet?
No? Me neither.

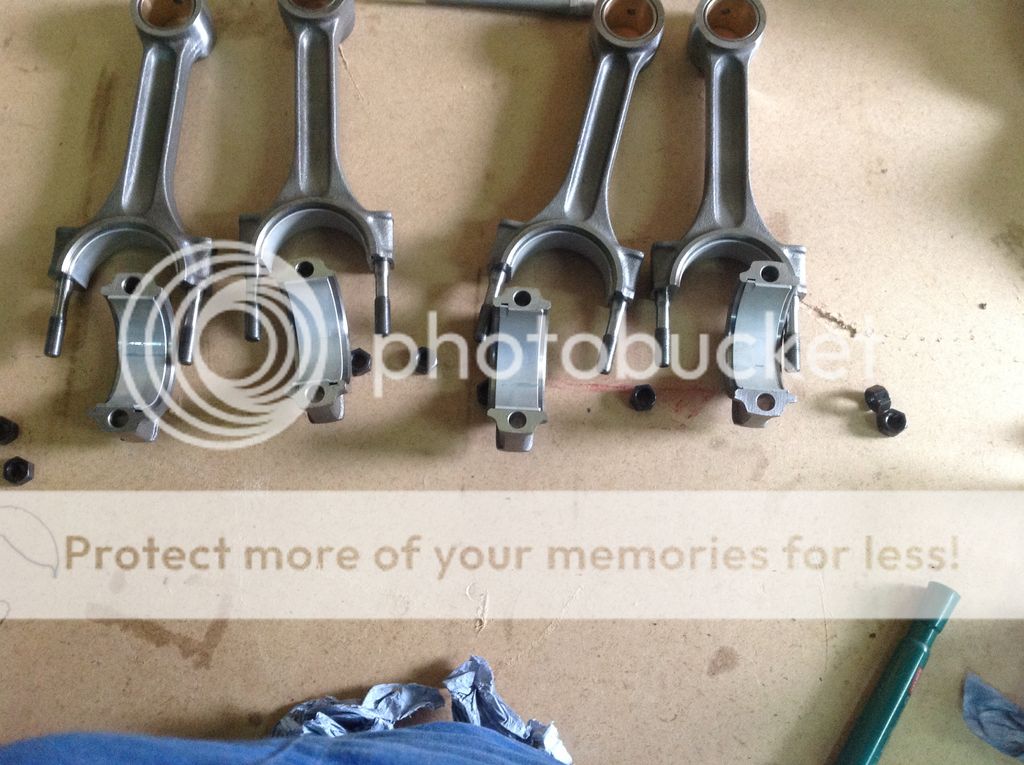
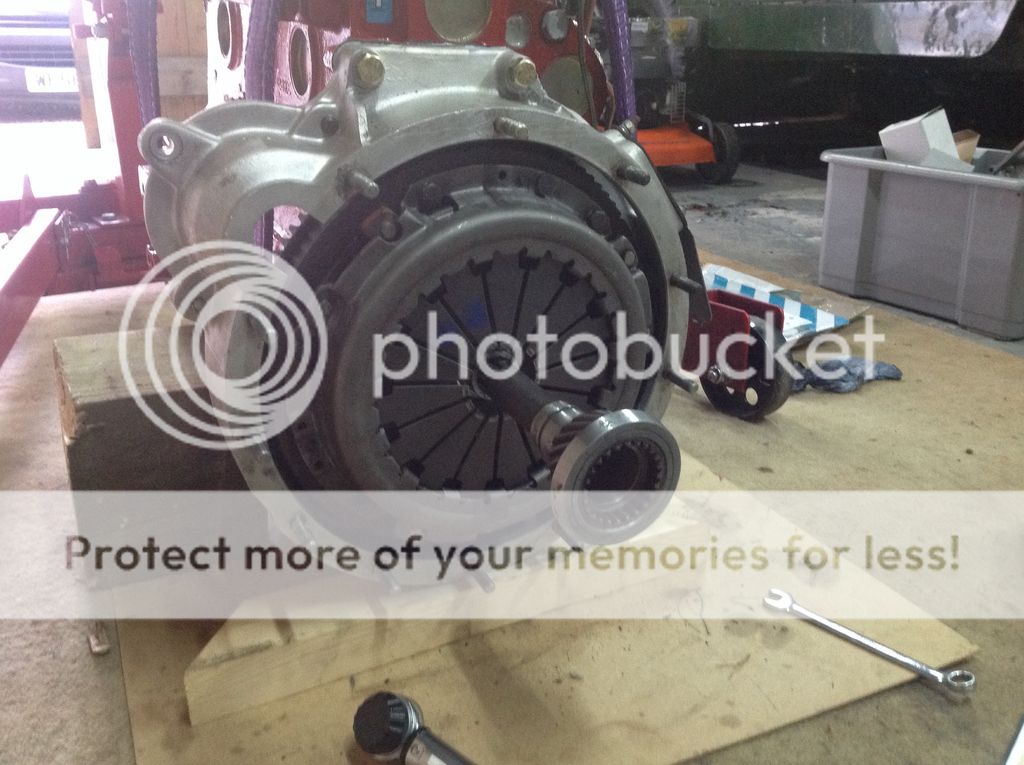
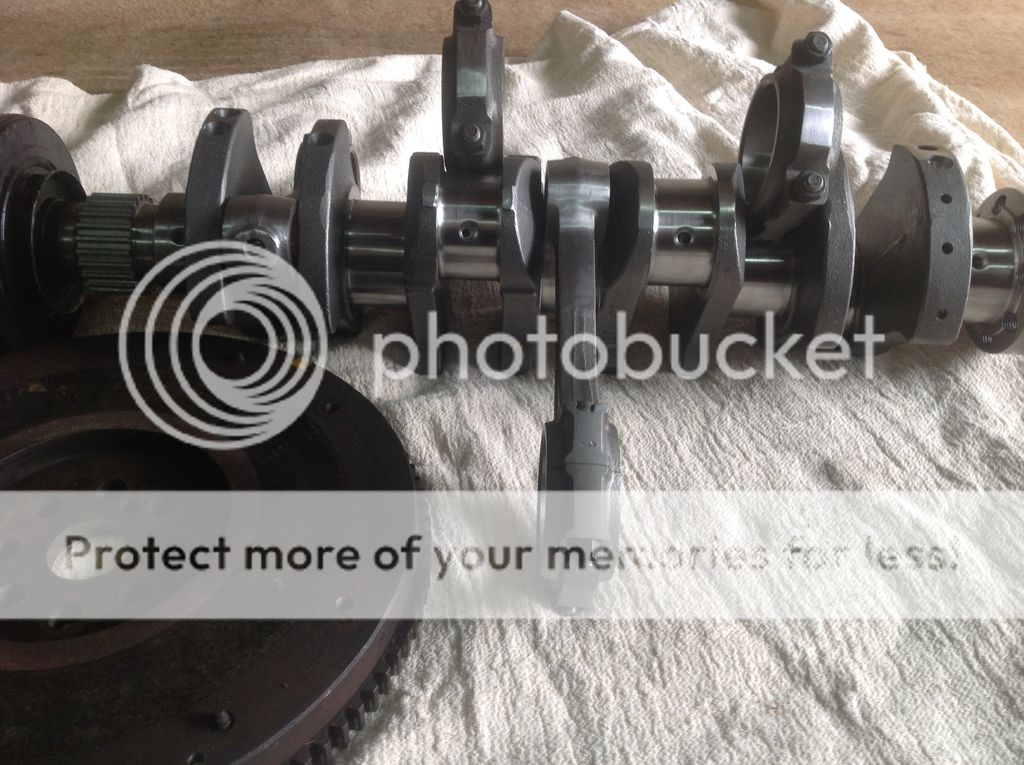
The first photo shows the crank, rods and flywheel. These have been balanced, you should be able to see extra holes in the crank webs and grinding on the small and big ends of the rods.
According to the balancers, the crank was the worse 4 cylinder they've ever done. Normally they take 2-3g off the two planes. This crank was 13g and 6g. Don't know if the crank is genuine or pattern.

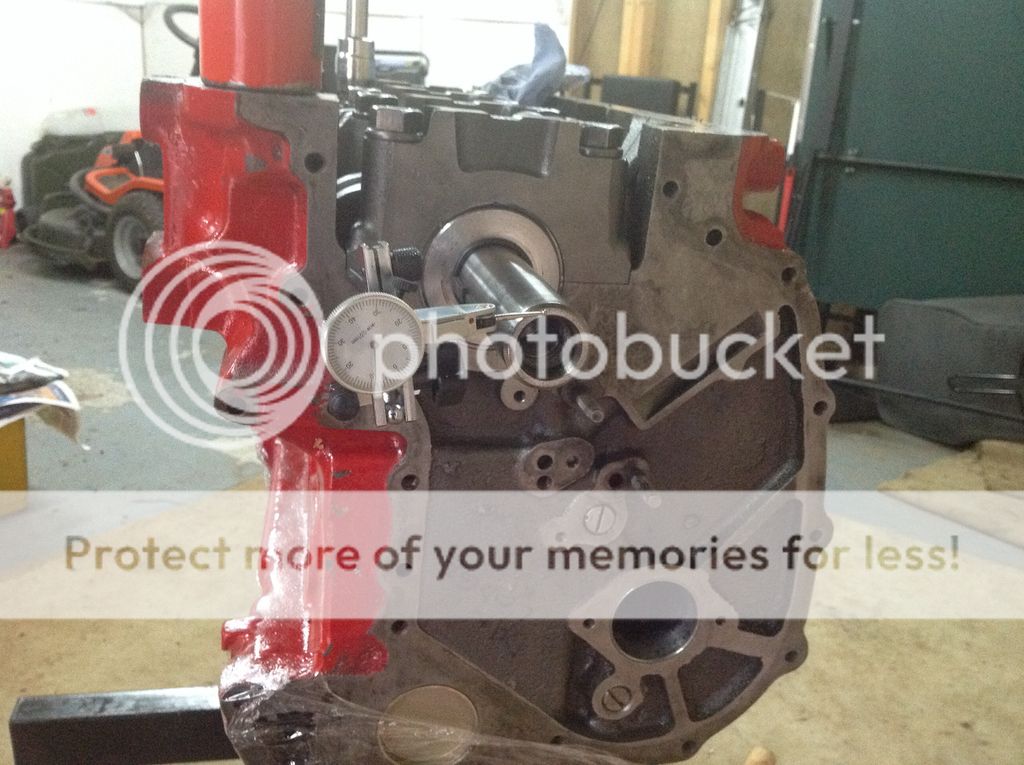
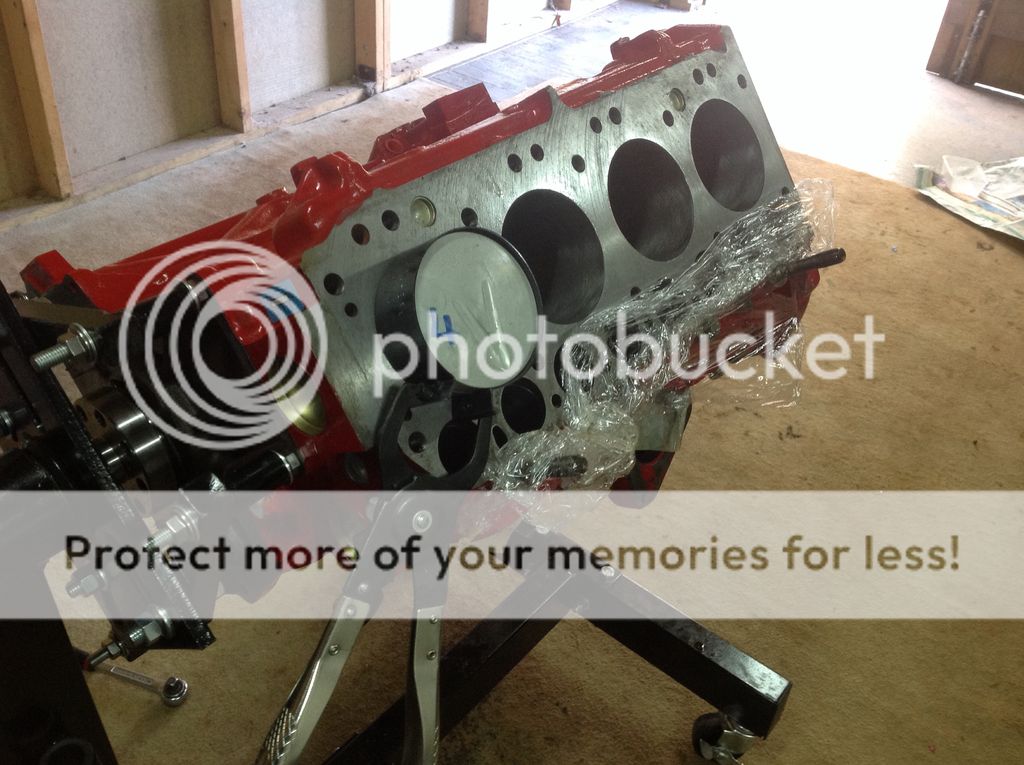
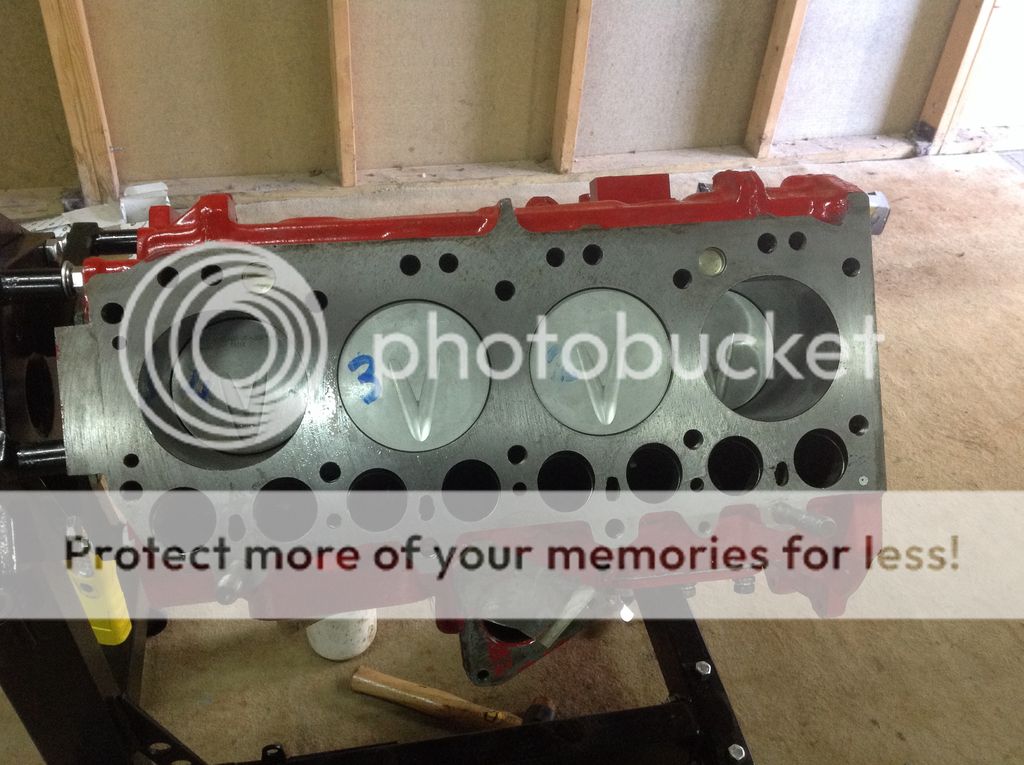
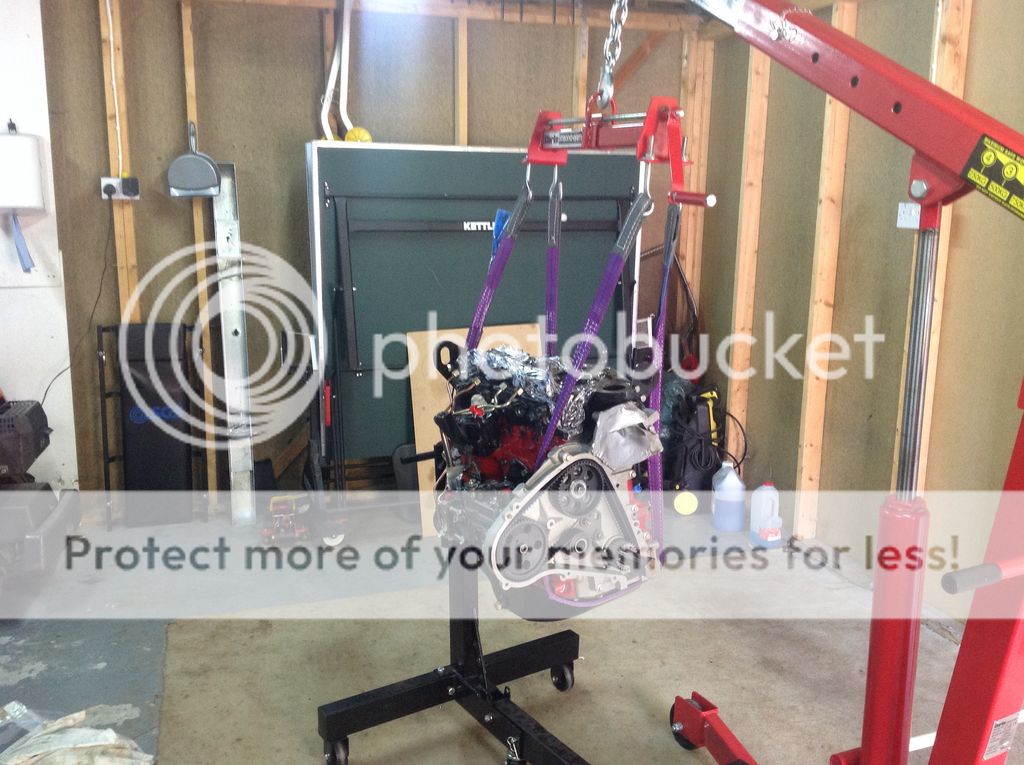
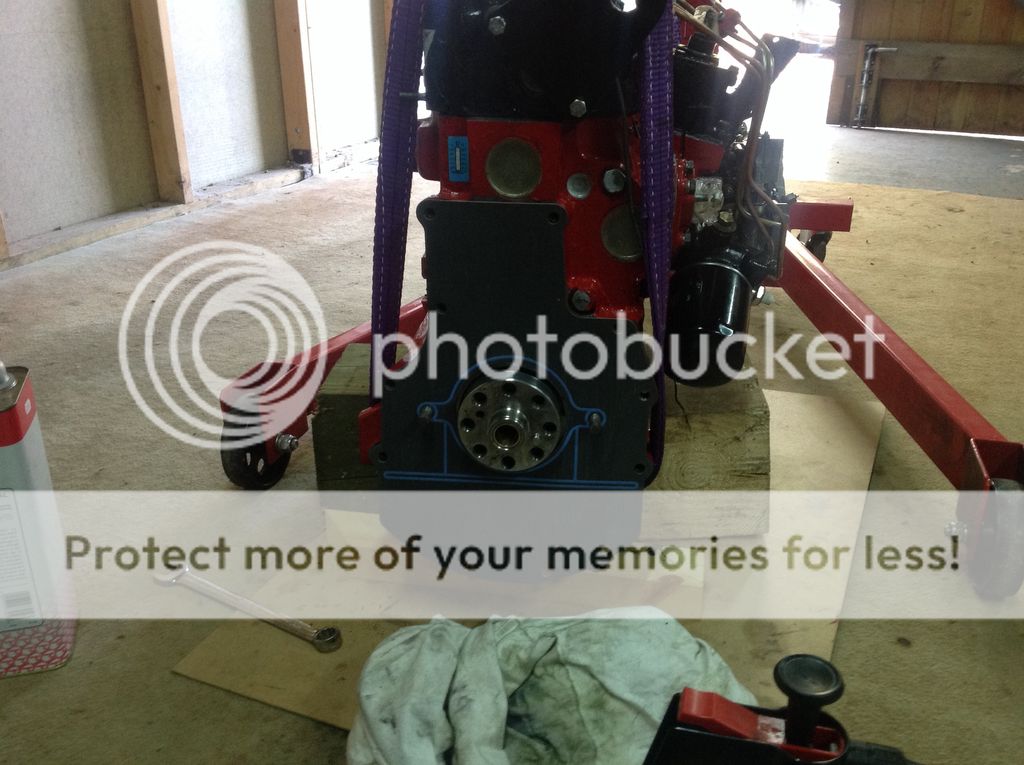
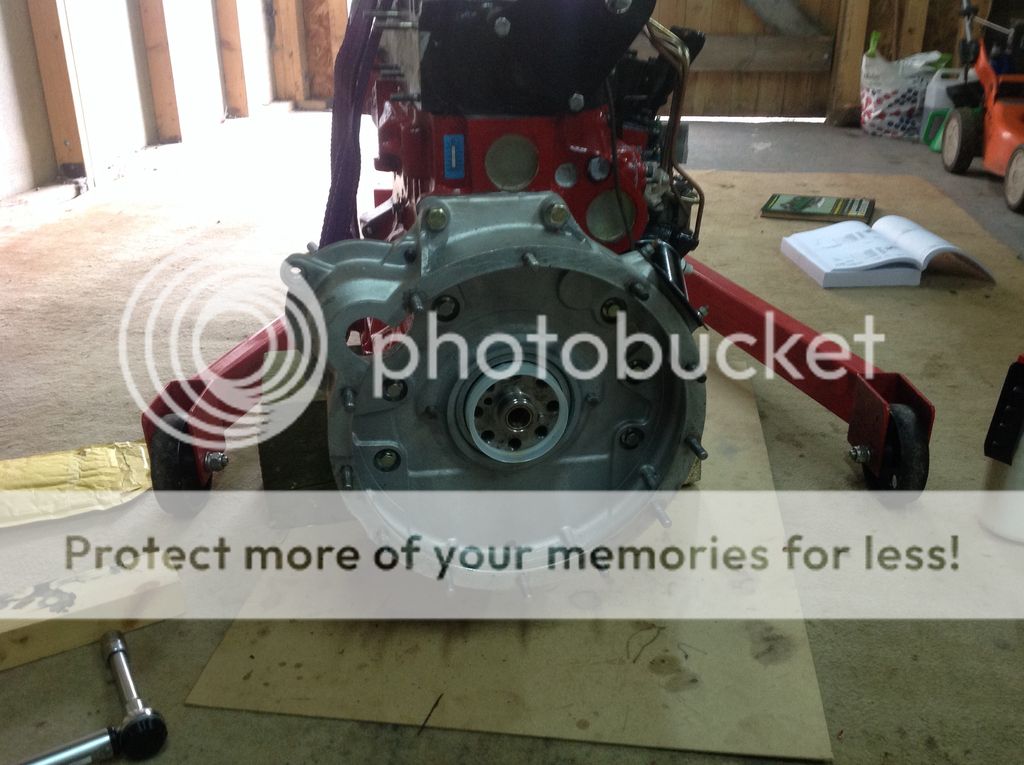
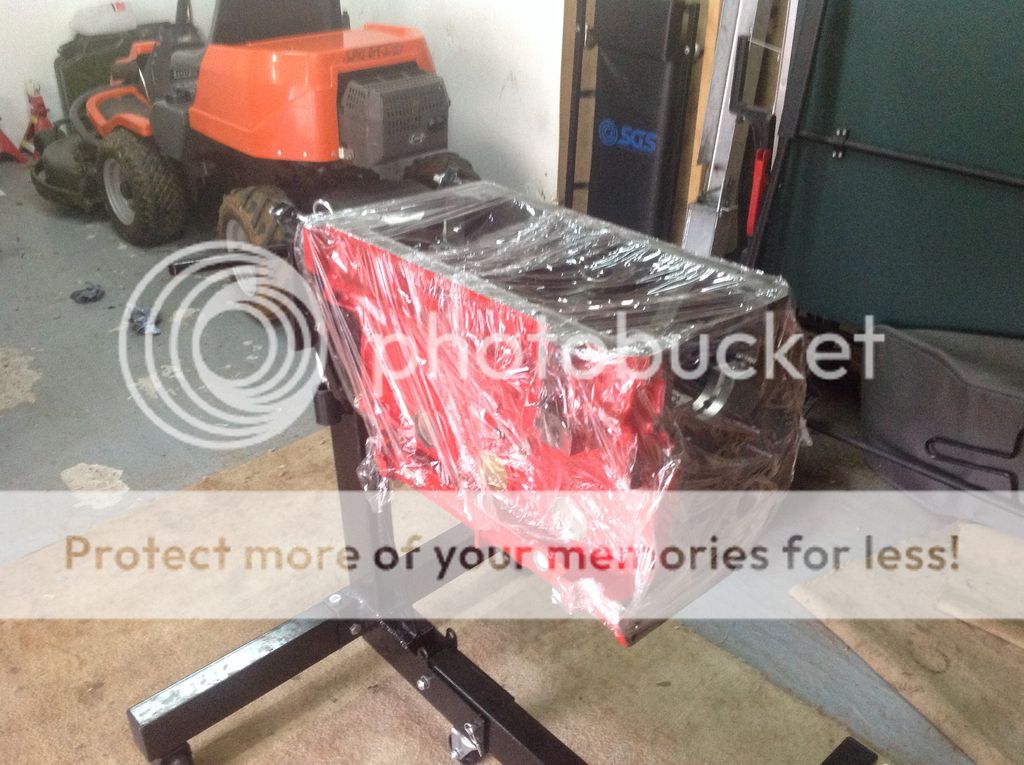
Second photo is the block on a stand (cling film is to preserve freshness). I tried dismantling the motor on a pallet stand, didn't really work so I bought an engine stand (sgs £80). I would urge anyone contemplating this to get one. The bare block is only barely liftable and I have the powerful physique of two fully grown mountain gorillas. Once the crank is in, it's not really practical. On the engine, it can be rotated and even If I sell it straight after, it's still cheaper than hiring one.
Next fitting the crank and bearings - what could possibly go wrong?

6cd3130005b44554d5c08873043f6737.jpg


efb3ae2f37285c70f4ac3da162008a9d.jpg
 
Last edited:
is this the engine that had too big piston clearances after a rebuild,personally i prefer to build from a bench ,but i can see your point
 
Yep that's the one. I'm impressed you can build on a bench, I just found it too heavy to manoeuvre. But I guess you've done a couple by now:)
 
Don't want to give spoilers but I got some nos Pistons that give clearances bang in the middle of range and are very closely matched
 
Yep that's the one. I'm impressed you can build on a bench, I just found it too heavy to manoeuvre. But I guess you've done a couple by now:)
I built all 4 of my engines, 2 12js and 2 19j's on a black and decker workmate.
Upside down for the main stuff is nice and stable and I made a jiggy thing that fitted under the sump front to stabilise it once flipped over. Takes two to flip it though.head bolts can be tourged up proper once in the truck although I've done that on the workmate too, takes a mate helping with that though.
 
Crankshaft
3ab666c1d9a7e7c5994a6c84882fd233.jpg


The photo shows the bearing clearance using plastigauge at 1-2thou. Even though this is ok, I decided to replace them because they're relatively cheap and I assume ACR used the cheapest possible. Having said that, they look silvery, bearingy and have the right clearance so I've no proof that they're bad.

On the subject of replacements, on lrdirect there 7 main bearing sets ranging from £10 to £217. Cheapest is britpart, is it any good?..no idea. Are King better than glyco?...not the foggiest.
Lrdirect do have "workshop approved" category, which I tend to go for when unsure. Ended up with King bearings, the clearances measured at more or less the same as the first set so that was a waste of £18.
Measuring the crank end float, didn't need to change anything.

5b035ce3483e2563d570be1e2da98347.jpg


Also don't make the same mistake a friend of mine made of not checking the engine number when getting bearings and just assuming you have a later block. There's a change point at 12j43824C and the bearings in the cap are completely different.

I found it a lot easier to put the oil jets in before putting the crank in. Not sure the manual says that but access is a lot better and it's easier to engage the peg. I also used loctite on the bolts as they are quite low torque (13ftib) (not too much though, you don't want to block anything)

Fitting the crank is pretty straight forward except for the rear bearing cap. I used the cork seals and beveled the outside corner a bit. Using two 3 thou feeler gauge blade enabled the cap to fit quite easily (still a bit fiddly).

However whilst admiring my handy work , I noticed two holes at the top rear of the block which seemed to have some kind of plug in. I idlely poked it with screwdriver and it turned out to be a solid plug of dirt or blasting grit. Couldn't tell where the holes went so I took out the crank in case they were oil ways to the rear bearing. Even after poking brushes down I couldn't tell so I squirted approximately 1/2 pint of brake cleaner down the holes. Nothing came out.
Then I turned the block over while looking up into the holes, obviously not right under; I'm not an idiot. As it turned over, approximately 1/2 pint of brake cleaner poured out of the front on the block and down my back. Deep joy.
Turns out the holes were for coolant not oil, still don't imagine it's good to have blocked water ways.

Any way after some more cleaning, I put the crank back in. Only difference this time was the use of an rtv silicone sealant in the rear cap instead of cork seals, as recommended by our own mr JM, this is a lot easier to do and hopefully will seal better.
 
Hi
Its gutting when you pay good money and get rubbish service.
In the 80s there seemed to be a lot more choice on engine rebuild companies, my favourite one was in Tottenham, you could drop of a crank/block/rods on a Monday, pick them up on the Friday, rebuild over a weekend!
Looking forward to next installments!
Cant fault SGS stuff, I used the 450Kg Engine stand (£33!!) for my TD5 rebuild, did the whole stripdown and re-assembly on it, then transferred to an engine crane to fit the flywheel/clutch.
King bearings seem be ok, I think the bearings from Turners are King, they also do some pretty good guides on bearing wear.
Mark
http://s1117.photobucket.com/user/markdavis/media/TD5 Rebuild/IMG_3705_zpsulzu0i9e.jpg.html
 
Warning: This post contains explicit up skirt photos.

@markomate2 td5 looks a bit too complicated for me! I'm finding my one stressful enough.

Now the Pistons which, as a non engineer, seem the worst bit of a pretty shoddy engine.

The bores measured out at 90 :-.993, .980, .991, .994mm.
Taper and ovality was good, well within limits ( although I do wonder why there's any taper at all with a new bore , engineering reasons I expect)
Bad bit was the Pistons at 90 :-.886, .894, .917, .912mm
To save your fingers, this gives Pistons/bore clearances of 0.107;0.086;0.074;0,082mm
According to my manual it should be in the range 0.025-0.050 so they all seemed over. I took it to hamlins to measure, who confirmed my measurement (actually they made it fractionally worse) but they further said that the Pistons were the worst manufactured ones they had seen. They suggested if I was keeping the vehicle, change the Pistons and rebore, if not don't bother.
Genuine Pistons are about £250 each but with some unexpected good luck, I got some NOS nural Pistons at £30 each.
Good luck continued as the Pistons measured a bit larger than the ACR ones giving the correct clearance so I didn't need to rebore. Even though both sets are +020, they different sizes. People who know about these things tell me that the block was probably bored to the nominal size without measuring the Pistons.

f30f7ef47993fa7614cc900afe909ba3.jpg


The piston on the right is the ACR one (britpart?), what hamlins didn't like was the casting flash that hadn't stuck to the strengthening straps near the gudgeon pin holes. This flash had either broken off or was bending away.
My initial thought was its just cheap Pistons but they were the right shape and I'm informed that you can get matched sets of the cheap ones so the problem lies completely with who ever bored it.
Fascinating fact time. The ACR Pistons weighed 732;736;731;732g. The nural Pistons all weighed 752g.

Measured the big end clearances and found 2 were over 0.075. So I got new glyco bearings and the clearances were all in range so if you're having trouble it seems to be worth trying different makes.

Measuring the big end clearances with plastigauge
5c905c17163d7e418cb447fc0909ec61.jpg


One "bonus" of doing this was that I used a ratchet ring compressor bought many years ago but never used because it didn't fit between the studs on smaller bike engines. So that's saved money really. Sort of.

cbce7f82d55b787b8b893e611ab0a18d.jpg


When the Pistons came out, I was surprised that all the ring gaps were aligned and the compression ring gaps were over spec. Consulting the Internet revealed information that shook the foundations of everything I thought I knew about rings.
This is probably the most concise....
http://www.diagnosticengineers.org/journal_ articles/Ring Gaps vs Knowledge Gaps.php

Despite that I couldn't bring my self to put the gaps in line so I did it like the manual says.

Pistons all in with new big end bearings.

5dbdd7dd661eef639ca403b77eeda4e6.jpg
 
Last edited:
pistons even cheap pistons should come as measured sets,to within 1/2 a thou,
any decent engineer will bore to piston size plus clearance minus honing size ,unless they have no pistons then they use nominal or if boring for stock in which case you later match piston set to bore
bores should be near perfect ,a blunt tool and poor honing give barrel or tapered bores, in that a hone tends to take the middle of bore out more as part of the stones are allways in contact with the middle and top and bottom only get swept ant end of each stroke
not position ring gaps is an error imo as is not gapping each ring in its prospective bore first before fitting pistons if there gaps not there the rings will break
i have that type of ring compressor best type in my opinion
 
Thanks for the comments, in a weird way it makes feel less alone when you're doing it. Don't know what was going on with the bores - nothing particularly good anyway.
The stuff on rings was interesting but despite that I still think it's worth making sure the gaps aren't on the thrust surface when you put in the Pistons.

Oil pump on. Long term viewers may remember that there was no gasket or sealant on the pump/ block joint. When I queried this, ACR asserted that this was "as per the original specification of vast bulk of the Land RoverOHV type engines" I found no source to confirm this and all the references I found either used a gasket or sealant. As a compromise, I used a gasket with a bit of sealant on.
You may also note that the corner of the pickup screen is bent and the screen distorted. This is because the screen fouled the inside of the sump and they just tightened it down regardless. Don't know if the sump is a different shape or the screen is larger, either way some tender thumps with a mallet stopped it fouling.

e226a09b0526b51acb22ee244b38fff0.jpg


Timing case on. I found it easier to time without the tappets in as it made the sprocket easy to turn just one tooth. When every thing is attached, I was finding that the effort needed to turn the engine kept making it jump several teeth.

8d6c095666875f4204821d071a0b2c5a.jpg


Tappets in. The newer locating screws are supposed to have thread lock on them so they don't need wiring but these screws still had the holes in. So on the grounds that you never have too much lock wiring....

0105fe0a0da1282fa936889b4e55328c.jpg


All the above was a doddle in comparison to measuring .001mm on Pistons and bearings which was starting to make my head hurt, so it would be nice to think it's all downhill from here.
 
Last edited:
A small hiccup. When I put the head on, I found a gasket laying at the bottom of the box. A question on here and a look in the parts book revealed it was the gasket that sits behind the belt tensioner. Which meant taking the timing case and sump off. Naturally the gaskets tore and I had to wait to get some more.
Now I'm not one to make excuses or assign blame to others. But this was totally not my fault and Haynes and landrover are to blame. The Haynes manual doesn't mention the gasket except in the 200tdi section and the parts book shows the gasket on the cylinder block diagram not the timing case one.
The gasket of shame.

958cdee02be4d87056b8f15ba9878fc9.jpg


Putting the head on was a lot easier on the engine stand compared to doing it in the vehicle where you have to lean in.

8055113ec4aa2c53353fd0a4fe1f6d5d.jpg
.

Flywheel housing is put on using a 200tdi gasket with yamabond around the bolt holes.
The rear crank seal is from turners and is claimed to be better that the Oem one. As on previous crank seals, I thought the edge of the seal installation tool was a bit rough so it was smoothed of with wet'n'dry. It's worth making more of an effort in this area as its notorious for leaks.
1bc193429ae7d94810acf39969749e95.jpg


1bc193429ae7d94810acf39969749e95.jpg

The flywheel housing is supposed to to be held on by 6 X 30mm screws and 2 X 45mm bolts. ACR used 5 X 30mm and 3x 35mm screws. Does that matter? Probably not as I expect it's well within the margins for error strength wise but it does seem to show either a lack of attention to detail or extreme penny pinching.
175898736f4993f782fa794a66bf7a29.jpg


The clutch has been balanced so has to go back in the same position on the flywheel. I bought a cheap input gear pinion years ago and use this to centre the friction plate, it works well and was no more expensive than a good clutch centring tool. Whilst on the subject of friction plates, the Haynes manual quite clearly states "offer disc to flywheel with the greater projecting side of the hub facing the flywheel". I take this to mean that the sticky out bit of the friction plate goes into the flywheel. It doesn't and if you do, the clutch won't work.
How do they get away with it? These monsters must be stopped somehow. Will someone not think of the children?
4b567b319139ed1baafcfc3785a3033c.jpg


4b567b319139ed1baafcfc3785a3033c.jpg
 
Last edited:
this gasket has been used on all 4 cylinder engines until 300tdi,not saying sealant wont work ok but the gasket is lrs way of sealing the joint
upload_2016-5-2_18-24-54.jpeg
 
this gasket has been used on all 4 cylinder engines until 300tdi,not saying sealant wont work ok but the gasket is lrs way of sealing the joint

That's the oil pump gasket, isn't it? I couldn't find any thing about not using the gasket, so I'm glad you haven't heard of it either.
 
If my engine looked like that I'd put windows in the bonnet and bulkhead so I could see it all the time - lovely job. I think it's safe to put the Haynes manual away now - you know more than they do!
 
Once run in I think this should rev quite well, given that it has been well balanced/built. These can be quite a sweet running engine, my old lump is much smoother and less noisy than my previous 200tdi. Yours will have the full 67BHP too, which should push the Landy along nicely. If I were you, I'd use Millers ECOmax to add a bit more lubrication to the fuel system, and add a little bit more power through the octane booster.
 
Back
Top