Looks like I've done it again, Doh!!!

This site contains affiliate links for which LandyZone may be compensated if you make a purchase.

Alibro

Well-Known Member
Posts
6,987
Location
Northern Ireland
Hi guys
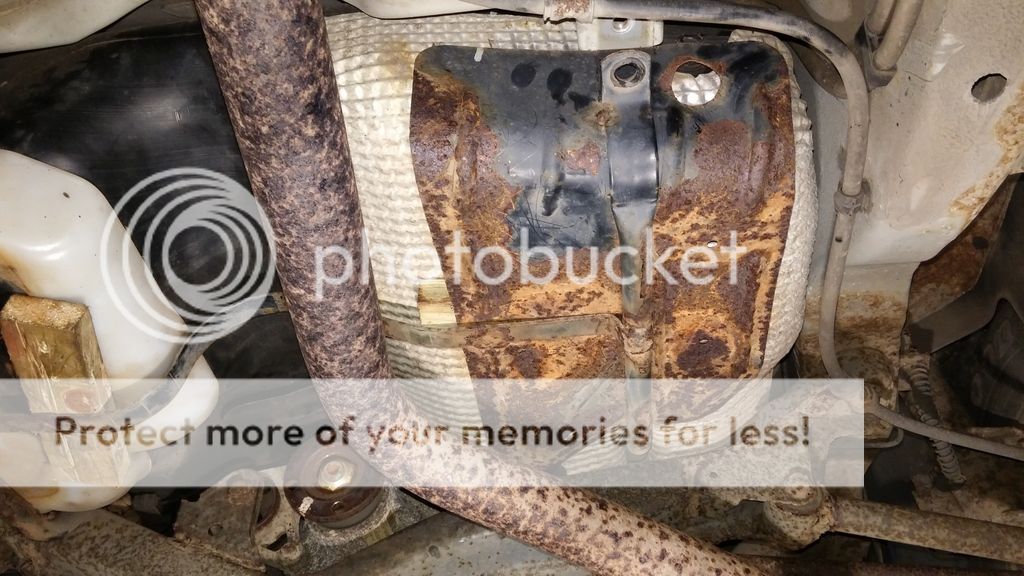
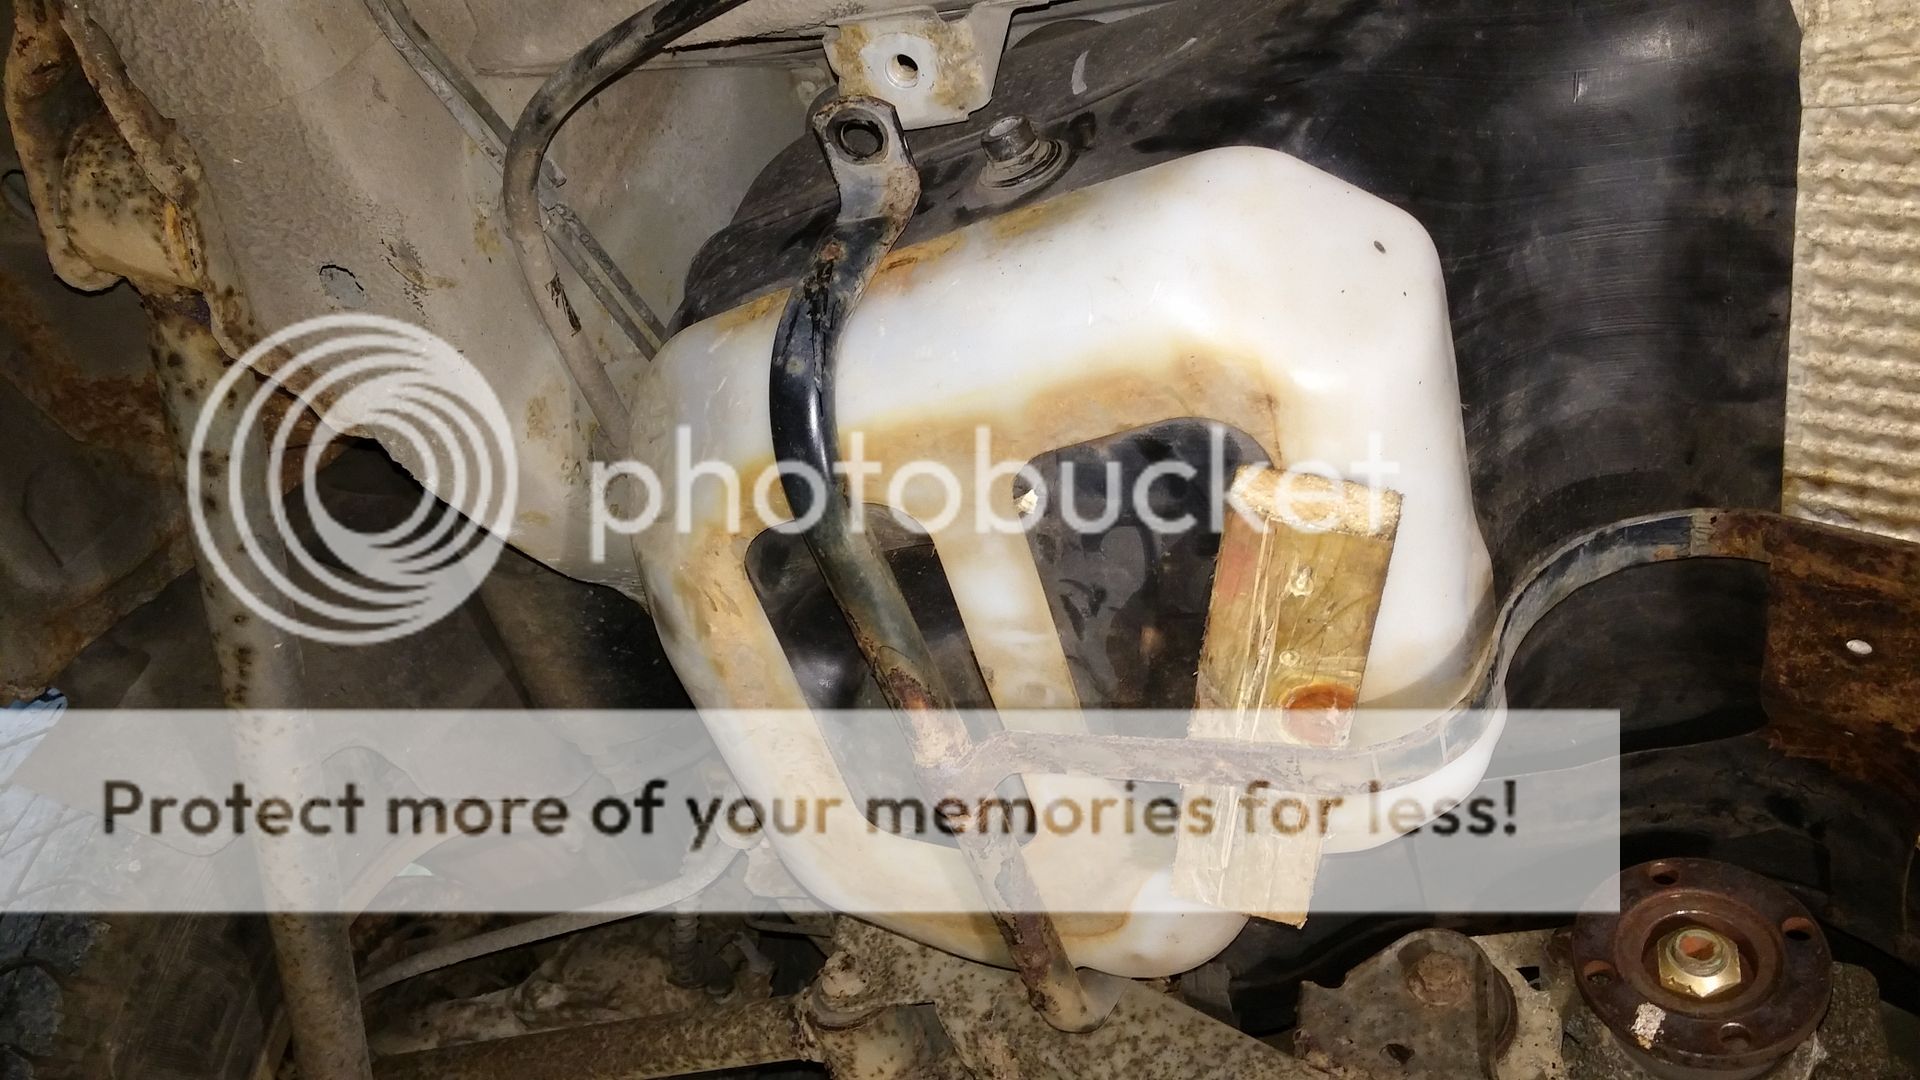
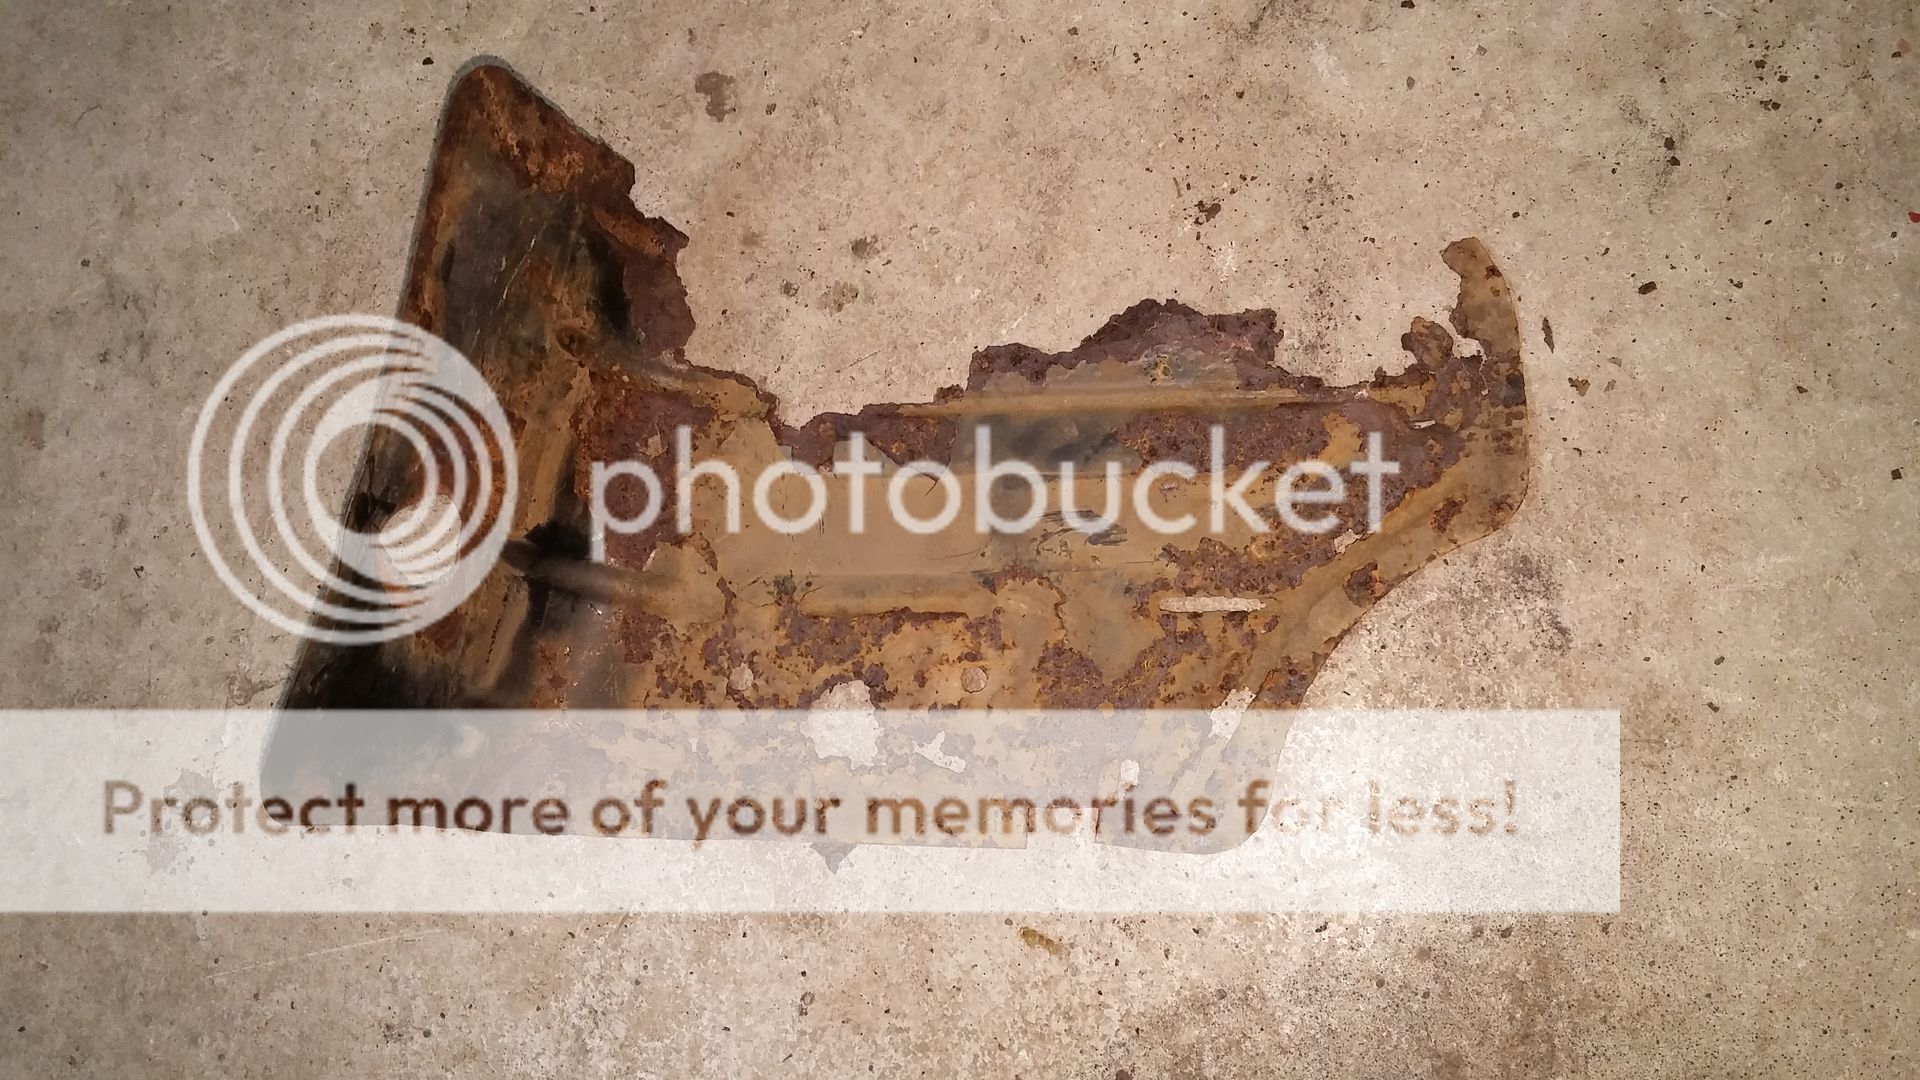
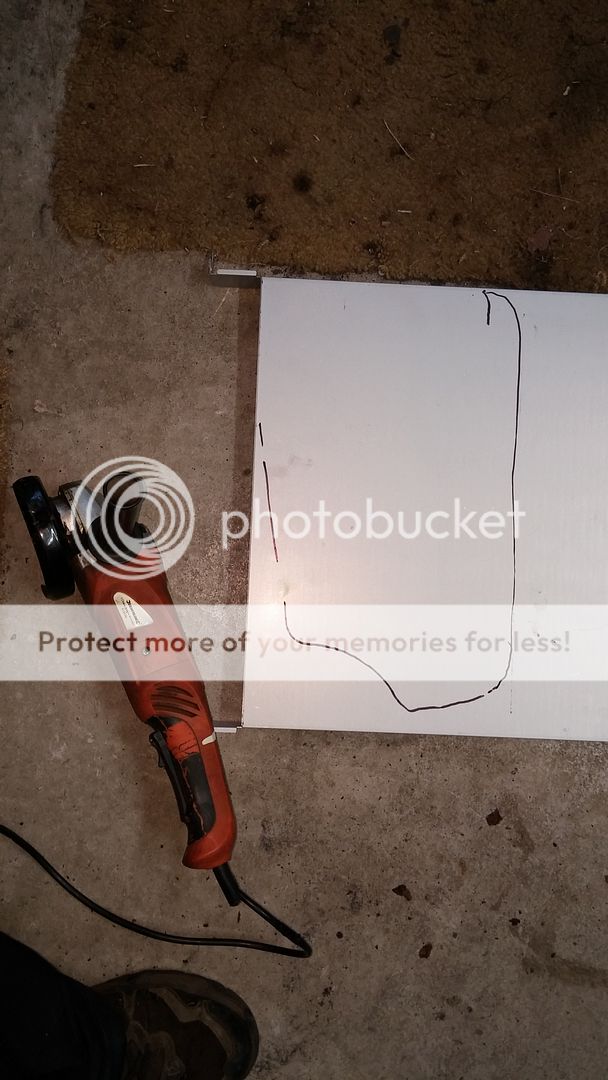
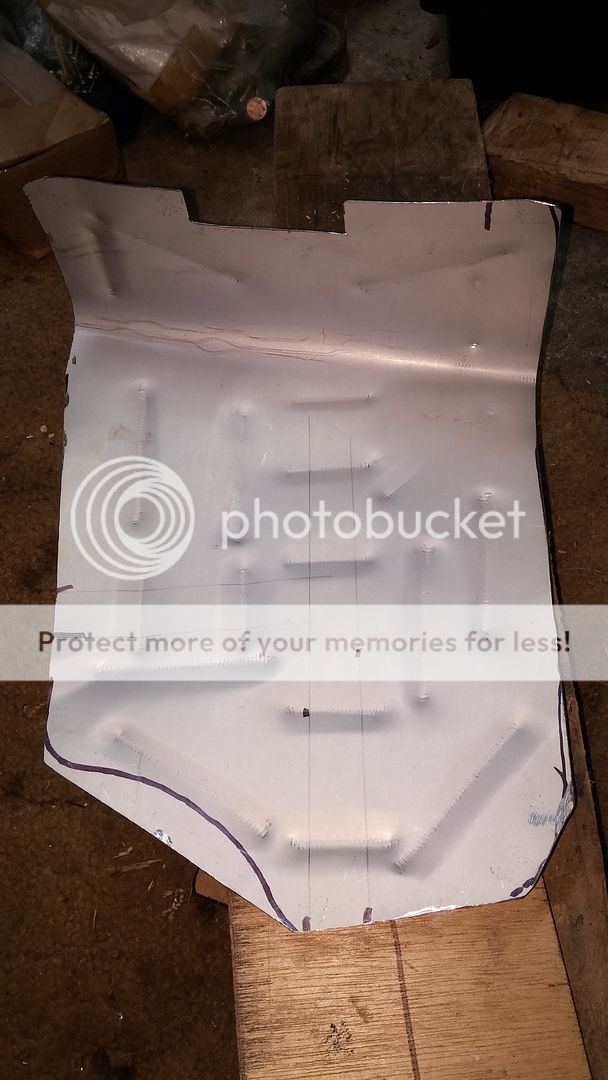
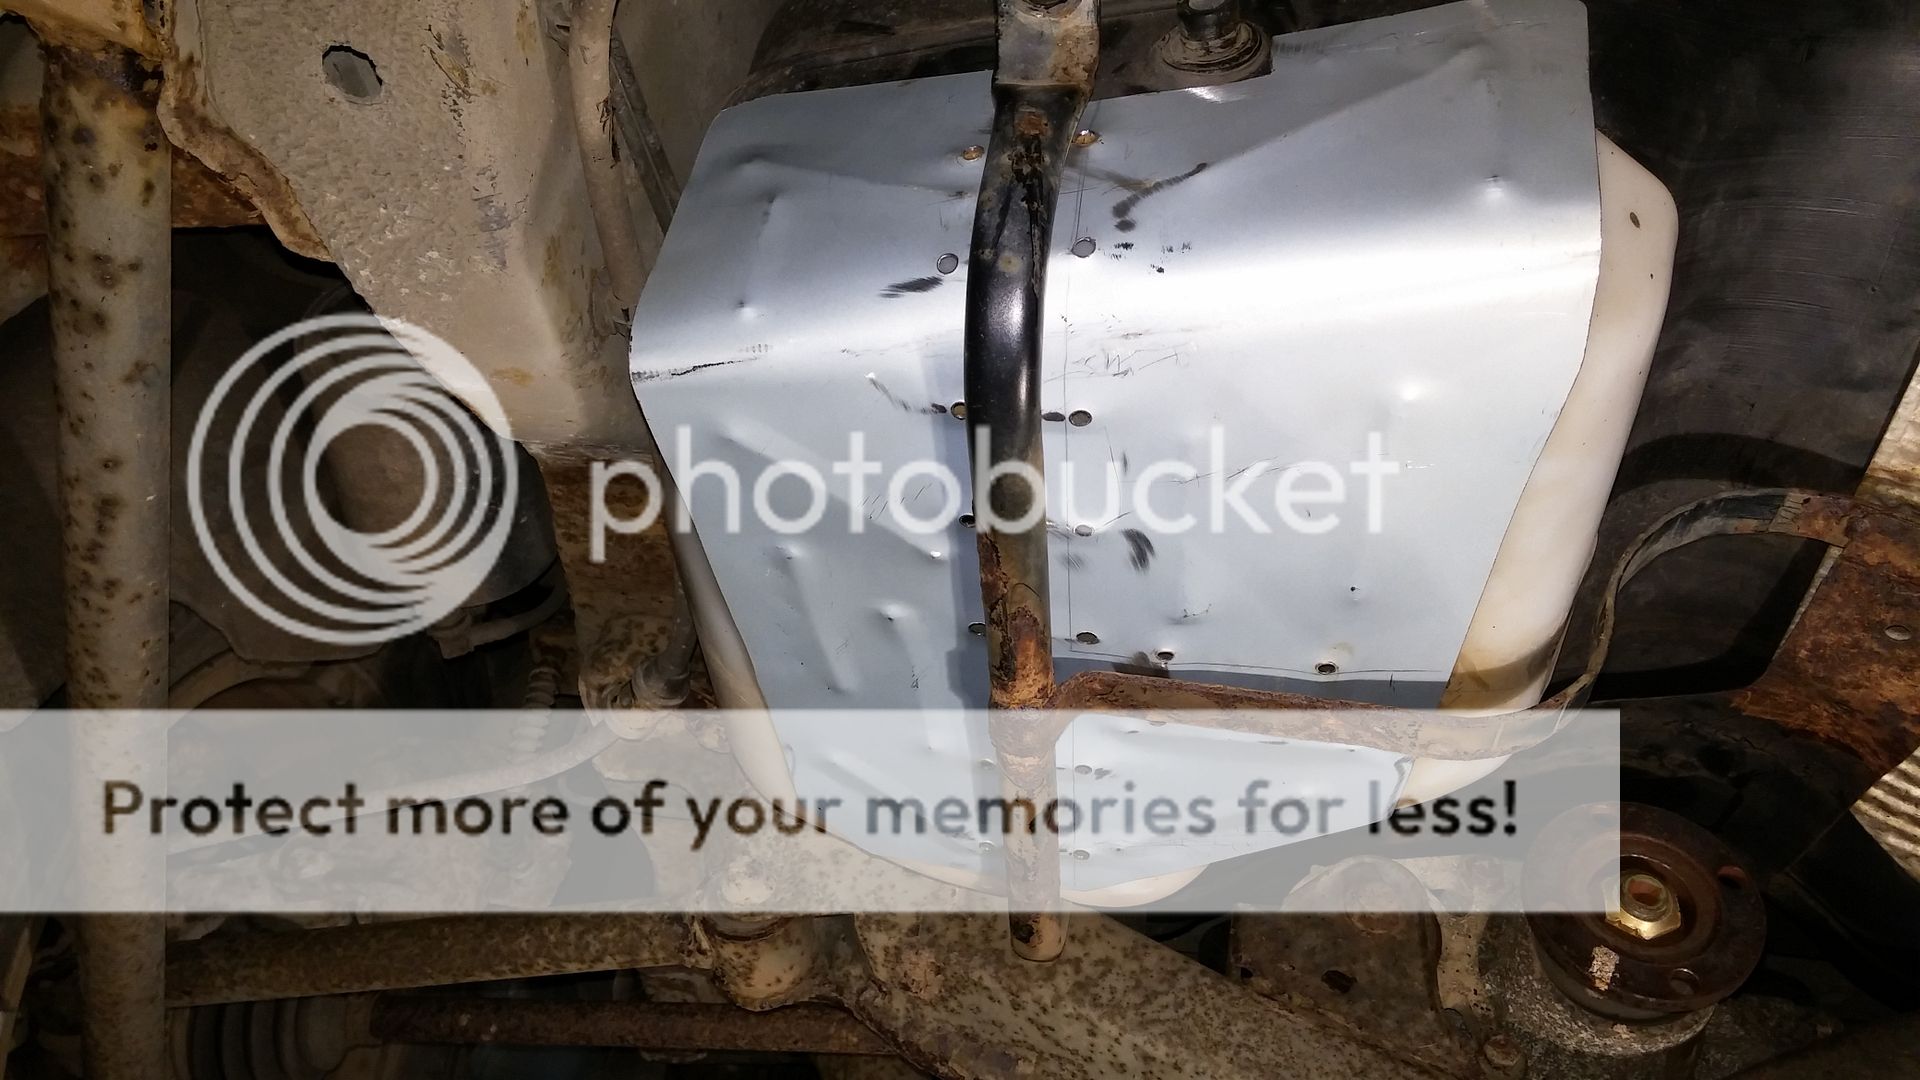
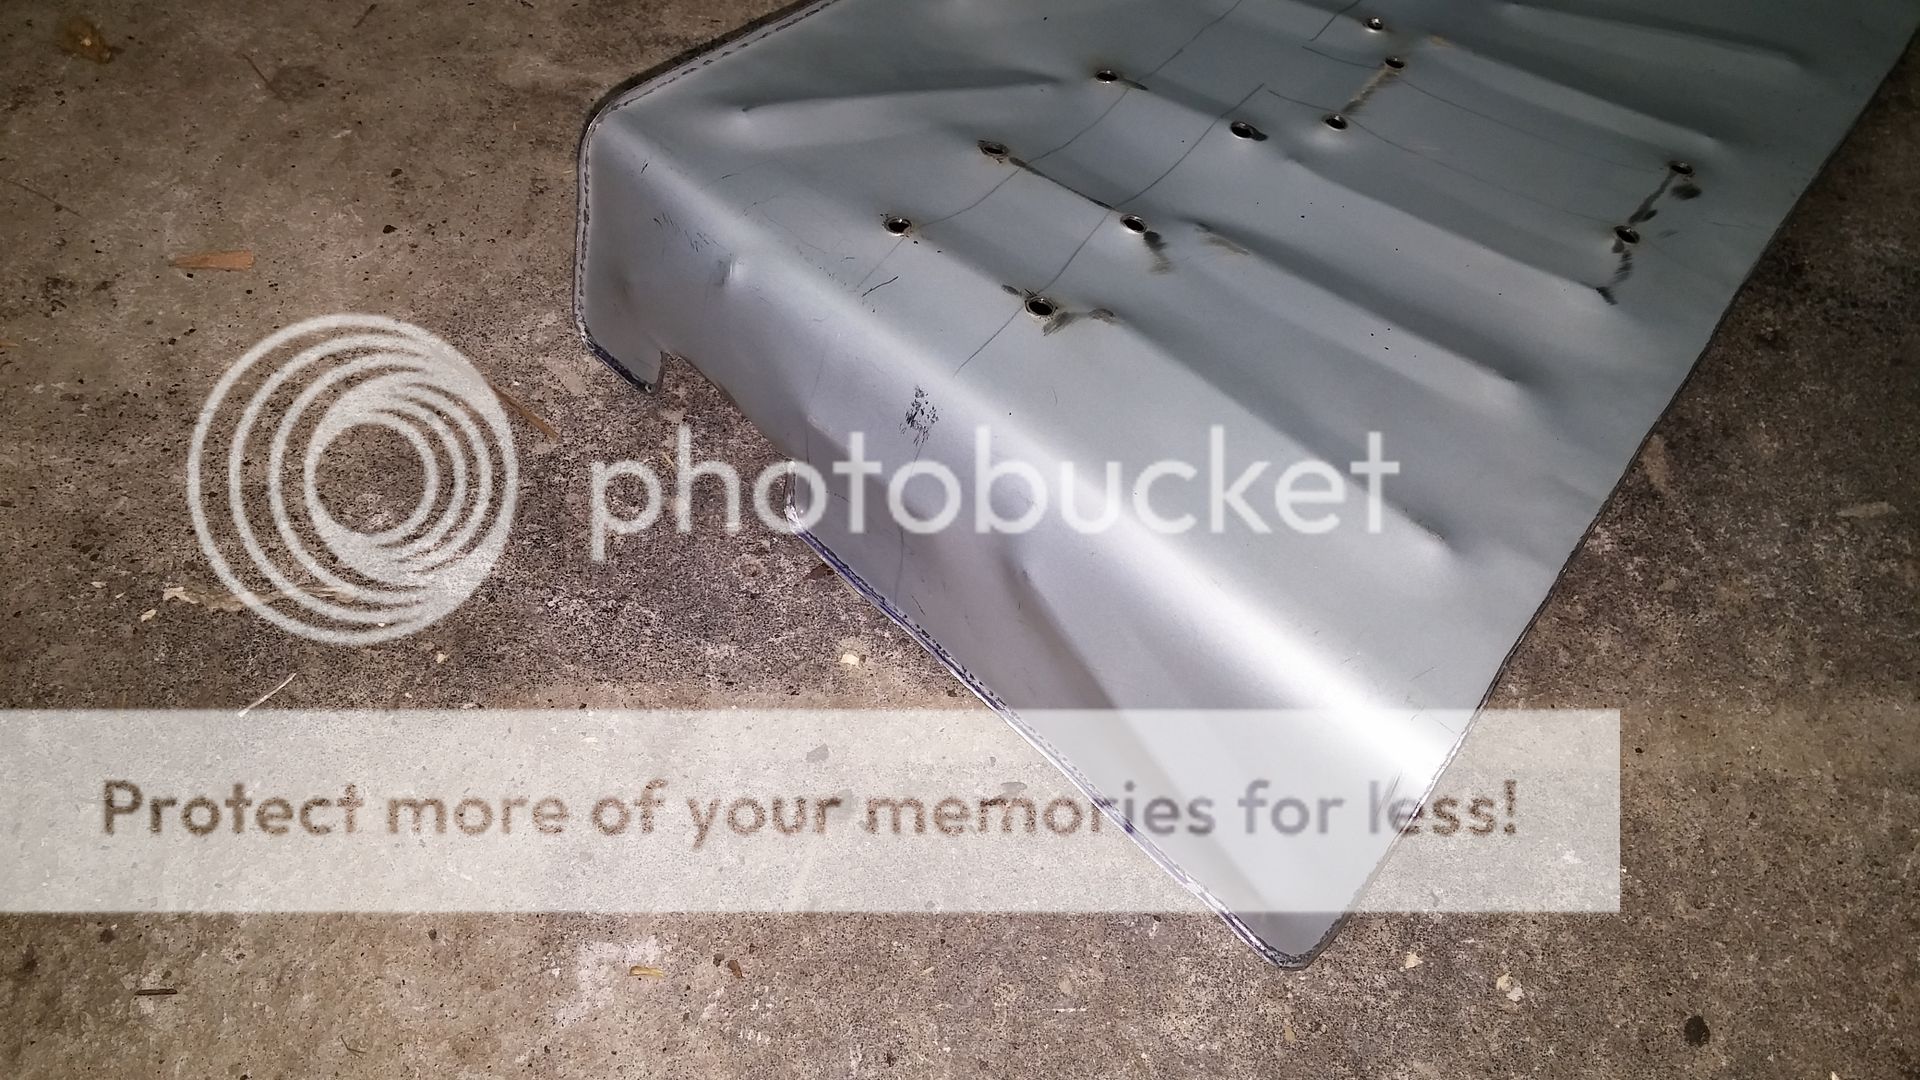
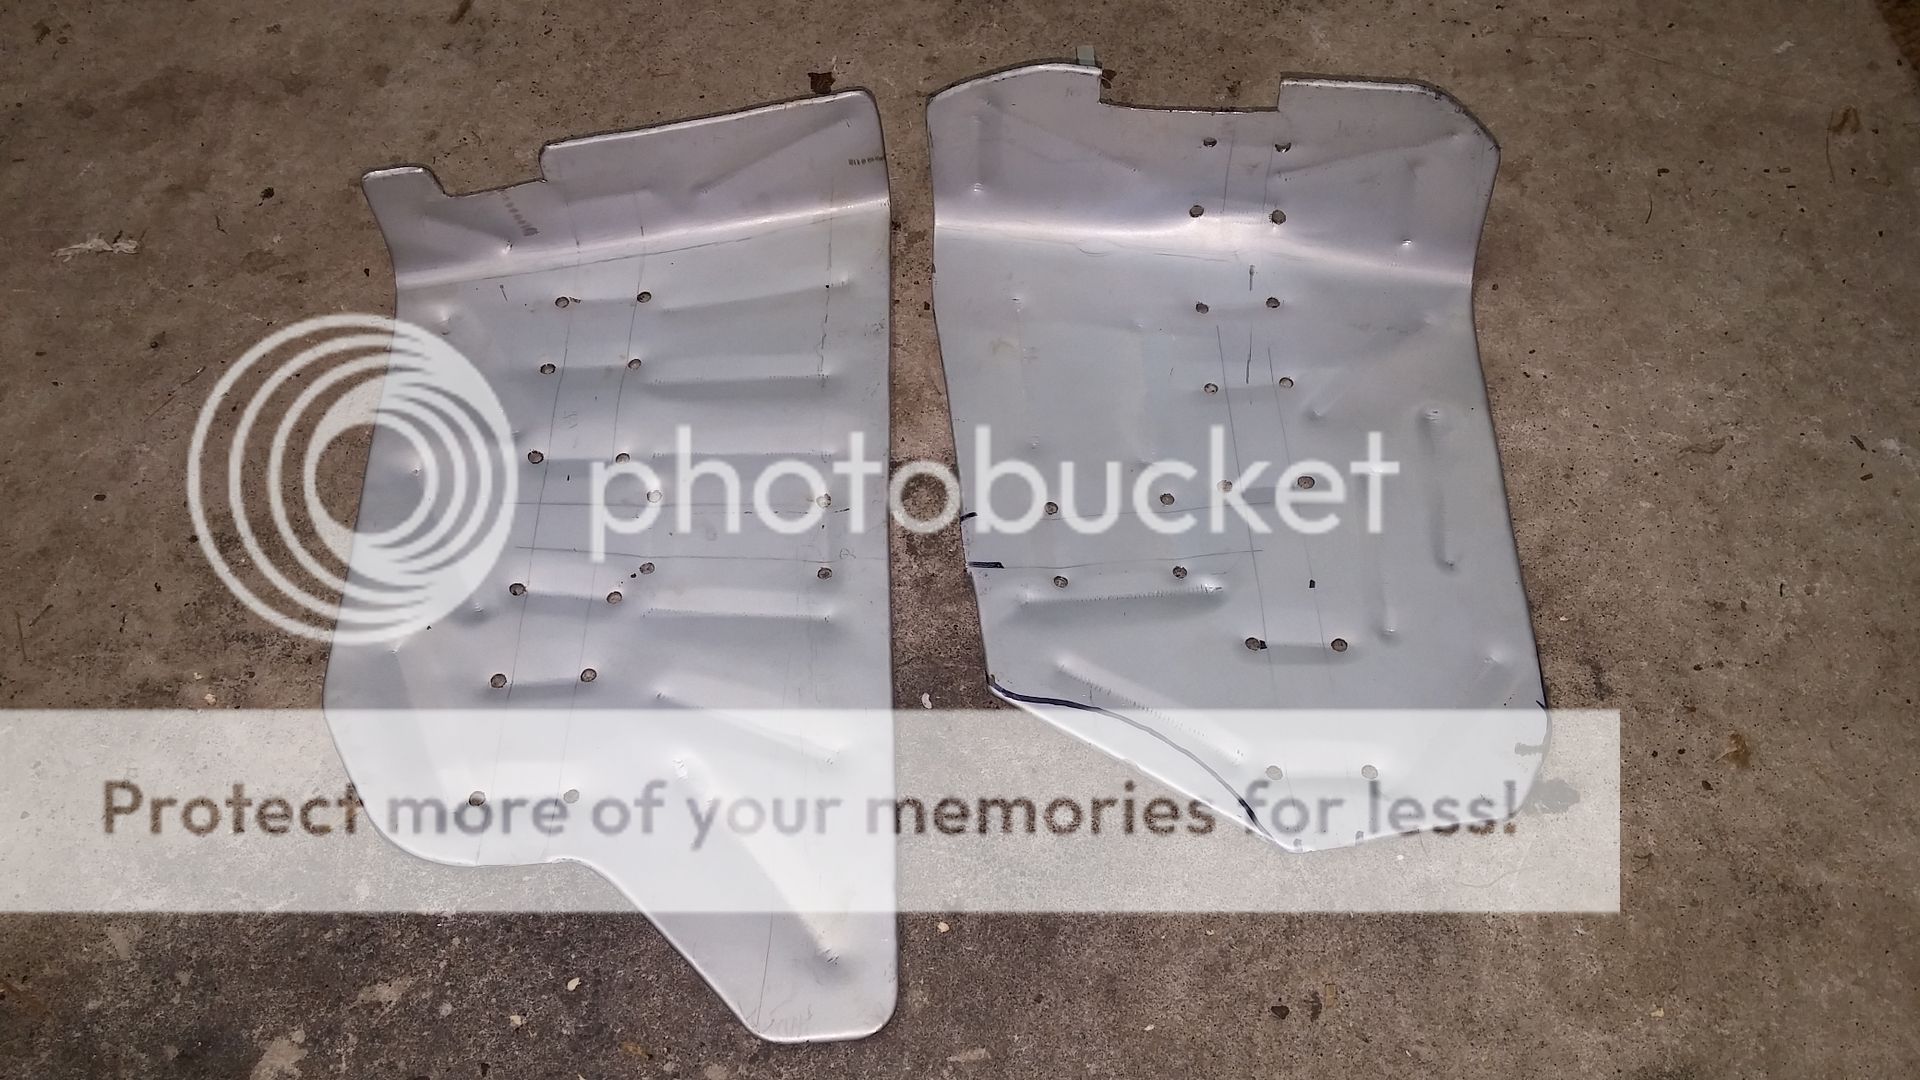
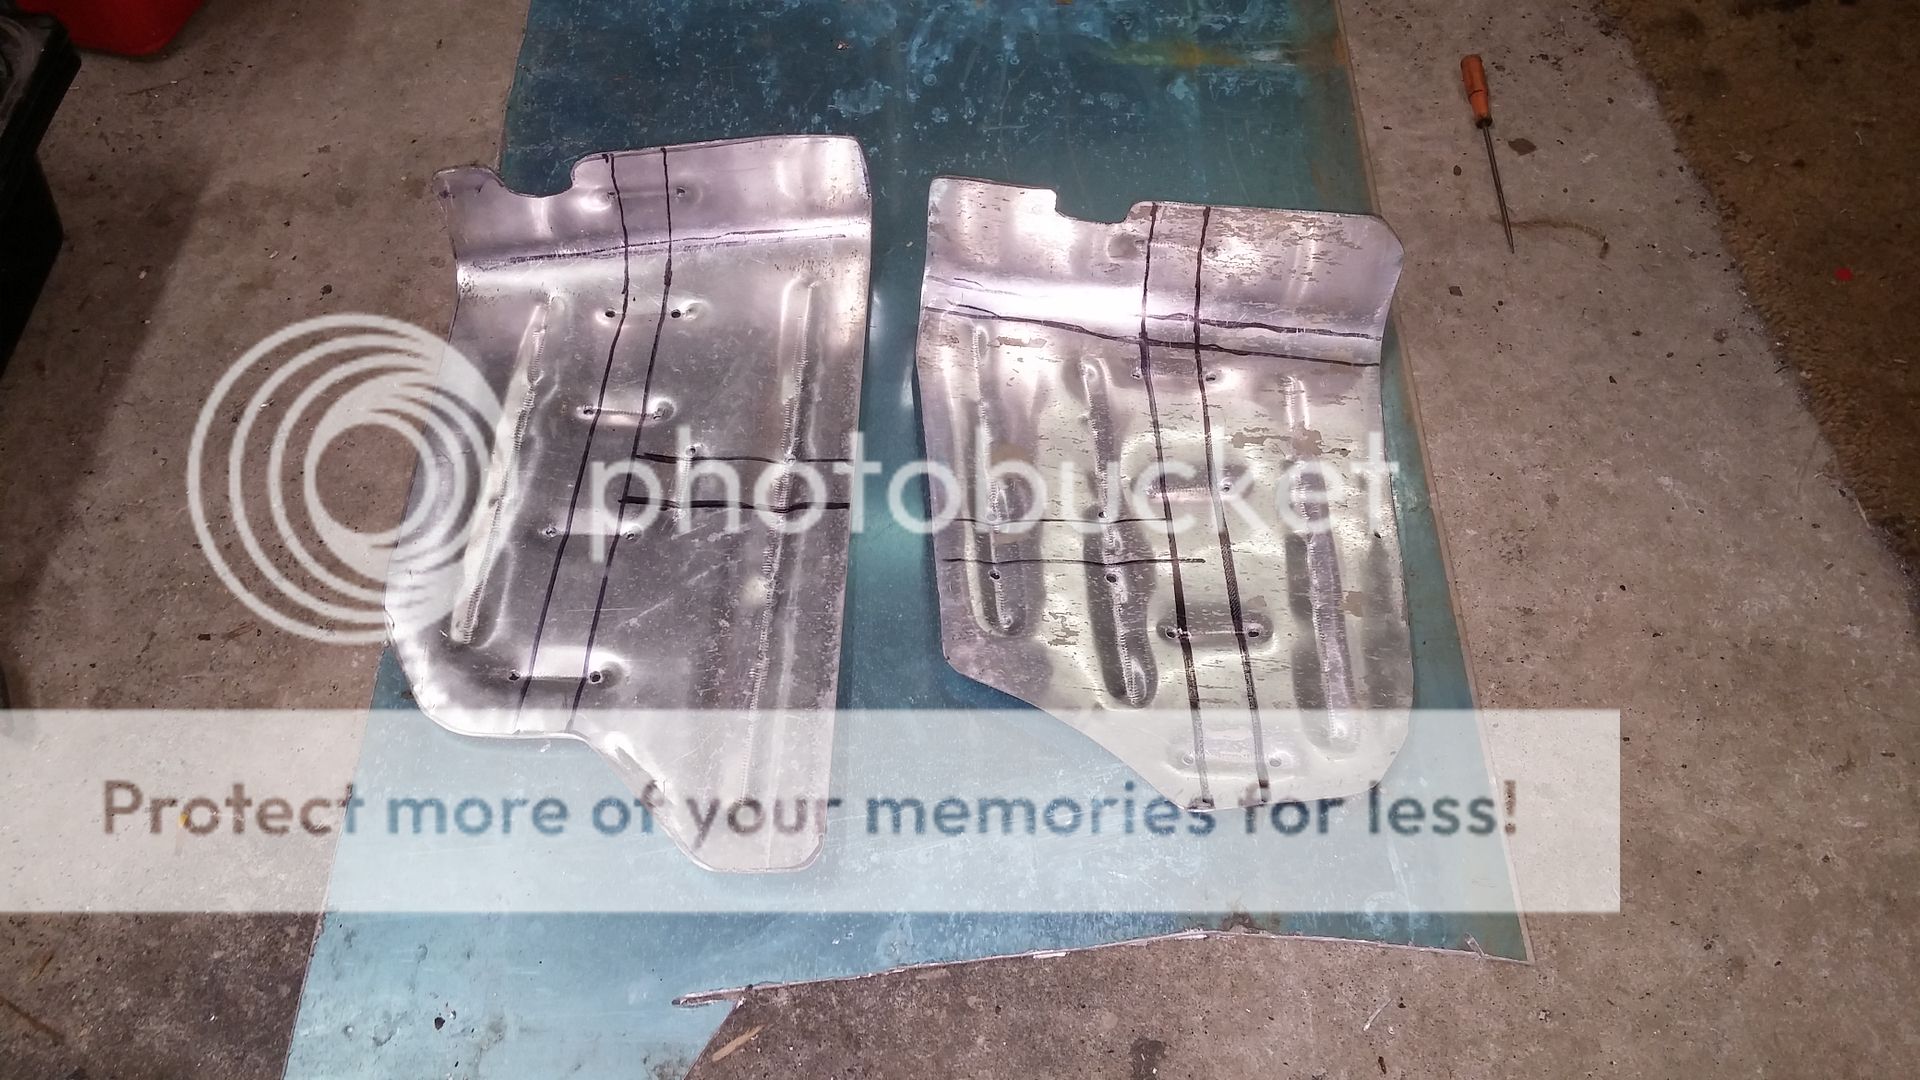
Just bought me another Freelander for a project car. Lots of pics of VCU refurb, fuel tank cradle repair etc.
Early 2015 I bought a 2004 K series Freelander from a dealer, it had full MOT, new window regulators, new diff bushes and decent tyres but because it was a K series I got it for under £1500. I thought I had done well getting such a fresh car for such small money.
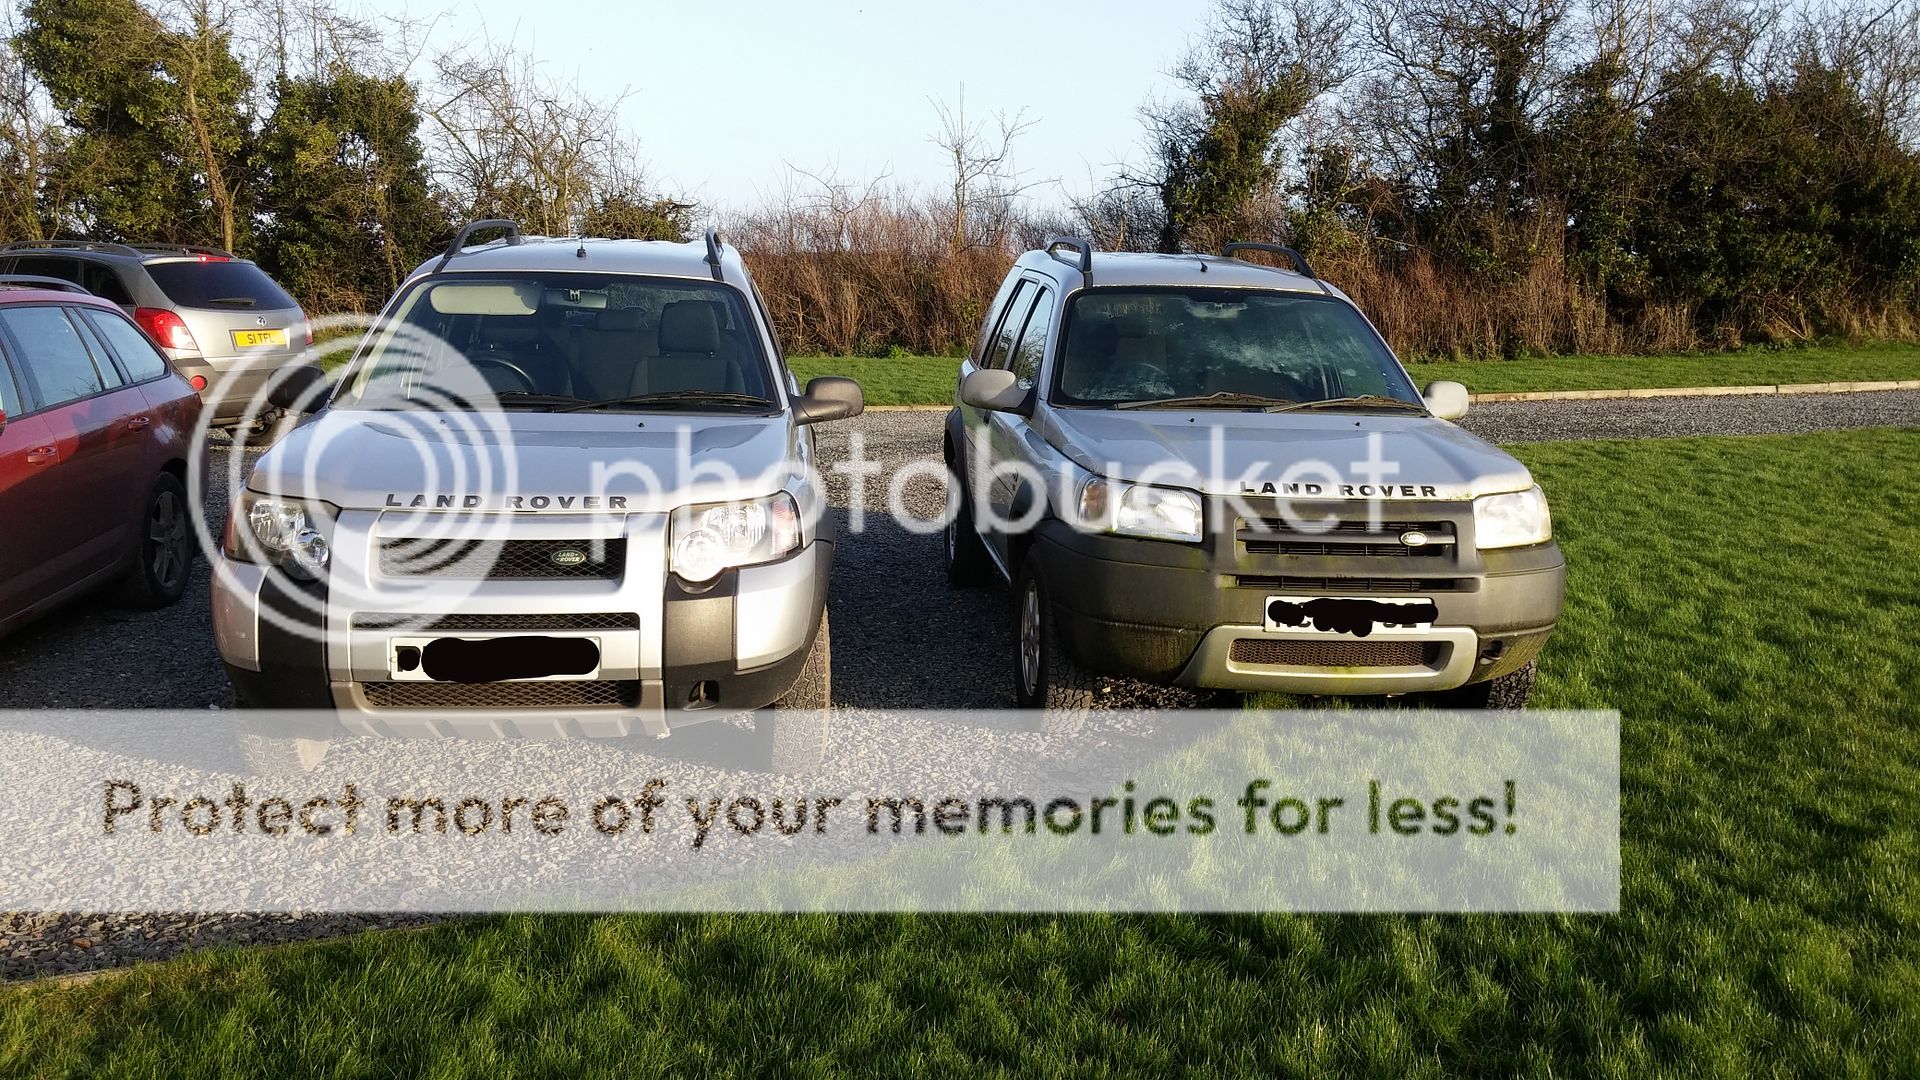
Well that ain't nothin. Get a load of this, the newcomer is on the right.
1b245425-1636-4390-be47-83dd4b35cd52_zpse8sbguah.jpg

Gertrude is a 2002 K series with 120k on the clock but with a replacement engine at 60k (some issue caused by the garage during a service), she comes with 2 newish tyres, two fairly worn tyres 3 dodgy windows a new clutch and possible head gasket failure (yet drove home 20 miles no probs) but the body is rust free. She has sat around untaxed or MOT'd for three years so covered in algae and moss but clean paintwork under it all.

Guess what I paid for her?

No go on guess

Ah go on

Go on, go on, go on, go on.

Ah your no fun atall.

£280! Yip thats right, £280 and she drove home (allegedly ocifer) no bother. In fact I would say she drives smoother than my 04 car.

I haven't decided what to do with it yet but will get her MOT'd and take it from there. I would love to put a 1.8T engine in like Disco_mikey did and take her off roading. I think the extra torque from a turbo would make a massive difference to the driveability in sticky conditions.
In the meantime I am going through her sorting all the issues and my goal is to have her running serviced and MOT'd for under £600.

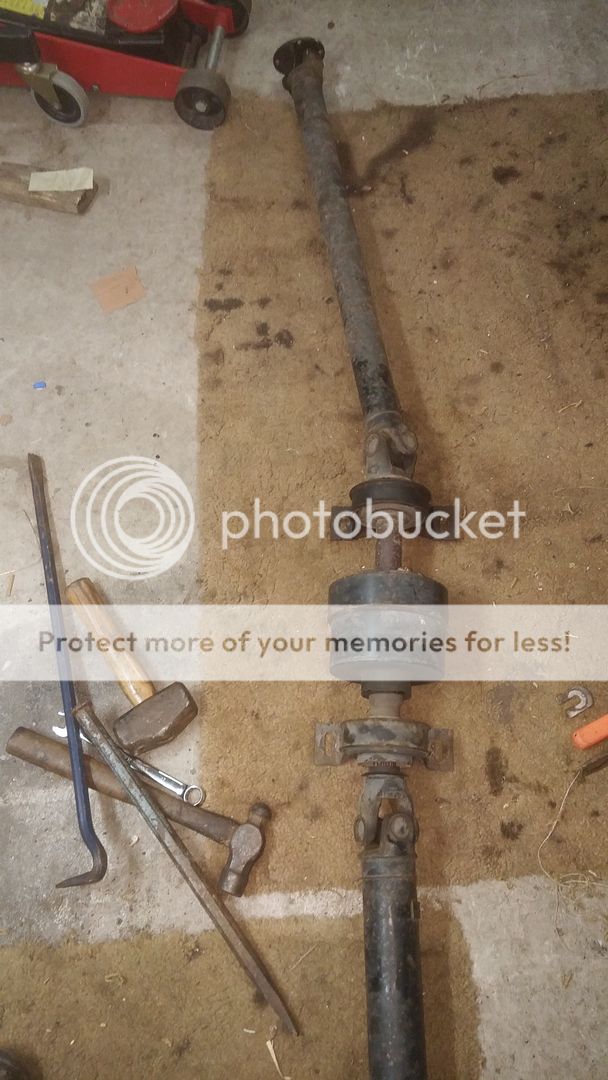
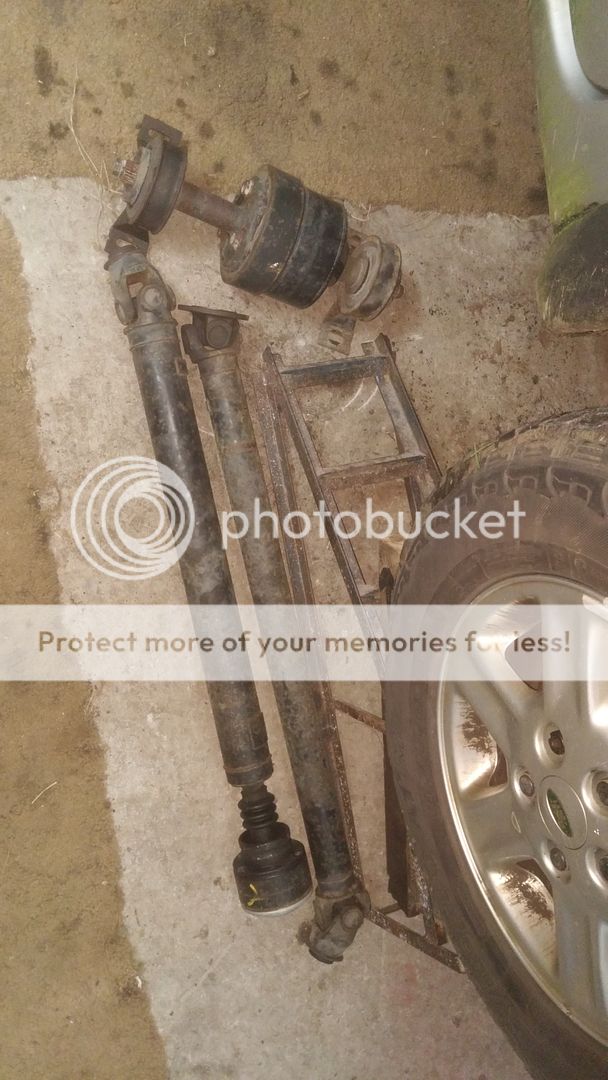
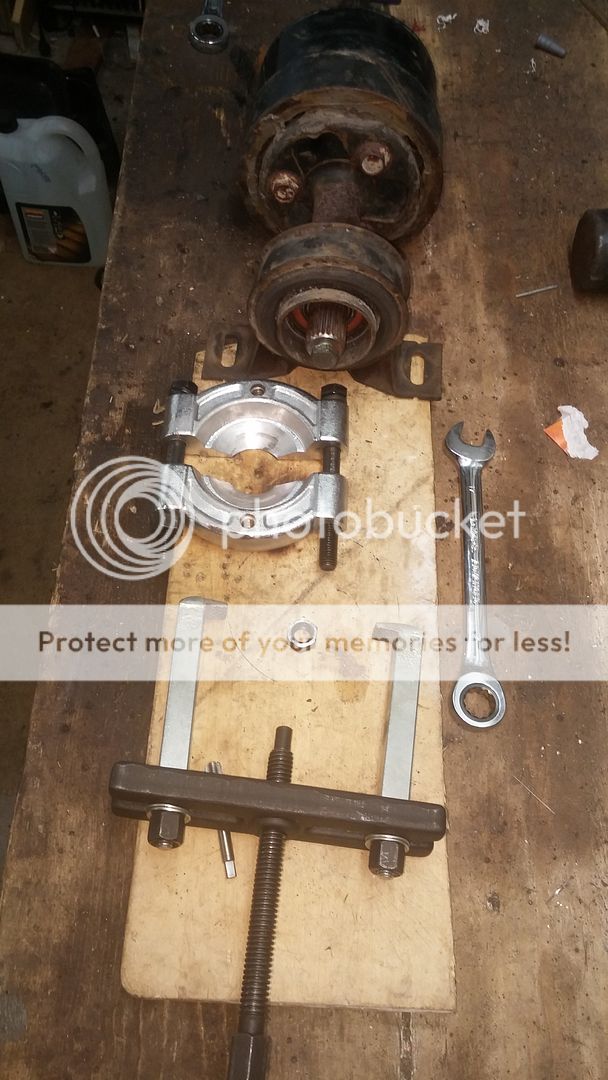
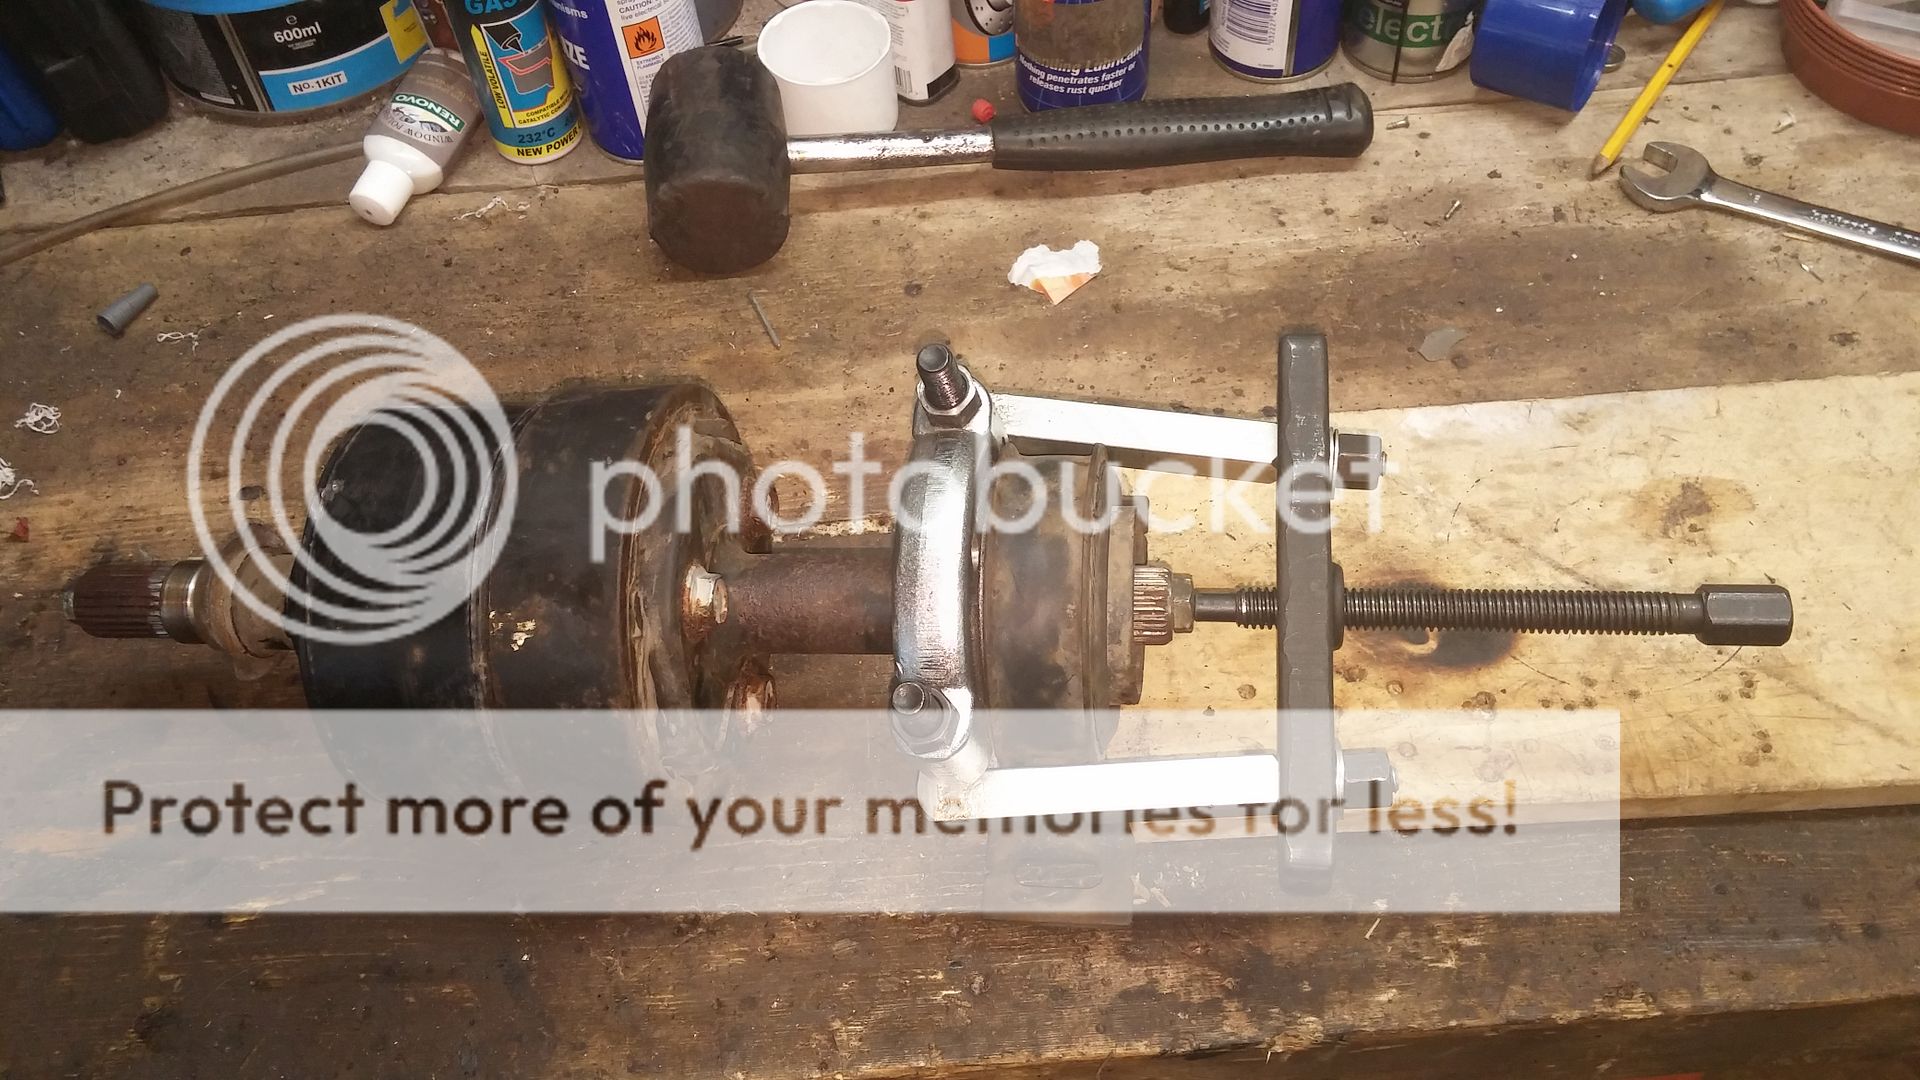
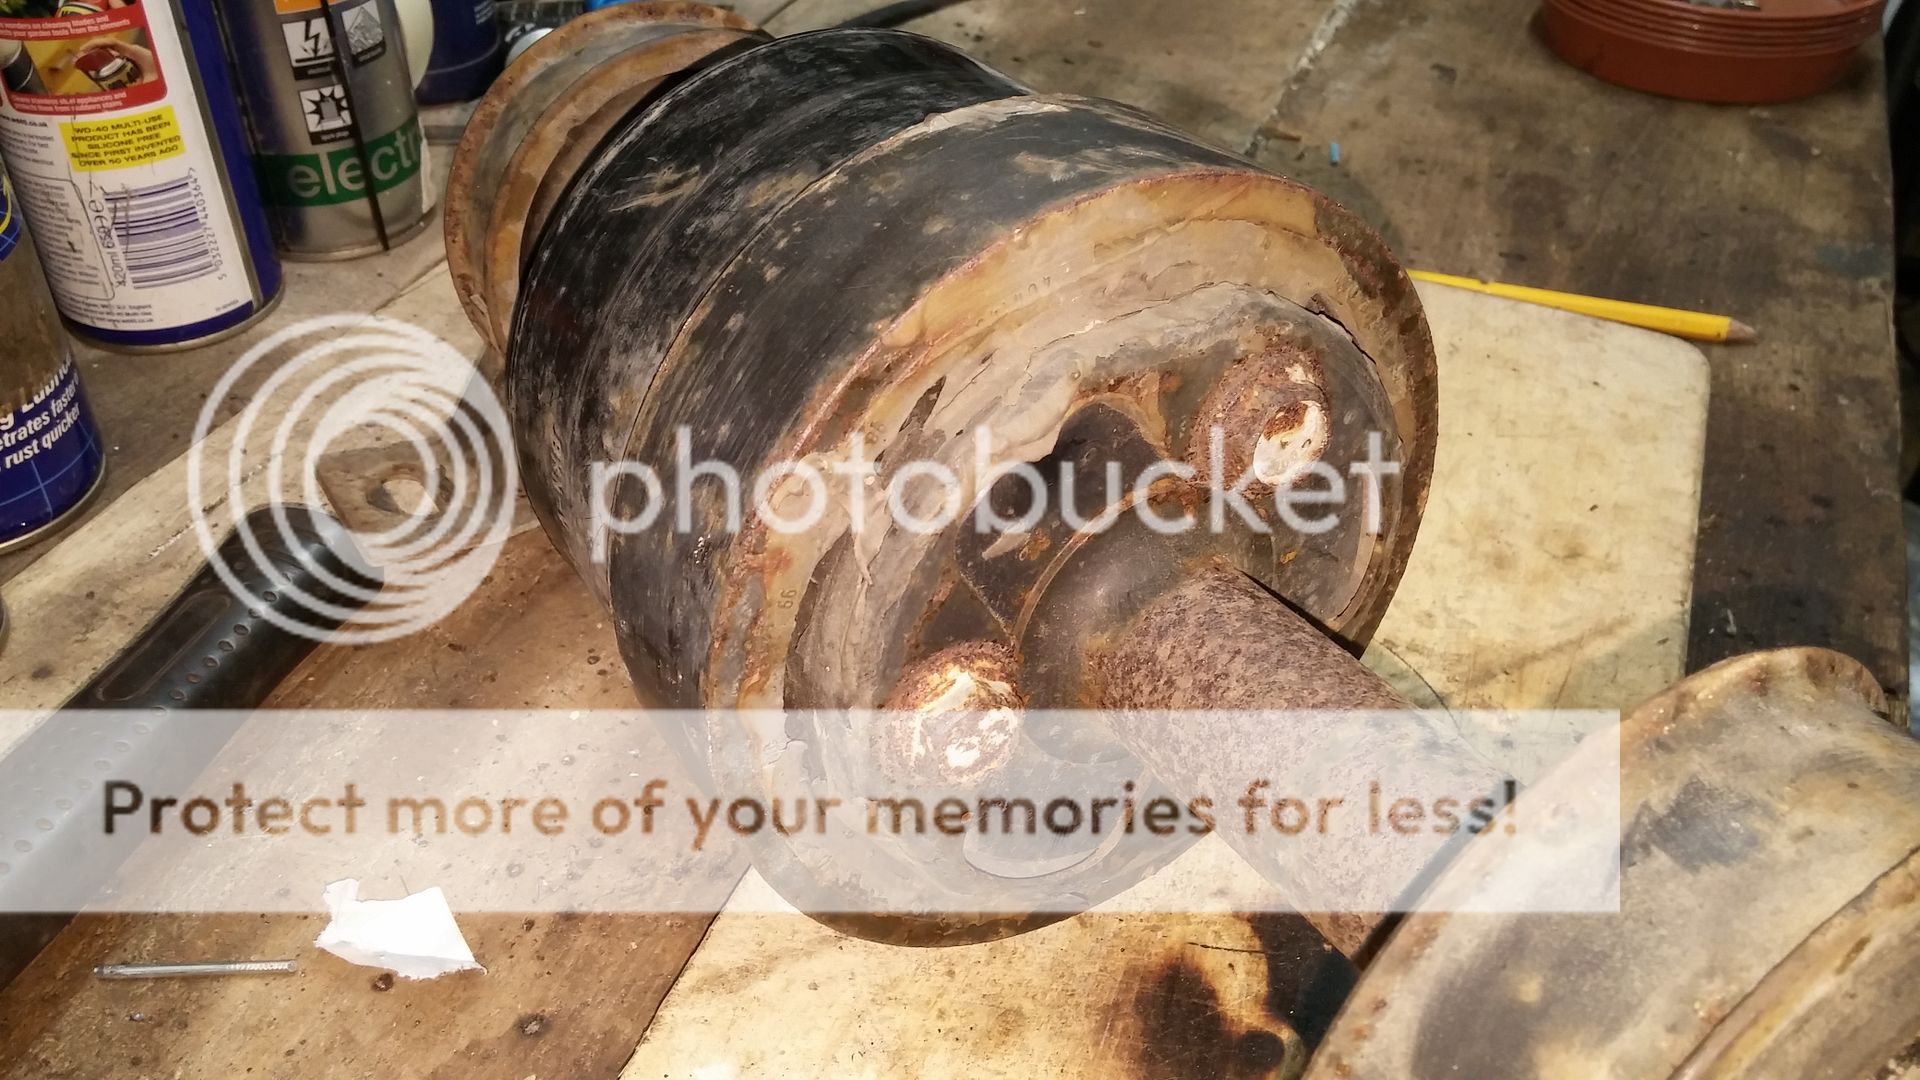
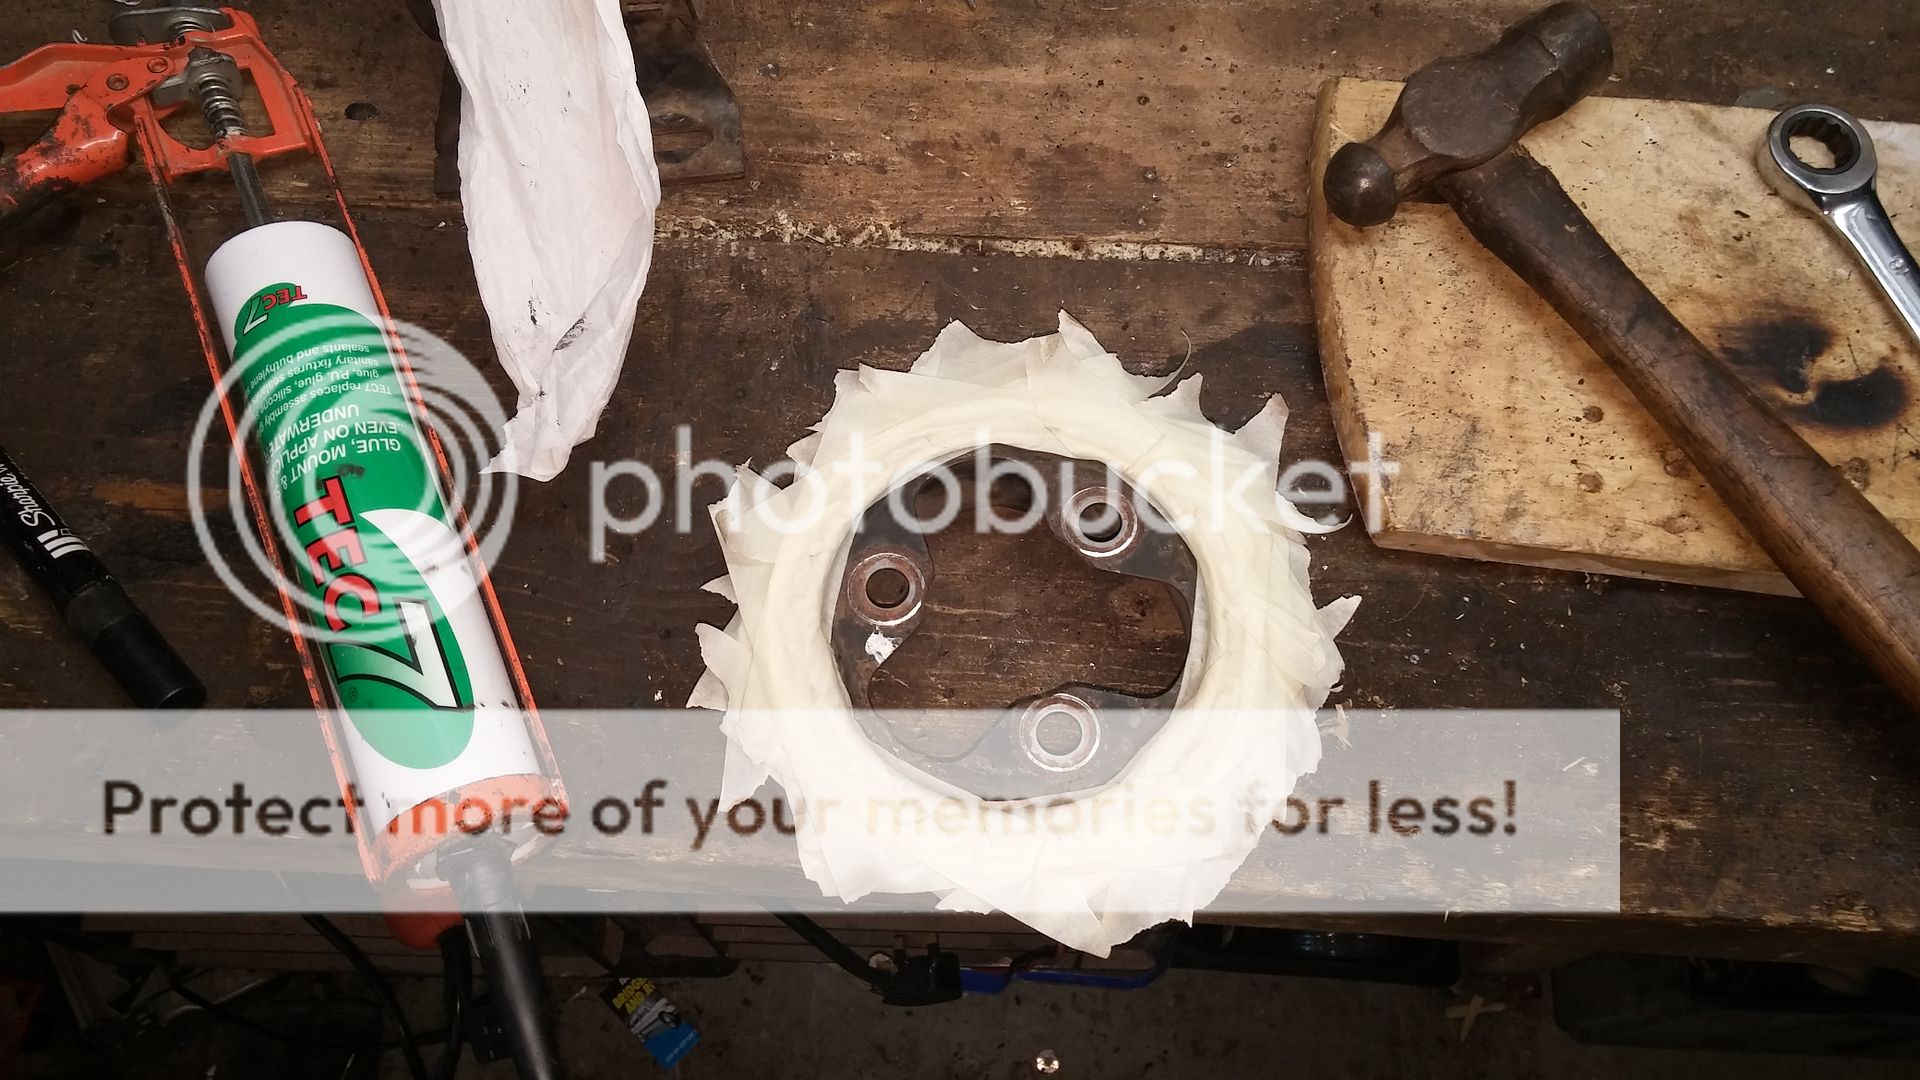
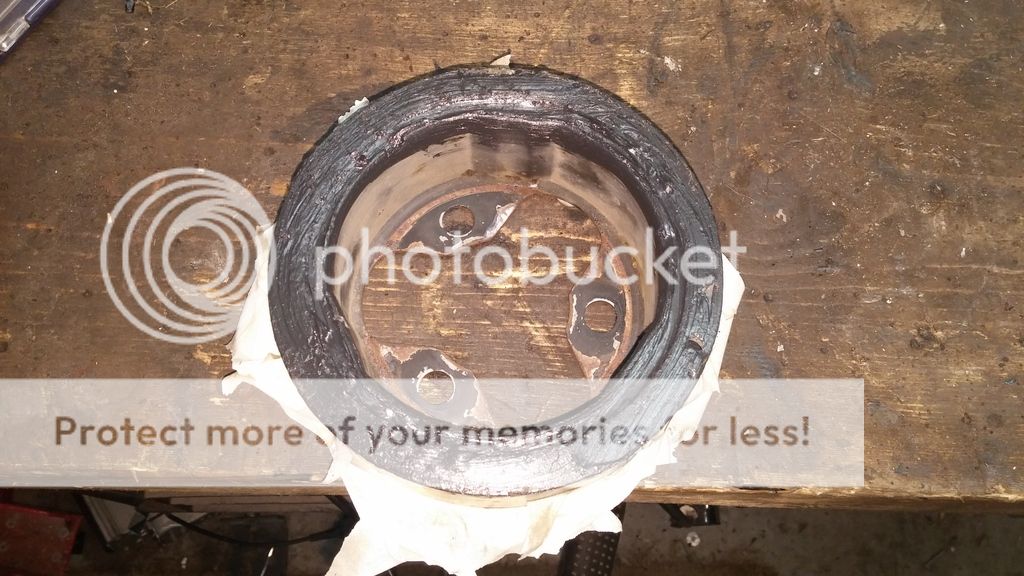
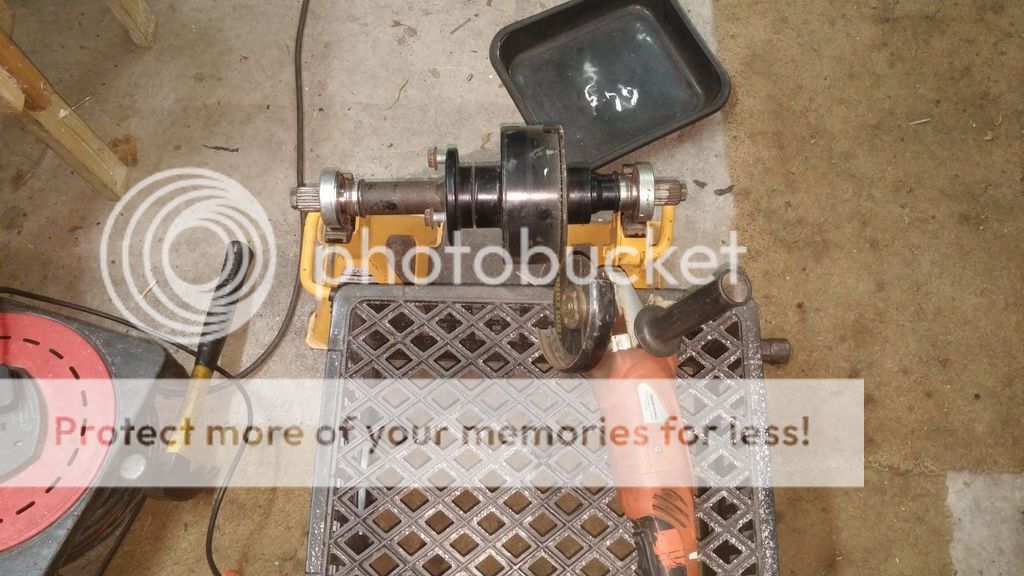
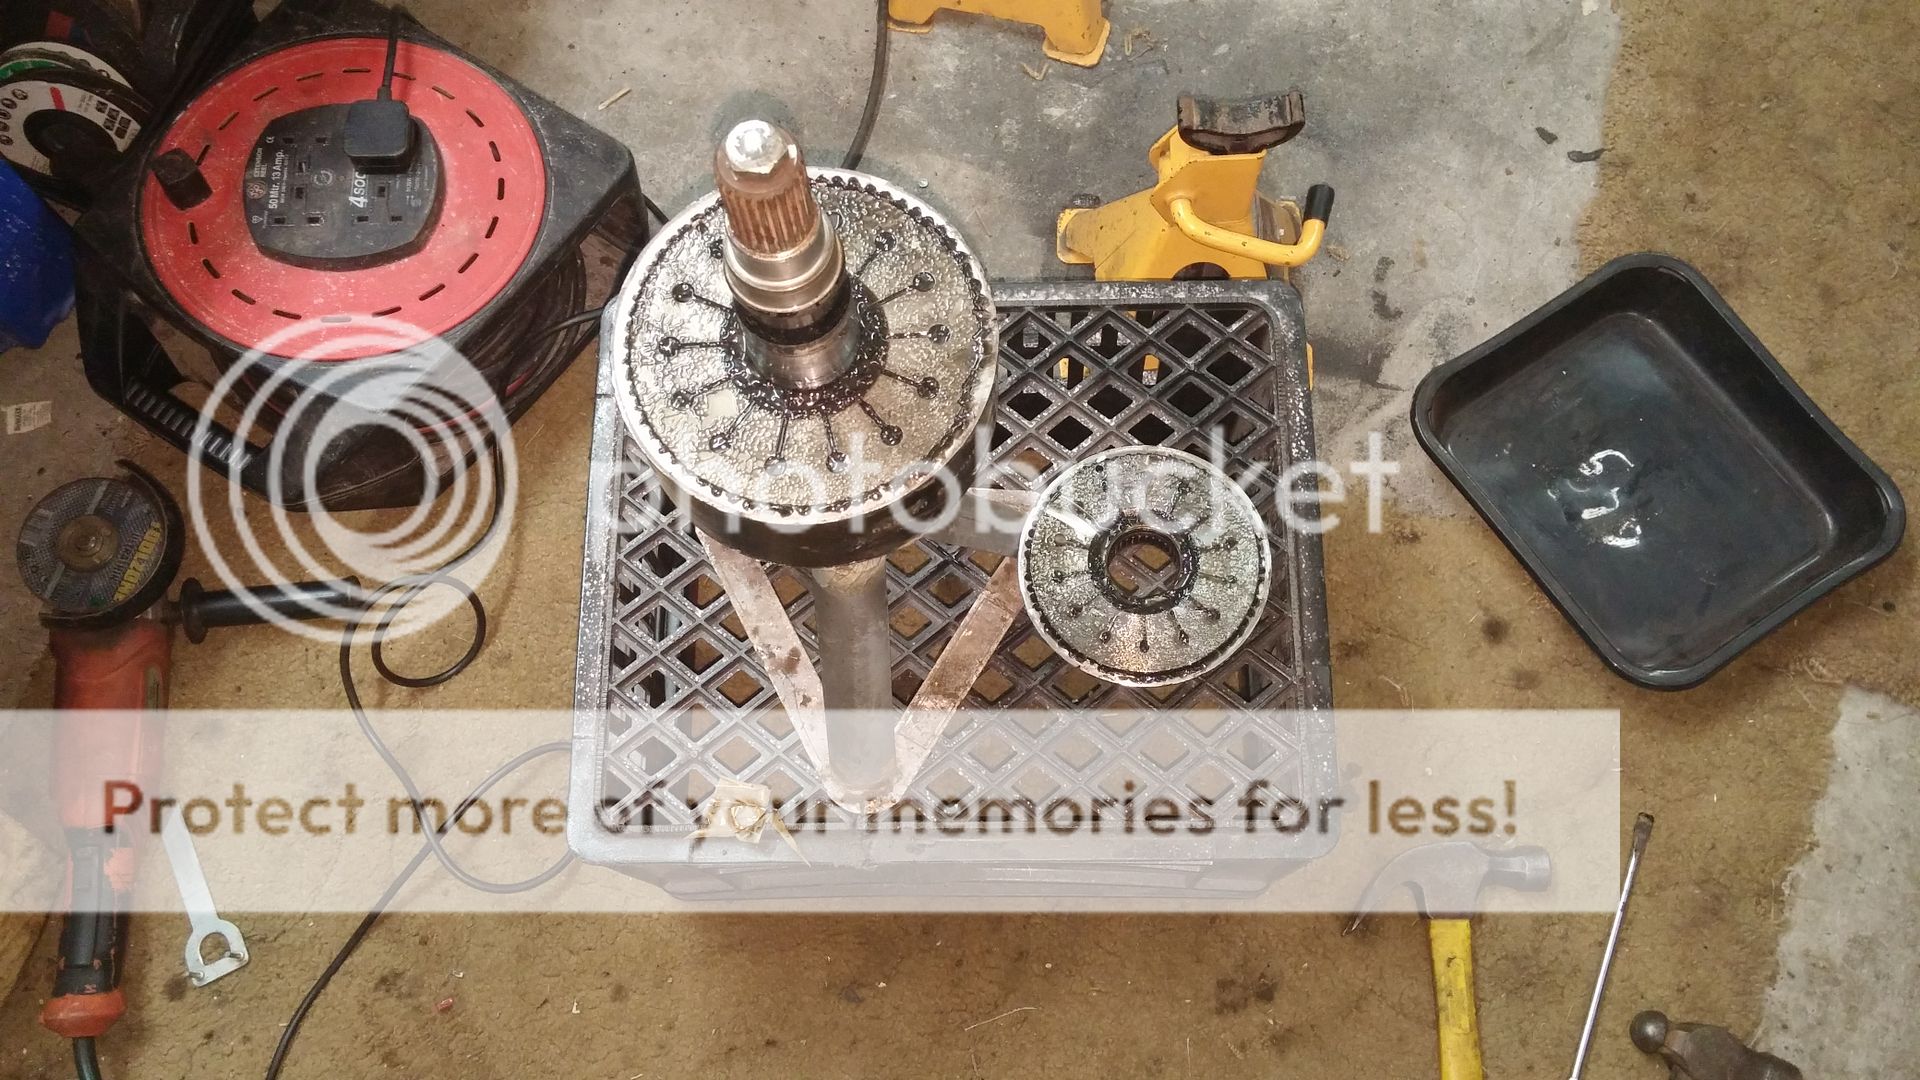
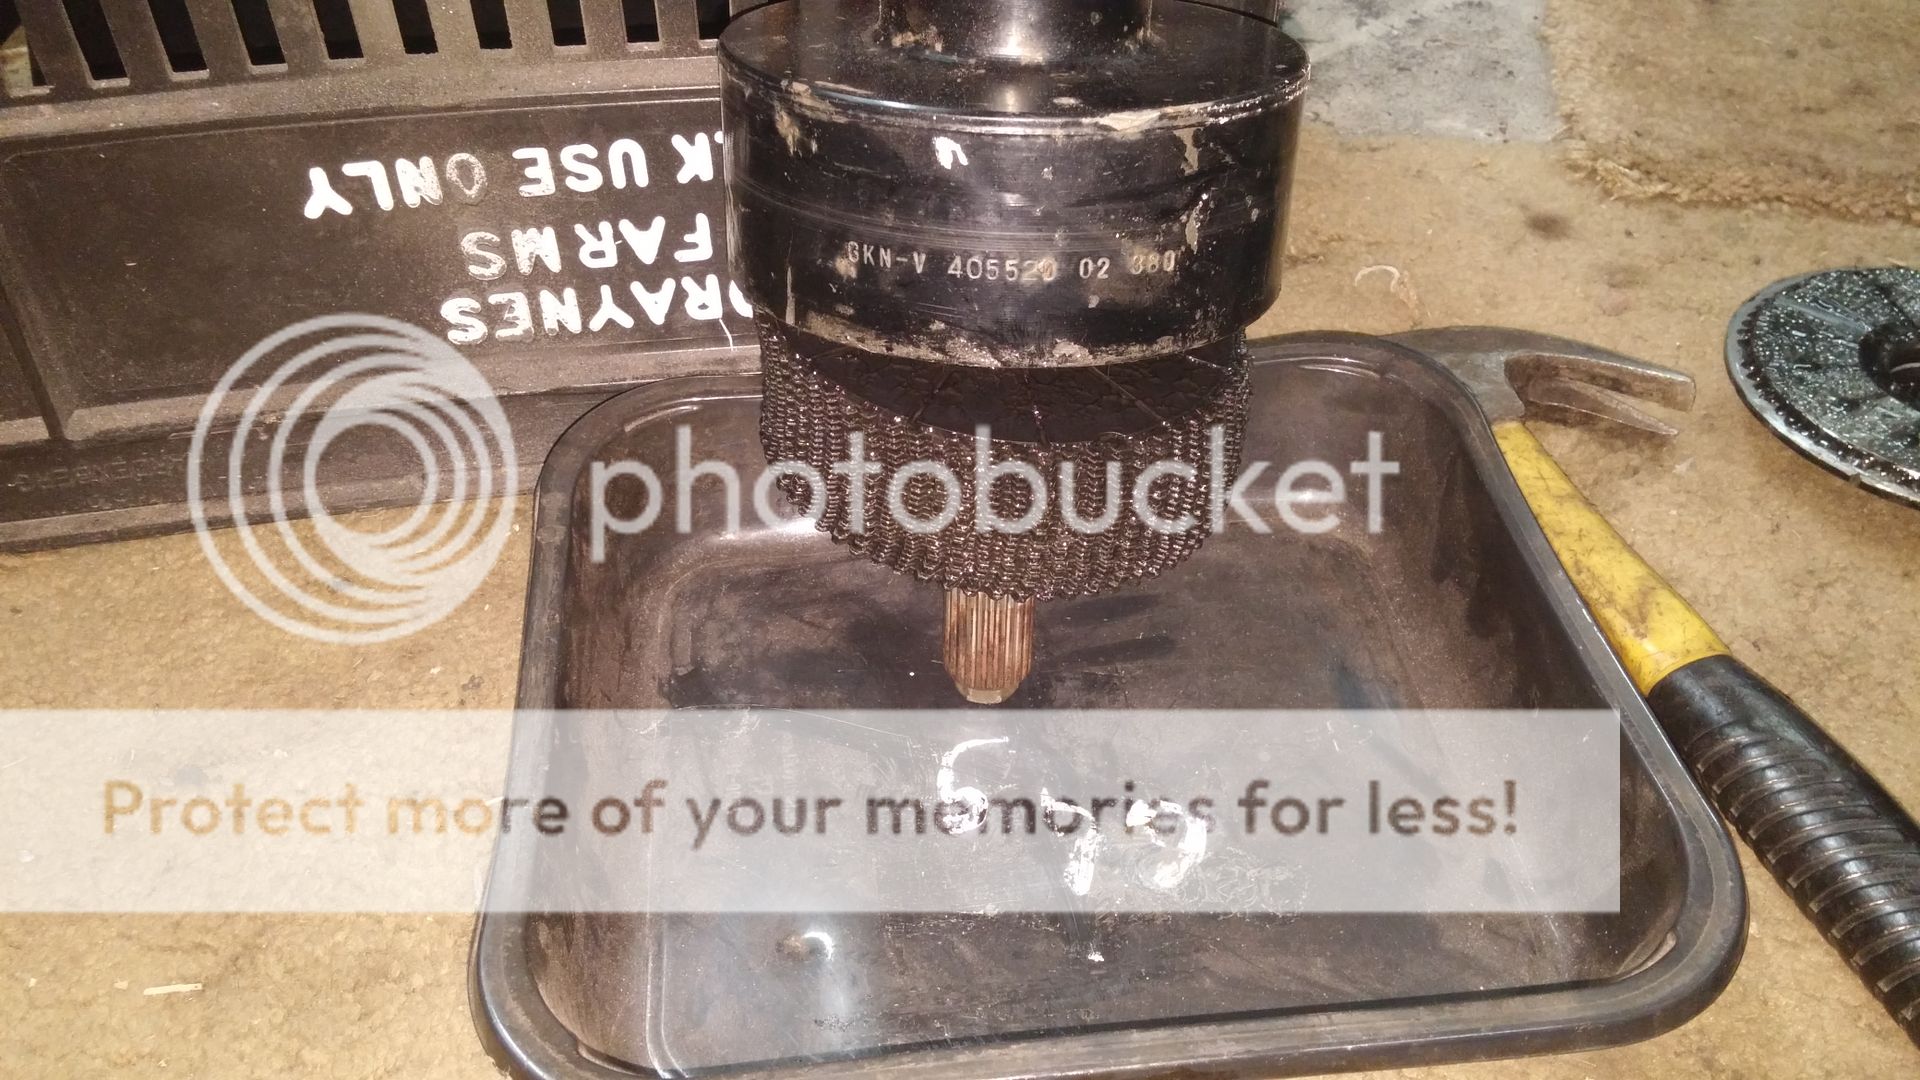
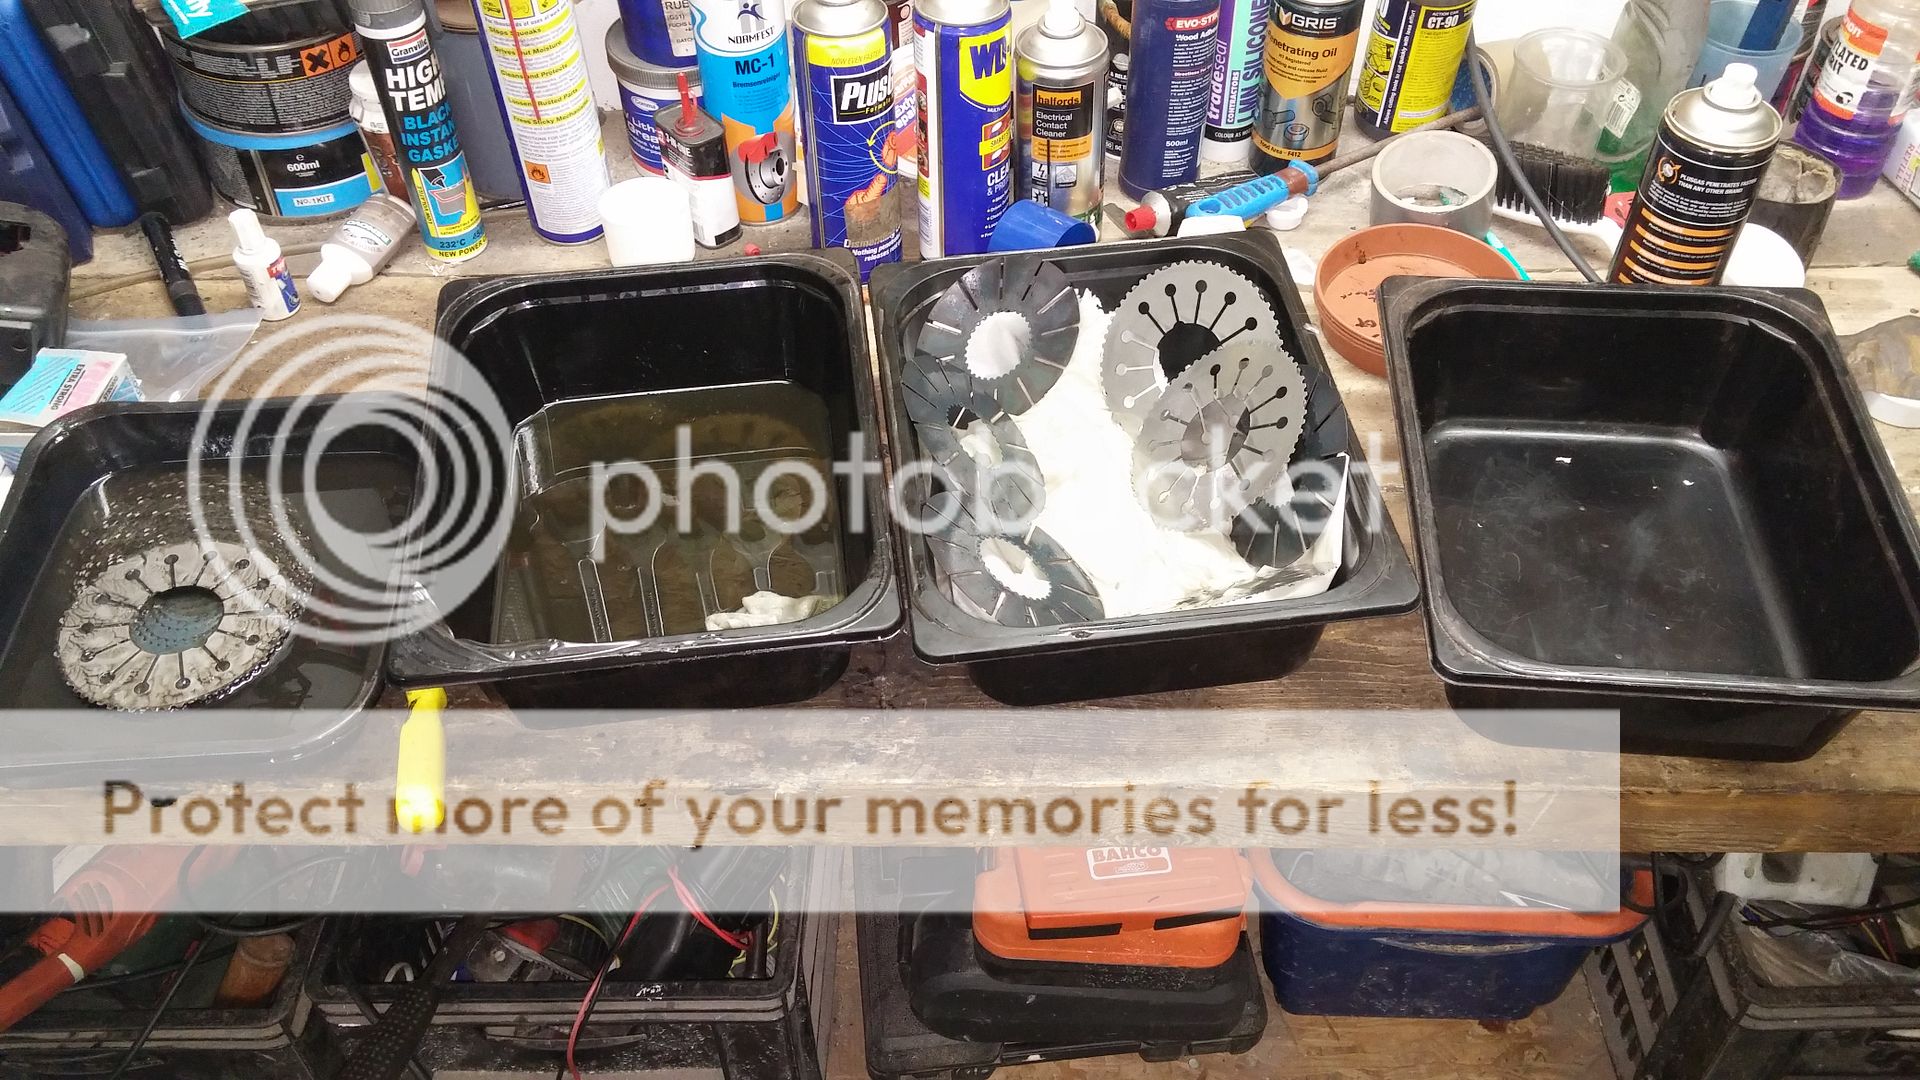
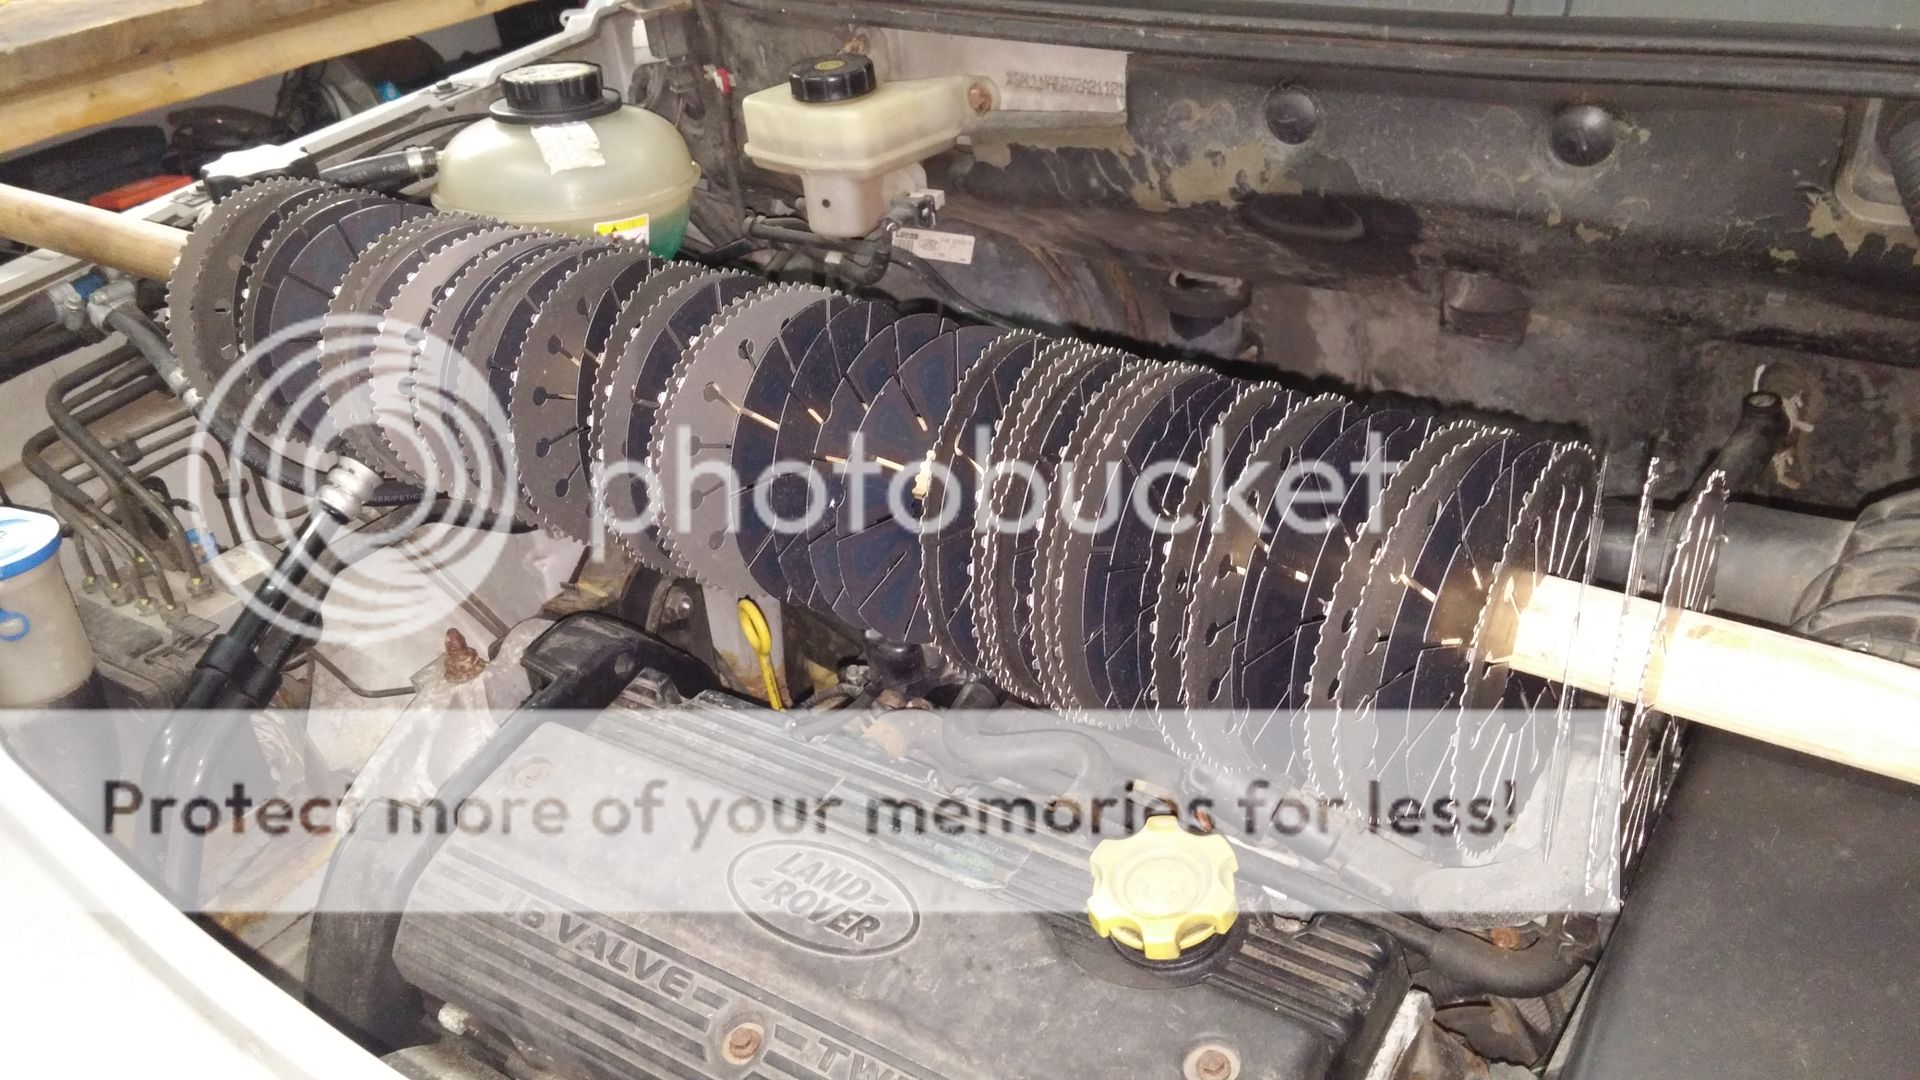
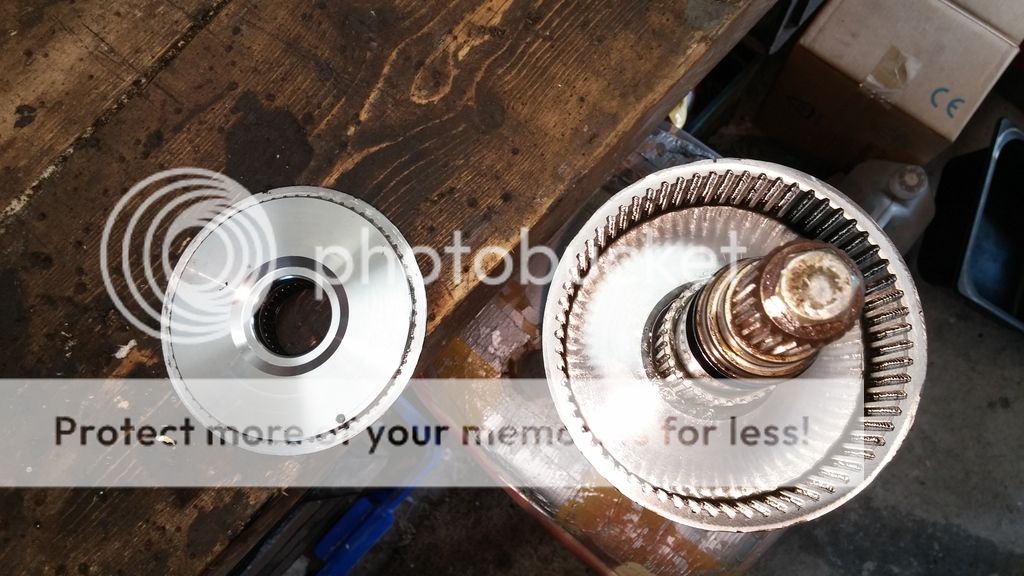
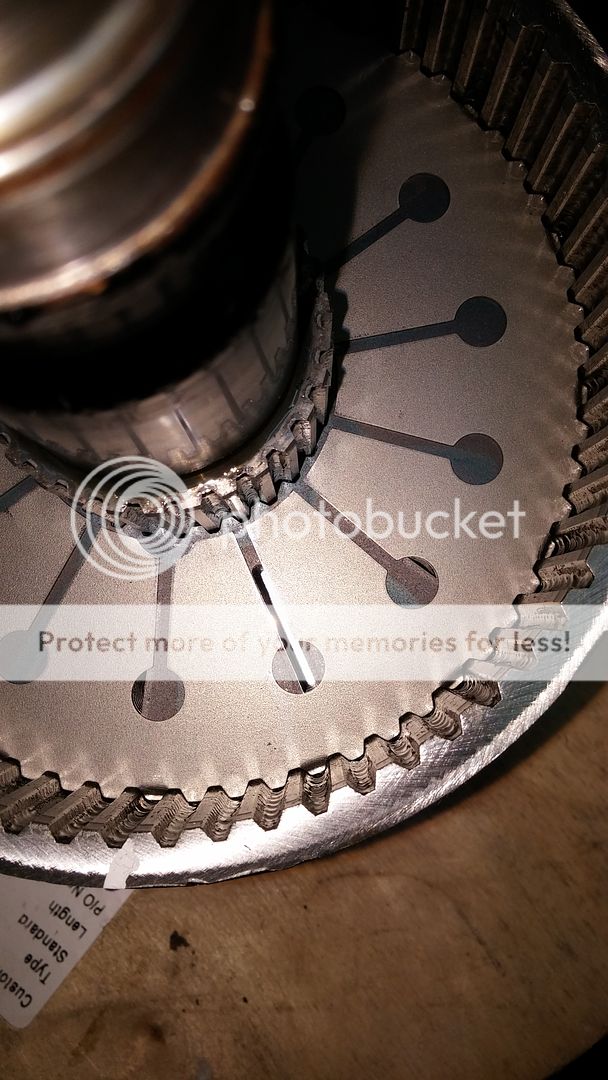
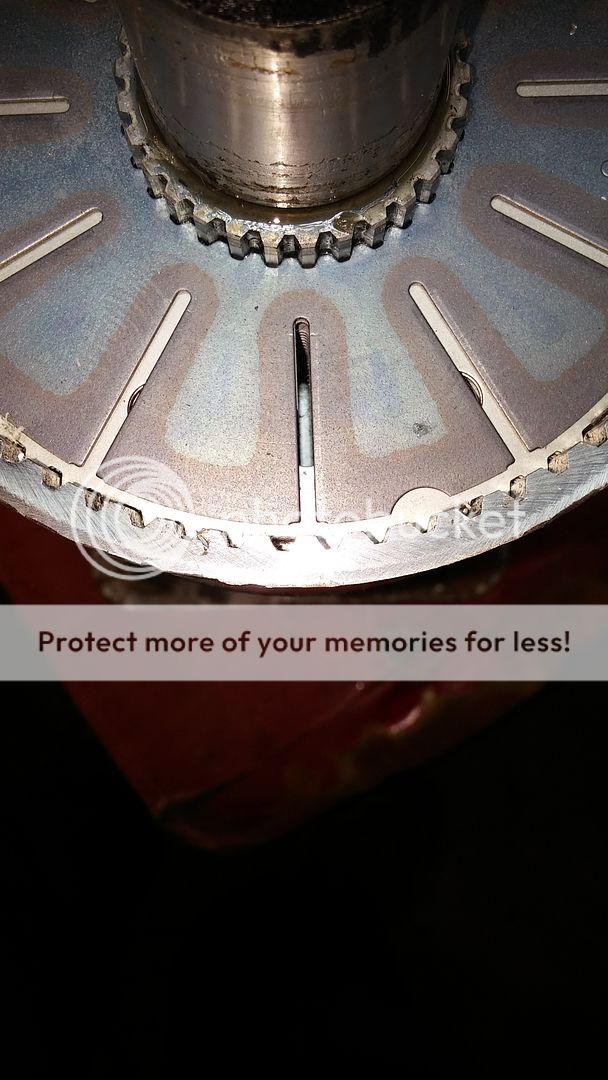
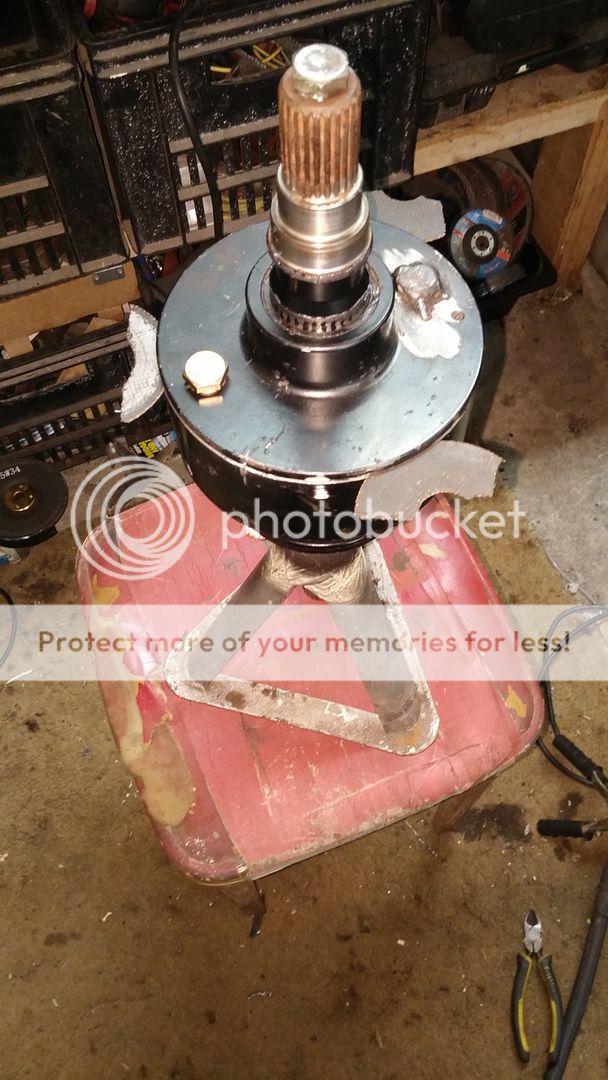
First job when I got her home was the One Wheel Up Test. Which she of course failed miserably with a time close to 2 minutes, but at least it moved. My other car was pretty well seized solid when I got her. Anyway the propshaft will be off soon so I can have a go at refurbing the VCU. The last one I did is still working fine.

Next job was checking the coolant which appeared to have no antifreeze, turns out it was full of K seal (or such crap) instead, So gave it a quick flush with the hose and I refilled with antifreeze. I should say at this point the car was advertised with possible HGF as it had "lots of steam coming out the exhaust". I'm hoping the guy had panicked and threw in K seal when he saw the steam but it is just condensation. Time will tell but I hope it was just because it had been lying for so long.

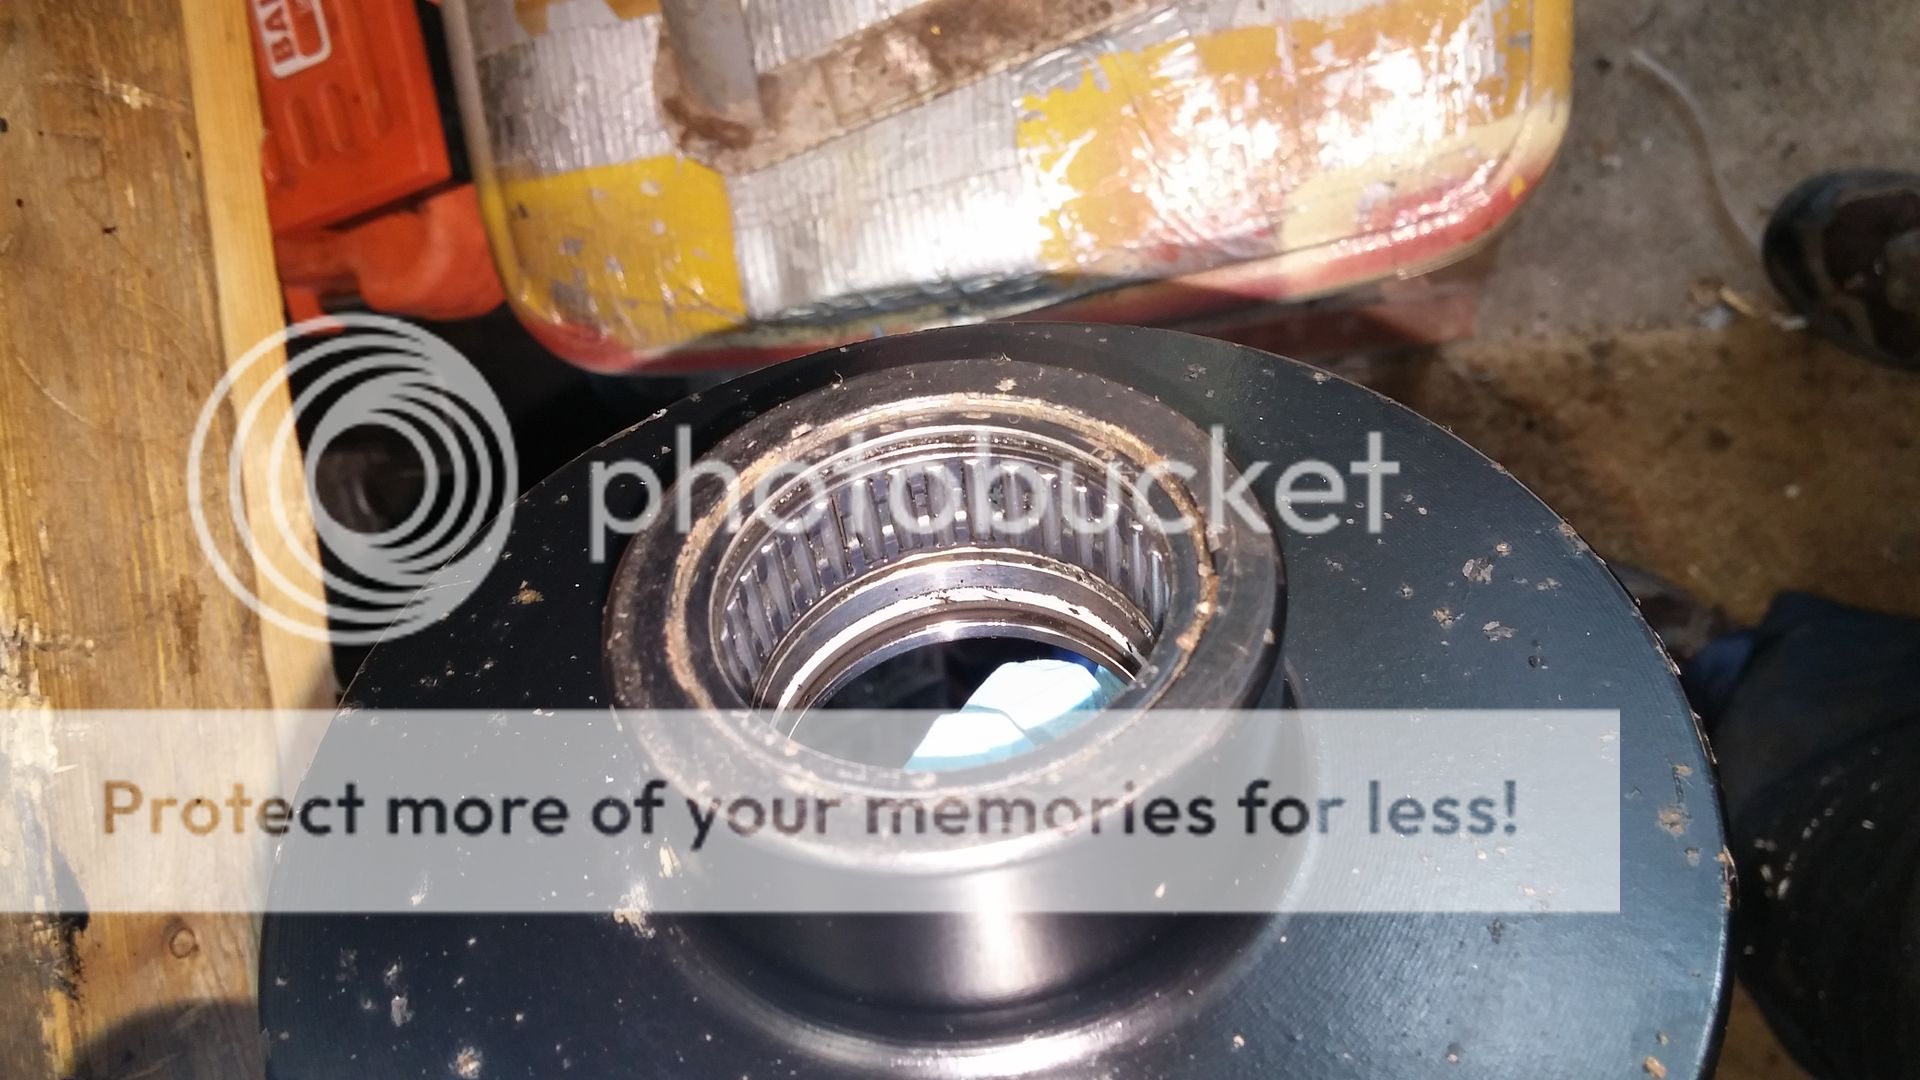
She needs the windows sorting, disks and pads but otherwise I can't find much wrong that a good clean wouldn't fix. I is a happy bunny. :)
 
Last edited:
OK, I will have a cup of tea Mrs Doyle.

Looks like a good buy - my dead 2000 K cost equivalent of £500 - but that's cheap for an IRD and posh cup holders :)

I've got a T Series Turbo sitting on the drive if you're interested? Comes in a box that looks very similar to a 220 Coupe!
 
I'm going to keep a list of the jobs to do here, no doubt this list will grow and grow. I know I'm cheating by not including the cost of items I already have lying around eg wipers and antifreeze, nor am I including stuff like welding wire or cleaning fluids but this is only a bit of fun and I'll probably end up doing a few of them again (eg antifreeze when the HG goes) and will include them then. The ticks shows jobs completed and where applicable the cost involved.

images
1. Flush the Kseal crap and replace with antifreeze.....................................................£0.00
images
2. Replace the wipers....................................................................................................£0.00
images
3. Full service with all belts, water pump and tensioner..............................................£89.87
images
4. New Eicher Discs and pads....................................................................................£47.57
images
5. Checked rear brakes and turns out shoes are OK)..................................................£0.00
images
6. Recondition the VCU with new fluid..........................................................................£0.00
images
7. Replace drivers door window regulator...................................................................£16.95
images
8. Replace N/S Rear window regulator motor.............................................................£12.99
images
9. Repair O/S Rear window with new cable kit.............................................................£9.90
images
10. Fix the iffy horn........................................................................................................£0.00
images
11. Unsticky the OS rear door handle...........................................................................£0.00
images
12. Free up the sticky brake calipers
images
13. Reweld the broken N/S rear door stop....................................................................£0.00
images
14. Repair drivers door 1/4 panel trim and tweeter broken during point 7....................£0.00
images
15. Repair rusty petrol tank support..............................................................................£0.00
images
16. Replace faulty indicator bulb
images
17. Replace dud battery..............................................................................................£42.33
images
18. Repair rotten exhaust supports...............................................................................£0.00
images
19. Replace plastic door seals after repairing the regulators........................................£0.00
images
20. Fix HDC fault light. (Kinda)
images
21. Fix rear seats which won't fold down
images
22. Fix faulty lower brake lights and rear driving lights
images
23. Replaced strut to stop annoying rattle........................................................................£40
Total for parts................................................................................................................£259.61
Cost for car_____________________________________________________________________£280.00
Grand Total (so far).......................................................................................................£539.61

In reality the true price is probably £25 - £50 more than this as I fitted some bits which were lying around, stuff like coolant, wipers, and a litre or so of oil but as our beloved press would say, why let the truth get in the way of a good headline :rolleyes:. The price shown is what I had to shell out for parts which are exclusively for Gertrude.
I could have bought cheaper parts to keep the price below £500 but while I like getting good quality parts cheap, I don't buy cheap parts. If that makes any sense.
 
Last edited:
Lol that was just for this morning, haven't decided what to do this afternoon. :p
That kseal crap sure is nasty stuff I got my gloves wet with it and thought no more about it at the time but I'm still jumping every now and then when I touch something and get a jab. It seems to be full of tiny bits of copper wire. So small you can't see them but they stick into you like tiny needles
 
Last edited:
Last night I spent the night trying to figure out what was wrong with each of the windows and believe it or not they all have different faults. The N/S front is sticky so will hopefully be an easy fix, the N/S rear is getting 12V but the motor seems to be dead, the O/S rear motor is turning but the cable is broken and the drivers door motor is just missing. While fault finding the N/S rear window I also discovered the door stay is broken. It looks like at some point the stay which should slide into the door jammed solid, so when the door was closed something had to give and it was the metal bracket which holds it, I suspect this left a very noisy rattly door so someone knocked out the roll pin and the bracket dropped into the frame so the door is swinging freely with no support. This bracket was spot welded to the door frame so although it will be a pig of a job I will need to weld it in again.

Tonight I just spent the whole night ordering most of the bits I need to get her serviced and through MOT. Some I will pick up tomorrow from Eurocarparts and the rest coming from Ebay.
Parts ordered so far:-

Timing belt
Belt Tensioner
Water pump
Alternator belt
Power steering belt
Oil filter
Oil
Air filter
Brake pads
Brake Shoes
Brake shoe Spring kit
Drivers door window regulator complete with motor
O/S rear window regulator repair kit

Total for all the above is £170.69 so running total so far is £450.69. If I'm REALLY lucky and the HG is OK I might even get her MOT'd for under £500. I think I will need a full N/S rear regulator kit as the motor is getting 12V but not turning but waiting for the rest of the stuff to arrive before deciding what to do about it. I might pick up a cheap motor on ebay.
 
Last edited:
Managed to get the propshaft off last night and separated, thankfully this time the front and rear parts came off without too much trouble. Last time I did this job one of the shafts was seized solid to the VCU.
Hoping to get the bearings off without damaging them as they seem to be in good shape. I know I should replace them anyway but still trying to get her through MOT as a complete car for under £500. :rolleyes:
20151223_223847_zps2k5ydk25.jpg

20151223_224518_zpsjzp4njal.jpg
 
Last edited:
Got a few more hours at her today and making steady progress. I'd managed to separate the VCU from the propshaft on Thursday and as expected didn't get anything done yesterday but this morning I managed to get the bearings off the VCU intact. As mentioned earlier I intend to reuse them as they seem to be good quality and in good condition, here are a few photos of them coming off.

This is the kit I used, it's just a cheapy off ebay.

20151226_150907_zpswxz9rwnx.jpg


I used these parts of the kit.

20151226_145649_zpsuspbngru.jpg


A few taps with a hammer (not the one in the picture) and they popped off fairly easily.
20151226_150408_zpsbd3la10b.jpg


Then I took the damper off and discovered it had been stuck back together at some time with what looks like JBWeld.
20151226_142352_zpsjjusr5o9.jpg


So I used something more suitable.
20151226_152418_zpsxvnk3ujs.jpg

20151226_153531_zpsn3fycs6j.jpg
 
Last edited:
After tea I decided to have a go at the VCU.
I found a couple of old bearings that fitted the shaft and tapped them on so the VCU could rotate freely on the axle stands. This helps to keep the cut straight and the same depth the whole way round, the crate is only there for support. As I rested the grinder lightly against it the VCU spun around smoothly on the bearings, I only had to hold it with my hand to control the speed it spun at. In the pic below you can see I have cut almost through, you can just see the tips of the teeth on the cylinder wall haven't been cut yet.
20151226_202519_zpsuktj84r8.jpg


Once through a screwdriver tapped into the slot opened it fairly easily and this is the top off.
20151226_203211_zpsr9pgbmvk.jpg


I turned it over and after a few thumps on the ground the discs came out.
20151226_203553_zpsbvnsef1i.jpg


Then it was onto the bench for the least fun part of the job. I didn't count them (Edit there are 55) but there are a LOT of discs to clean. This was the process, I separated six or seven at a time and placed them in the fluid. It was a mixture of paraffin and turps substitute as that was what I had lying around. I used a rag to clean all the gunge off them before drying with paper towels. I really do need some more shelving in my garage, my bench is a mess.
20151226_213533_zpsgvoo9bsb.jpg


Before hanging them up so they can dry 100%.
20151226_233626_zps2aqssnvs.jpg


I'm probably being a bit anal about the cleaning process but I want them to be completely free of any sticky goo as this will make turning the VCU much easier when putting in the fluid. You need to keep turning it as the fluid settles so it gets between the discs.
This time I will be welding it back together before putting any fluid in as doing it the other way round was a bit silly.
 
Last edited:
Some great pics there... nice to see what the VCU is all about....
Thanks bud, This stuff is easily within the capabilities of any DIY mechanic with access to a grinder and a welder, rocket science it ain't.

Made some more progress with the VCU this evening but then did a silly thing but more about that in a bit.
This is the VCU cut open and cleaned out, you can see the hole in the lid where fluid was injected and the ball bearing was hammered in during manufacture
20151227_133307_zps3r5t2bpk.jpg


These are the needle bearings in the lid
20151227_133325_zpsvtl70vwc.jpg


The discs are half in here and you can see that by making sure they are aligned carefully while being inserted, you can see down through the slot right to the bottom.
20151227_140330_zps5r9wyagq.jpg


All discs are in here and you can still see through them to the bottom.
20151227_171332_zpsne7iwpe3.jpg

20151227_171056_zps1bemfpou.jpg


Lid on ready for welding. The spacers are bits of the cutting disc used to cut it open. You can also see the bolt which I will use to fill it on the left and a counter balance welded on the right.
20151227_170851_zpsfyop4uc3.jpg


Back to my stupidity, I welded the lid back on, ground back the ugly welds and tried to think of a way to check whether it was fluid tight and came up with the brain wave of pouring petrol in, cause it would evaporate afterwards right, smart thinking eh? So I poured in some petrol, found a couple of leaks then reached for the welder, Doh! I can't weld it again with petrol in it. Doh! Doh! Doh!
So I spent the next 45 minutes trying to get as much of the petrol out of it as I could and when I couldn't get any more out I decided to leave it over night. I'll probably take it outside tomorrow and check it with a lit taper to make sure it isn't going to go up in flames when I try to re-weld the dodgy bits.
So as I was stumped by my own stupidity on the VCU I decided to have a go at fitting the cable kit for the rear O/S. It came out easy enough as the wires had broken but I had no reference for rebuilding it, so decided to take out the N/S rear which is still intact but has a faulty motor.
I checked online for instructions how to take out a regulator with the window stuck up and a very unhelpful suggestion was to cut all the wires. Well stuff that, I pushed my arm in the upper hole in the door and could feel the bolt so after faffing a bit with a ratchet I found my bendy ratchet spanners were the job and after a few minutes the regulator was out with no wires cut.
Rebuilding the N/S regulator was a bit of a faff but I found that by pushing the slider right to the top and not fitting the lower end cable guide I was able to wind both ends of the cable around the pulley, then push the pulley onto it's guide and fit the motor, which holds it in place. Then by compressing the springs I was able to fit the lower cable guide. I think If I had to do it again it would take no more than ten to 15 minutes.
So that's a couple more ticks in the job list above. Tomorrow I want to finish the VCU, refit the propshaft and start the timing belt replacement.
 
Last edited:
Really solid thread dude, you make the vcu refurb look really easy, might have to give this a try with the one sat at my parents place...
 
Really solid thread dude, you make the vcu refurb look really easy, might have to give this a try with the one sat at my parents place...
Thanks mate, it would be a lot easier if I could weld worth a damn but it isn't hard, just time consuming.

Ok so the last 'to do' list was a tad optimistic, I did manage to finish welding the VCU after taking it outside to check it wasn't going to be a flame thrower, I pointed a plumbers gas torch at the fill hole and no problems. Even so at one stage I had a lovely little flame come out of it during welding. Anyway it got rewelded , reground and I think it should be OK this time, so I started filling it with the remains of the fluid I bought last time. I thought I would try using a funnel this time but that didn't work well as the funnel was too narrow so used a syringe again. So far have got around 90 grams of fluid in.
While the fluid was slowly (unsuccessfully) dripping in I decided that with the propshaft already off and the fuel tank empty I'd have a go at sorting the rotten fuel tank support.

This is much worse than it looks as with a little poking large chunks fell off.
20151228_142649_zpsngk8cjs1.jpg


So with very little persuasion I got the first side off.
20151228_142703_zpsgy41888s.jpg


And this is what was left of it.
20151228_142724_zpscctj7hg5.jpg


I took two goes at making replacements, this is the first being marked out. I used some metal plate from an old mainframe computer cable guide.
20151228_143516_zpsgsampcto.jpg


Cut out and hammered some indents to give it a bit of strength. I plan to attach it with cable ties so have dents between the holes to give them a path so they don't cause any issues with the tank.
20151228_163812_zpswtoowpak.jpg


Test fitted
20151228_170051_zpsoifajacu.jpg


I wasn't sure it would be strong enough so made a flange around the edge.
20151228_213831_zps6ifzckfq.jpg


Finished making both then went to bed.
20151228_215658_zps3pqb7uba.jpg


While lying in bed thought better of it and today remade them from alloy. The alloy is thicker so doesn't need a flange and should last the life of the car. Will keep the first pair as a template for another pair of alloy plates for my other car.
20151229_172415_zpskwrn2piu.jpg


No doubt the eagle eyed among you will have spotted the pics above jump around a little between the RHS and LHS brackets but I'm using writers license here and saying they are the same one. Partly cause I can but mostly cause I didn't take photos of both sides before removal.
I've read other posts asking can the fuel tank support be repaired without removing it and most peeps have said no, this proves it can be done so long as the main support bars are still OK. I guess there is some risk doing this as there were a few sparks flying while I cut it off but I would have smelt petrol if there had been a leak and since I used a dremel to cut the welds there was no heat and minimal sparks. Time (and the MOT man) will tell if cable ties are sufficient to hold this together but I am pretty confident it should be fine.
 
Last edited:
Fantastic thread, just one question. What do you refill the VCU with? I have one that needs doing and would much rather do it myself
 
Fantastic thread, just one question. What do you refill the VCU with? I have one that needs doing and would much rather do it myself
I used approx 150 mls of this stuff. There is a long thread about VCU's, do a search for DIY VCU
http://www.ebay.co.uk/itm/Silicone-...-Freelander-/231788500485?hash=item35f7abd605

fuel tank looks nice piece oh handy work...
Thanks, I'm happy with it. I'll take a few shots when it's finished but have rethought the cable tie idea and have decided to try and use countersunk bolts with copper pipe saddles to secure it. It will take a day or two for them to come though.
 
Last edited:
I used approx 150 mls of this stuff. There is a long thread about VCU's, do a search for DIY VCU
http://www.ebay.co.uk/itm/Silicone-...-Freelander-/231788500485?hash=item35f7abd605


Thanks, I'm happy with it. I'll take a few shots when it's finished but have rethought the cable tie idea and have decided to try and use countersunk bolts with copper pipe saddles to secure it. It will take a day or two for them to come though.
goes to show how much you can save when ya handy eh...given me the push to do mine cheers
 
goes to show how much you can save when ya handy eh...given me the push to do mine cheers
It's amazing what you can achieve with a passionate aversion to spending money. A refurb VCU is £200, a replacement fuel tank cradle is around the same and if I hadn't saved the support bearings they are £70 for a good quality pair.
Even the wee things like fitting a repair kit for the windows instead of replacing the whole thing saved £20.
My goal is to have the car on the road for under £500 but not if it means shoddy work or dodgy cheap parts, nor if it is just putting off work that will need doing soon. That's why I bought discs, shoes and pads for the brakes. I have a new timing belt, water pump, tensioner, oil and filters sitting waiting to go in so hopefully (so long as the HG doesn't fail) it will be bought, fully sorted and fully serviced hopefully for under £500. :cool:
 
Last edited:
Back
Top