Series I 80" restoration

This site contains affiliate links for which LandyZone may be compensated if you make a purchase.

Rice

New Member
Posts
99
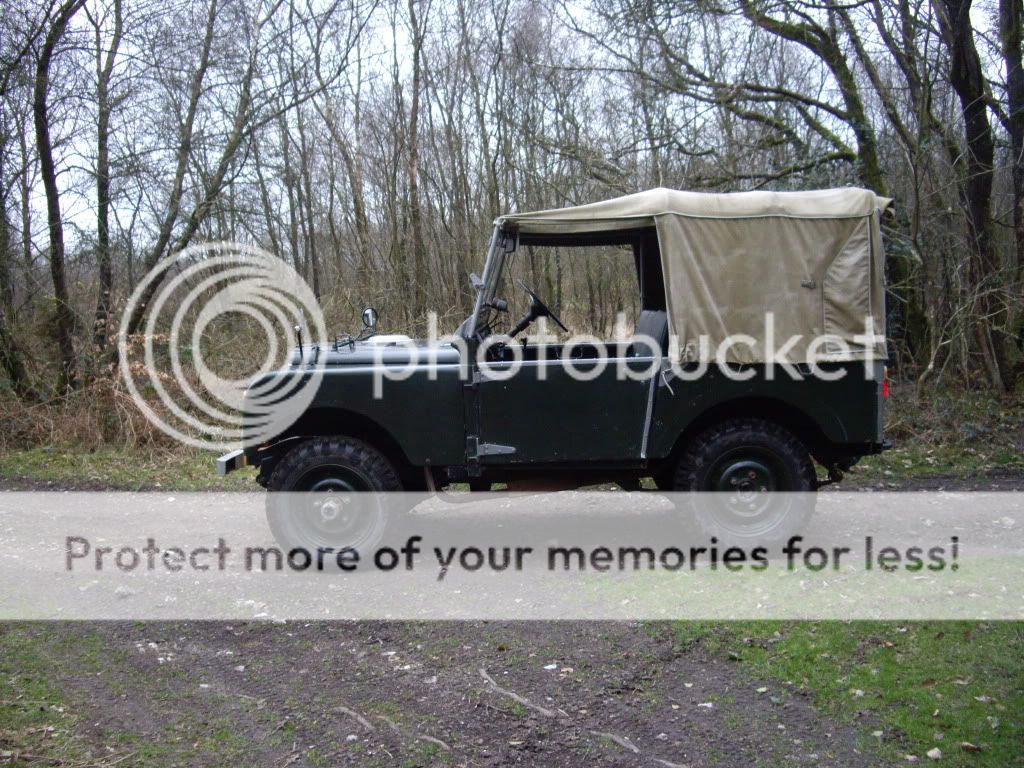
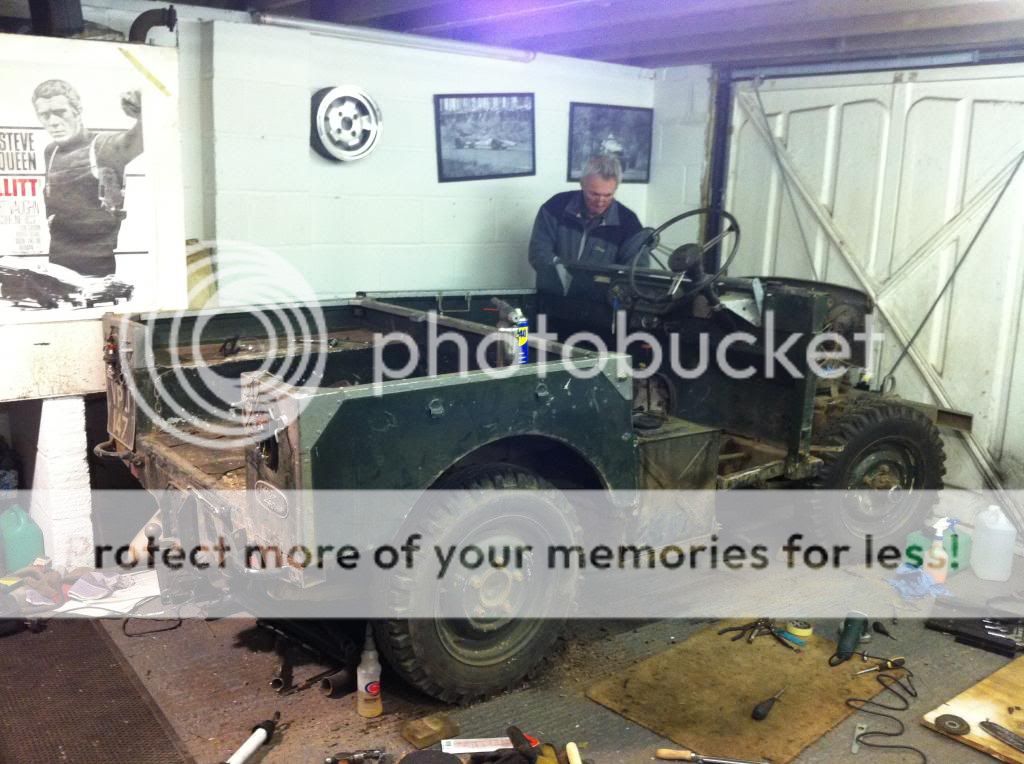
Hi all, do a lot of surfing of this site but haven't really introduced myself, or more importantly my land rovers to the site... So here goes, this is my series 1.

Had it for about 6/7 years, when we got it it had been sat in a barn for 5 years untouched, so the brakes were a little on the seized side! But didnt need much work before we got her on the road. And we've been using her since then, but its come to the stage where she needs a bit of tlc. A bit of rust on the chassis and bulkhead, some bodywork issues, and just needing a good tidy up. Dont worry it will still be used as a land rover when its finished. Although ill leave the tricky/damaging green lanes down to my discovery.

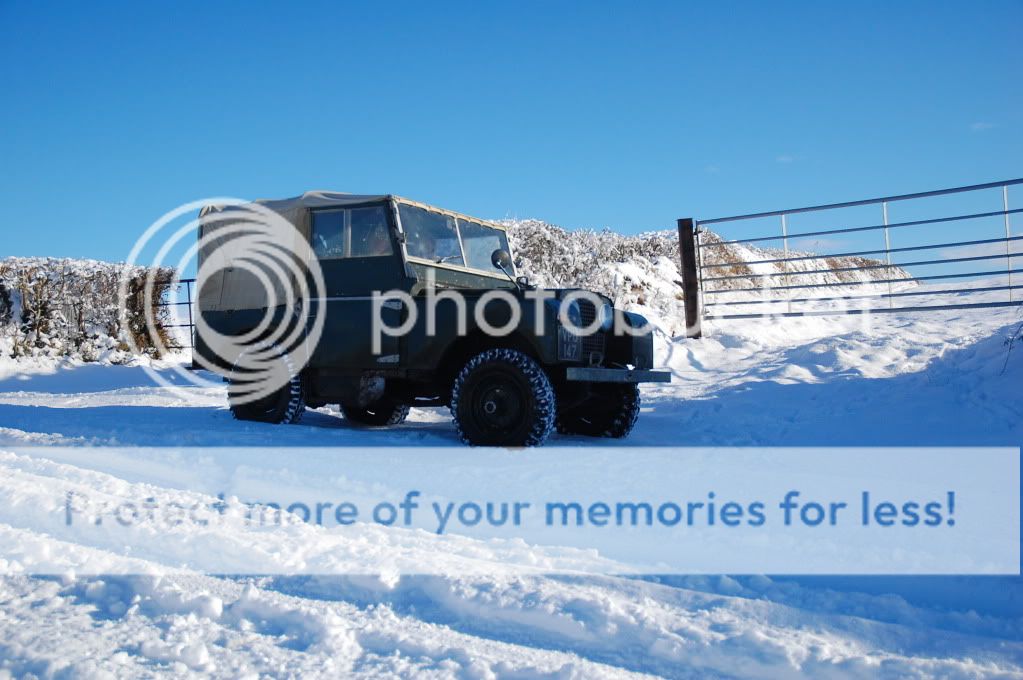
This is what she looked like a couple years ago in the 2010 white-out.

DSC_0086.jpg


DSC_0075.jpg


IMGP0066.jpg


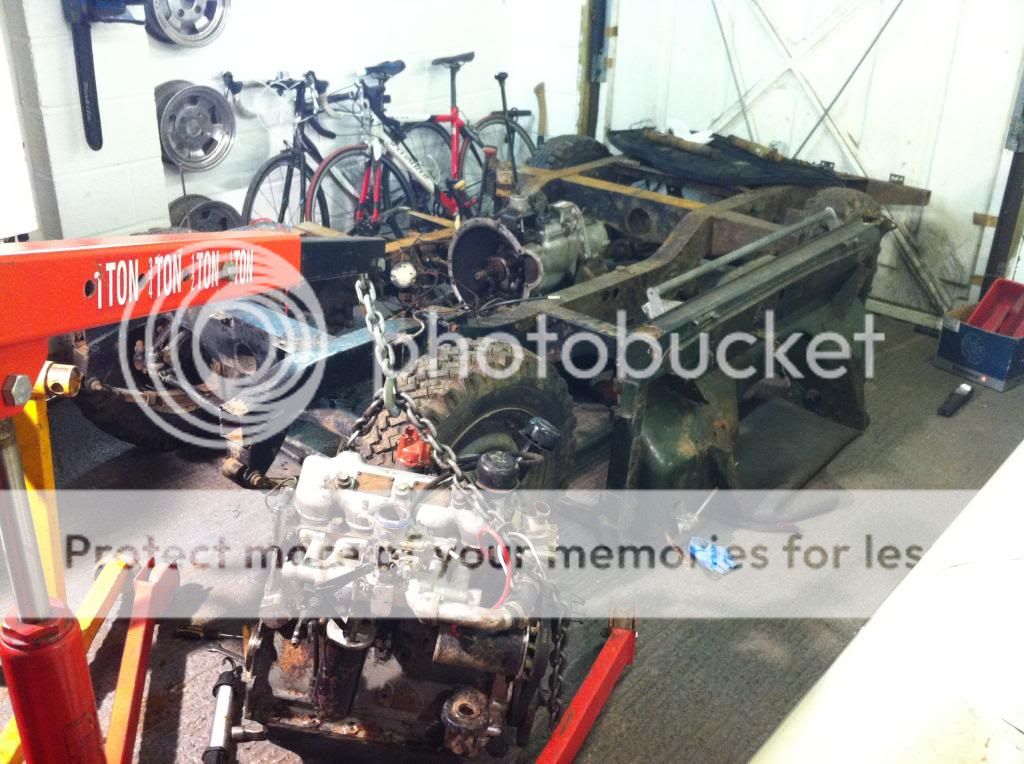
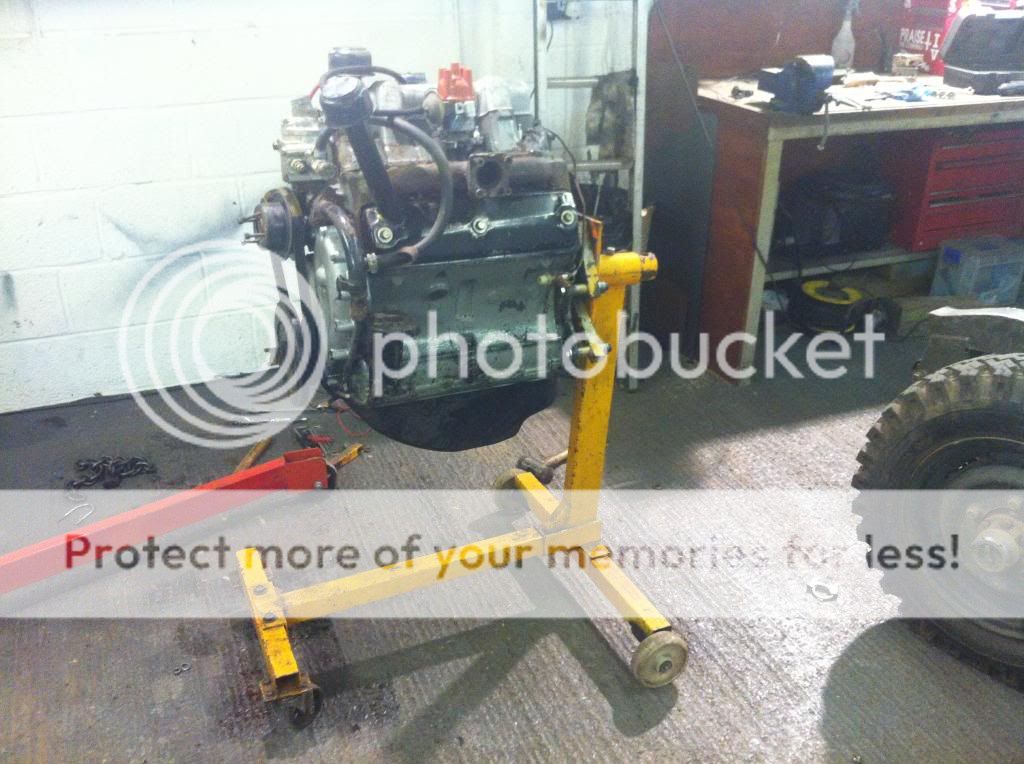
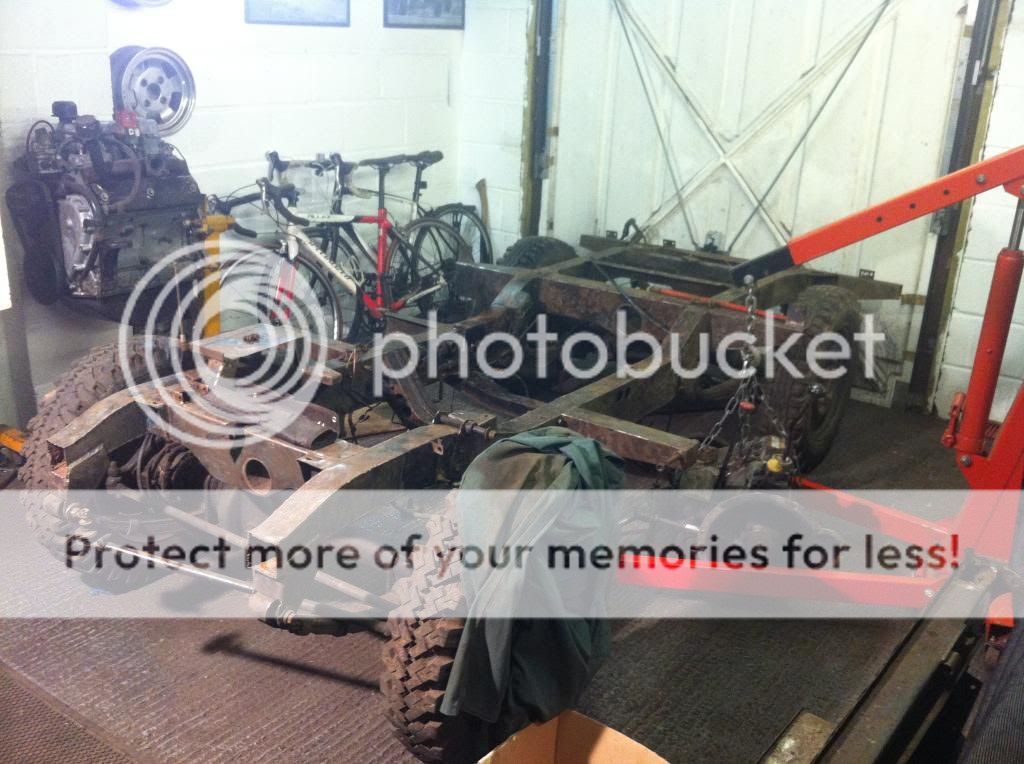
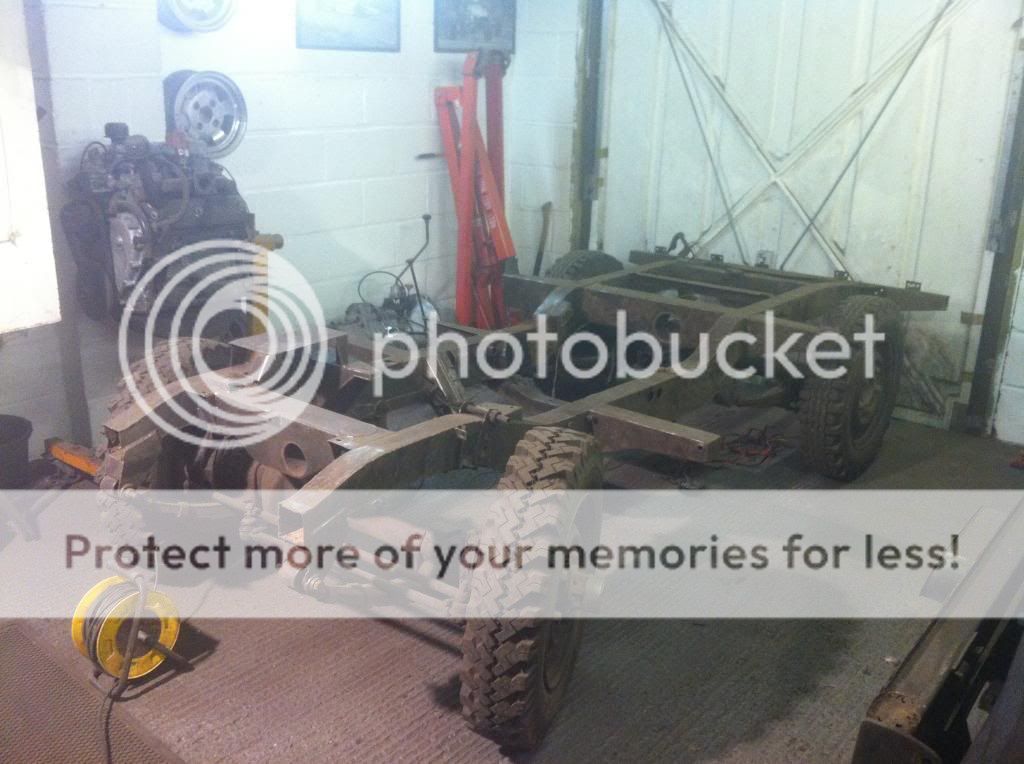
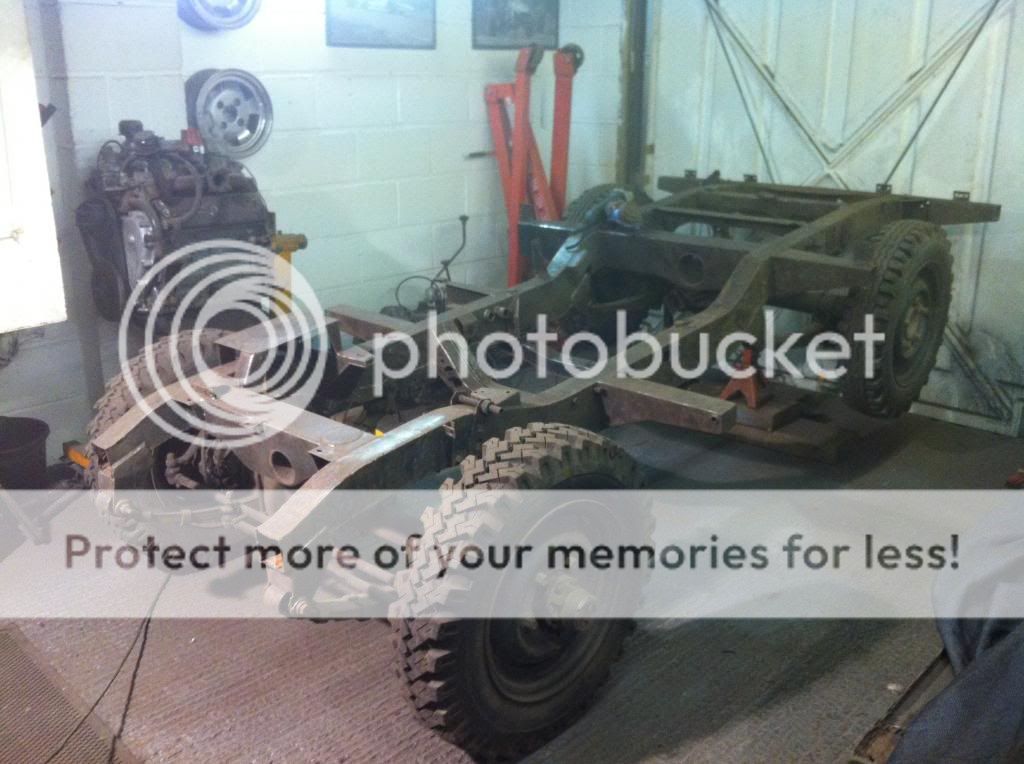
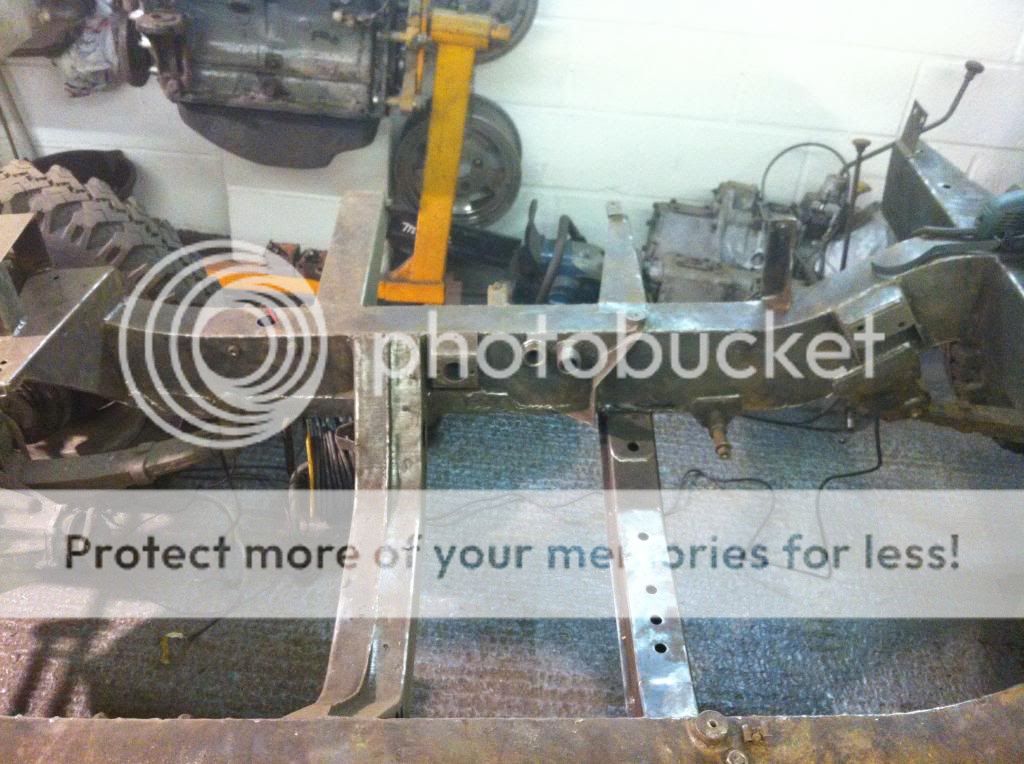
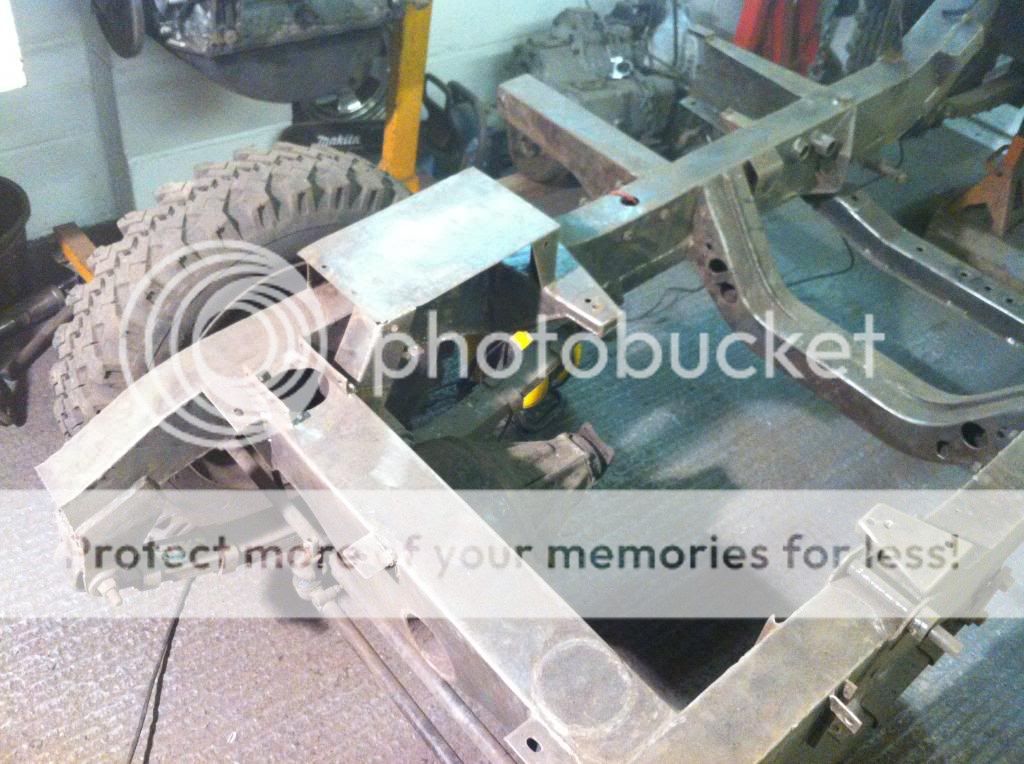
Anyway ill crack on with the restoration pics from the last couple weeks.

IMG_2307_zps61e81009.jpg


IMG_2308_zps045a3497.jpg


IMG_2309_zpsf29784a8.jpg


IMG_2313_zps13a57edc.jpg


IMG_2328_zps5b4bb222.jpg


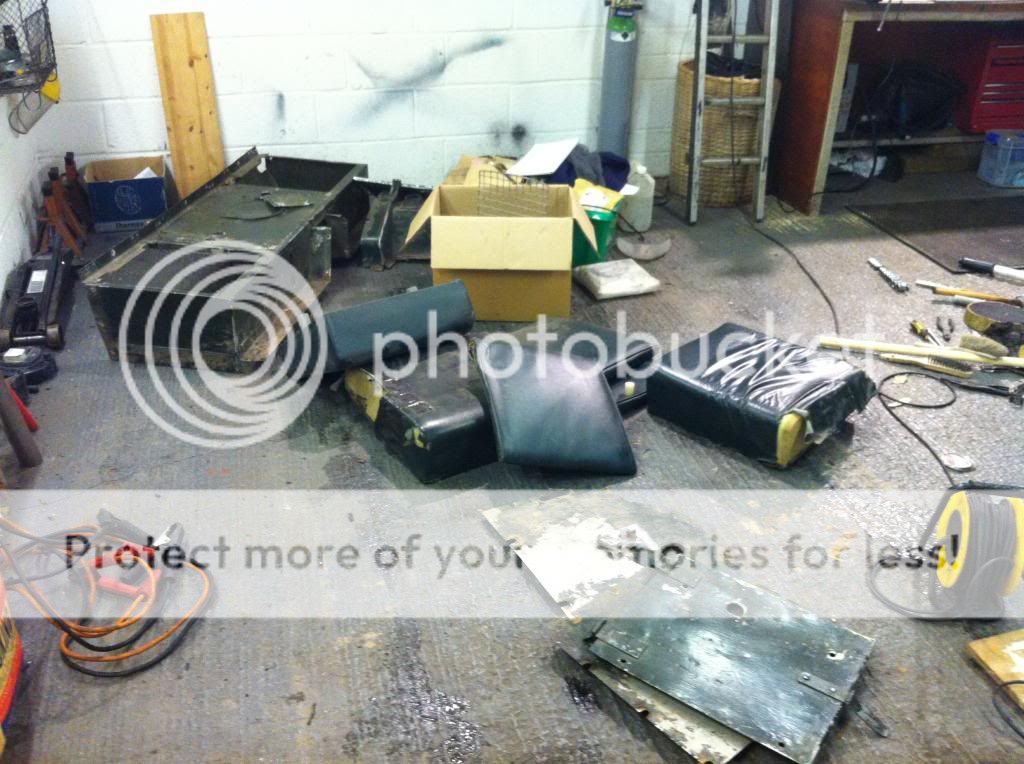
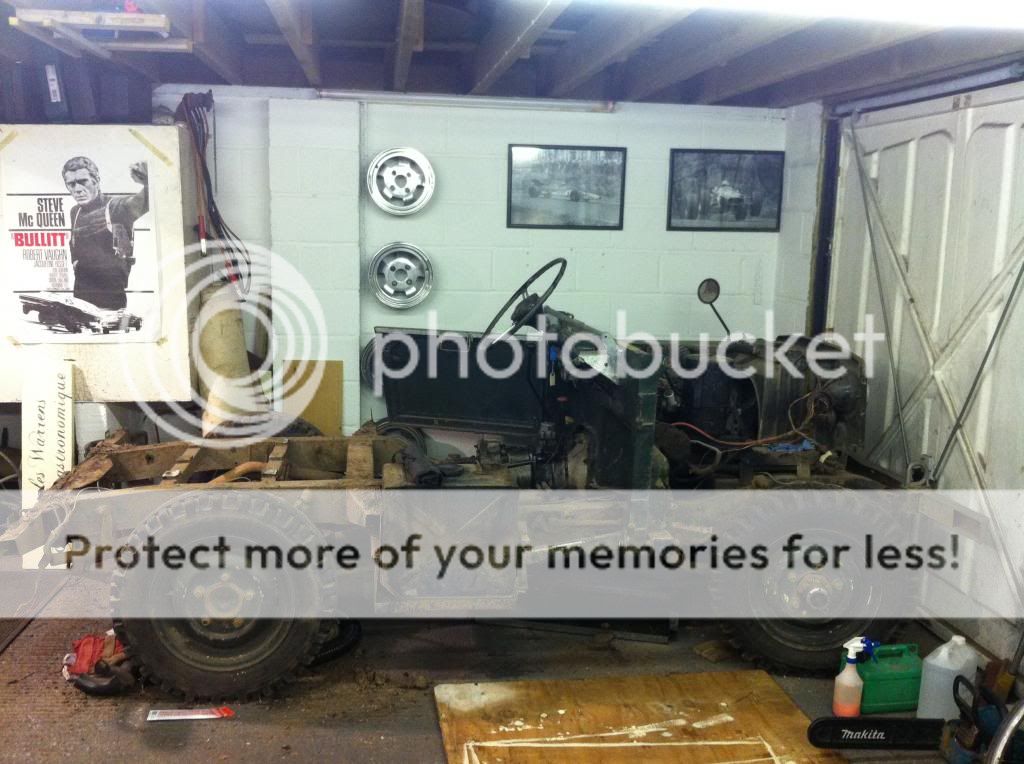
Took it into honiton to steam clean it down

IMG_2345_zps29bd991f.jpg


IMG_2352_zps995dfa3b.jpg


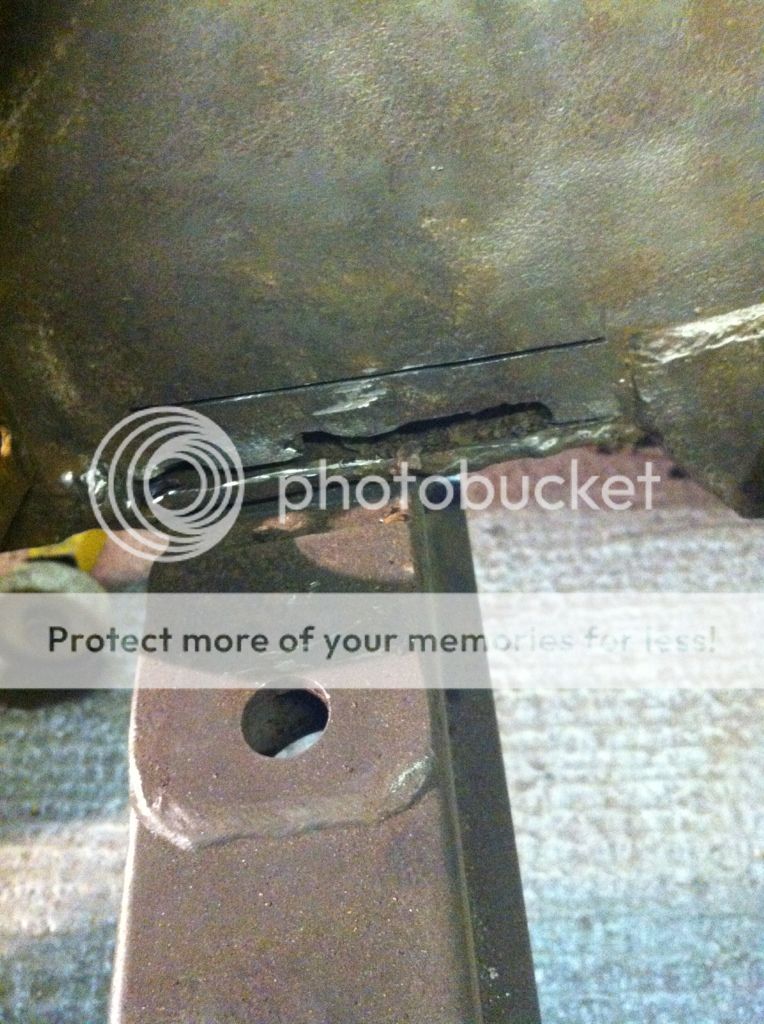
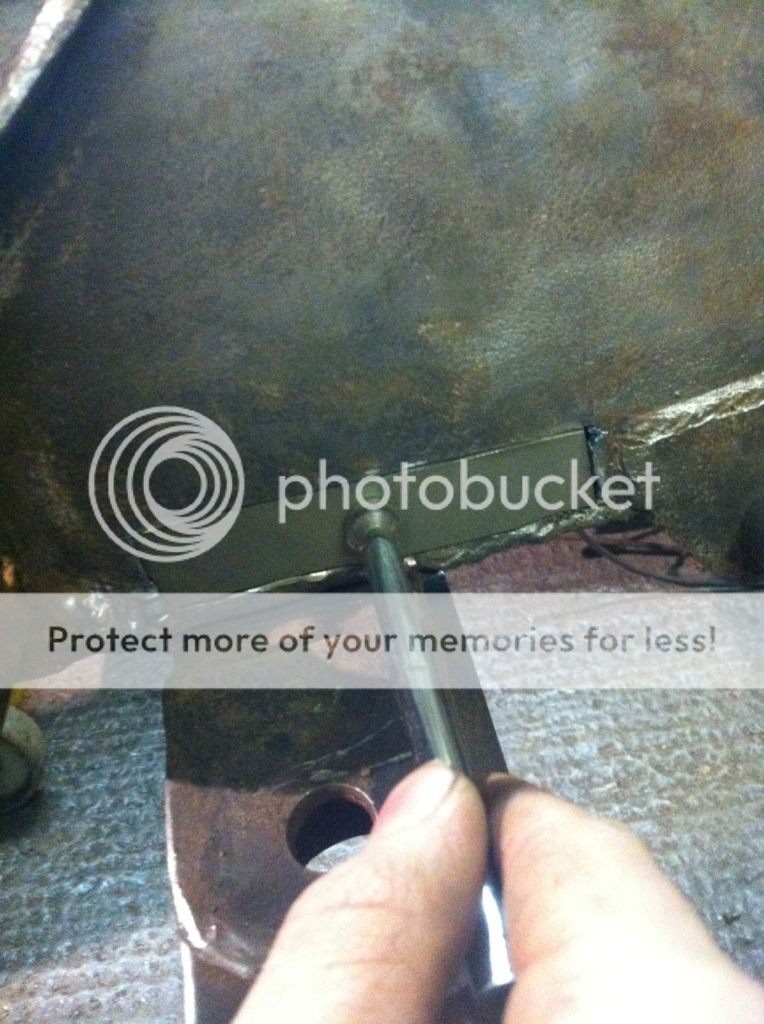
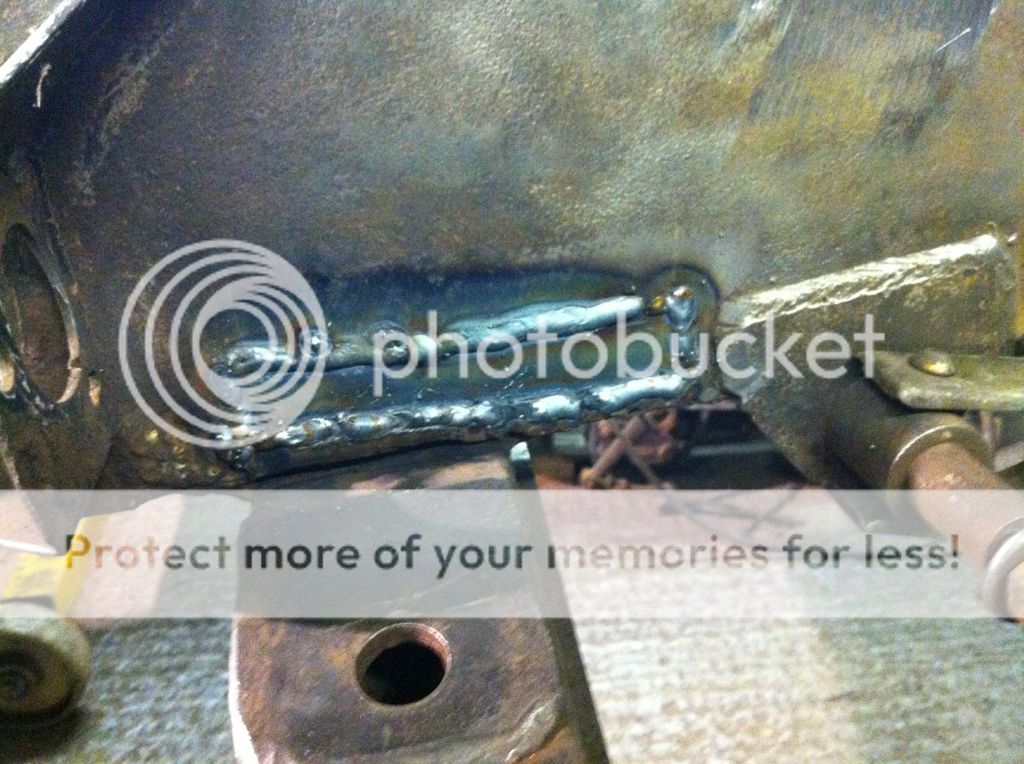
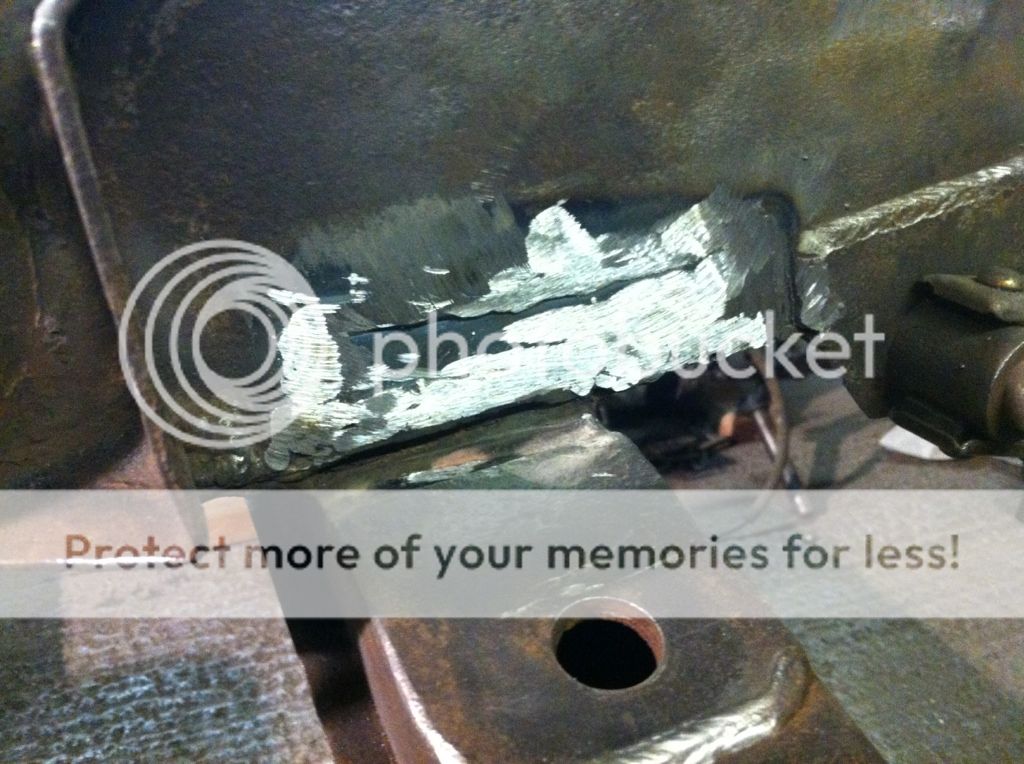
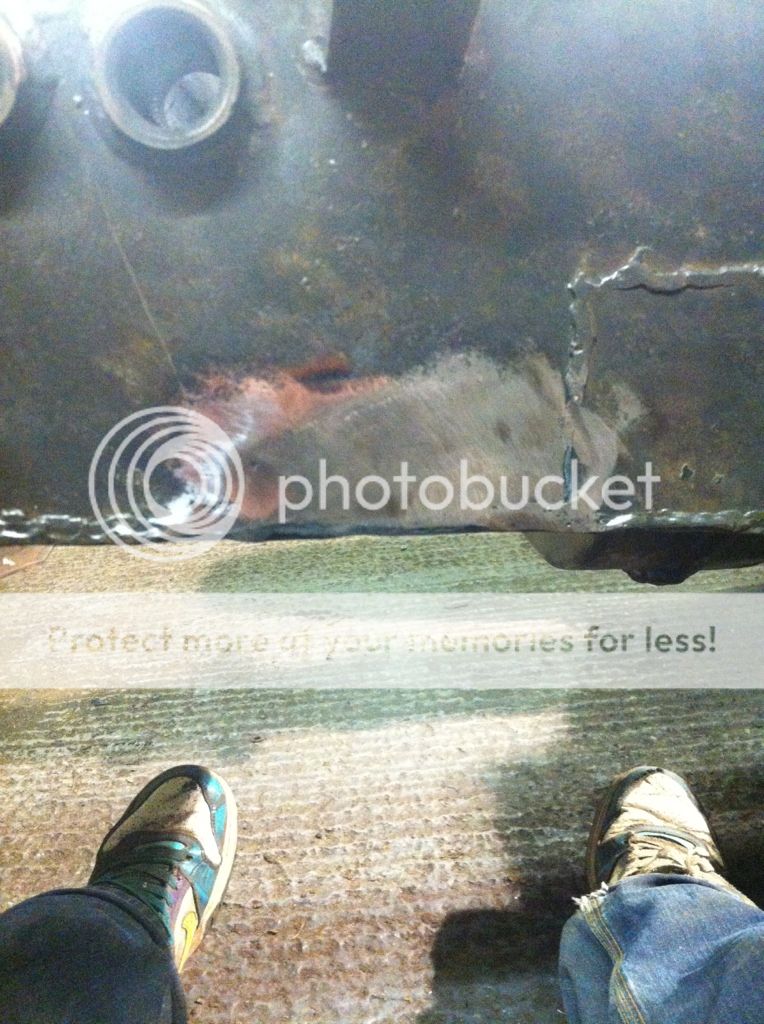
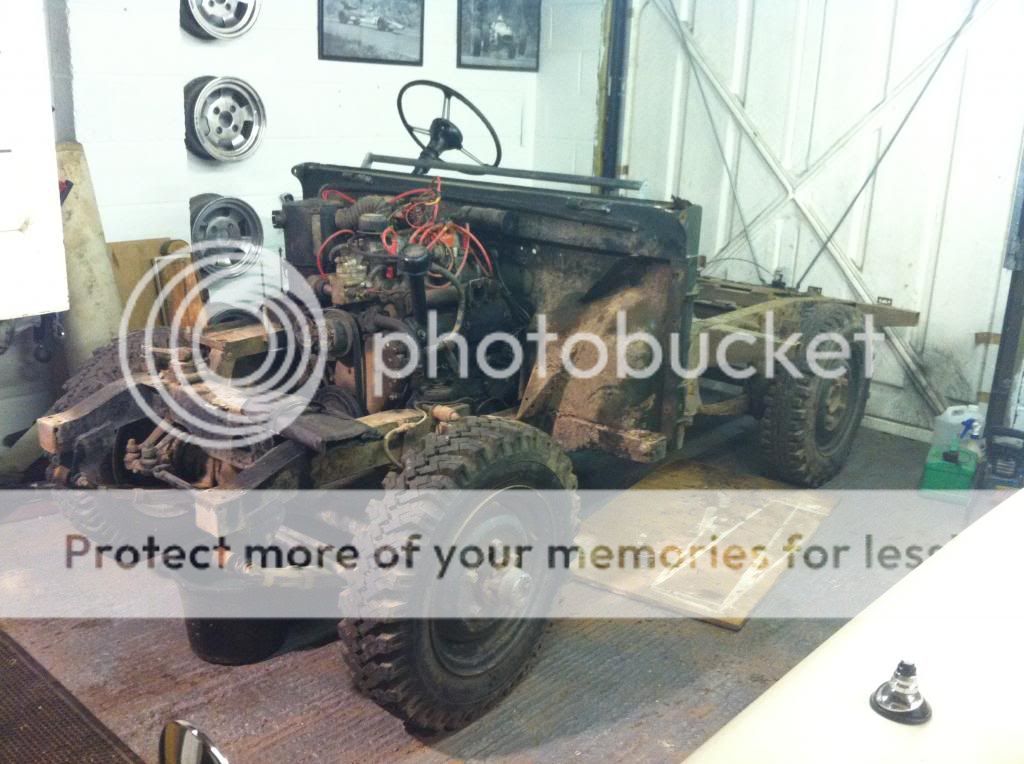
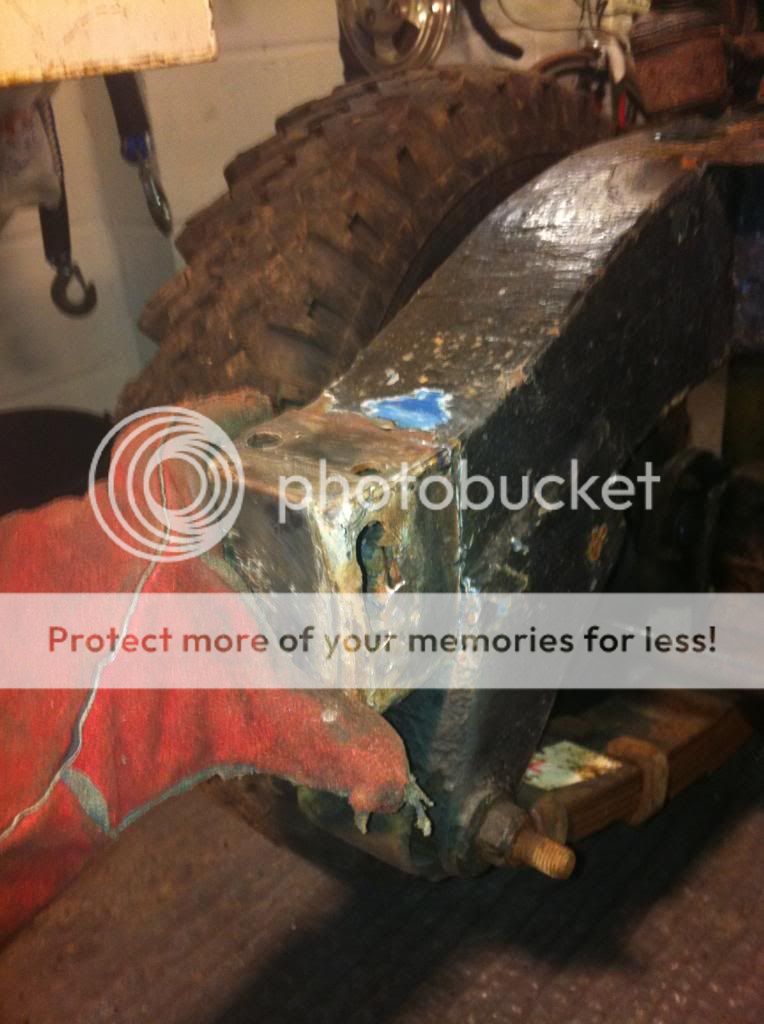
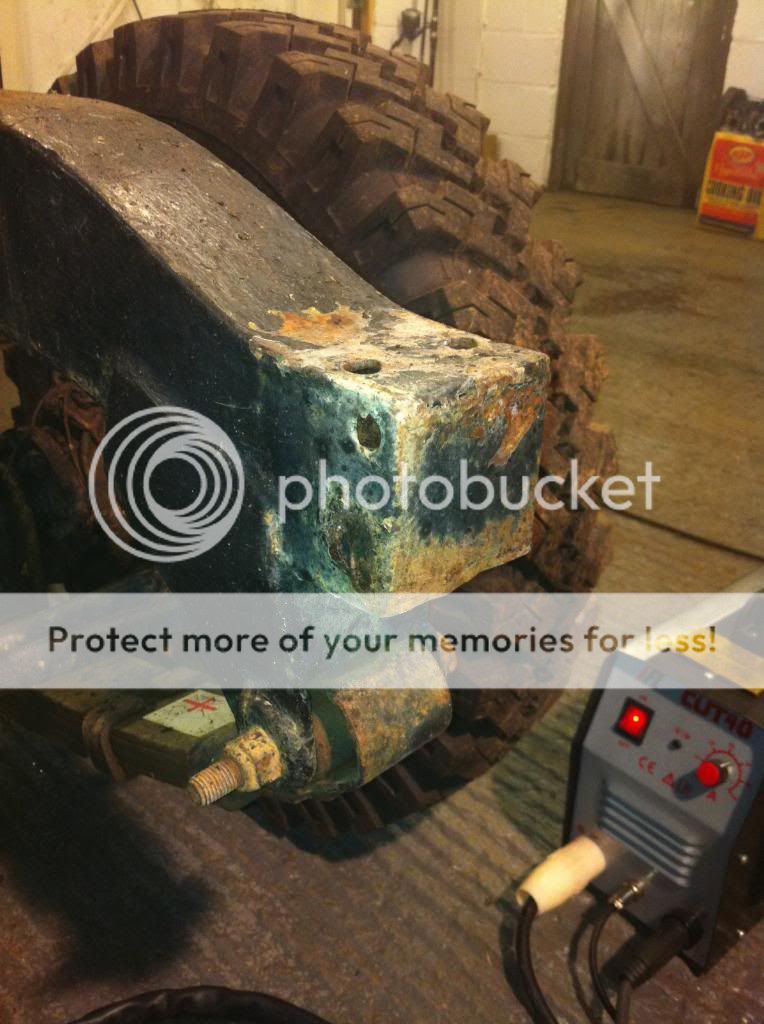
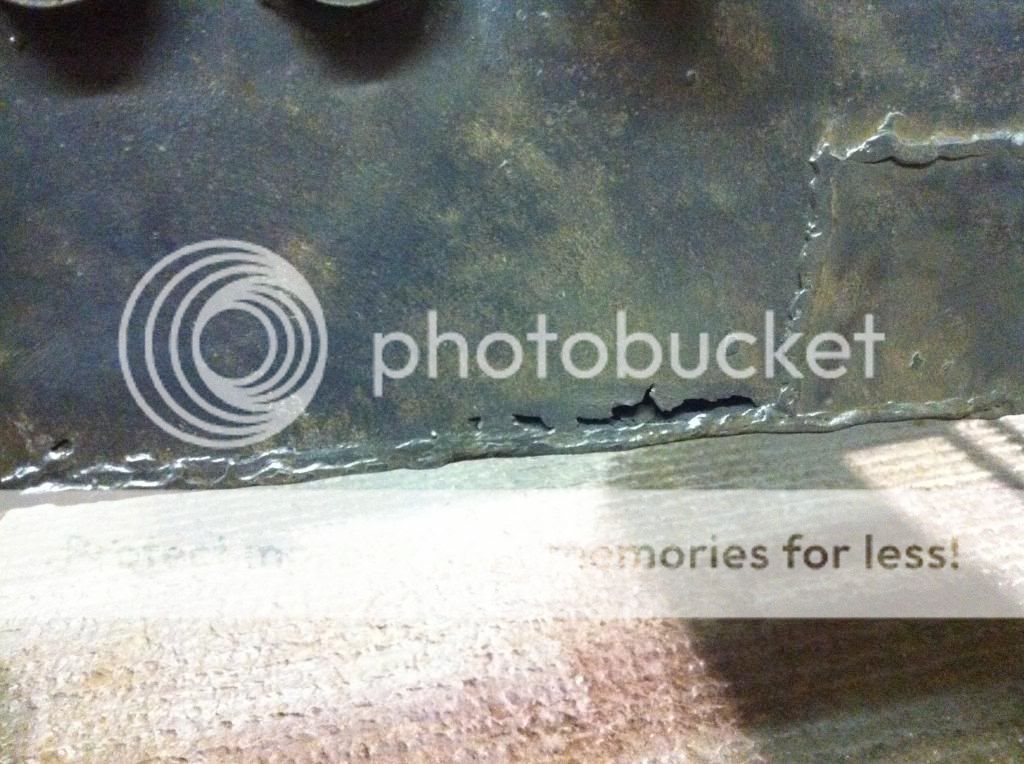
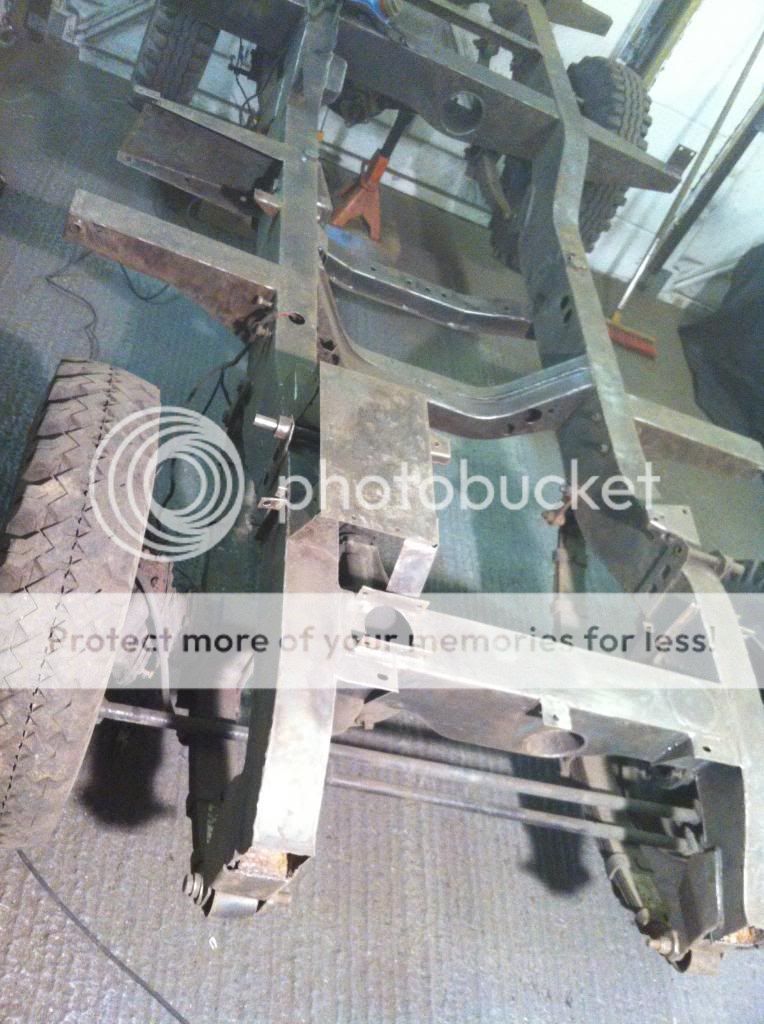
The worst bits of rust are here, so cut the ends off with the plasma cutter.

IMG_2347_zps780005bf.jpg


IMG_2349_zps244d2367.jpg


IMG_2351_zps7af858f0.jpg


IMG_2367_zpseb96c30b.jpg


IMG_2373_zps52cf4c95.jpg


IMG_2376_zpsff4f903b.jpg


IMG_2454_zps0486cdfe.jpg


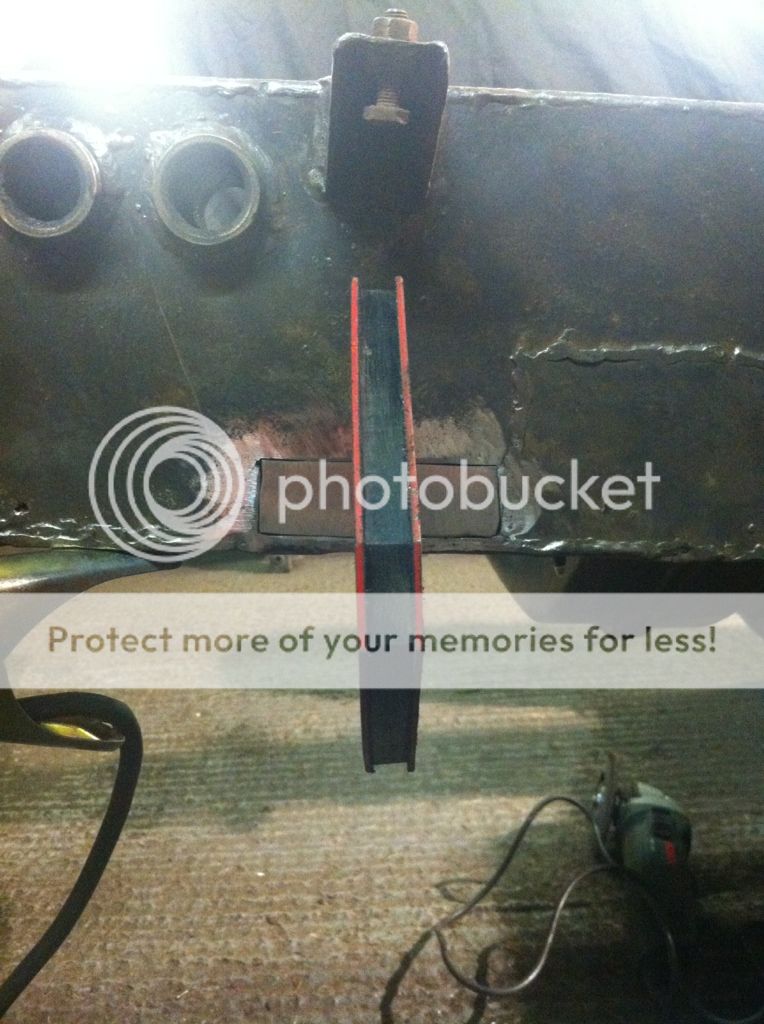
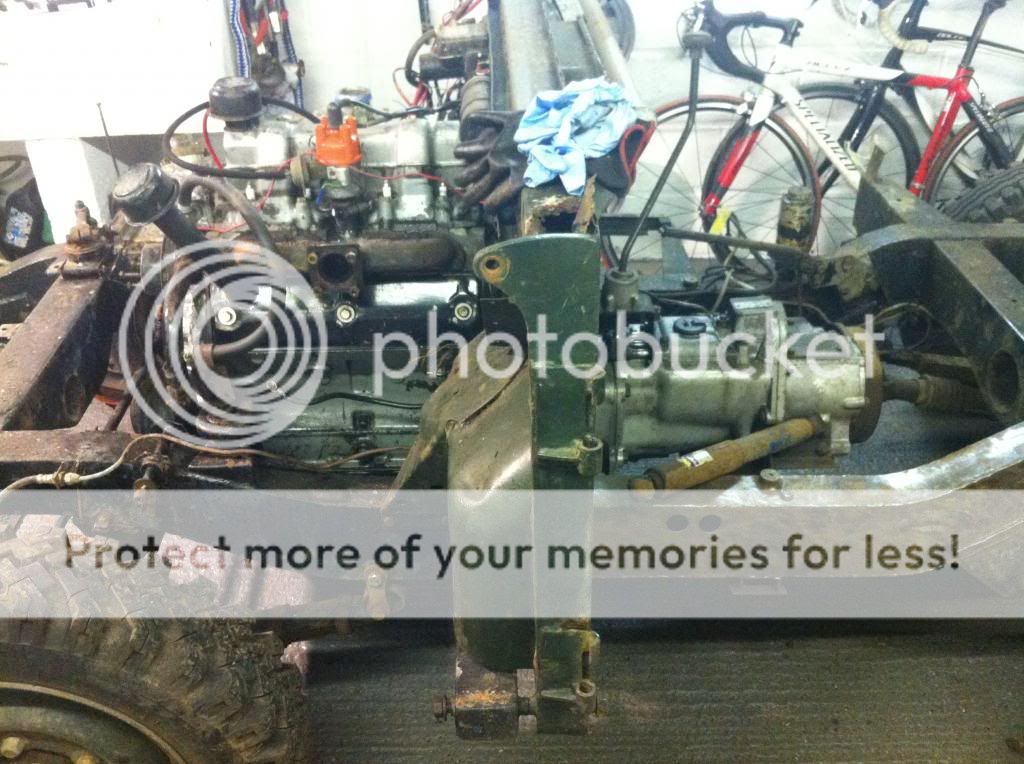
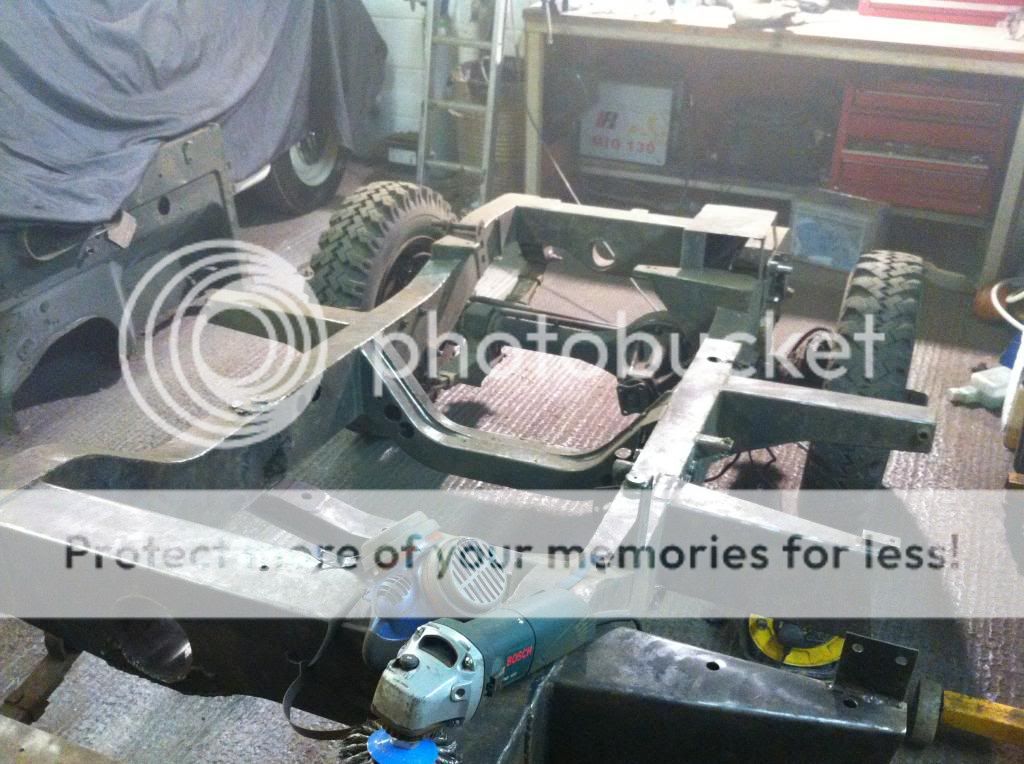
Got the angle grinder with the ripper attached, and started to pick wires out of my clothes

IMG_2462_zps4d78504f.jpg


IMG_2473_zpsb673e2d5.jpg


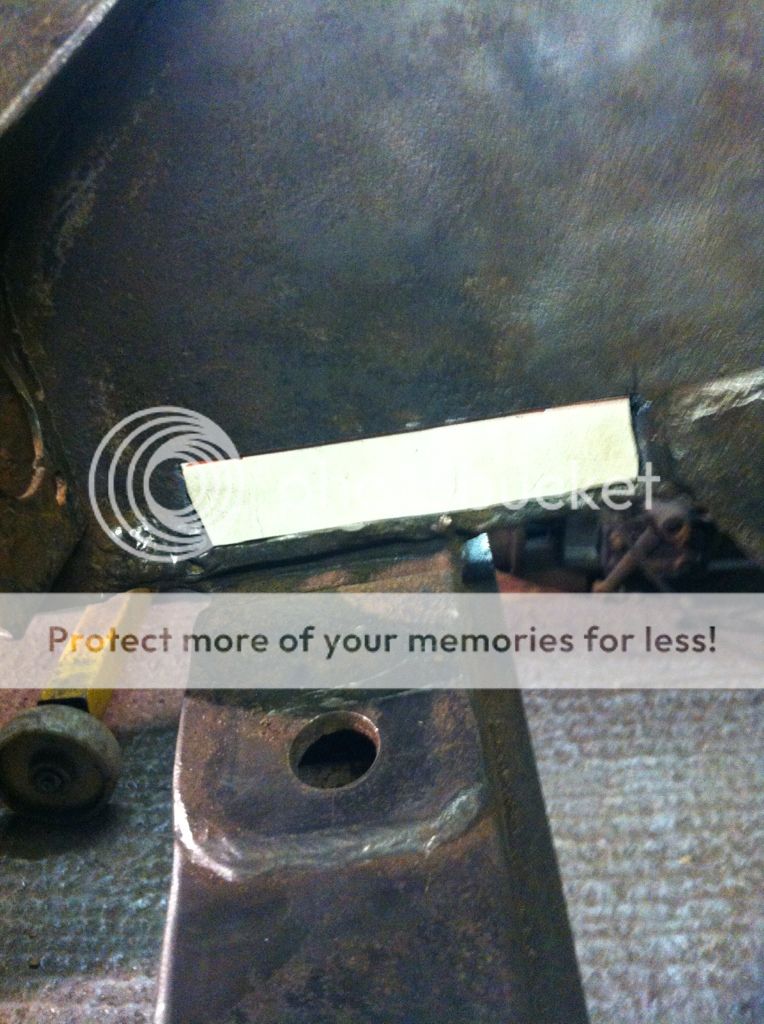
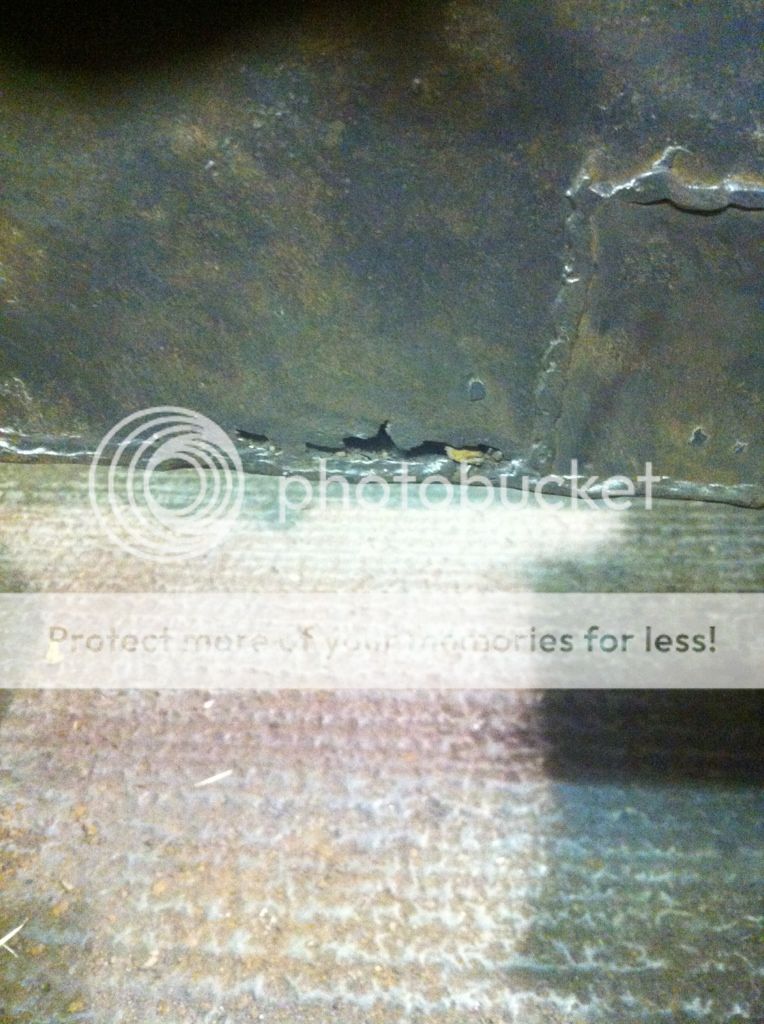
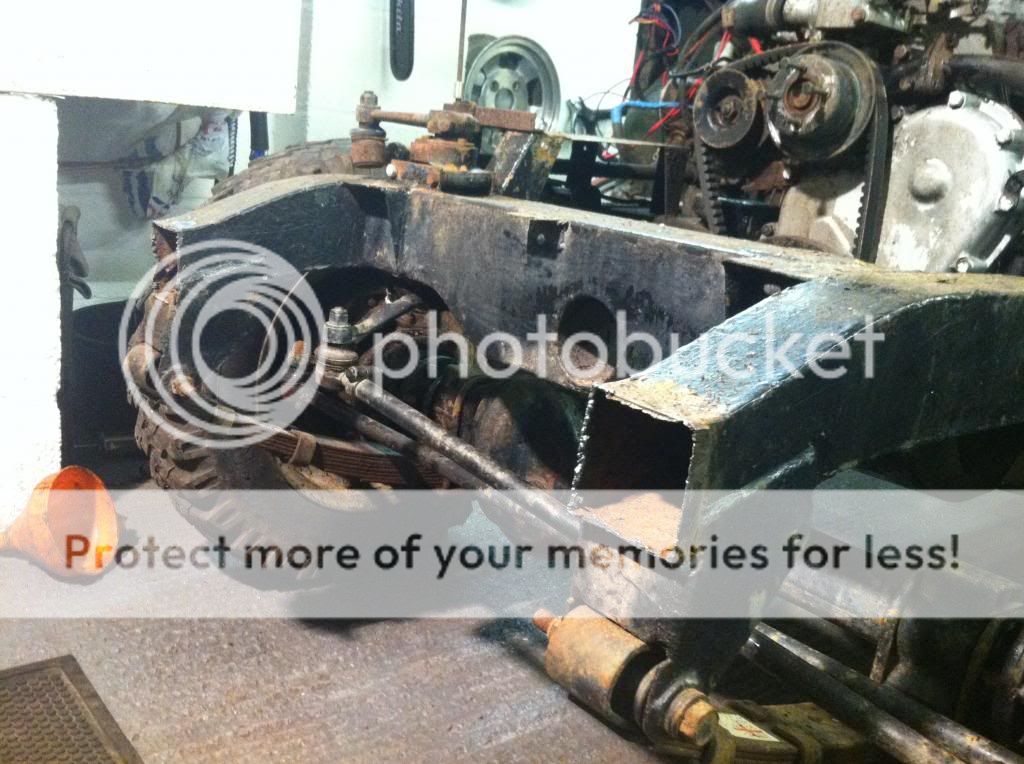
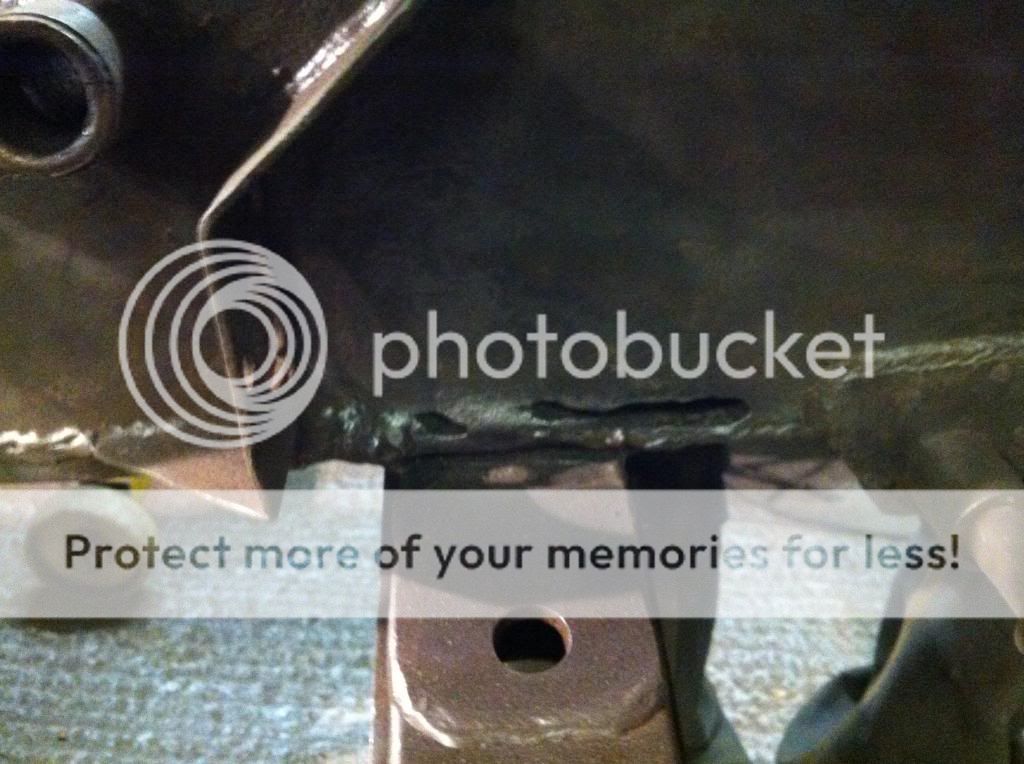
Small amount of rust

IMG_2478_zpsc1904962.jpg


IMG_2477_zps9aa539f2.jpg


IMG_2474_zpsbe3f27fd.jpg


IMG_2475_zpsa17148fa.jpg


IMG_2476_zpsef9d6075.jpg


IMG_2479_zpsaa0dd3fd.jpg


Thats about it for now. Anyone got any recommendations for good chassis paint? Used por-15 before, but heard that there are better products out there.
 
nice to see an s1 being restored, you could give it a base coat of fertan - and spray it inside the chassis - that reacts with any rust and stabilises it, also acts as a primer afaik.

How to use Fertan

it is water based so sprays really well but you really need to wear a mask it stinks and hangs in the air :)
 
now that is real landrover:),i used to use hammerite smooth satin black ,but im doing a series 1 86 and the customer bought me the paint he wanted using ,black bitumen paint id recommend it since using it ,really does protect well,
 
Great progress! Looks like a good decision to tear it down now and get it sorted before the problems get horrible. Now you've got the ends off the chassis, you can get DIY chimney sweep stuff very cheaply. You could cut a brush down to rectangle section and sweep it out maybe? I know there's cross tubes inside but the ones I've seen would push past them (I was going to do it to mine if I'd ended up using it).
 
red oxide paint,and then a good coat of flexible undercoat,cant chipp off,and cause water to get under your paint,witch leads to rust again! and give it a good thick layer while you have the whole body off,to be sure placeses u cant see are going to stay sound,as the top of the chassis can get quite bad,and you cant get to it with a welder,with the body on! :D nice restoration soo far,dosent look all that bad for an old series one! :D
 
Last edited:
Thanks for the replies everyone :)! That fertan look interesting. Ive been looking into epoxy-mastic on rust.co.uk. Its got some good reviews from people i know. Definitely going to need some rust converter too i think.
I hadnt thought of galvanizing, probably a bit more than id want to spend to be honest. but its definately something to think about!

Going to do a bit of welding tonight i think. Bored of wire brushing! Anyway cant chat got work to be done :)! I'll try and stick up some welding pics later!
 
love to see an s1 being restored ansd will be worth it in long run..i thought the outroggers on an s1 were a funny shpe almost ? like..if that makes sence?
 
looks nice that, brings back some memories, to galv a chassis is round £100, how much is paint ? to use hammerite is prob £50-75 , hmmm ,

galv is worked on weight with a minimum starting weight say first 50kg,
 
Oh didn't realise it was that cheap! I saw somewhere that it was £5-600 to get it done. I presume it gets dipped? This is talking a company doing it right?


Did a bit of repair work earlier - don't expect a lot in hardly a welding expert ha!

So started off by making two cuts with the angle grinder, then realised I couldn't cut between them, so used the plasma cutter.

1132B308-50E8-416B-9844-B4A7E3F48B11-34577-0000271724169660_zpsdcb365b7.jpg


Cut out some card to fit, always takes longer than I think!

72C61578-09F9-4D16-8EF6-3649F901F806-34577-000027172C6EB977_zps66a21f40.jpg


Then cut out of 2.5mm mild.

1A479476-EC0D-4368-B3A4-DCE2DA336A32-34577-000027173415676E_zps691dffcc.jpg


Welded. Slightly annoying how it pushed back at the top. And the bottom run didn't go quite so well, probably due to surface rust causing it to splatter slightly.

6ED2BC05-D4E5-40D5-884E-78A570A5C5A2-34577-000027173B46C26C_zps08b1adb7.jpg


Ground back

D10AB927-2502-4FAB-8B21-B47953869329-34577-000027174D85C8FA_zps2b5f8123.jpg
 
Last edited:
heres a liccul tip

grab an old motor ( 12 volt wiper motors are good fer this ) and gently dismantle the bugger with a 2 1/2lb lump hammer to obtain the magnet

then next time yer do a patch like that the magnet will hold all of the patch perfectly flush all the way round leaving both hands free

and tack all 4 corners of the patch first then the middle of the longest sides
 
If you need any little 80 bits let me know I'm slowly pulling all the little bits off a trials motor was going to send them to the S1 Club way but a fellow LZ member you can have first Dibs. I think I'll have a few rear tailgate latches, brake pedal and a few other bits n bobs circa 1951 80 inch
 
Thanks for the tip :)! I've got a welding magnets in the garage, one of them red ones that you can do different angles at, I just thought I wouldn't need it. Ah well live and learn.

Thanks for the heads up about the parts jai_landrover. I'll try and think of any bits I need and I'll give you a shout :).
 
Off topic,

Rawly we having our local pub meet in Dunstable tomorrow evening everyone welcome thoiught I'd spread the word Jai
 
Some more pictures of a patch I cut out and welded in tonight - you can't say I'm not good to you lot :D!

Went better than the other side, used a magnet this time!

The offending article

D813AF32-32B1-460B-ABAF-BBDD7BF546E9-35376-0000283B3740BCC3_zps24d8895b.jpg


Moving swiftly on... 2.5mm mild cut out and in position

C55B2CC9-26F0-41A9-B31E-E3D6CE9CC246-35376-0000283B42605059_zps3cb12e2c.jpg


Welded! Had to stitch weld the bottom run as it started to burn through on the thinner bits :(

AE4425C6-EFDE-407F-90C3-86E61AEE5FC3-35376-0000283B489D7D43_zpsb196eaa0.jpg


Ground back.

49DE97A3-8039-49BF-B481-C723139BAA14-35376-0000283B4F038311_zps1b600aa0.jpg


Waiting for my tea to cook as we speak but will be back out to cut another patch out in a minute :).
 
Back
Top