First off I have to say thank you to Mr Noisy and Green Hornet, your epic threads have inspired me to have a go myself
Have been a long time lurker on here so thought it was time to post
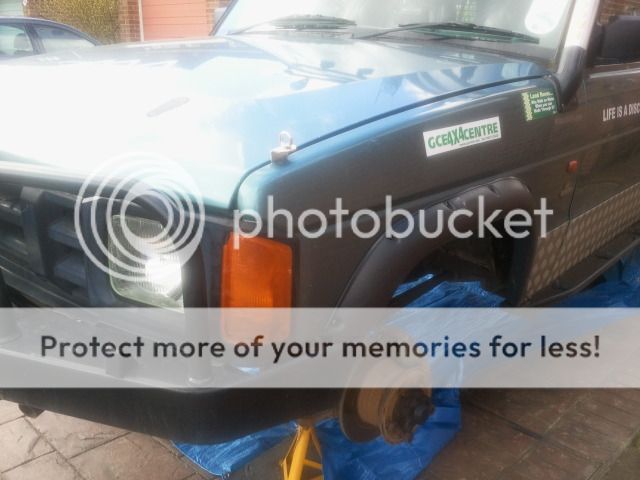
Have owned my Disco for 5 years now. It’s a ’93 3.5V8 Auto
This was not long after purchase with lift kit, MT’s, snorkel and rock sliders fitted

Well after 5 years of ownership it’s not looking quite as shiny lol but have done a lot more mods


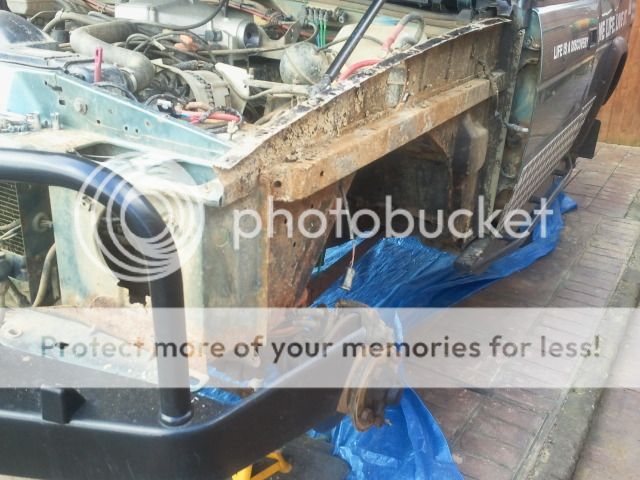
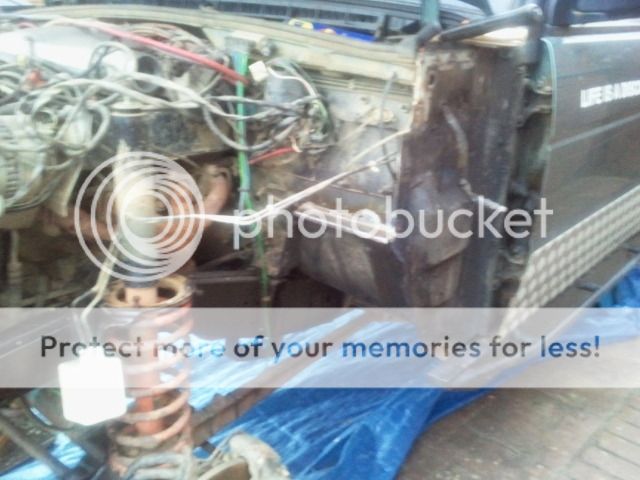
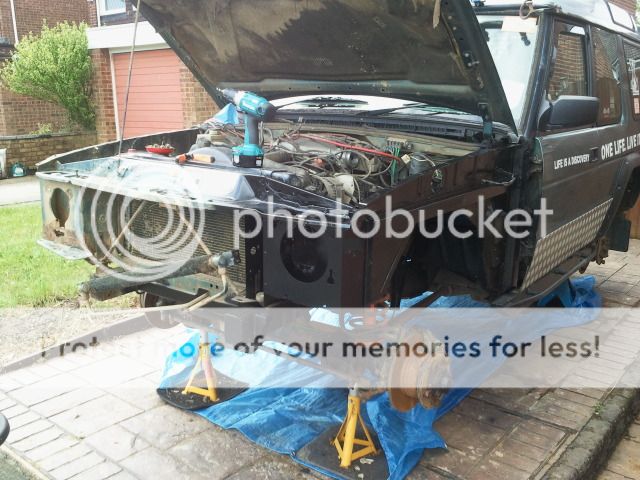
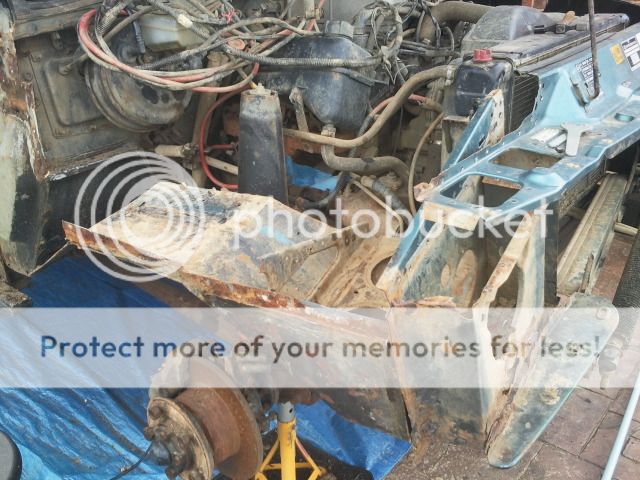
However I have decided that patching up the rust holes has gone far enough.
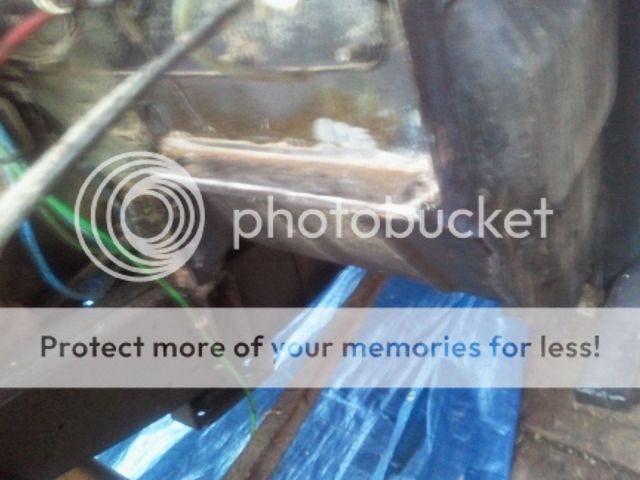
Had a new boot floor two years ago and lots of patches to sills and wings over time
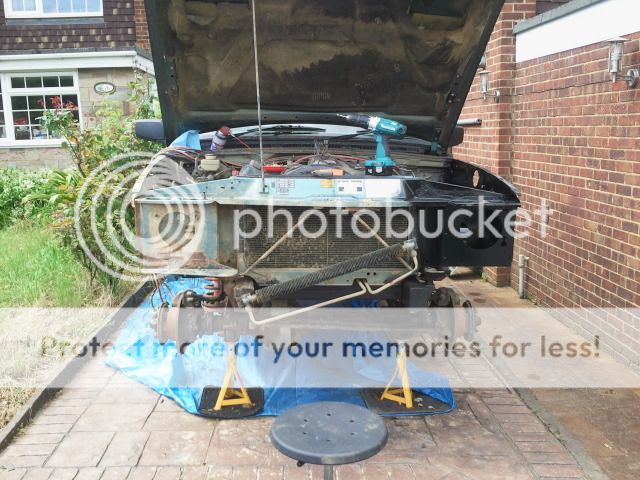
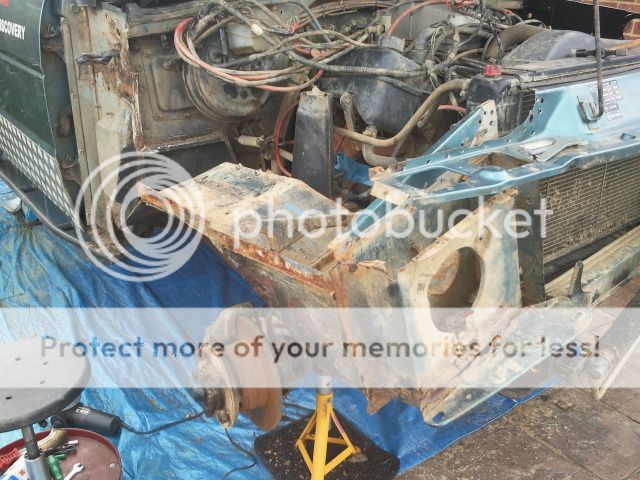
So Disco is now up on axle stands ready for cutting out and fitting the following:
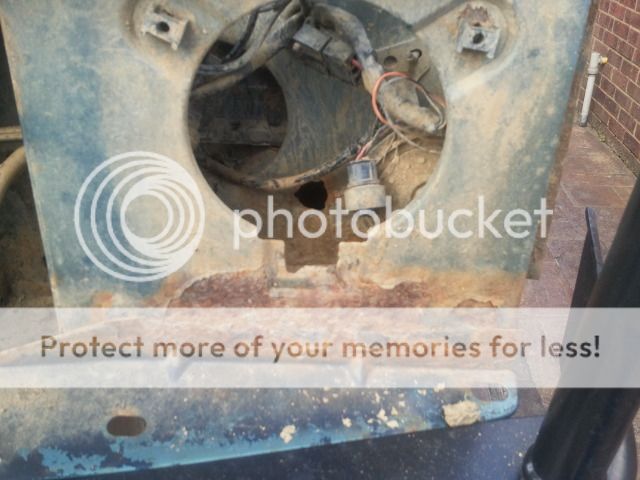
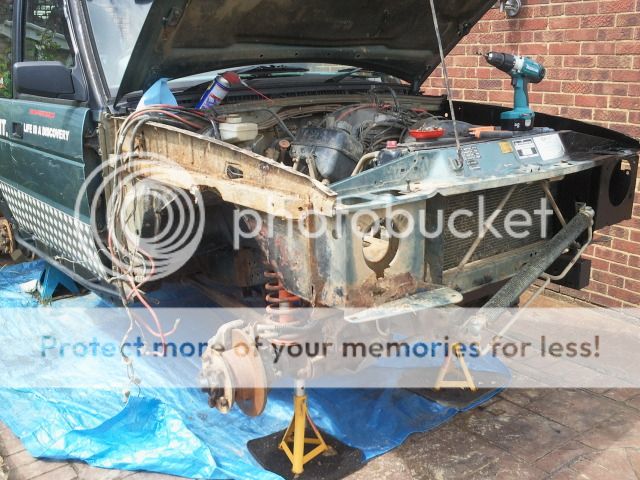
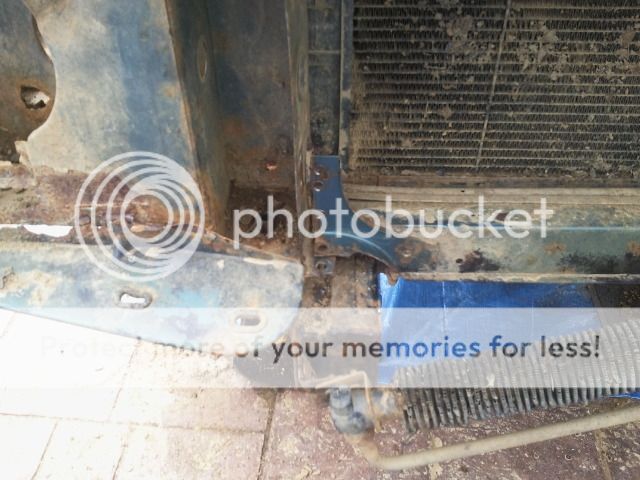
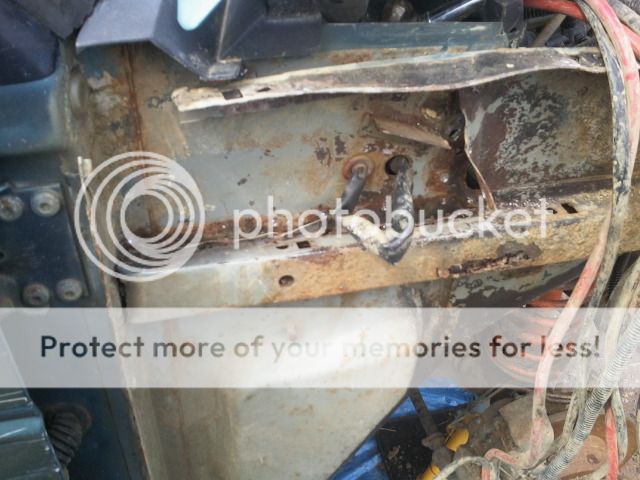
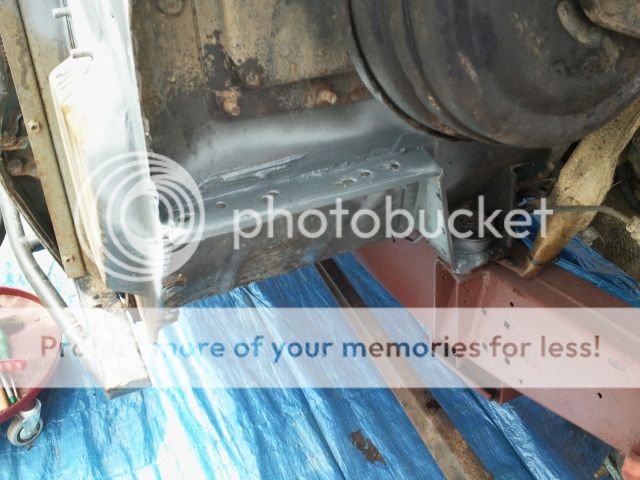
Pair of complete head light Boxes inc front body mounts
Pair of complete inner wings
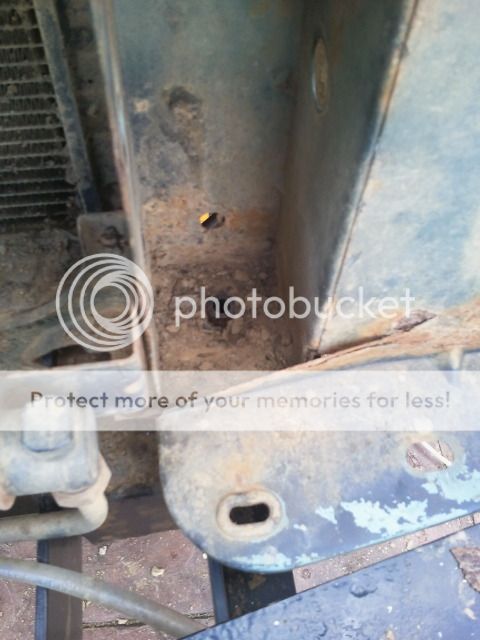
Battery trays both sides
Inner and outer sills both sides
A & B pillar repair bases.
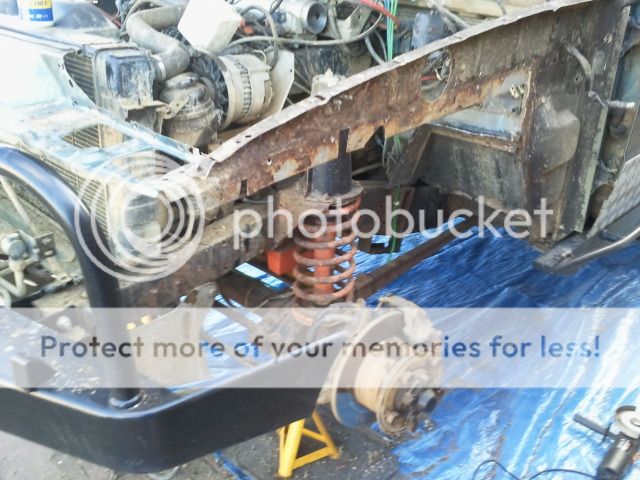
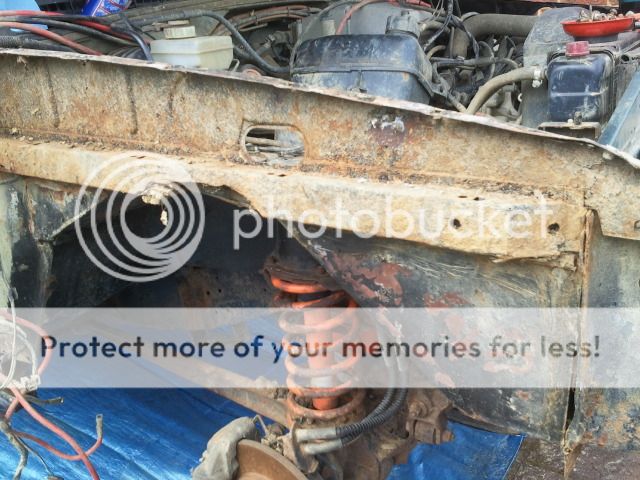
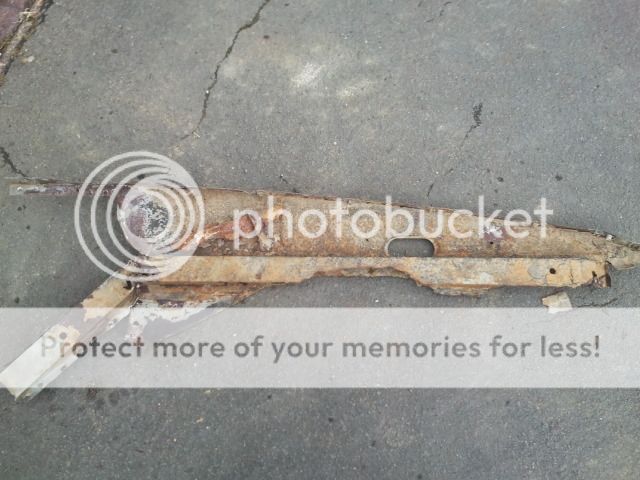
Rear crossmember
Got all this lot from YRM metal solutions
As I am replacing the light boxes and they are only available for the 300 series will be fitting the 300 shape head lights and indicators
Also got a 300 shape grill and light trims I picked up at Newbury 4x4 fair and have refurbed them ready for fitting.
Will be removing rear wings to make sills and crossmember change easier so will treat the panels behind the wings to try and increase their life.
While all the interior is out will also remove rear worklights and relocate them welding up the current holes.
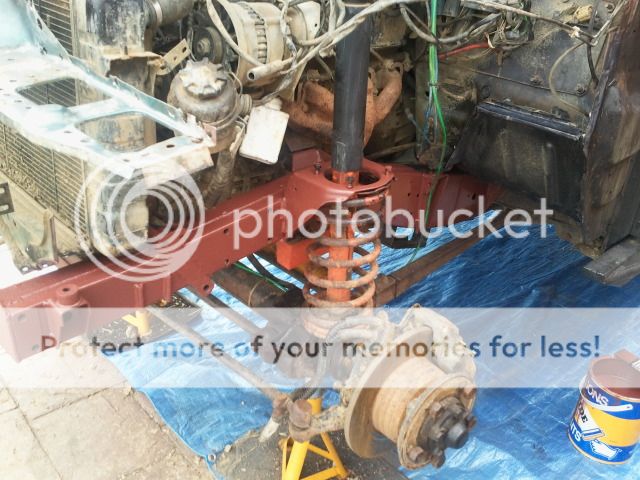
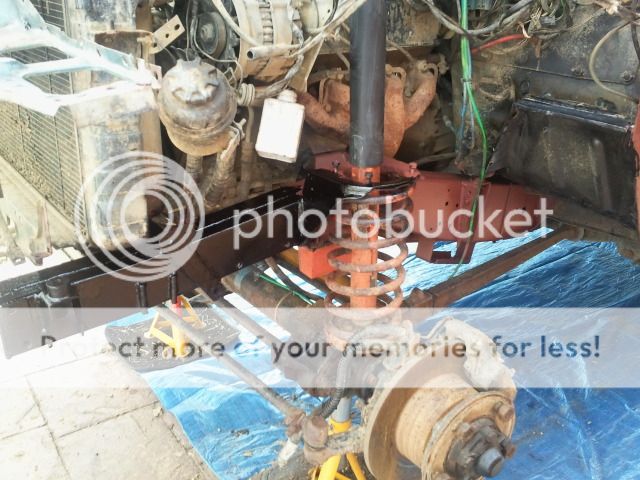
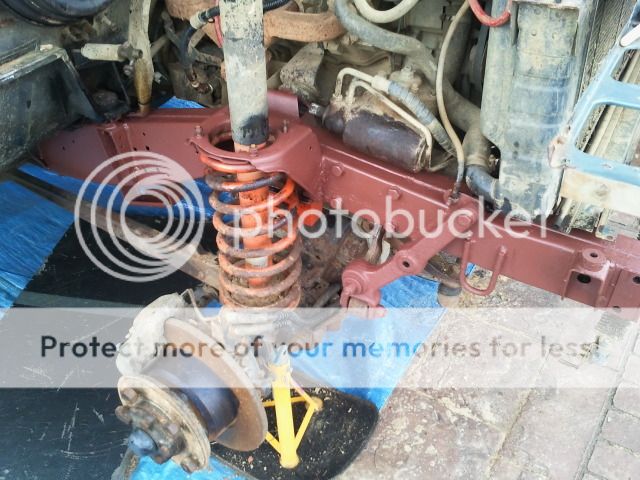
Got a load of red oxide and chassis black so will freshening up the chassis while its accessable and finish with waxoyl inside the chassis box section
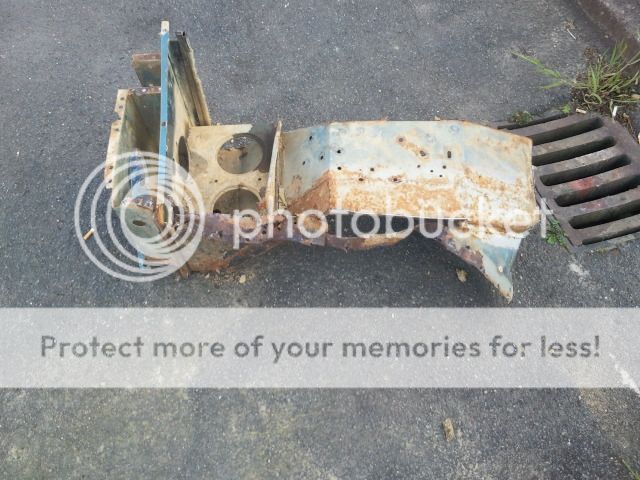
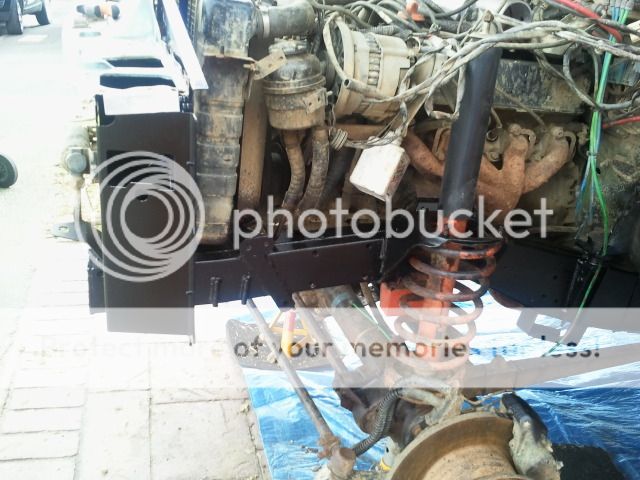
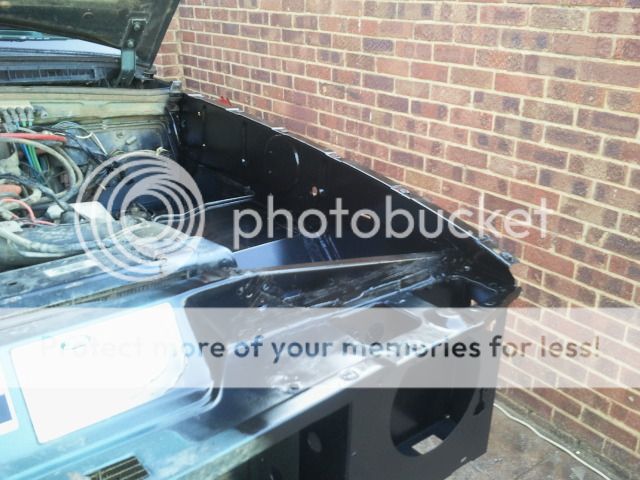
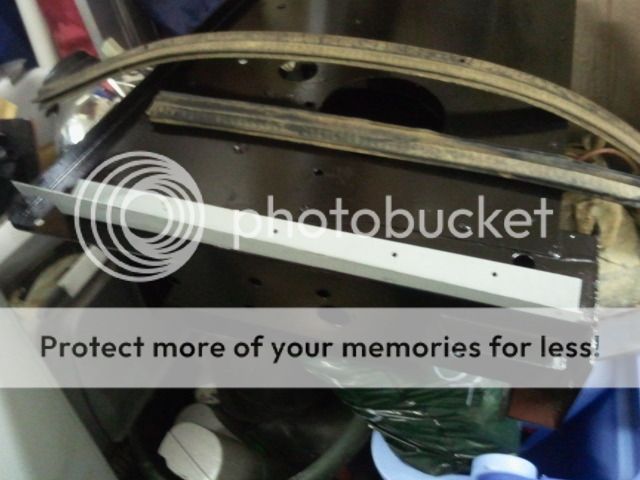
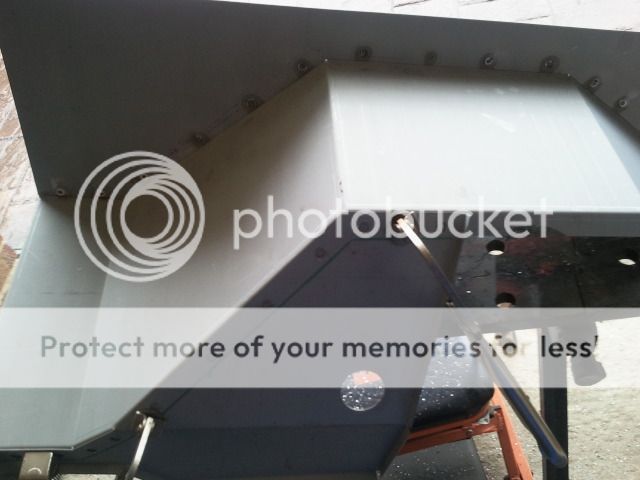
Spent last weekend and evenings making up the inner wings and welding them together. Seam sealed and painted red oxide.
Went from this
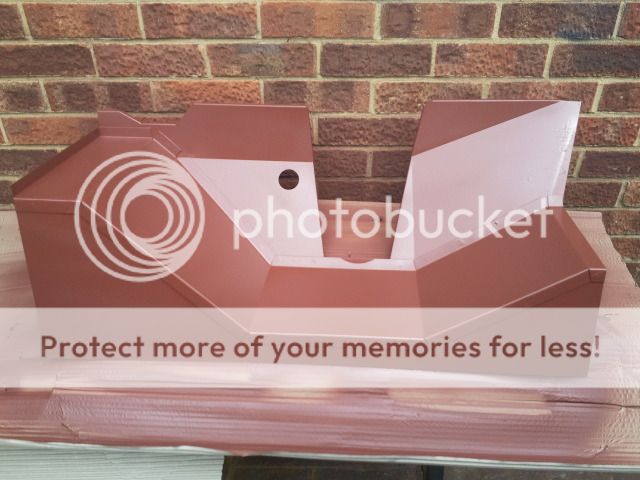
Via this
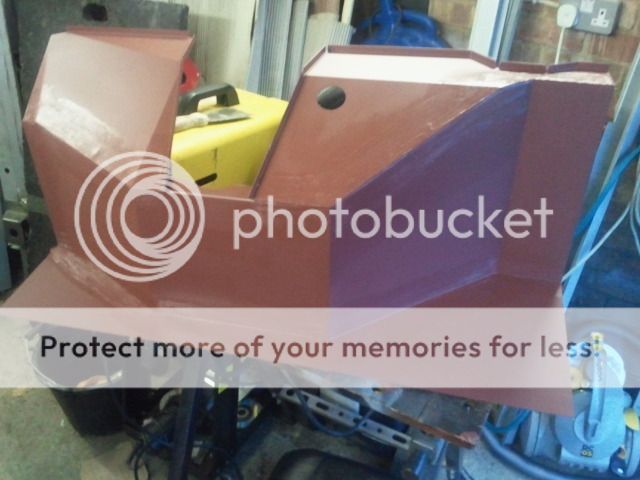
To this (not seam sealed yet)
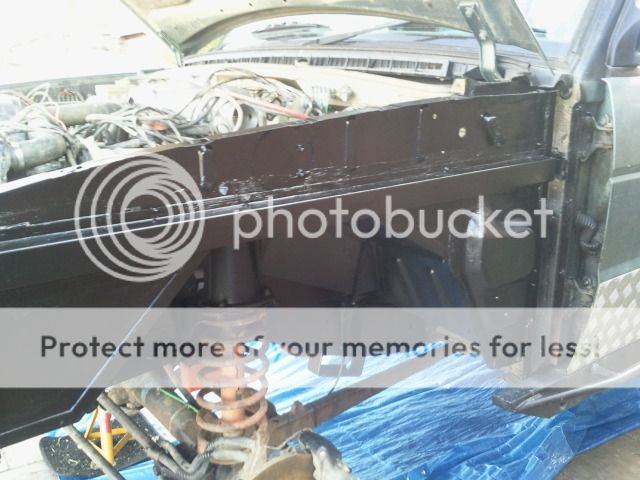
Finished the inner wing prep, seam sealed and over painted with more red oxide
Both battery trays primed
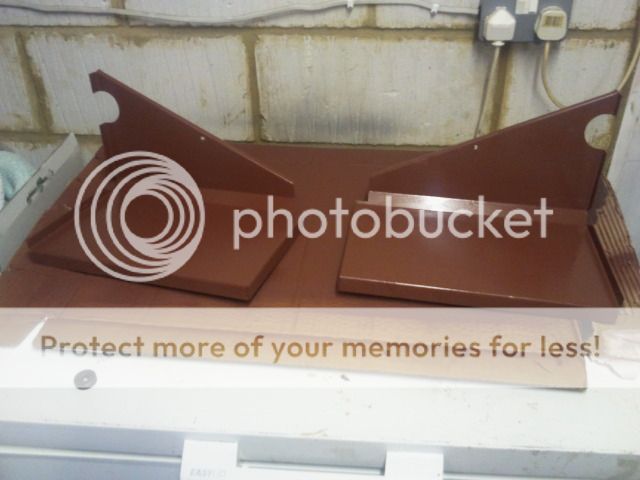
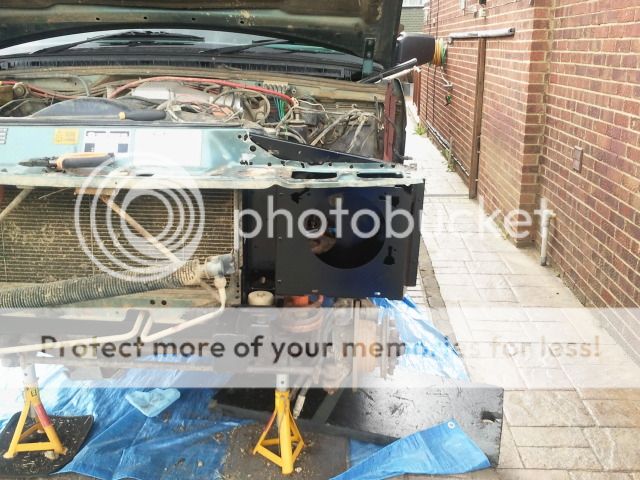
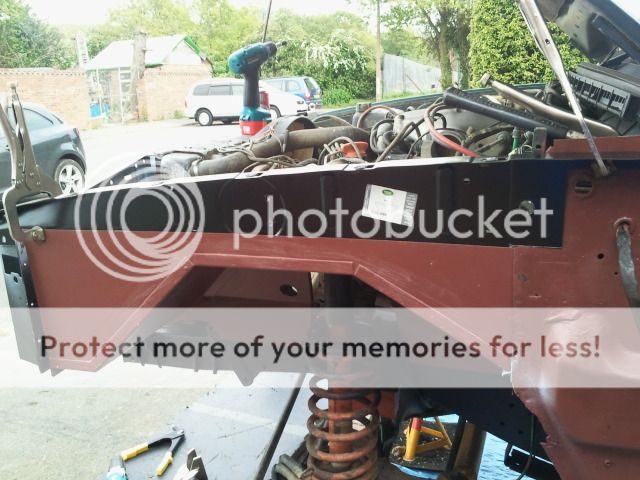
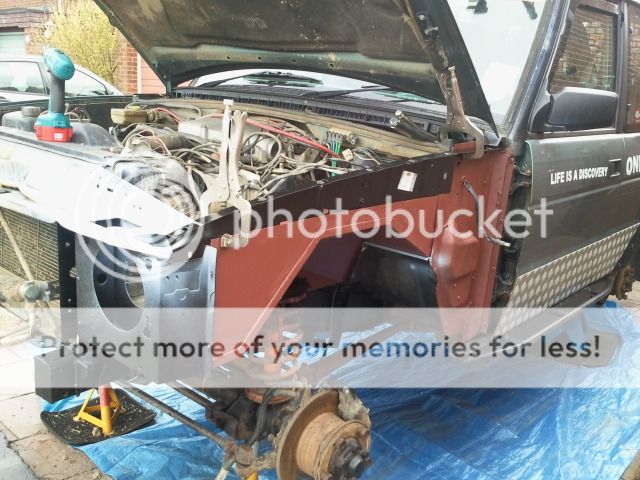
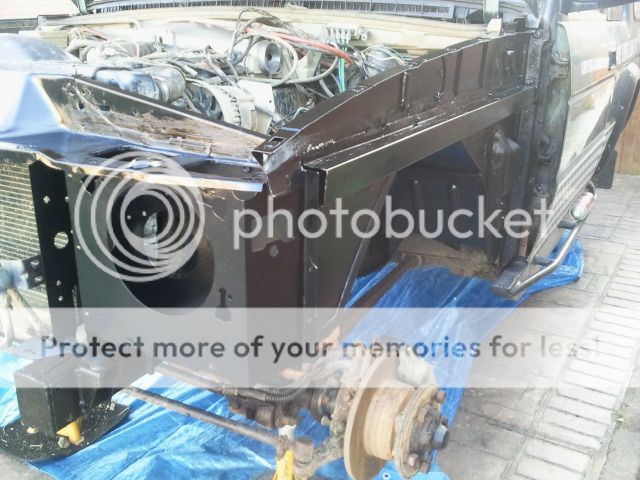
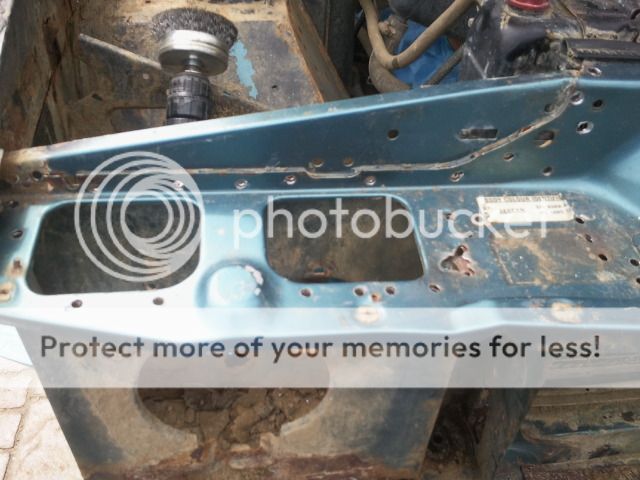
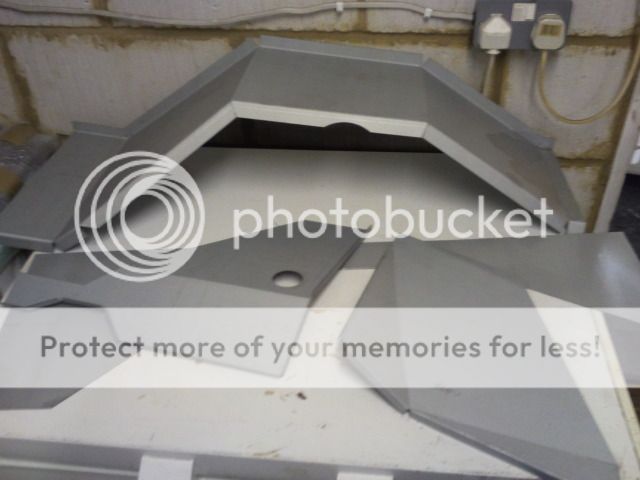
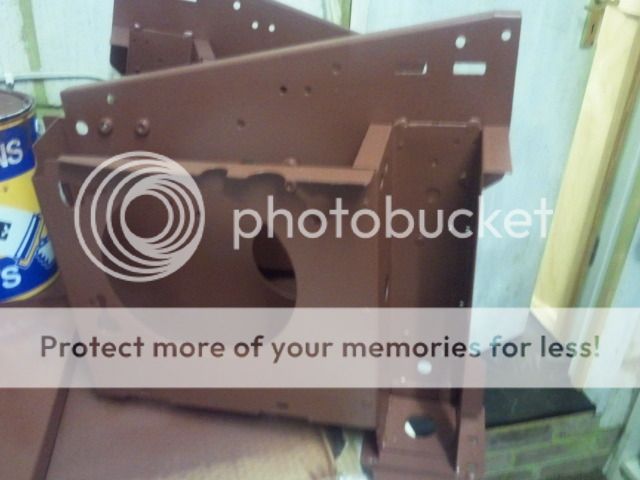
Both light boxes / front body mounts built and primed
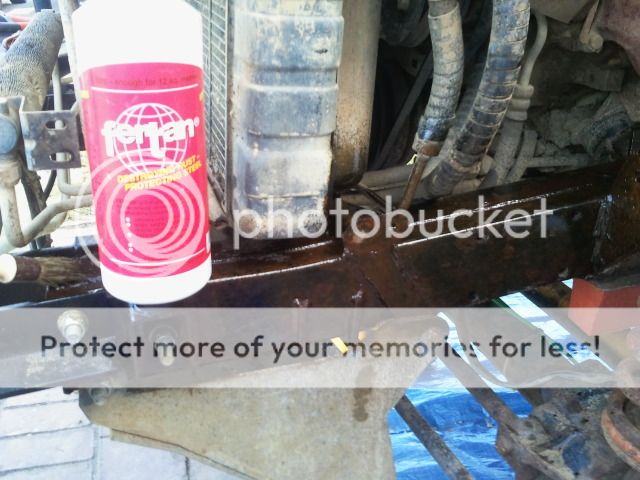
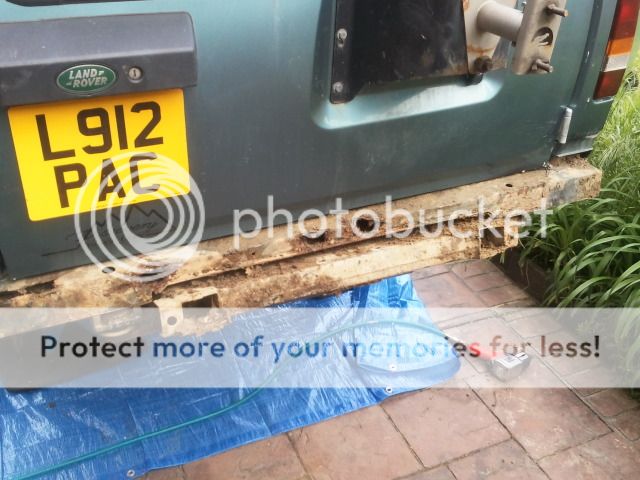
Also took the time to remove rear bumper to be faced with this
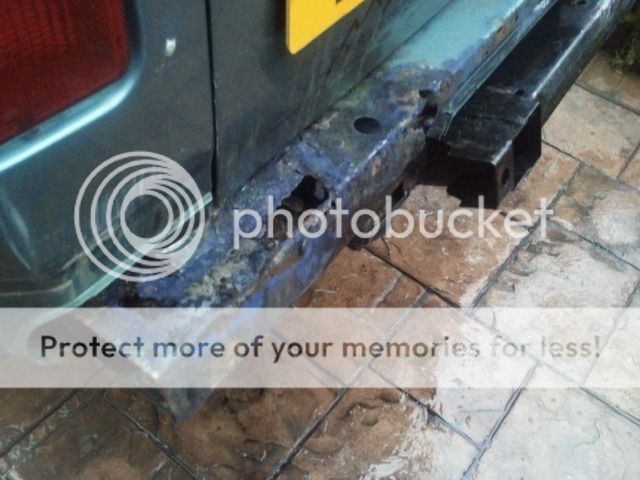
Which looked even worse once jet washed and bits that I thought were crossmember turned out to be mud!
Also stuck my pressure washer drain cleaner down the chassis to clear out the mud stuck inside.
Will post up pics as I progress if anyones interested ?
Have been a long time lurker on here so thought it was time to post
Have owned my Disco for 5 years now. It’s a ’93 3.5V8 Auto
This was not long after purchase with lift kit, MT’s, snorkel and rock sliders fitted
Well after 5 years of ownership it’s not looking quite as shiny lol but have done a lot more mods
However I have decided that patching up the rust holes has gone far enough.
Had a new boot floor two years ago and lots of patches to sills and wings over time
So Disco is now up on axle stands ready for cutting out and fitting the following:
Pair of complete head light Boxes inc front body mounts
Pair of complete inner wings
Battery trays both sides
Inner and outer sills both sides
A & B pillar repair bases.
Rear crossmember
Got all this lot from YRM metal solutions
As I am replacing the light boxes and they are only available for the 300 series will be fitting the 300 shape head lights and indicators
Also got a 300 shape grill and light trims I picked up at Newbury 4x4 fair and have refurbed them ready for fitting.
Will be removing rear wings to make sills and crossmember change easier so will treat the panels behind the wings to try and increase their life.
While all the interior is out will also remove rear worklights and relocate them welding up the current holes.
Got a load of red oxide and chassis black so will freshening up the chassis while its accessable and finish with waxoyl inside the chassis box section
Spent last weekend and evenings making up the inner wings and welding them together. Seam sealed and painted red oxide.
Went from this
Via this
To this (not seam sealed yet)
Finished the inner wing prep, seam sealed and over painted with more red oxide
Both battery trays primed
Both light boxes / front body mounts built and primed
Also took the time to remove rear bumper to be faced with this
Which looked even worse once jet washed and bits that I thought were crossmember turned out to be mud!
Also stuck my pressure washer drain cleaner down the chassis to clear out the mud stuck inside.
Will post up pics as I progress if anyones interested ?
Last edited:
")