honolulujoe
Well-Known Member
- Posts
- 6,137
- Location
- richmond surrey
+1 on the excellent work and neat job on the footwells
ThanksLooking good! Nice work on the bulkhead too - glad to here it hasn't warped - your man sounds like a good find!")
Hi. I think your random bracket is part number 276511 which is the bracket for the flywheel plug. That's the plug in it (part number 3290). Put those part numbers in Craddocks website and see what you think. It certainly looks like those from the parts manual.
+1 on the excellent work and neat job on the footwells
Its definitely a land rover 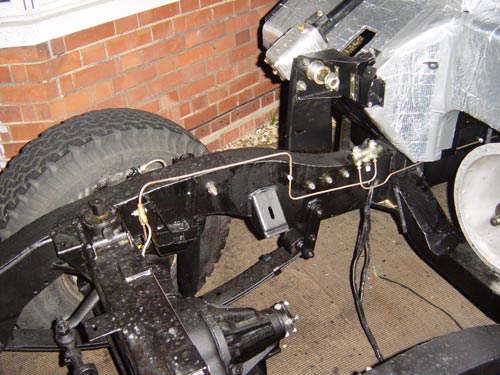
Hi TM.
I've go a bit of wire poking out both ends of the chassis, but when try and pull the cables through you discover the wire has gone the wrong side of whatever strengthening rib or whatever it is and its too small to let the cables through. Unfortunately there are two of these, making it impossible to direct the wire elsewhere by the time you've got first one. Perhaps its just a case of try and try again, but I wondered whether anyone had any bright ideas?
Also, very keen to find out where the rear line runs if anyone can help
Maybe just a case of persistence, would a bit of lubricant, like washing up liquid, help it slip through?
Washing-up liquid will start rust, use a liquid hand soap if it is needed or good old petroleum jelly ...
Washing-up liquid will start rust
Even mild green Fairy Liquid?!
I didn't know that - and have nearly always used it. What's in it that's damaging? And is it just the more modern paints that suffer?
Corrected
I better get a move on
Welcome To LandyZone, the Land Rover Forums!
Here at LandyZone we have plenty of very knowledgable members so if you have any questions about your Land Rover or just want to connect with other Landy owners, you're in the right place.
Registering is free and easy just click here, we hope to see you on the forums soon!