Going to swap suspension over on saturday.
Ive got;
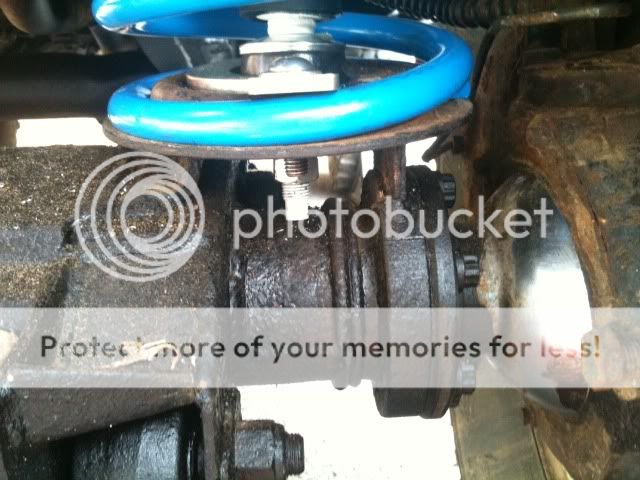
- TF202 lift kit, 4 x Springs + Shocks
- Defender Front Shock Turret Securing Ring TF502
- Defender 90 Rear Coil Spring Retainer TF506
- Defender Front Coil Spring Retainer TF505
- Tubular Front Shock Absorber Turrets TF504
New nuts and bolts
Am i good to go?
Anything i should/shouldn't do?
I heard that cracking the nuts of castor/trailing arms first then fitting sus then lowering bouncing a few times and then tighten bolts back up stops the bushes tearing.
Any other things to do?
I assume its just a case of
Jack up on chassis rail,
Loosen castor/trailing arm,
wheel off,
old shock off
spring out,
new in,
bolt up,
lower + bounce,
tighten everything next corner....
Any help appreciated.
Ive got;
- TF202 lift kit, 4 x Springs + Shocks
- Defender Front Shock Turret Securing Ring TF502
- Defender 90 Rear Coil Spring Retainer TF506
- Defender Front Coil Spring Retainer TF505
- Tubular Front Shock Absorber Turrets TF504
New nuts and bolts
Am i good to go?
Anything i should/shouldn't do?
I heard that cracking the nuts of castor/trailing arms first then fitting sus then lowering bouncing a few times and then tighten bolts back up stops the bushes tearing.
Any other things to do?
I assume its just a case of
Jack up on chassis rail,
Loosen castor/trailing arm,
wheel off,
old shock off
spring out,
new in,
bolt up,
lower + bounce,
tighten everything next corner....
Any help appreciated.

 lol
lol


