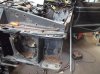
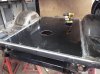
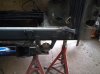
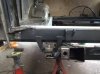
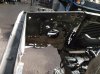
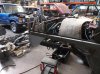
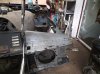
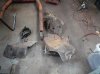
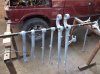
Collected all the shot blasting yesterday and its now getting a coat of zinc primer followed by Black top coat
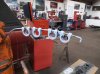
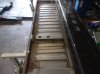
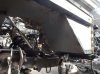
Bumpers are at the powder coaters and will be satin Black
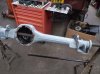
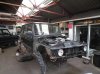
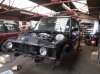
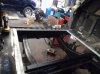
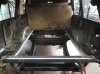
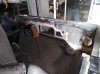
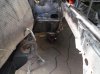
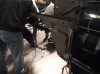
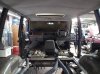
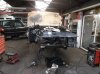
I'm attacking the chassis today removing old flaky paint and surface corrosion
Bumpers are at the powder coaters and will be satin Black
I'm attacking the chassis today removing old flaky paint and surface corrosion
Attachments
-
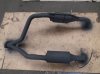
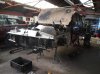
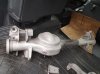
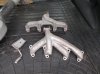 Range Rover manifolds 009.jpg141.2 KB · Views: 488
 -
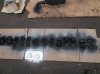
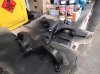
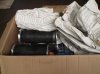
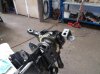
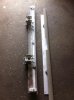
 Range Rover restoration zinc plated parts 003.jpg132.1 KB · Views: 503
 -
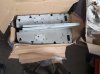
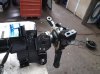
 Range Rover restoration zinc plated parts 002.jpg110.6 KB · Views: 494
 -
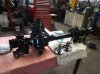
 Range Rover restoration zinc plated parts 001.jpg133.9 KB · Views: 498
 -
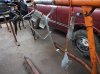
 Range Rover restoration bumpers shot blasted.jpg83 KB · Views: 566
 -
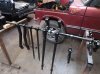
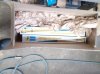
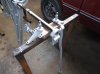
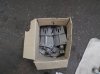
 Range Rover rear axle shot blasted 010.jpg120.7 KB · Views: 518
 -
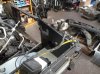
 Range Rover parts ready to paint 006.jpg101.8 KB · Views: 499
 -
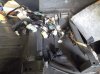
 Range Rover parts ready for paint 005.jpg107.9 KB · Views: 545
")