You are using an out of date browser. It may not display this or other websites correctly.
You should upgrade or use an alternative browser.
You should upgrade or use an alternative browser.
Series 3 109 - 1973 - Full Restore
- Thread starter WoodyO
- Start date
This site contains affiliate links for which LandyZone may be compensated if you make a purchase.
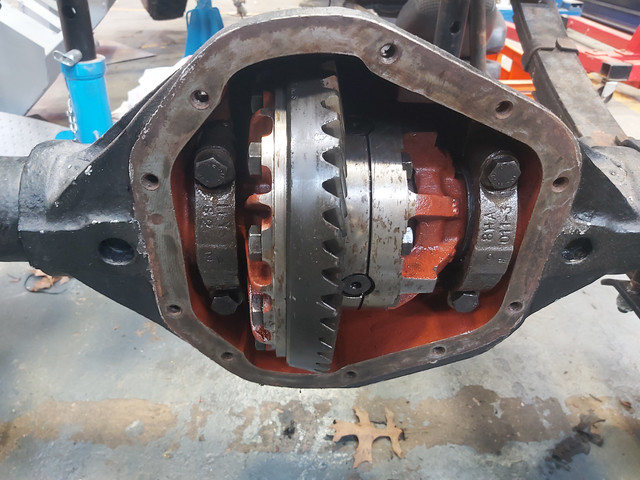
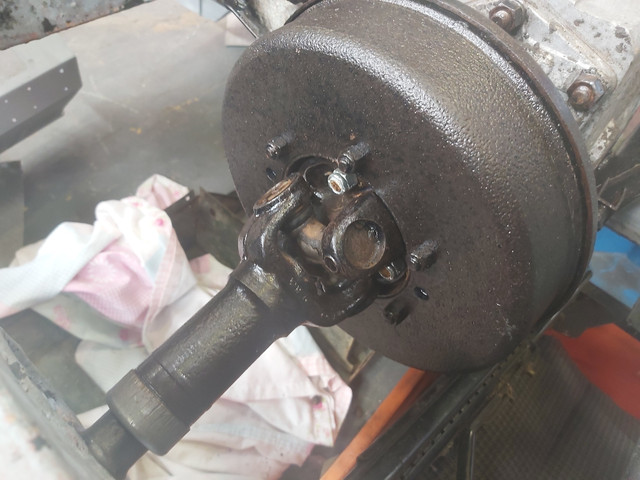
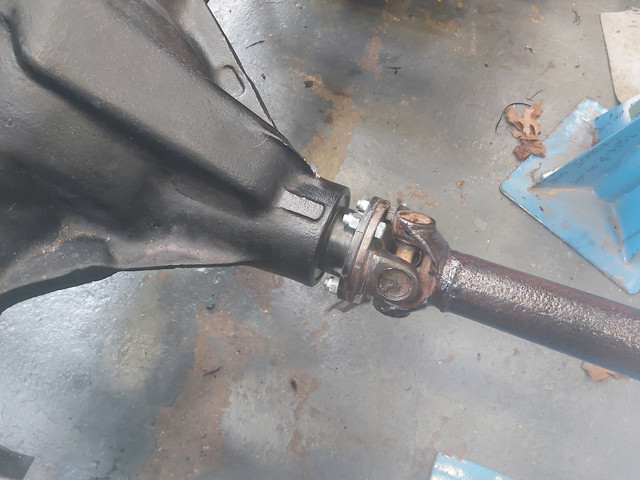
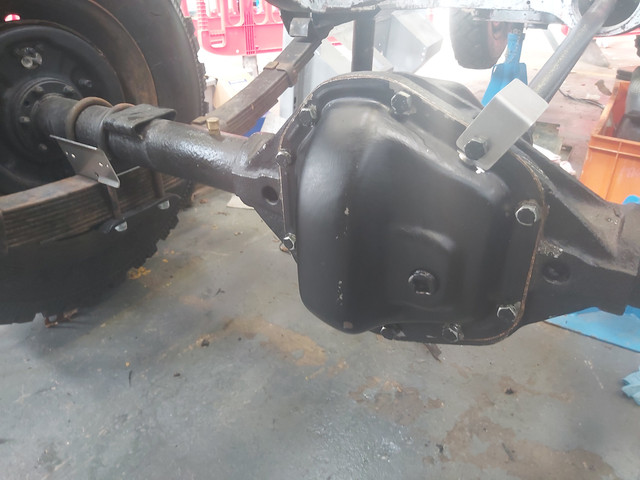
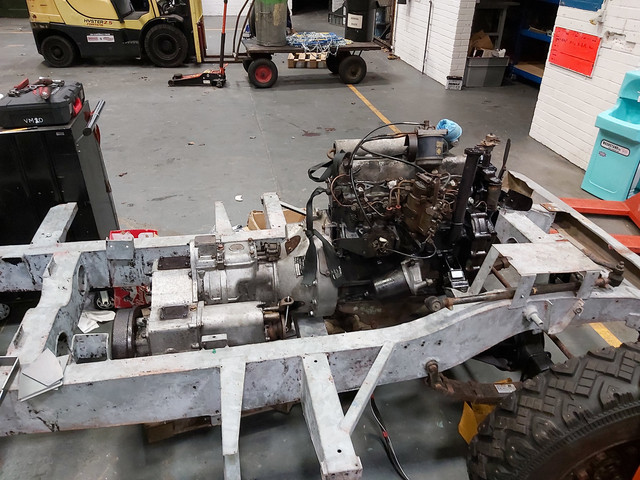
Rear diff back in, new shims on one side but sticking to original sizings. Replacement carrier bearings fitted. Half shafts back in, just need to torque up the flange bolts and fabricate a small bracket for the rear brake hose, before the diff pan can go back on.
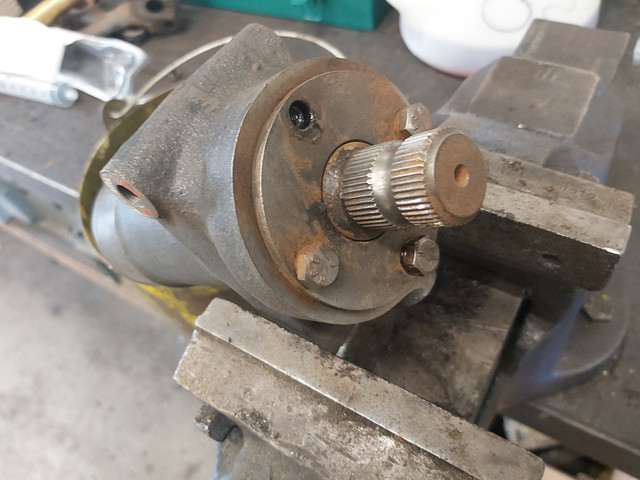
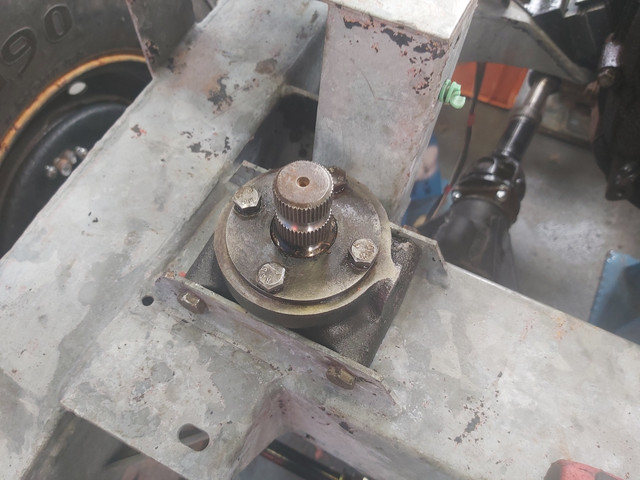
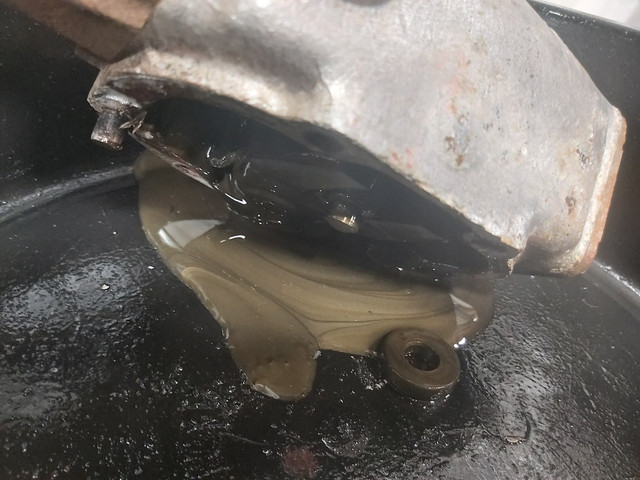
Steering relay unit out today for an oil change. I'd planned to open it up for a proper refurb, but the action felt very smooth and the oil that came out was very clean, so it's clearly been looked after.
A quick clean up of that relay and top and bottom arms, oil change of the relay and back into it's housing. Arms have had a couple of coats of primer, waiting for top coat.
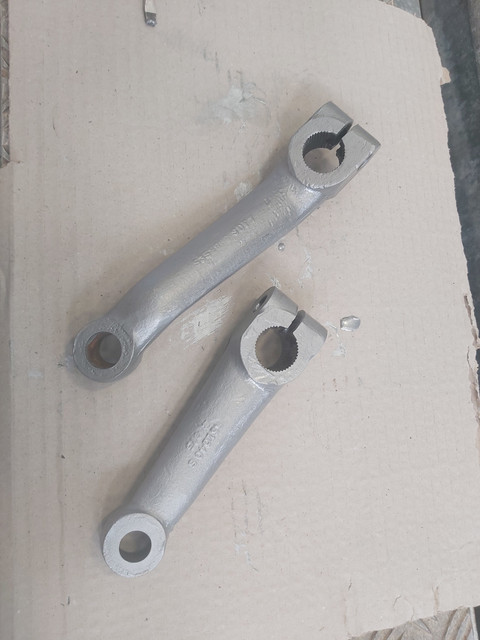
A quick clean up of that relay and top and bottom arms, oil change of the relay and back into it's housing. Arms have had a couple of coats of primer, waiting for top coat.
Last edited:
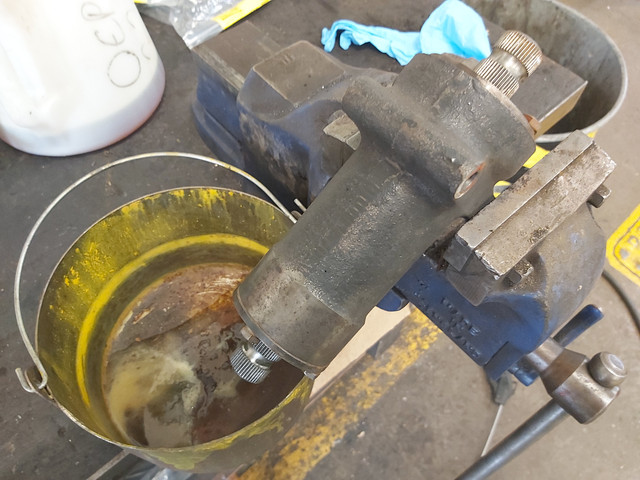
Steering box is the last job for today, opened it up to find a horrible bronze coloured gloop. Looks like a mixture of oil and grease, solvent cleaner wouldn't touch it and just spent the best part of 45 mins trying to clean it out.
Eventually all cleaned, side cover back on with some instant gasket and end float on the rocker arm taken up.
The alu housing has been cleaned back and the steel covers given a coat of rust treatment.
My only concern is the top bearing by the steering wheel seems past it's best, but I'm not keen on splitting the outer steering column from the box.
I think for now I'll try to get some grease in the bearing as best I can and see how we get on.
Lots of small jobs (and one big one) done, but waiting to take photos of them before updating.
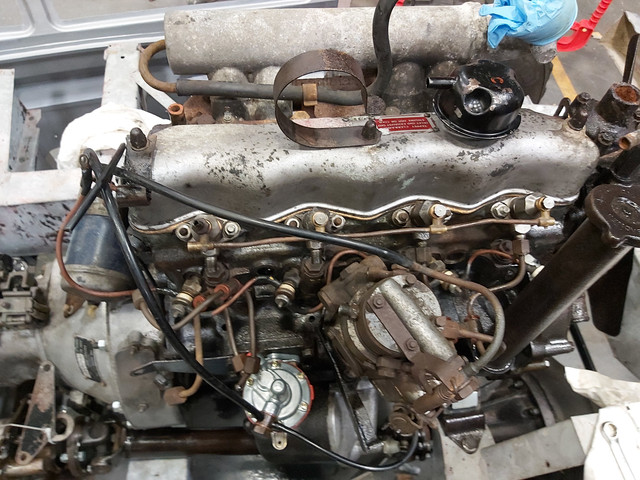
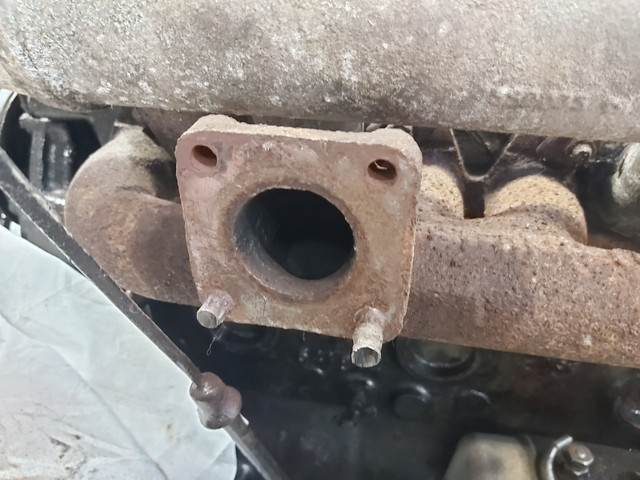
I chopped the old downpipe off when disassembling the 109 last year, now I've got time to tackle the manifold studs. From looking at the diagram, there should be 4 studs? The top two were replaced with bolts which came out with the help of a grinder and big hammer. The bottom two studs are well past it though, so waiting on these to be removed and replaced before fitting the new (to me) stainless exhaust.
I chopped the old downpipe off when disassembling the 109 last year, now I've got time to tackle the manifold studs. From looking at the diagram, there should be 4 studs? The top two were replaced with bolts which came out with the help of a grinder and big hammer. The bottom two studs are well past it though, so waiting on these to be removed and replaced before fitting the new (to me) stainless exhaust.
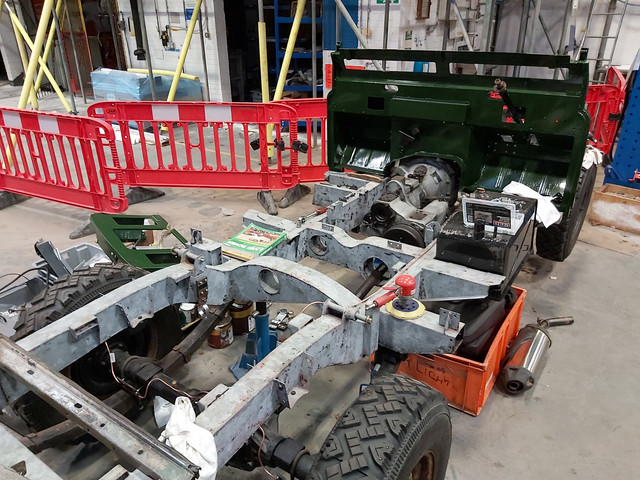
A lot then happened between pictures, a background activity was getting the bulkhead painted ready to fit. I wasn't too concerned with the finish on this as most of its hidden, but was a good opportunity to test out the colour. Deep Bronze Green.
Had a couple of coats of zinc rich primer then top coat, both with a brush.
The bulkhead mounting mounts were around 5mm too wide for the chassis, not sure if its the chassis, bulkhead or both that are out.

Had a couple of coats of zinc rich primer then top coat, both with a brush.
The bulkhead mounting mounts were around 5mm too wide for the chassis, not sure if its the chassis, bulkhead or both that are out.
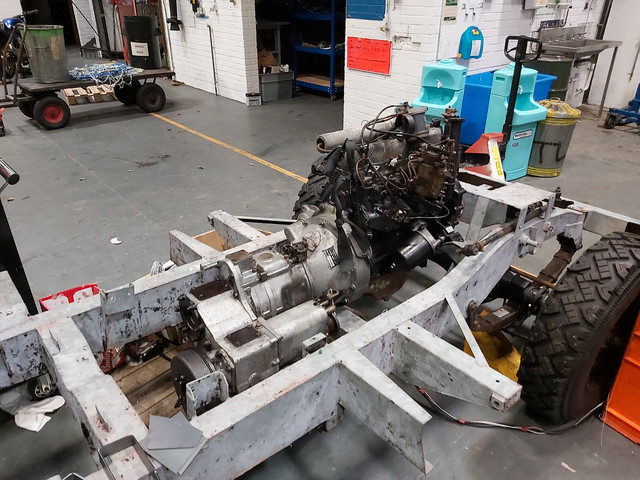
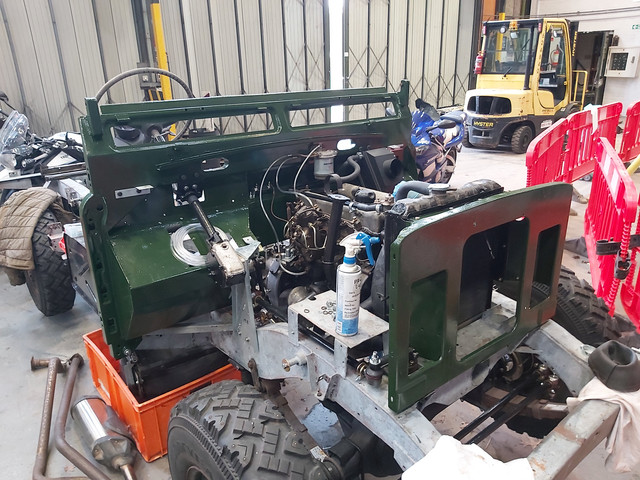
The main effort was then working from the front, backwards. So I'm concentrating on everything engine bay and bulkhead for now.
Various things on the bulkhead have been mounted, but the Terrain Tech bulkhead leaves a bit to be desired in terms of the mounting holes etc. Most holes have been out of place, too small or simply not there. So things like mounting the heater box end up taking hours of measuring, drilling, rivnuts, adjusting, etc.
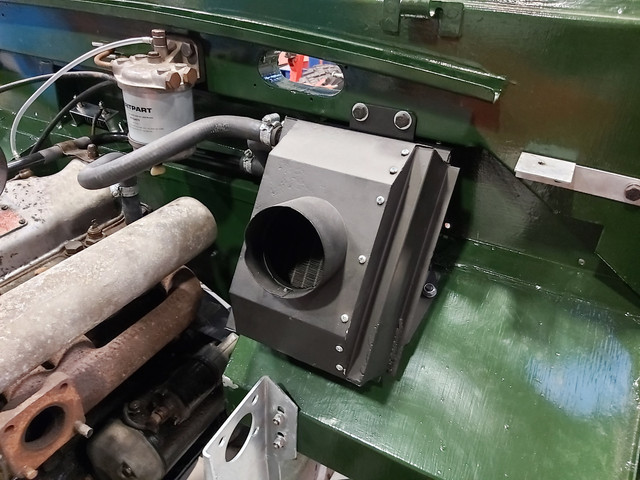
Various things on the bulkhead have been mounted, but the Terrain Tech bulkhead leaves a bit to be desired in terms of the mounting holes etc. Most holes have been out of place, too small or simply not there. So things like mounting the heater box end up taking hours of measuring, drilling, rivnuts, adjusting, etc.
Brake pedal box refurbished and fitted up with a new master. Clear fuel lines ran from tank forward, already paying dividends identifying a union letting air in.
Took a while sorting fuel leaks, but the system is now primed and dry, waiting for the new radiator before a test fire.
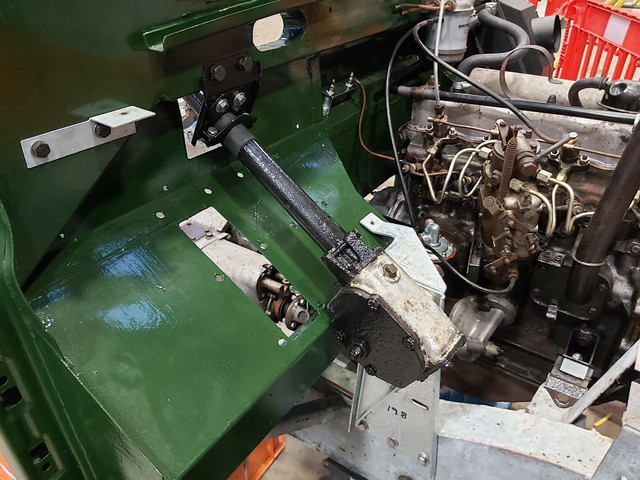
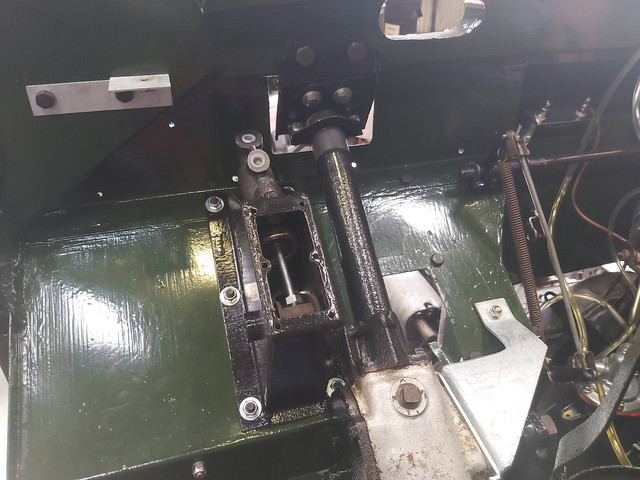
Throttle linkage mostly fitted, waiting for a couple of the trunions to fit the throttle cable and finish adjusting the linkage.

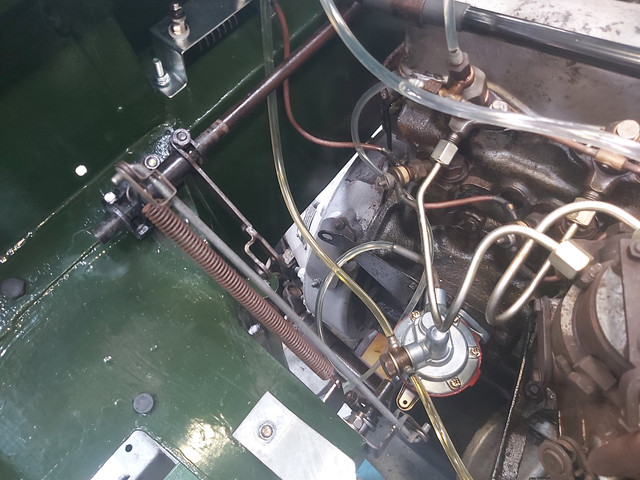
Took a while sorting fuel leaks, but the system is now primed and dry, waiting for the new radiator before a test fire.
Throttle linkage mostly fitted, waiting for a couple of the trunions to fit the throttle cable and finish adjusting the linkage.
- Posts
- 24,737
- Location
- In the next Glen
That's pretty much where I'm up to now. Hoping to finish off the brake system this weekend, I bought a set of pre made brake lines on ebay for £38, more than it would cost for unions and line, but a lot less hassle.
Its looking really good well done, im a bit puzzled why you havent sprayed it, your going to all the effort
an just slapping the paint on with a brush.
You make a good point. I did the bulkhead with a brush primarily so as not to hold things up, but also because there isn't really much of the bulkhead on view.
As for the rest of the bodywork, I had planned to roller but ill definitely consider spraying instead. I guess my reason for not going thinking about that is that I'm not really trying to make it perfect. It's never going to be perfectly original and some bits are made up along the way, but it doesn't hurt to try and make it look as good as possible!
As for the rest of the bodywork, I had planned to roller but ill definitely consider spraying instead. I guess my reason for not going thinking about that is that I'm not really trying to make it perfect. It's never going to be perfectly original and some bits are made up along the way, but it doesn't hurt to try and make it look as good as possible!
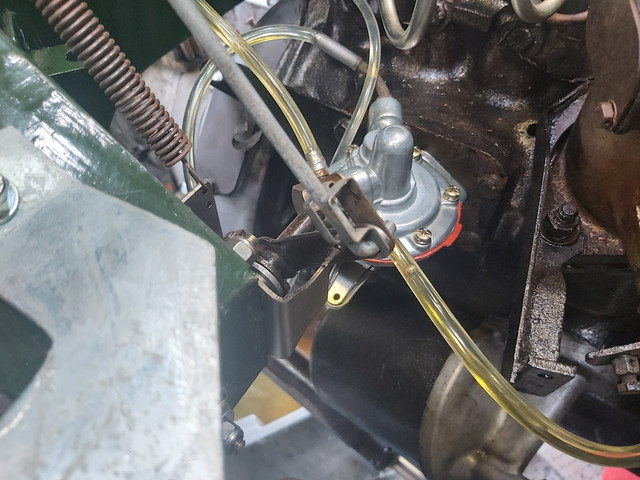
Not an awful lot to report. Spent a week messing around with fuel lines on the engine and getting it running. It now reluctantly starts but I'm not convinced the fuel pump timing is correct, so I'll investigate that soon.
Brake lines now complete, just waiting for the rear axle t piece. Clutch pedal box is now painted up ready to fit the new master and plumb the lines in, but waiting for some half-nut for the flexis.
I've oiled up the leaf springs with a mix of diesel and old gearbox oil, hopefully a couple of coats of that before a road test will soften them up slightly. They're new springs, but have been outside a little while so have started to rust up slightly.
Still fiddling with brake and clutch pipes, I've decided to add a pressure switch on the brake line instead of the pedal activated switch, purely because I have a spare 3 way t-piece and none of the fittings for the pedal mounted switch.
Things are a little more complicated on the clutch lines for some reason. I'm not sure if I've got the wrong master cylinder, should have checked sooner I guess, but I've had to have a custom copper line made up.
Reason being.. 3/8 union into the master cylinder, but 7/16 onto the flexi. I'm using 3/16 pipe which is fine for the 3/8 union, but can't get a 7/16 female to fit 3/16 pipe...
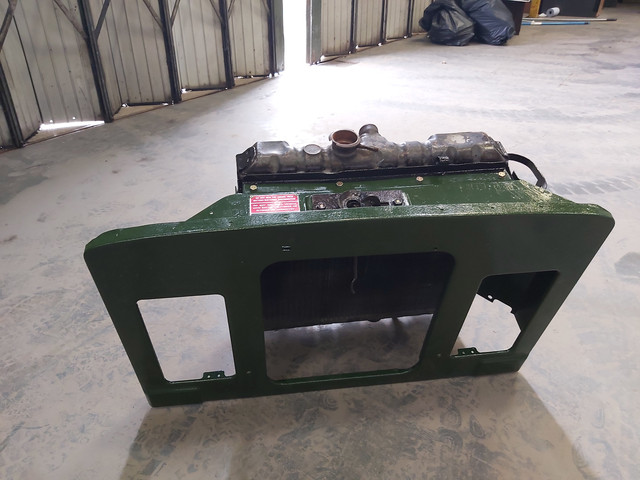
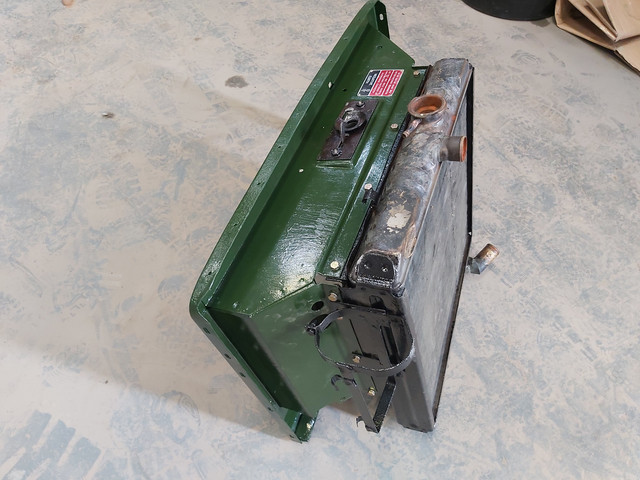
I've decided I'm going to bite the bullet and change timing chain, sprockets, tensioner etc. I had planned to leave the engine as is, knowing that it ran, but its not running as nicely as I'd like. I also need to sort a sump leak and change the water pump, so makes sense to do everything at once.
Things are a little more complicated on the clutch lines for some reason. I'm not sure if I've got the wrong master cylinder, should have checked sooner I guess, but I've had to have a custom copper line made up.
Reason being.. 3/8 union into the master cylinder, but 7/16 onto the flexi. I'm using 3/16 pipe which is fine for the 3/8 union, but can't get a 7/16 female to fit 3/16 pipe...
I've decided I'm going to bite the bullet and change timing chain, sprockets, tensioner etc. I had planned to leave the engine as is, knowing that it ran, but its not running as nicely as I'd like. I also need to sort a sump leak and change the water pump, so makes sense to do everything at once.
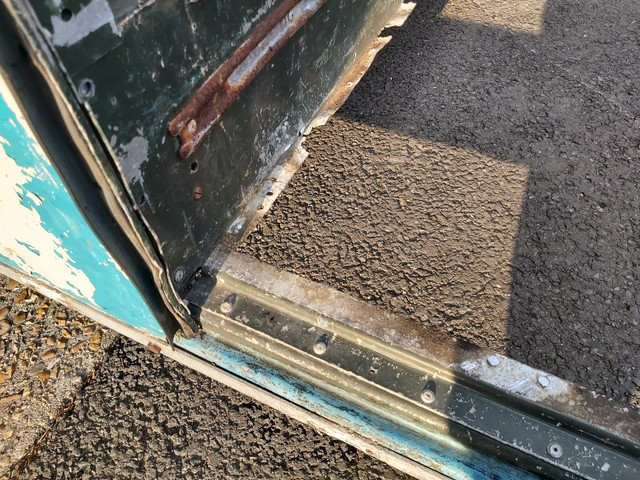
Whilst waiting for some parts to arrive I've started to tackle the rear tub. The floor had corroded badly where it sat on the steel supports, which were also badly rusted. New supports are already here, but will need to order up some replacement too hat sections before I can fit the new floor.
There lip that the floor sits on around the edges isnt is the best shape either, so will need to patch that up too. Any suggestions other than welding in new alu?
I'm thinking of cutting the lip off on both lengths and riveting in place some right angle instead.
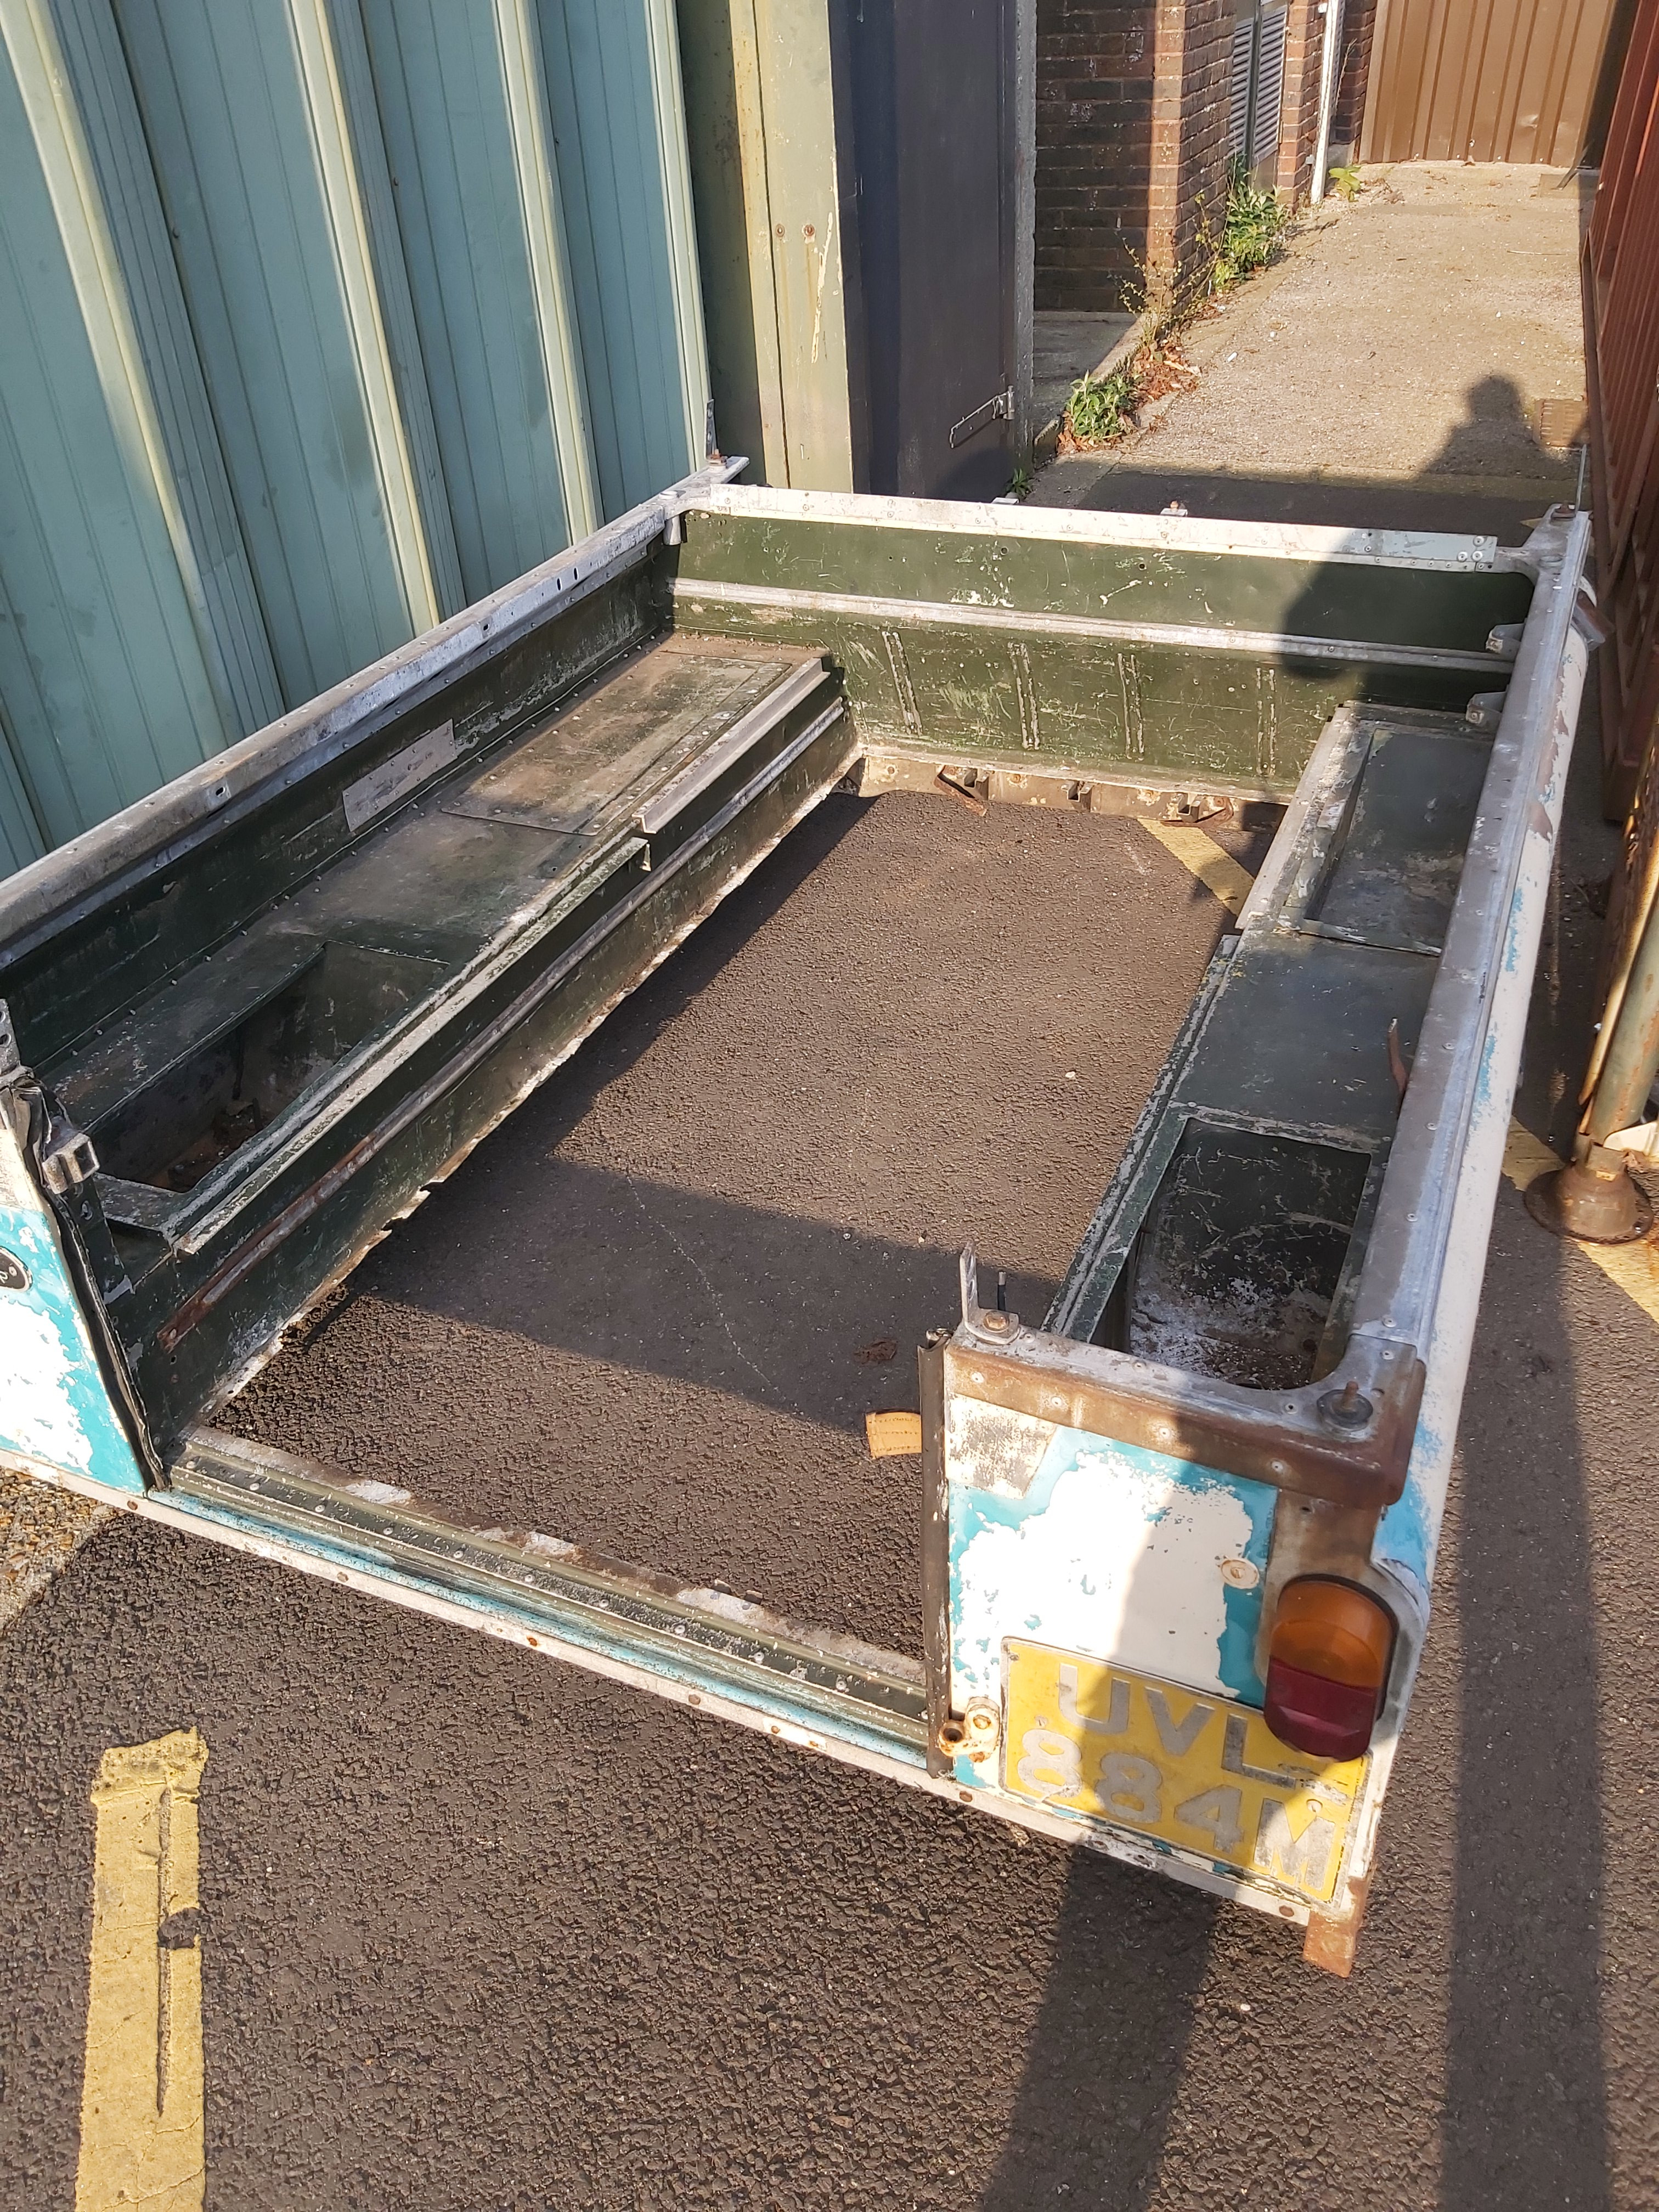
There lip that the floor sits on around the edges isnt is the best shape either, so will need to patch that up too. Any suggestions other than welding in new alu?
I'm thinking of cutting the lip off on both lengths and riveting in place some right angle instead.
Last edited:
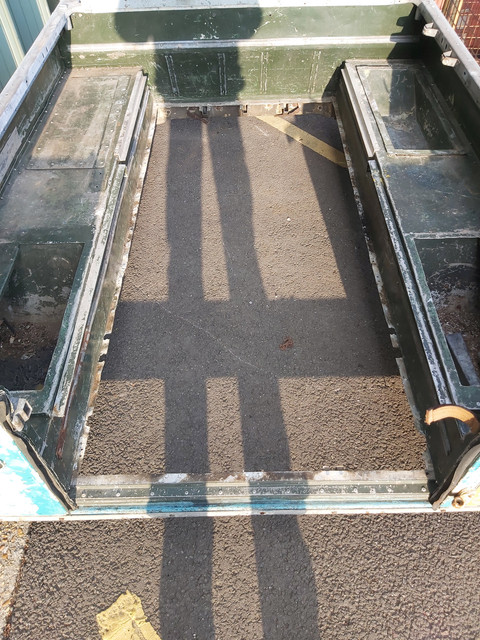
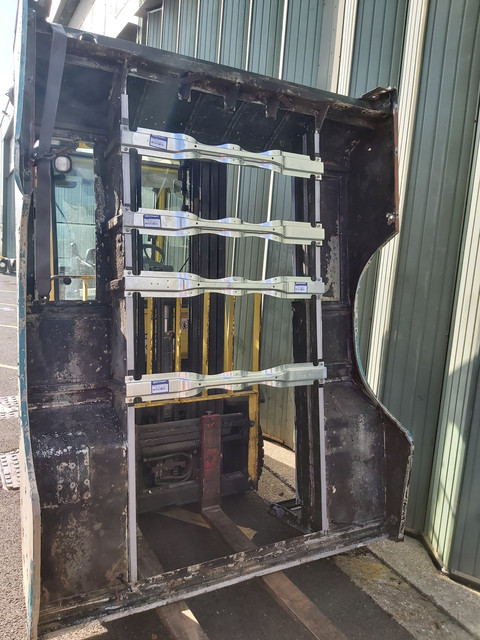
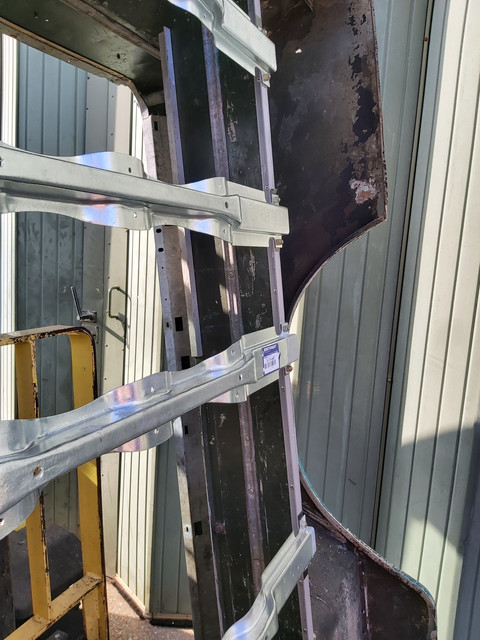
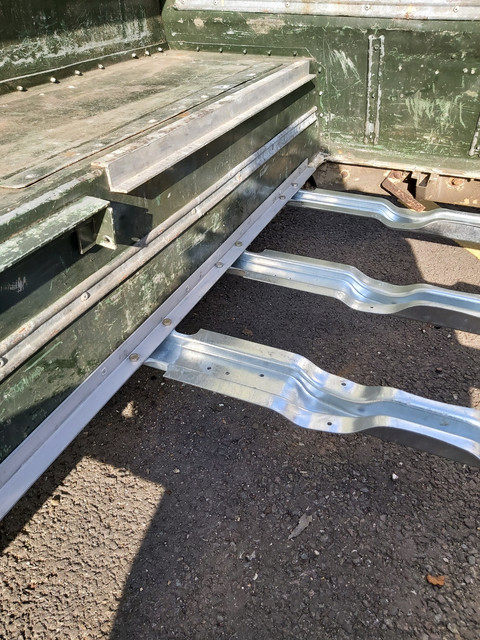
Made some progress with the rear tub today. Chopped off the lip that secured the supporting rails to the tub. As per the last photos they weren't in the best condition.
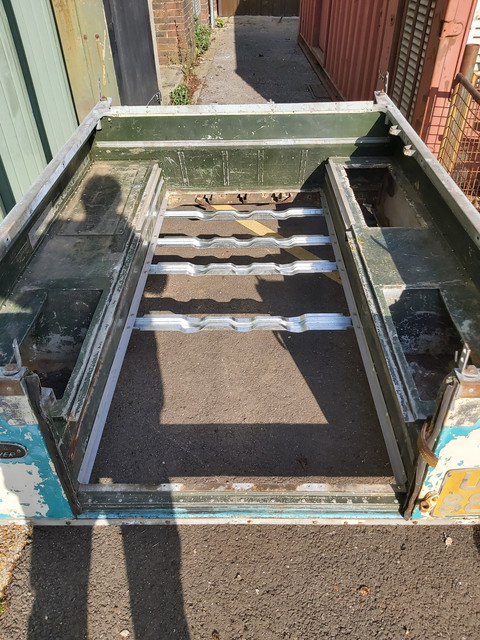
I then riveted a length of angled aluminium and started installing the galvanised tub supports. Only got 4 done as I need to measure up the last 2 to get the fitting right.
Waiting for the top hat sections to arrive before I can install the new floor panel.
I'll have to unbolt the supports when I get around to fitting the floor and pass the bolts through the floor, too.
Similar threads
- Replies
- 9
- Views
- 1K
- Replies
- 11
- Views
- 2K