bustersbus
Well-Known Member
- Posts
- 13,755
- Location
- Near Dumfries, Scotland
Needed to convert mine from the 24v 12 pin cable and plug to a 12v 7 pin normal one. Instead of just changin' the plug, ah decided to do it from the connector block.
Here's how ah did it...
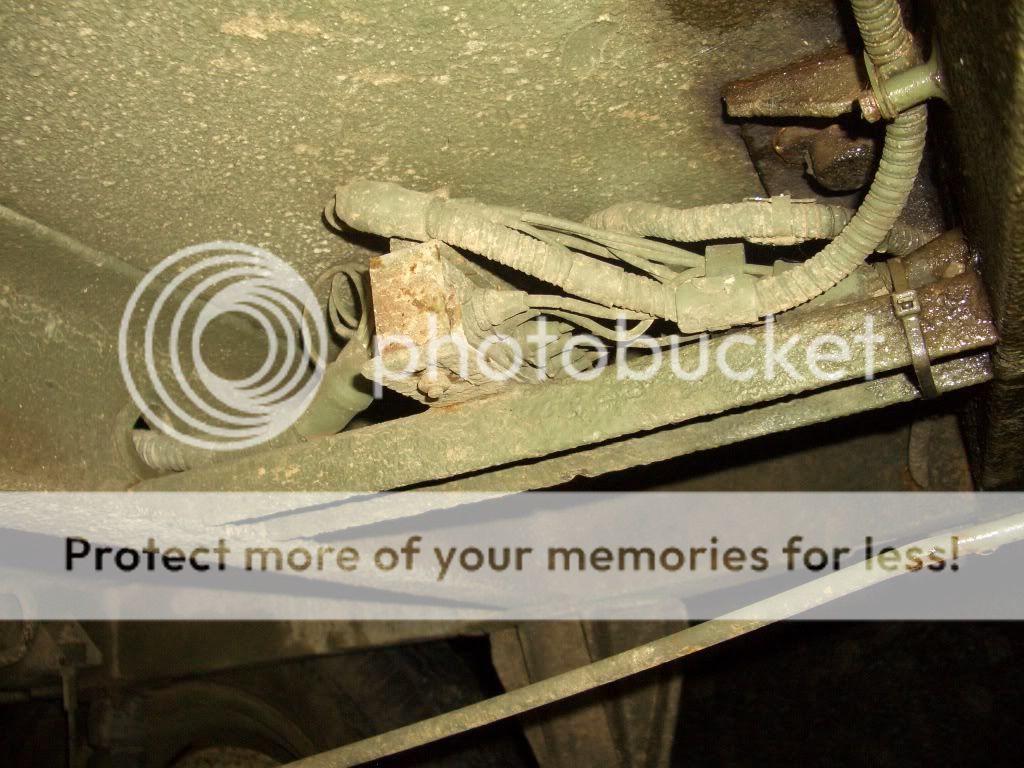
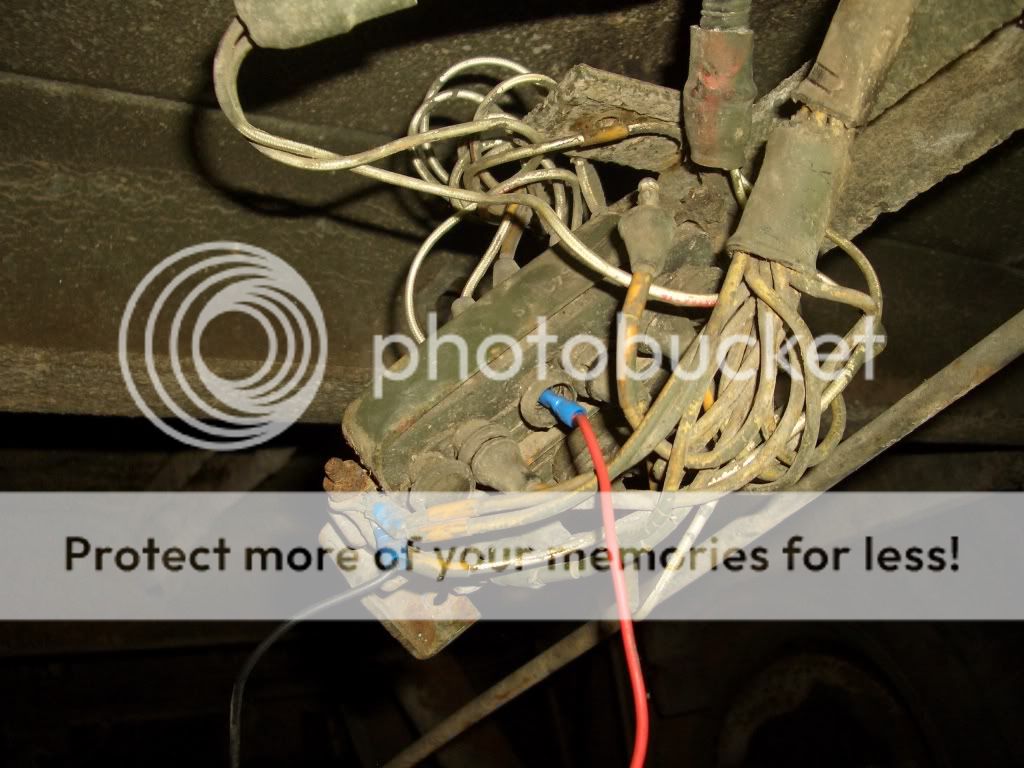
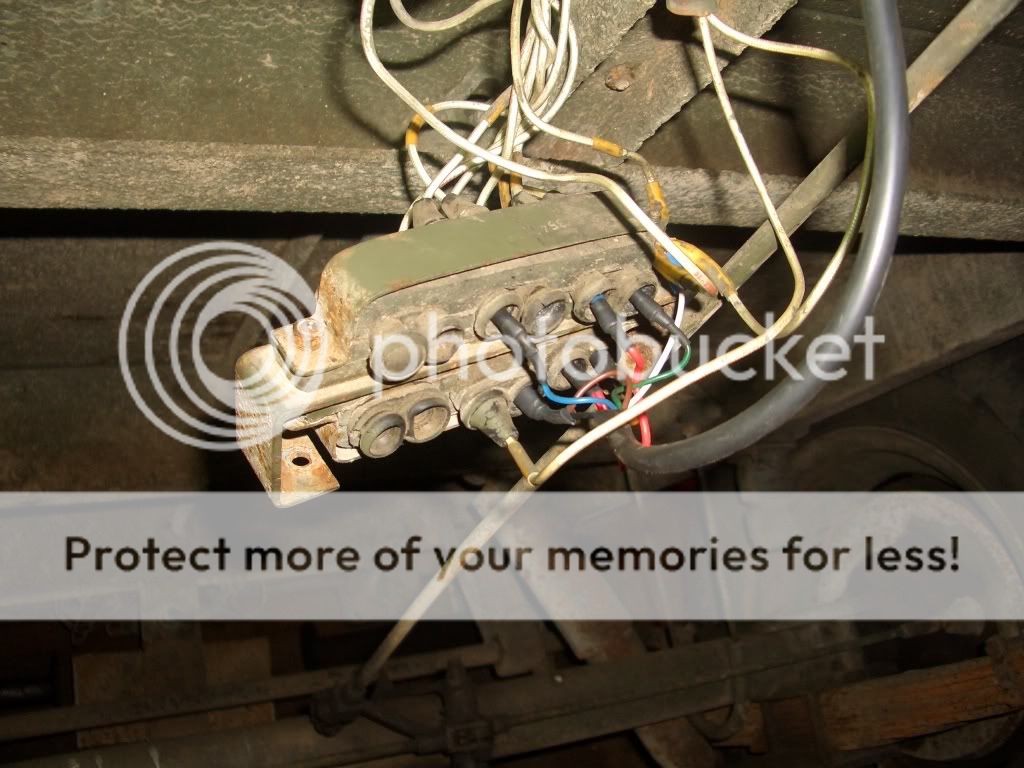
This is what it originally looked like...
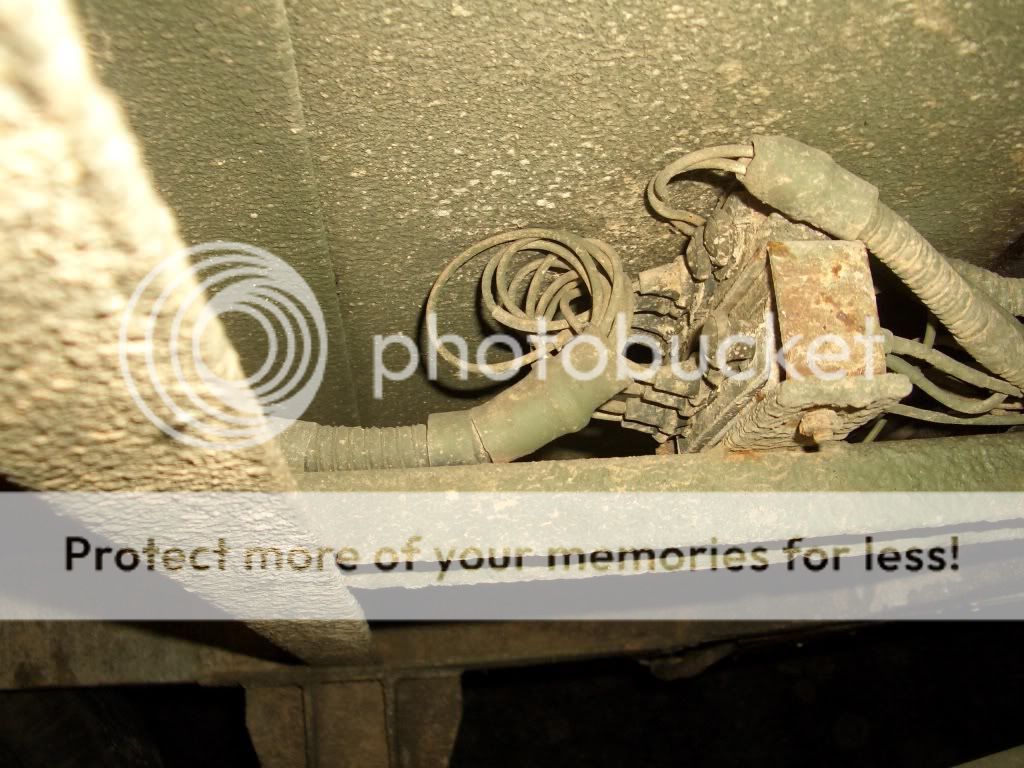
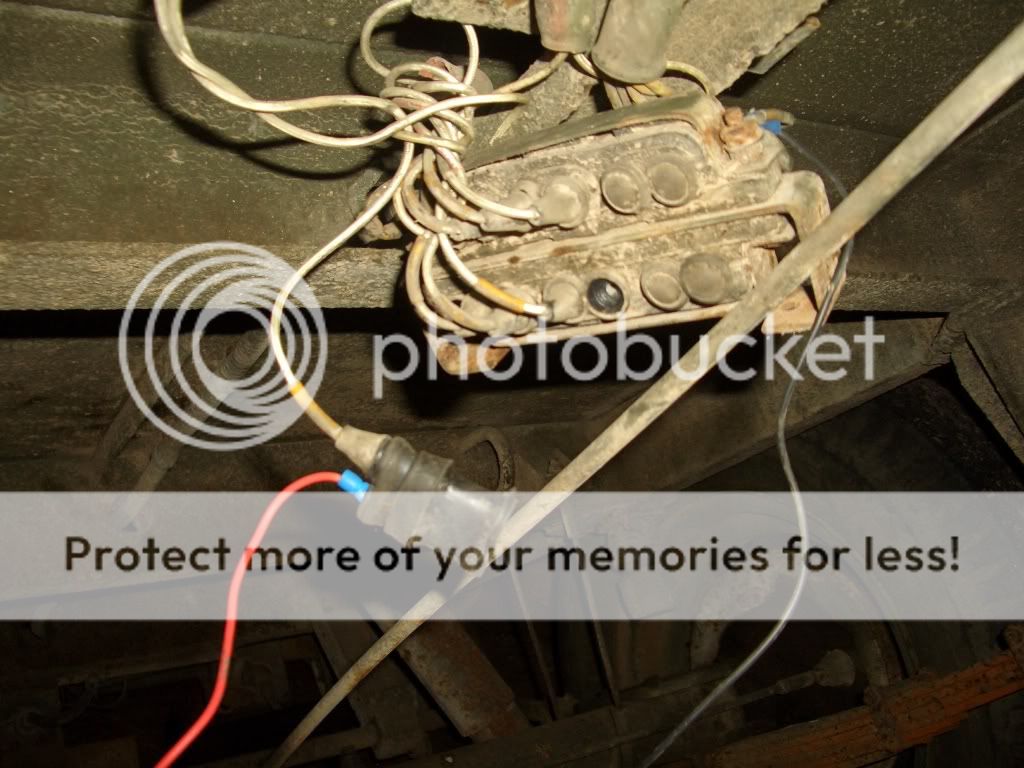
Ah undid the two bolts holding the block from the chassis and removed it..
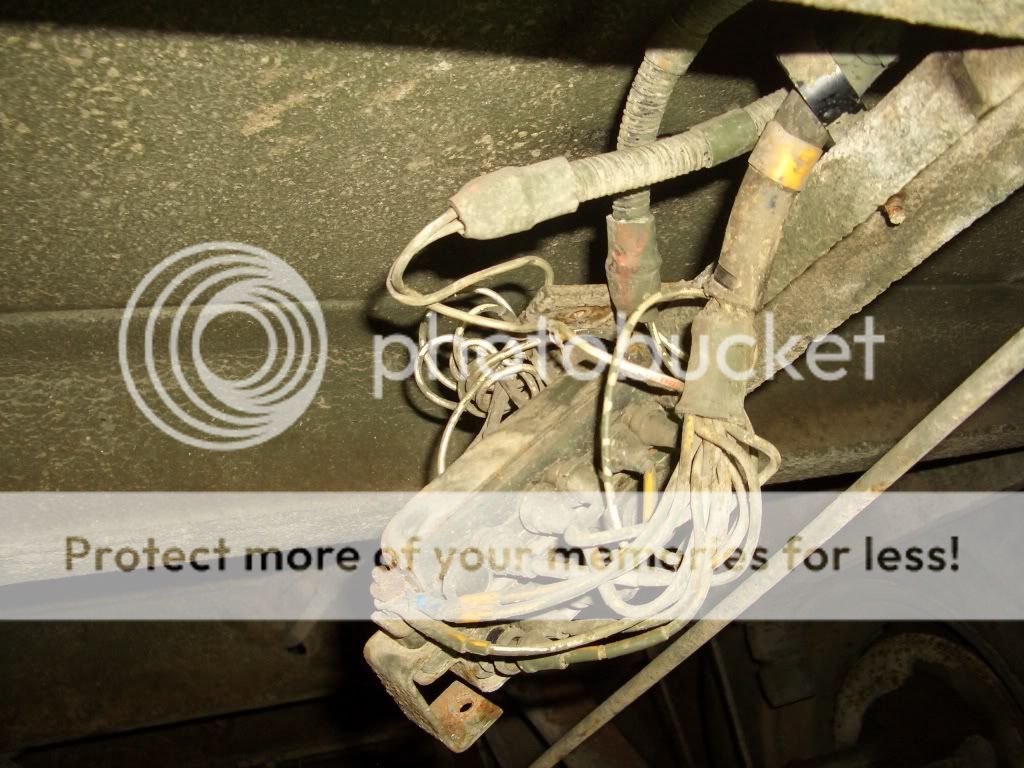
next ah used a spare battery and connected the earth lead to the frame of the block and started removing the connectors and stuck the positive from the spare battery in to see what wire did what....
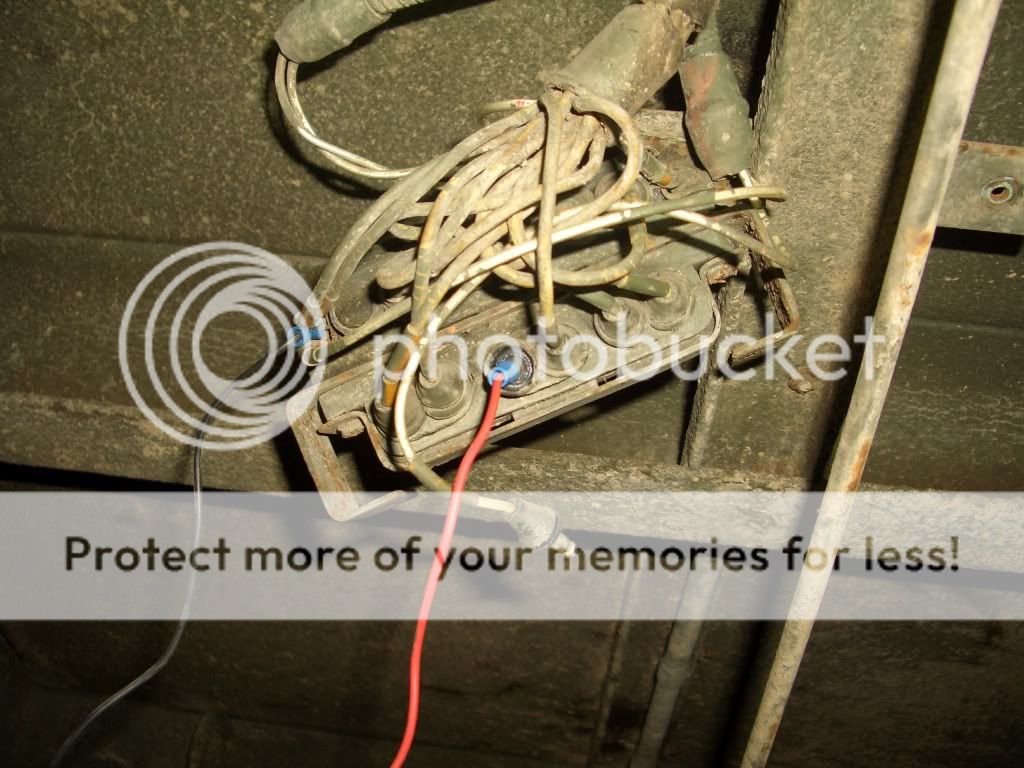
and then did the same on the reverse....

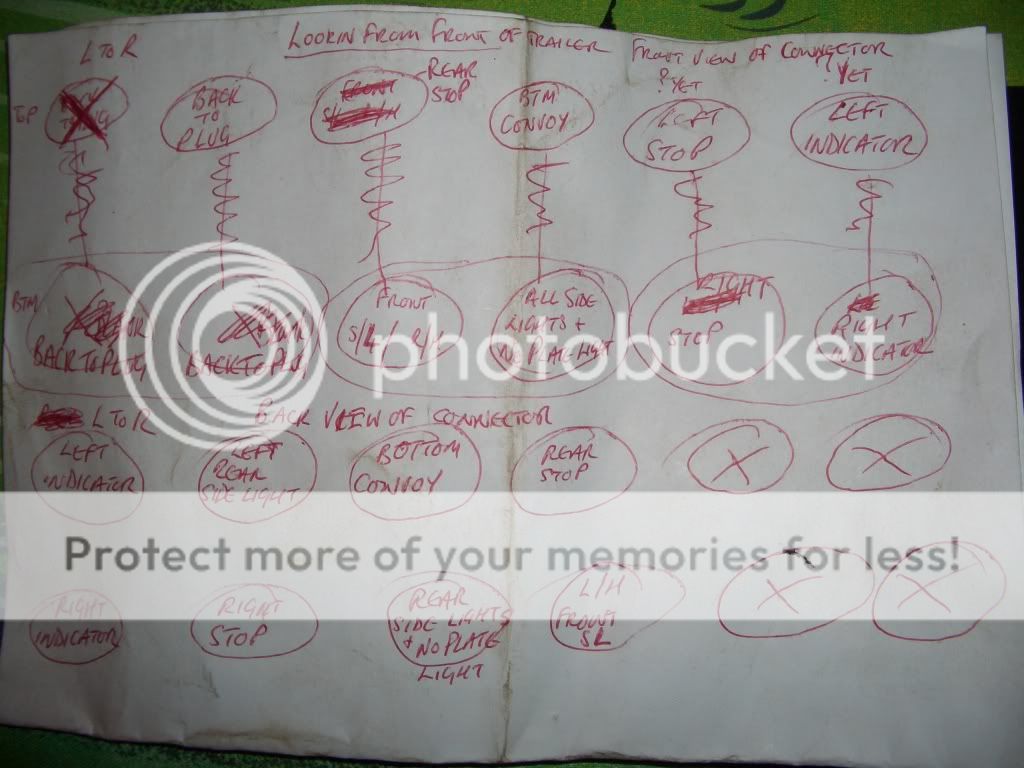
Once ah was kinda sure of what was what, ah made a rough sketch.....
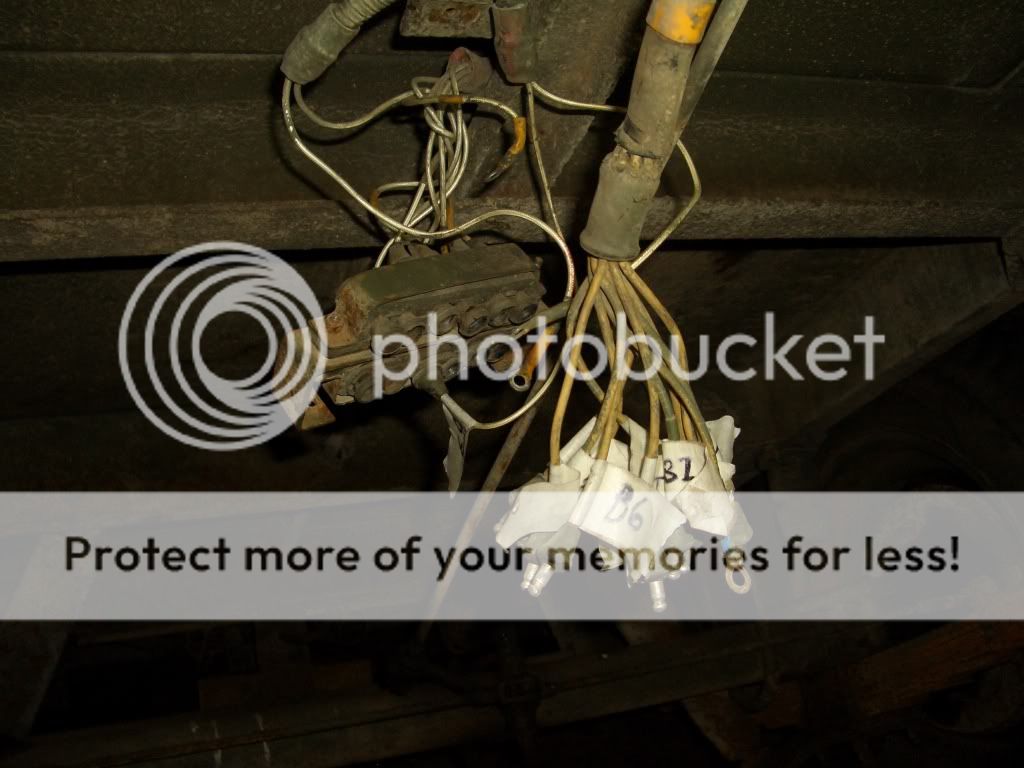
then took out one wire at a time from the front of the block and marked them just incase!...
then it was just a case of stickin' the wires in....
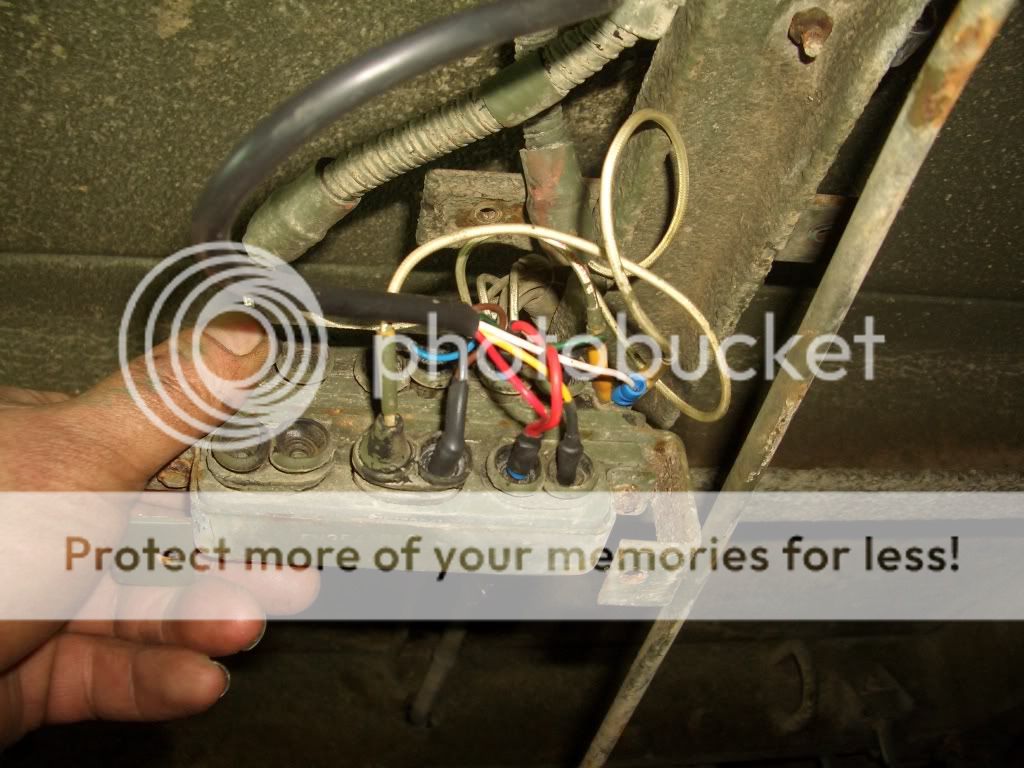
Joined the brown and black wires together and also stuck a tail on the red wire for the two stop lights.
If looking from the front of the block it went like this from left to right....
top- blank, blank, blue (foglight), blank, red (tail from bottom stop light), green (indicator)
Bottom- blank, blank, original side light, black and bown joined (all side lights and no. plate light), red (stop light with tail), yellow (indicator).
All earths are bolted to the frame of the block and using the white wire from the new loom.
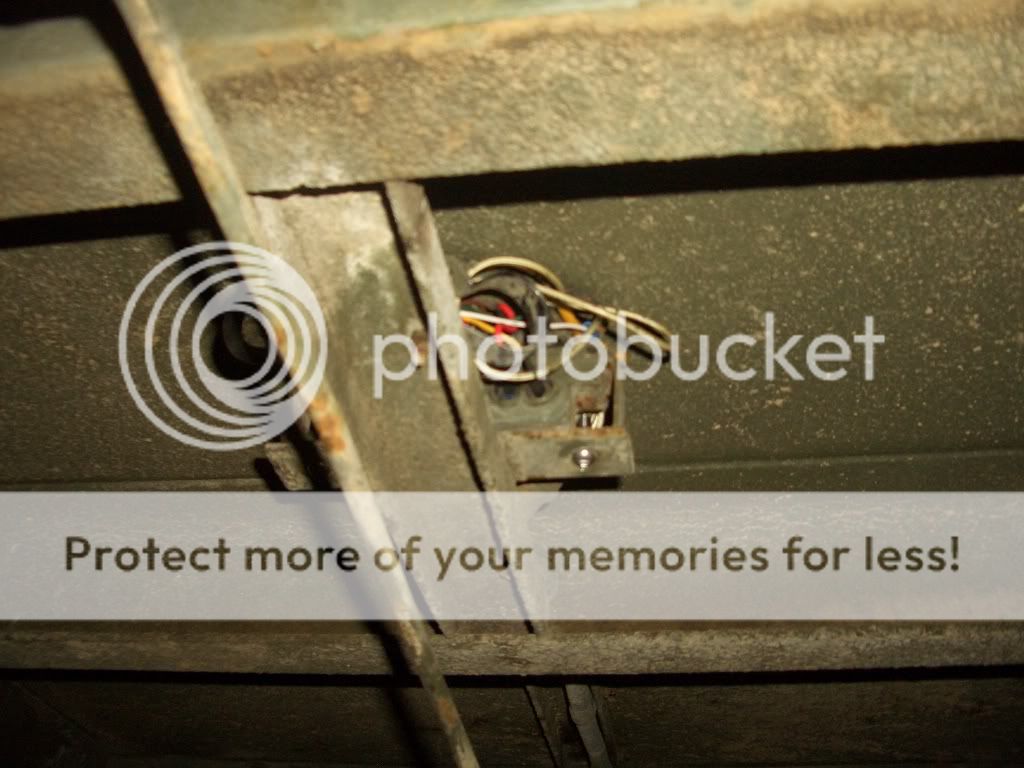
After that, it's just a case of bolting the block back onto the chassis...
and changing all the bulbs for 12v ones.
(The 24v bulbs do work with the 12v convertion but are quite dim)
That's it, job done")
Here's how ah did it...
This is what it originally looked like...
Ah undid the two bolts holding the block from the chassis and removed it..
next ah used a spare battery and connected the earth lead to the frame of the block and started removing the connectors and stuck the positive from the spare battery in to see what wire did what....
and then did the same on the reverse....
Once ah was kinda sure of what was what, ah made a rough sketch.....
then took out one wire at a time from the front of the block and marked them just incase!...
then it was just a case of stickin' the wires in....
Joined the brown and black wires together and also stuck a tail on the red wire for the two stop lights.
If looking from the front of the block it went like this from left to right....
top- blank, blank, blue (foglight), blank, red (tail from bottom stop light), green (indicator)
Bottom- blank, blank, original side light, black and bown joined (all side lights and no. plate light), red (stop light with tail), yellow (indicator).
All earths are bolted to the frame of the block and using the white wire from the new loom.
After that, it's just a case of bolting the block back onto the chassis...
and changing all the bulbs for 12v ones.
(The 24v bulbs do work with the 12v convertion but are quite dim)
That's it, job done