samc88
Drivels spiritual representative
- Posts
- 2,838
- Location
- Anglesey, North Wales
As some of you will know from other threads, I do have a spare series 3 gearbox which I've been toying with the idea of a strip down with to see whats inside ( as I've never done a gearbox before )and either rebuild it or see what good spares I can use. This isnt complete, lacking a bellhousing, top cover and gear behind the mainshaft (I presume it used to have an overdrive fitted). Anyway, here is the tale of how I stripped it down, hopefully it will be of interest to some.
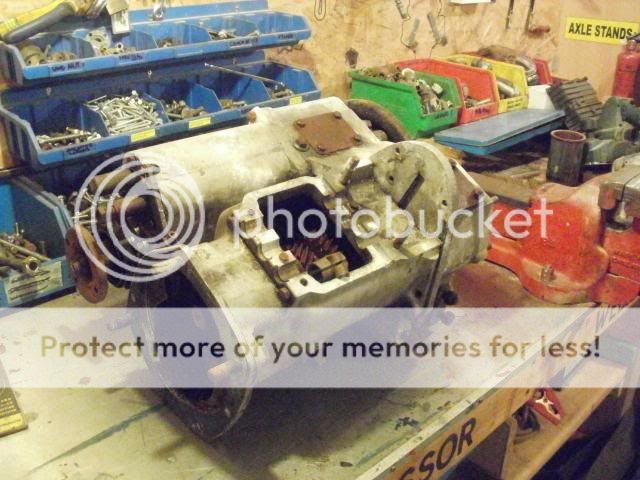
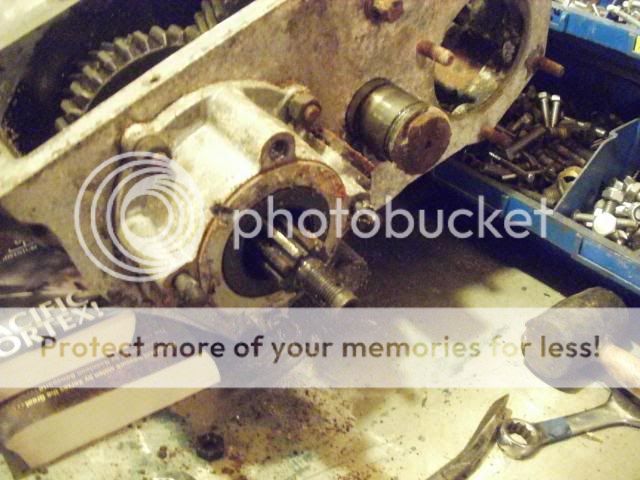
Here it is on the bench

First thing I did was to remove the transfer plate bottom cover using a 7/16ths spanner to undo the 10 nuts holding it on


Most of the nuts except 3 came out with the studs. So I decided to take all the studs out and when it comes to reassembly I'll put them all in with locktite.
The transfer plate was then removed by knocking a thin scraper all around to try and break the seal made by the gasket. Do this gently so as to avoid damaging the plate or casting.
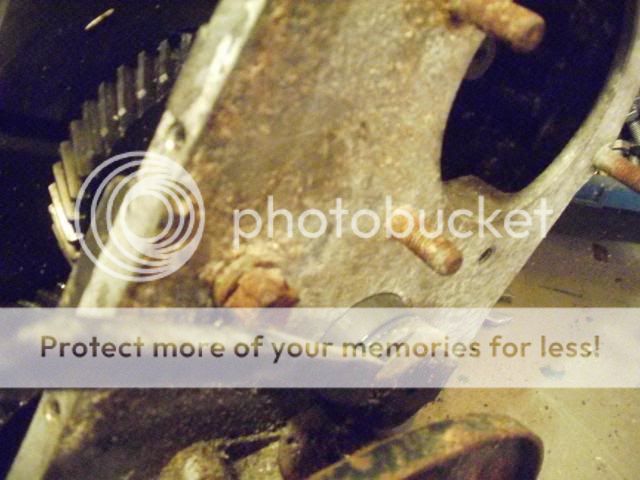
Revealing some gears:

There is quite a lot of debris in there (I think this is from when it had a period of being stored outside though)

The nut and spring washer securing the intermediate shaft was removed using a 15mm spanner

To get better access I tipped the gearbox over (i.e. so the transfer box plate would be underneath) and a nut fell out:
Then of course I tipped it back up revealing
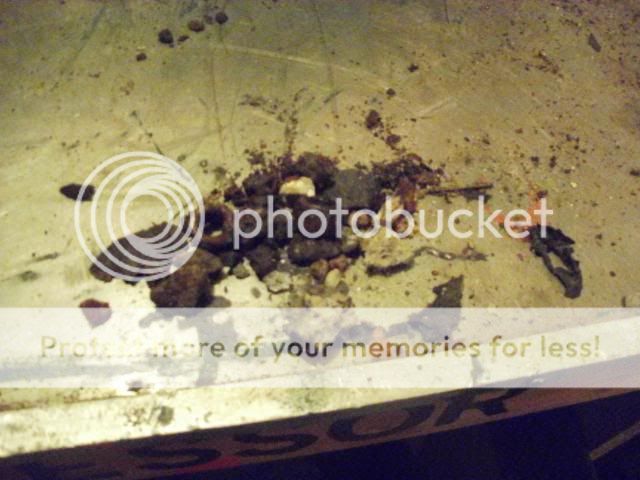
Yes all this had been dropped in the transfer box! I wouldnt imagine it would last very long if it was run with all this in there
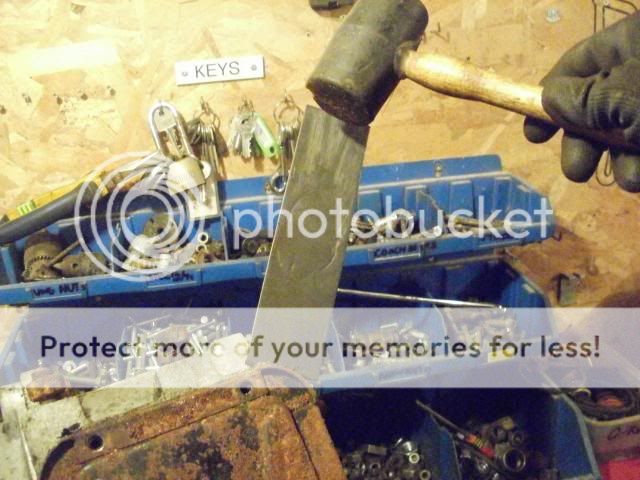
Land Rover state to use a special tool to grip into the grooves on the intermediate shaft end but I imagine this to be jolly expensive so I managed with a pry bar and a hammer to knock it out
Anyone with a bit more common sense than me will probably see the next problem a mile off, yes of course I realised there isnt enough clearance to get the shaft out so had to remove the hand brake back plate.
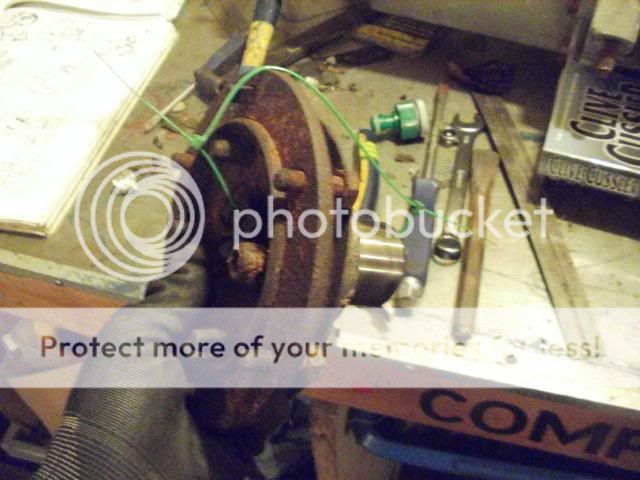
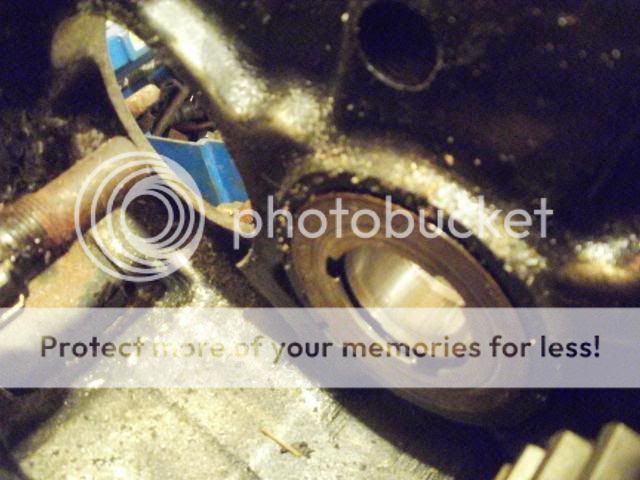
First the split pin and castle nut were removed with a 1" socket on a breaker bar. The box has to be locked up for this. On a complete box its easy, you can just put it in gear (which is what I did on my other box when doing the rear oil seal), on one like this its a bit more awkward.


this could then be removed allowing access to remove the backing plate. Note there is a felt washer behind it

The nut, washer, felt washer and main part were cabledtied up to keep them together
The 4 nuts and spring washers holding the back plate on were removed with a 15mm spanner

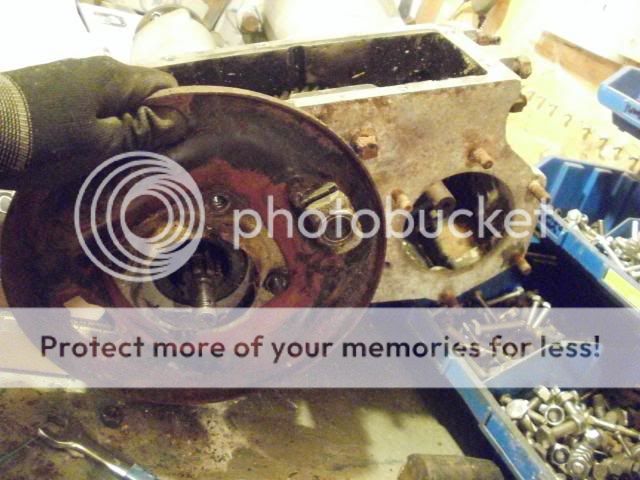
As you can see, the shaft now has plenty of clearance to come out
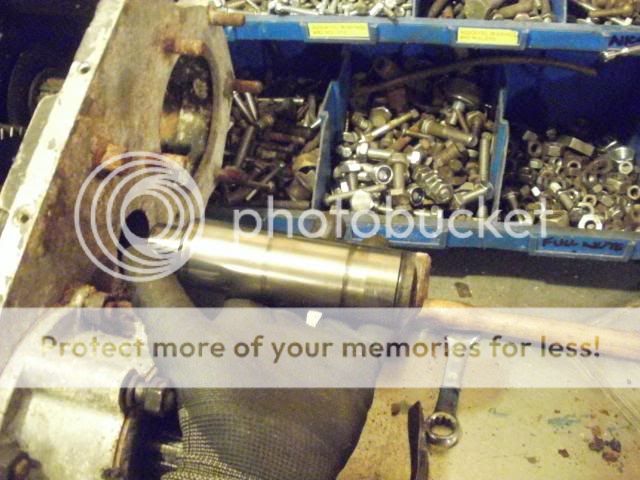
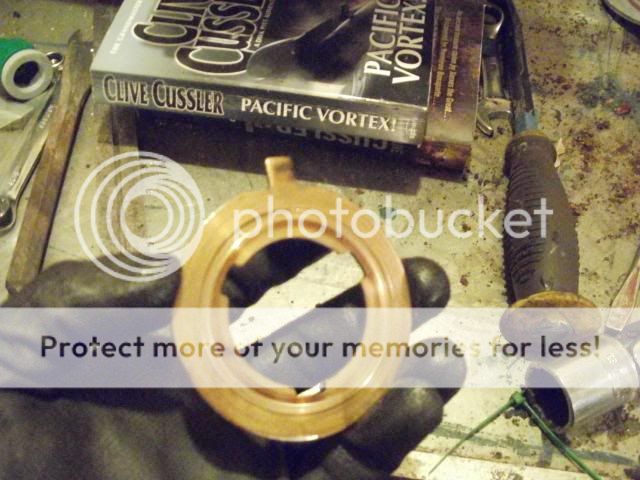
Then the intermediate gear can be rolled out of the casing
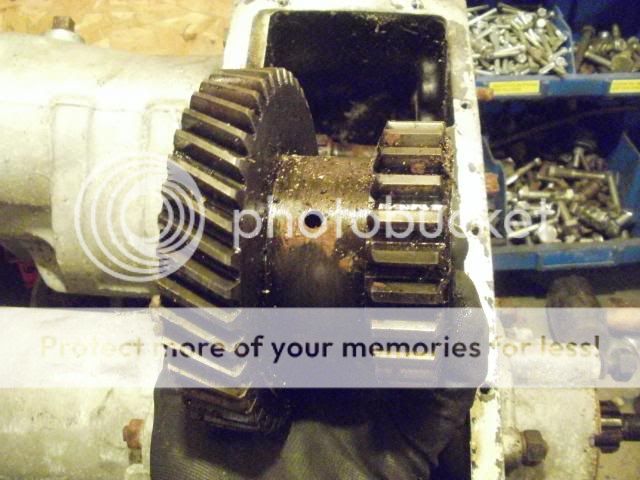
Inside this is a long roller bearing
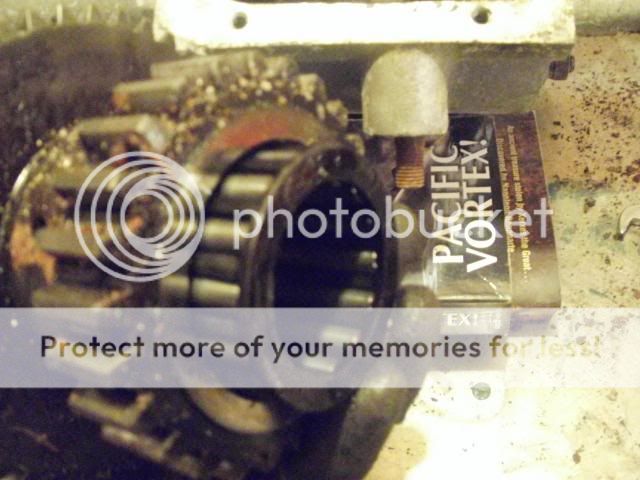
Next the thrust washers either side of the gears in the casing were removed

Judging by the colour difference either side of each one, I'd say they are worn? Do you agree?
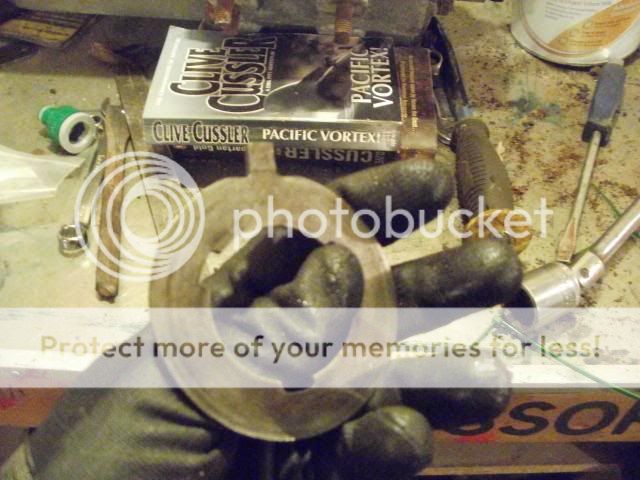
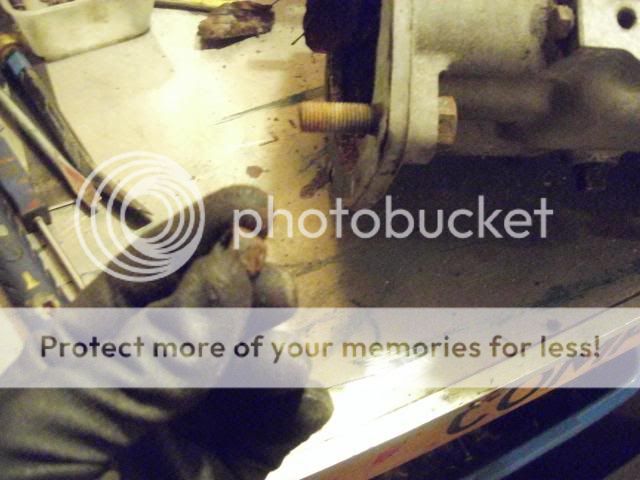
Next, the last job of tonight was to loosen off the external (there should be 5 on a complete box, I had 3) and internal (3 of them) fasteners using a 15mm spanner and socket.
External example:

Where 2 of the internal ones are, the third is behind the mainshaft in this pic

So there we have it Tomorrow I'll hopefully get the boxes split
Do any of the parts so far look a bit life expired to you?
(Also regarding the books, I have nothing against them they were just handily nearby and of the right size the help stop the gearbox toppling over when doing the castle nut If I had some wood I would have used that )
Here it is on the bench


First thing I did was to remove the transfer plate bottom cover using a 7/16ths spanner to undo the 10 nuts holding it on


Most of the nuts except 3 came out with the studs. So I decided to take all the studs out and when it comes to reassembly I'll put them all in with locktite.
The transfer plate was then removed by knocking a thin scraper all around to try and break the seal made by the gasket. Do this gently so as to avoid damaging the plate or casting.

Revealing some gears:

There is quite a lot of debris in there (I think this is from when it had a period of being stored outside though)

The nut and spring washer securing the intermediate shaft was removed using a 15mm spanner

To get better access I tipped the gearbox over (i.e. so the transfer box plate would be underneath) and a nut fell out:

Then of course I tipped it back up revealing

Yes all this had been dropped in the transfer box! I wouldnt imagine it would last very long if it was run with all this in there
Land Rover state to use a special tool to grip into the grooves on the intermediate shaft end but I imagine this to be jolly expensive so I managed with a pry bar and a hammer to knock it out

Anyone with a bit more common sense than me will probably see the next problem a mile off, yes of course I realised there isnt enough clearance to get the shaft out so had to remove the hand brake back plate.
First the split pin and castle nut were removed with a 1" socket on a breaker bar. The box has to be locked up for this. On a complete box its easy, you can just put it in gear (which is what I did on my other box when doing the rear oil seal), on one like this its a bit more awkward.


this could then be removed allowing access to remove the backing plate. Note there is a felt washer behind it

The nut, washer, felt washer and main part were cabledtied up to keep them together

The 4 nuts and spring washers holding the back plate on were removed with a 15mm spanner


As you can see, the shaft now has plenty of clearance to come out


Then the intermediate gear can be rolled out of the casing

Inside this is a long roller bearing

Next the thrust washers either side of the gears in the casing were removed


Judging by the colour difference either side of each one, I'd say they are worn? Do you agree?


Next, the last job of tonight was to loosen off the external (there should be 5 on a complete box, I had 3) and internal (3 of them) fasteners using a 15mm spanner and socket.
External example:

Where 2 of the internal ones are, the third is behind the mainshaft in this pic

So there we have it
Tomorrow I'll hopefully get the boxes split Do any of the parts so far look a bit life expired to you?
(Also regarding the books, I have nothing against them they were just handily nearby and of the right size the help stop the gearbox toppling over when doing the castle nut
If I had some wood I would have used that )
Last edited: