- Posts
- 7,332
- Location
- Under my landy
Paul - a minibus full of uni kids coming back from a climbing trip decided to try the Ford a few days ago and got stuck - they didn't quite get washed away, but, did require the fire brigade to recover them! ")
Paul - a minibus full of uni kids coming back from a climbing trip decided to try the Ford a few days ago and got stuck - they didn't quite get washed away, but, did require the fire brigade to recover them!
Was that "shuttleworth college" by any chance?!
Not sure which group it was, do you know them?

That rain was bloody torrential, I was out in it anorl Paul.
When you say "Tightened up to the torque" do you mean the belt tension? or the bolts?
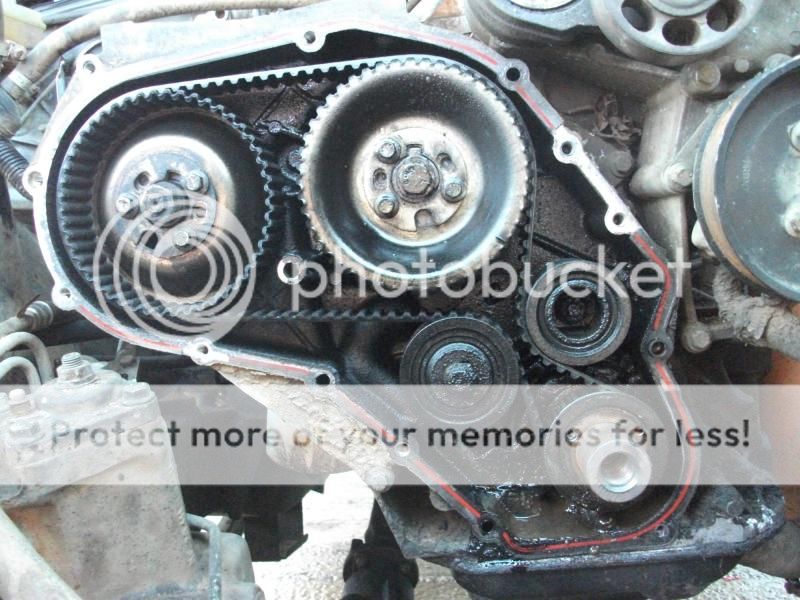
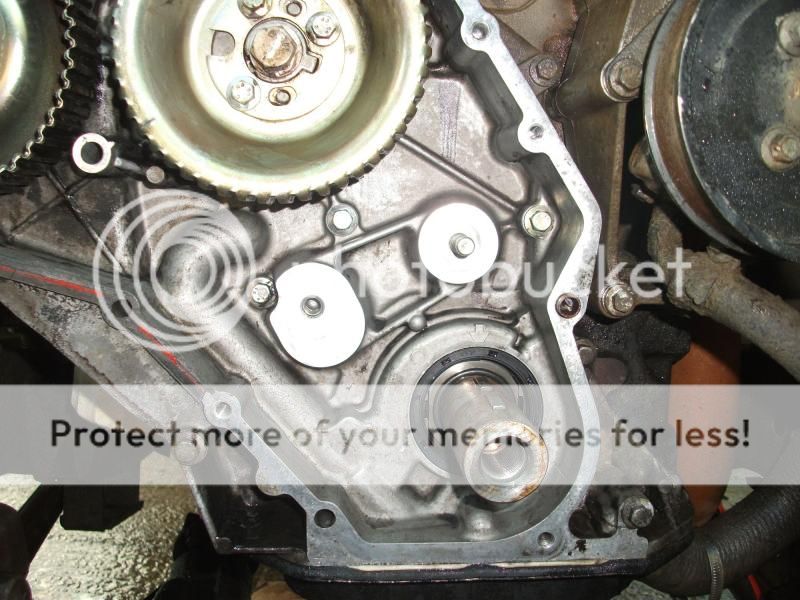
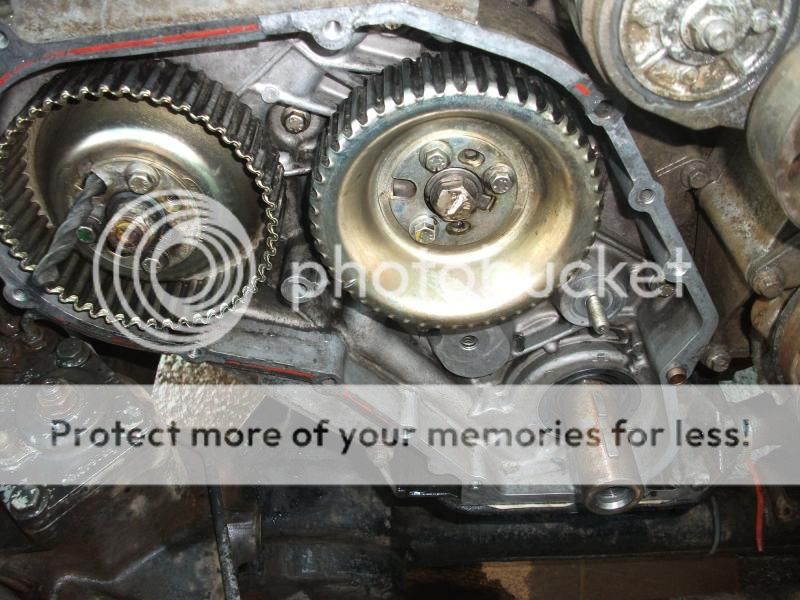
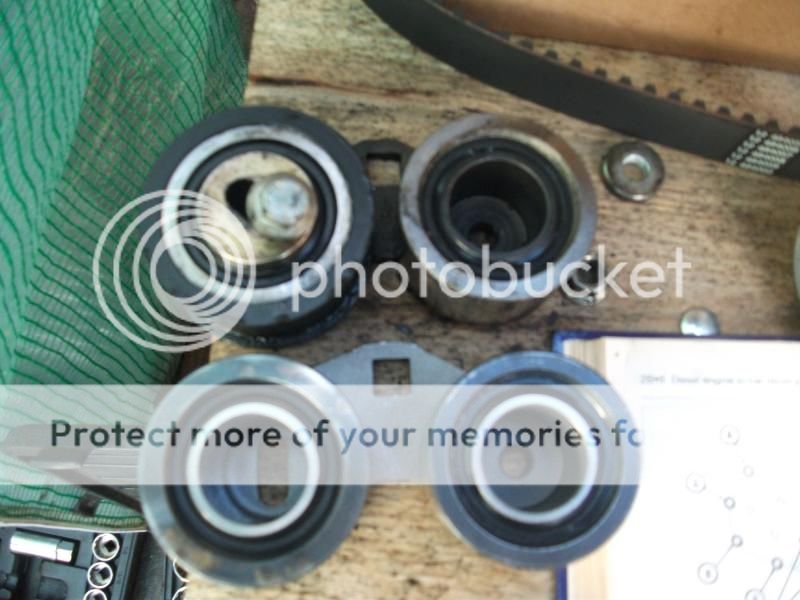
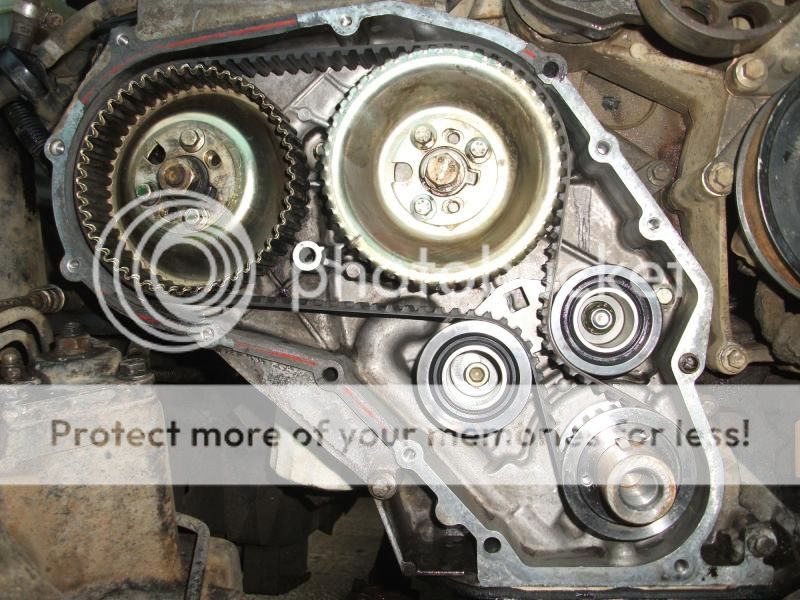
Belt tension and the bolts. Belt is now tensioned to a torque whilst the tensioner bolt is tightened. 1/2" sq drive into the square on the tensioner backplate, rotates around the idler mount, then tightened via a socket cap screw. Idler is now a much better fitting than previously, as is the tensioner, and they work well together. It's now a good system.
Previously it looked like they'd mocked it up with Playdough it could move that much! No movement at all now from the tensioner.
Welcome To LandyZone, the Land Rover Forums!
Here at LandyZone we have plenty of very knowledgable members so if you have any questions about your Land Rover or just want to connect with other Landy owners, you're in the right place.
Registering is free and easy just click here, we hope to see you on the forums soon!