nuggetstuff
Member
- Posts
- 77
- Location
- Brisbane, Australia
Thought members might be interested in an Aussie build up. This has been posted on the AULRO forum but I have taken the commentary/others posts out so hopefully it still makes sense.
I have actually moved onto a new 130 recently but many of the things I did on the 110 eventually became products I have made for other Defender owners and will be used/improved on in the 130 build which I will start posting when I get into it a bit more.
The 110 got a lot of favourable comments on AULRO so hope everyone here enjoys it as much as I did building it up.
When choosing a new truck my criteria were..diesel, not ISF, manual and it had to be a ute. When you plug those parameters into the thought box in Aussie you are really on left with 2 choices. A Toyota ute or a Defender. I looked at the Toyota but it was 25K dearer and I just knew that after the H3 which was such great value for money, that every time I started the Toyota I would feel that I had been ripped off so badly that I may as well have dropped the strides and spread the cheeks.
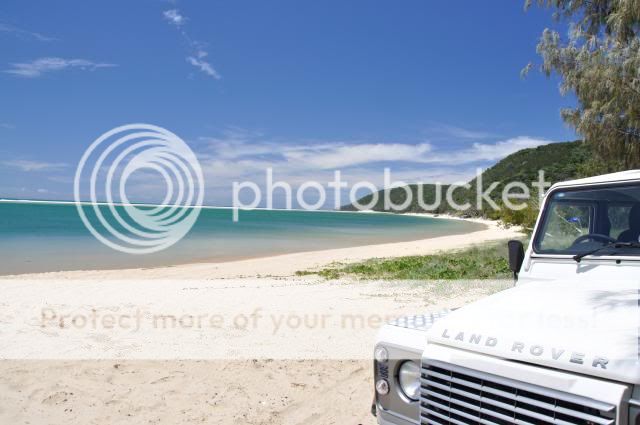
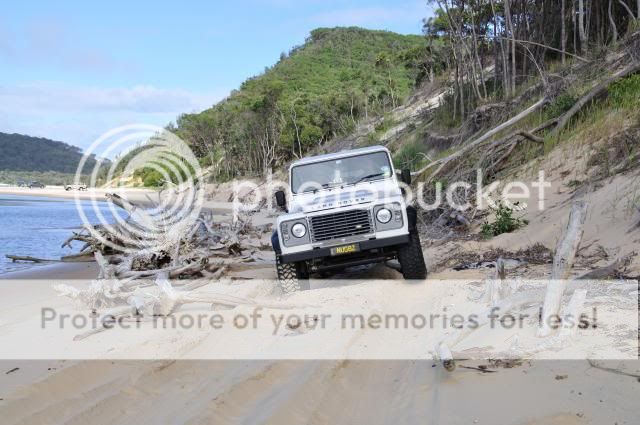
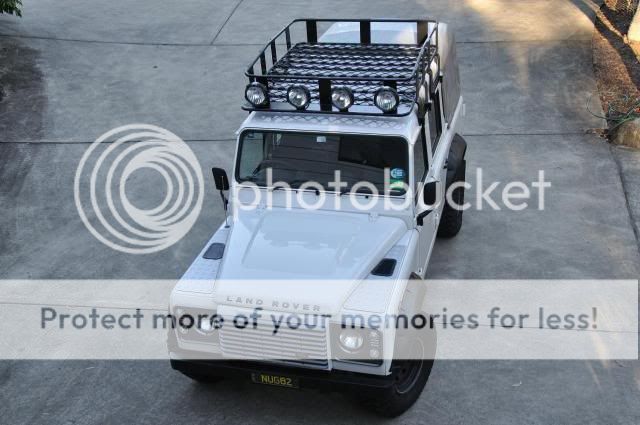
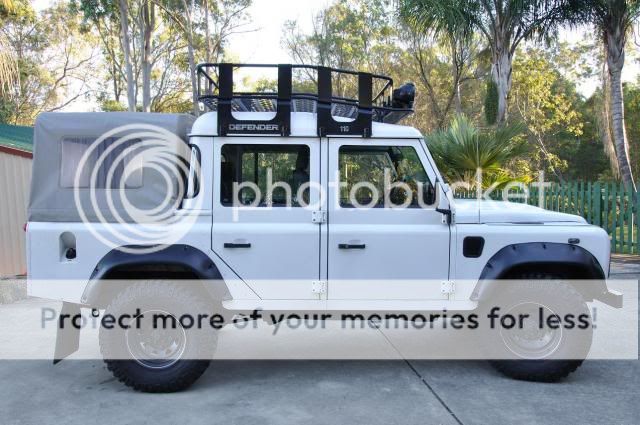
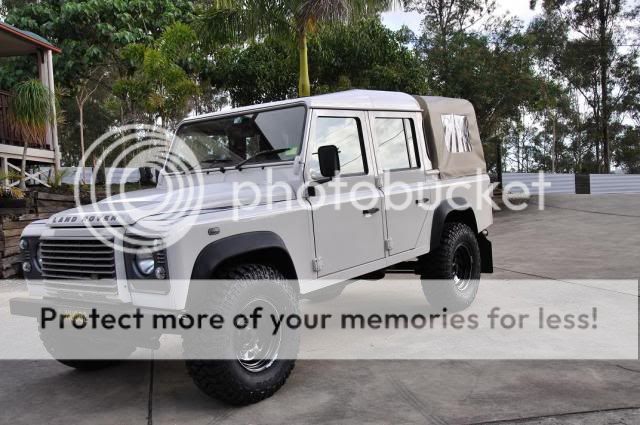
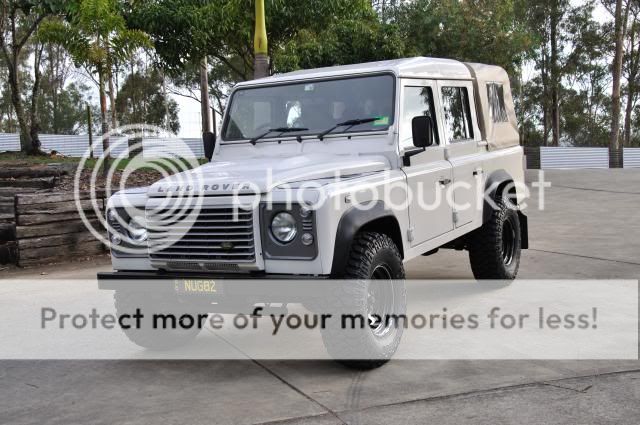
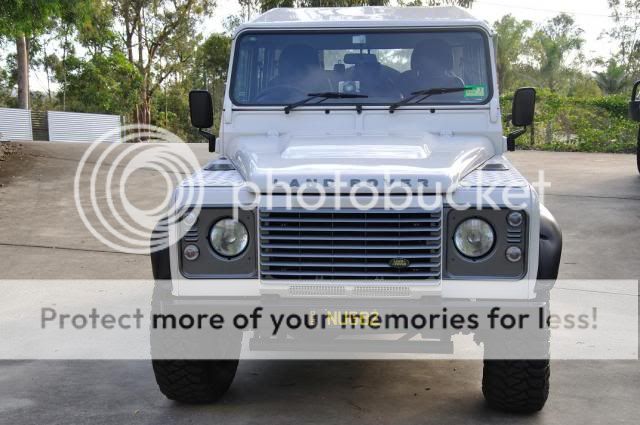
And so a 2010 model 110 Defender Crew Cab 2.4L turbo diesel, 6 speed manual landed in the drive way.
The sea anchor said no more major engine mods..yeah I know…boring!!!!...and it had to stay street legal….luckily she isn’t too conversant with Department of Road Transport Queensland regulations.
It started out like this;
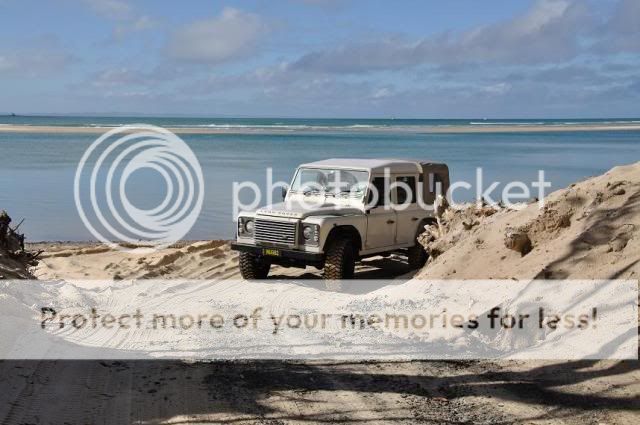
The goal is to evolve a 2 person touring truck that still has rear seats and which is even more capable off-road than it is now. Not after a hard core rock hopper and importantly, want to keep it street legal in Queensland as much as possible.
This is the blank canvas I am starting with so the possibilities are endless and will be explored!


The mods list is long but I will slowly work through it and no doubt it will be added to and changed but it goes something like this
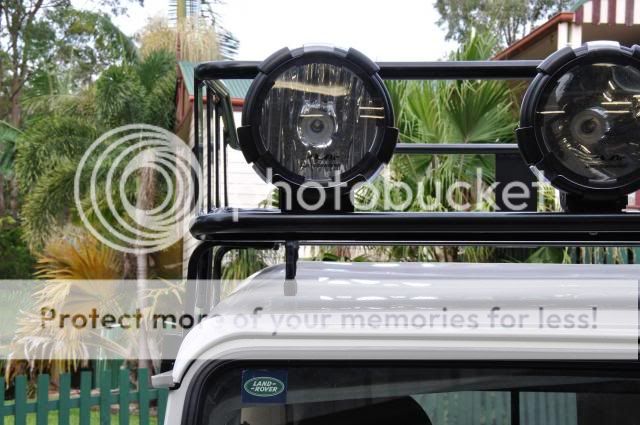
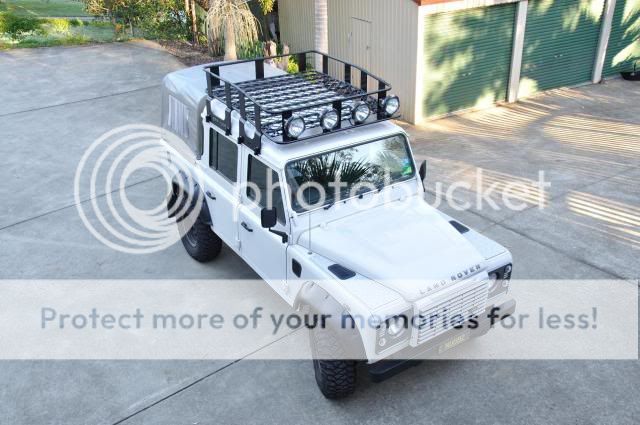
bullbar, winch, spotties
dual battery, mulgo seat extensions and console lift
scan gauge 11, front and rear ARB diff locks
rock sliders, recovery points, under body bash plates
long range tank
snorkel with Syclone pre filter, inverter
suspension upgrade as and if required
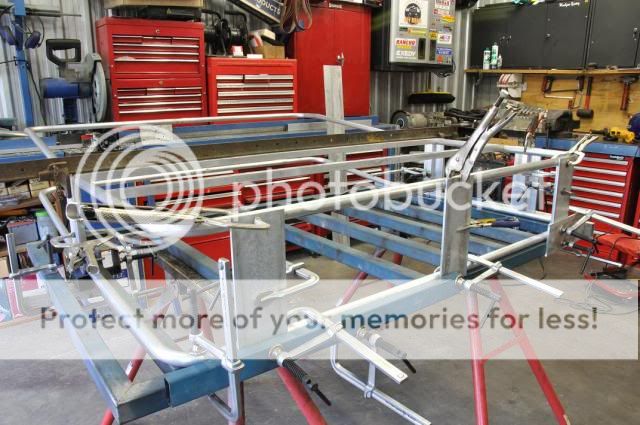
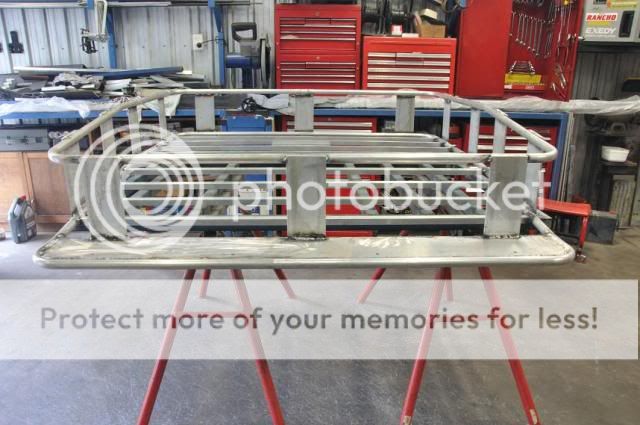
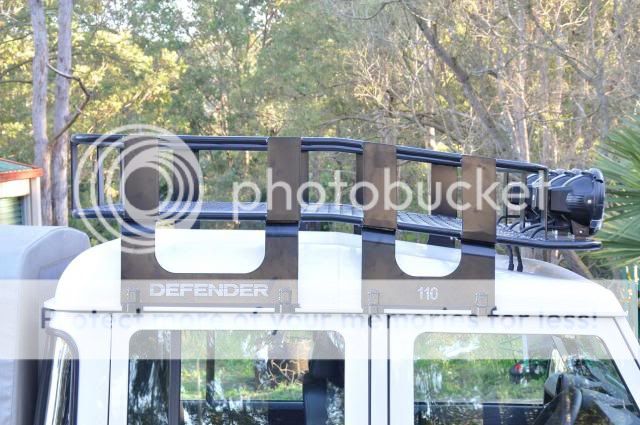
roof rack
lift out camping system for the rear incorporating a roof top camper
roof console with uhf
navigation system, tyre monitoring, hot water shower, awning
but started today with a new set of rubber and rims.... 285 75 R16 MTZ's
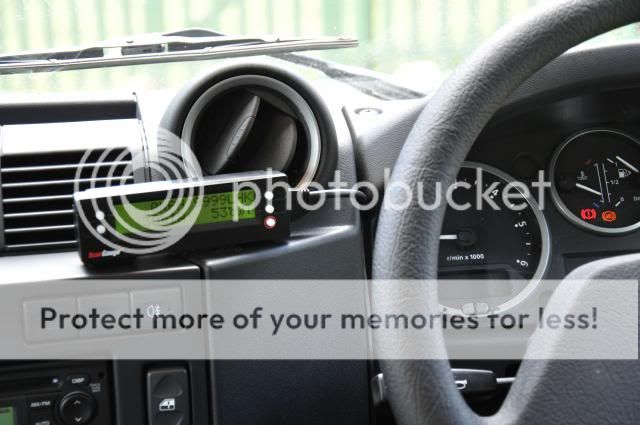
 Fitted a scan gauge 2 last night. Find them really handy on long trips as you can monitor various engine parameters more accurately as well as keep an eye on fuel consumption and the remaining range of your fuel that is how many kms before you run out.
Also will tell you which engine code it is if you have an engine light come on..heaven forbid!
This will not be its final location as it will become permanently fitted when I do some other work which is in the think tank.
One of the face colour options is also really close to the radio and instrument panel as well.
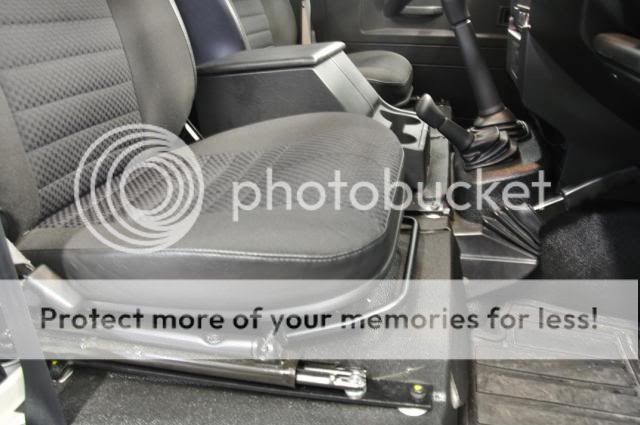
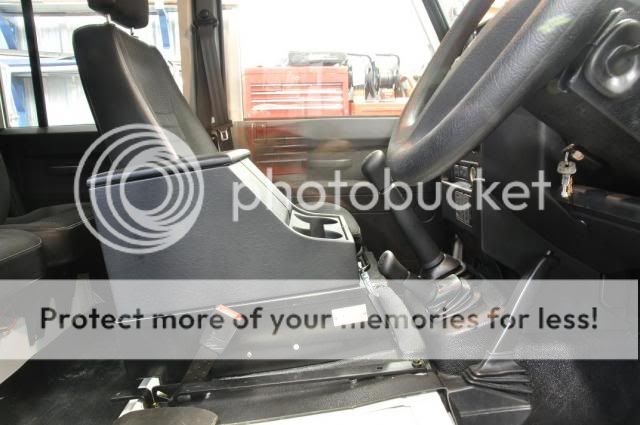
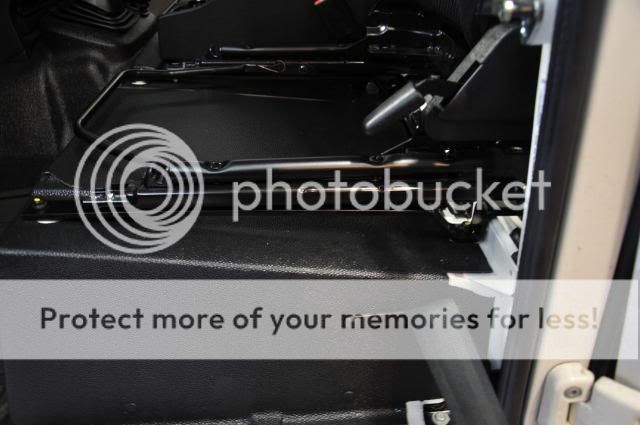
Crossed a couple of jobs off the list on the weekend. First is pretty standard...Mulgo seat rail extensions. Had fitted the drivers but finally did the passenger's so Mrs nugget doesn't have to have her feet on the dash.
Next was a bit more challenging and know plenty on the forum have thrashed dual battery options about at 20 paces.
At the end of the day it is what suits what you do. I have found with the touring that I do I don't generally sit around for days on end without driving so a 40 amp/hr battery has kept the Engel cold and the lights on for 3 years. I didn't want to buy a new battery just for the hell of it but also want to leave my options open for the future should things change.
In a nutshell I wanted to use as much of what I have but not modify too much incase I decide to change things later.
Also I have some long term plans of how I want things but also have a trip with friends next weekend so need some semi temporary hook ups that won't become a burden undoing later on.
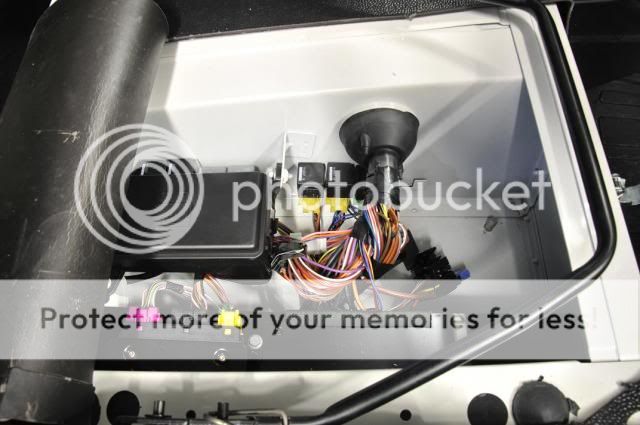
First up was to fit the Sidewinder isolator. Had these on my last 3 trucks and never had a problem. Simple to fit and at $79, great value.

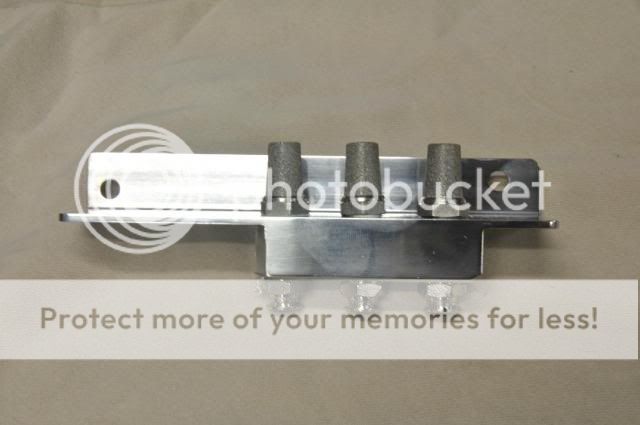
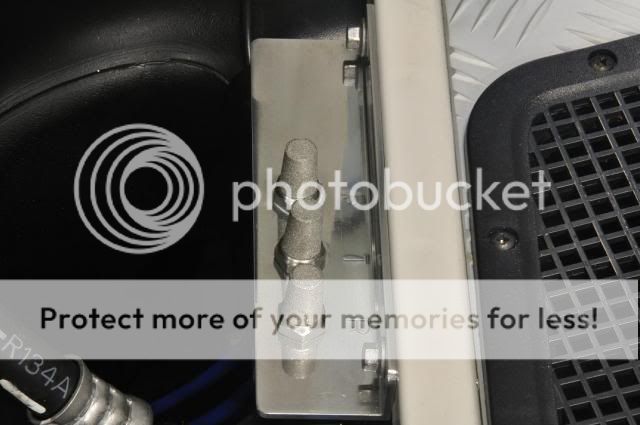
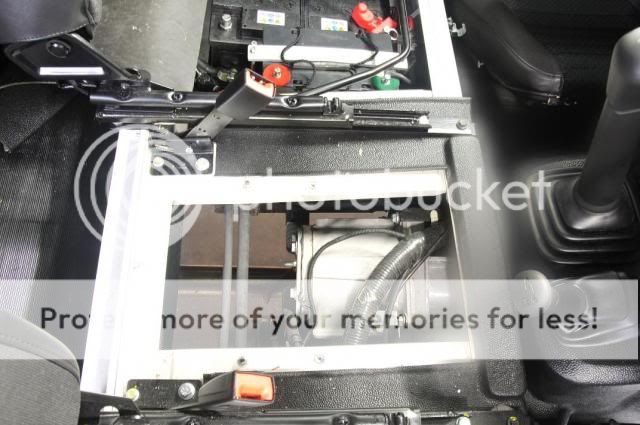
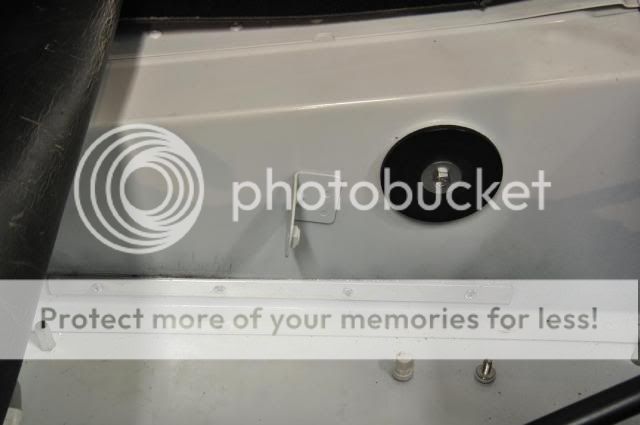
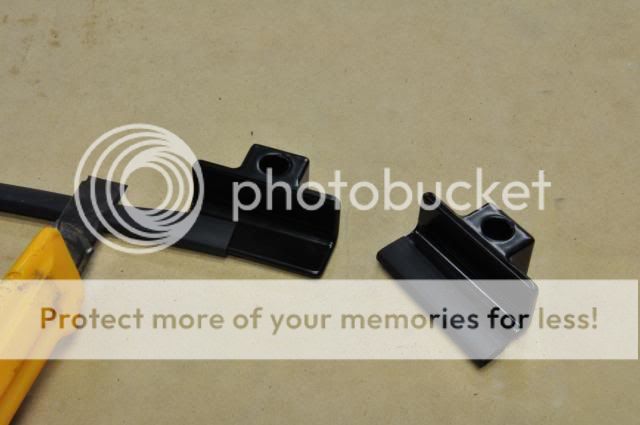
To hold the battery down, I decided to use the existing stud and also a stainless Rivnut that I installed. I turned up a couple of posts that I could bolt down to with a coupe of long stainless bolts I had left from some other project. A bit of aluminium flat joins it all together. The post that screws onto the existing stud double up as the earth as well.
A little flat and tapped thread makes sure the earth wires get a good grounding.
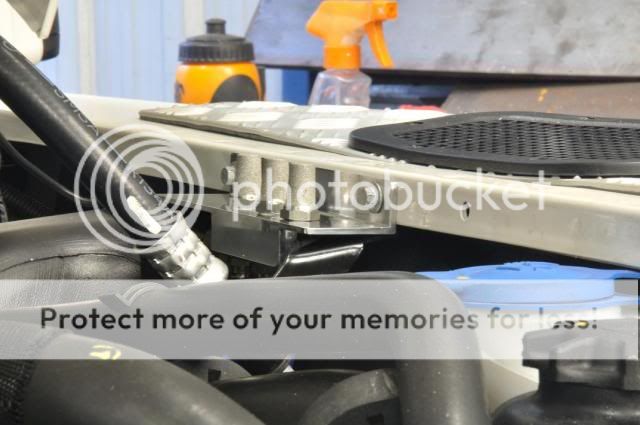
Battery in, everything hooked up, even the jack still fits.
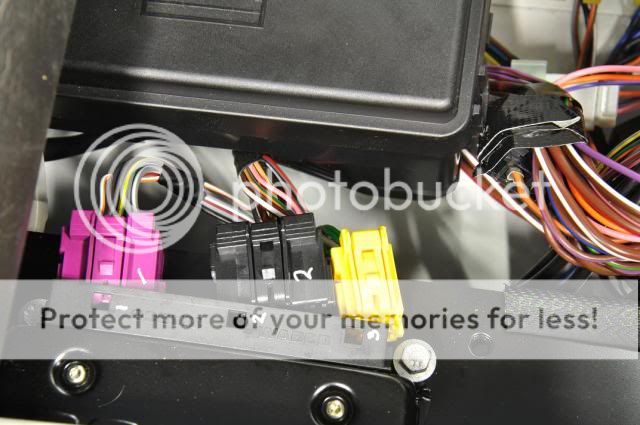
Best part is if I decide to change the only mod is the addition of 1 Rivnut which I could blind off with a grub screw and sealant.
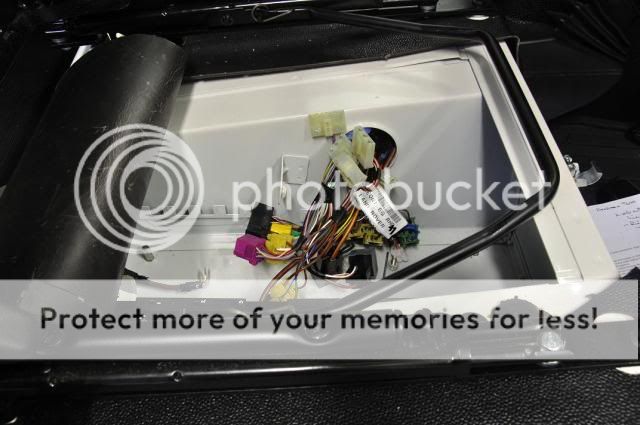
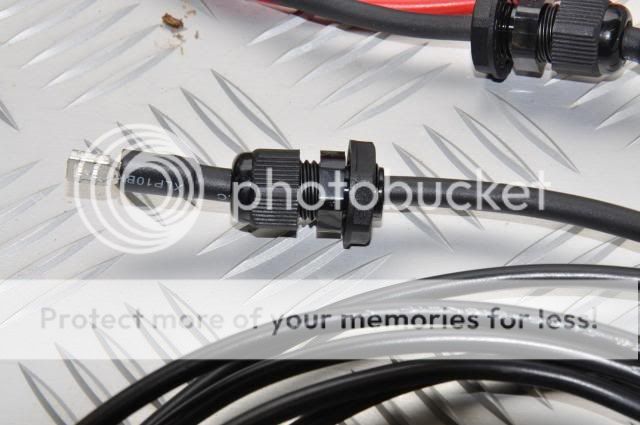
Now I just have to run some cables for my fridges and lights.
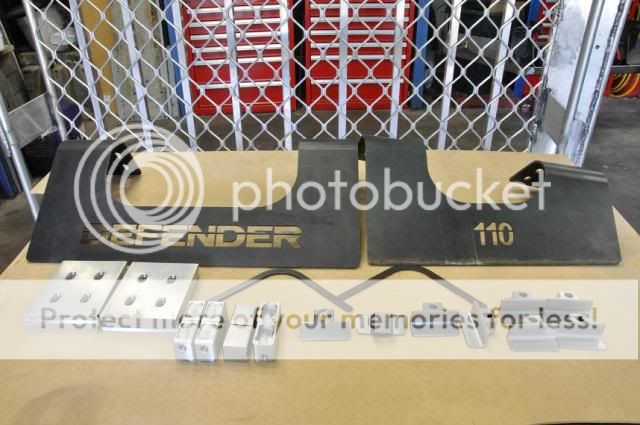
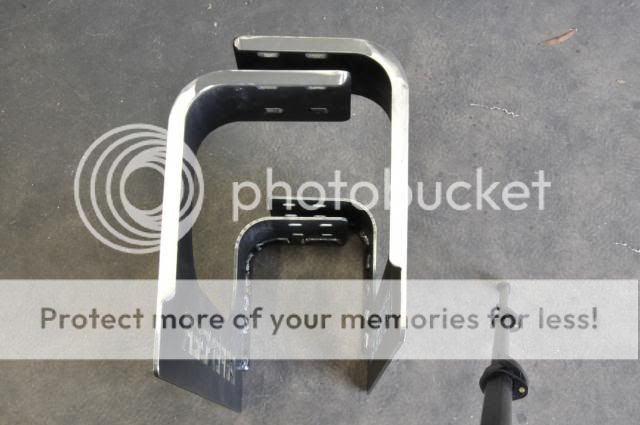
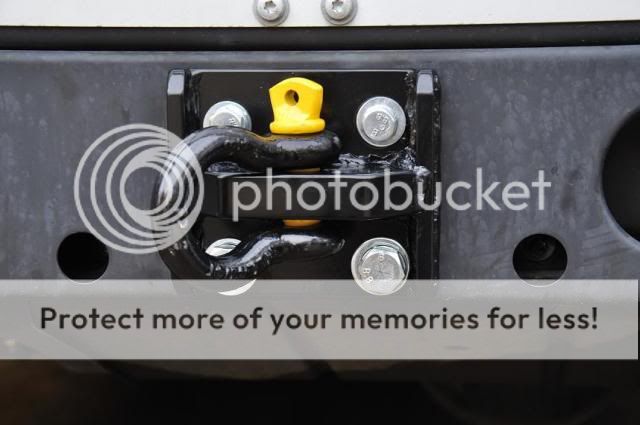
Fitted my new rear recovery point tonight after making it on the weekend and getting it back from powder coating today.
Based on a South African design I saw on the net and was able to make from odds and sods steel I had in the rack.
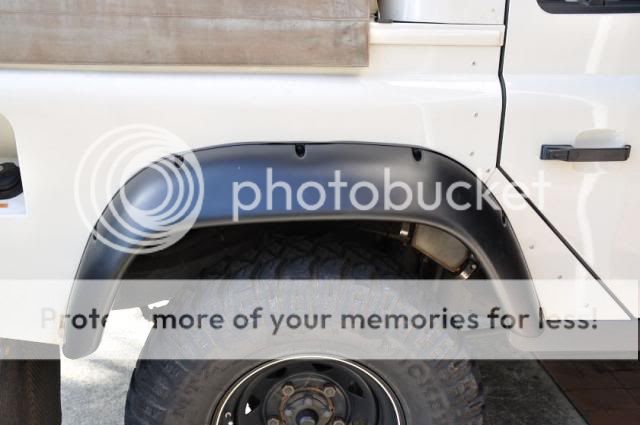
Fitted the Terrafirma flares. Few problems with the quality which is covered in a separate thread in the Defender section but at least I am almost legal as far as the tyres not extending past the guards A really pedantic copper might pick a section just above the mudflap where the flare tapers back into the body and the mudflap is "Notched" and you can see a small section of tread but he would have missed out the night before.
I have actually moved onto a new 130 recently but many of the things I did on the 110 eventually became products I have made for other Defender owners and will be used/improved on in the 130 build which I will start posting when I get into it a bit more.
The 110 got a lot of favourable comments on AULRO so hope everyone here enjoys it as much as I did building it up.
When choosing a new truck my criteria were..diesel, not ISF, manual and it had to be a ute. When you plug those parameters into the thought box in Aussie you are really on left with 2 choices. A Toyota ute or a Defender. I looked at the Toyota but it was 25K dearer and I just knew that after the H3 which was such great value for money, that every time I started the Toyota I would feel that I had been ripped off so badly that I may as well have dropped the strides and spread the cheeks.
And so a 2010 model 110 Defender Crew Cab 2.4L turbo diesel, 6 speed manual landed in the drive way.
The sea anchor said no more major engine mods..yeah I know…boring!!!!...and it had to stay street legal….luckily she isn’t too conversant with Department of Road Transport Queensland regulations.
It started out like this;
The goal is to evolve a 2 person touring truck that still has rear seats and which is even more capable off-road than it is now. Not after a hard core rock hopper and importantly, want to keep it street legal in Queensland as much as possible.
This is the blank canvas I am starting with so the possibilities are endless and will be explored!
The mods list is long but I will slowly work through it and no doubt it will be added to and changed but it goes something like this
bullbar, winch, spotties
dual battery, mulgo seat extensions and console lift
scan gauge 11, front and rear ARB diff locks
rock sliders, recovery points, under body bash plates
long range tank
snorkel with Syclone pre filter, inverter
suspension upgrade as and if required
roof rack
lift out camping system for the rear incorporating a roof top camper
roof console with uhf
navigation system, tyre monitoring, hot water shower, awning
but started today with a new set of rubber and rims.... 285 75 R16 MTZ's
Also will tell you which engine code it is if you have an engine light come on..heaven forbid!
This will not be its final location as it will become permanently fitted when I do some other work which is in the think tank.
One of the face colour options is also really close to the radio and instrument panel as well.
Crossed a couple of jobs off the list on the weekend. First is pretty standard...Mulgo seat rail extensions. Had fitted the drivers but finally did the passenger's so Mrs nugget doesn't have to have her feet on the dash.
Next was a bit more challenging and know plenty on the forum have thrashed dual battery options about at 20 paces.
At the end of the day it is what suits what you do. I have found with the touring that I do I don't generally sit around for days on end without driving so a 40 amp/hr battery has kept the Engel cold and the lights on for 3 years. I didn't want to buy a new battery just for the hell of it but also want to leave my options open for the future should things change.
In a nutshell I wanted to use as much of what I have but not modify too much incase I decide to change things later.
Also I have some long term plans of how I want things but also have a trip with friends next weekend so need some semi temporary hook ups that won't become a burden undoing later on.
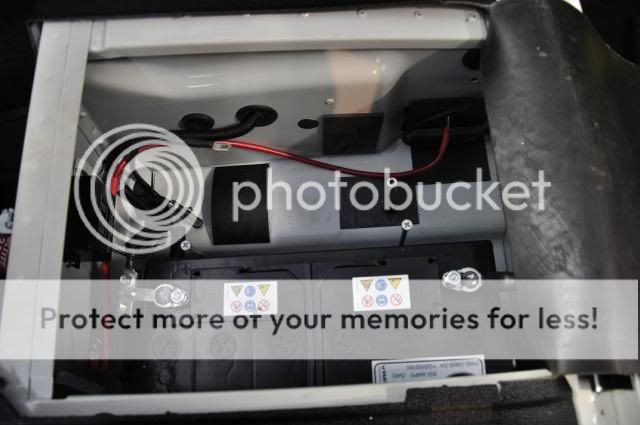
First up was to fit the Sidewinder isolator. Had these on my last 3 trucks and never had a problem. Simple to fit and at $79, great value.
To hold the battery down, I decided to use the existing stud and also a stainless Rivnut that I installed. I turned up a couple of posts that I could bolt down to with a coupe of long stainless bolts I had left from some other project. A bit of aluminium flat joins it all together. The post that screws onto the existing stud double up as the earth as well.
A little flat and tapped thread makes sure the earth wires get a good grounding.
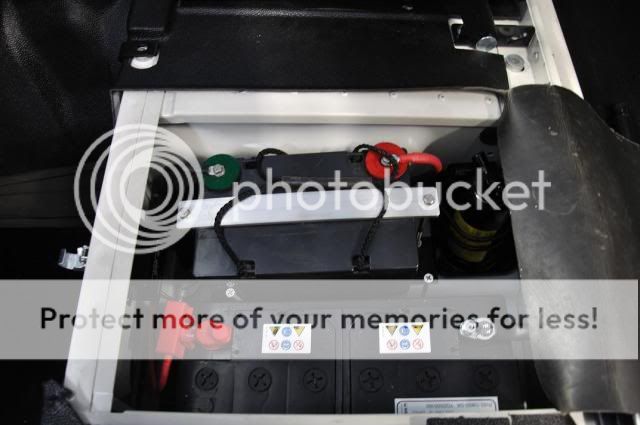
Battery in, everything hooked up, even the jack still fits.
Best part is if I decide to change the only mod is the addition of 1 Rivnut which I could blind off with a grub screw and sealant.
Now I just have to run some cables for my fridges and lights.
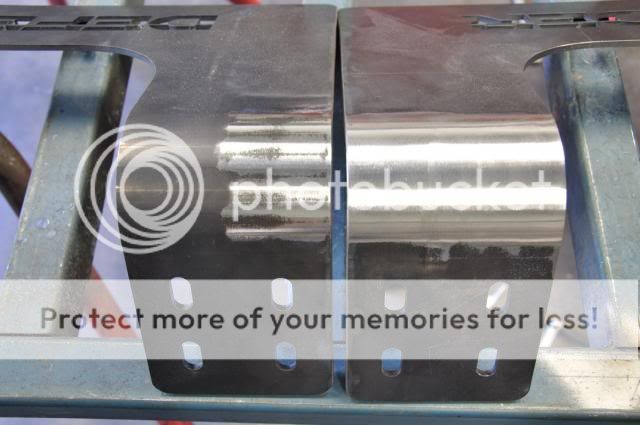
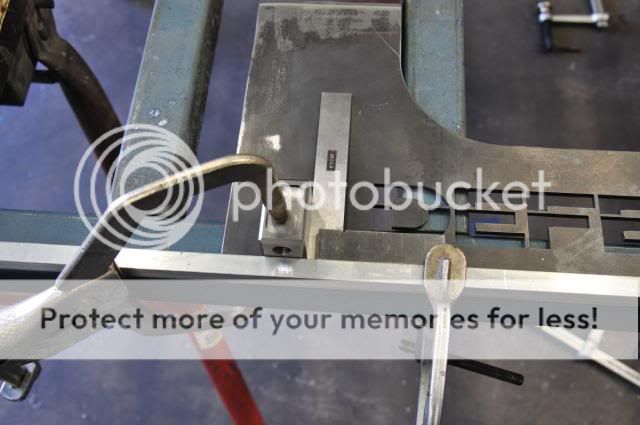
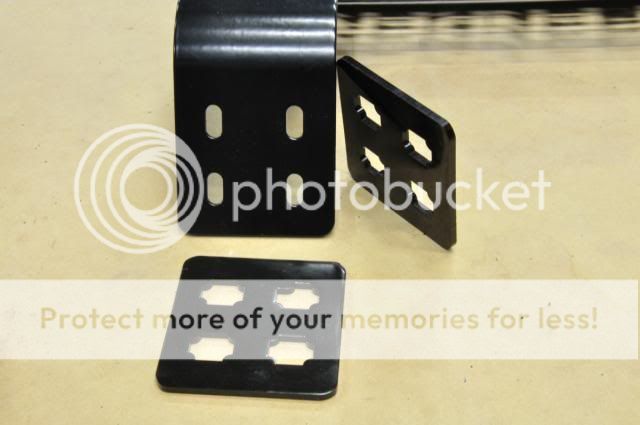
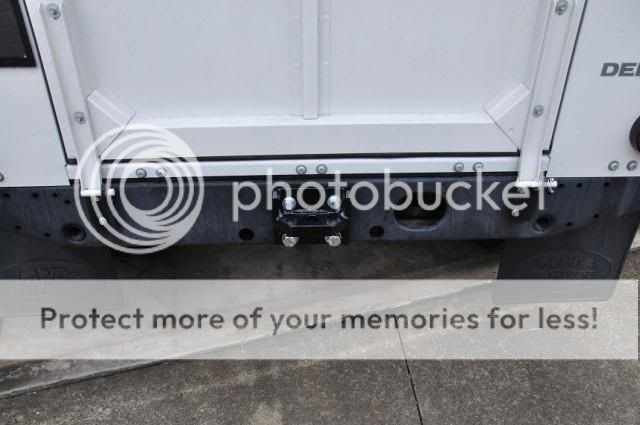
Fitted my new rear recovery point tonight after making it on the weekend and getting it back from powder coating today.
Based on a South African design I saw on the net and was able to make from odds and sods steel I had in the rack.
Fitted the Terrafirma flares. Few problems with the quality which is covered in a separate thread in the Defender section but at least I am almost legal as far as the tyres not extending past the guards A really pedantic copper might pick a section just above the mudflap where the flare tapers back into the body and the mudflap is "Notched" and you can see a small section of tread but he would have missed out the night before.
Last edited: