RAMBIRKETT
Active Member
- Posts
- 154
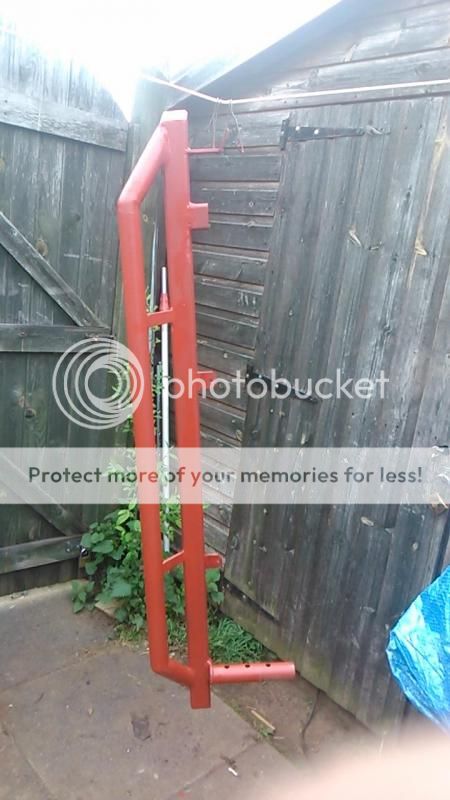
I didn't have any tubing to hand so I just made plates to fit the body mounts that go on the chassis tubes. Check my build thread 😄
")

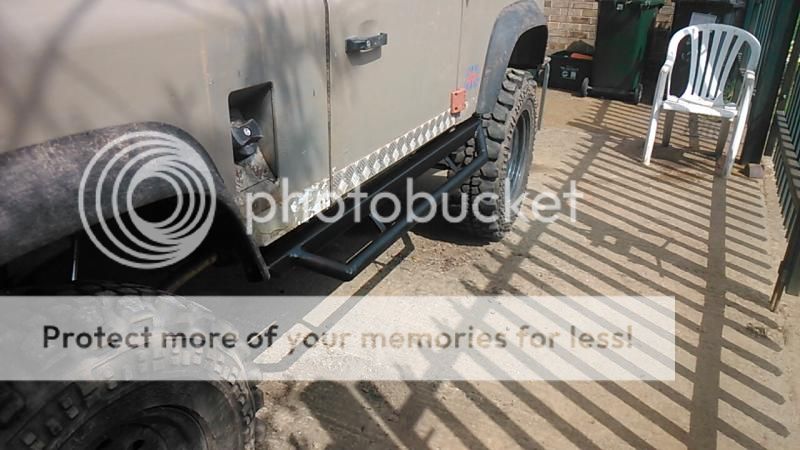
 If bits fitted they were welded, if they didn't fit they were ground till they did fit.
Heh, angle grinder .. and worked it out by eyesight, seriously ..
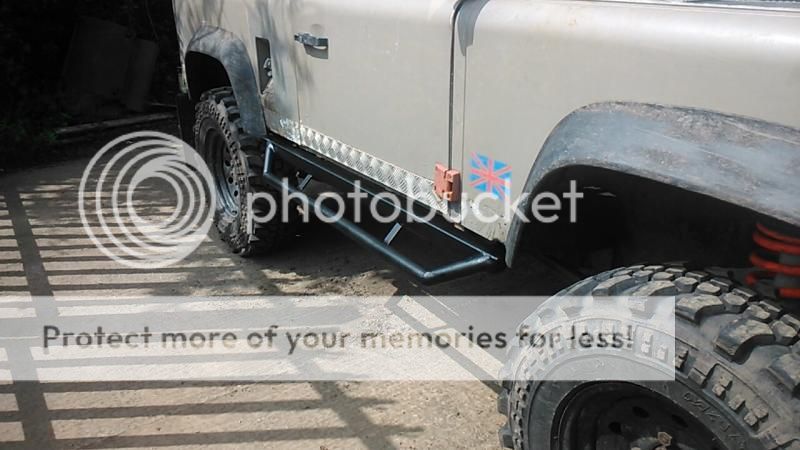
No dimensions, or plans as such, just offered pieces up, cut as required and tacked to see if it fitted right, if it did fine, if it didn't grind off, re-position. None of it needed much re-positioning.
Actually, I have to say, a lot it came from top-cat. He came round halfway through doing them and offered up the first front down angled round piece, instead of putting it at the 'usual' straight out .. and it went from there!
Fluid development I think it's called ..
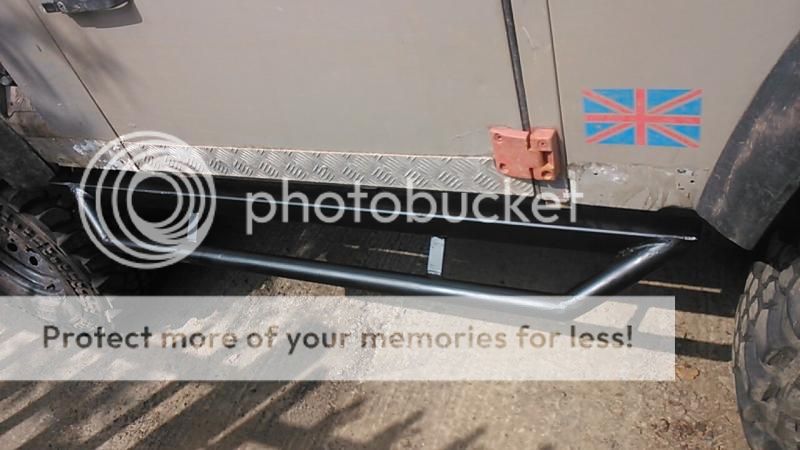
The finish is a bit rough, I only have an angle grinder and coarse discs, if I had some way of sanding them, or less coarse discs they'd be even smoother on the corners, though you can't see that in the pics. Mind, they're meant to be steps and to bash things, and slide along them, so primer and paint means I only need spray a bit to cover up scratches etc and the finish, for me, isn't really of much concern. Might have to be different if I make any more for sale ..
Hmmm ..
well you are safe and well,so all's good hey.
Oh aye.
Parts from the Disco will be for sale at the LZ 10th bash .. mostly dry bits now.


Welcome To LandyZone, the Land Rover Forums!
Here at LandyZone we have plenty of very knowledgable members so if you have any questions about your Land Rover or just want to connect with other Landy owners, you're in the right place.
Registering is free and easy just click here, we hope to see you on the forums soon!