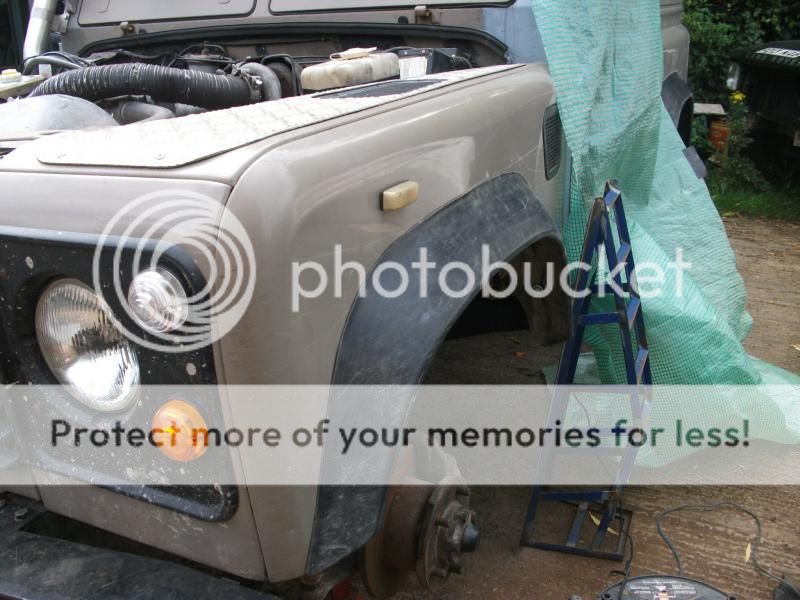
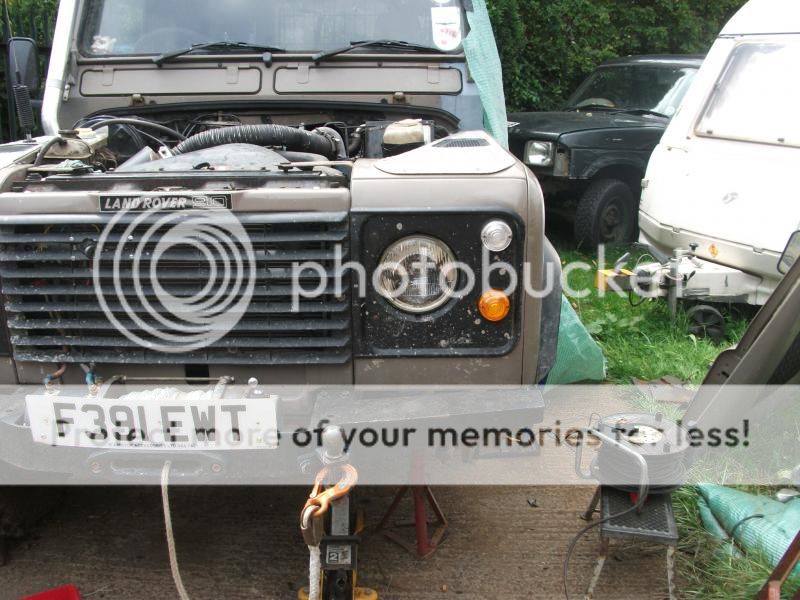
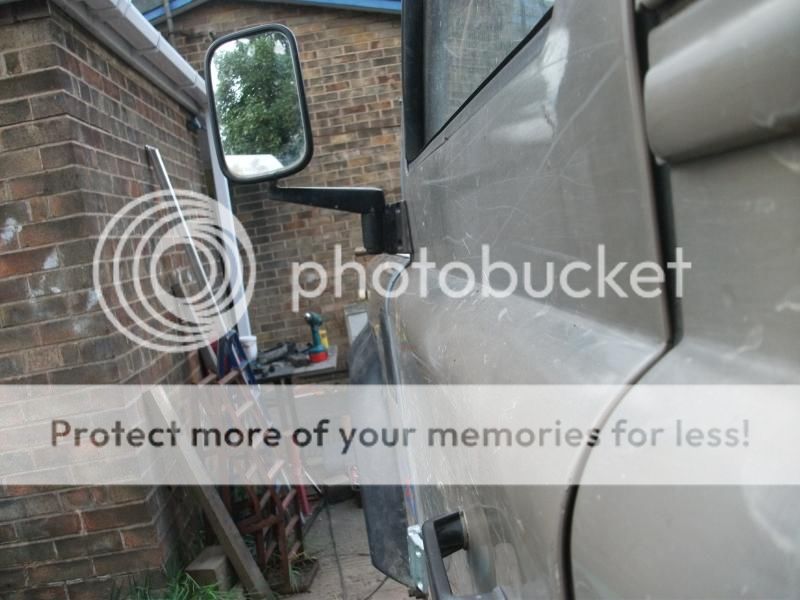
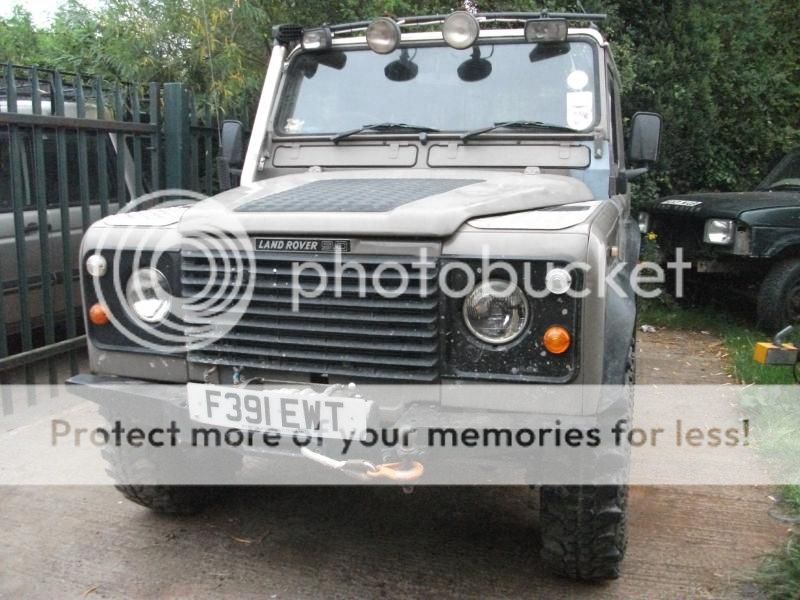
My new (old) Defender .. ;)

This site contains affiliate links for which LandyZone may be compensated if you make a purchase.
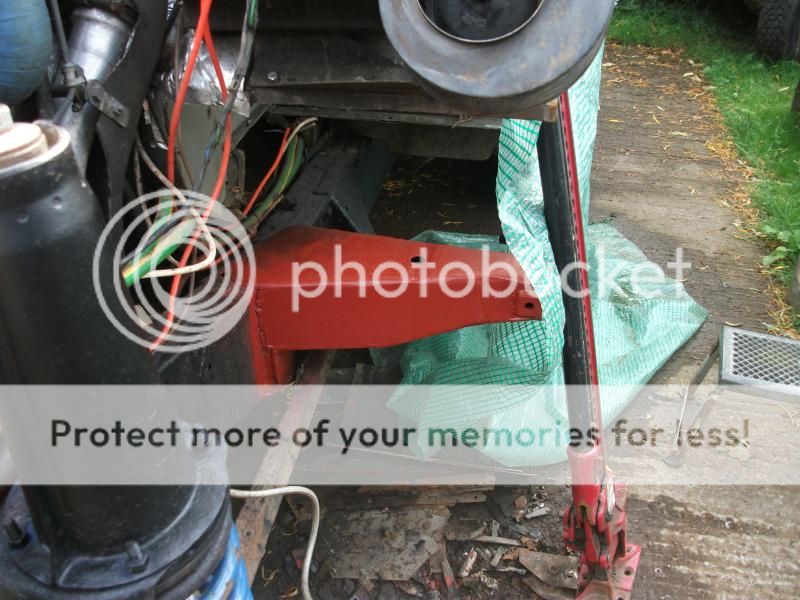
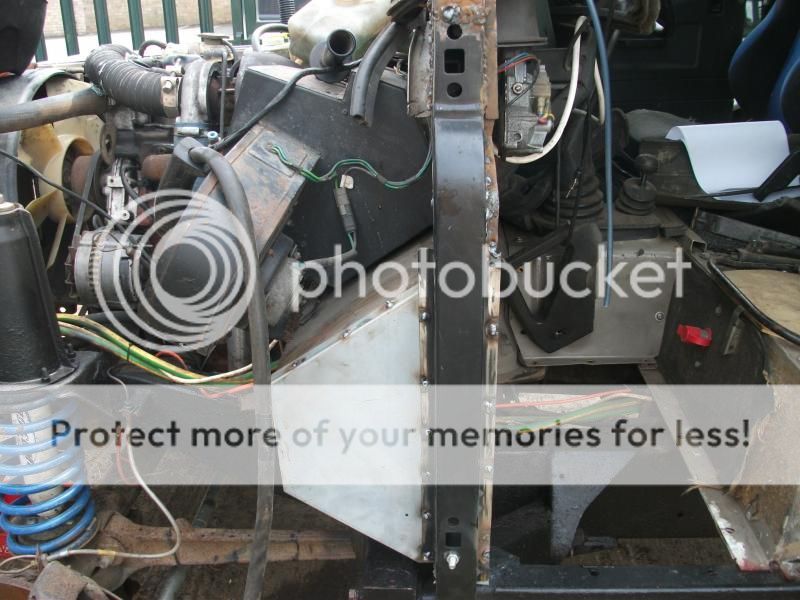
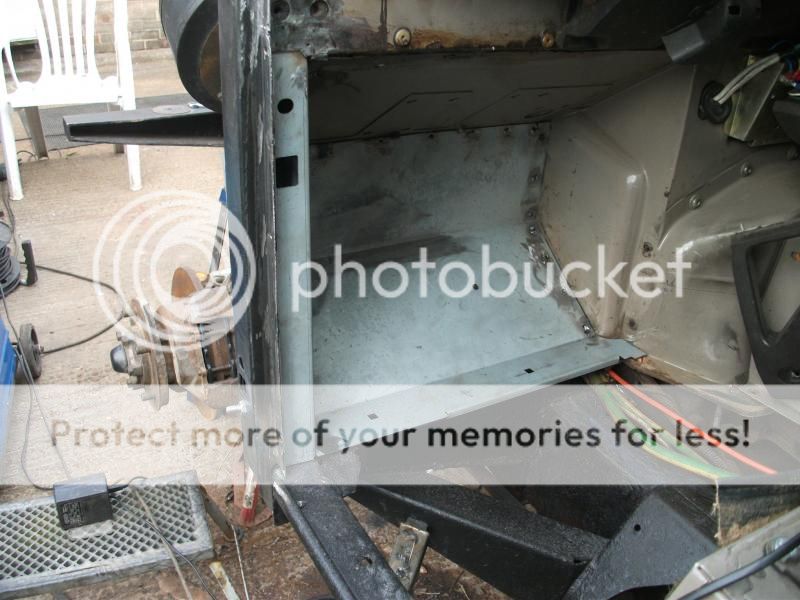
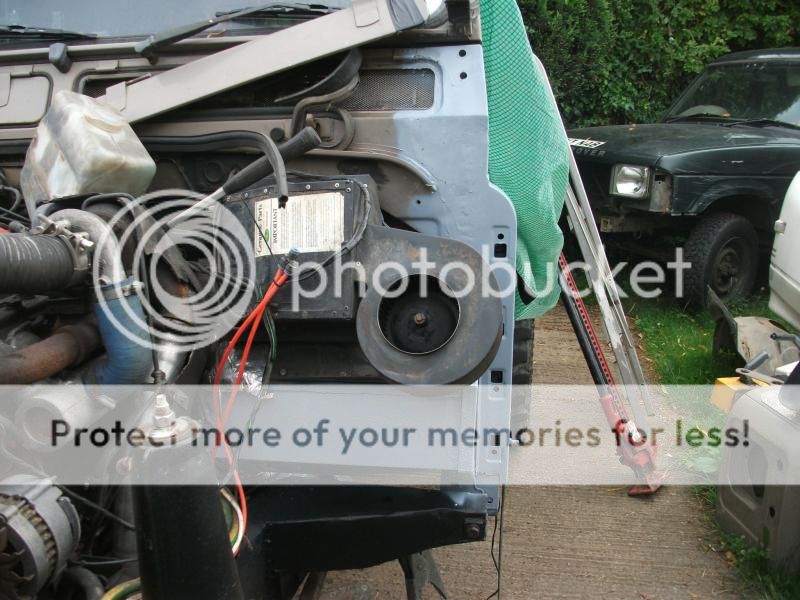
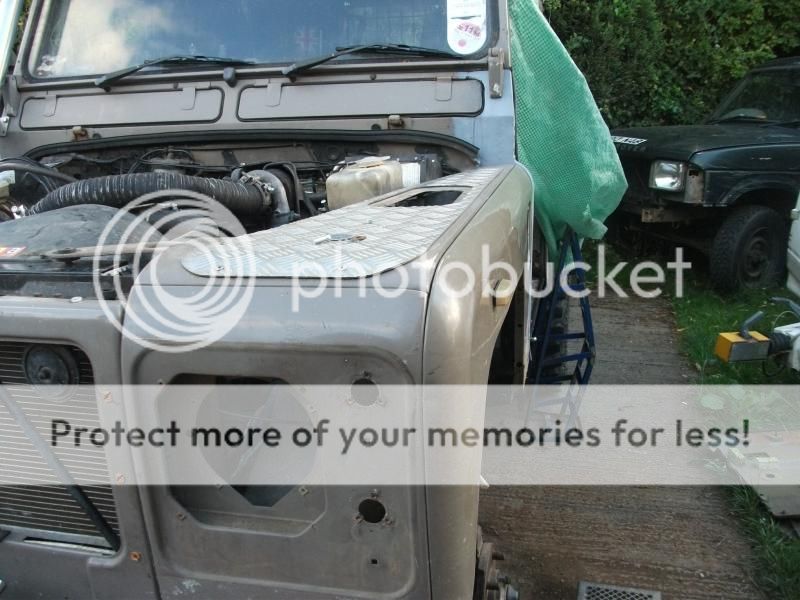
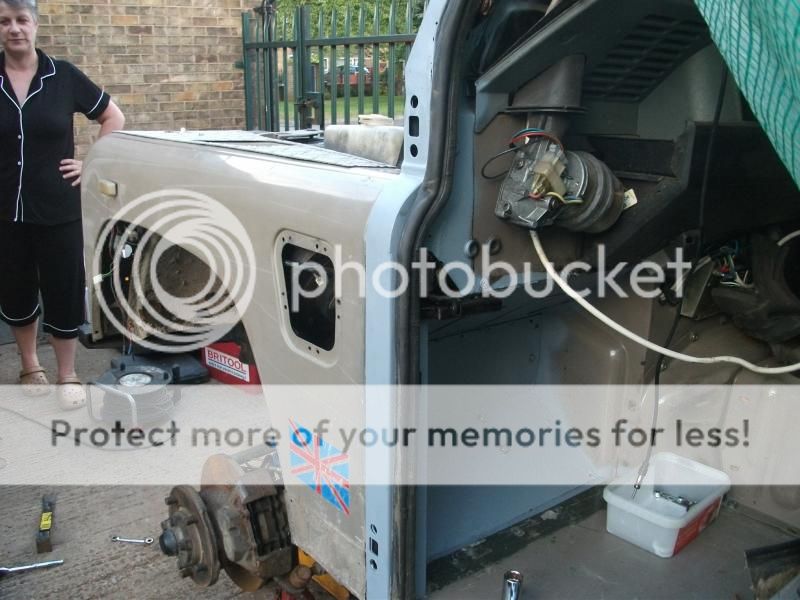
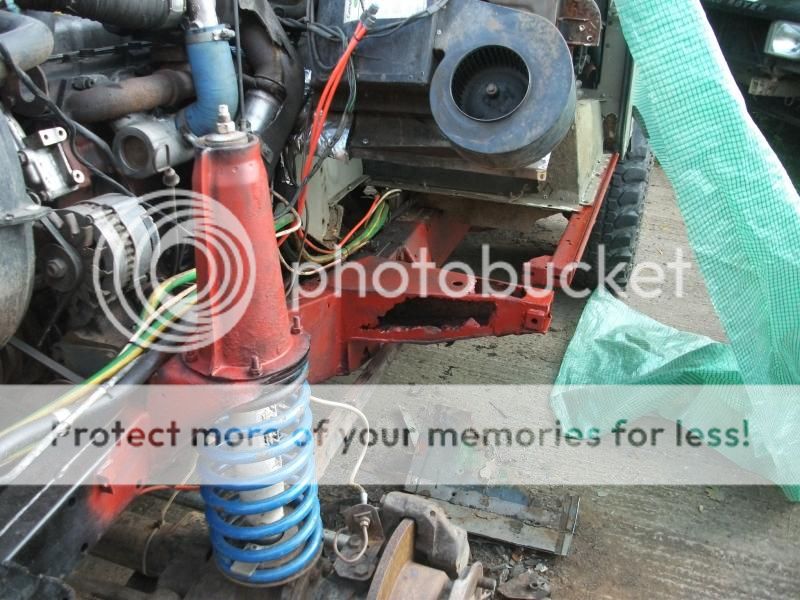
Very quick blow over with red oxide .. will give it another quick cover over in 10 minutes, then 30 odd minutes later a quick blow with matt black, and then another coat of matt black tomorrow.

Still waiting on some captive nuts for the wings and hinge, so I'm planning on starting welding later tomorrow to the outrigger then later or wednesday connecting the dots of the various plates and bits to bolt it all together and liberal seam sealer. Then the weekend will be prepping and painting and undersealing it all and jobs a good 'un.

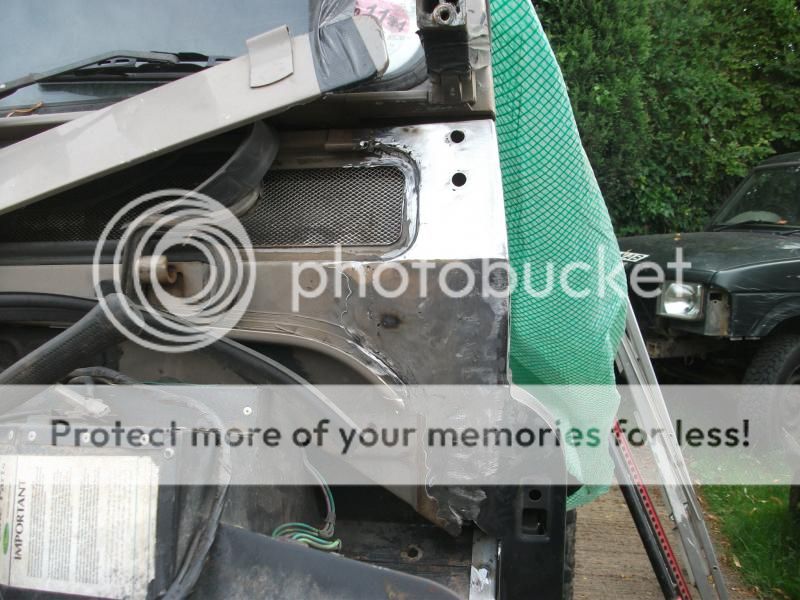
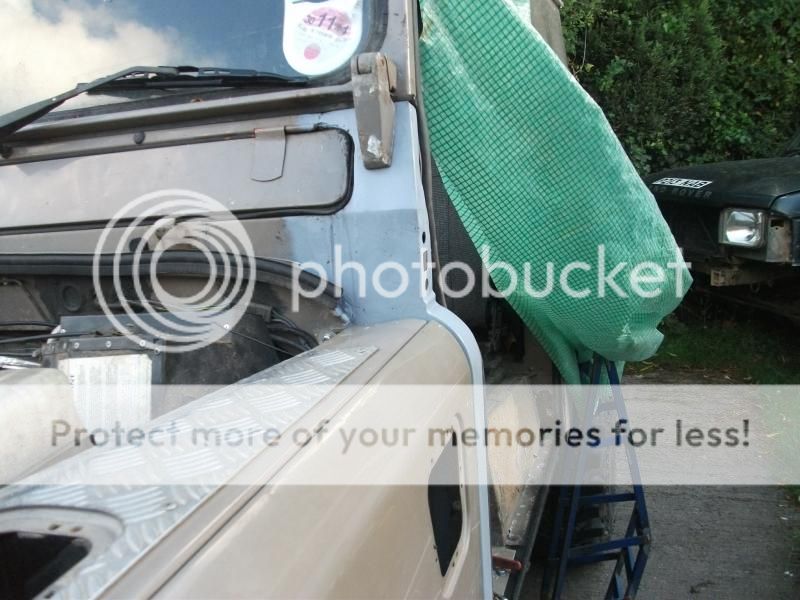
Then it'll be the bit under the windscreen and vent flap .. I have the plate from YRM but it looks like they're tricky cuts, but I'm still learning but wtf, it can't be made much worse .. ;)

I'm not worried that paint coverage is a bit patchy, the second coat and the underseal later will sort all that, I'm only doing it 'cos it's easy to get to right now .. ;)

Red Oxide and Matt Black, the only colours, apart from Fluorescent Orange, in the shed!!
002_zps6a9bd18d.jpg
 
Im impressed with that fertan mate! I'm gonna order some off ebay now!

A daft question but do i need to order a set size captive nut? i aint thought of any of this lol..
 
These are what I ordered, then I can use M8 bolts, of which I have plenty in the shed .. :)

The clip into the square holes in the pillar and the thread lines up with the bolt slots on the wings.

Captive nuts
 
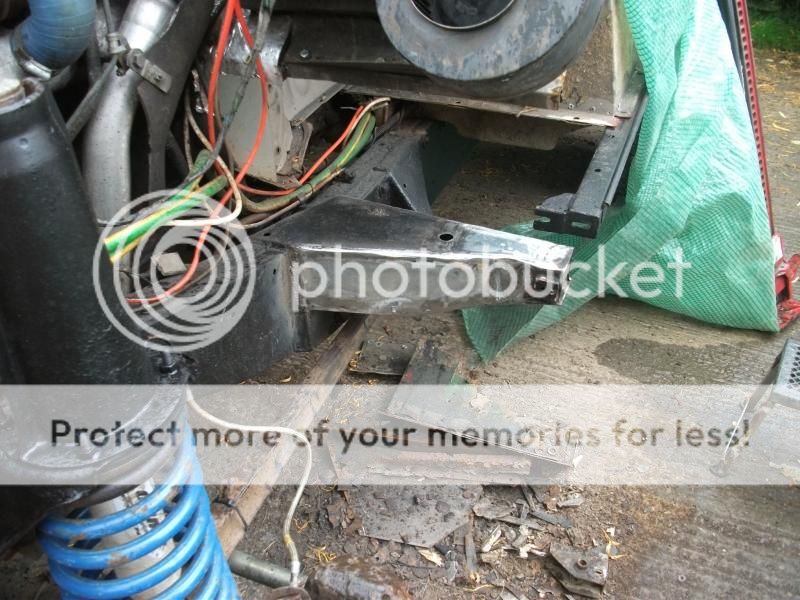
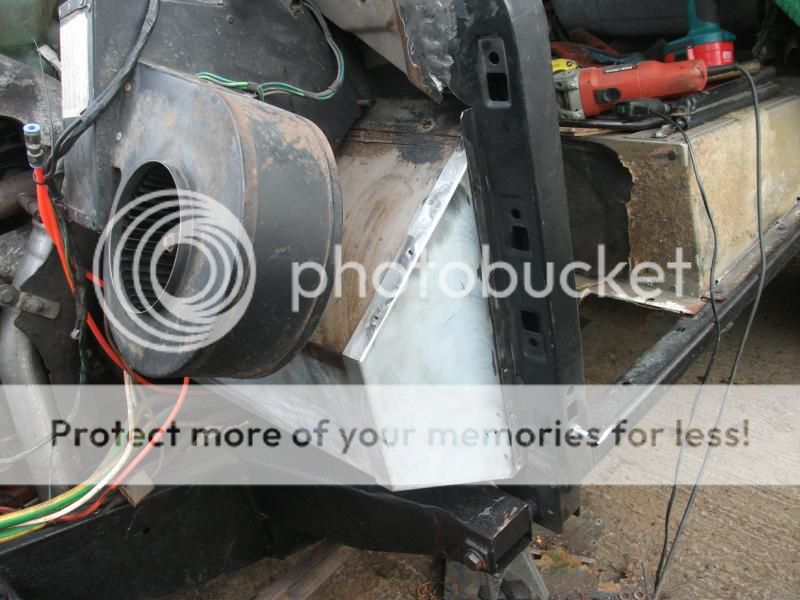
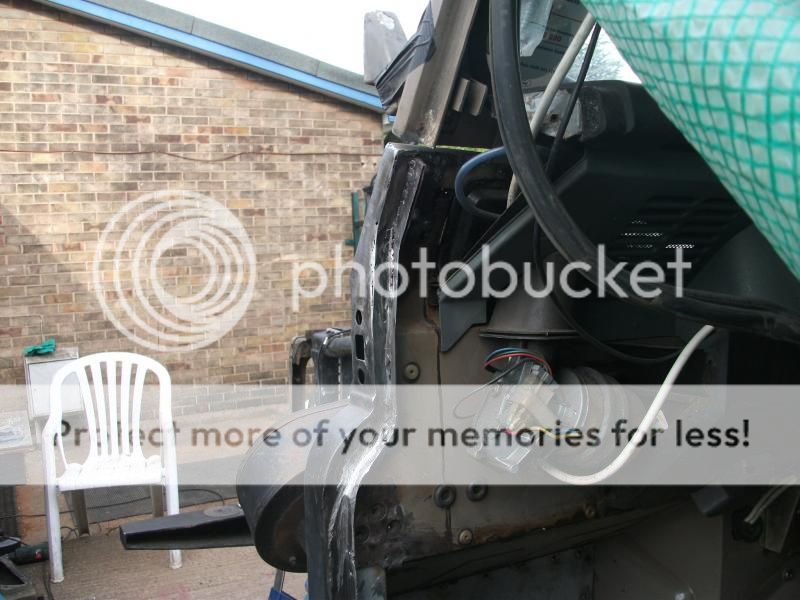
So I finally got my front outrigger welded up .. cheers TC for the steel .. ;)

Showers and Sun all day so far, did the welding in the short dry periods. Now to paint it!!

Soon move on to the build up of the footwell and pillar, and then onto the bulkhead and windscreen hinge area .. should be ready for the CTC ... ;)

1001_zps8932c7b1.jpg
 
Thankfully I got the welding gear stowed away ... it's now warm and sunny again!

Raining
 
Thanks to Tim (top-cat) we got a bit more done today. Good how mates can give you a kick up the arse to get stuff done .. I really needed some motivation to finish it after a bout of feeling ****e due to the Diabetes and general can’t be arsedness .. and a mate popping round and picking up n angle grinder and welder is a good way to do that .. Many thanks .. ;)

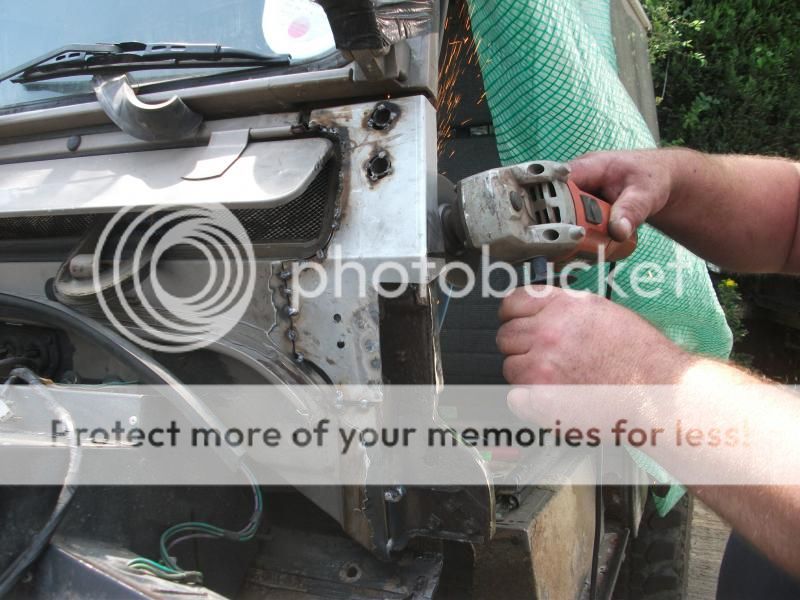
All the bits were fitted, but the actual fitting took ages, a snip here, a grind there, a hammer here … and a few tack welds followed by hammering and ‘tweaking’ .. got it all looking a bit ****e .. but solid. No filler, all welded, the only filler will be a sealant down all the seams and maybe in some of the weld pinholes. A professional welder I ain’t …

weldingandpainting001_zpsa15c5032.jpg

weldingandpainting003_zpsb680997b.jpg


All the over-lapping seam edges have been drilled and puddle welded so it's similar to the standard method of spot welding ..the following shows good penetration of the weld ..

weldingandpainting004_zps49289e16.jpg


So after welding a bit more and grinding/flap-wheeling a bit ..

weldingandpainting006_zps042727bf.jpg

weldingandpainting007_zps4880b483.jpg

weldingandpainting008_zpsfd110ca7.jpg

weldingandpainting009_zps23cc5b7e.jpg


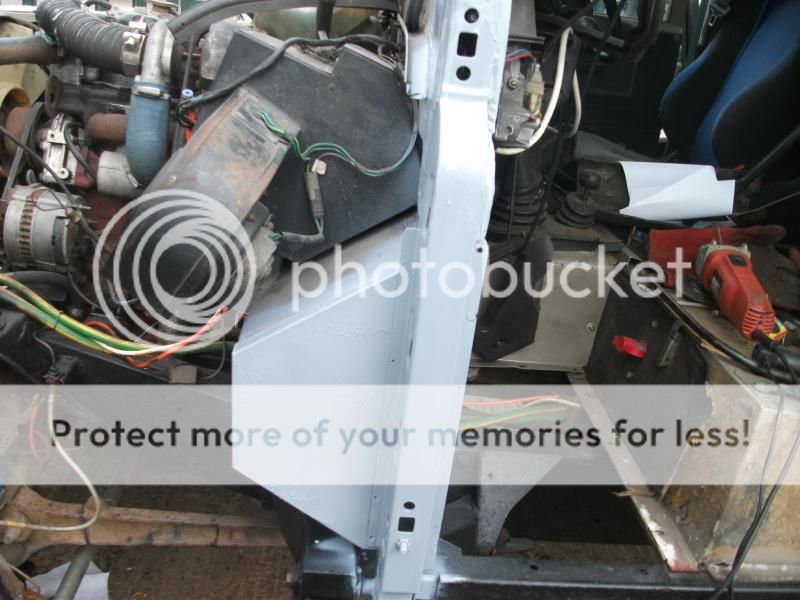
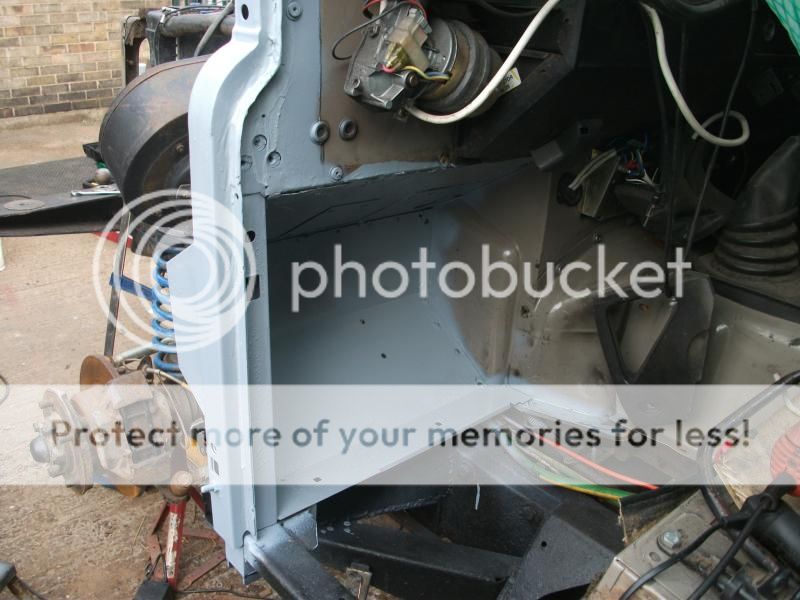
So onto the painting .. grey primer this time, ran out of red oxide but this is probably closer to the beige, when I cba to get some .. but any paint is better than none!

weldingandpainting010_zpscec393d0.jpg

weldingandpainting012_zps52b42be2.jpg

weldingandpainting013_zpsdba613d7.jpg


Happy with it so far, soon be built up and running again, maybe tomorrow.

One word of warning .. if anyone has to grind off the fixings for the their inner wings, be careful on the passenger side that you don’t also cut the clutch pipe .. DAMHIKIJDOK … ;)
 
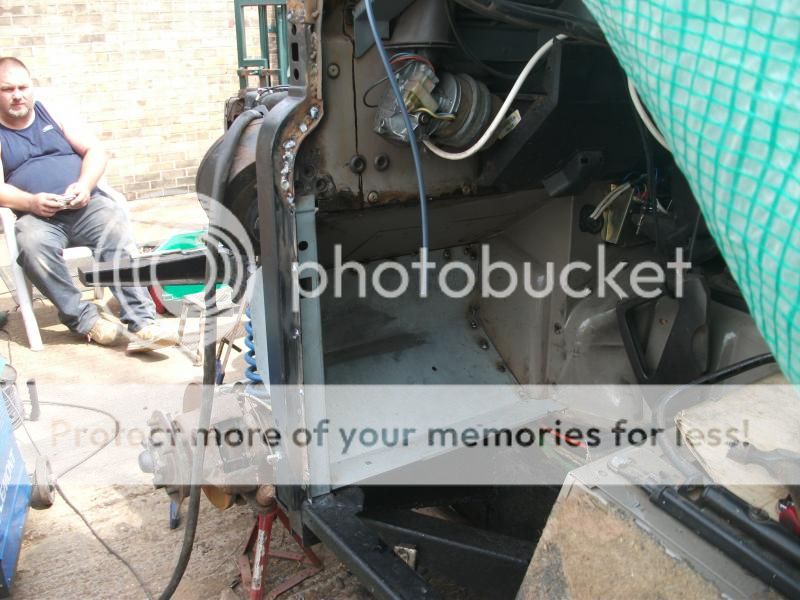
Coming together now.

Slowing down a bit, it's amazing how many screws and nuts and bolts are actually ****e, so I'm trying to renew all of them, but what a ridiculous range of fasteners are used!

One problem is that I hadn't ever taken a 90 or Defender apart before, next time it'll be much easier! So many parts you can leave untouched or remove still attached to the wing or inner wing! Putting it together again is a feckin' nightmare, so many odd shaped brackets and parts and all need to be fitted loose before any are tightened, or they won't fit ..

No worries, it'll be ready for the weekend .. it has to be, we're doing the Coast to Coast, West to East!!

puttingtogether001_zpsbb23e421.jpg


puttingtogether002_zps669a61df.jpg


puttingtogether003_zps4095e5d4.jpg


Not used any filler yet, I don't have any, or painted it Beige, again I don't have the paint, so it'll look like a right bitsa for a while ... ;)
 
Just needs the door fitting, the end of the dash fitting and it's done .. and the bonnet putting on .. and the wheel .. and a test drive, and maybe the clutch might need bleeding again after it's run a bit!

Getting close now thobut ...

Building003_zps5b9f1804.jpg


Building002_zps6f0efae0.jpg
 
Bit deflated now ...

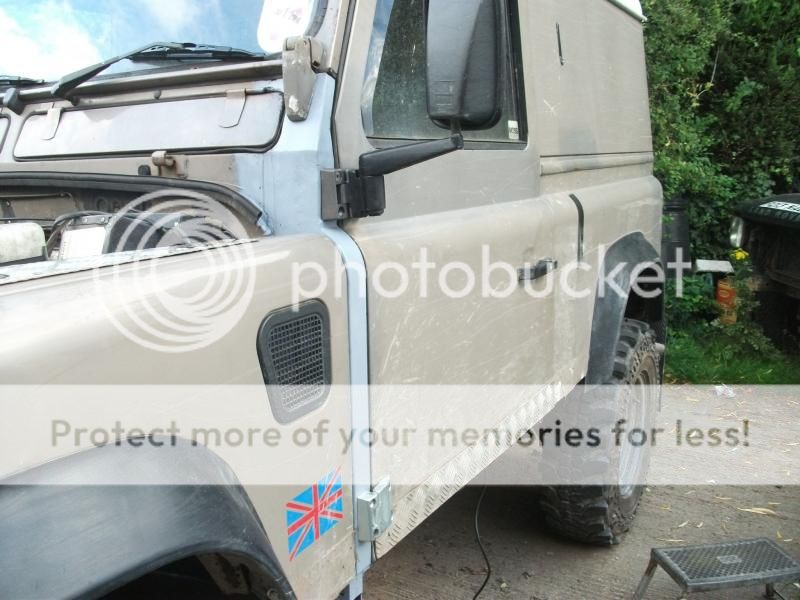
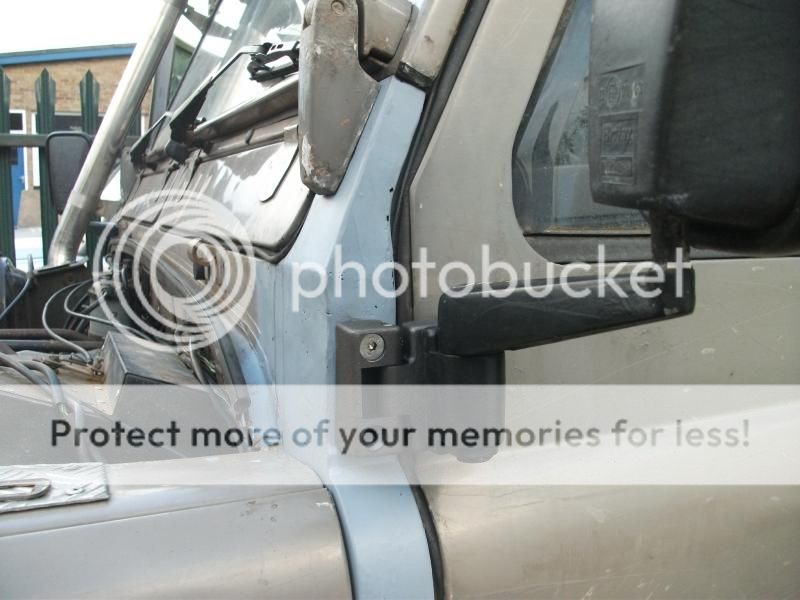
All's built up, all works, but the door is 'off' a tad. It's about 1/8" to 1/4" too high at the hinges 'cos the pillar/post is slightly out. It was all bolted square with the new foot, to the sills and was checked a number of times, the bolt holes all lined up at the bottom, but it's wrong!

door001_zps0834e79a.jpg

door002_zpsb65922c2.jpg

door003_zps1bb80682.jpg

door004_zps80664c6d.jpg

door009_zpse527287c.jpg


I have a plan to fix it though ..

I'm gonna drop the door off again, then file/grind/cut/slot the post holes down a tad so the front of the hinges sit ~1/4" lower, this will bring the front face of the door in line .. we tried it with the hinge bolts out and it fits perfectly when we did it .. so it's a little more graft and job'll be a good 'un.

Clutch bled up fine, new indicator and sidelights (the rest to follow), rear prop fitted with the spacer and works way better than the original, which to be fair wouldn't be hard, so as it is I could use it now. Me being an arse though, I want it the door fitting right so a bit more work and I'll be happier. ;)
 
Back
Top