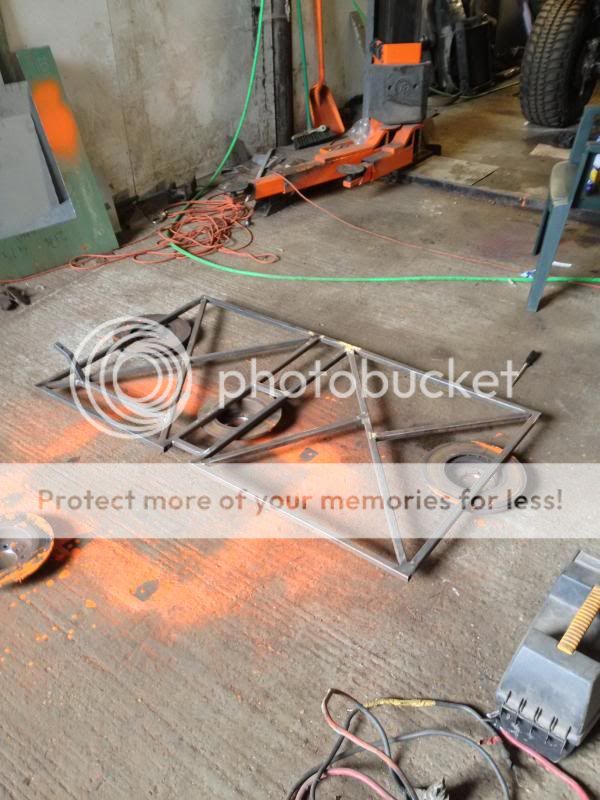
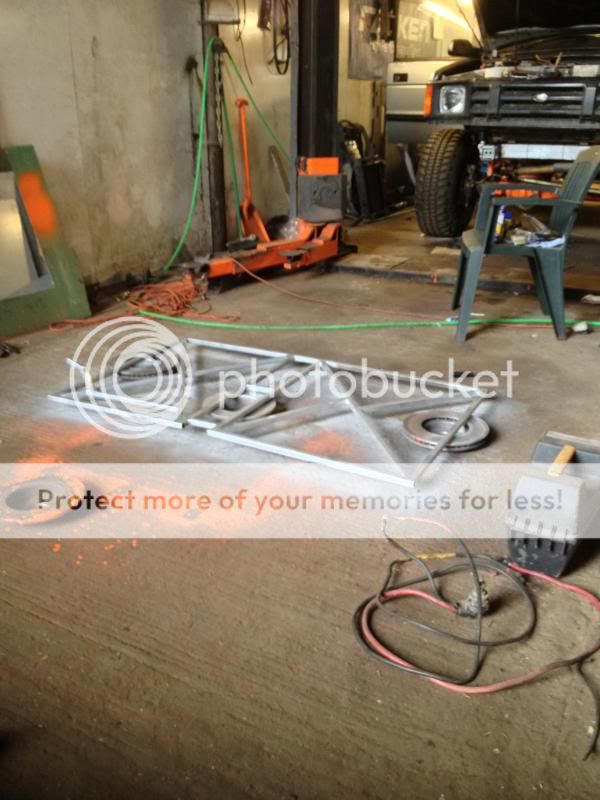
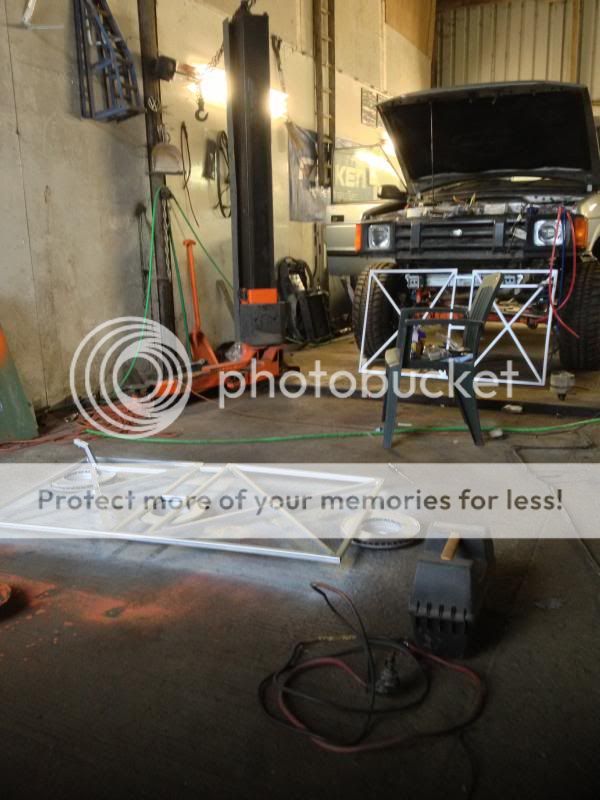
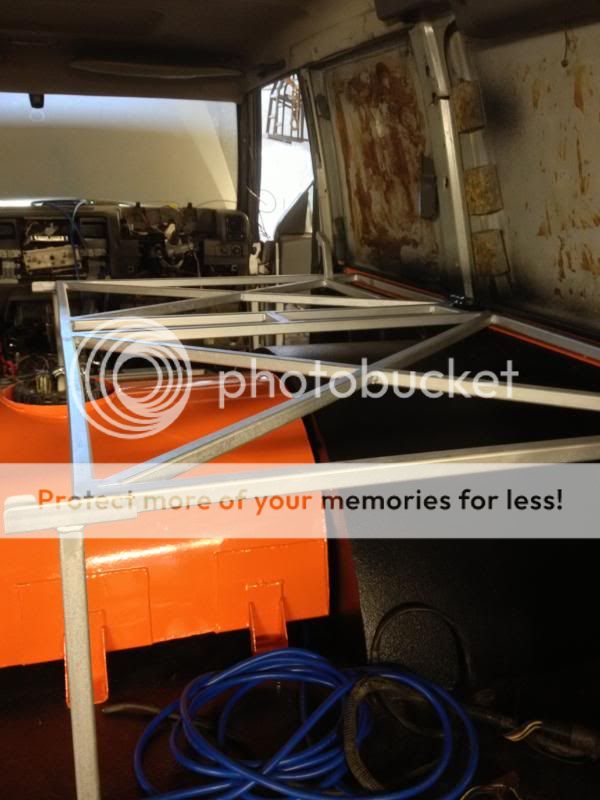
My Discovery build....

This site contains affiliate links for which LandyZone may be compensated if you make a purchase.
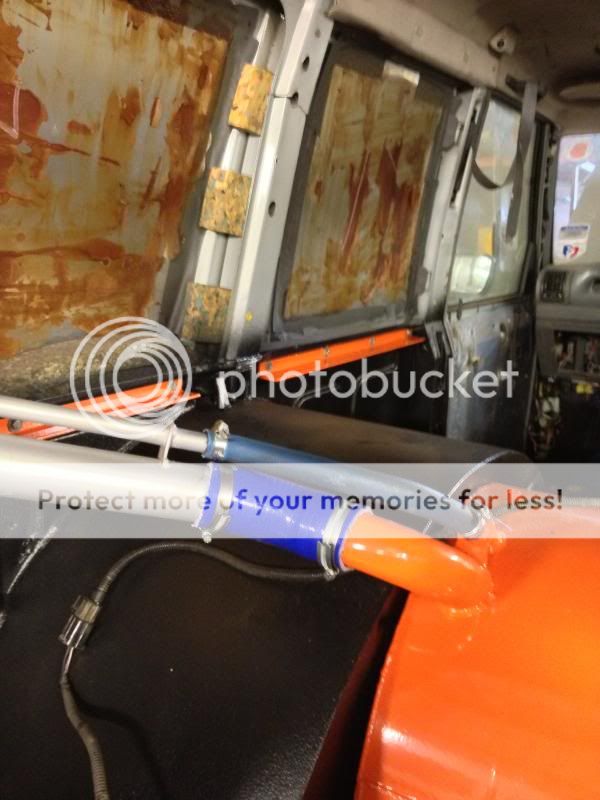
silicon dont like diesel

Its fuel resistant apparantly.


Anyway today then.
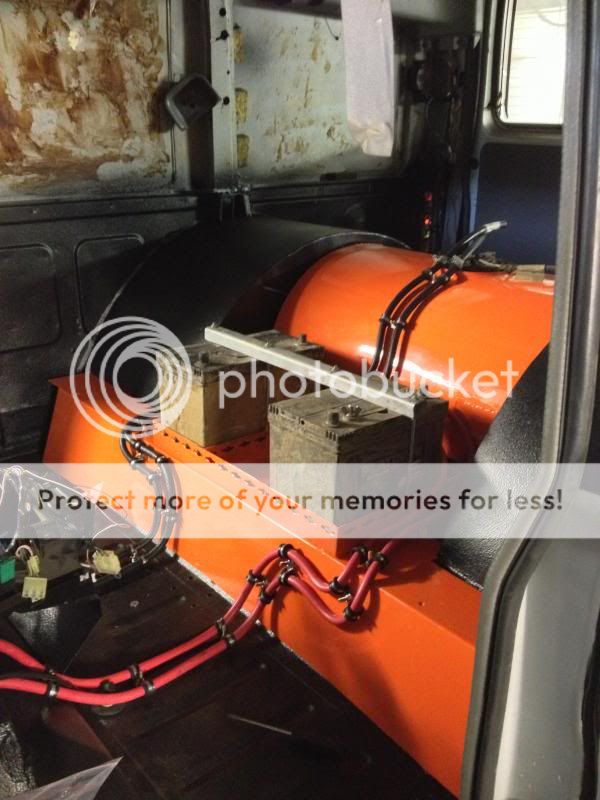
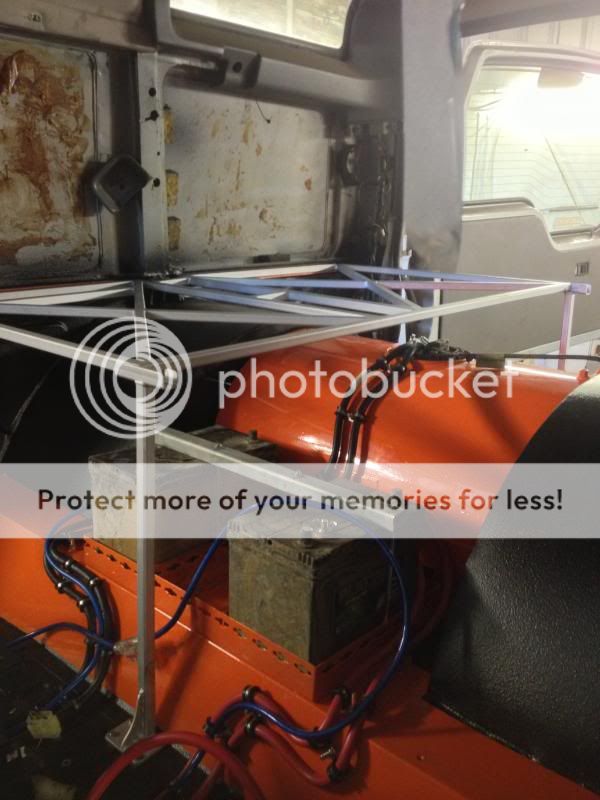
I sanded down the battery tray and rear shelf:


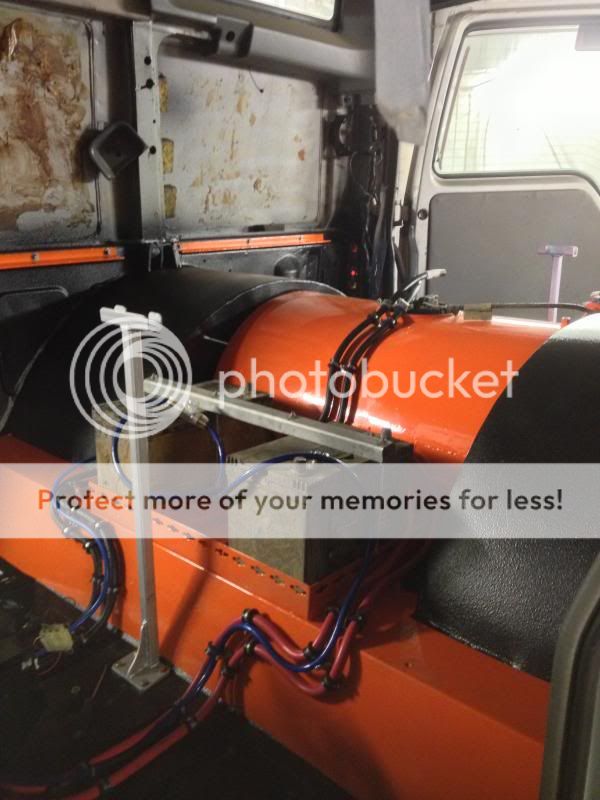
Painted and installed:


And ran the rest of the wires/hoses. I need three new batteries but thought id chuck these in just to try:


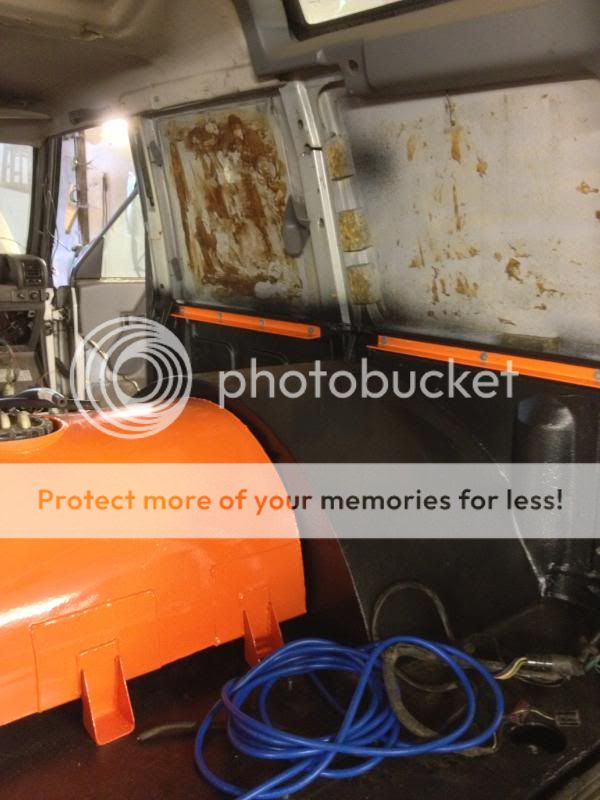
Painted and fitted the second floor supports and got some new hose clips for the fuel pipes:


Galv sprayed the floor supports:


And bolted them in:


Then did the floor panels:


More after the weekend im sure...
 
Yeah I'll bolt down a couple of boxes for storage and tools and straps etc but easily removable so it can double up as a bed for camping!
 
Hey Dan, do you think you may grow tiresome of the orange internally?

Don't wana throw a spanner in the works but constructive criticism is usually good and for such a professional build I'm kinda thinking it is a little juvenile to have all this orange trim.

Sorry pal I've been trying not to mention it :(
 
Thats it now. Theyre the only orange bits. Tank, battery tray, Floor edge, and supports.
How can you tire of orange???
 
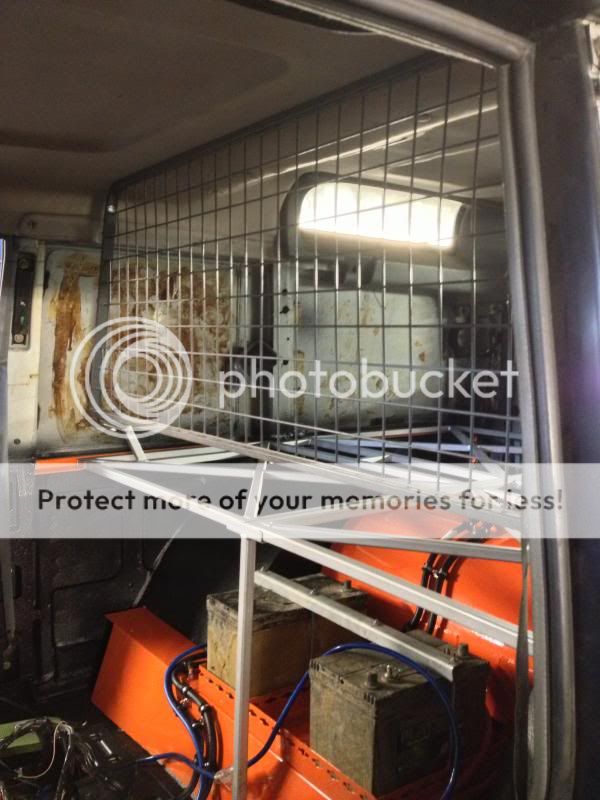
So today i fitted the floor in:


And then the guard:


And fitted the CB aerial and ran the wires:


I also fitted the door cards back in, the seatbealts, the buckles, the clocks, the starter motor wiring and had a tidy up.
Next is connecting the wiring up after fitting the connectors etc. They will need soldering as theyre too big to crush really. I need my man Mikey to lend a hand ;)
 
Dan got loads of different carpet if your going to trim the panels in the back, be glad to see the back of some of it so i can get me garage back.
 
Looking good dude! :)

Don't forget to add rear sockets for phone charging overnight (when it's REALLY cold iPhones die unless you leave them plugged in) and also interior light in the back for bedtime :p

I'm not trying to sway you towards focusing on DisCamper honestly!
 
Drizz,

What a great thread and a fabulous build! Bloody well done!!

I have just sat and gone through the thread with huge feelings of jealousy as I am in need of a work shop.

I like your approach from the ground up and in retrospect it would have been the easiest way to modify the Hornet when I was doing it, it would have saved on a few corners being cut but like Noisy mentioned, sometimes when you are on your back and **** is getting in your face, you just want it done and to get out from under there!

I will be interested in your roll cage and also to see how the arms perform on the front and rear using the X joints.

As a quick question - How long did it take you to strip the body away from the Chassis? Im looking to do this on the Hornet to clean and alter my chassis at some point.

Finally whilst I had the same idea to tube the front end, I dismissed the ide as all the **** and especially stones and gravel would get into the engine bay, as mine is the daily driver over winter I wanted it to be fairly robust - Do you plan on having any plastic shrouds or are you just using it for off roading?

Excellent and inspiring - Thank you
 
I've only got rear x arms. Front are standard arms on corrected axles.
I've done a few now and about two hours to remove body. If its an old truck there won't be much holding it together anyway lol
As said previously no plan on shrouds or such like but if the need does arise then they will be added.

Thanks for you're comments, it's nice to receive appreciation!
 
With your corrected axles, did you relocate the radius arm mounts? Did you use the shock mounts as a level plane to ensure the axle was rotated enough?

A phot would be good if possible.............. :) Thanks
 
With your corrected axles, did you relocate the radius arm mounts? Did you use the shock mounts as a level plane to ensure the axle was rotated enough?

A phot would be good if possible.............. :) Thanks

Even after all this effort is it still not a better idea to correct the radius arms, ie alter the axle bush position, crank the chassis bush end and lengthen the arm accordingly?

Ie, buy a QT set...?
 
Even after all this effort is it still not a better idea to correct the radius arms, ie alter the axle bush position, crank the chassis bush end and lengthen the arm accordingly?

Ie, buy a QT set...?

The best way is to correct the axle on the swivels & crank the radius arms at the threaded end.
 
Back
Top