LT230 rebuild

This site contains affiliate links for which LandyZone may be compensated if you make a purchase.
I did my lt77 collar in the press. Does your press bed not drop right down?
No bell housing on mine so input shaft just sat through the bed and use a piece of metal pipe/scaffold bar to push it on.

Aye it'll drop right down, it'll probably fit, just have measured up yet.

Wish I had some scaffold :lol:
 
Just scratching my head about the best way to press the oil seal collar on...

Not sure if the gearbox will fit in my press stood on end, will have to check in a bit.

Read that it's not a good idea to hammer and drift it onto the shaft - could damage the bearings?

lt77 does need pressing on, r380 will tap on with a suitable tube:)
 
Well it fit into the press no problems:

IMG_20150104_135041.jpg


Bit of improvisation due to not having a suitable bit of tube to hand:

IMG_20150104_135539.jpg


Sorted:

IMG_20150104_140439.jpg
 
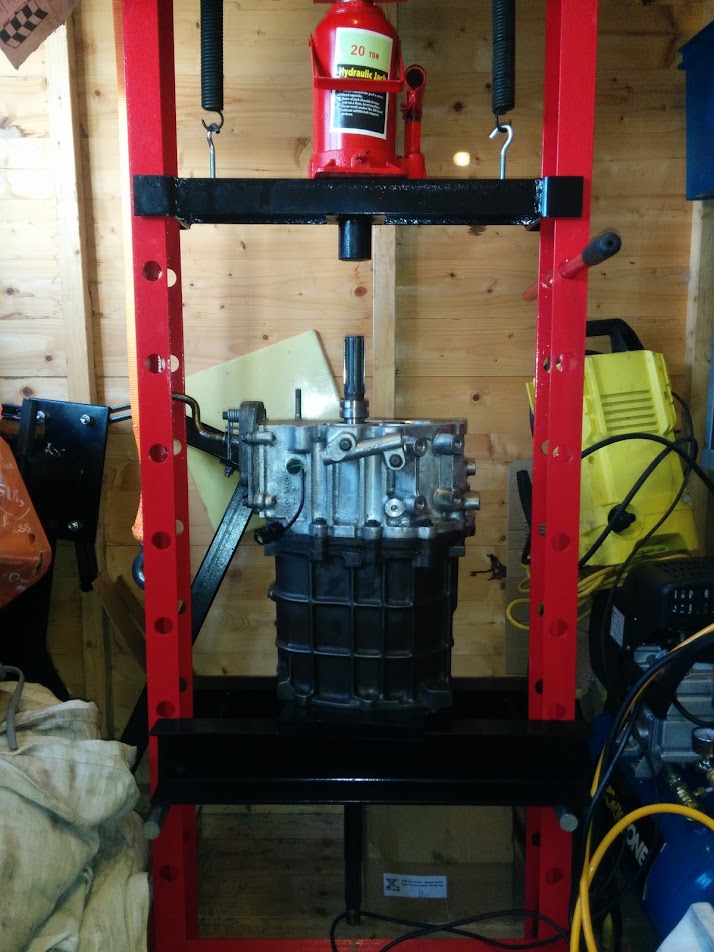
Started to tear down the LT230 I'm refurbing....

IMG_20150105_173029.jpg


PTO cover off:

IMG_20150105_173726.jpg


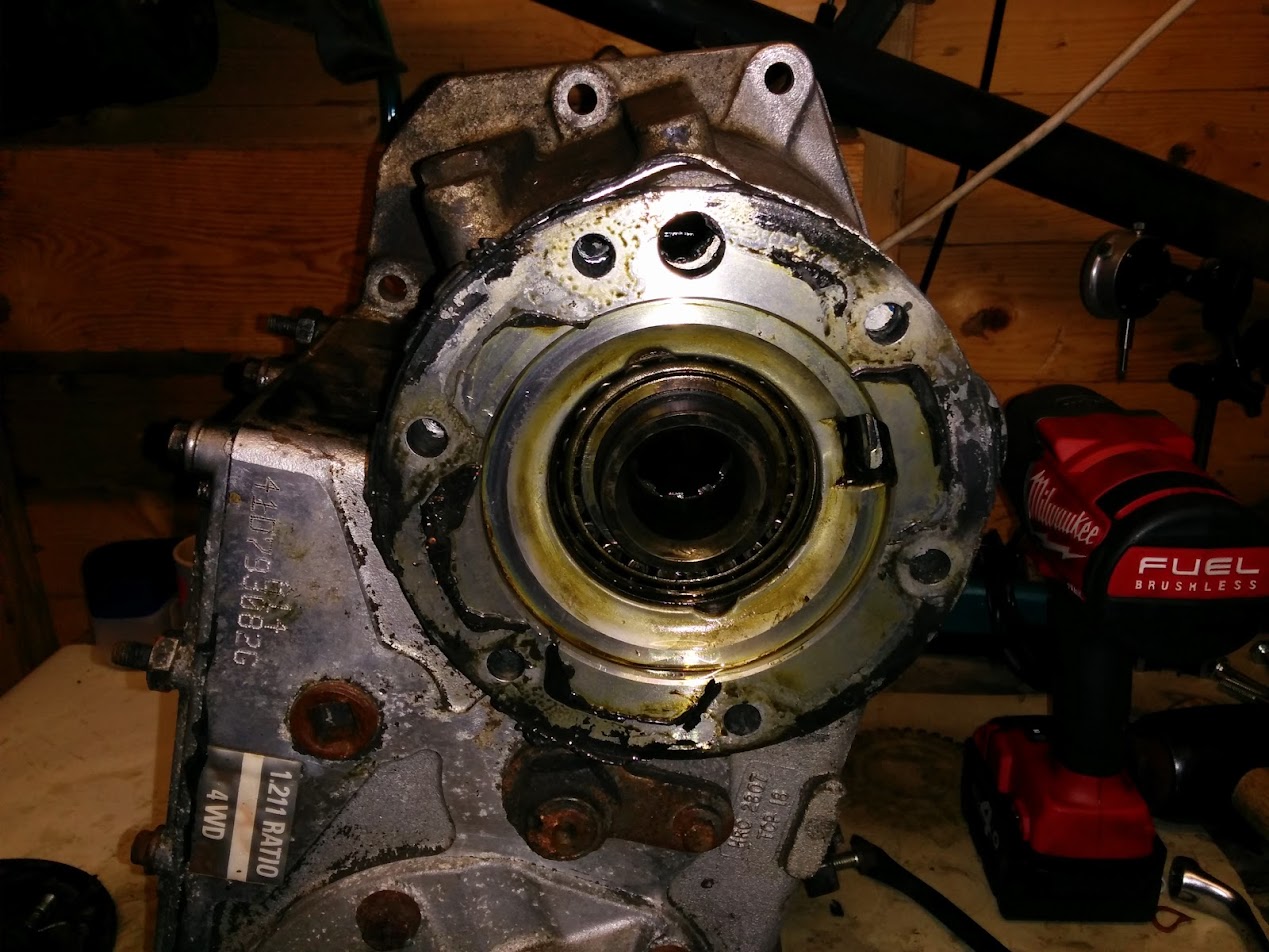
Bearing carrier off, beartings are in great shape but I'm building the internals into a new case so am going to refresh everything:

IMG_20150105_173758.jpg


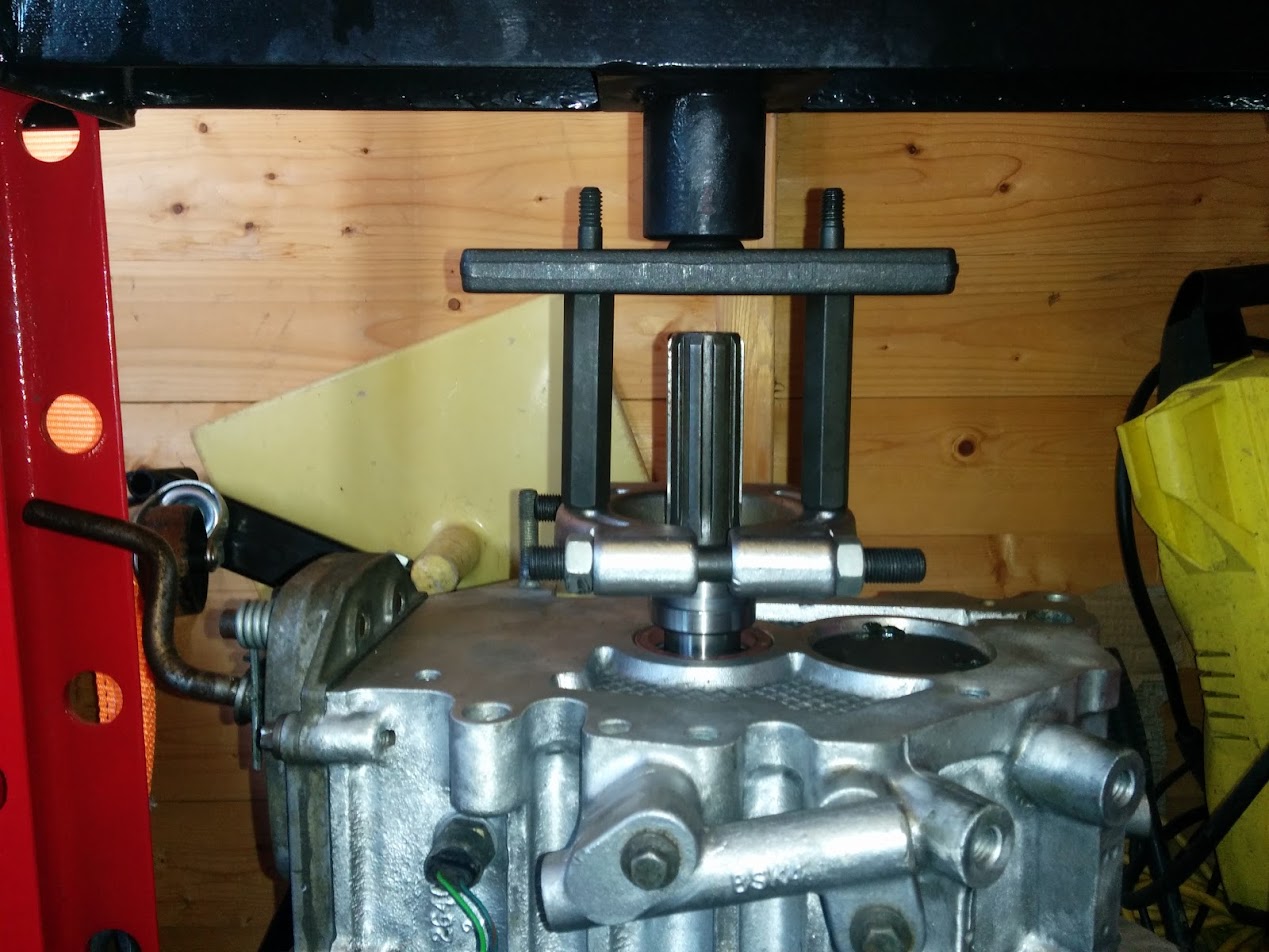
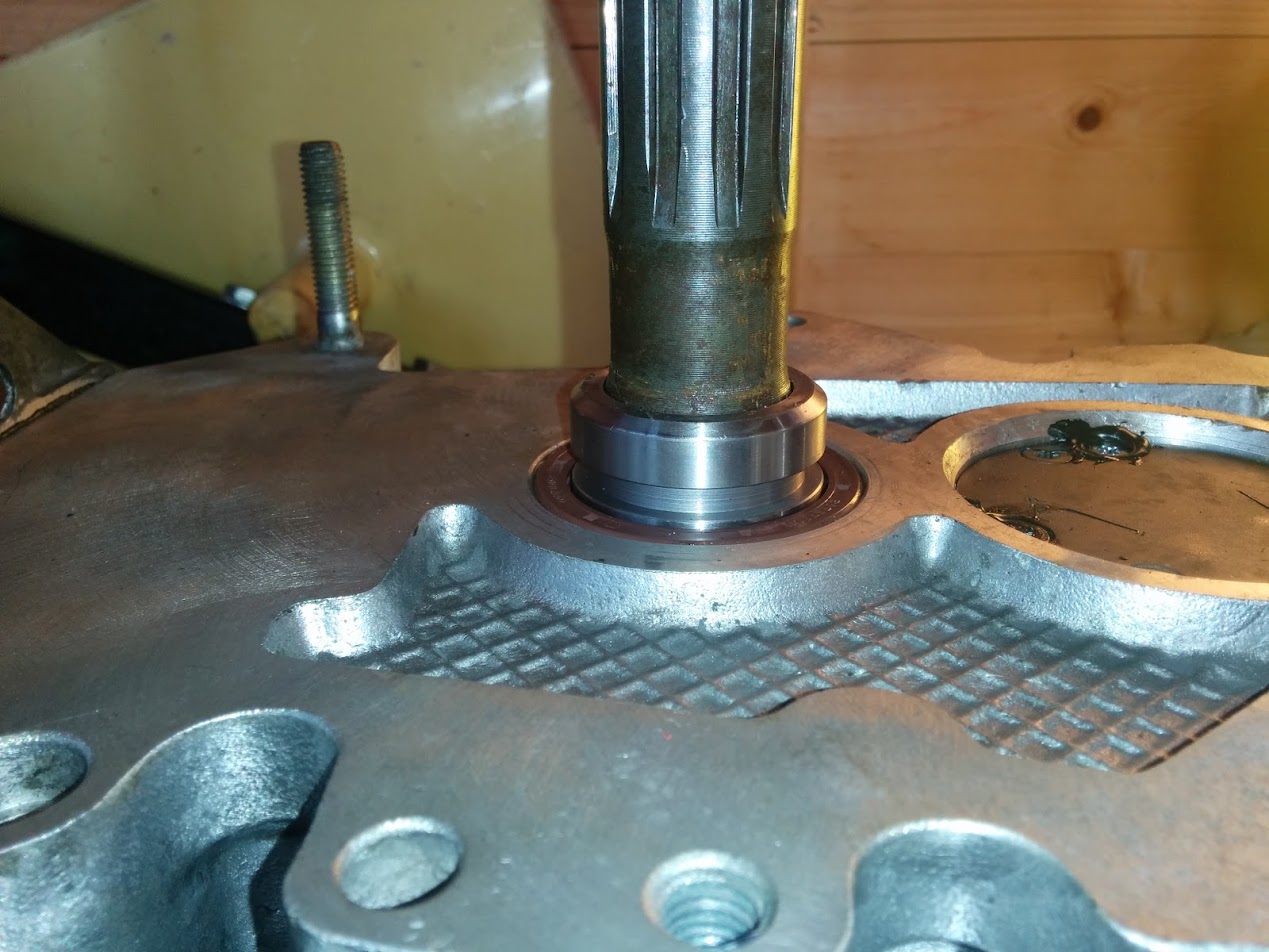
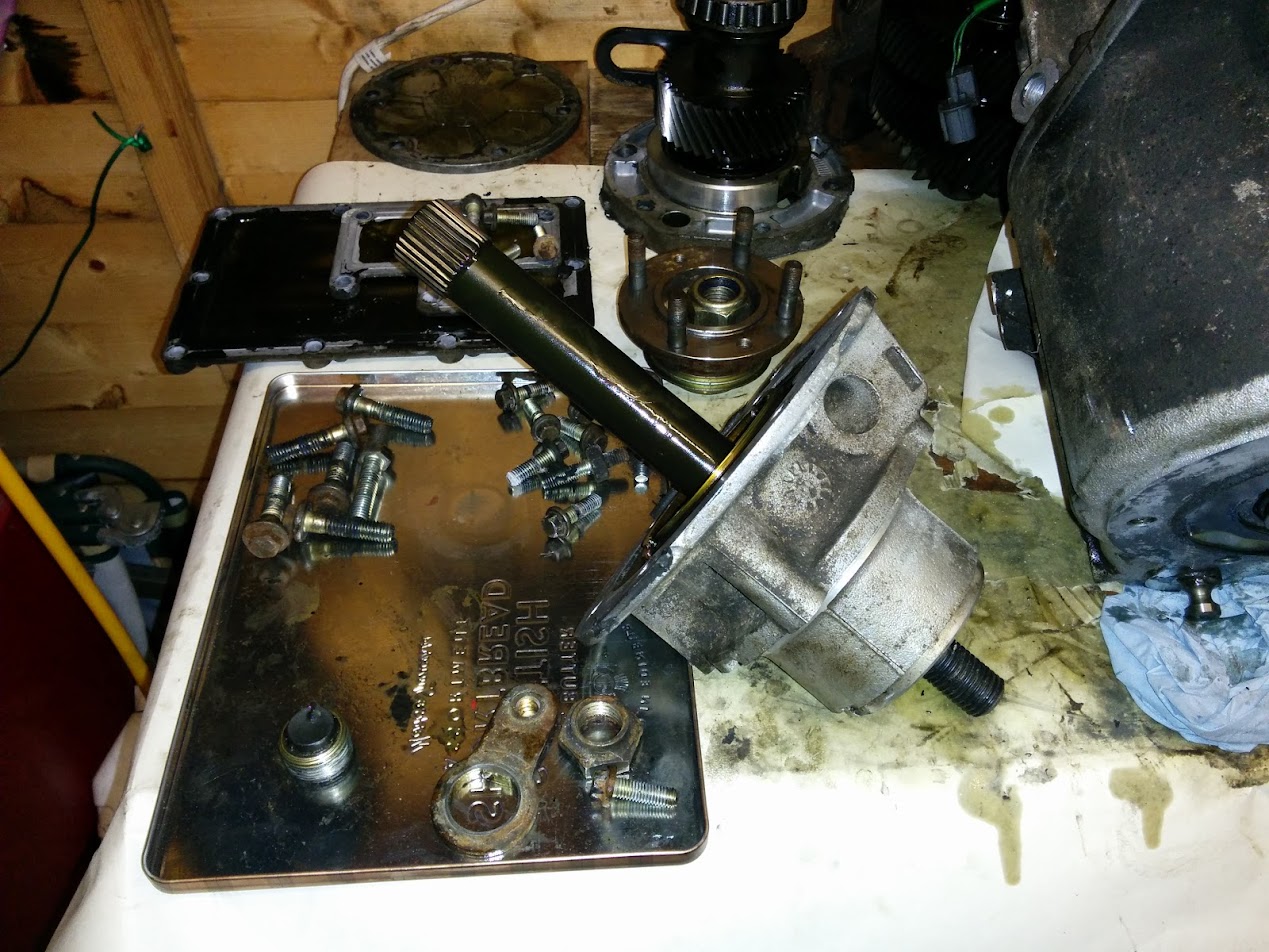
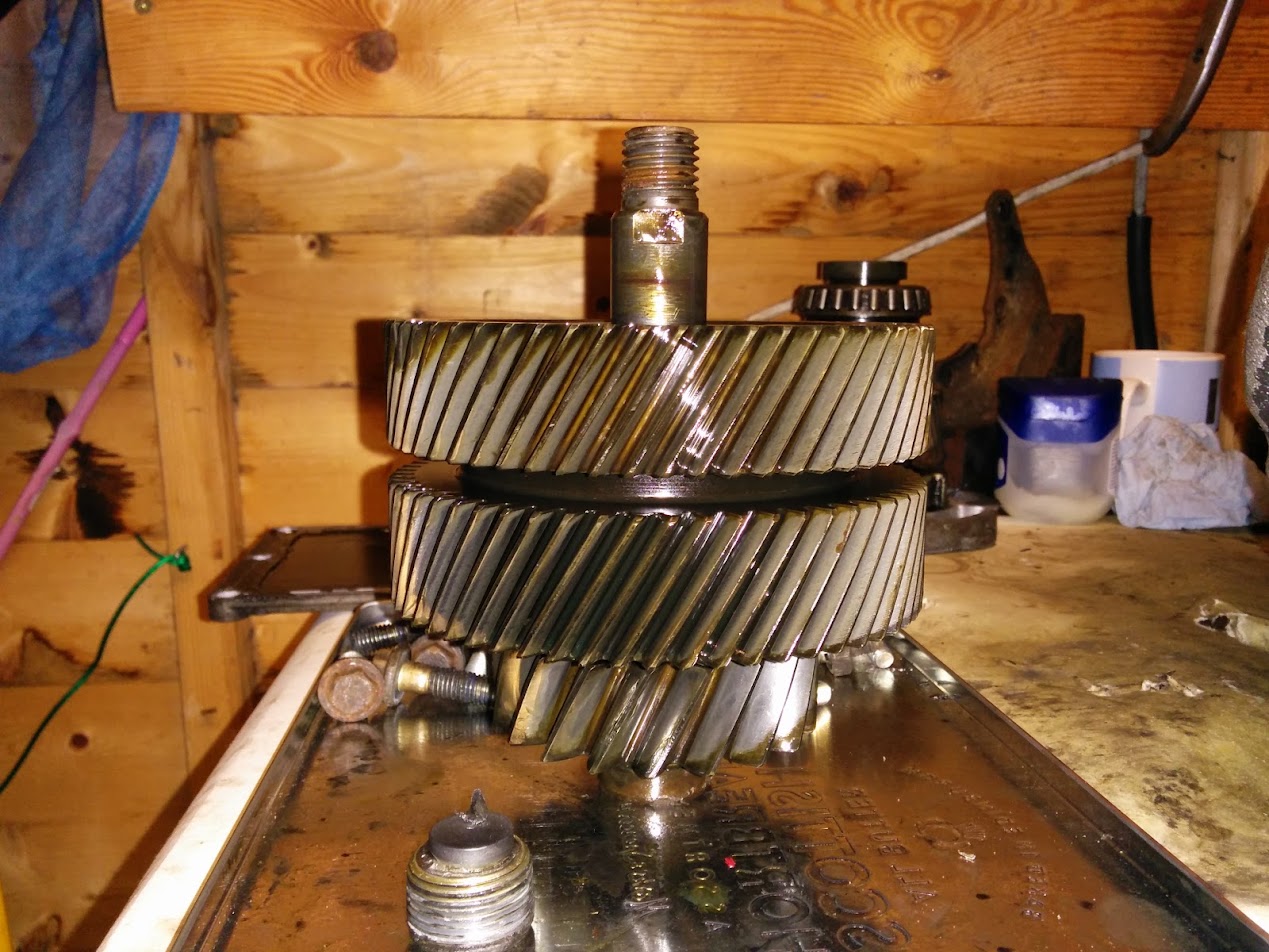
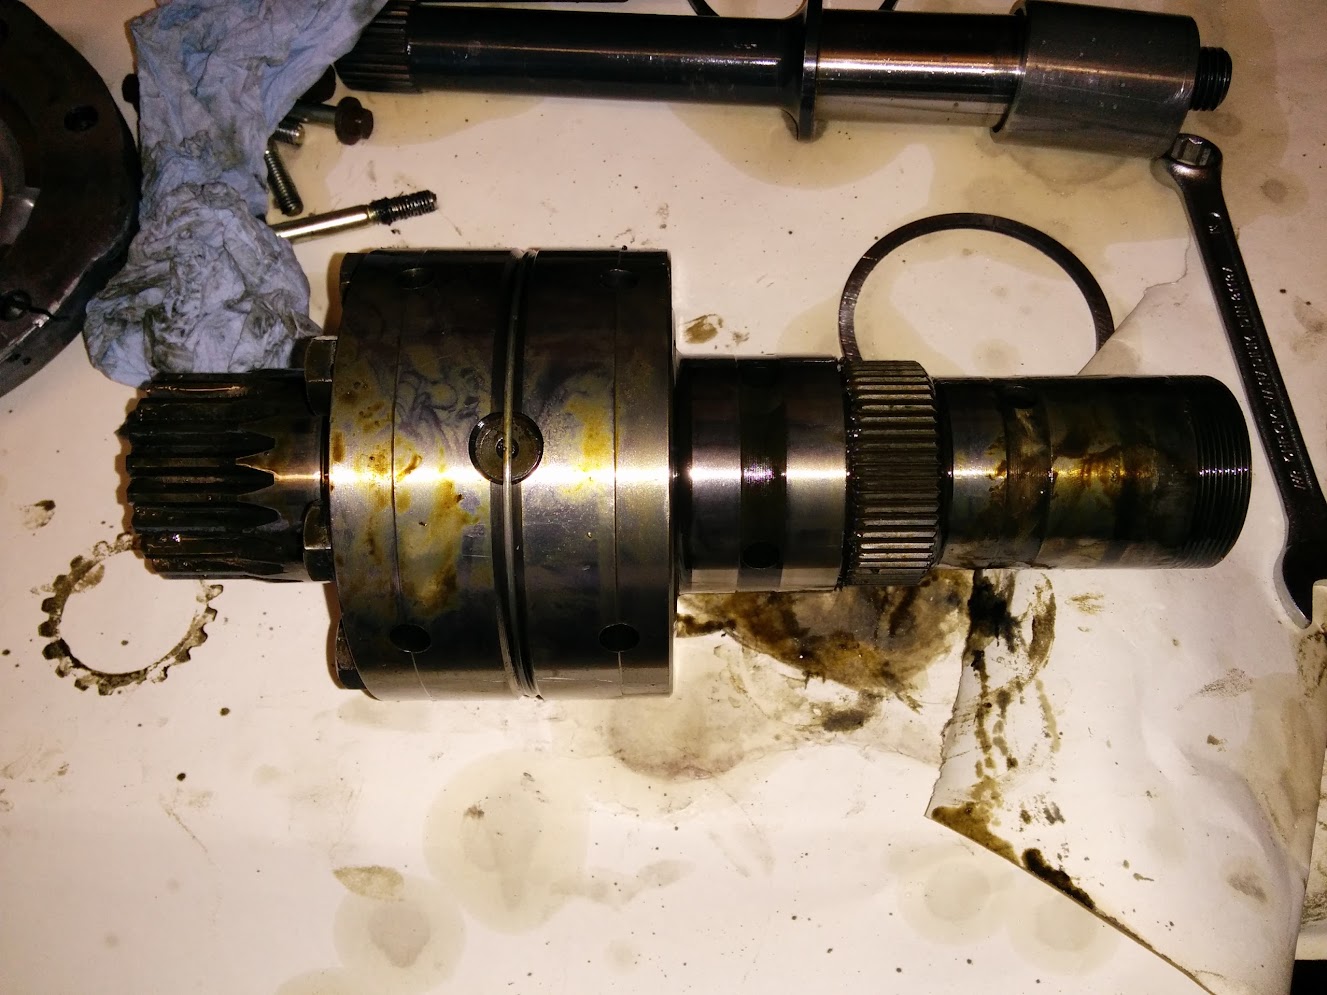
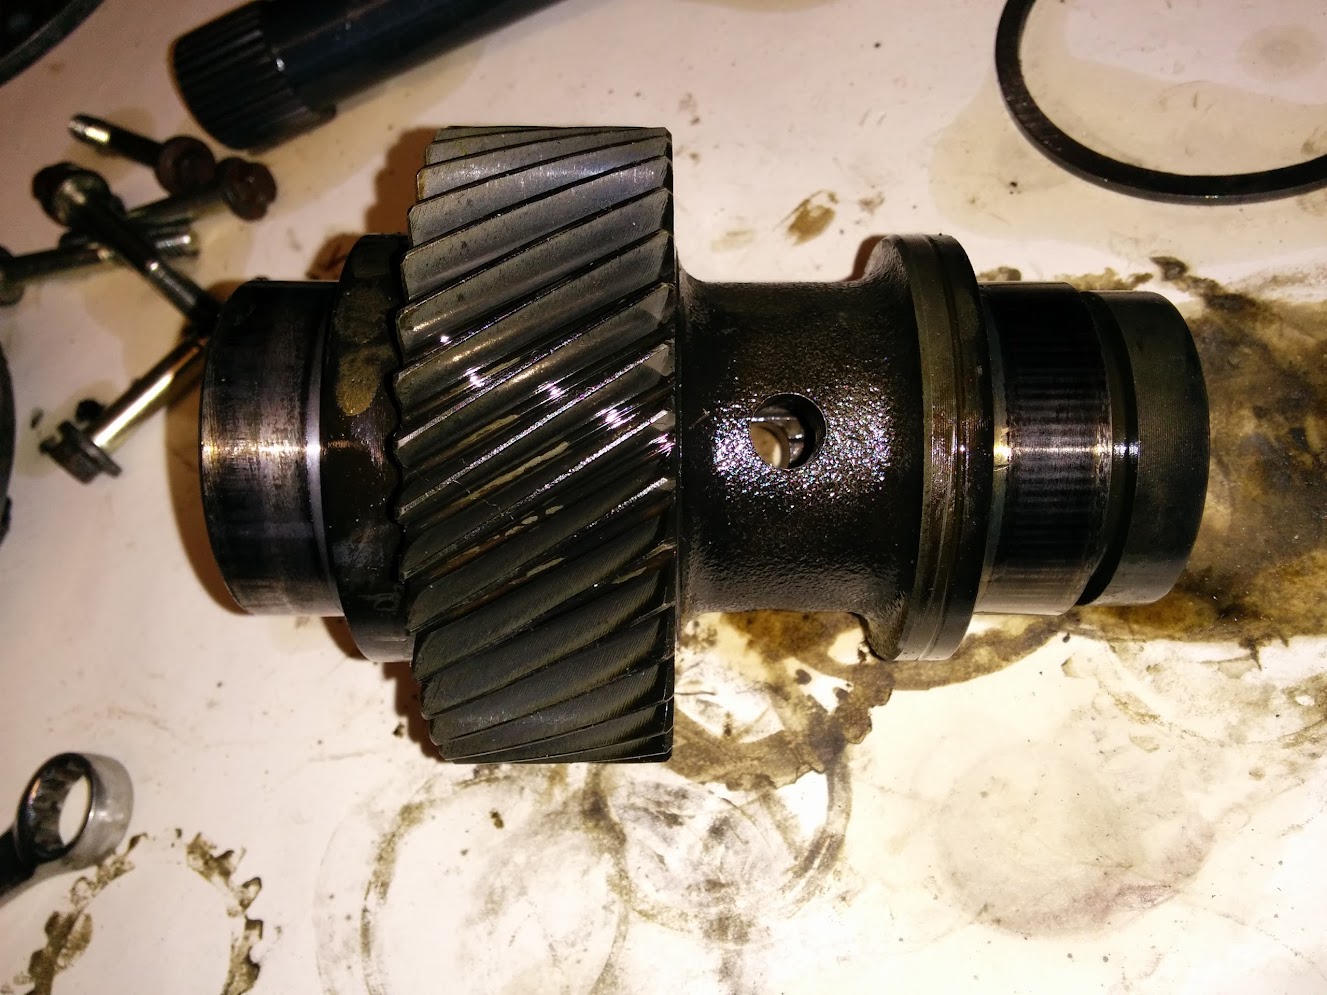
Input gear out, no sign of blueing:

IMG_20150105_173848.jpg


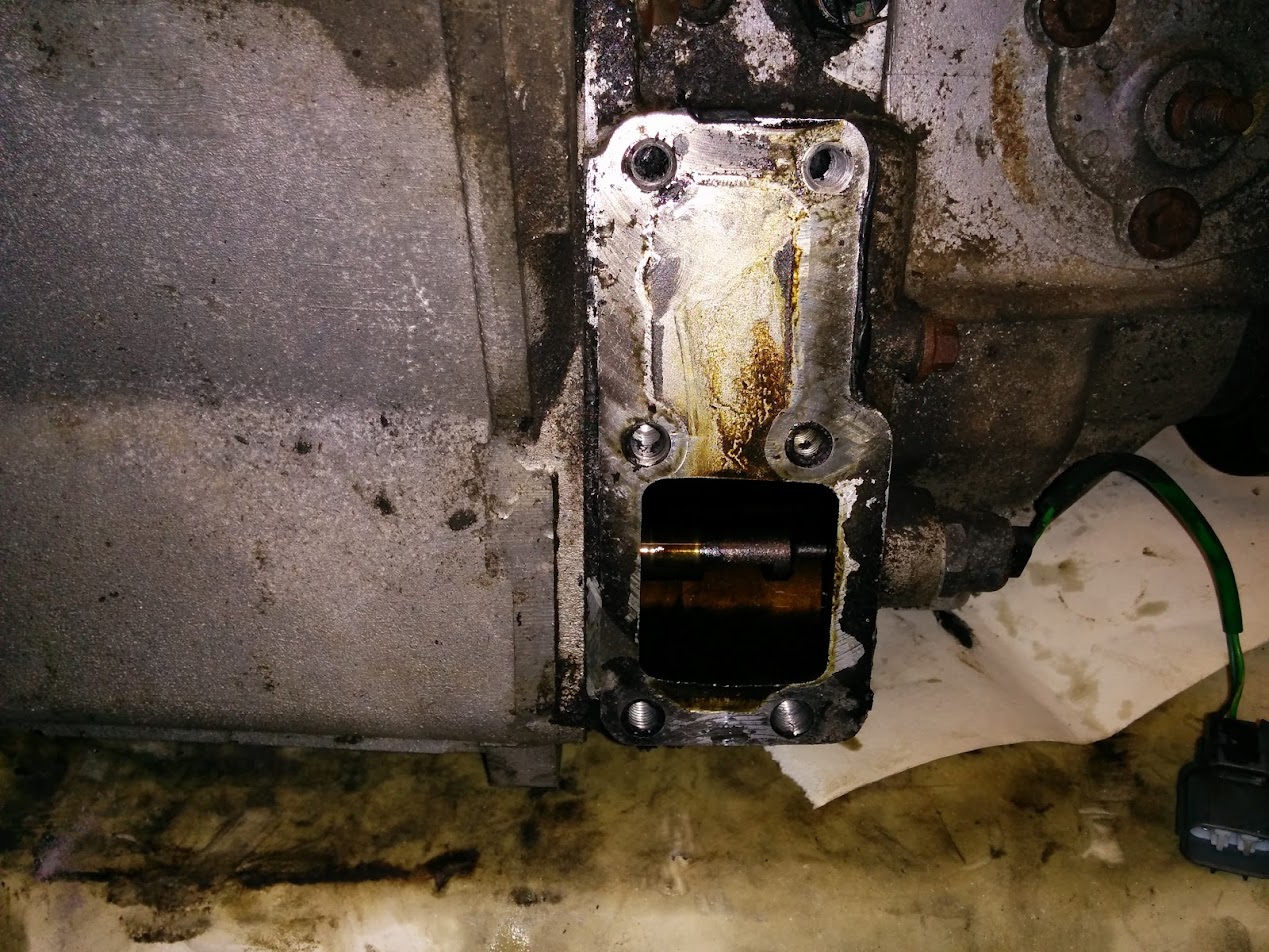
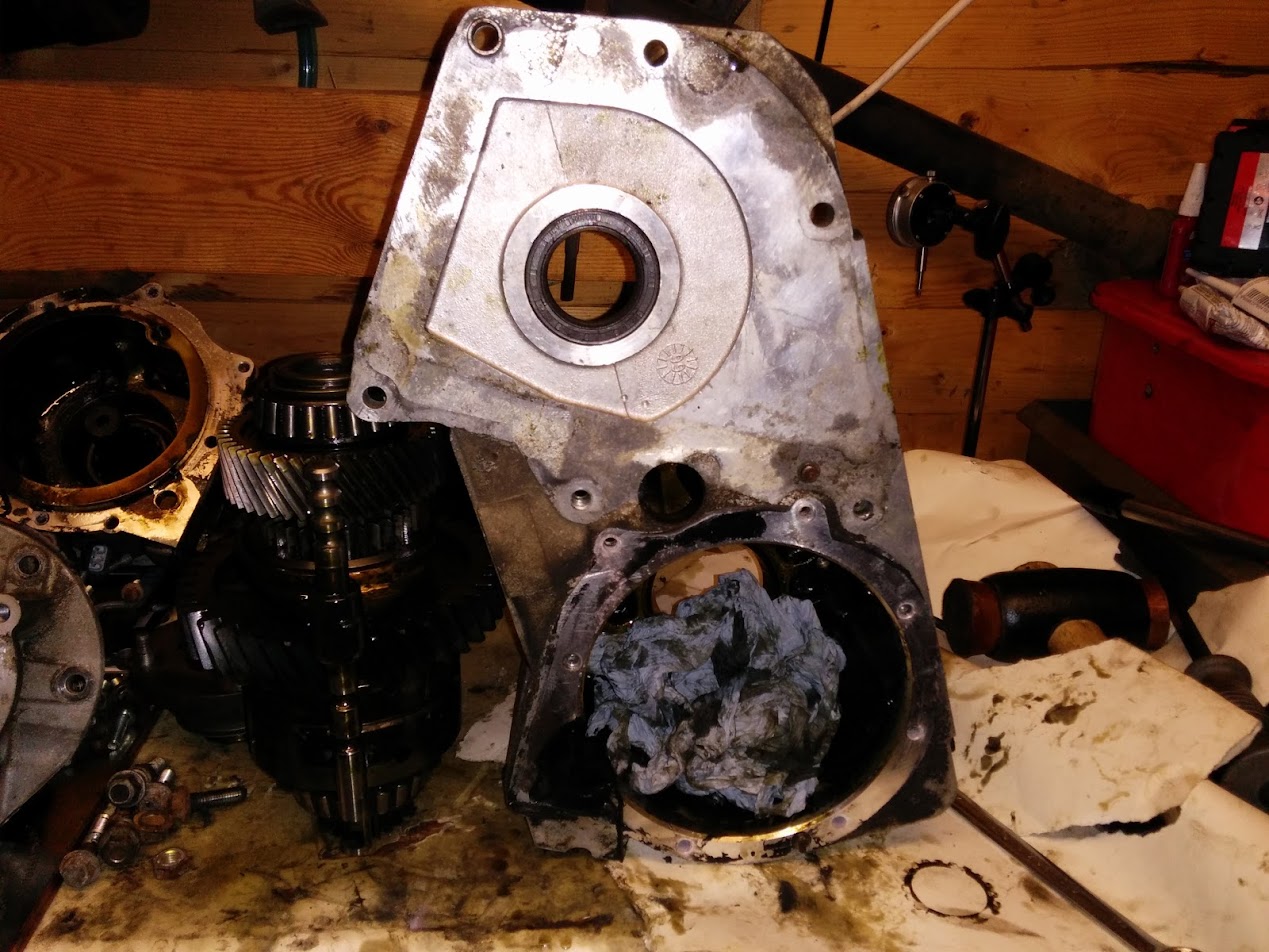
Sump cover off, bit mucky in there!:

IMG_20150105_180256.jpg


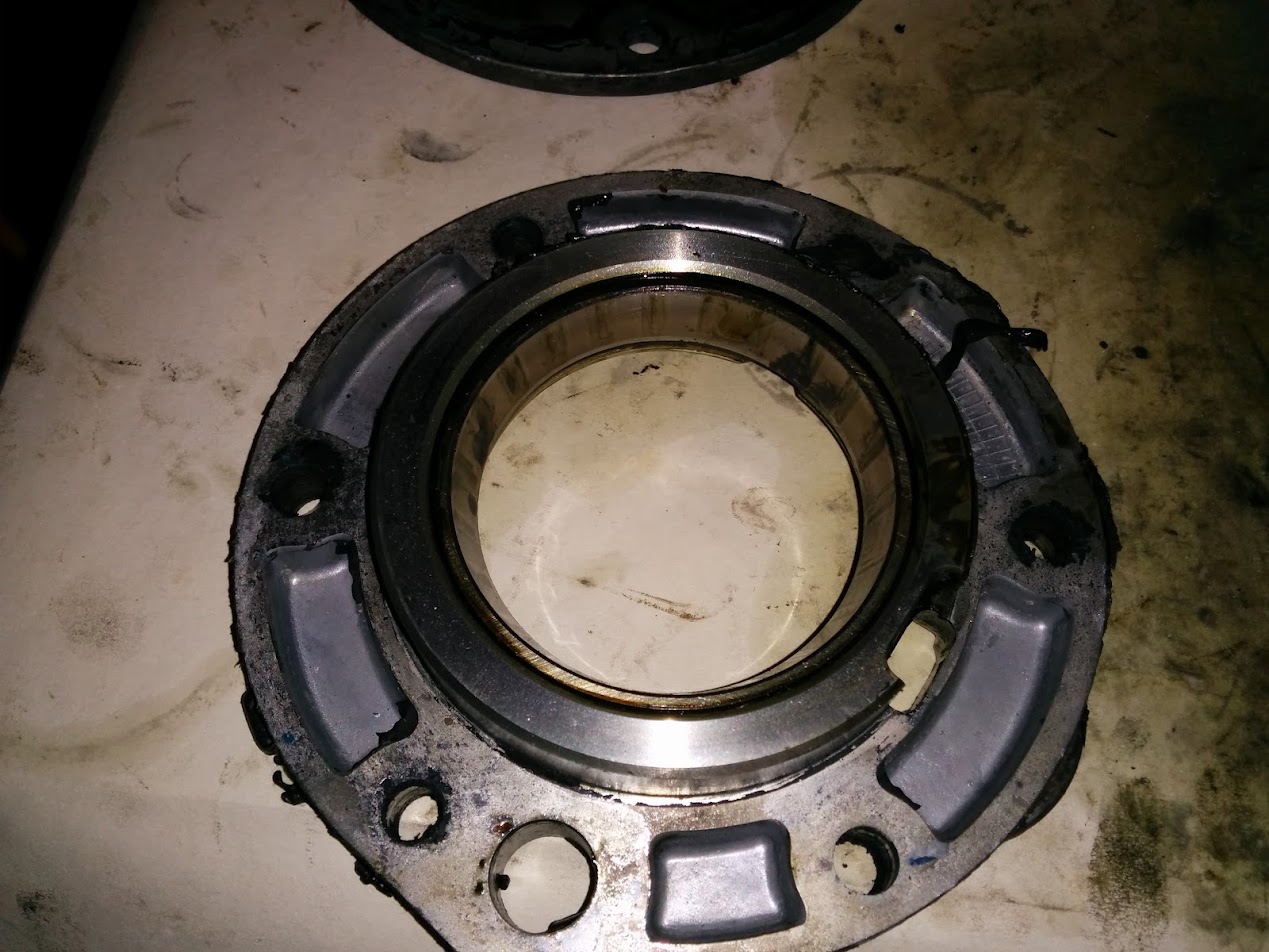
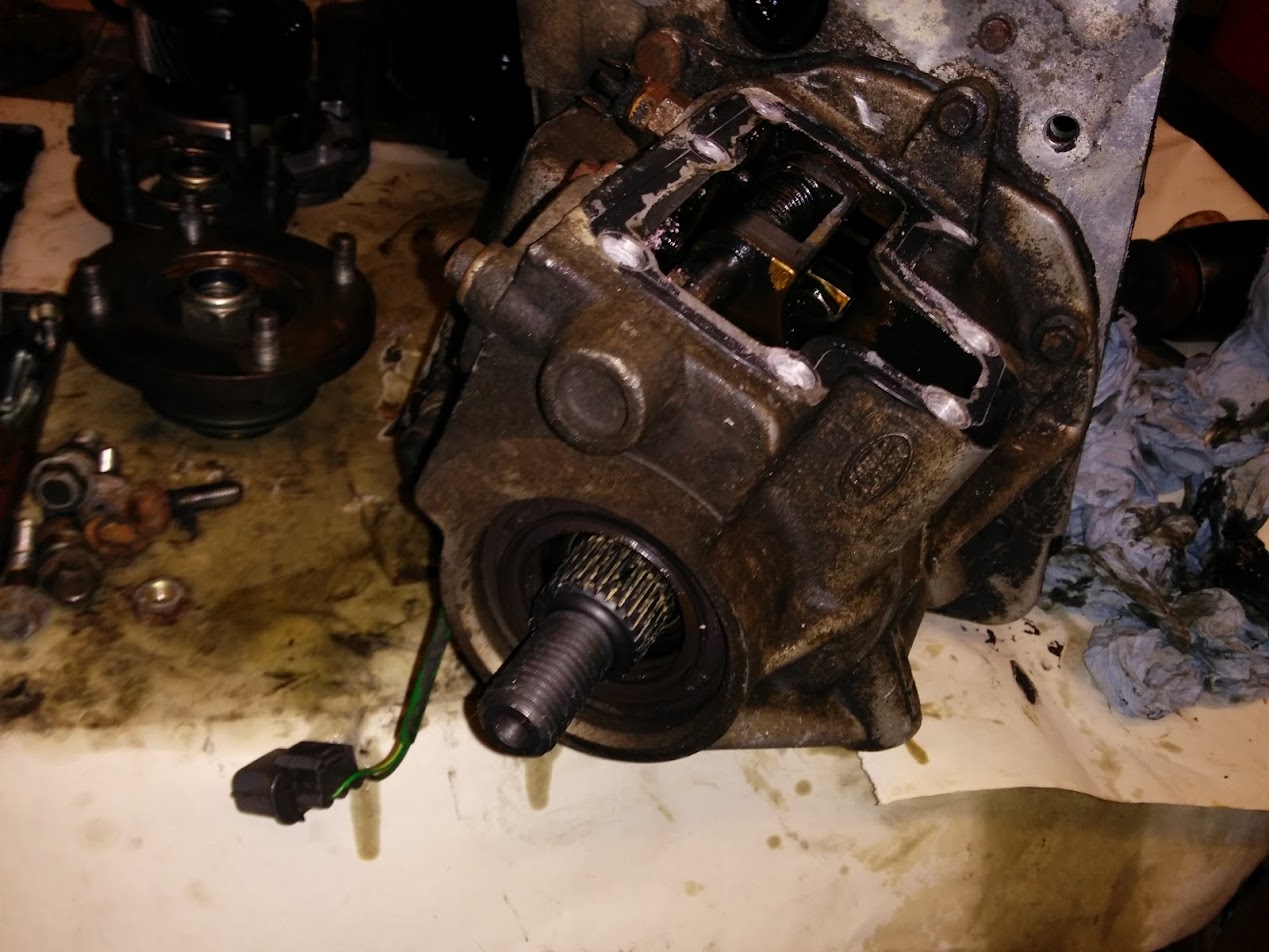
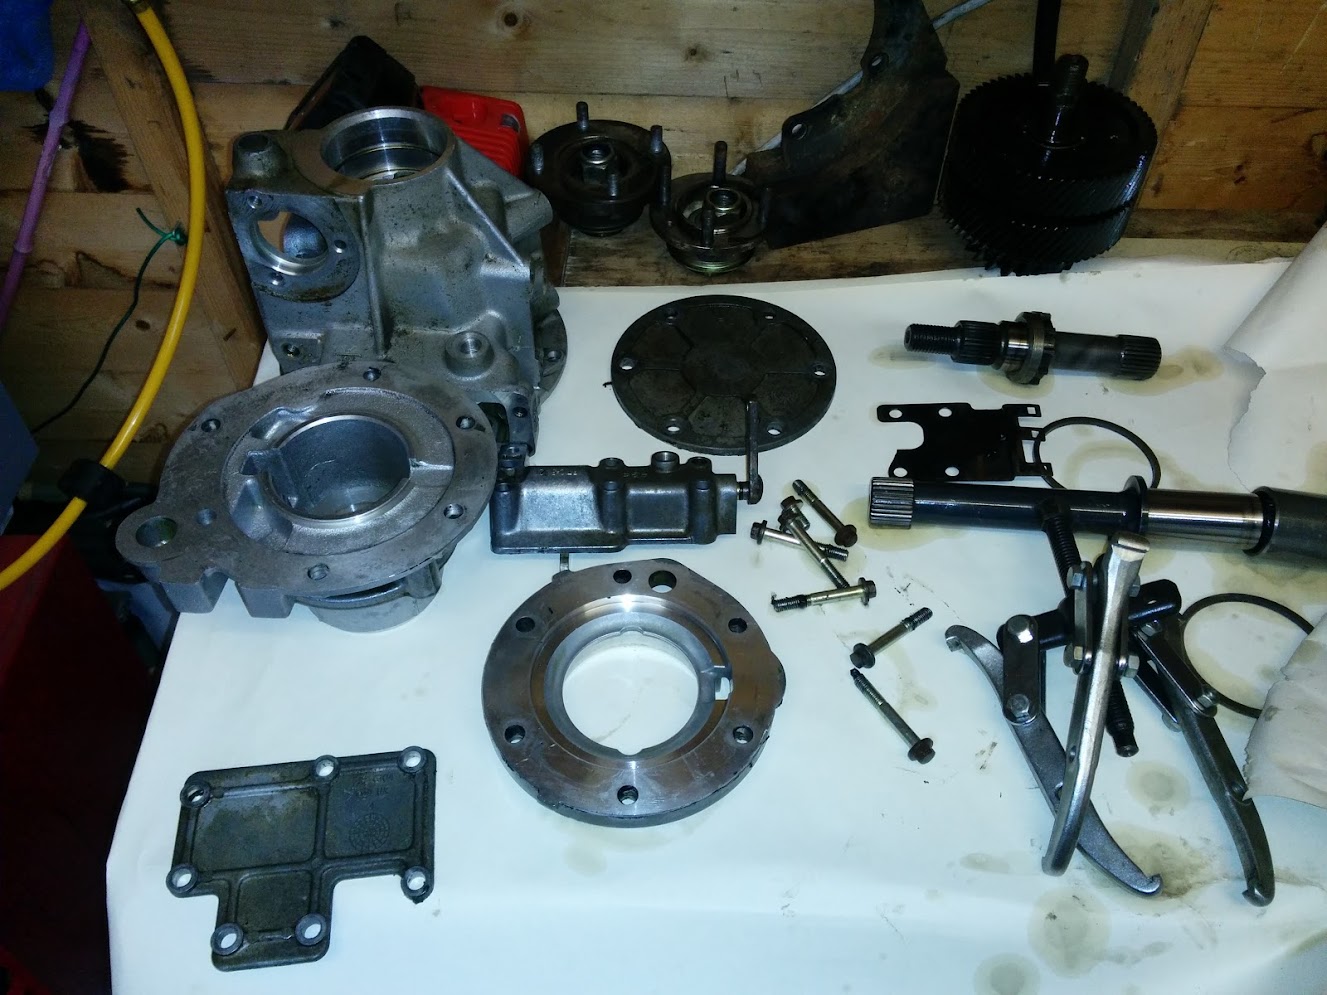
Front output flange and housing off:

1-x8xqimjTMIhBHkqfzP_hbao289jxTin88gjG_OEf0=w1269-h952-no


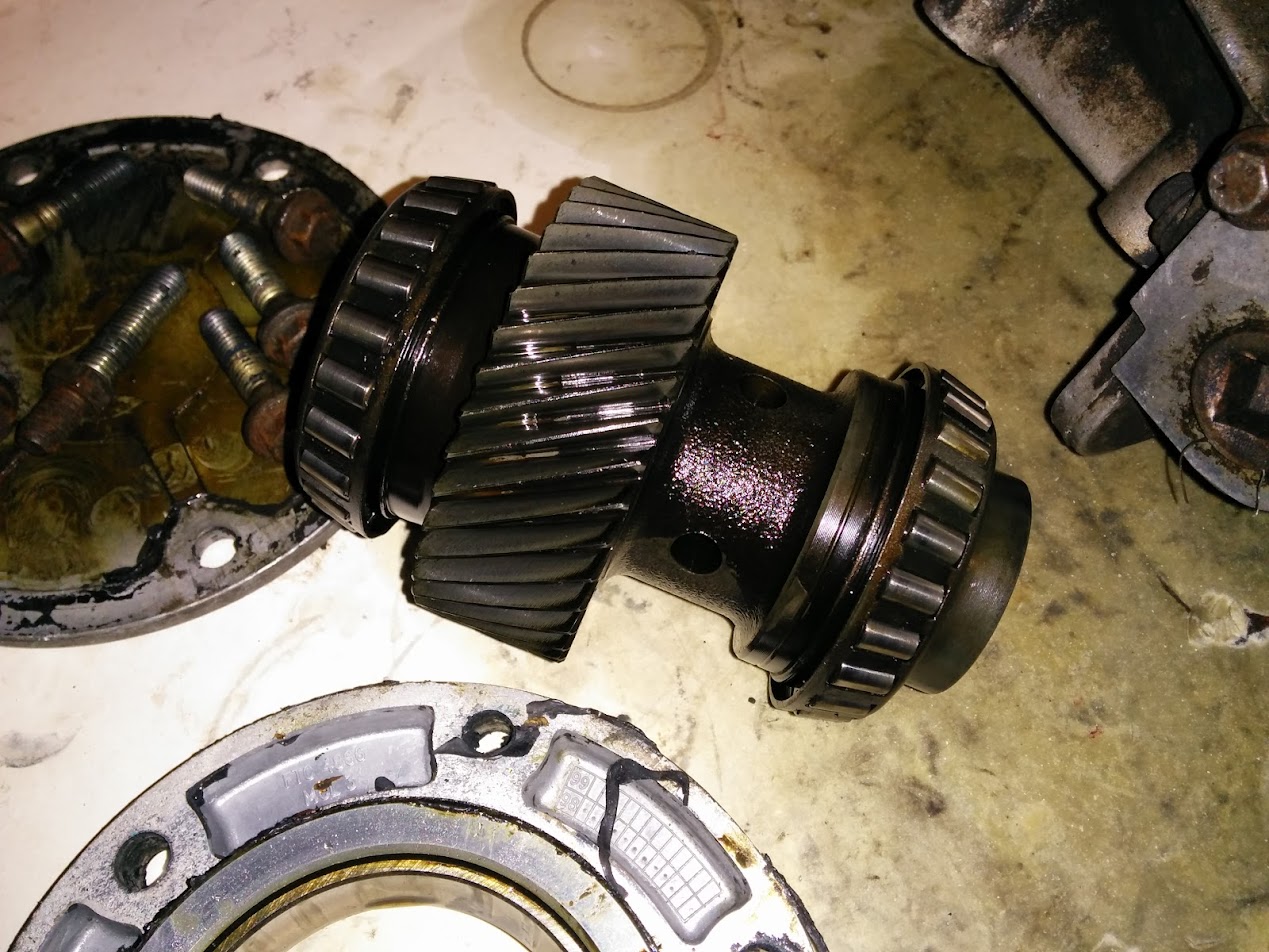
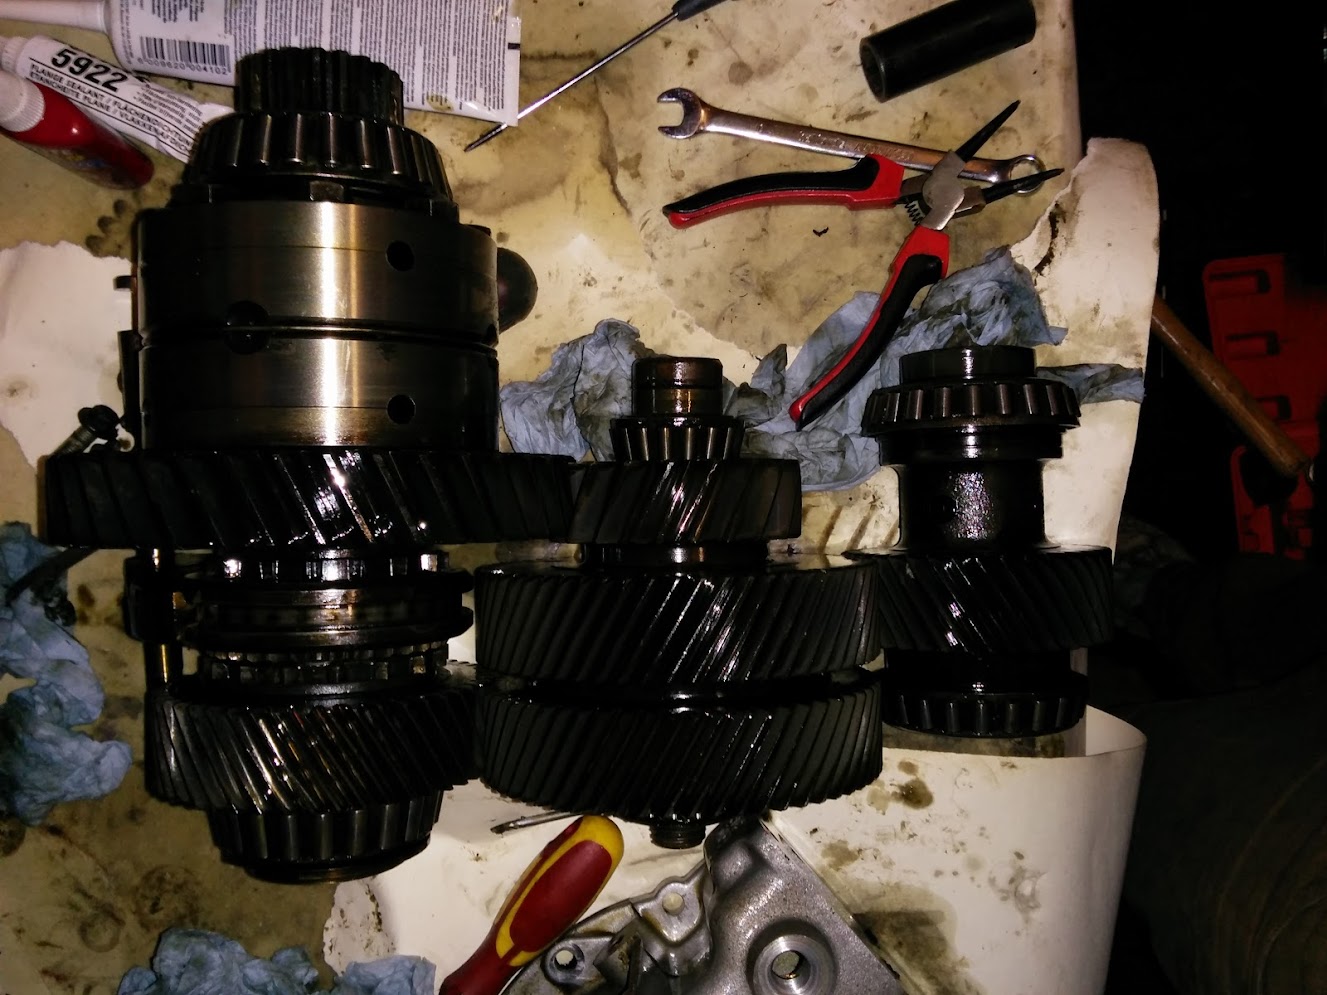
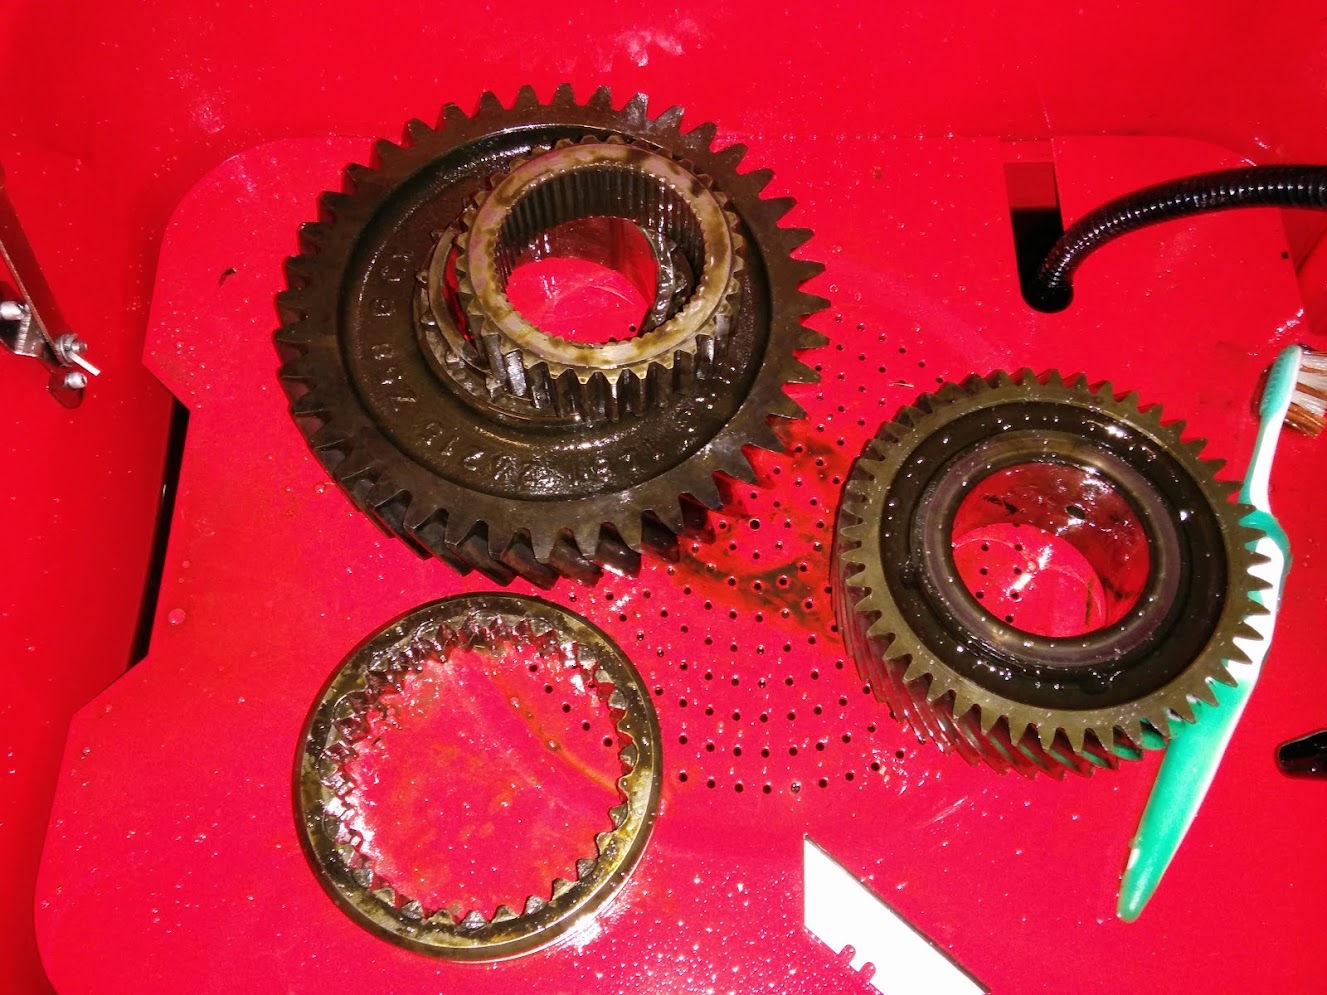
Intermediate gears out, they're in great shape, as are the bearings:

IMG_20150105_180534.jpg


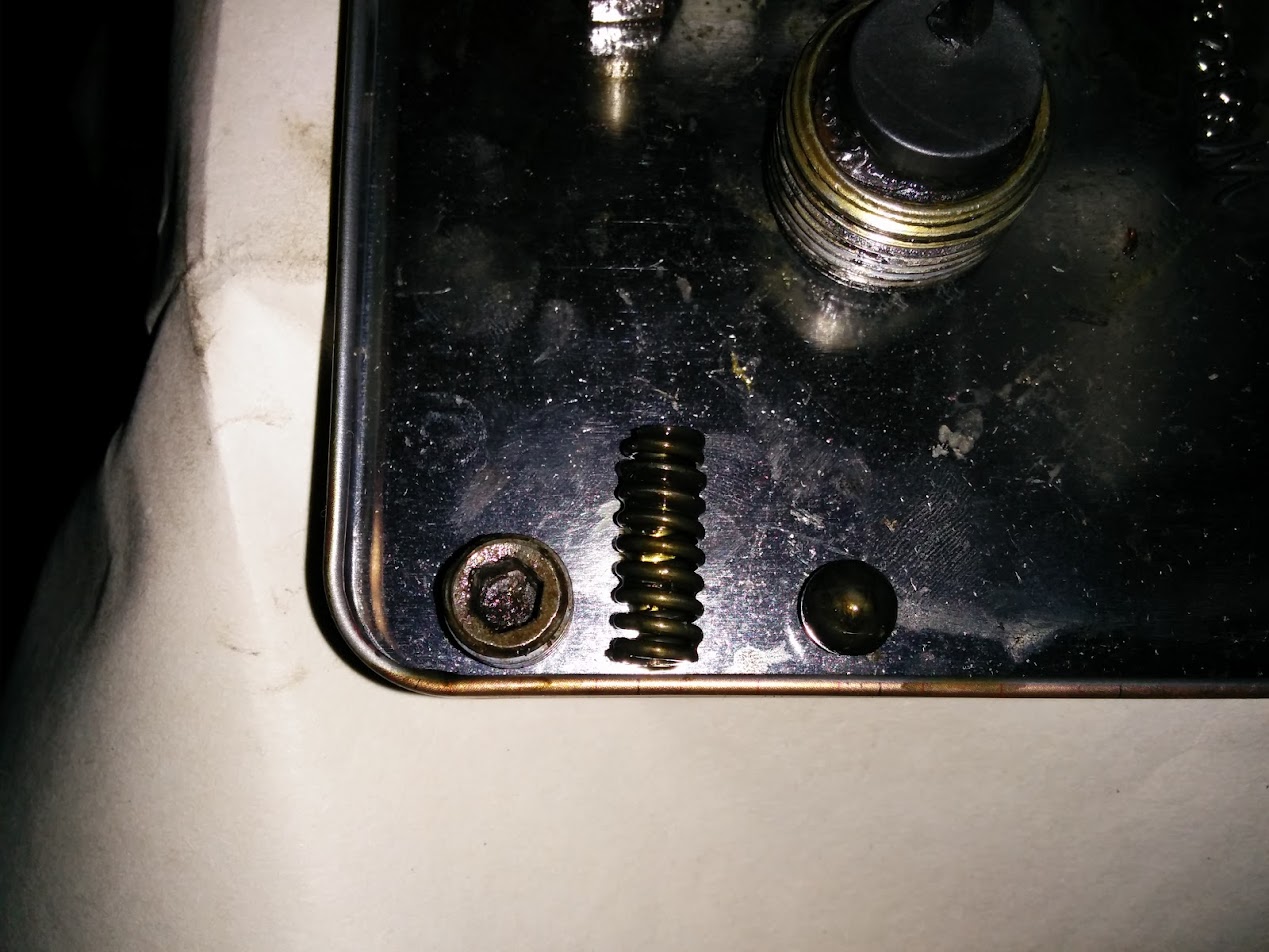
Sump plug and selector detent out:

IMG_20150105_182119.jpg


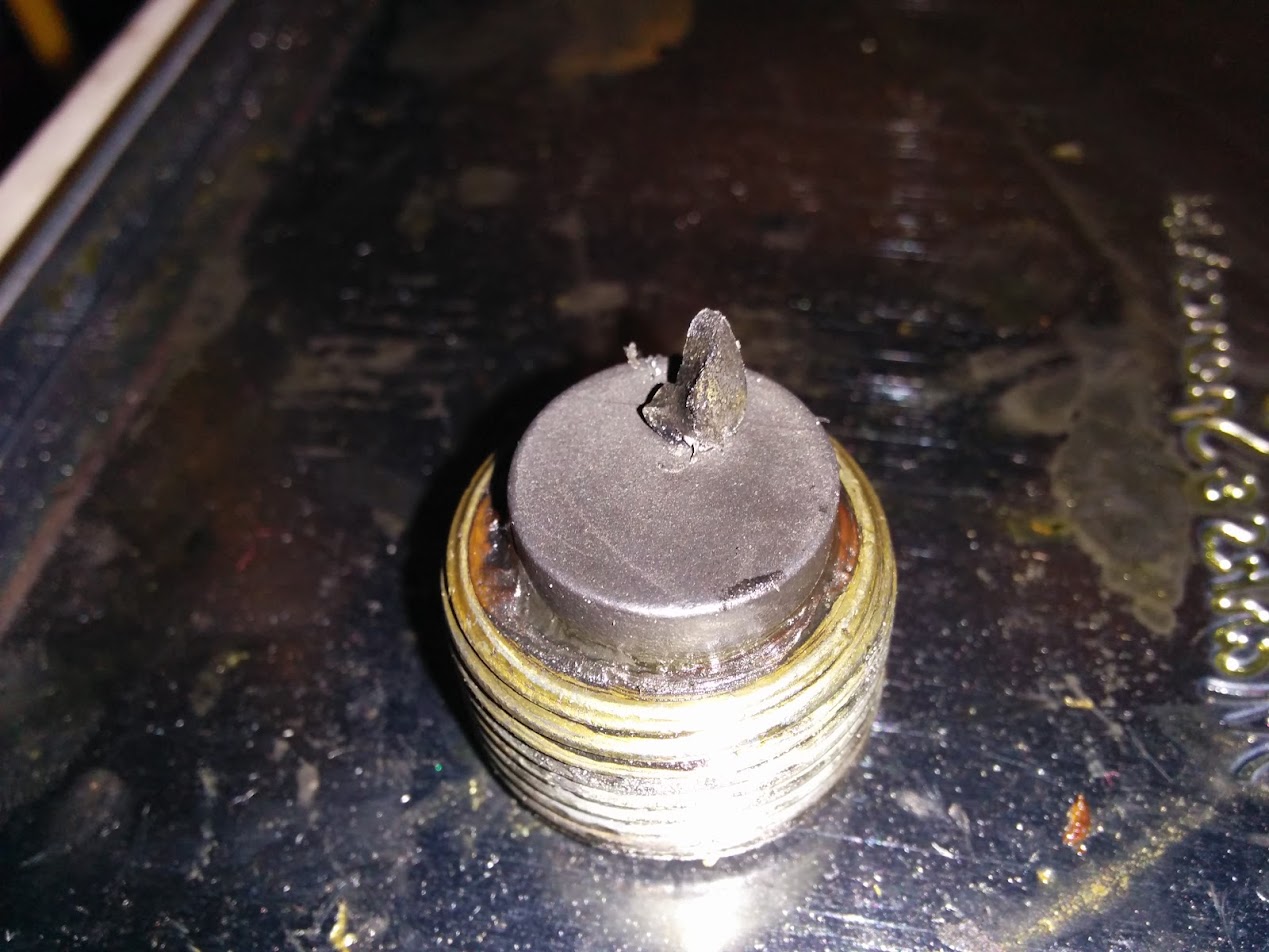
Found this lump on the sump plug, but can't find any corresponding broken bits yet:

IMG_20150105_180247.jpg


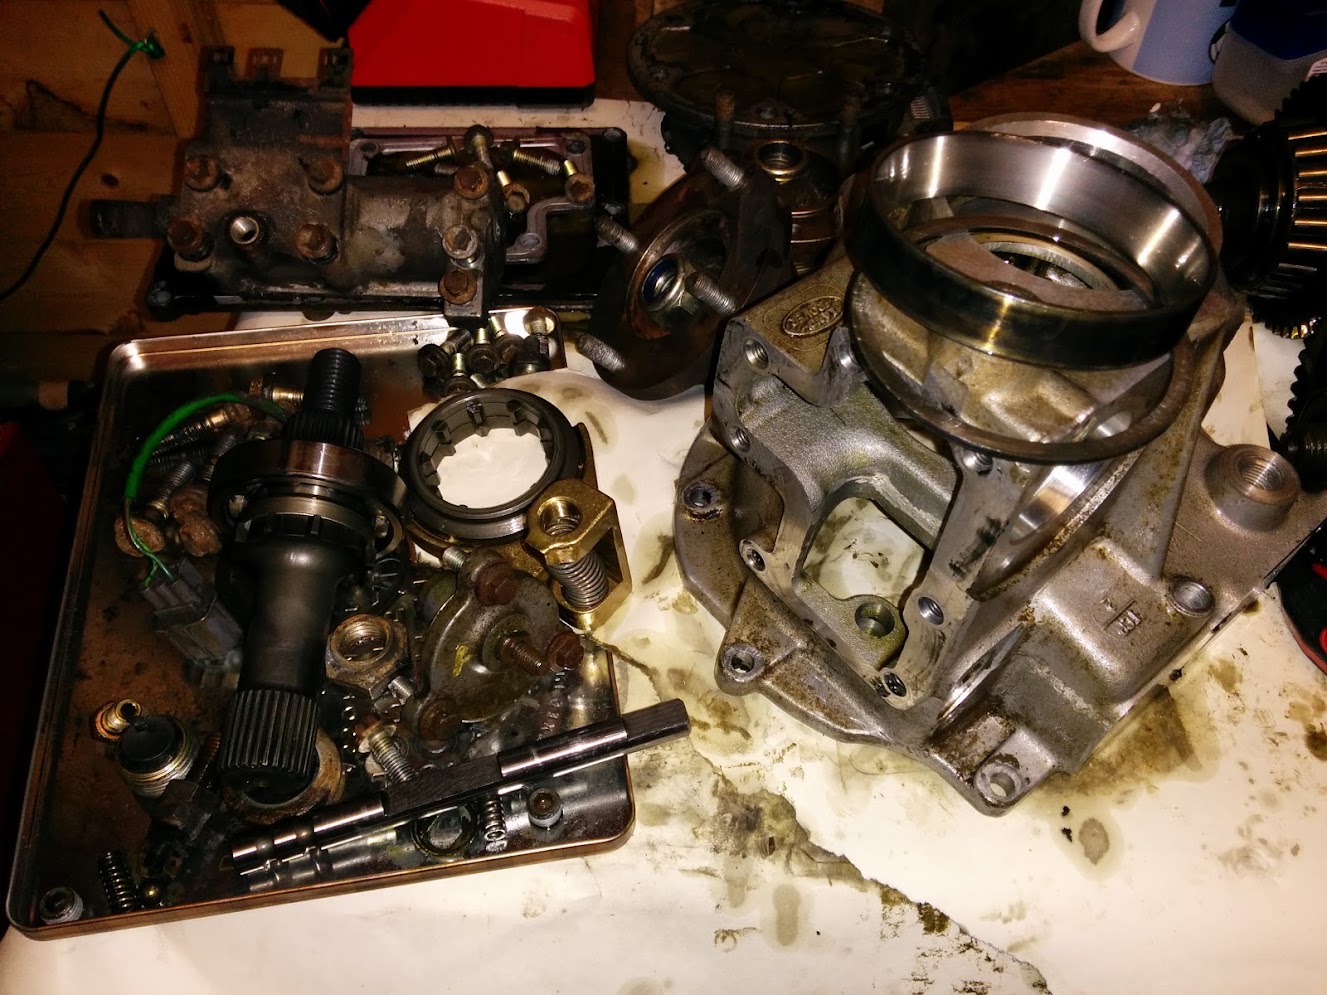
hi/lo selector housing off:

IMG_20150105_182226.jpg


CDL selector housing off, and front flange off:

IMG_20150105_182416.jpg


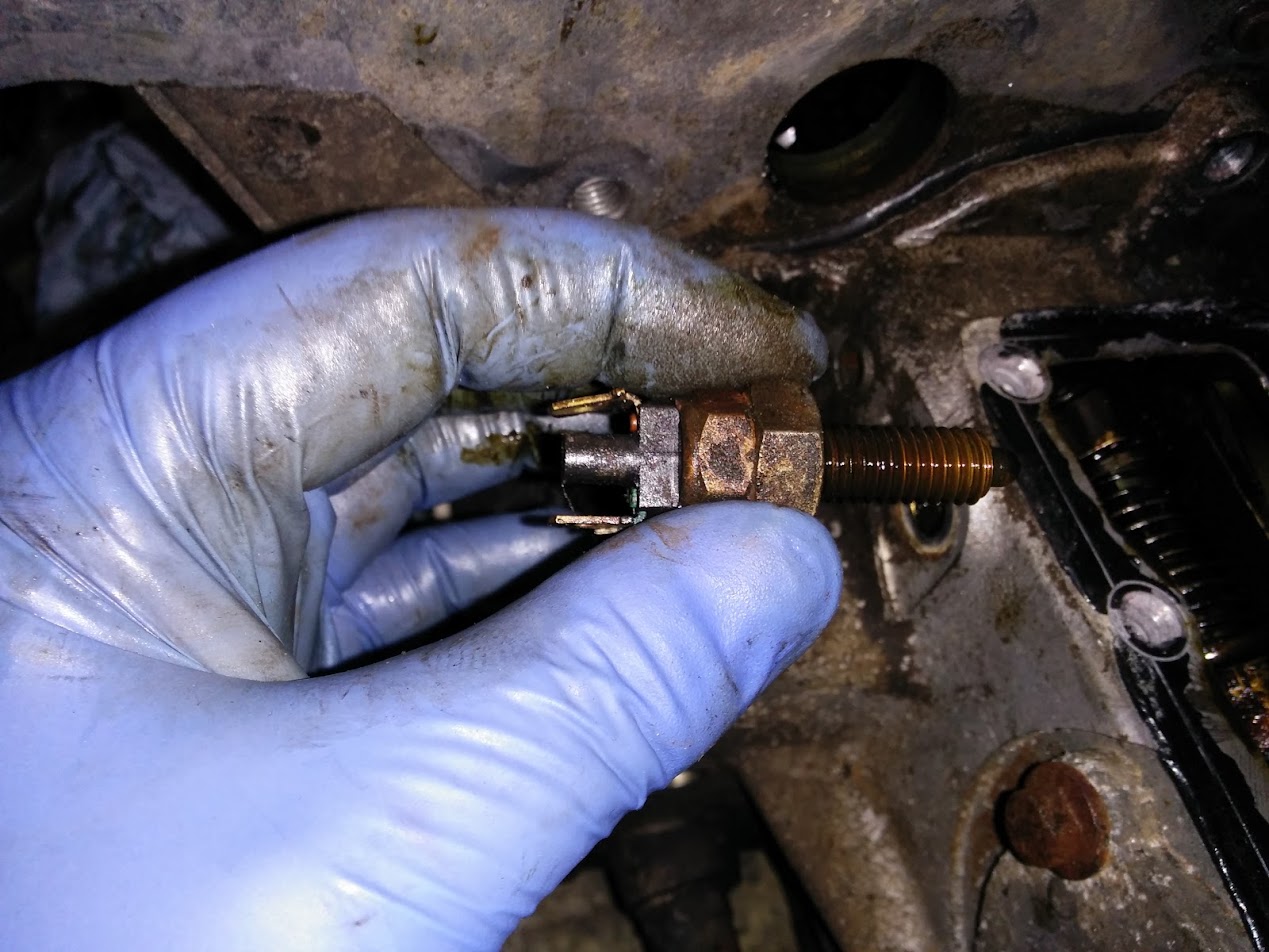
CDL switch out (to gain access to the bolt it obscures), one of the contacts is wobbly so I'll renew this:

IMG_20150105_182658.jpg


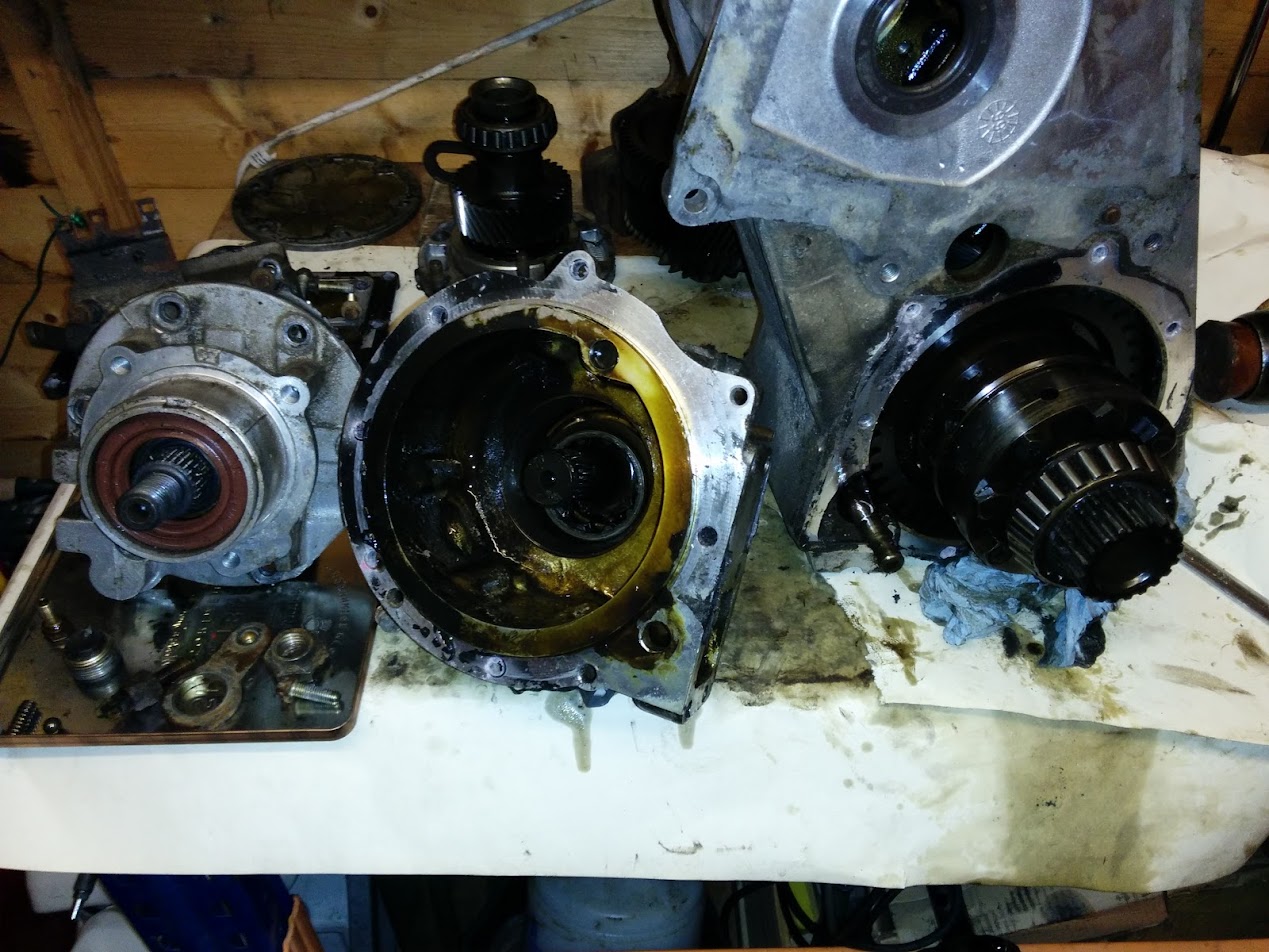
Front output housing off:

IMG_20150105_182906.jpg


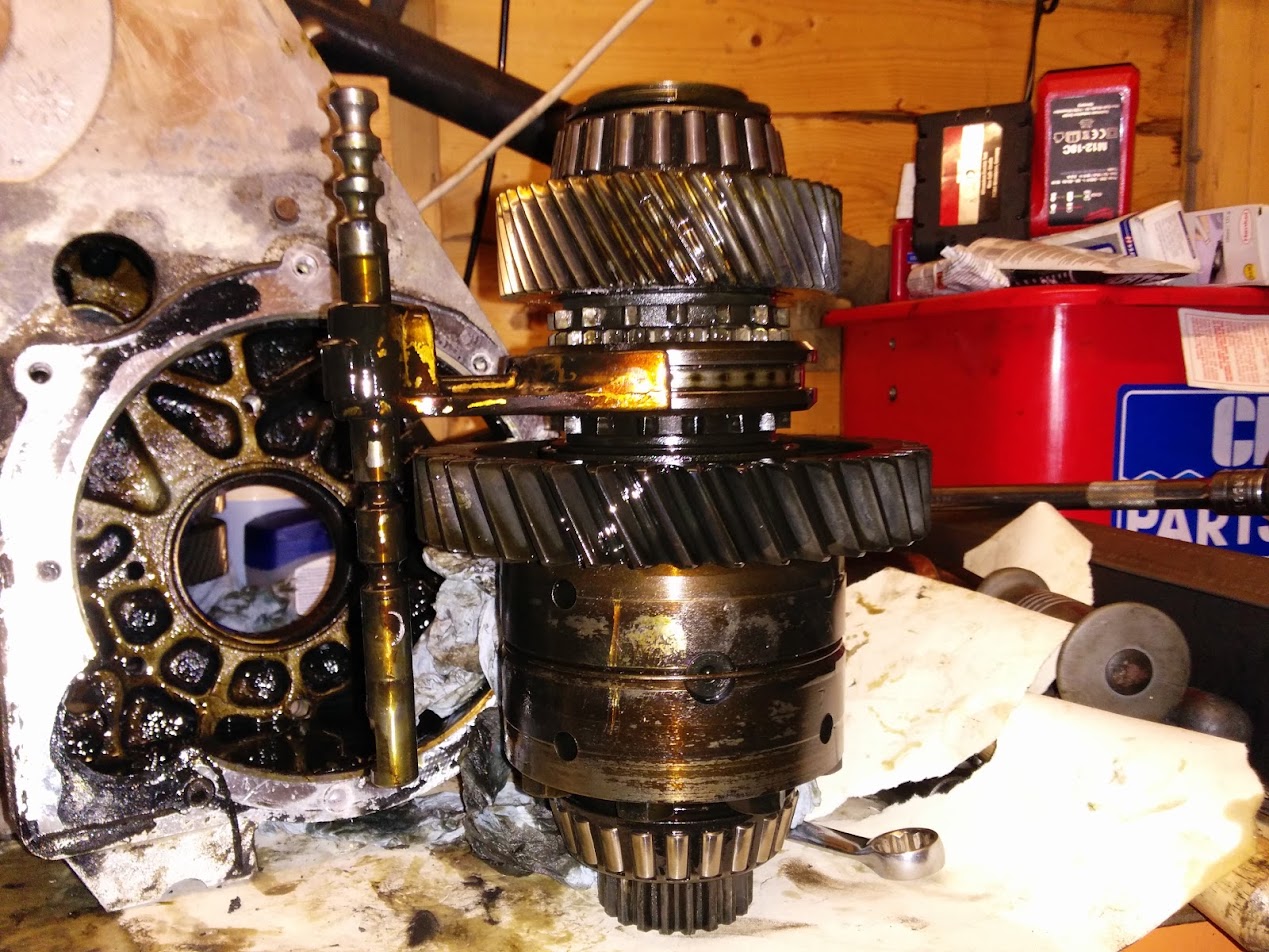
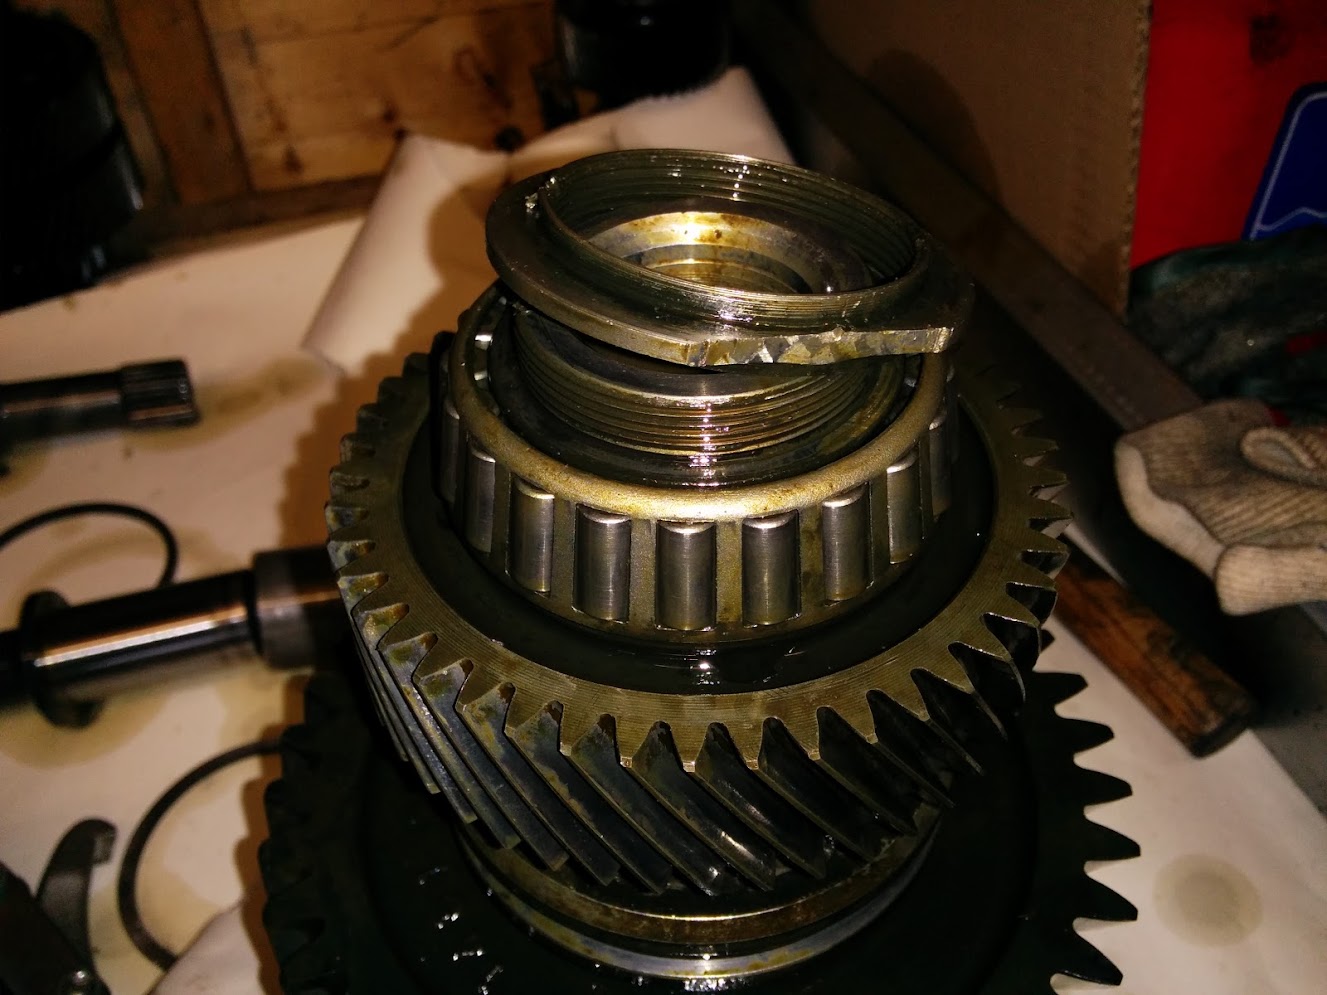
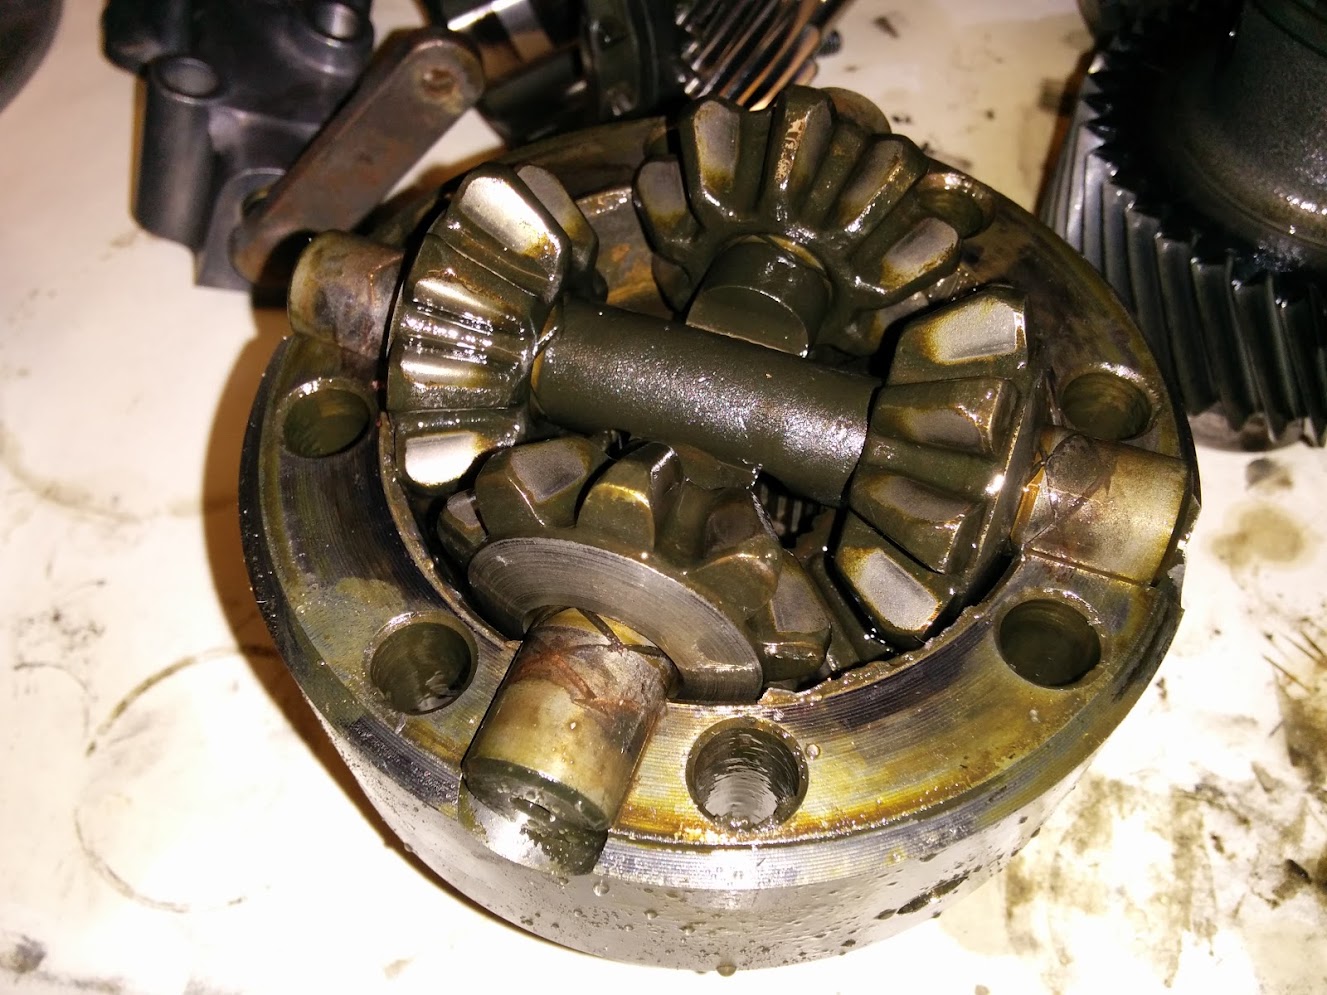
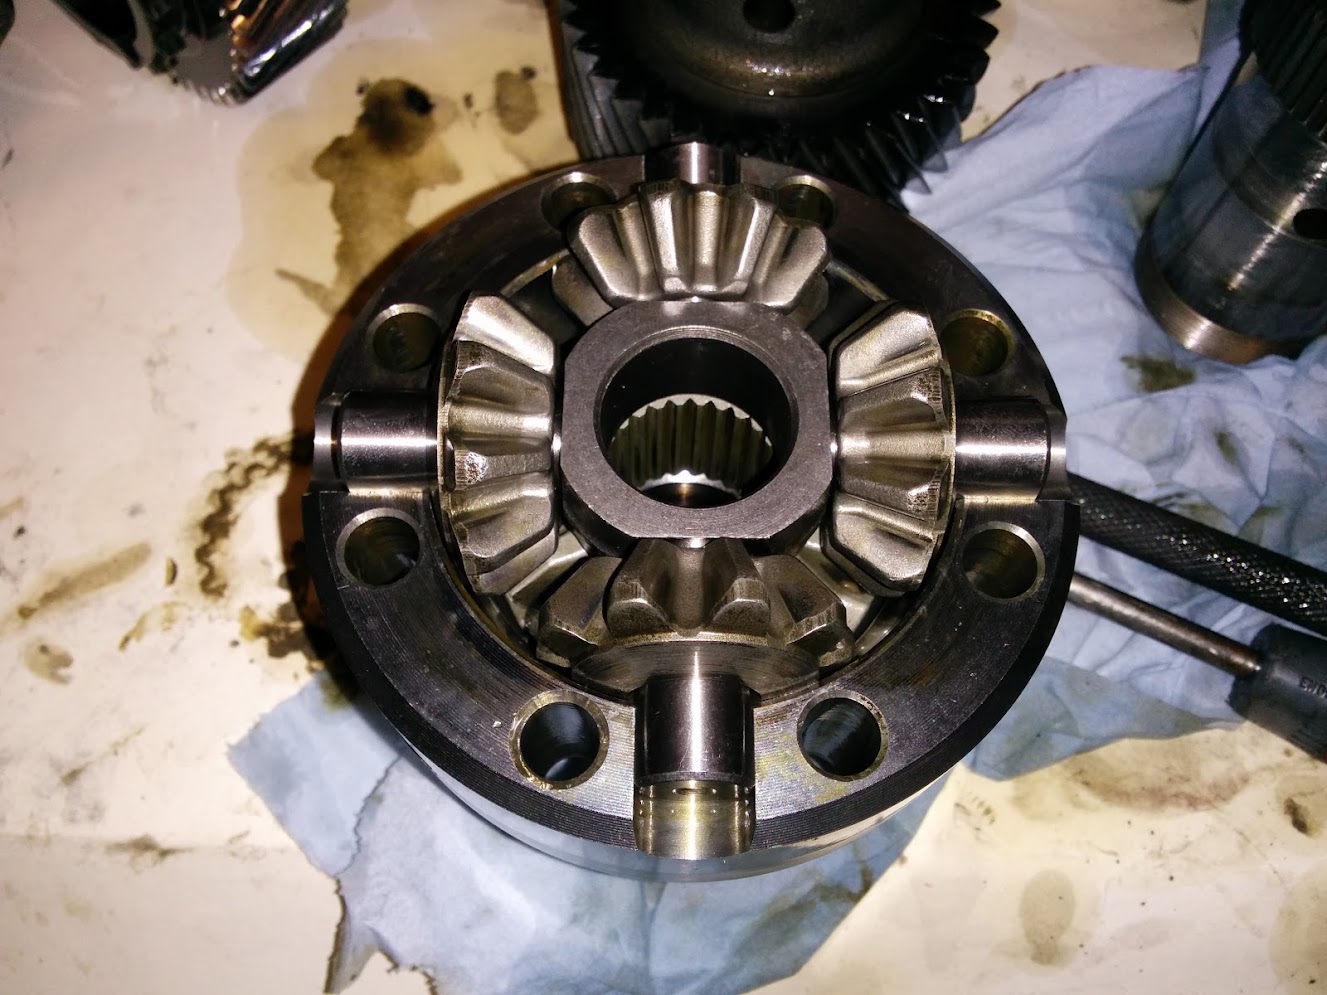
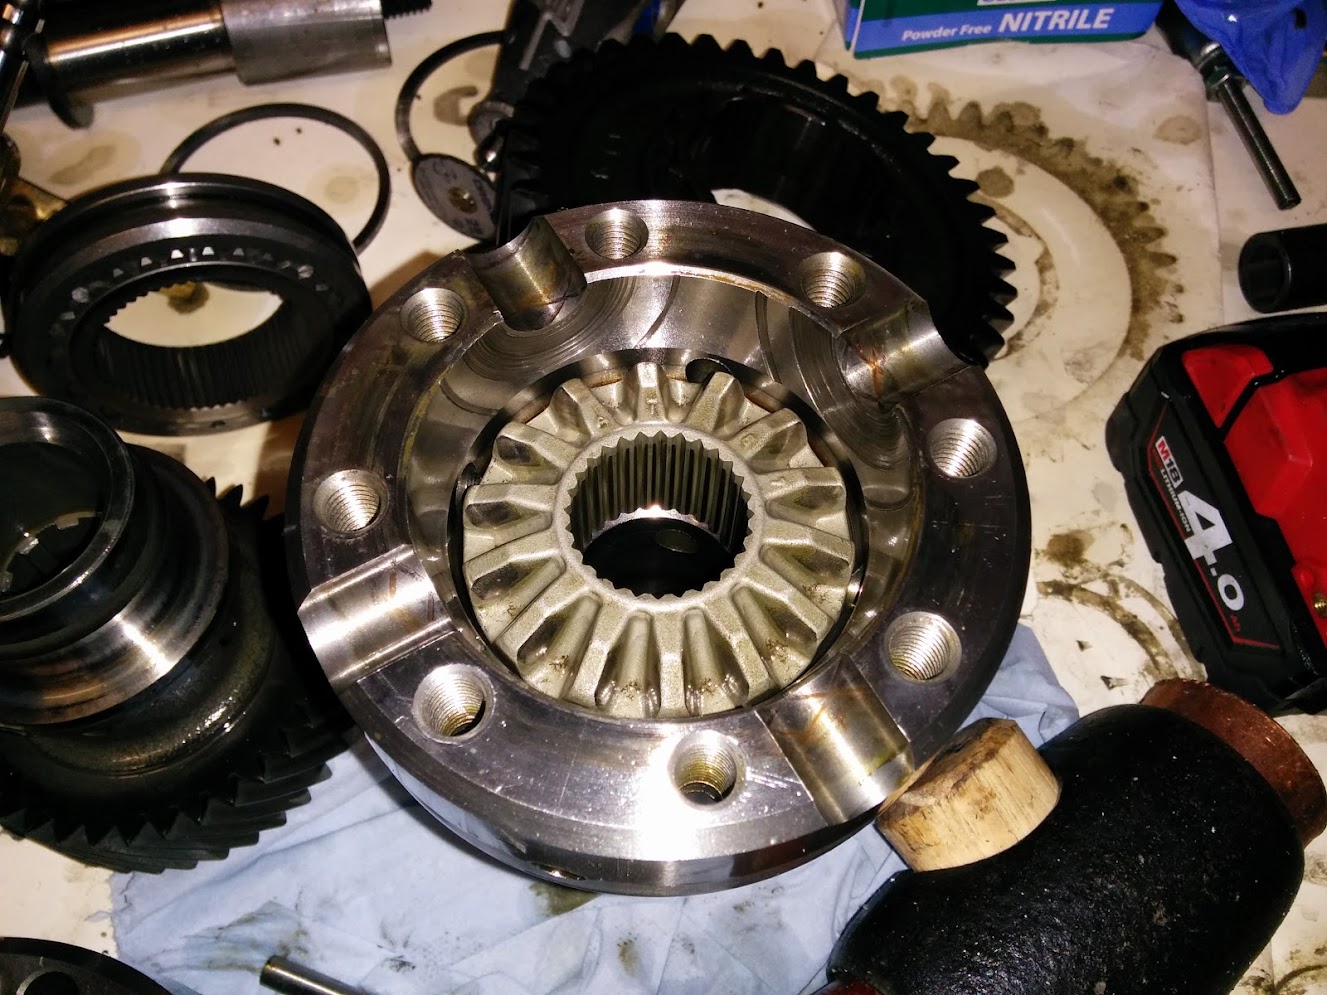
Centre diff mechanism and selector out, again no sign of any broken bits, the diff has alignment marks on it so I figure this has been stripped down before:
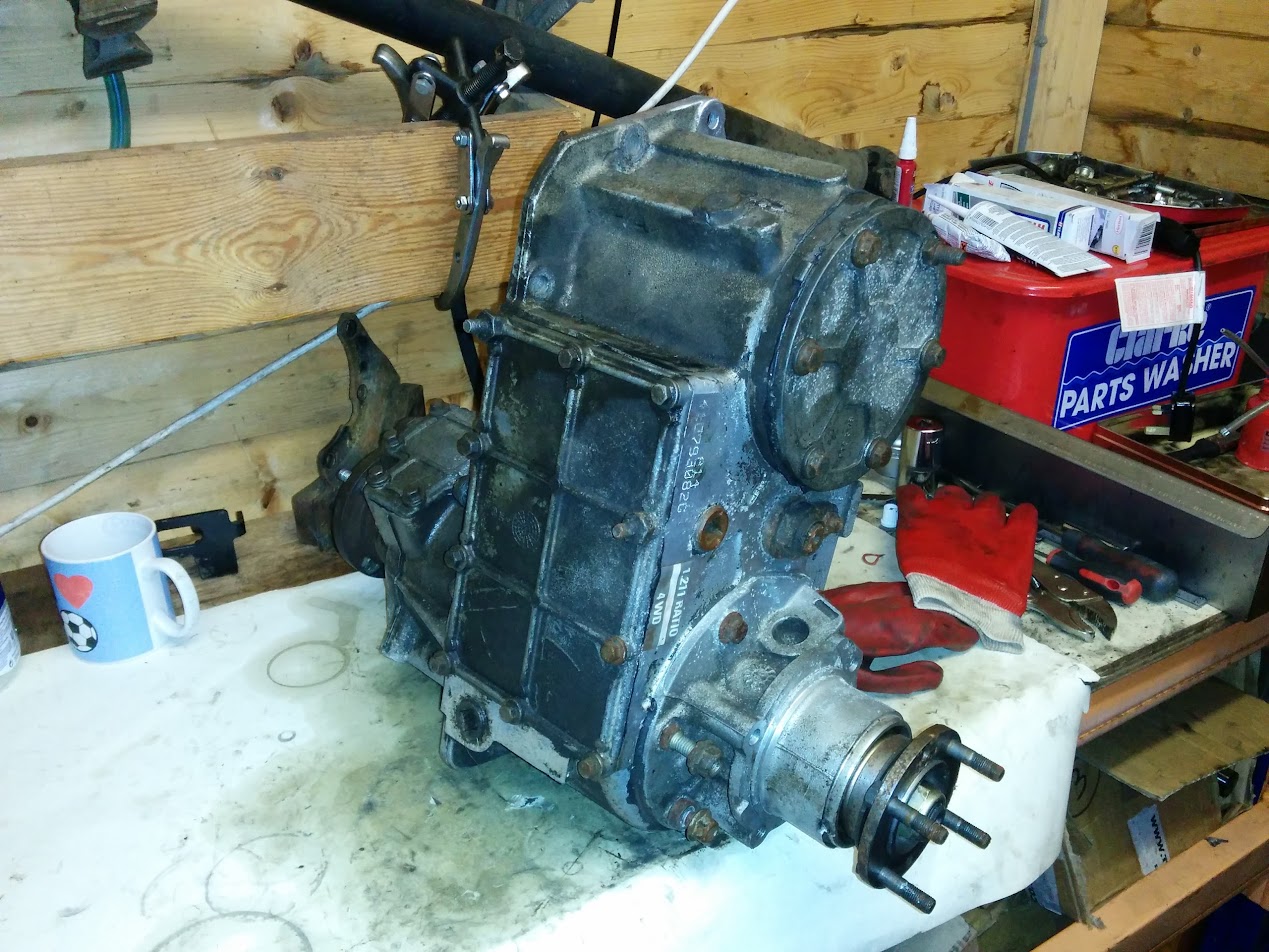
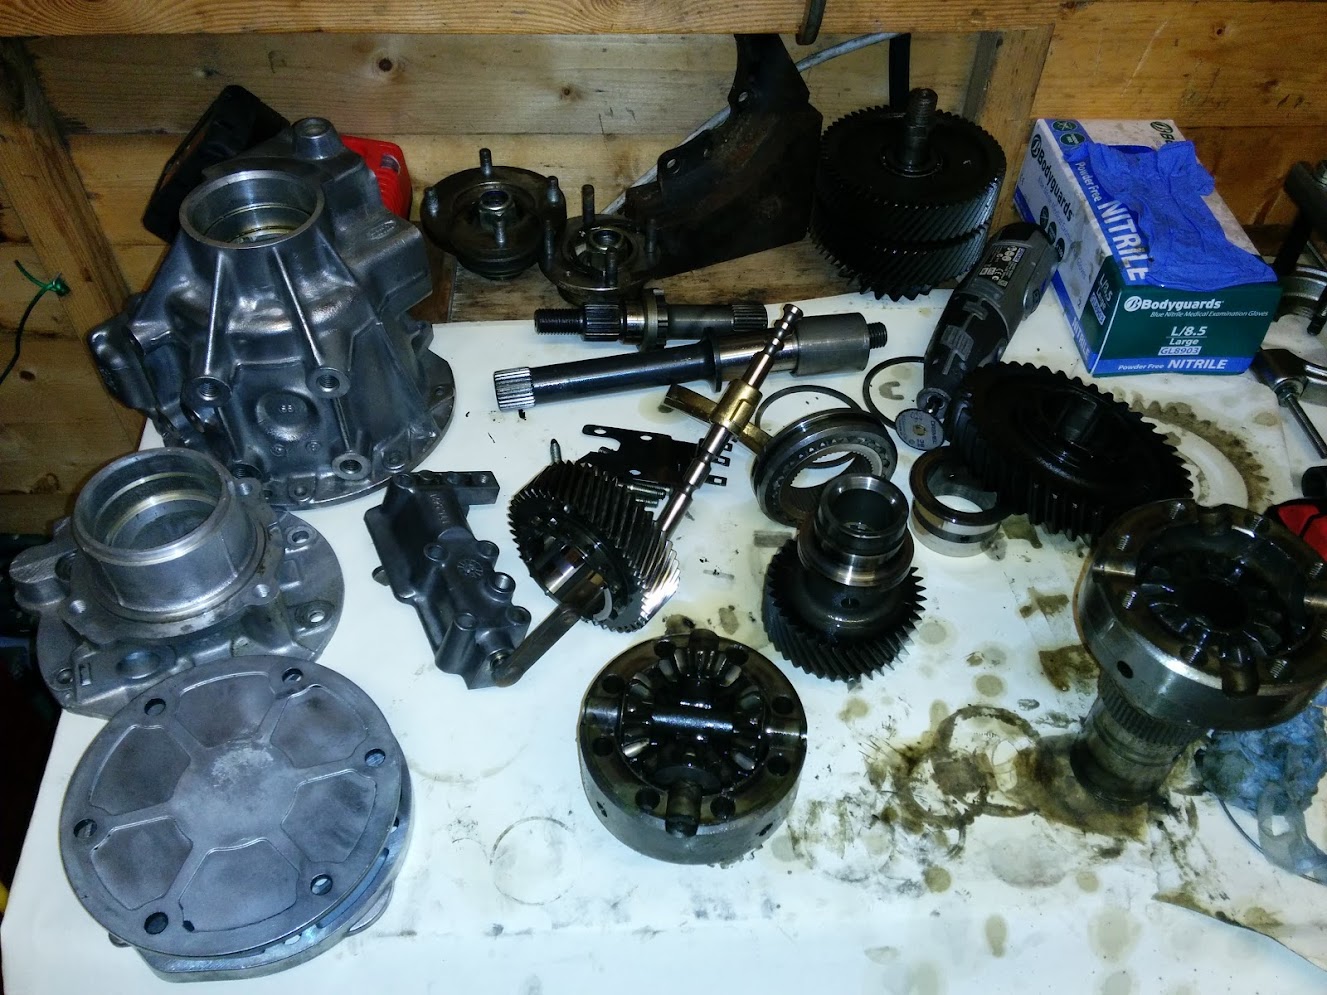
IMG_20150105_182950.jpg


One scrap case:

IMG_20150105_183121.jpg


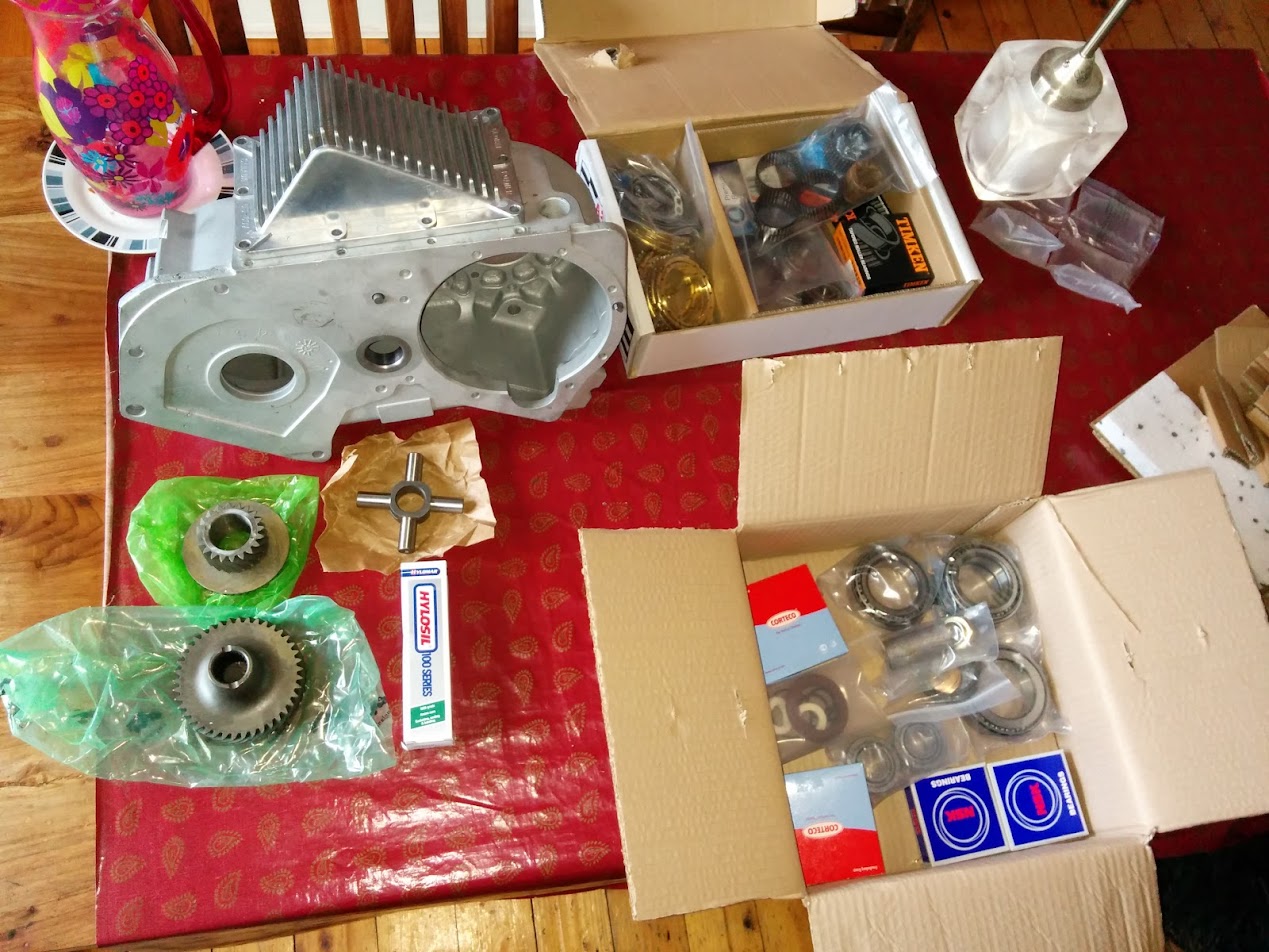
All the bits are going in the parts washer next before building into the new case... (old pic with the now used R380 rebuild items in)

IMG_20140218_145436.jpg
 
Last edited:
Treated the R380 to a new turret gaitor:

IMG_20150106_200506.jpg


Dismantled the LT230 front output housing and removed the bearing track.

IMG_20150106_213721.jpg


Case bits don't want to seem to clean up much.

Pic to show how all the gears mesh, everything is in constant mesh, the selector on the diff carrier locks either the hi or lo gear to the splines on itself to select the appropriate gear:

IMG_20150106_213729.jpg


Need some bigger internal circlip pliers, spent ages faffing with the pair I have.
 
Just been thinking about how best to clean up the front & rear housings of this t-box, want to avoid wire brushing them because the existing finish looks good besides the oil/algae on them.

Would a solvent like acetone work well do you think? I've been using paraffin which works well for the oil based stuff but aint so great with the organics.
 
Had to empty out the paraffin from the parts washer, it was really really really bloody skanky, there was 5mm of sludge/metal/crap/TOXIC WASTE in the bottom of it, nasty!

Chucked in another 12 litres of clean paraffin and cleaned up the bits I need from the donor t-box.

Seems to be cleaning better now, :clap2:

Going to get a brass brush on the front/rear housings then lacquer them up before finishing the build.
 
Did some cleaning in the parts washer - will need to wire brush some of the bits, they aint as shiny as I'd like :D

IMG_20150109_115911.jpg


Pulled the bearings off the output shafts:

IMG_20150109_115917.jpg


Popped the bearing retaining nut off the diff carrier, cheers to James for telling me to use a stilson and avoid splashing out on yet another tool (I'm a fool with money!). You can see the gold sheen on everything from the ground to paste brass thrust washers which live in the diff:

IMG_20150109_115922.jpg


Pulled bearings off the diff carrier:

IMG_20150109_120246.jpg


IMG_20150109_123242.jpg


Ready for cleaning up:

IMG_20150109_123248.jpg


Pulled the bearings off the input gear:

IMG_20150109_124523.jpg
 
Yeah it's a bugger that retainer nut!

Having said that, a couple of cases I've done the nut has been loose!! :eek:
thats quite common,and dont forget sun gear washers are sized to enable you to get correct load on diff gears ,.and diff case halves are marked so that they go back together correct
 
thats quite common,and dont forget sun gear washers are sized to enable you to get correct load on diff gears ,.and diff case halves are marked so that they go back together correct

Yeah you mentioned the sun gear washers before, the ashcrofts kit I have has 2 in but it's pot luck they'll be correct thickness I guess!
 
Yeah it's a bugger that retainer nut!

Having said that, a couple of cases I've done the nut has been loose!! :eek:

Not surprised tbh.

Now that I've got this one sat in bits I can't help but think... hmm if I put 35" tyres on I could put a 1.4 gear set in it.... :lol::lol:
 
Did some more taking apart and cleaning....

Wire brushed the case bits, and all the other stuff cleaned in the parts washer, diff carrier split:

IMG_20150109_194632.jpg


Gears look good:

IMG_20150109_194647.jpg


And cleaned with the Ashcroft's HD cross pin test fitted:

IMG_20150109_200958.jpg


T'other end:

IMG_20150109_201002.jpg


Just got to pull the bearing races out of the intermediate gears and it can be reassembled in the new case.
 
Back
Top