andyfreelandy
Well-Known Member
- Posts
- 6,128
- Location
- Devon
So - done this now. Thanks to all above particularly Alibro for the info. Thought I'd share the learning !!!
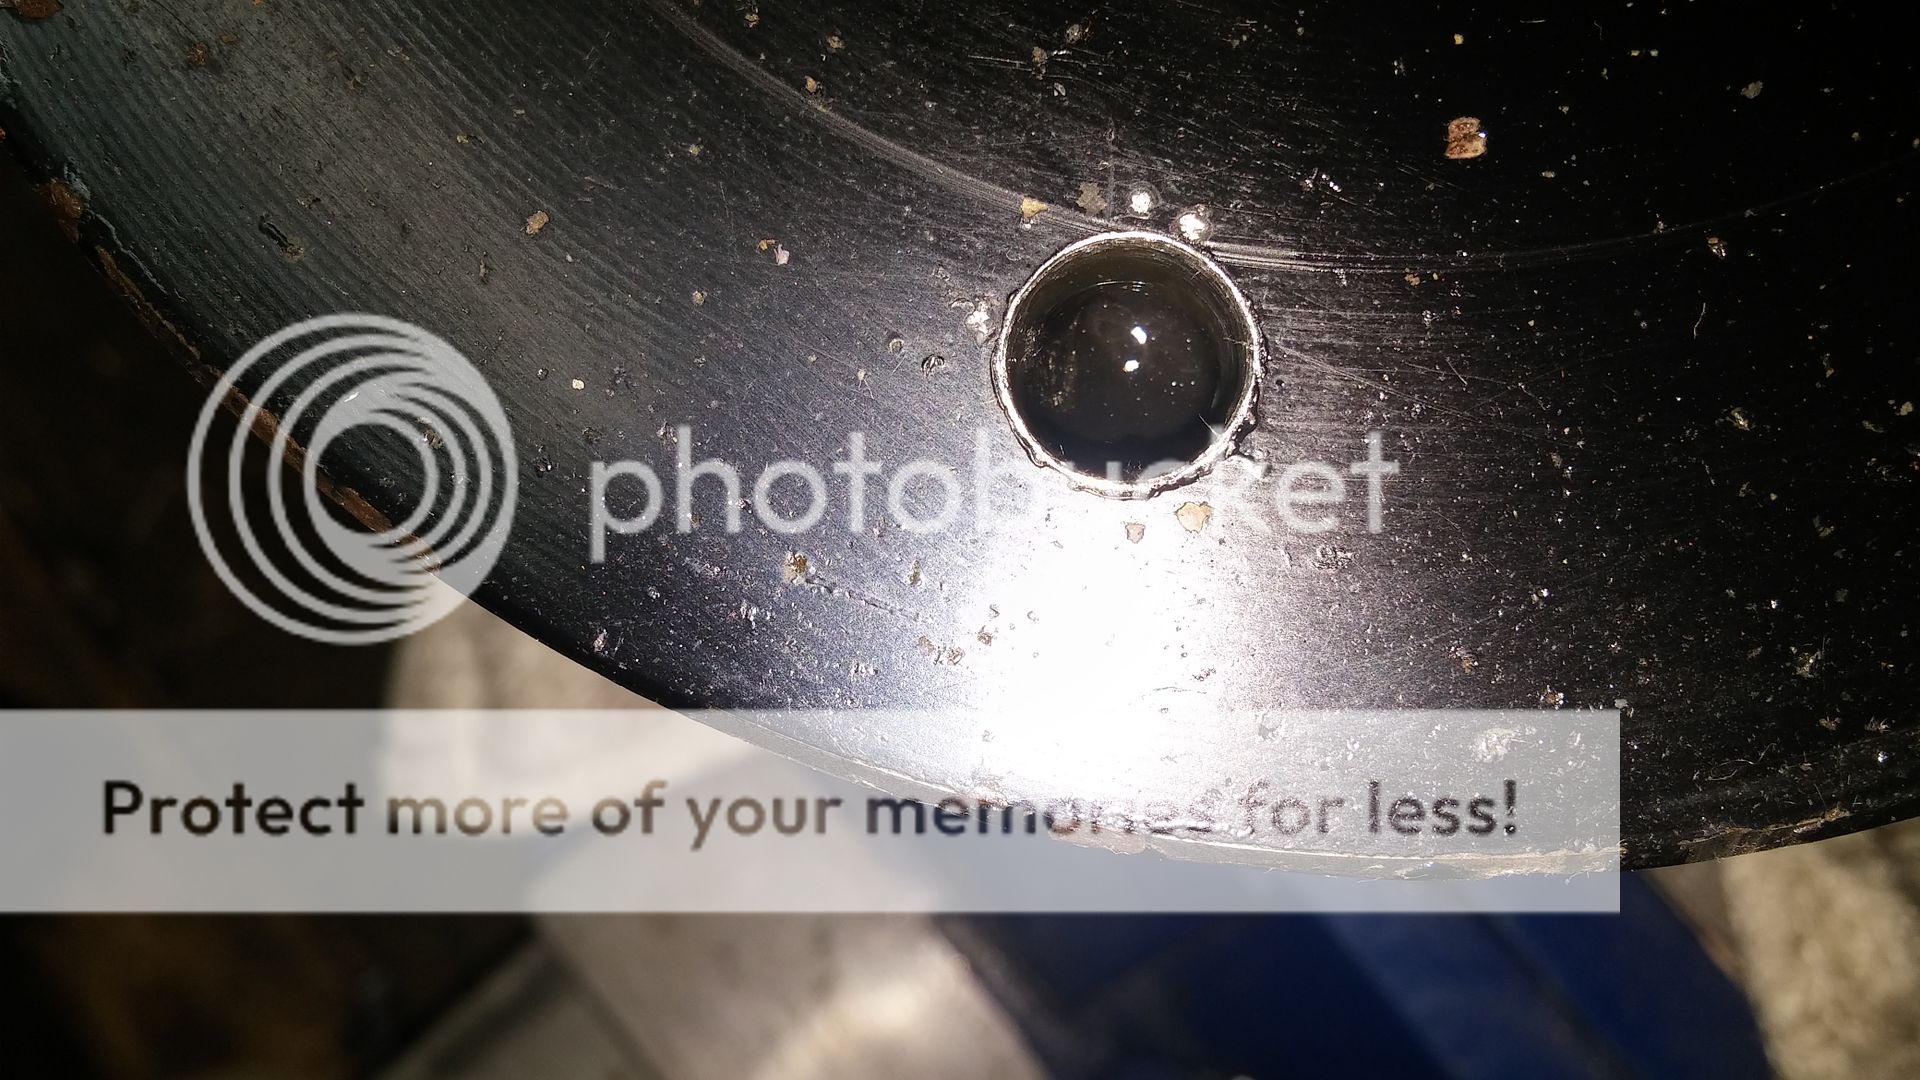
 Bought VCU for refurb, bench tested at 45 secs, marked out and drilled / tapped VCU - opposite each other for balance.
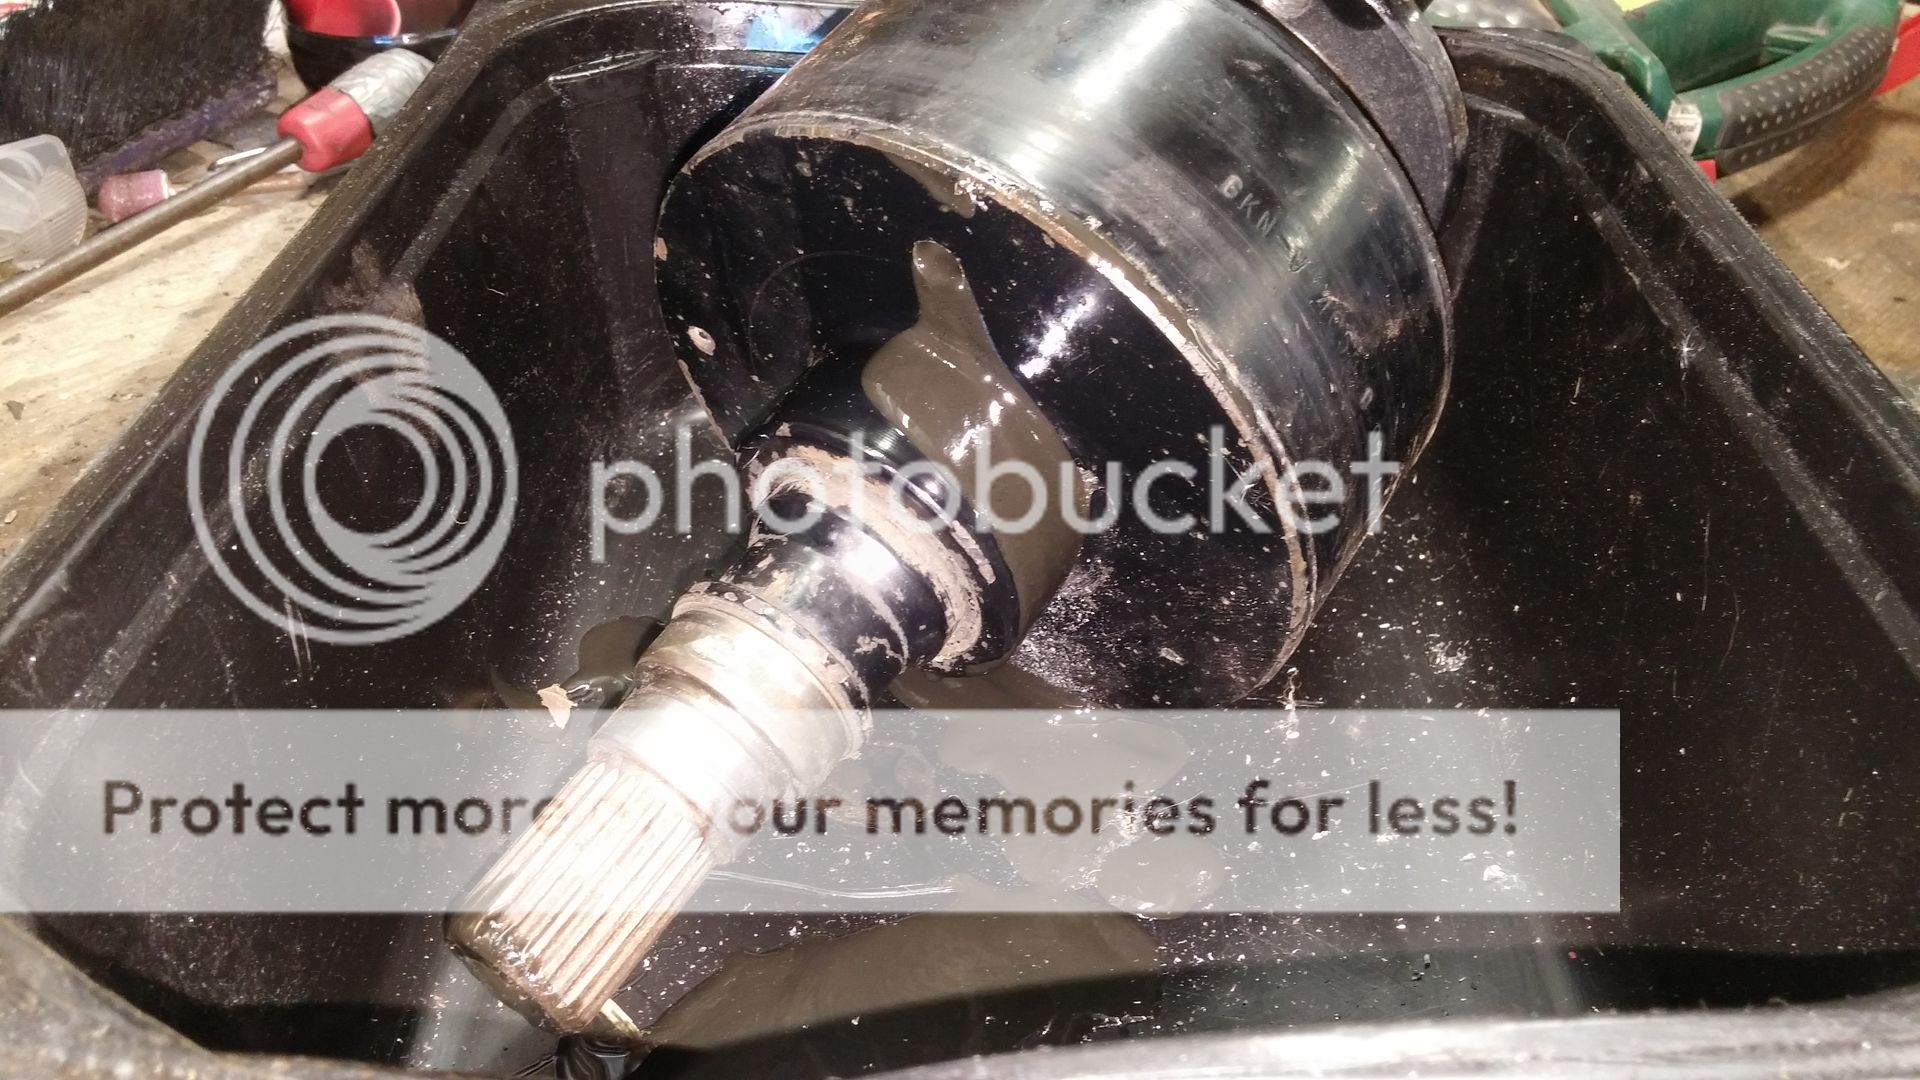
 Drained most of gunk overnight.
 Pressure flushed with solvent until every trace removed and fluid clear.
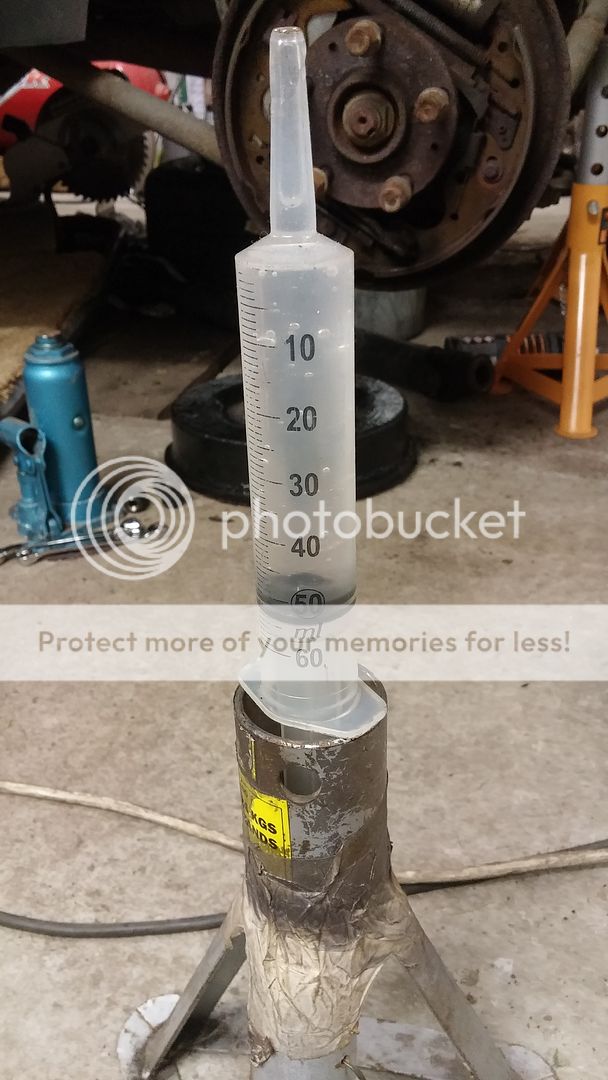
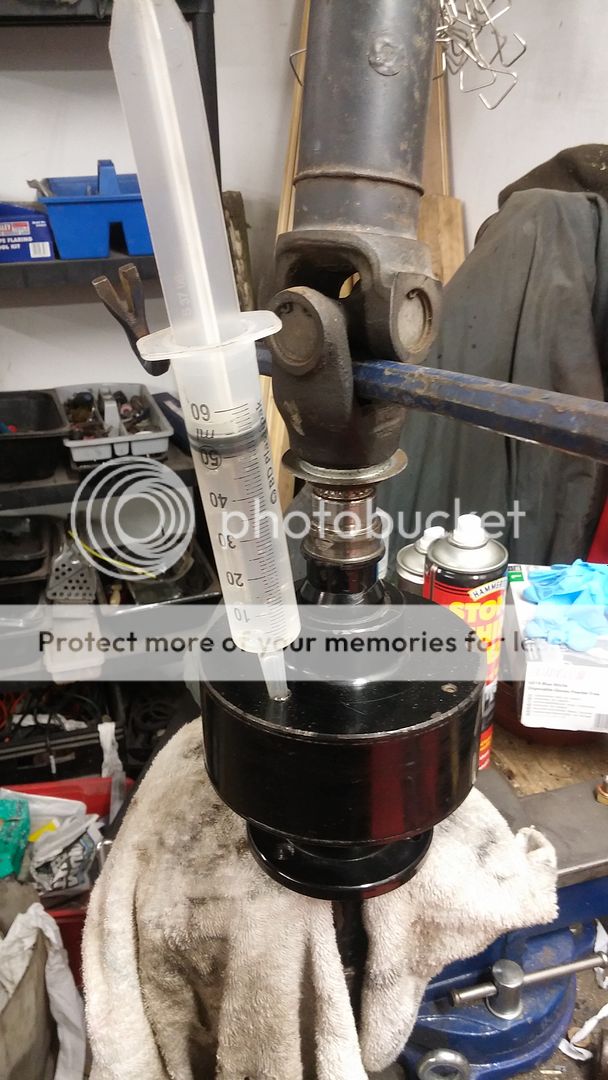
 Fitted 'vent pipe' and pressure filled with 150 ml of 100,000 ctu silicone. Vent allowed silicone to pop and fart up to heights of about 12" and allowed pressure fill in about 20 mins. Fascinating process. :0
 Allowed to settle overnight, left about 10ml in pipe and it almost disappeared into the VCU overnight. When pipe unions removed, took out about 5ml to allow plug fitting. With ally washers. Sump plugs actually. The 150ml quoted was the total input give or take 5ml - an odd drip here and there !
 Rub down, coat of smoothrite and Bob's yr doo dah!!
Bench tests at around 15 seconds (1m 5kg) which, according to my calcs will be around 25 secs at the wheel.
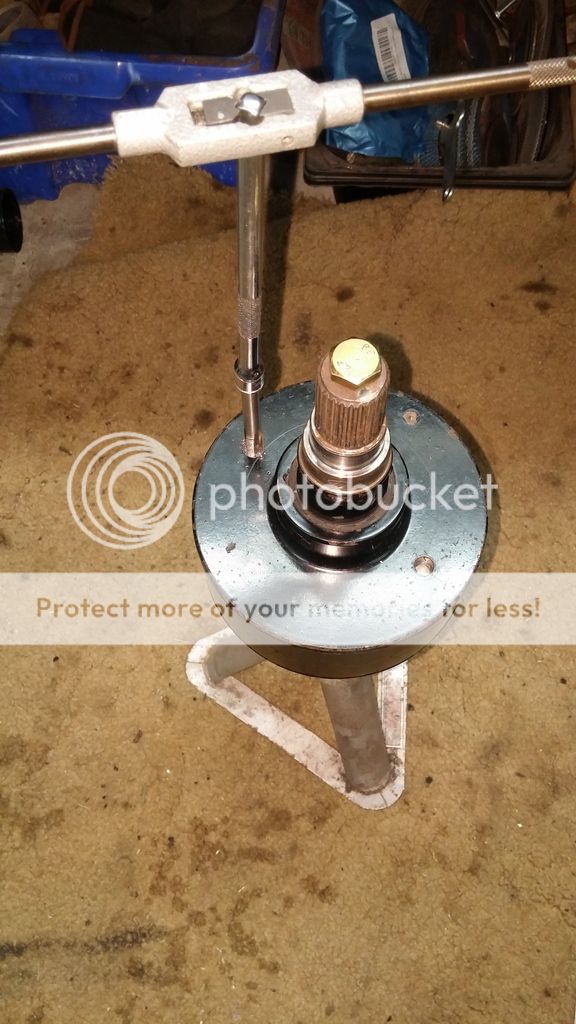
New GKN Fag bearings to fit.
Will fit to car and report back.
Now will do the old one which I took off the car and cannot turn even with a breaker bar - see thread on rear tyre wear !!!
Only change I would make is that I have now bought a HSS tank cutter drill to prevent worrying about drill break through damaging the first disc - the point of the drill touches it. Also a tank cutter would not leave a slight burr inside - I drilled it increasing the size by 1/2 mm each time to reduce burr left to negligible.
Bought VCU for refurb, bench tested at 45 secs, marked out and drilled / tapped VCU - opposite each other for balance. Drained most of gunk overnight. Pressure flushed with solvent until every trace removed and fluid clear. Fitted 'vent pipe' and pressure filled with 150 ml of 100,000 ctu silicone. Vent allowed silicone to pop and fart up to heights of about 12" and allowed pressure fill in about 20 mins. Fascinating process. :0 Allowed to settle overnight, left about 10ml in pipe and it almost disappeared into the VCU overnight. When pipe unions removed, took out about 5ml to allow plug fitting. With ally washers. Sump plugs actually. The 150ml quoted was the total input give or take 5ml - an odd drip here and there ! Rub down, coat of smoothrite and Bob's yr doo dah!!Bench tests at around 15 seconds (1m 5kg) which, according to my calcs will be around 25 secs at the wheel.
New GKN Fag bearings to fit.
Will fit to car and report back.
Now will do the old one which I took off the car and cannot turn even with a breaker bar - see thread on rear tyre wear !!!
Only change I would make is that I have now bought a HSS tank cutter drill to prevent worrying about drill break through damaging the first disc - the point of the drill touches it. Also a tank cutter would not leave a slight burr inside - I drilled it increasing the size by 1/2 mm each time to reduce burr left to negligible.
")