ReadySalted
Active Member
- Posts
- 444
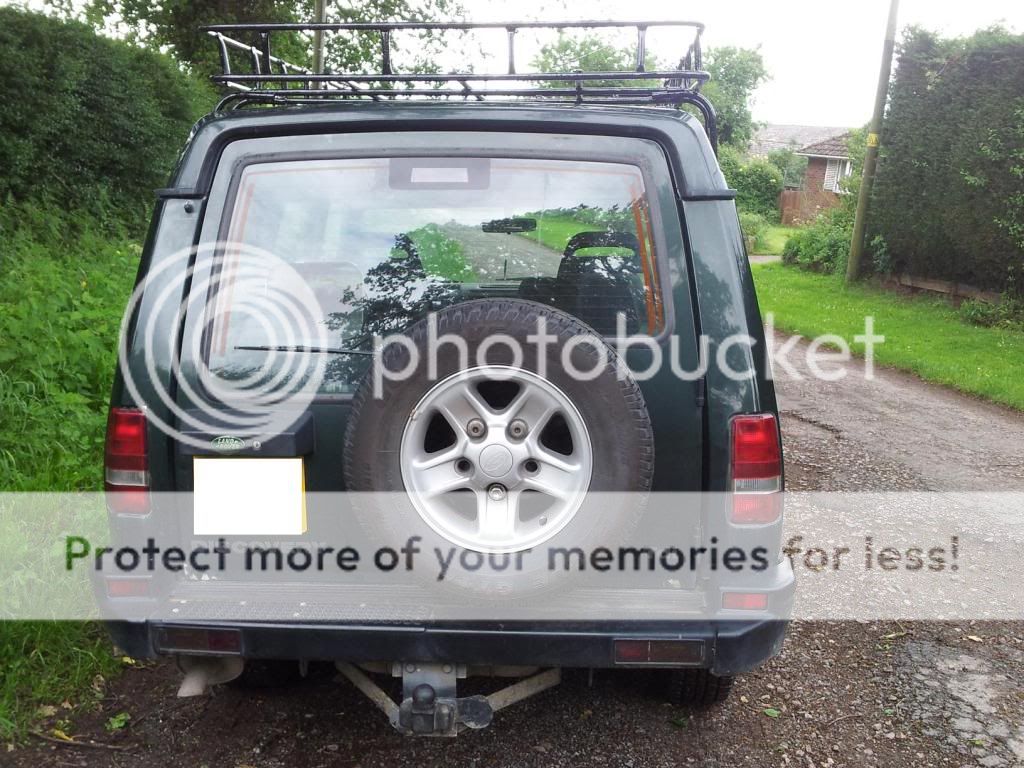
So I saw a few designs for roof racks on 'jeep' (will wash my mouth out later), forums and thought that it's worth a go, since I don't have £400+ to spend on an expedition style one.
I decided I would use 20mm conduit piping for the roof rack itself and sketched out a few designs, before settling on one which is similar to the brown church style disco roof racks.
I have a conduit bender which I decided I would use, although I opted for just a flat roof rack, as opposed to the safety devices ones, which follow the disco's contoured roof because my disco has its factory roof rails fitted, which means the rack would have had to be mounted higher to account for the kink in it, and also, I couldn't be arsed.
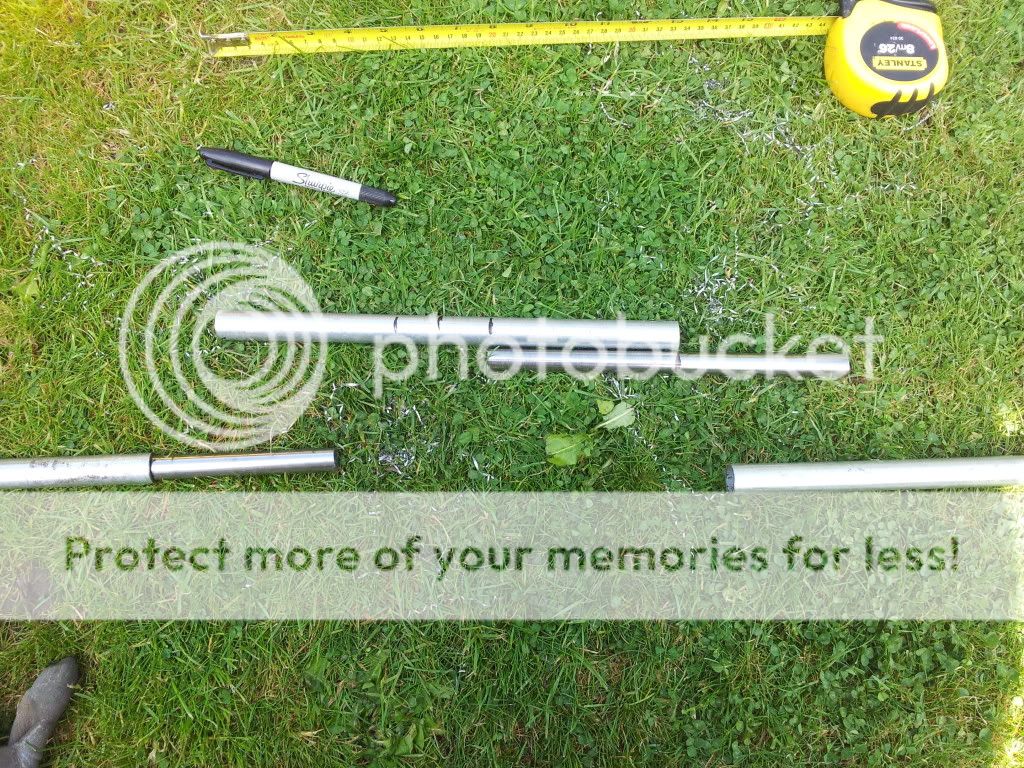
So I set to work. The rough dimensions of the rack being approx 1400mm x 2000mm.
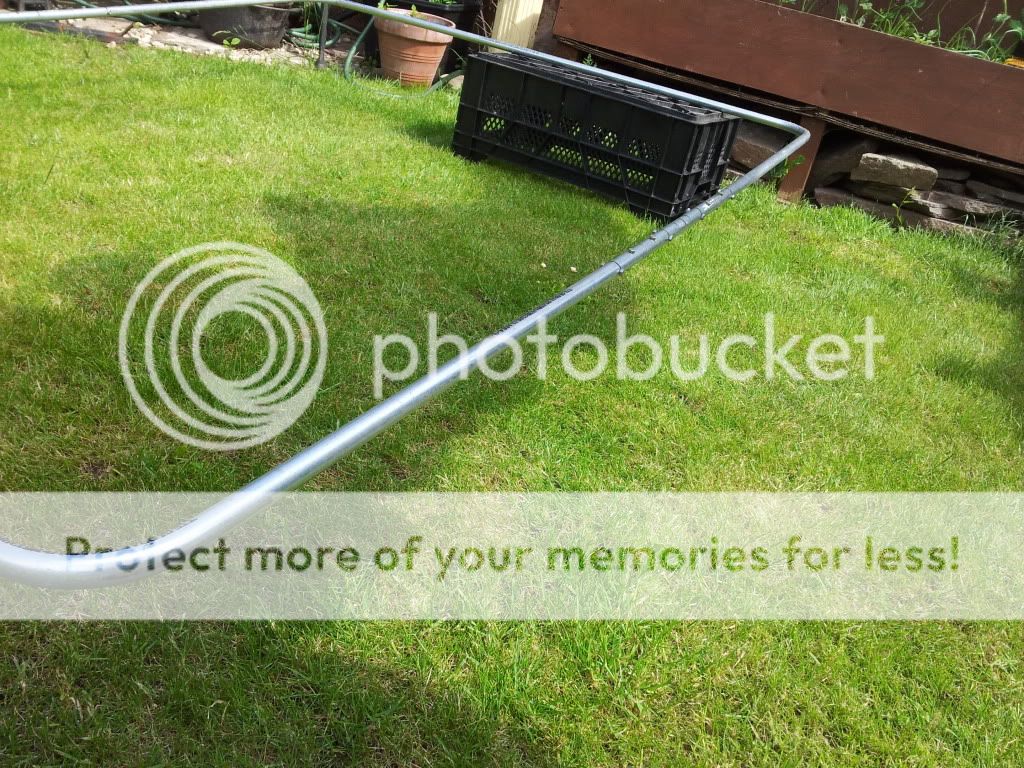
First thing was to create two identical rectangles to create the outside of the 'basket'. The conduit came in 3mtr lengths, so I bent 2 into a C shape and added a 300mm spacer between them to creat one rectangle, and did the same to create the second rectangle.
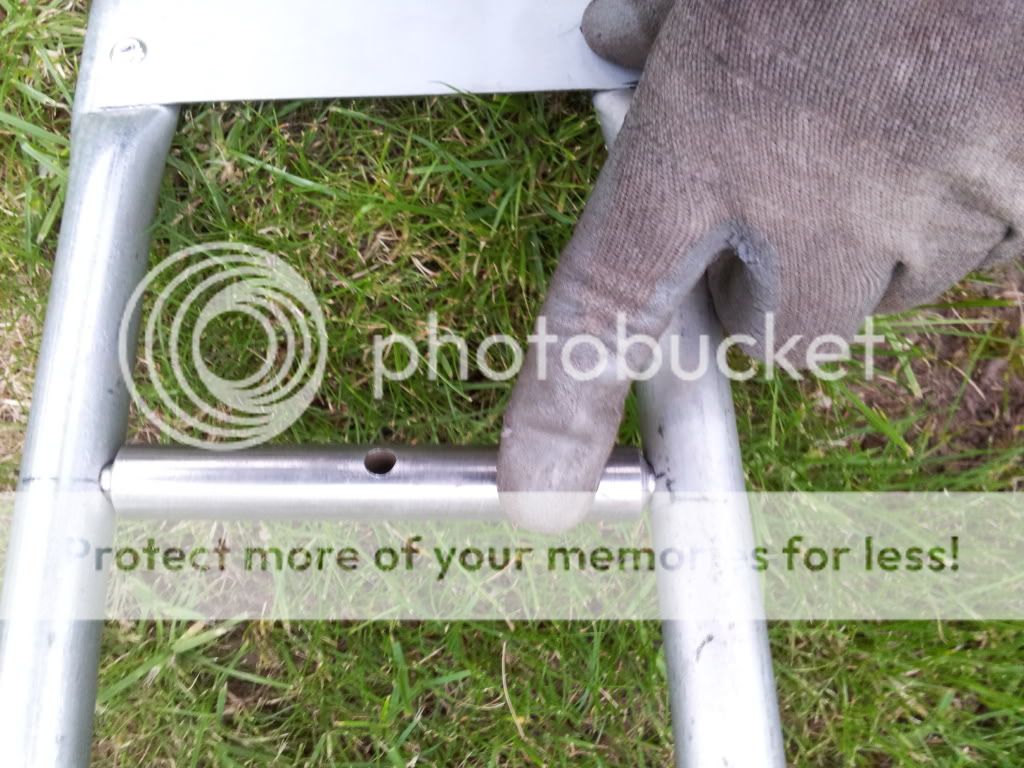
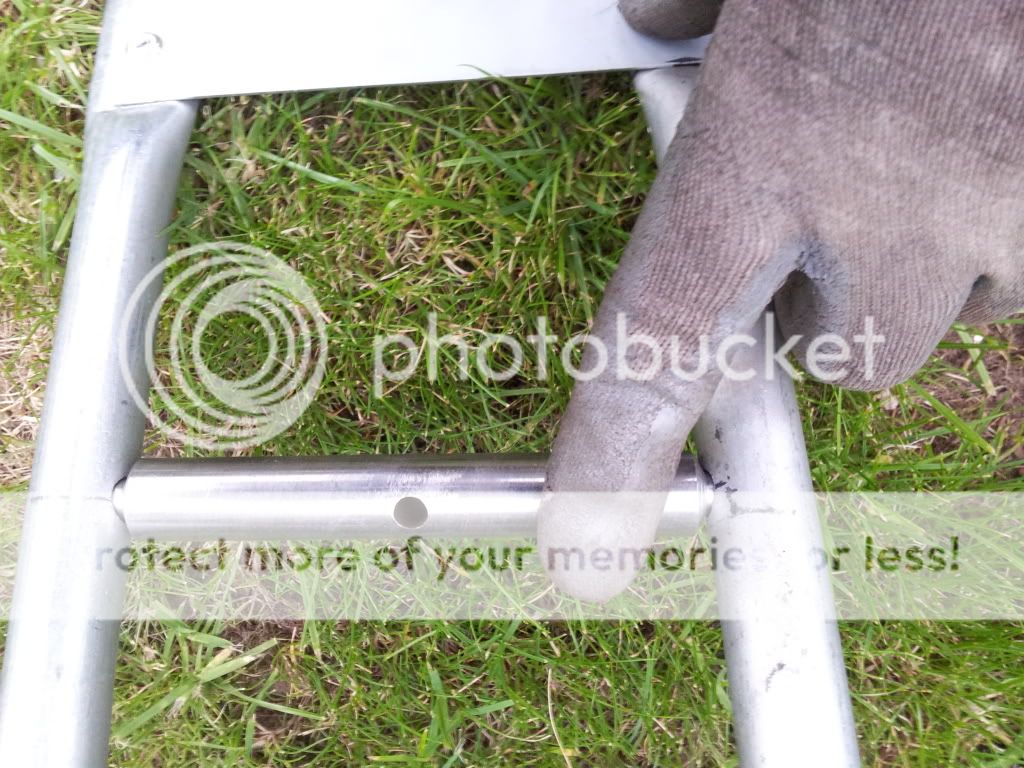
I used 16mm bar which slid perfectly into the conduit, and bolted through it, to form the joint.
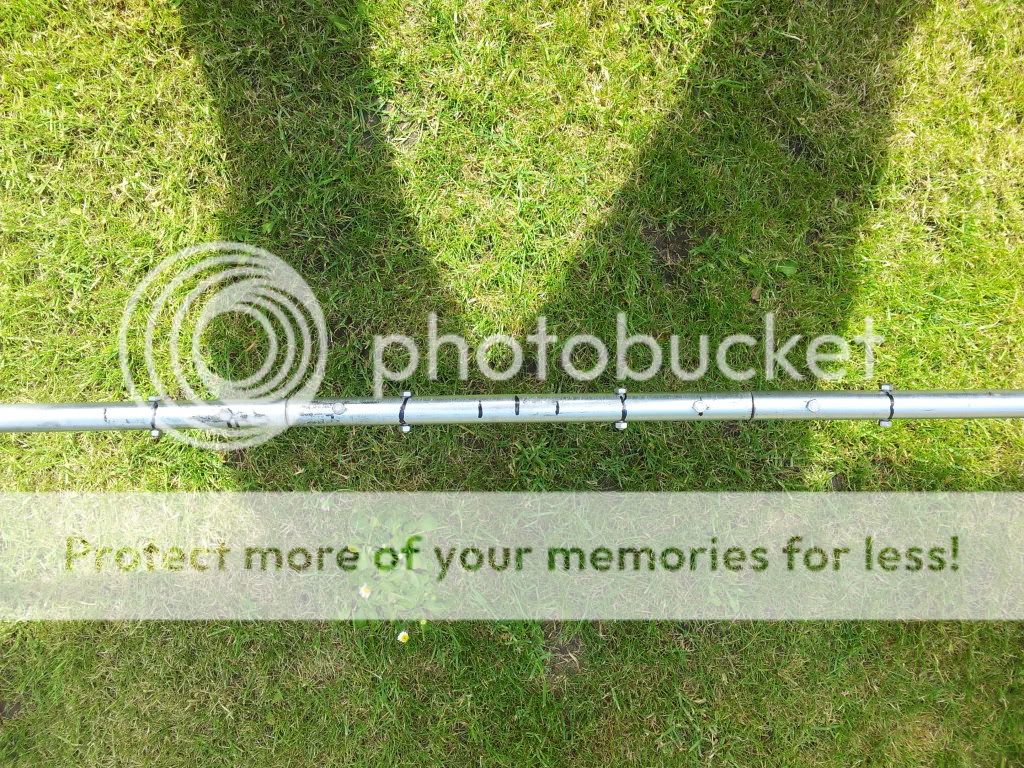
This is the first rectangle completed and bolted together.
Next step was to create the bottom of the basket, I added 5 crossmembers running accross the width of the rack and 3 running down the length. I also bolted through each intersection of conduit, to add more strength.
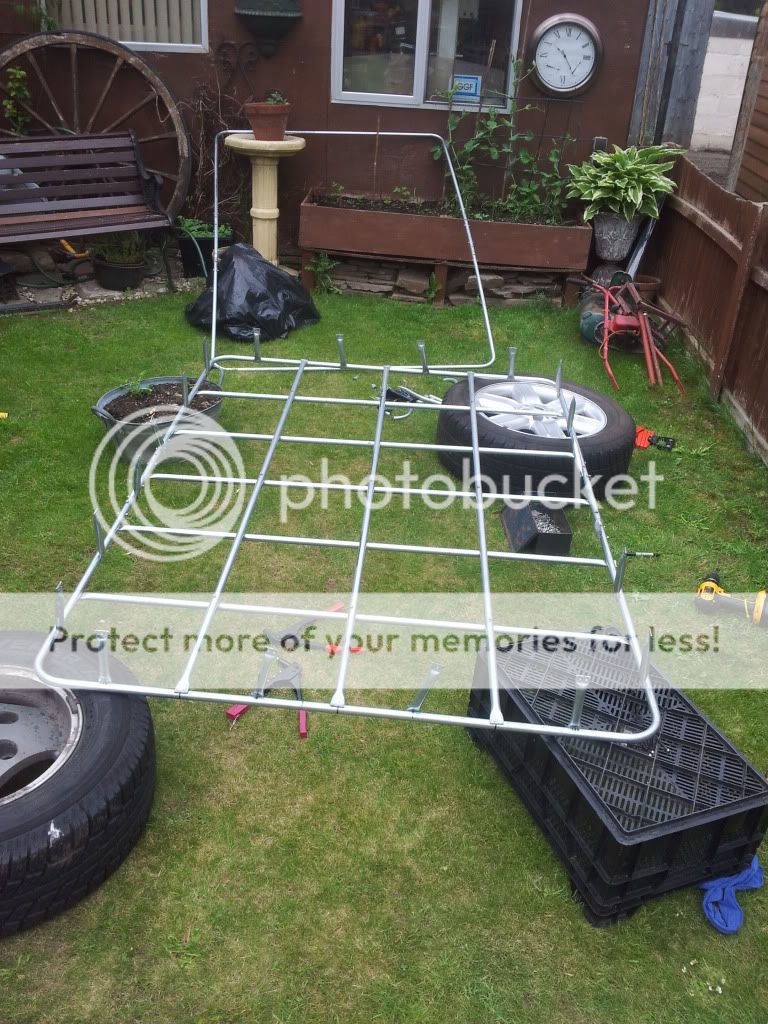
I then set to work, riveting 150mm sections along each edge, in order to be the braces holding the second rectangle on.
I alternated the braces, with one rivet at the top and two at the bottom, and on the next one along, I drilled two rivets at the top, and only one in the bottom.
I used 4 braces along the ends, and 6 along the sides
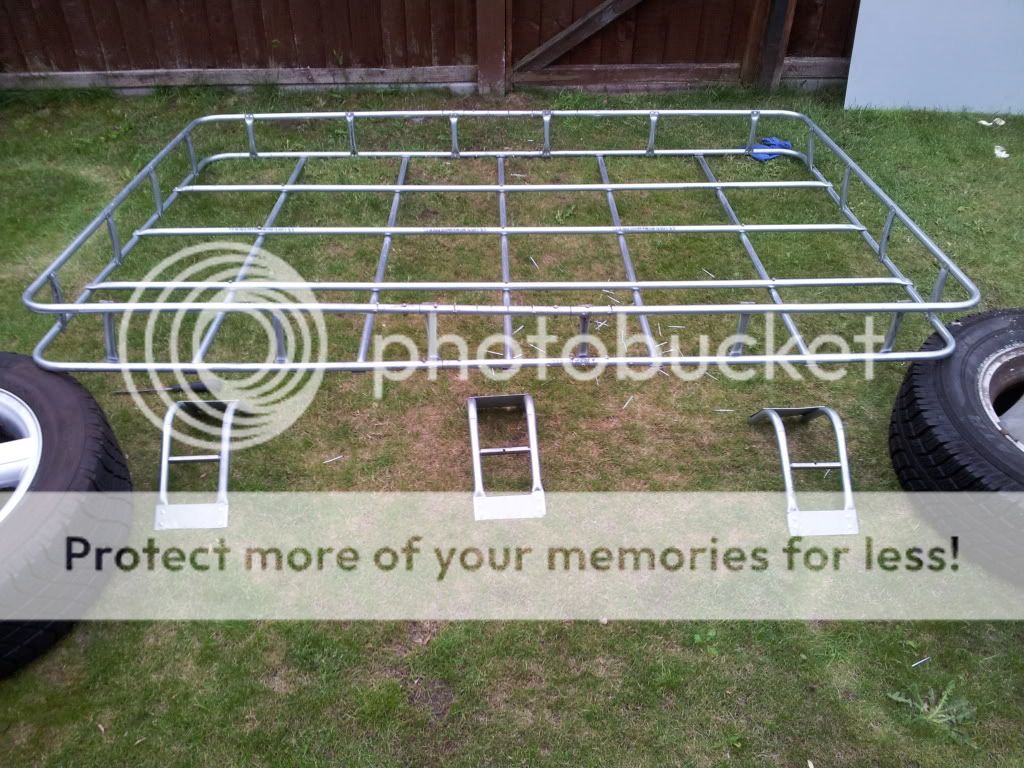
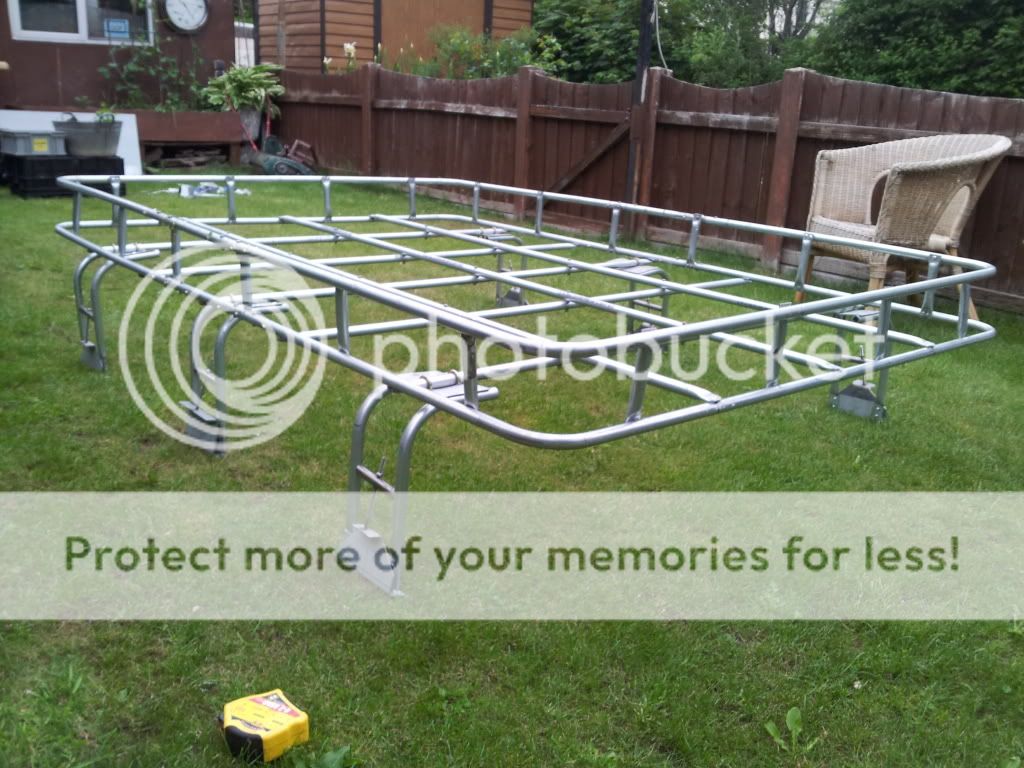
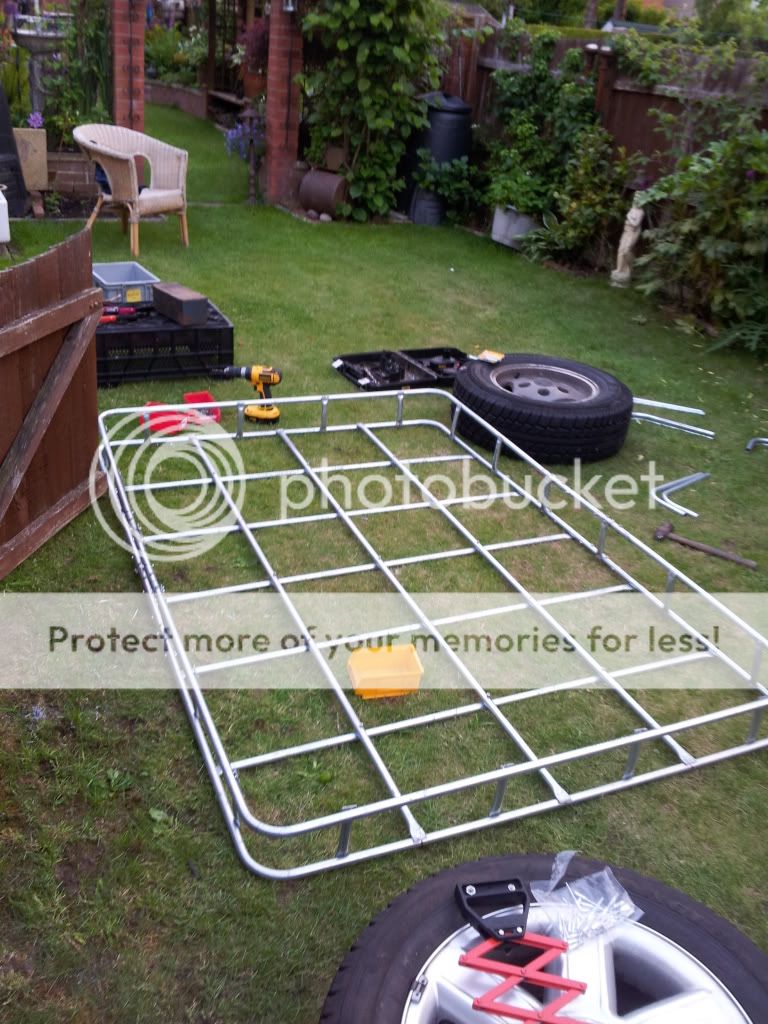
Then I riveted on the top rectangle, and this is the basket completed.
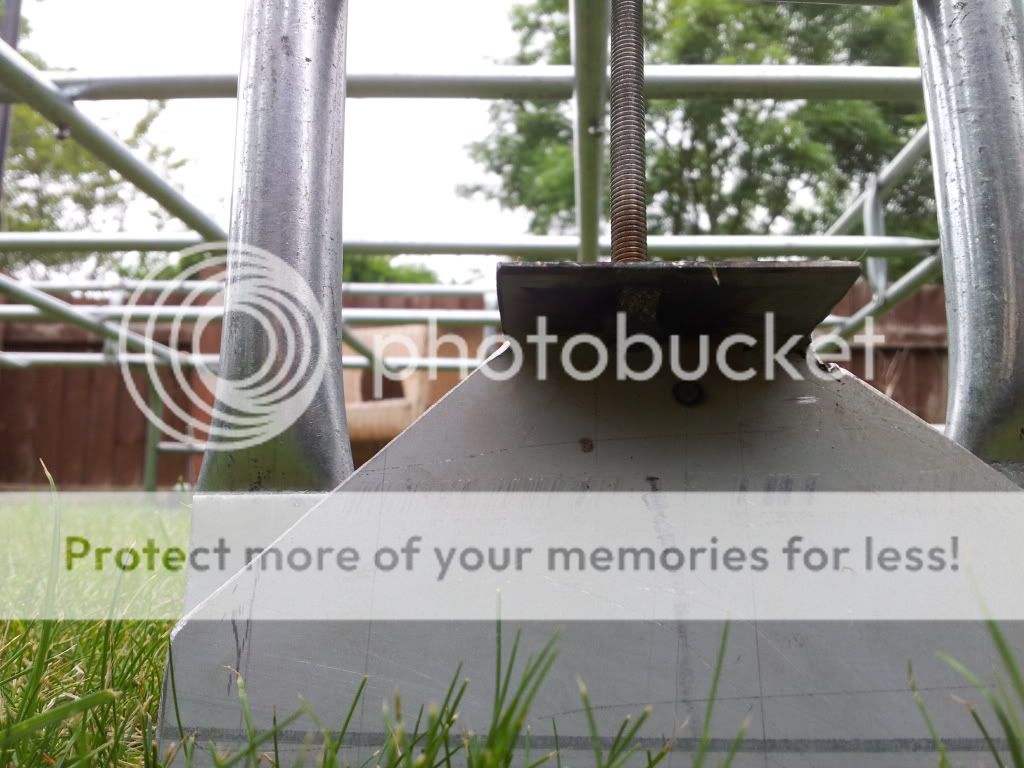
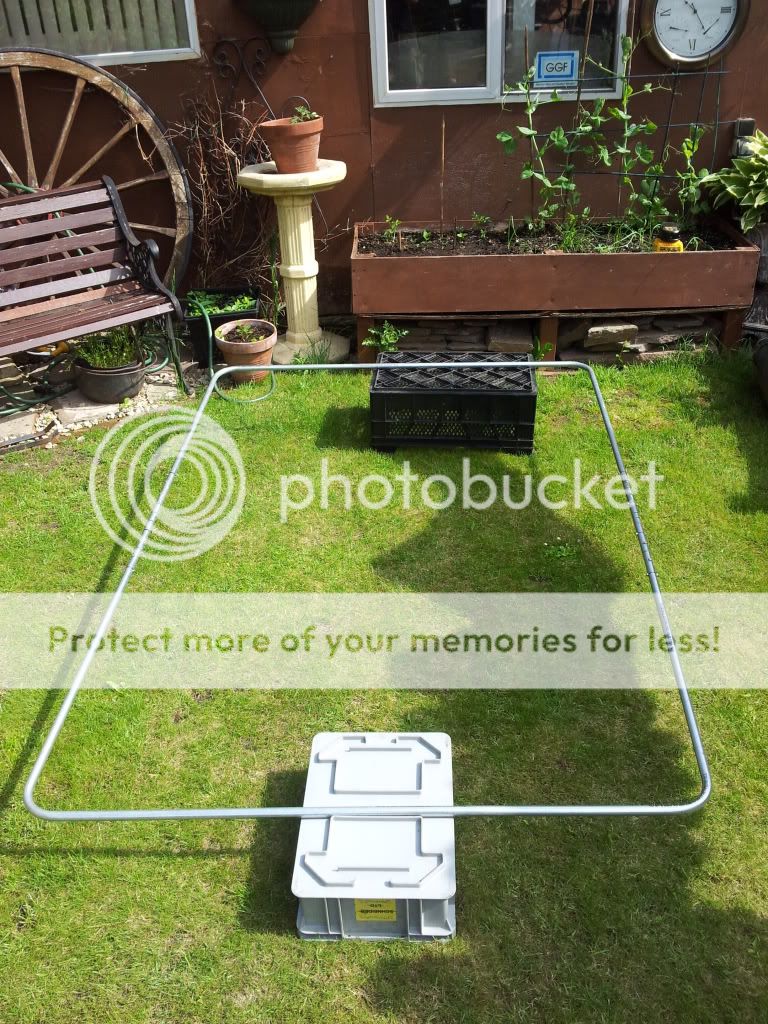
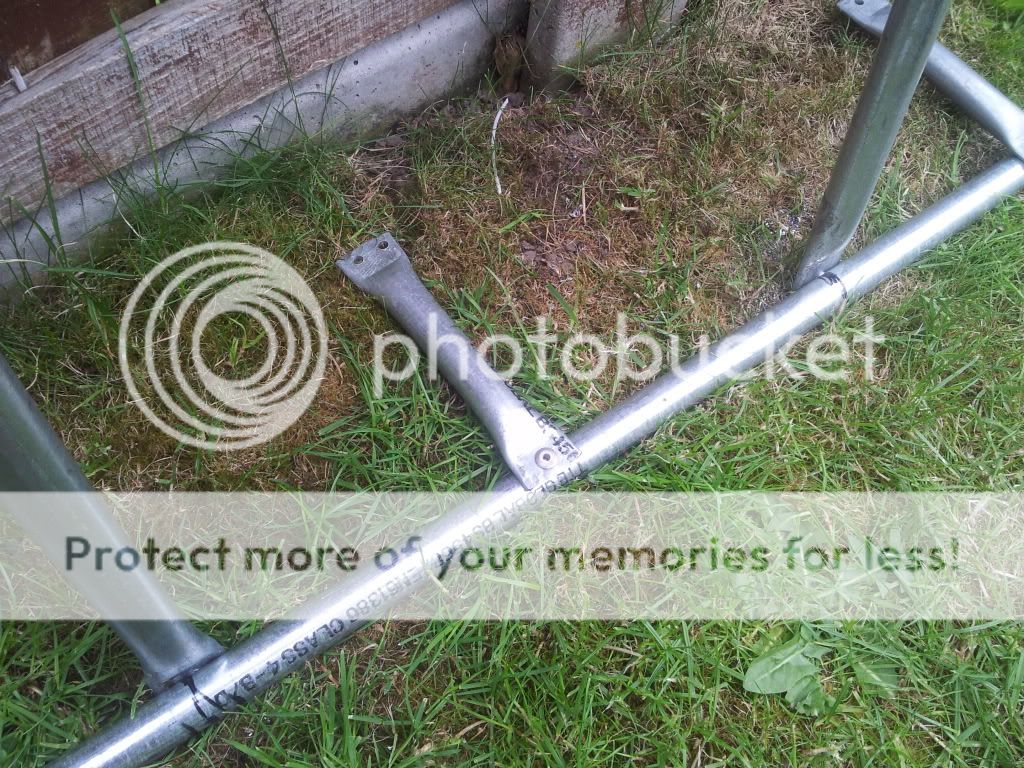
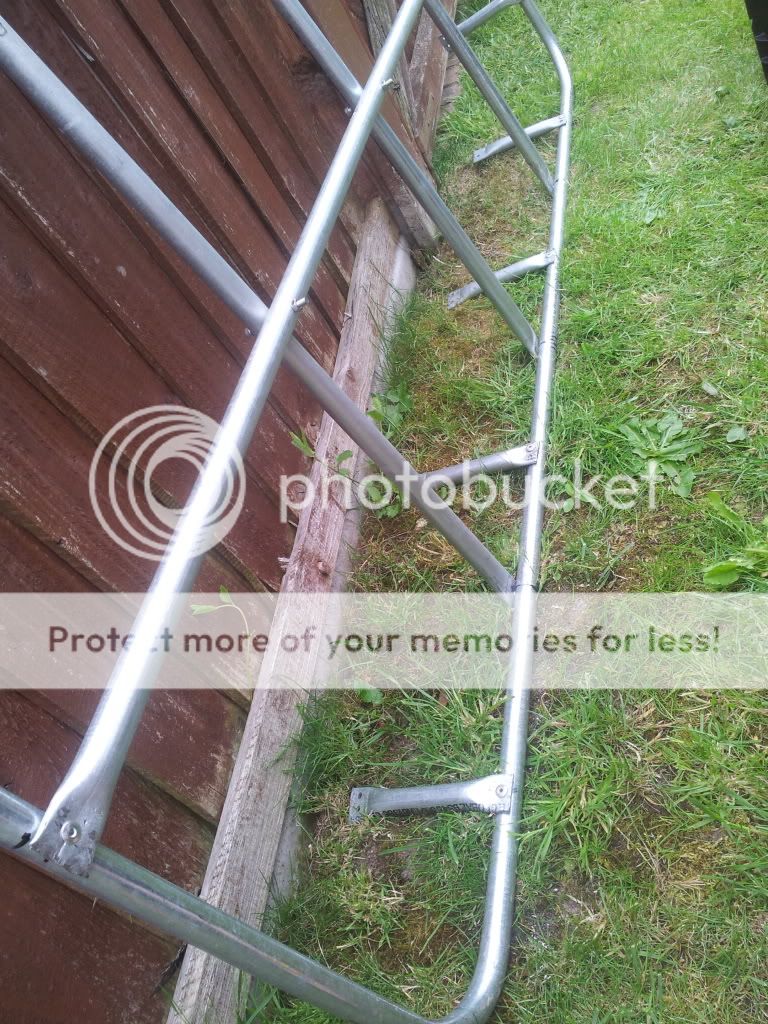
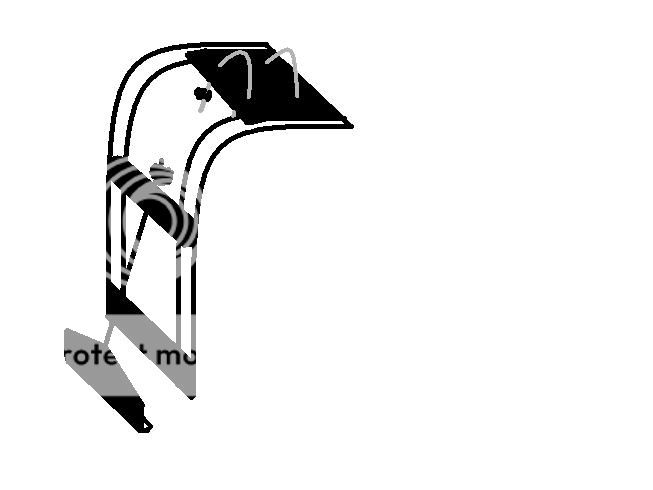
With regard to the legs, they are next on the agenda. There will be 3 on each side, and will bolt on with U bolts to the x-members. They should end up looking something like this:
Tommorow I will be grinding back any long bolts, and making sure all rivets are nice and tight, and then will give it a lick of zinc oxide primer, and them satin black hammerite. I'll also be fabricating the 6 legs, and hopefully giving it a trial fit.
I'm very surprised by the strength of the thing. Before making it, I said that as long as it can hold a couple of bikes, and maybe a few kit bags I'll be happy, but today I have had it supported at each corner, and cautiously walked from end to end a few times with minimal flexing, so I'm impressed by it.
Anyway, I will update as more is done, hope it is of some interest to somebody. Cheers.
Oh by the way; The cost so far has worked out as:
36Mtrs of 20mm Steel Conduit - 55 quid
3m of 16mm Bright Mild Steel Bar - 12 quid
3mm and 1.2mm sheet steel - Free 'cos my old man scrounged it off somebody he knows
5mm Rivets and Bolts - 5 to 10 quid.
Not bad considering it's a rough and ready version of the 400 quid + ones.
I decided I would use 20mm conduit piping for the roof rack itself and sketched out a few designs, before settling on one which is similar to the brown church style disco roof racks.
I have a conduit bender which I decided I would use, although I opted for just a flat roof rack, as opposed to the safety devices ones, which follow the disco's contoured roof because my disco has its factory roof rails fitted, which means the rack would have had to be mounted higher to account for the kink in it, and also, I couldn't be arsed.
So I set to work. The rough dimensions of the rack being approx 1400mm x 2000mm.
First thing was to create two identical rectangles to create the outside of the 'basket'. The conduit came in 3mtr lengths, so I bent 2 into a C shape and added a 300mm spacer between them to creat one rectangle, and did the same to create the second rectangle.
I used 16mm bar which slid perfectly into the conduit, and bolted through it, to form the joint.
This is the first rectangle completed and bolted together.
Next step was to create the bottom of the basket, I added 5 crossmembers running accross the width of the rack and 3 running down the length. I also bolted through each intersection of conduit, to add more strength.
I then set to work, riveting 150mm sections along each edge, in order to be the braces holding the second rectangle on.
I alternated the braces, with one rivet at the top and two at the bottom, and on the next one along, I drilled two rivets at the top, and only one in the bottom.
I used 4 braces along the ends, and 6 along the sides
Then I riveted on the top rectangle, and this is the basket completed.
With regard to the legs, they are next on the agenda. There will be 3 on each side, and will bolt on with U bolts to the x-members. They should end up looking something like this:
Tommorow I will be grinding back any long bolts, and making sure all rivets are nice and tight, and then will give it a lick of zinc oxide primer, and them satin black hammerite. I'll also be fabricating the 6 legs, and hopefully giving it a trial fit.
I'm very surprised by the strength of the thing. Before making it, I said that as long as it can hold a couple of bikes, and maybe a few kit bags I'll be happy, but today I have had it supported at each corner, and cautiously walked from end to end a few times with minimal flexing, so I'm impressed by it.
Anyway, I will update as more is done, hope it is of some interest to somebody. Cheers.
Oh by the way; The cost so far has worked out as:
36Mtrs of 20mm Steel Conduit - 55 quid
3m of 16mm Bright Mild Steel Bar - 12 quid
3mm and 1.2mm sheet steel - Free 'cos my old man scrounged it off somebody he knows
5mm Rivets and Bolts - 5 to 10 quid.
Not bad considering it's a rough and ready version of the 400 quid + ones.
Last edited:
")