90truckcab
Well-Known Member
- Posts
- 4,739
- Location
- staffordshire
this has prob been done a million times but any way 
recently iv had a bit of agro with the heater , the temp clock flys up to the red in under half a mile ? yer the rad was cold, and the heater blows cold !
the top hose on the rad was warm, the bottom was cold, the two coming in to the heater were also cold,
sounds like a duff thermostat ! so fer the price of them, i went and got one, and a new gasket, so i thort i will wash the system out then change the stat and fill up with new anti freze,
lookin in the engine bay i noticed a green watery mix running down the bulkhead, looks in the footwell it was also a bit wet.
after further ****in about i noticed ther was a fairly good leak from the heater ,
so first job was top and bottom bolts out and heater unit out and in the workshop, then i made a quick bridging pipe to connect the two heater pipes so i can still drive the 90 with out the heater and keep it circulating

box out ready for stripping

looks to have been stripped a few times before, the last bloke dint seem too fussy !

then i ripped all the foam out to get to the rivits

then drilled the rivits out

it all drops to bits quite nicely

looks to have worn thru on the bit that supports it in the box as the foam want put back in the last time it was stripped,

so a bit of a clean up with the wire wool and i soldered the hole up ,

tomorrow i will test it with a bit of water and the air line with a tyre gauge to working pressure,
give it all a coat of hammerite, then get some foam padding and make a set of foams for it all,
got in thismornin and tested me repairs to the heater,
tip about 1.5 pints in the heater and cap off one end,


stick the tyre inflator in and pressurise to test joints,

nawt leaked to i sprayed it all with redoxide
( imagine its all painted red primer )
then i sprayed it black

wile it were dryin , i changed the stat in the 90
simple 3 bolt change over, new gasket , new stat

then it wer time to sort the foam out , so i called in an upholstery place and they sorted me out with a bit of dense foam, water proof kinda stuff,
it proved to be a pain in the arse to cut with a stanley knife so i fired the bandsaw up ! dead easy , nice and square cuts, no rough edges left
saved hours

then just a matter of gluing it all together again , i used evo stick , ( cause it smells nice )


then the bits that hold the heater from wobbling i covered in heat tape, like yer use on gas flues etc, so the foam dint go stickey when hot and stink in the cab


fit the rad back in

insulate the hole round the pipes, as more wind is blow out there than the cab !

put it all back together with new rivits


then fit the round seal

ready to go back in in the morning,
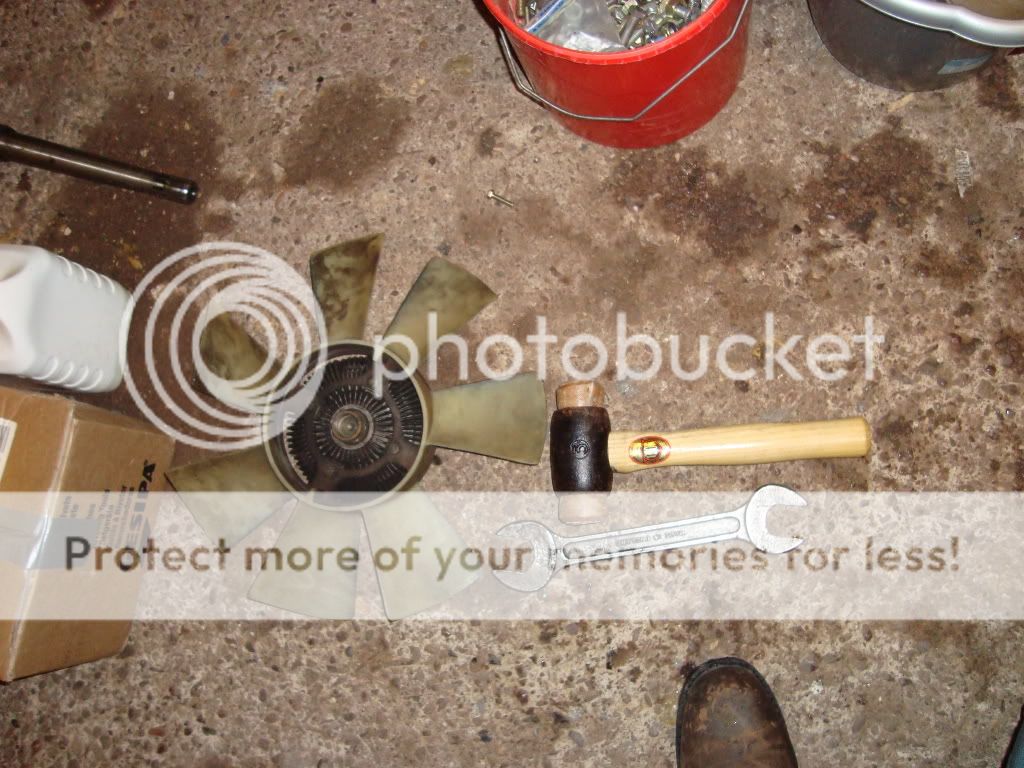
****ed about in the snow with the hoses, with the new stat in it its opening at running temp but not circulating the water, top hoses is hot, but full of air , botom hose is cold, rad waters cold , no pressure, top hoses from / to heater are red hot, copper tempory bridging piece took me skin off ,
looks one of two things now, blockage in either block or rad, or pumps not pumping, either shafts spinning, or impellors shot to **** !
recently iv had a bit of agro with the heater , the temp clock flys up to the red in under half a mile ? yer the rad was cold, and the heater blows cold !
the top hose on the rad was warm, the bottom was cold, the two coming in to the heater were also cold,
sounds like a duff thermostat ! so fer the price of them, i went and got one, and a new gasket, so i thort i will wash the system out then change the stat and fill up with new anti freze,
lookin in the engine bay i noticed a green watery mix running down the bulkhead, looks in the footwell it was also a bit wet.
after further ****in about i noticed ther was a fairly good leak from the heater ,
so first job was top and bottom bolts out and heater unit out and in the workshop, then i made a quick bridging pipe to connect the two heater pipes so i can still drive the 90 with out the heater and keep it circulating
box out ready for stripping
looks to have been stripped a few times before, the last bloke dint seem too fussy !
then i ripped all the foam out to get to the rivits
then drilled the rivits out
it all drops to bits quite nicely
looks to have worn thru on the bit that supports it in the box as the foam want put back in the last time it was stripped,
so a bit of a clean up with the wire wool and i soldered the hole up ,
tomorrow i will test it with a bit of water and the air line with a tyre gauge to working pressure,
give it all a coat of hammerite, then get some foam padding and make a set of foams for it all,
got in thismornin and tested me repairs to the heater,
tip about 1.5 pints in the heater and cap off one end,
stick the tyre inflator in and pressurise to test joints,
nawt leaked to i sprayed it all with redoxide
( imagine its all painted red primer )
then i sprayed it black
wile it were dryin , i changed the stat in the 90
simple 3 bolt change over, new gasket , new stat
then it wer time to sort the foam out , so i called in an upholstery place and they sorted me out with a bit of dense foam, water proof kinda stuff,
it proved to be a pain in the arse to cut with a stanley knife so i fired the bandsaw up ! dead easy , nice and square cuts, no rough edges left
saved hours
then just a matter of gluing it all together again , i used evo stick , ( cause it smells nice )
then the bits that hold the heater from wobbling i covered in heat tape, like yer use on gas flues etc, so the foam dint go stickey when hot and stink in the cab
fit the rad back in
insulate the hole round the pipes, as more wind is blow out there than the cab !
put it all back together with new rivits
then fit the round seal
ready to go back in in the morning,
****ed about in the snow with the hoses, with the new stat in it its opening at running temp but not circulating the water, top hoses is hot, but full of air , botom hose is cold, rad waters cold , no pressure, top hoses from / to heater are red hot, copper tempory bridging piece took me skin off ,
looks one of two things now, blockage in either block or rad, or pumps not pumping, either shafts spinning, or impellors shot to **** !