[JP];957911 said:
any more pics of the defenders at the back?
Here you go

From the bosses own write up
quote author=mark board=membersrigs thread=822 post=6481 time=1257642193]I will post bits up us and when i get a little time
comments welcome good or bad :-/
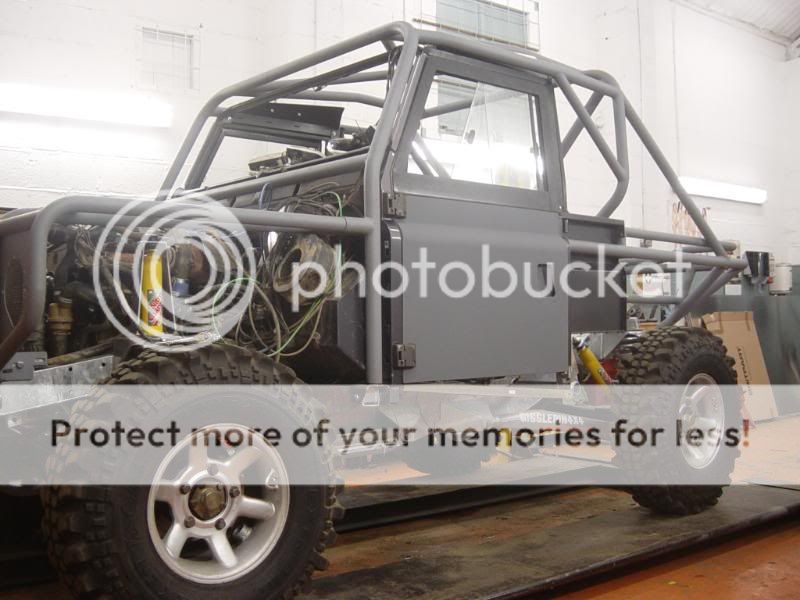
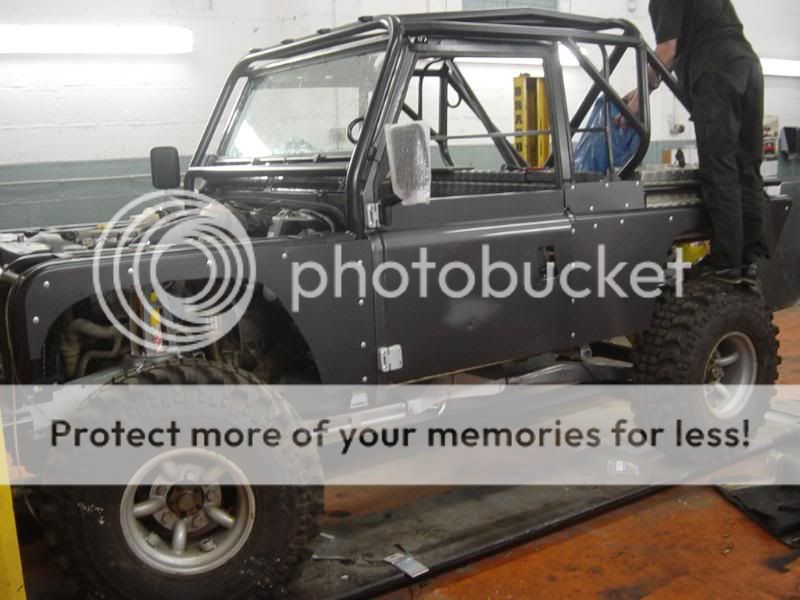
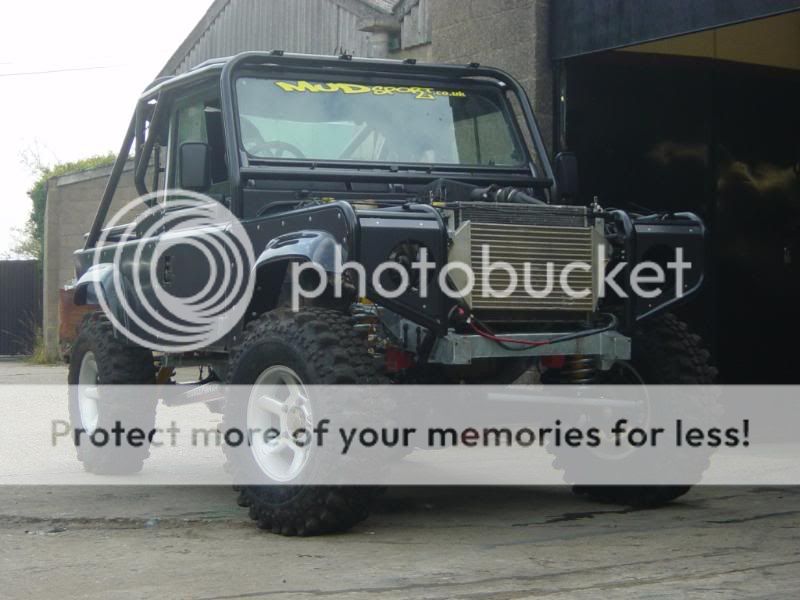
The last couple of years has seen the popularity of the tray back take the challenge scene buy storm due to its weight loss, lack of body work to consider and practicality and has proved its self as a winning combination all over Europe and in fact the world.
With this in mind and a couple of challenge trucks a little beaten up and battle scared from the last couple of years events it was time to get back to the drawing board and start with a list of requirements.
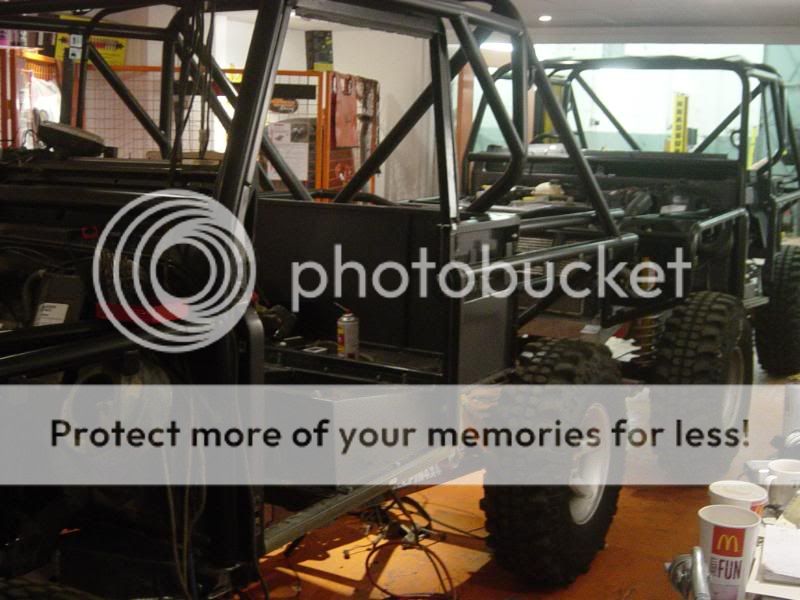
This time the trucks were built identical to show a presence as a team, built from the ground up allowing us to develop the trucks to any spec required. Some elements of the old truck we were 100% happy with and they was reinstated into the new build others not so.
Wish List;
we needed to reduce the weight, bring the weight we did have lower down, protect as much body work as possible, take into consideration storage, leg room for some one 6’2” , spare wheel and take a look at some of the weaker parts of the truck that had been suffering in past events.
Longer wheel base……better hill climes and descents, better handling, smother ride,
Better front approach angle
Better rear approach angle
Lower center of gravity…….Better on cambers, better handling,
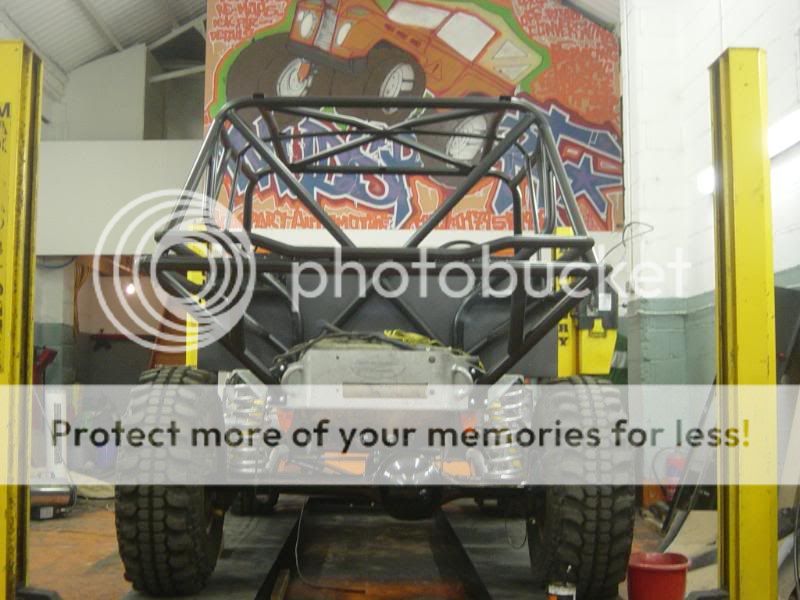
Tube rear end (tray Backed)…..to remove the tub so susceptible to damage
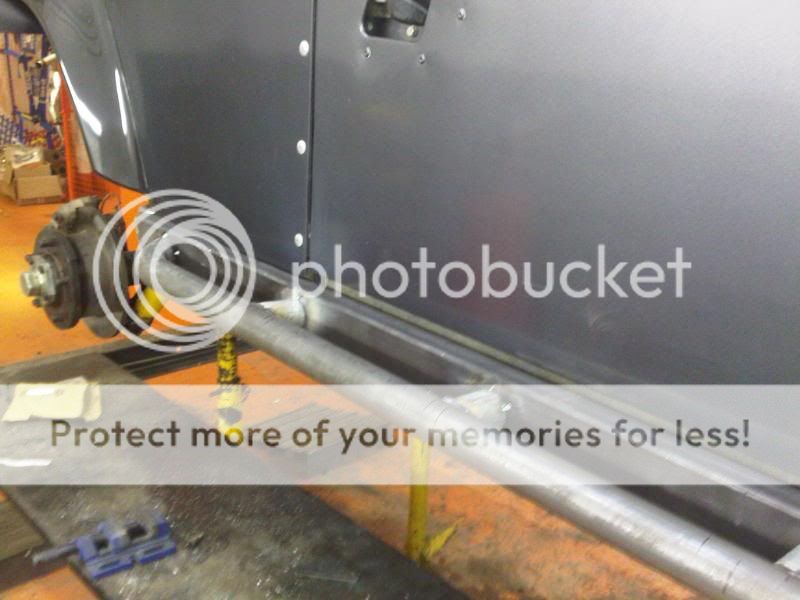
Flush bottom rails of chassis and strengthen
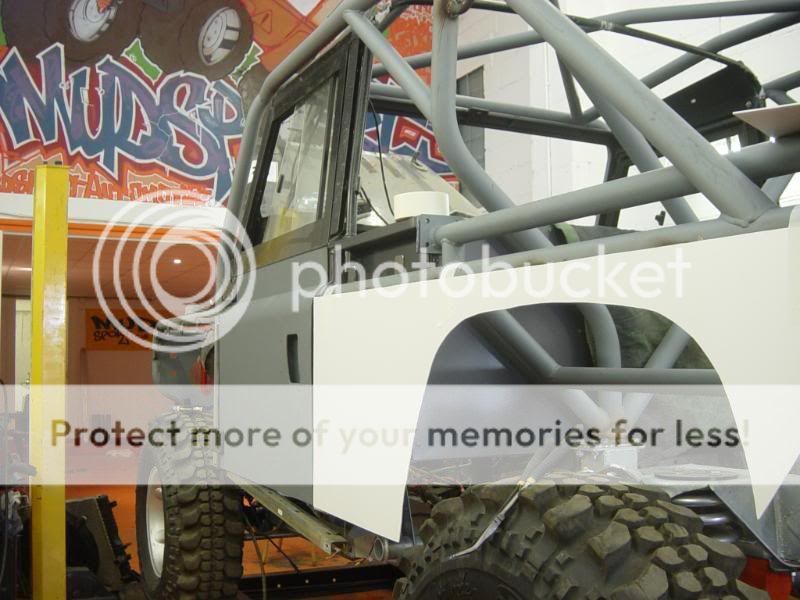
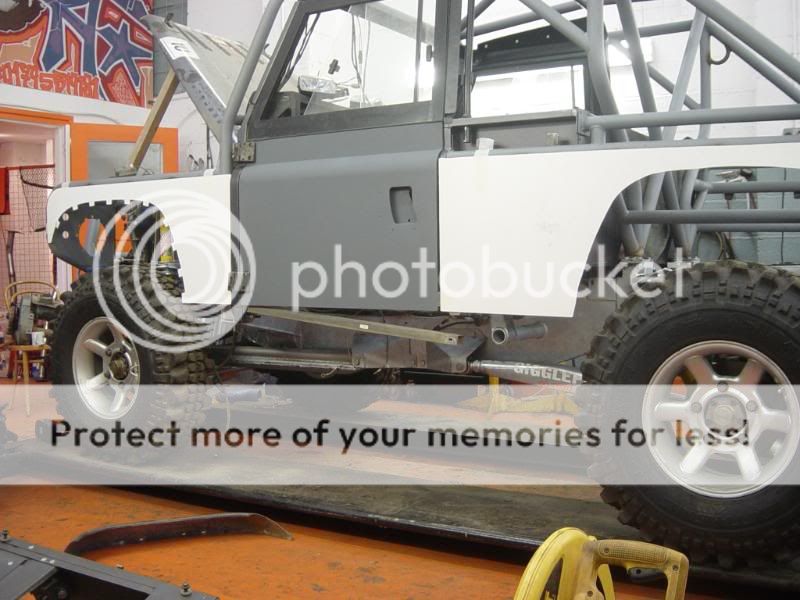
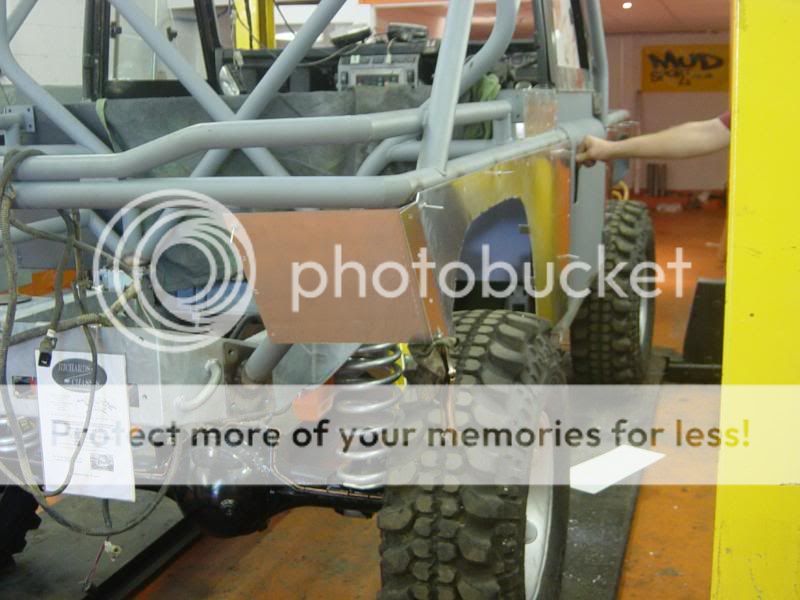
Body protection
More power, more low down torque
Reduce weight
Storage for every usable item required
Maintain a land rover silhouette
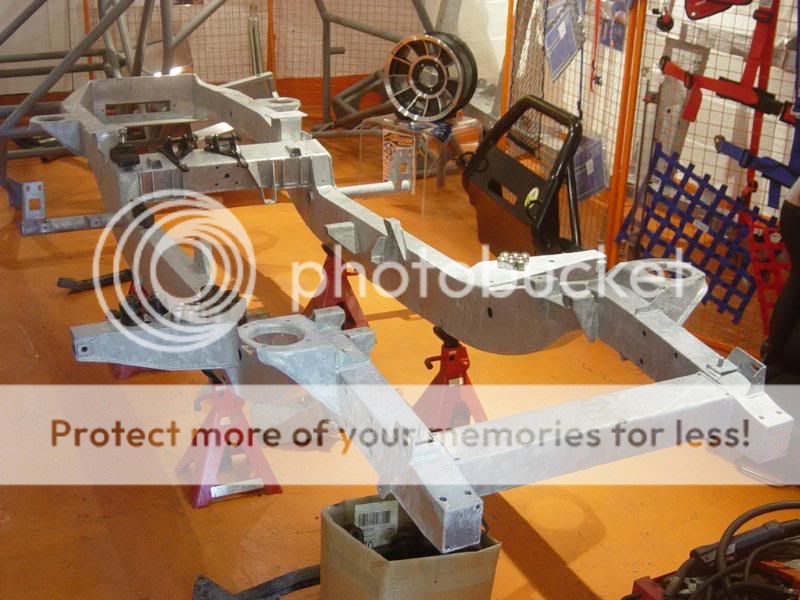
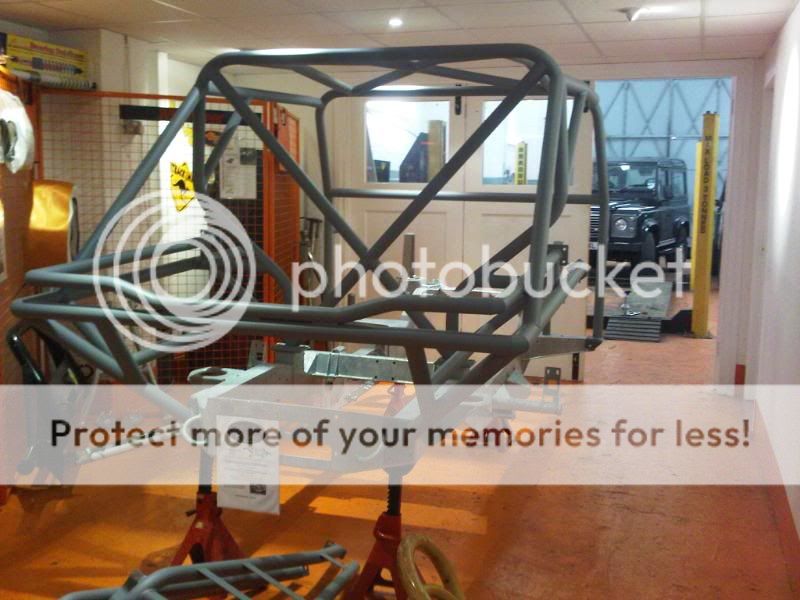
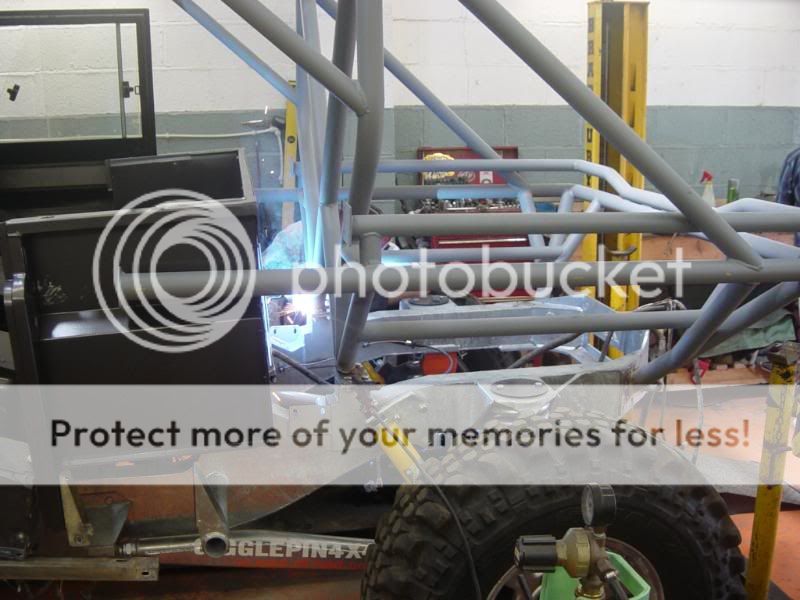
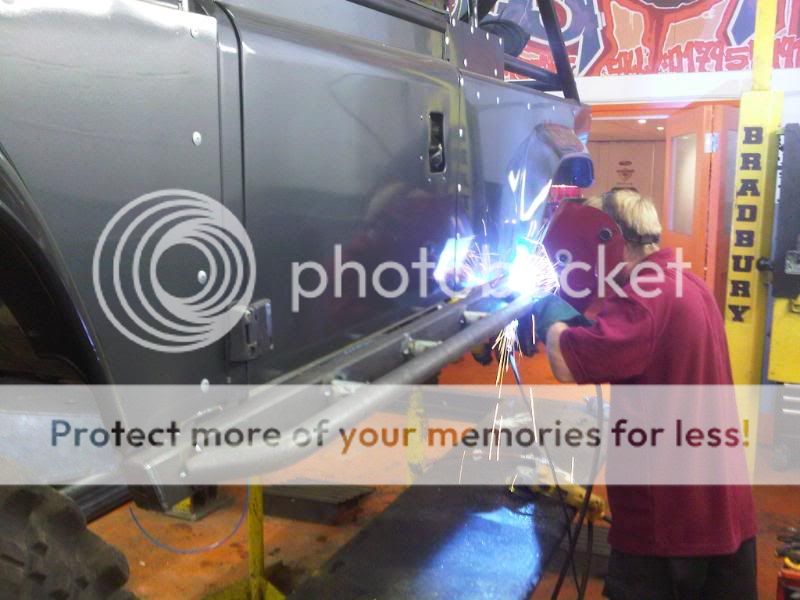
The first and most important place to start was the chassis, the chassis will be the foundations of the truck and most of the modifications will need to stem from the correct modification of the chassis.
So we took our ideas to the man who could make them happen.
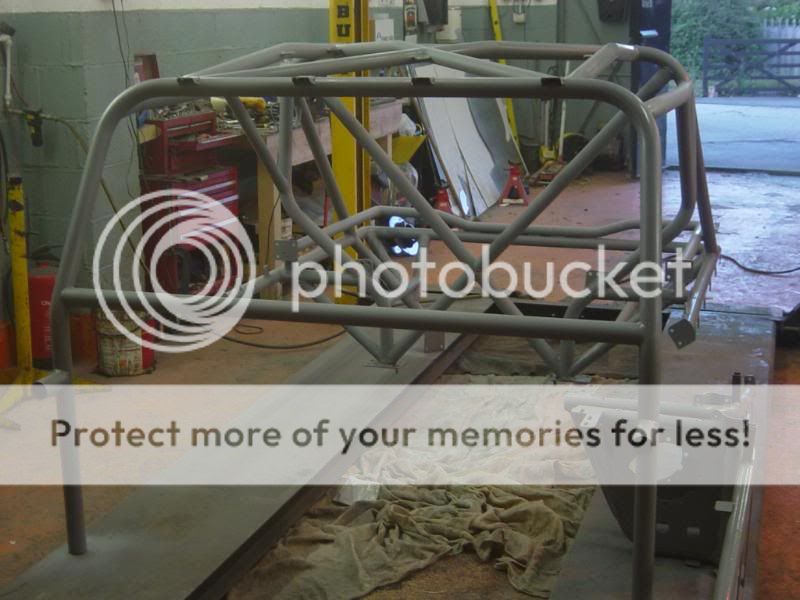
Richards Chassis took the ideas on board and set to work, a few weeks later a bare steel chassis was ready for us to temporarily set the truck up on, make our final modifications, tweaks before totally welding up.
Getting the design correct.
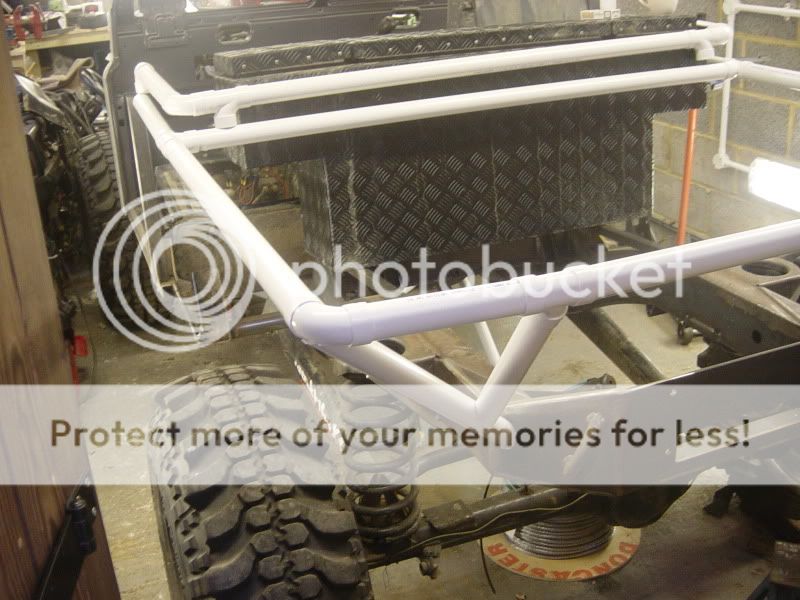
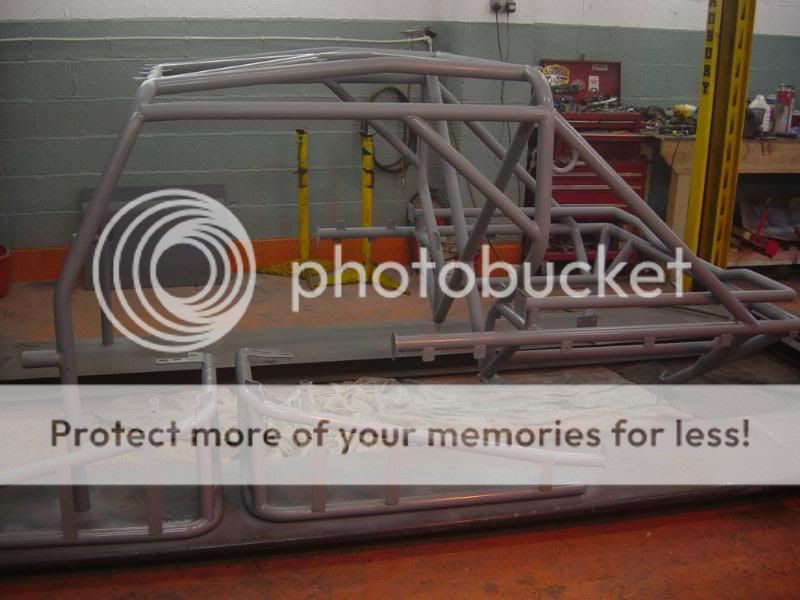
The tube work was first run in plumbers 1½” plastic pipe for a couple of reasons, cheaper to make mistakes with and we would be able to see what the final shape of the truck would look like before getting the final fabricating of the tube work done. Then the tube work would be duplicated for the second truck
with the dimensions all sorted out and alterations to the chassis made it was stripped back to a minimum and sent up North for the cage work then back into RCs for the finishing work on chassis
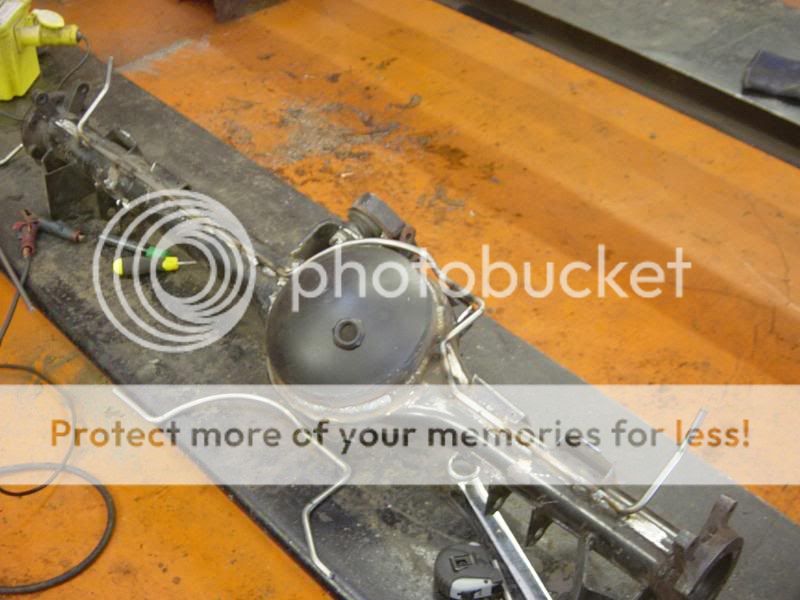
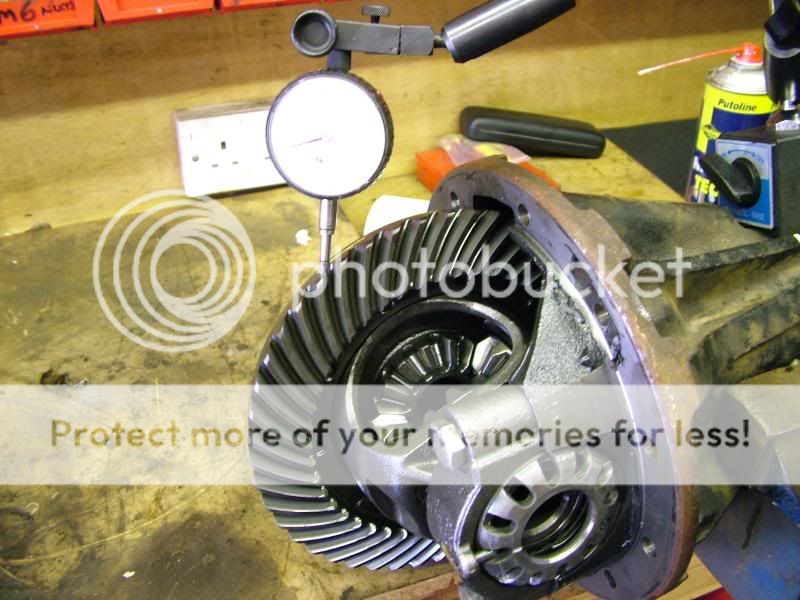
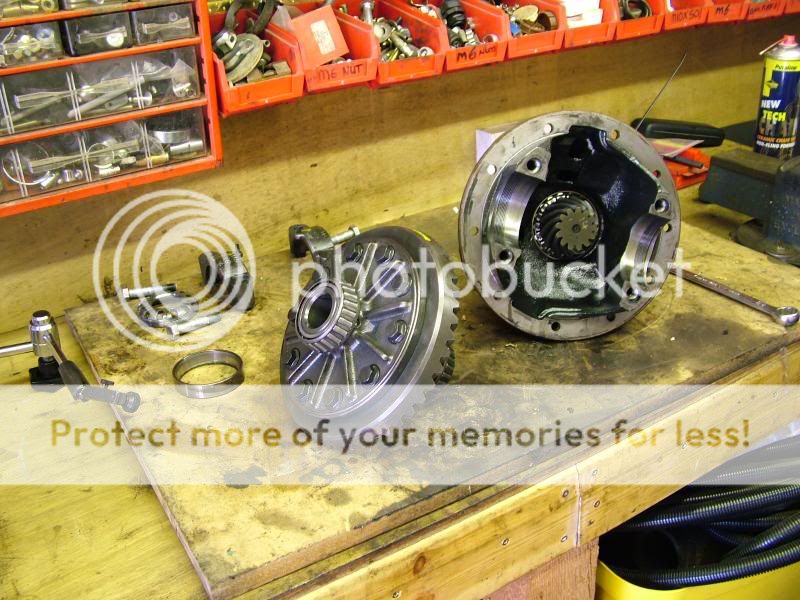
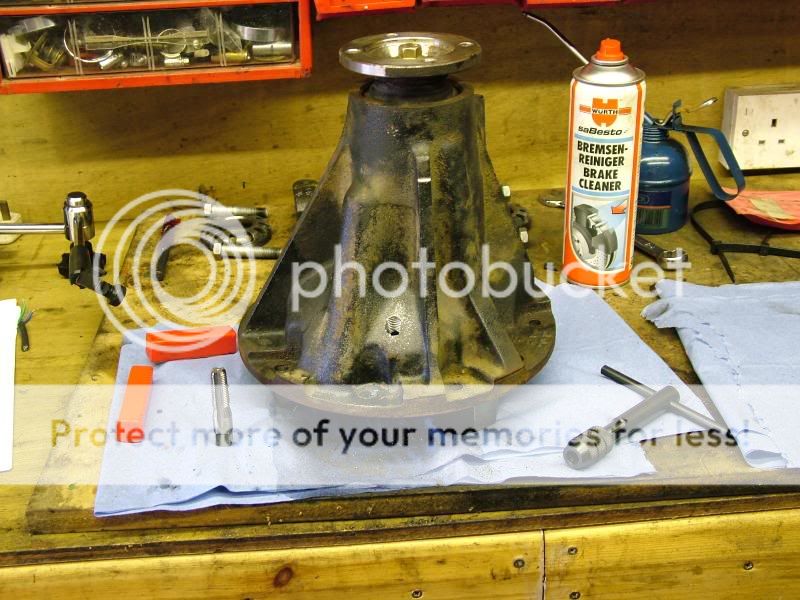
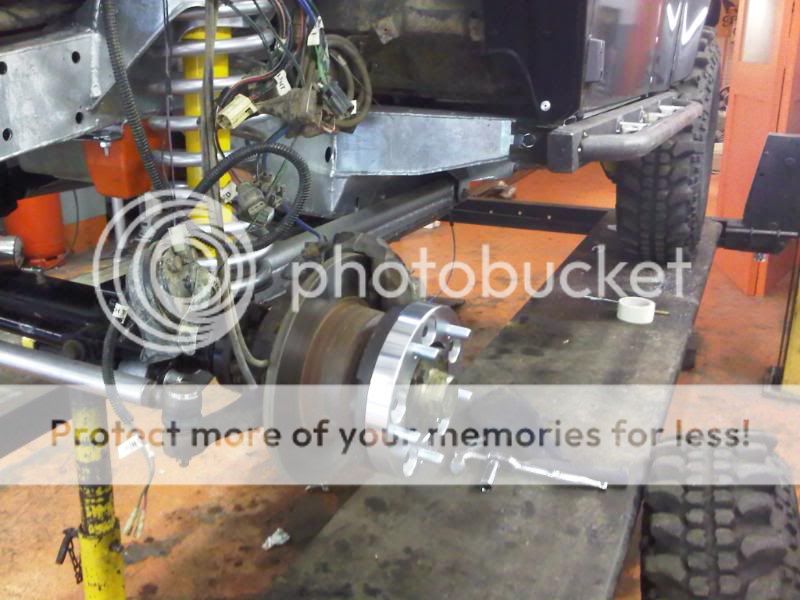
In the mean time axles....
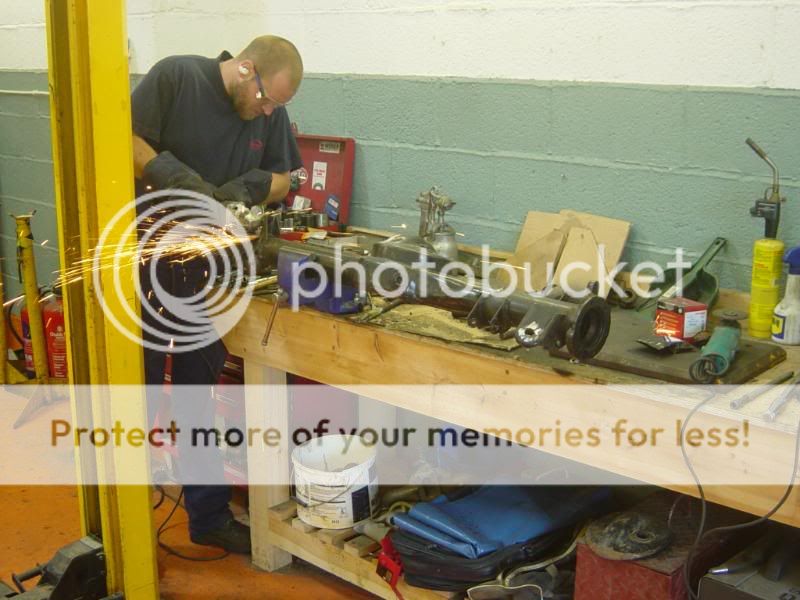
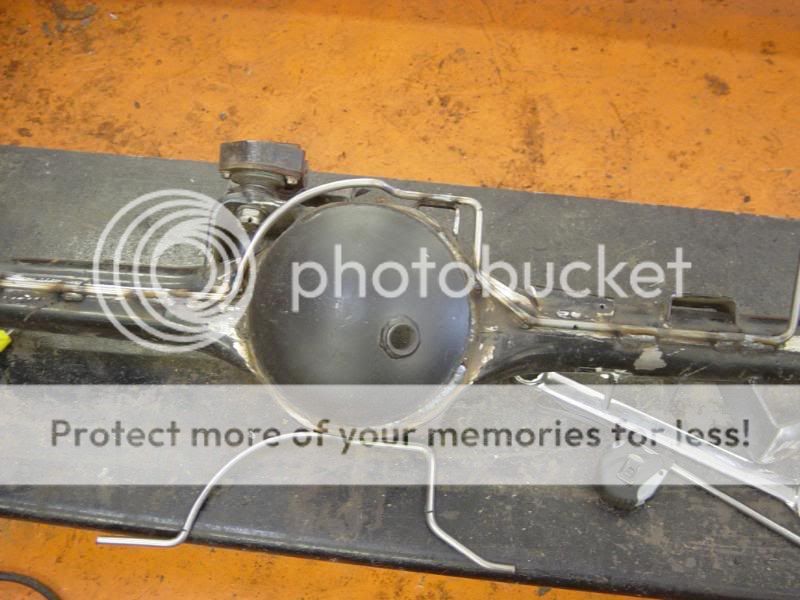
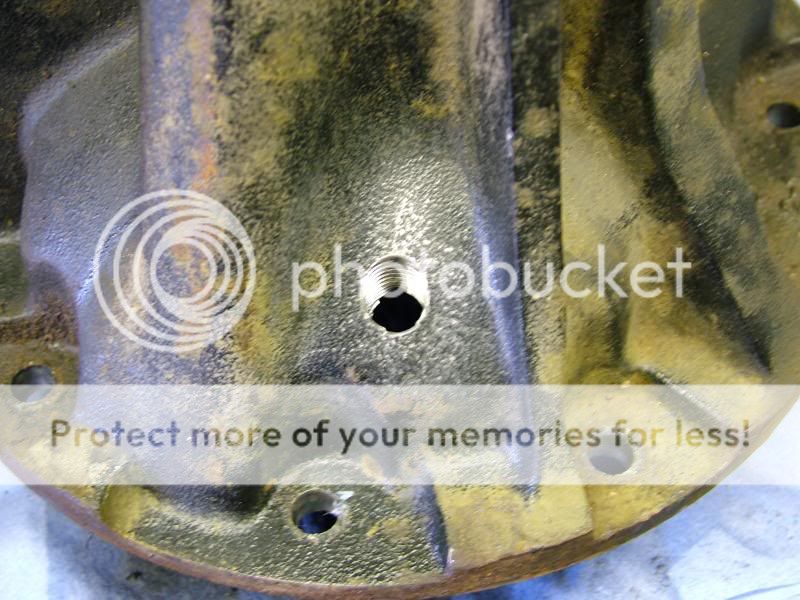
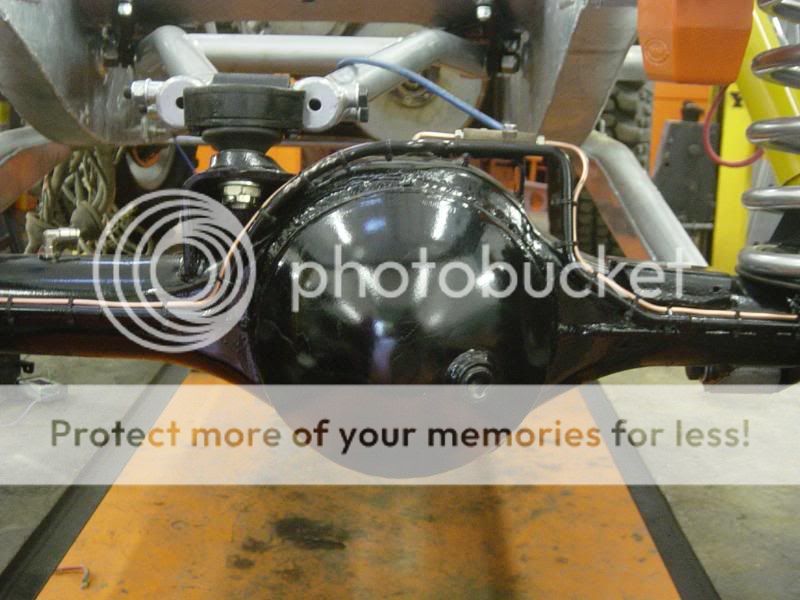
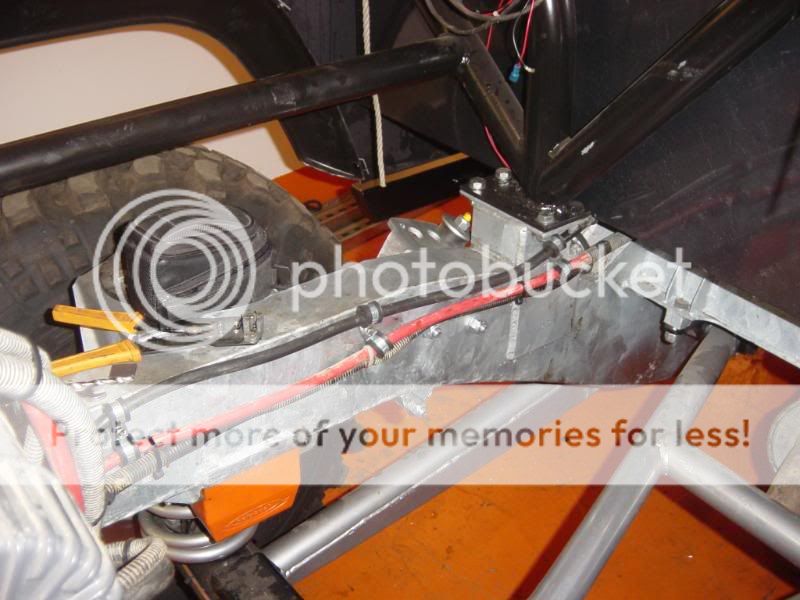
Stripping axle cases of all unnecessary bracketry including the standard Land Rover Diff Pan.
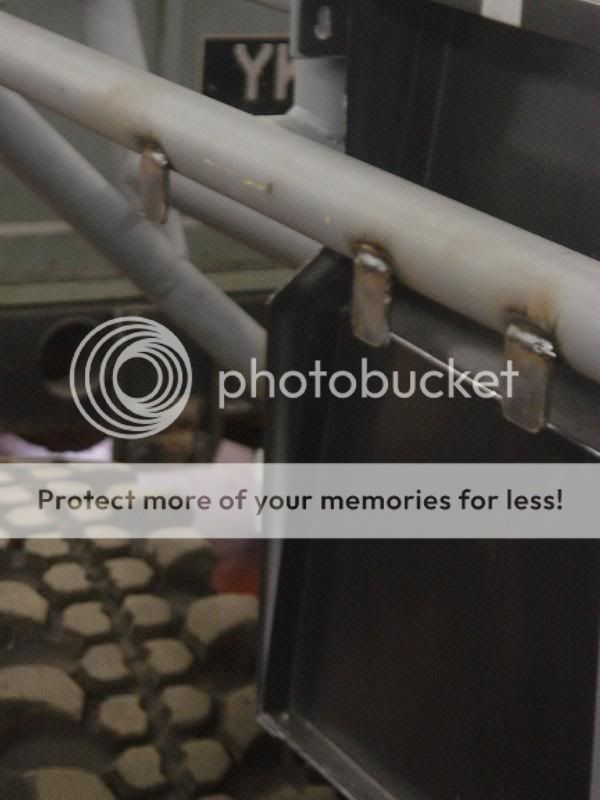
brake line protectors were formed from 8mm bar and stitch welded to axle case
diff pans replaced with H/D ones, 6mm thick and double welded
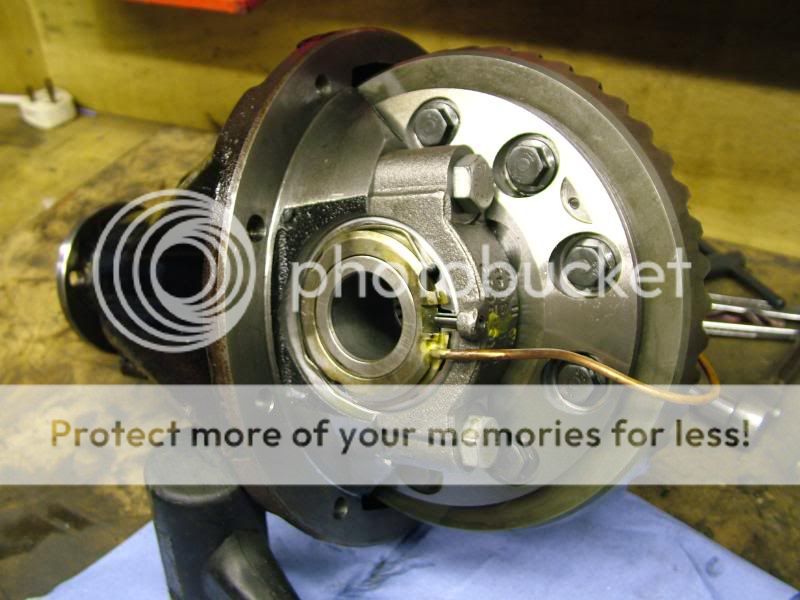
Diffs are ARB locking with 4:11 r/p and pegged
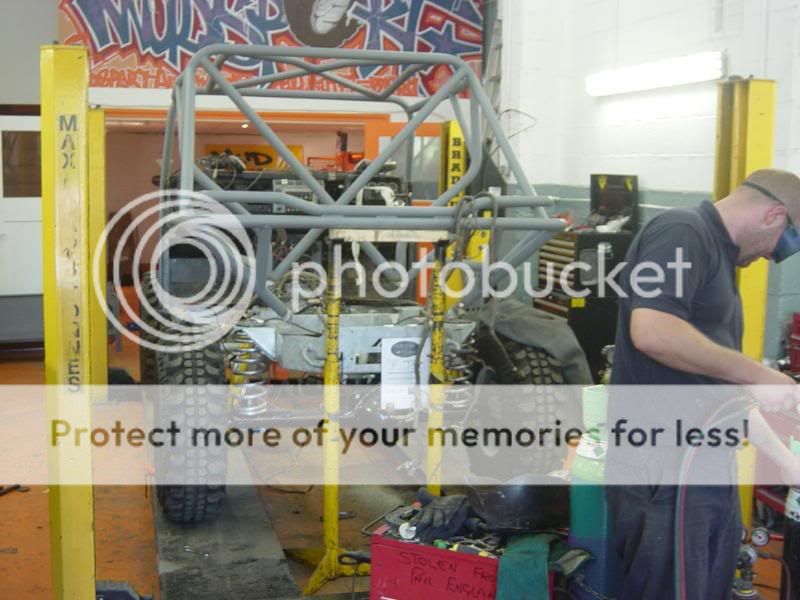
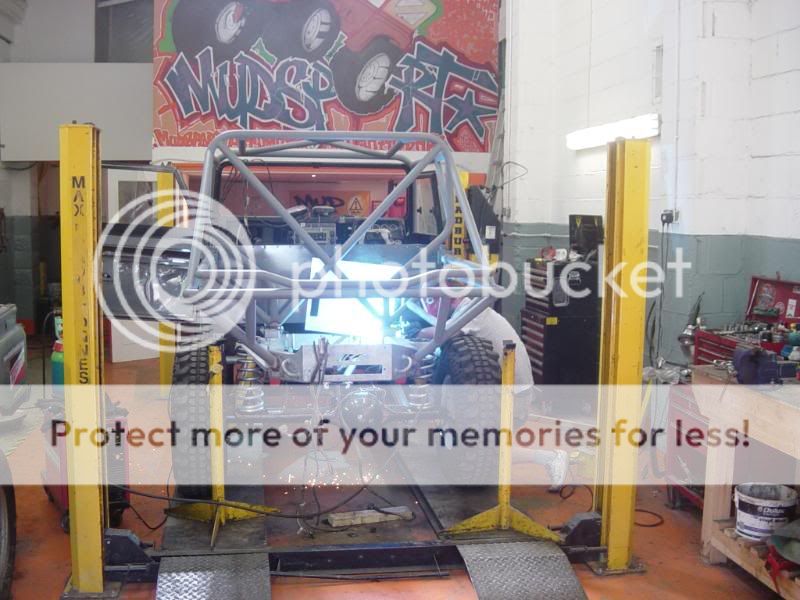
with the new chassis' now returned fully welded, duplicated and galvanized the build can begin
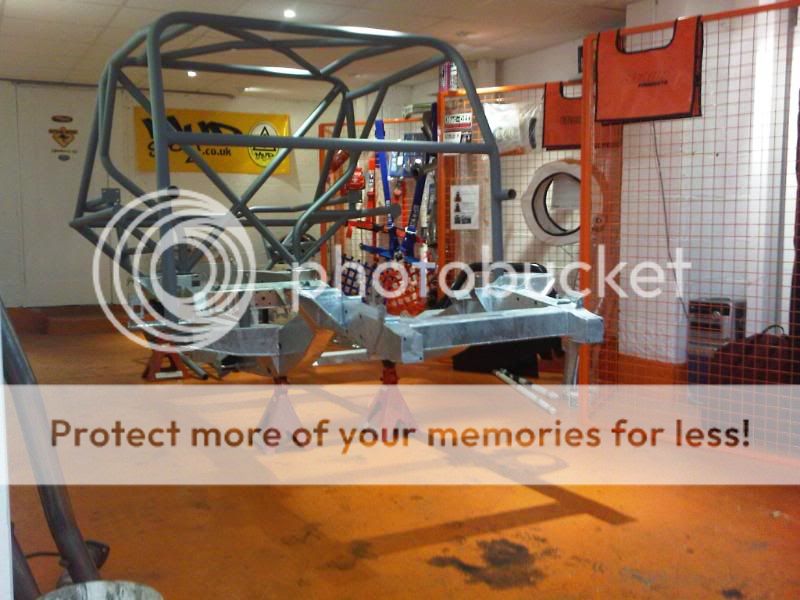
sizing up the cage work
spent some time looking at the lines of the truck, plenty of head scratching
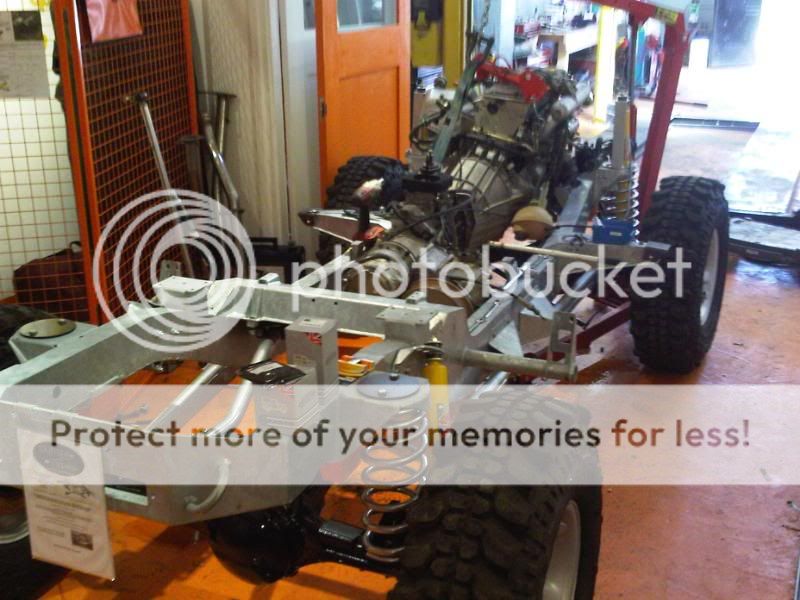
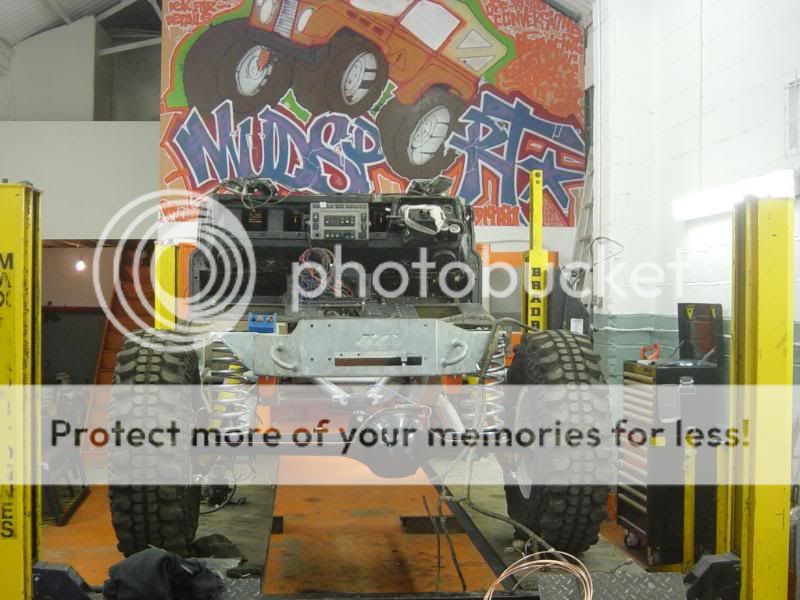
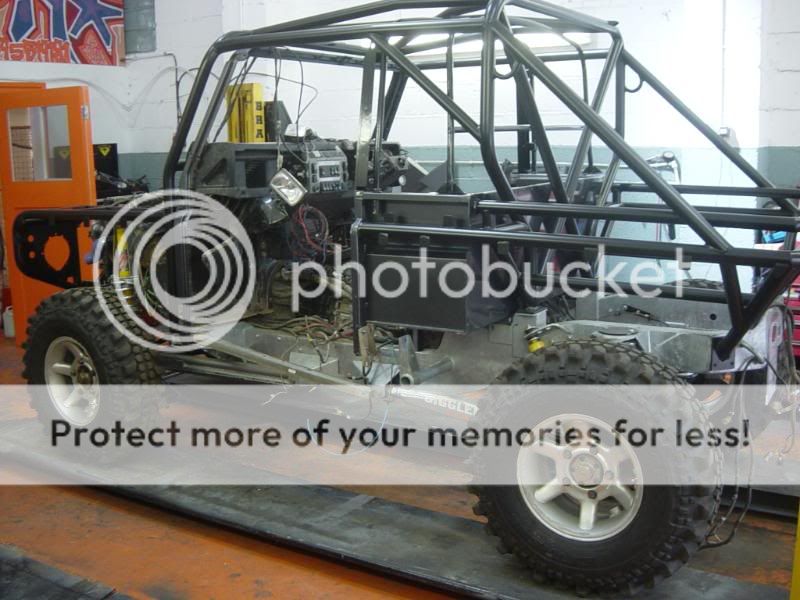
dropping the engine, gearbox, trans box and over drive in to the rolling chassis as one lump
Tea, got to be PG white with two
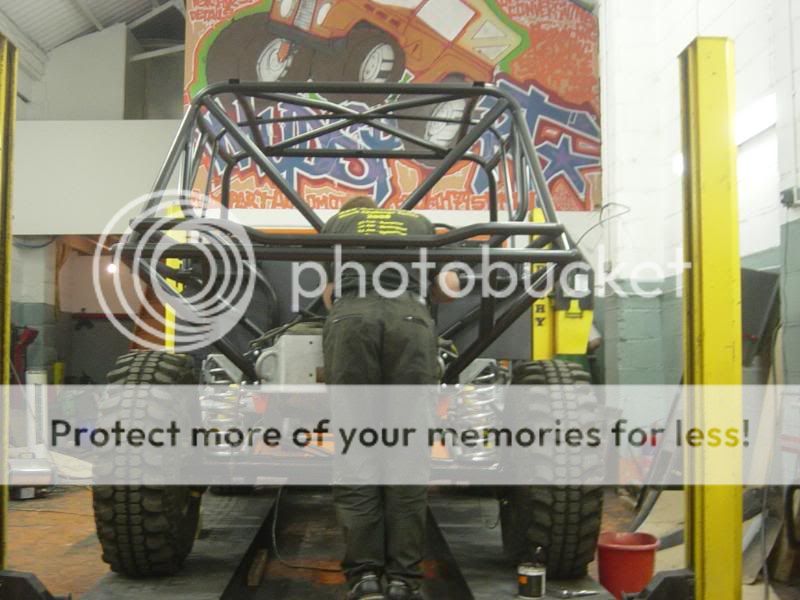
the suspension components are only loosely bolted together and will be tightened once some weight has been added to the build
new brake lines
lines clipped to protectors to prevent damage when reversing
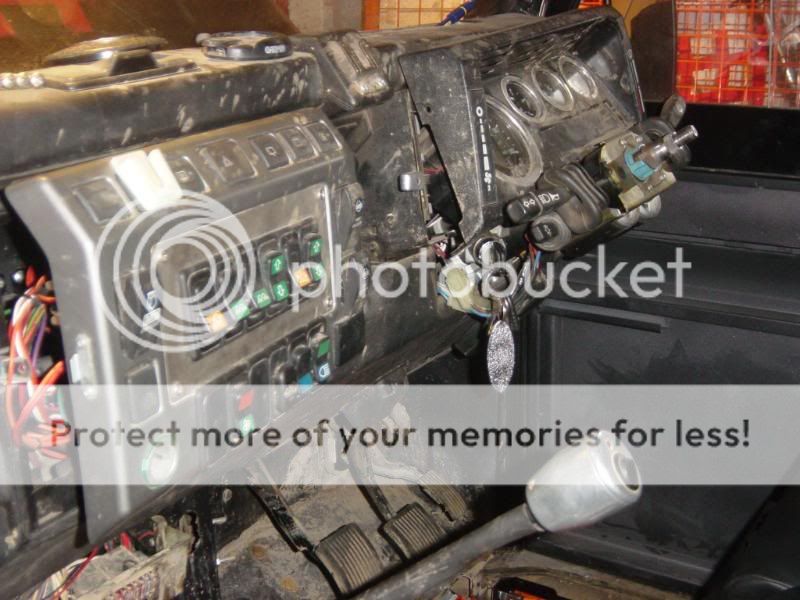
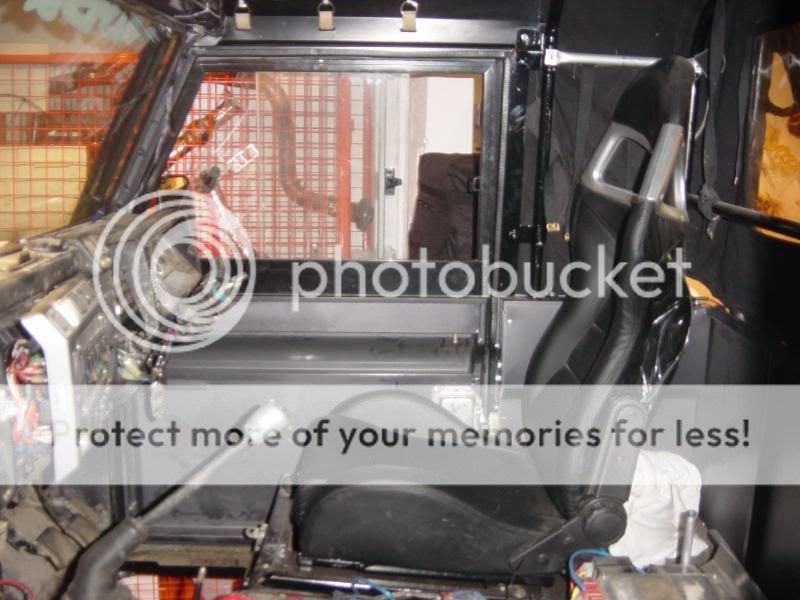
bulk head in place
changing the line of the cage meant we needed to cut the mounting points of so it could be re-positioned
cutting new mounts for cage
tacking it all back up before installing our newly painted custom rear bulk head
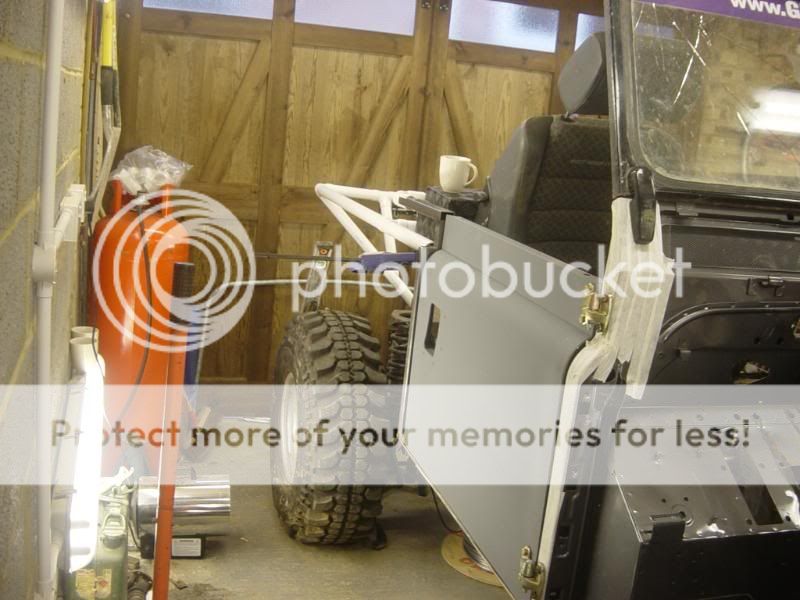
a couple of old doors were used to make sure the rear bulk head was in the correct place before more welding
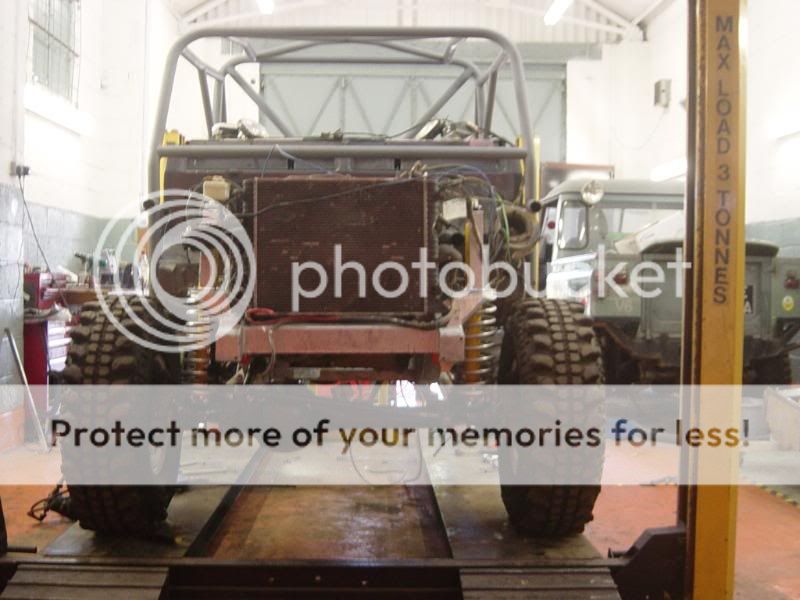
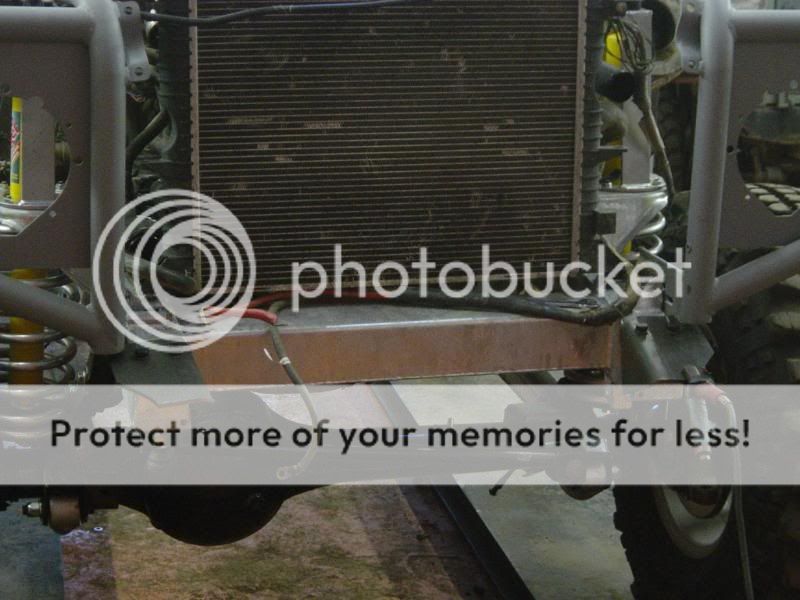
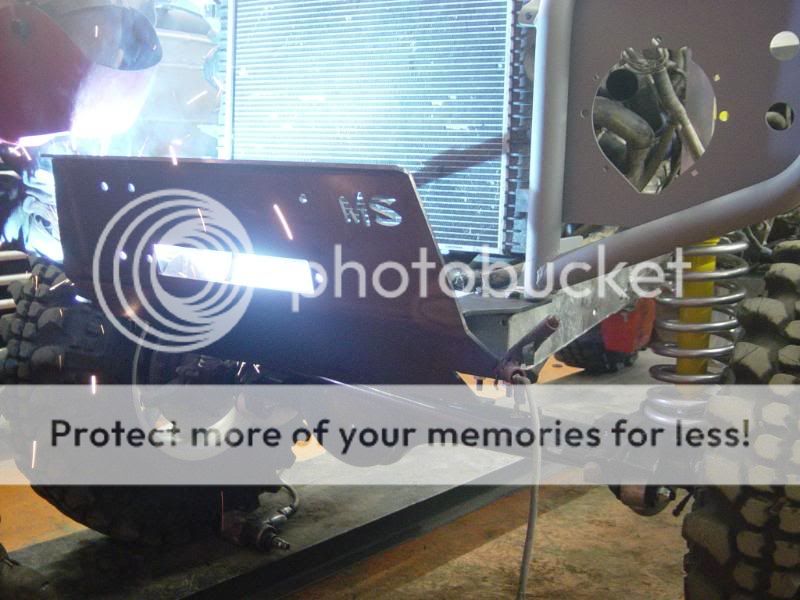
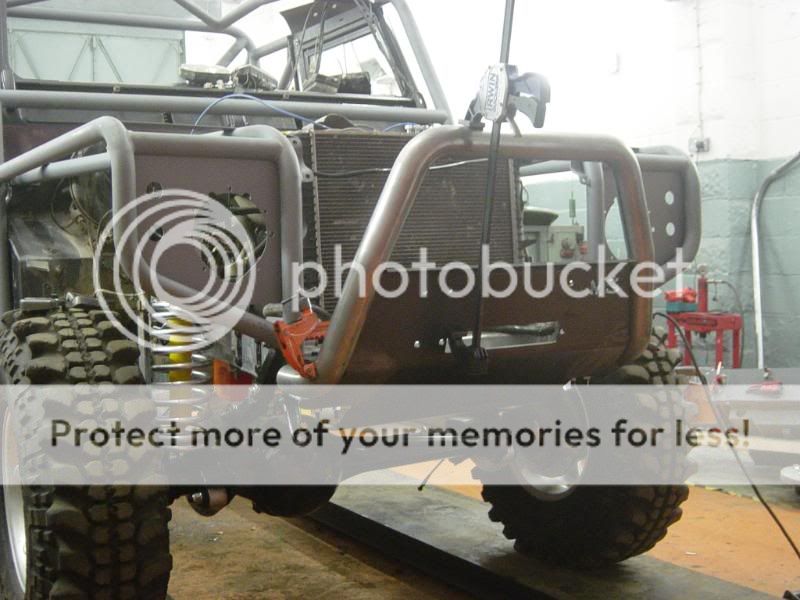
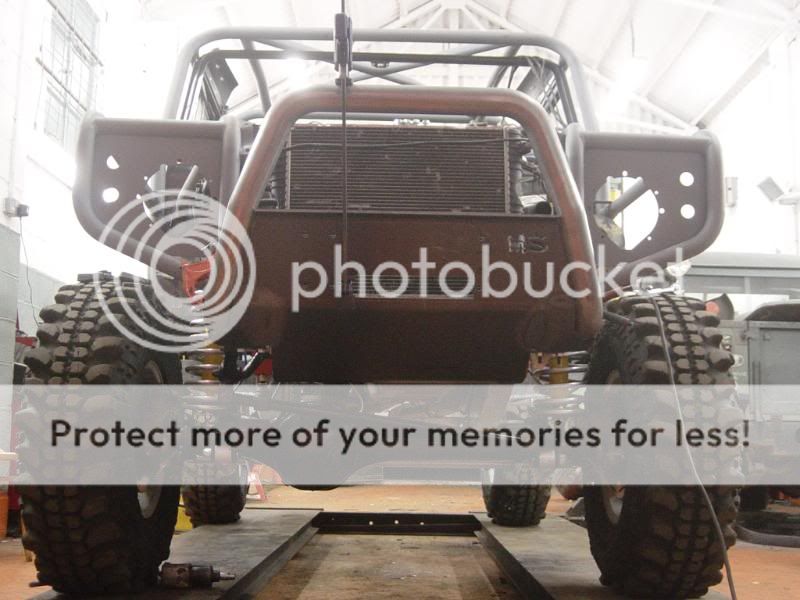
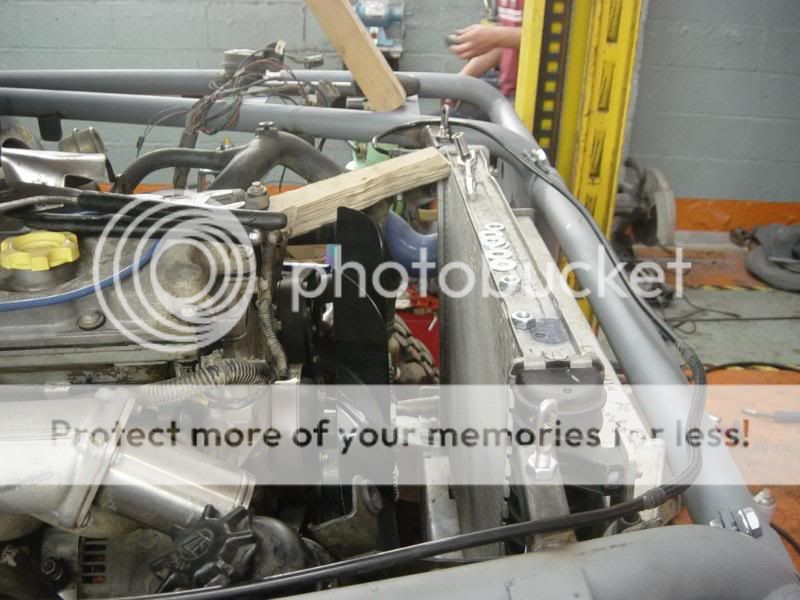
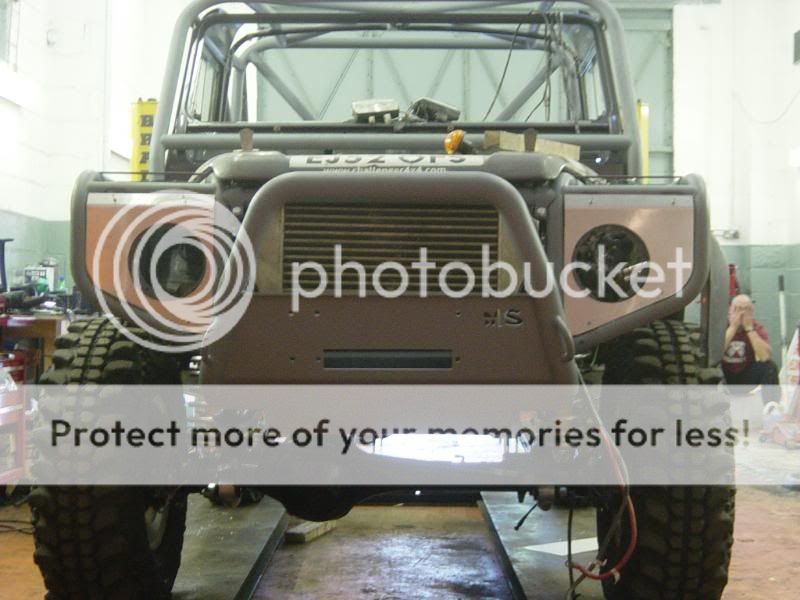
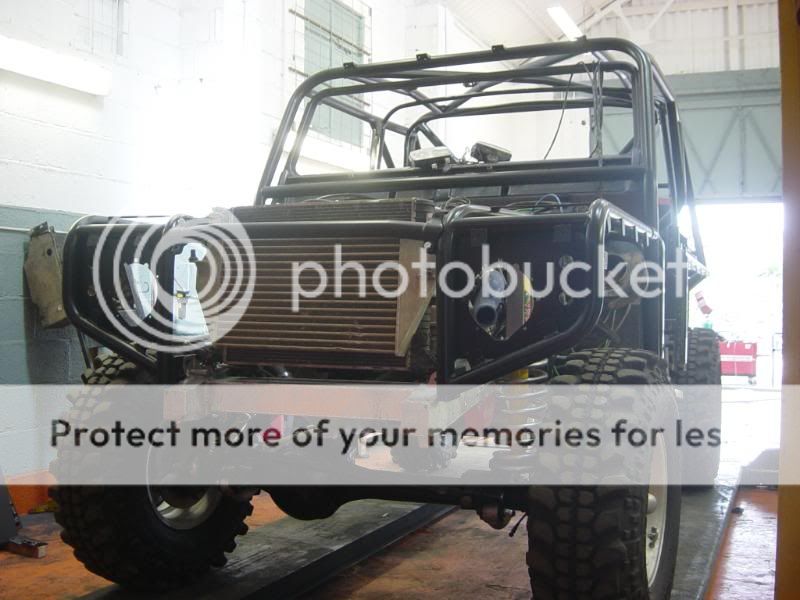
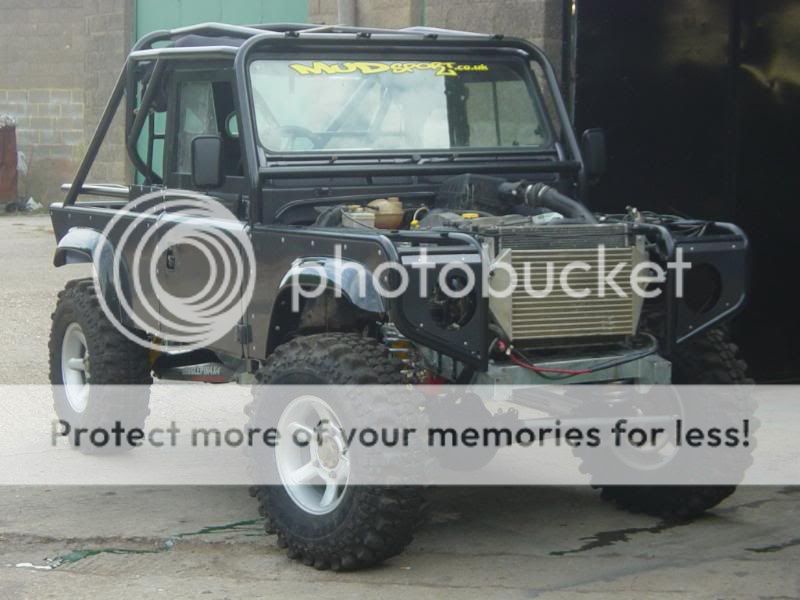
Before setting up the front end the rad and pipe work needed to be placed so we knew how much clearance we had
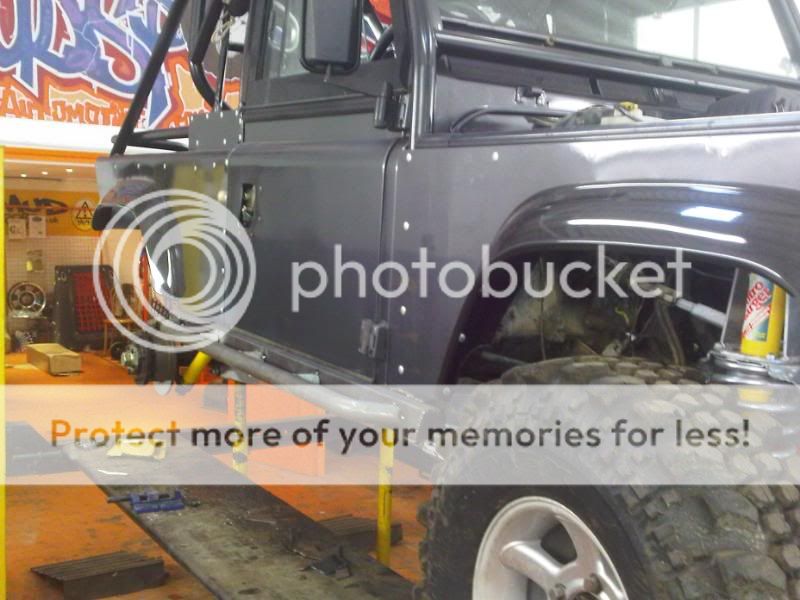
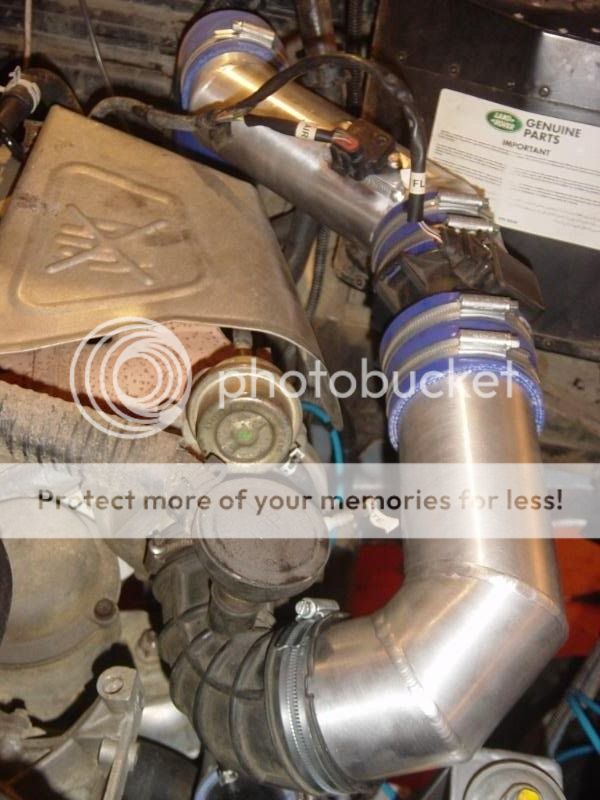
With the rad installed we could concentrate on the tube work, tubular wings in place allowed us to start tacking the bumper in place
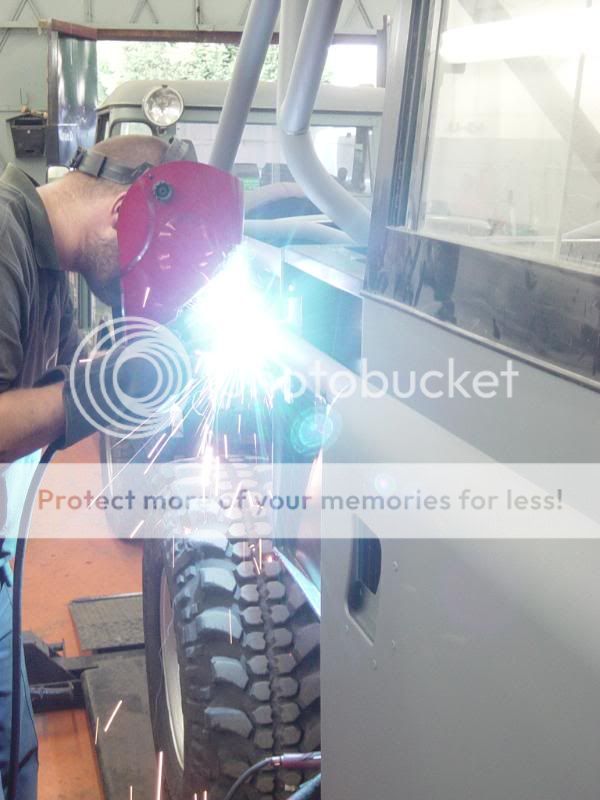
With it all tacked up we removed and fully welded
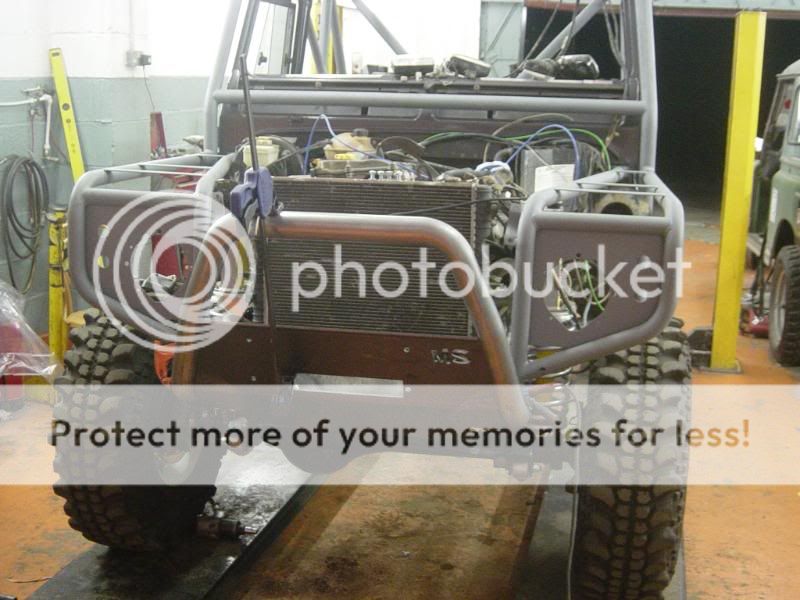
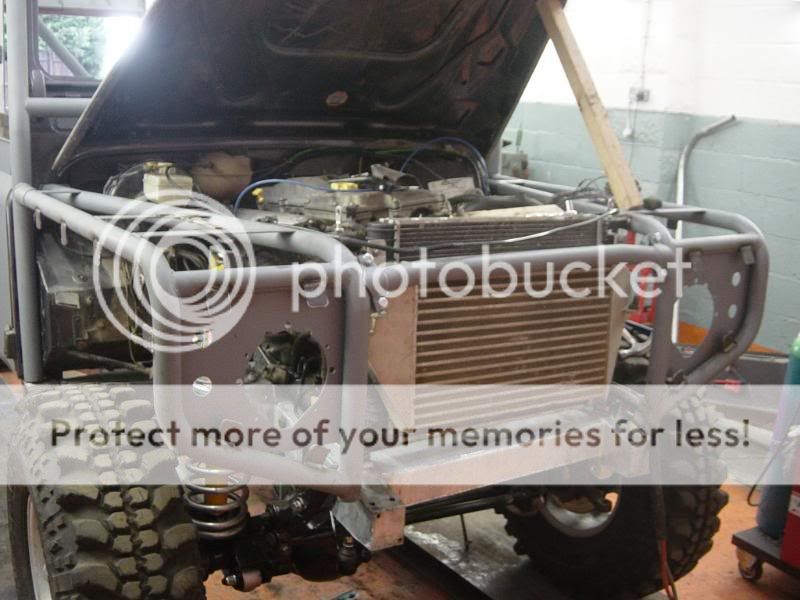
With the bumper off we fitted old intercoolers so that the bonnets can be fitted up, also to judge how far out we are with intercooler hoses
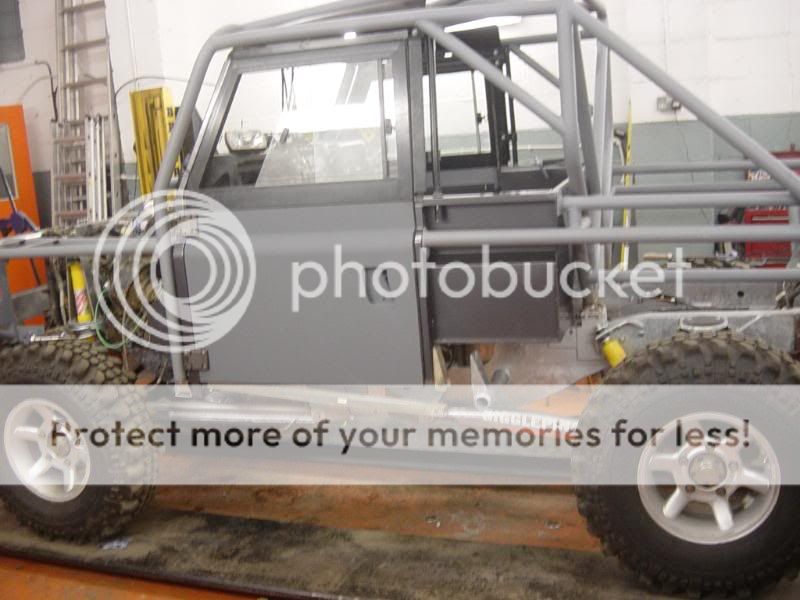
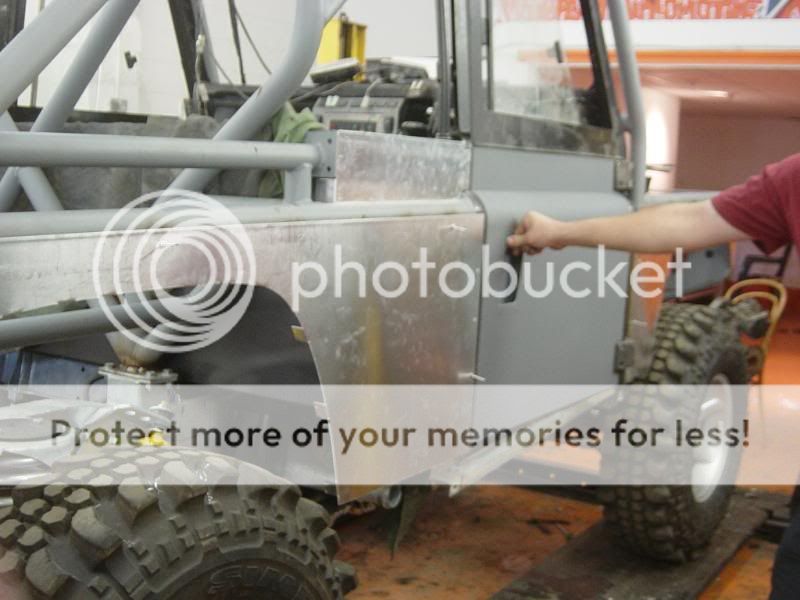
fitting new series doors guaranteed the gaps were correct and no more adjustment was needed
over 60 tabs had to be welded to the cages so the panels could be fixed
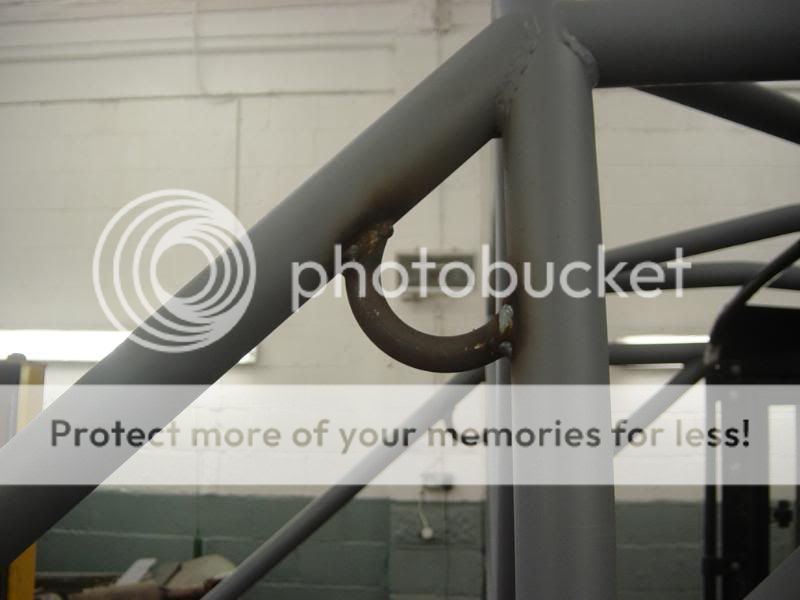
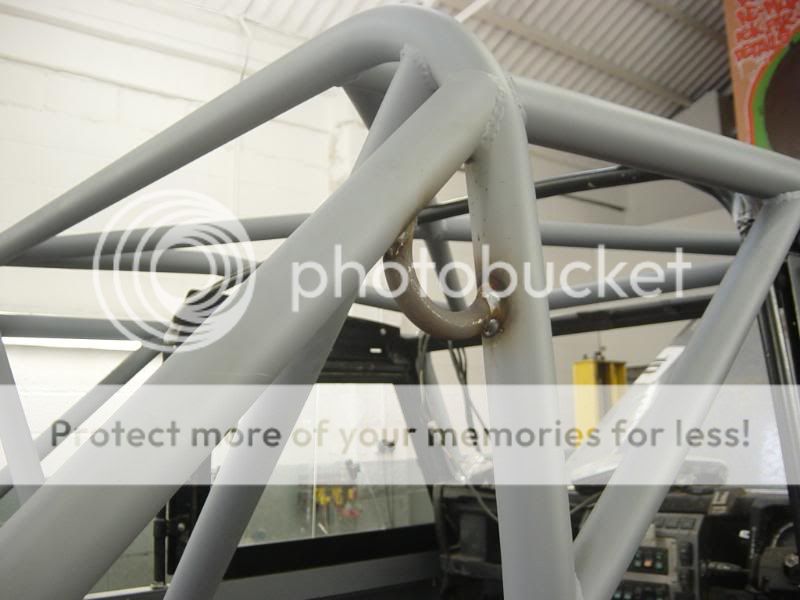
loops welded in place for side pulls
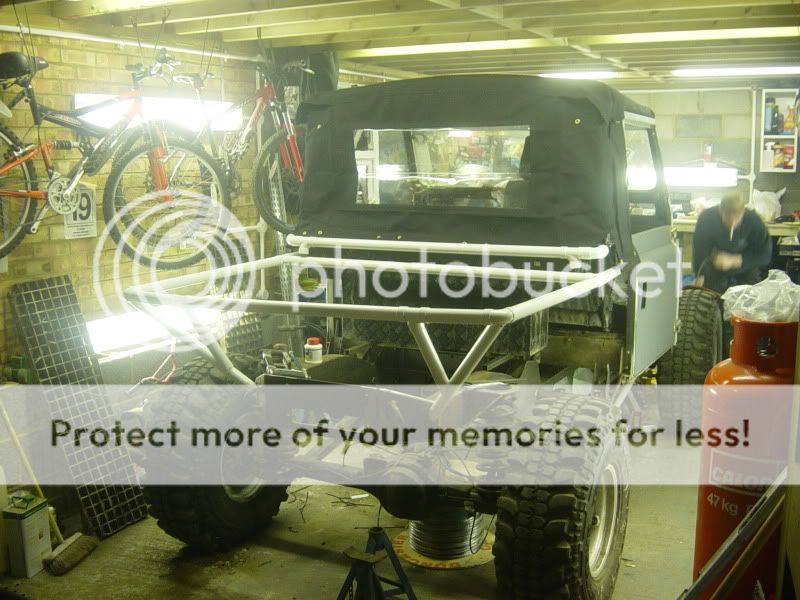
With the roof line 2" lower than a std soft top the hoops had to be cut and re-welded. the rear hoop is cut down in the width and height allowing us to manipulate the hood, stretching it backwards further increasing leg room or storage space
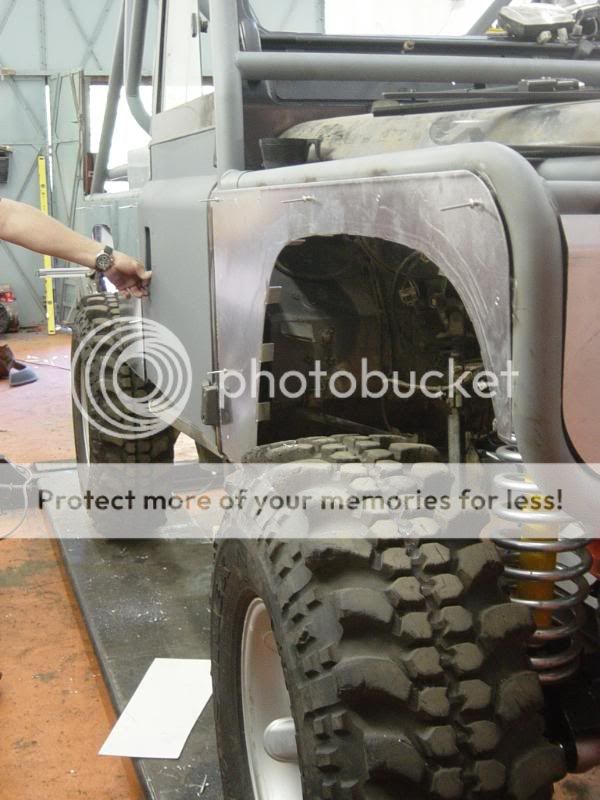
before going any further with the cage work we needed some panels in place so on with templating, for this we use a 3mm polymer sheet
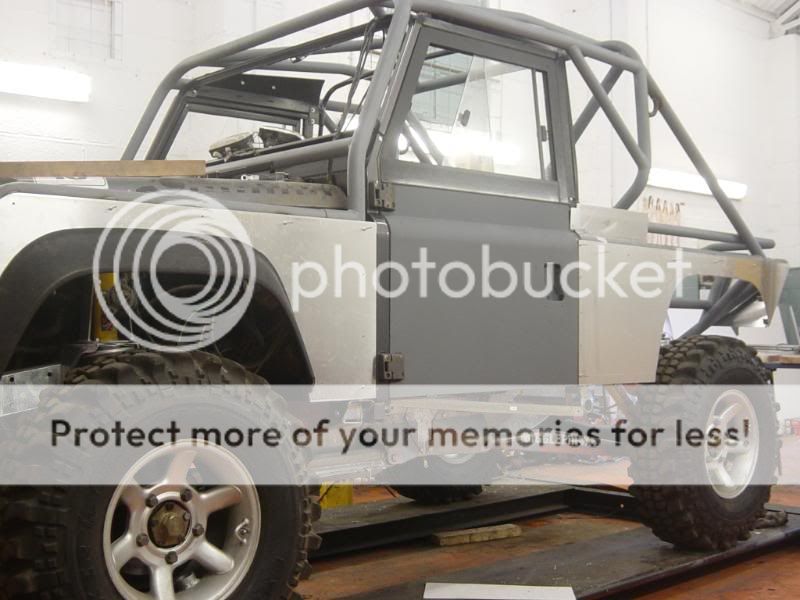
With the templates fitted we could cut the panels in 2mm aluminium and temporarily peg them in place
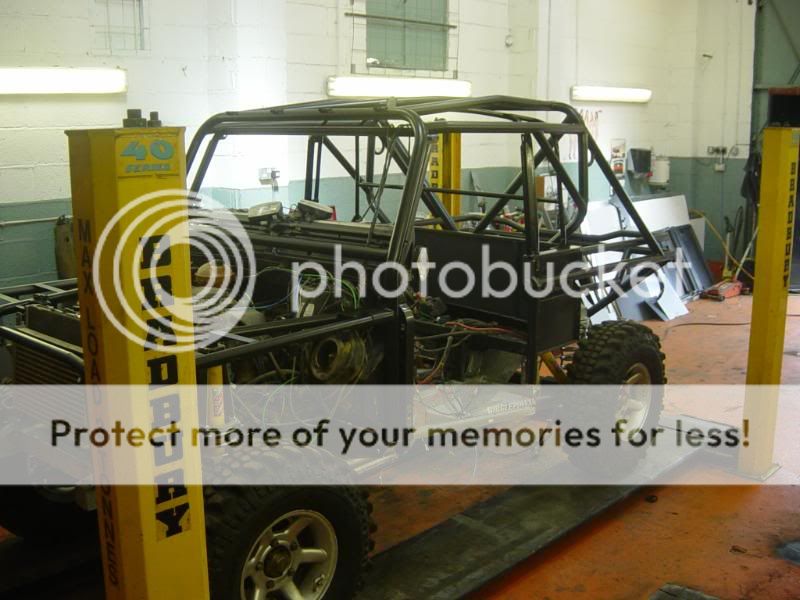
now the panels could be removed rubbed down and etched primed ready for paint. Allowing us to get on with some of the little jobs needed to enable us to start and drive the trucks.
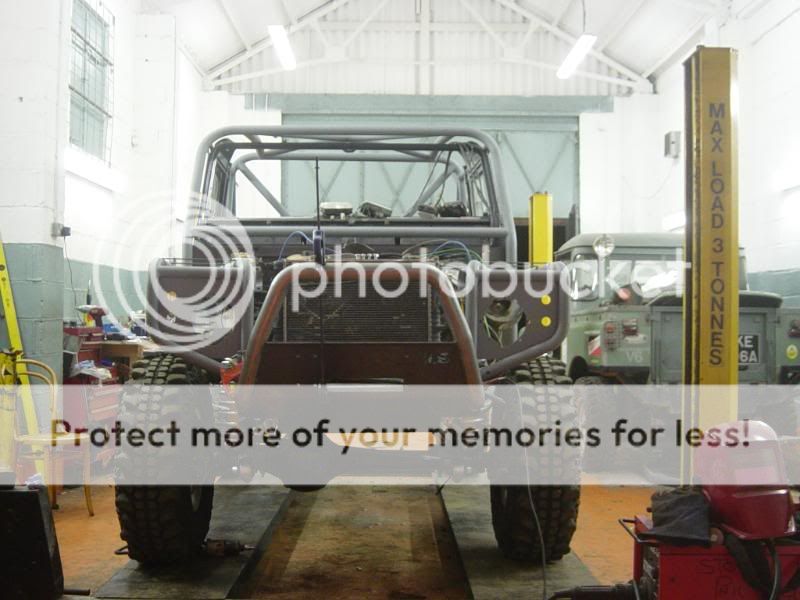
As you can see moving the engine and gearbox back 4" comes with its own problems, the gear box tunnels on both trucks are later fabricated from aluminium.
surprisingly the only problem we found with moving the bulk head back 2" was having to extend the steering arm
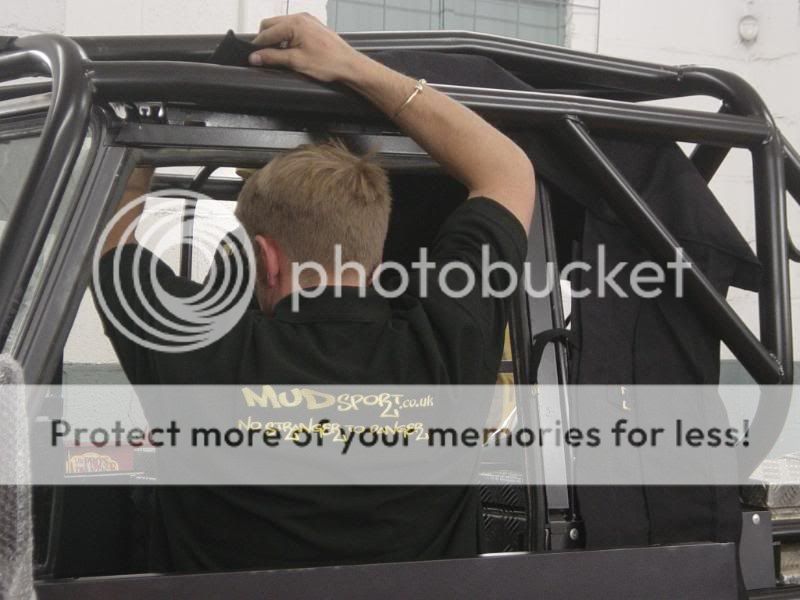
Before removing the cage they was run up and down the yard a couple of times to make sure there was no binding from the steering
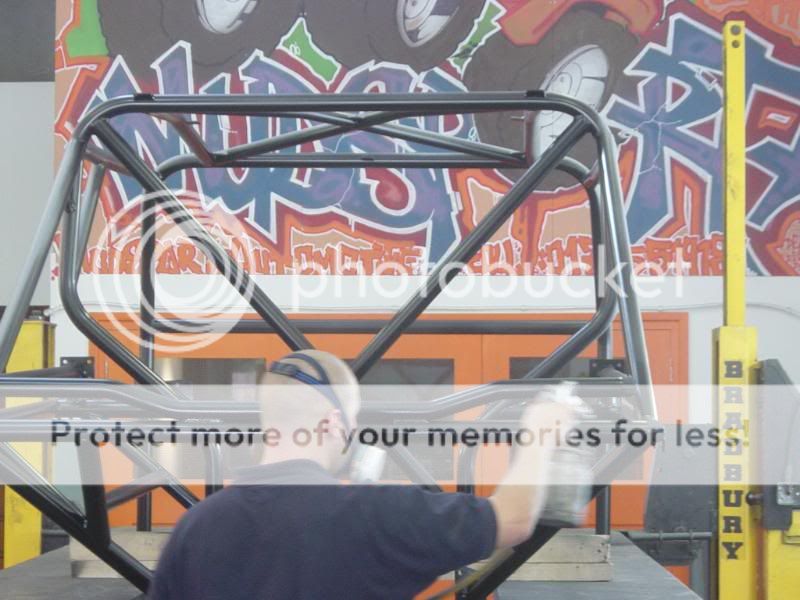
The tube work was removed as this would make it easier to finish the roof section.
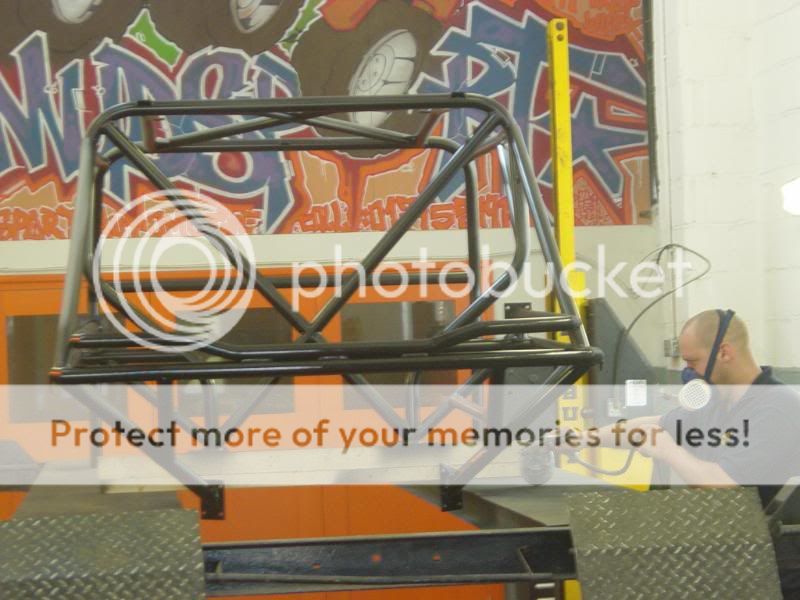
having welded on spot light brackets, roof panel mounts and harness mounts the cages were re-primed.
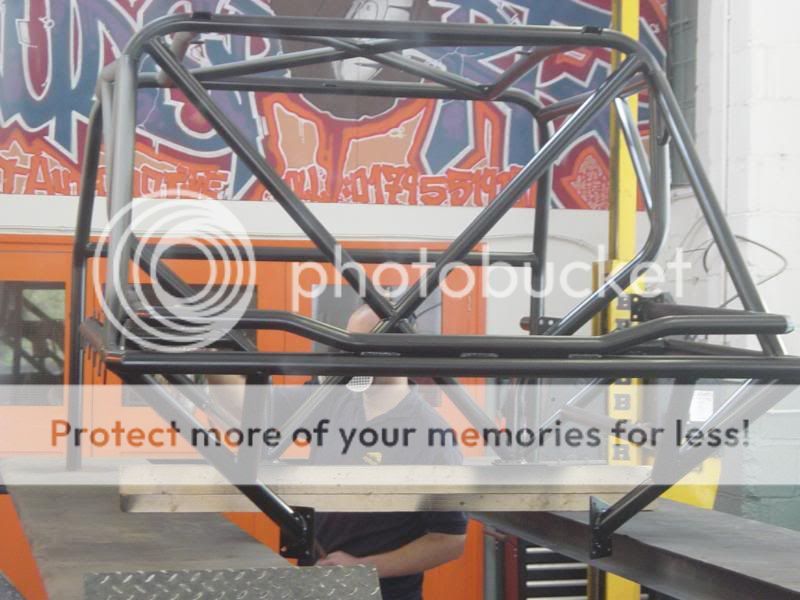
Then painted satin black.
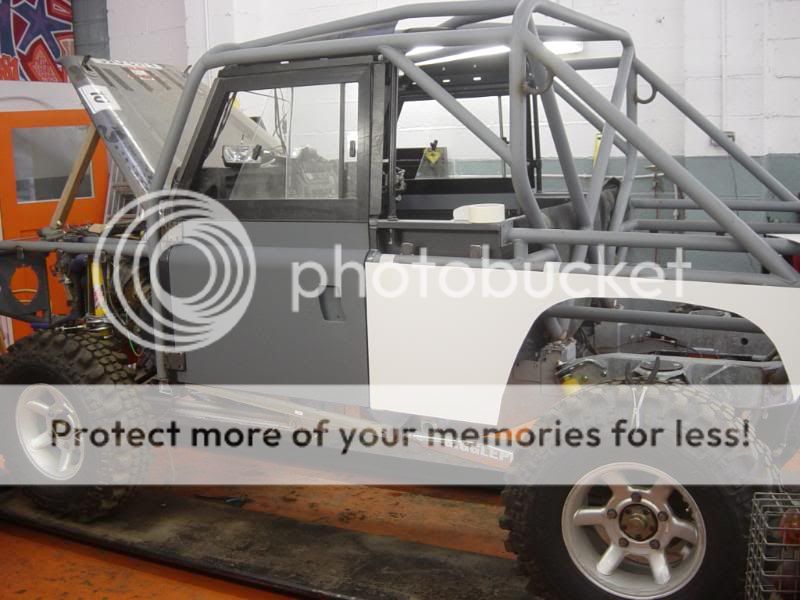
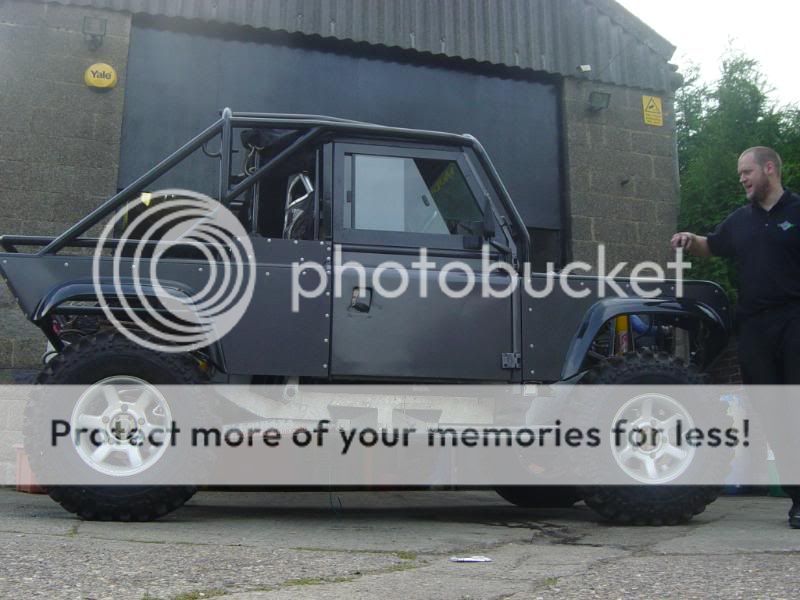
along with the cages we painted the bumpers, wings, hood sticks and door tops, we were ready to re-assemble
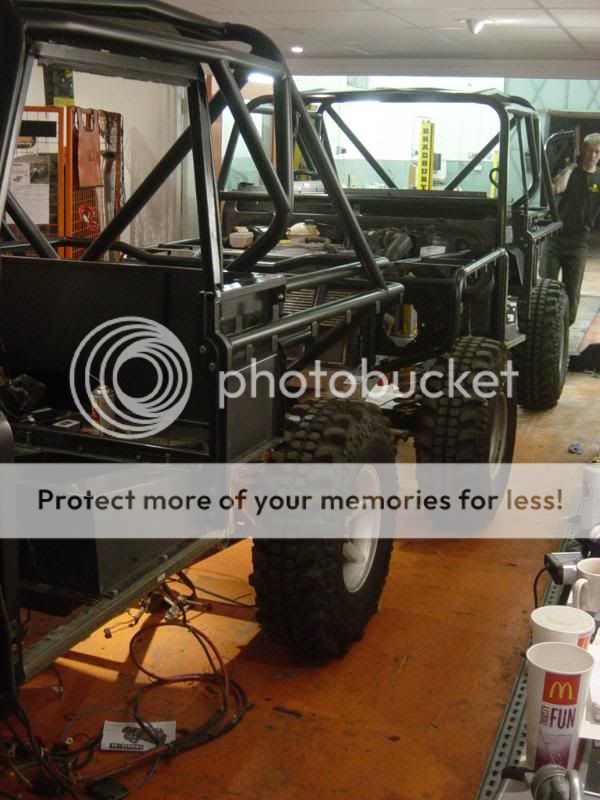
Things start to move on a little faster at this stage as its all been fitted once already
On with the panels
bumper and winch fitted to ensure we have no clearance issues
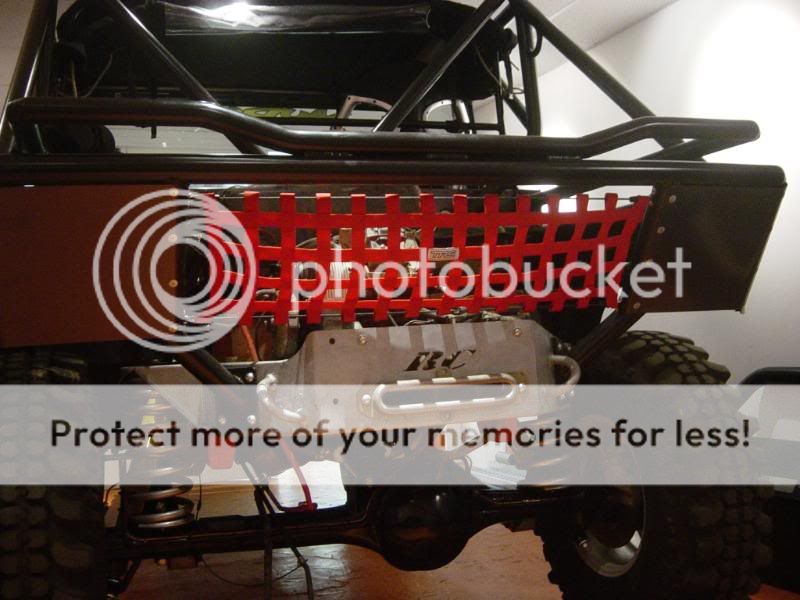
Winch also fitted into the rear behind a custom made tail gate net
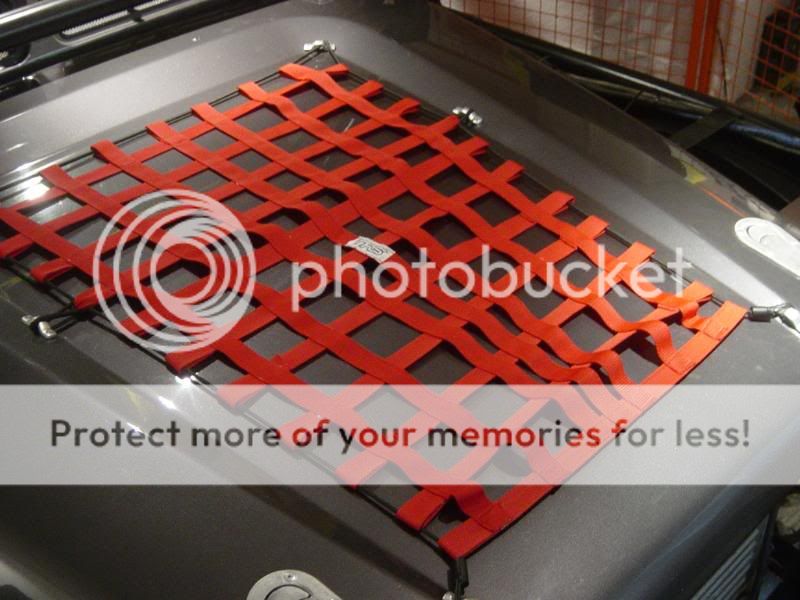
matching bonnet net plus alloy aero catches finish the bonnet
The hood is canvas, so it is fitted then damped down with a sponge to shrink it down for a snug fit
Fitting the CSB sport seats reveals just how much space we have created
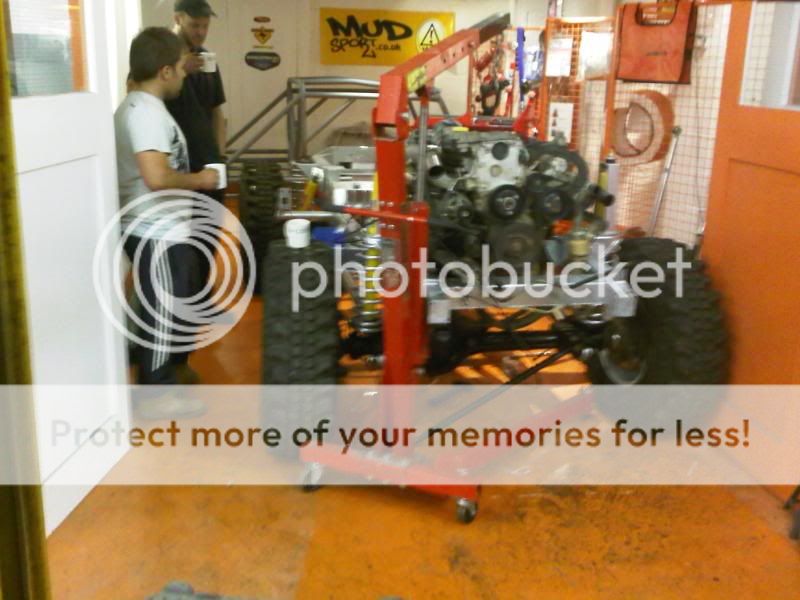
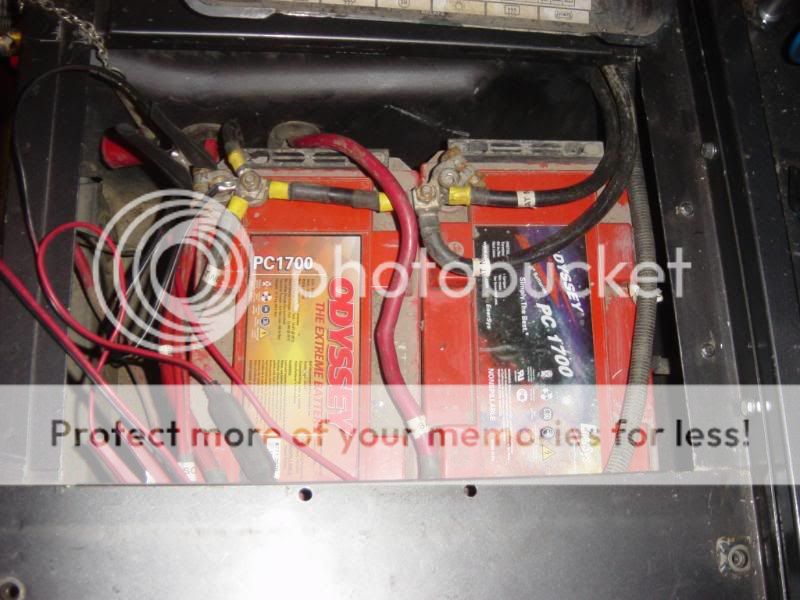
Tightened up the suspension, hooked up some temporary fuel tanks, cable tied the air box's to the bulk head, filled the coolant system with water and gave the trucks a good run to make sure all is working OK at this stage (not on the public highway, that would be illegal :-/ )
testing found some rubbing from tyres on the shock mounts, we felt the performance would benefit from a smaller intercooler, tracking well out and a air leak from a locker pipe all simple fixes
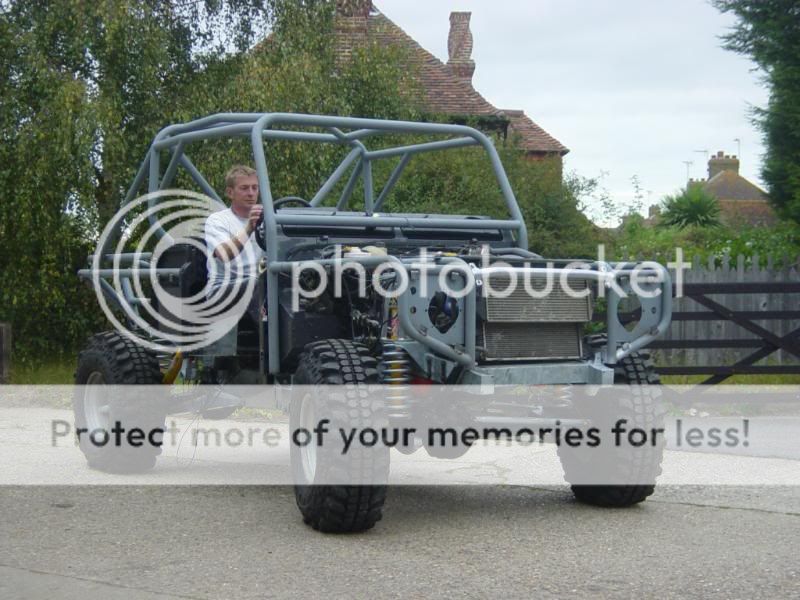
Handled very well on the new lower chassis
had been saving as much weight as possible through out the build and was very pleased with the gains from power to weight ratio
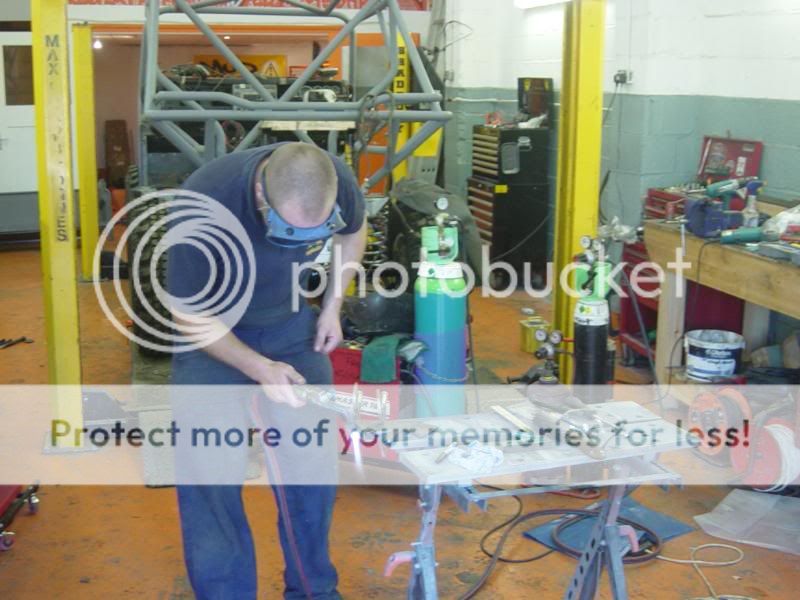
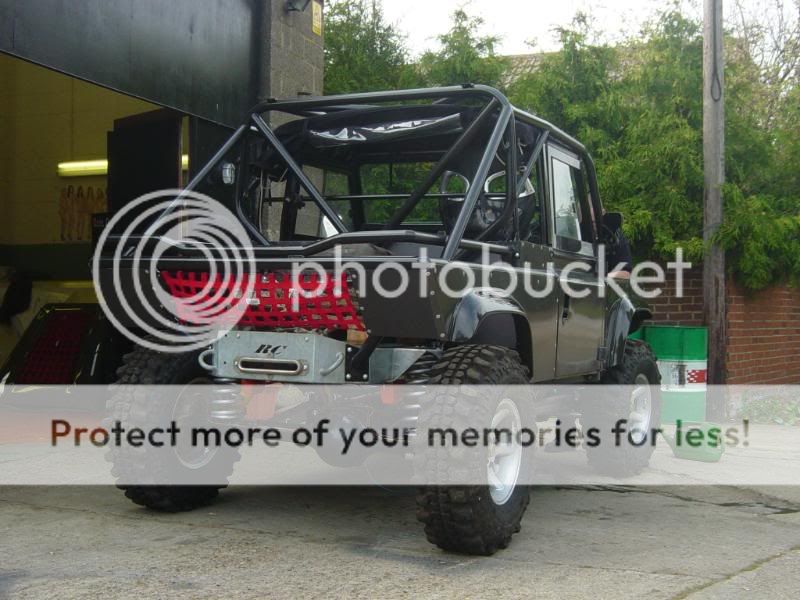
As the trucks are 100" wheel base we had to fabricate our own tree sliders
tacking into position on the truck first
then removing , fully welding, priming and painting
the tyre rubbing we solved by simply adding 30mm spacers all round, also helped the steering lock
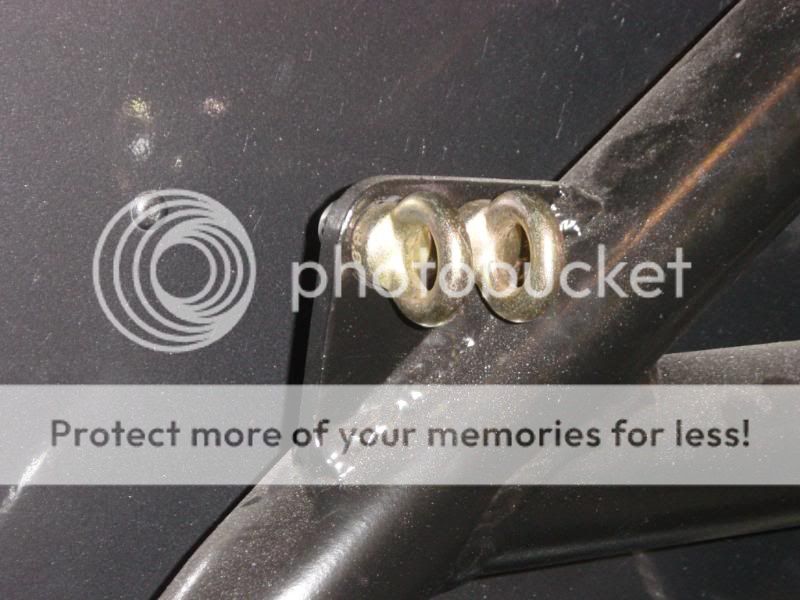
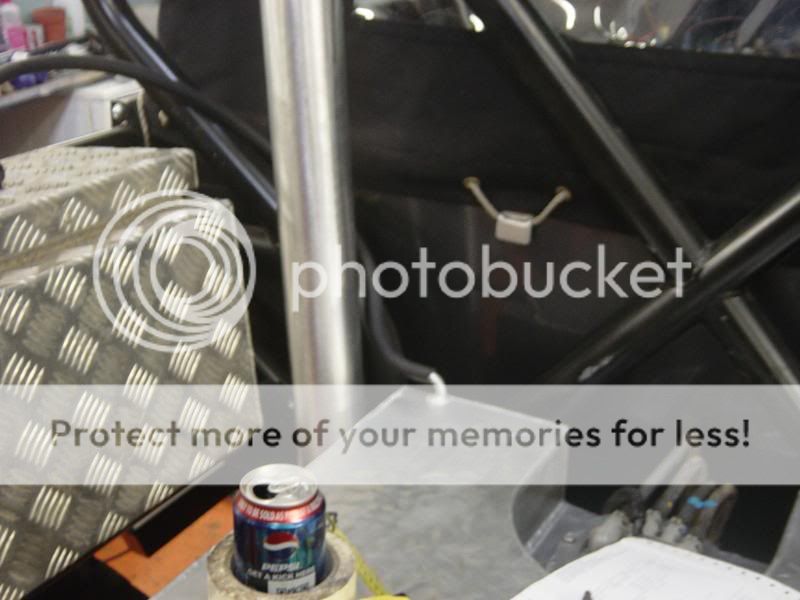
height tensile harness mounts fixed to mounts on the roll cage
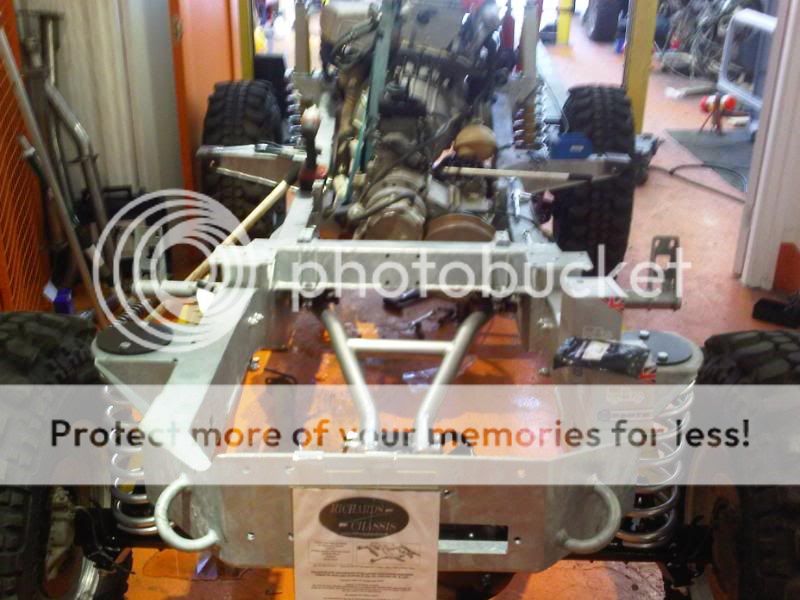
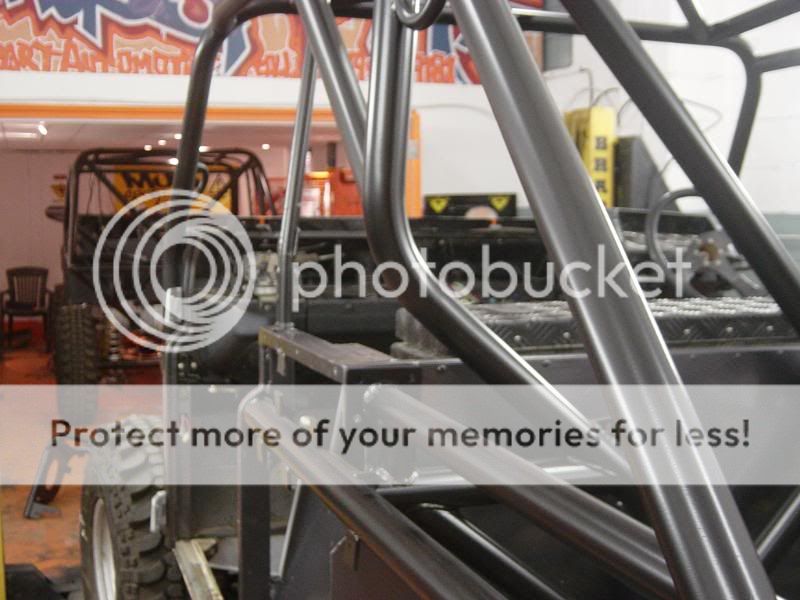
wiring to the rear winch needed to be run before the new fuel tank can go in
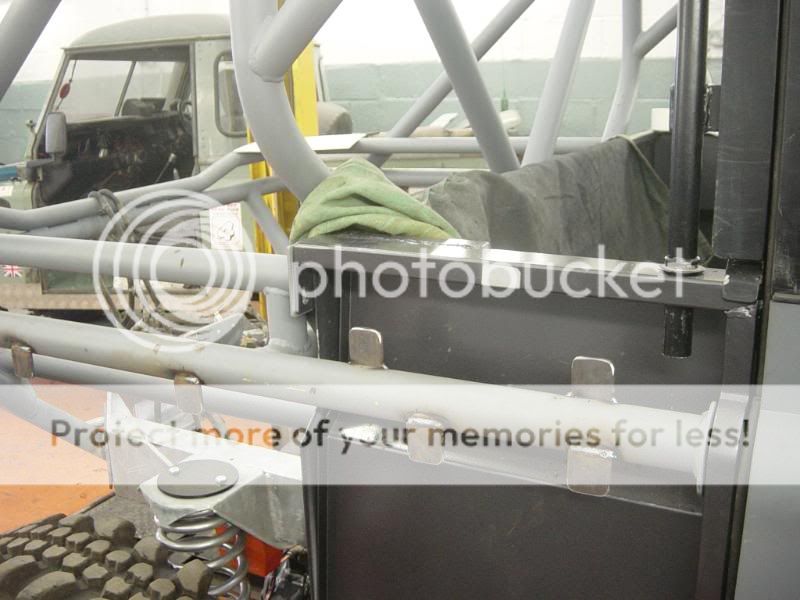
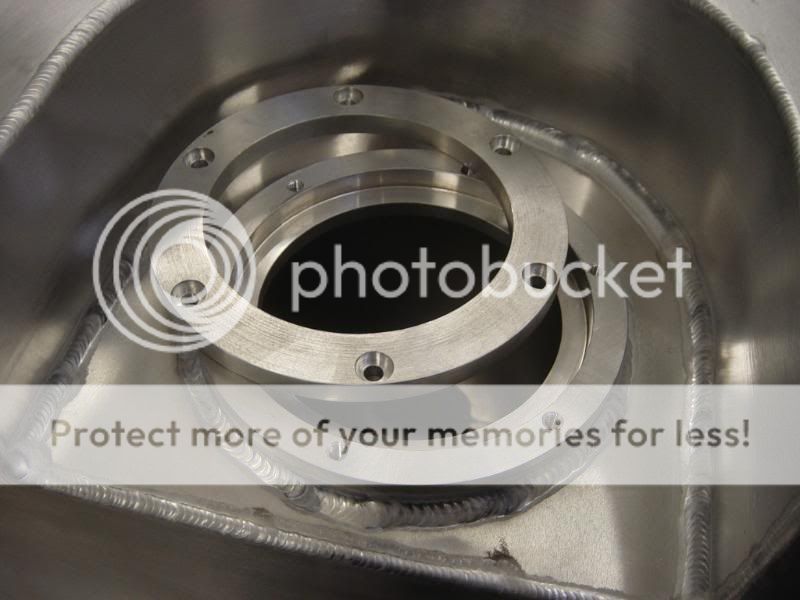
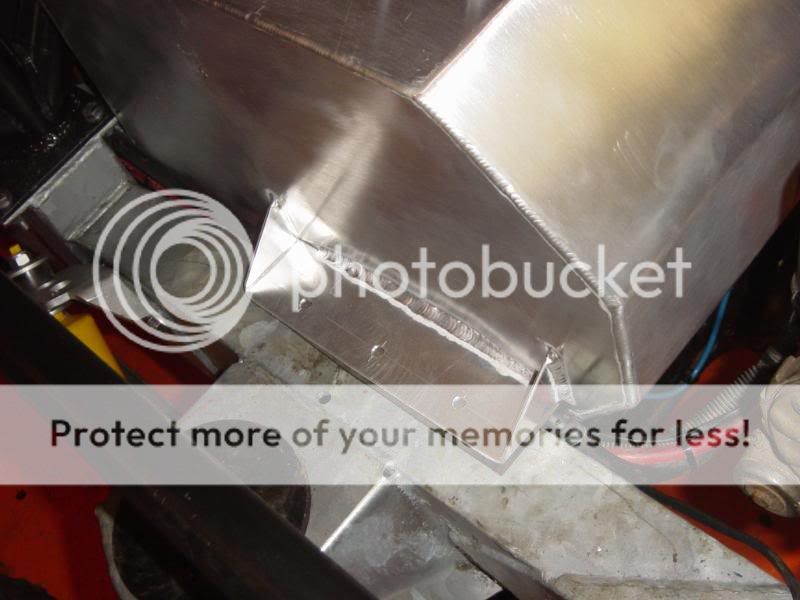
The fuel tank is constructed from 2.5mm alloy sheet, uses all available space between the chassis rails and below the rear bulk head
Inside the fuel tank is vertical baffles
The fuel pump is clamped between two billet alloy rings and is made to take the standard TD5 fuel pump
The tank sits on a support level with the base of the chassis rails, then bolted down through brackets on the side of the tank
Fuel neck, filler neck and return all fabricated from alloy
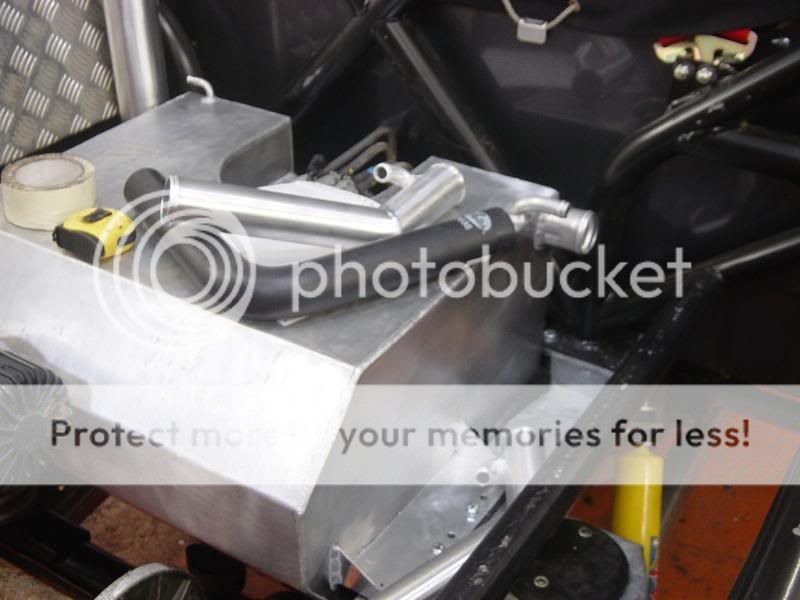
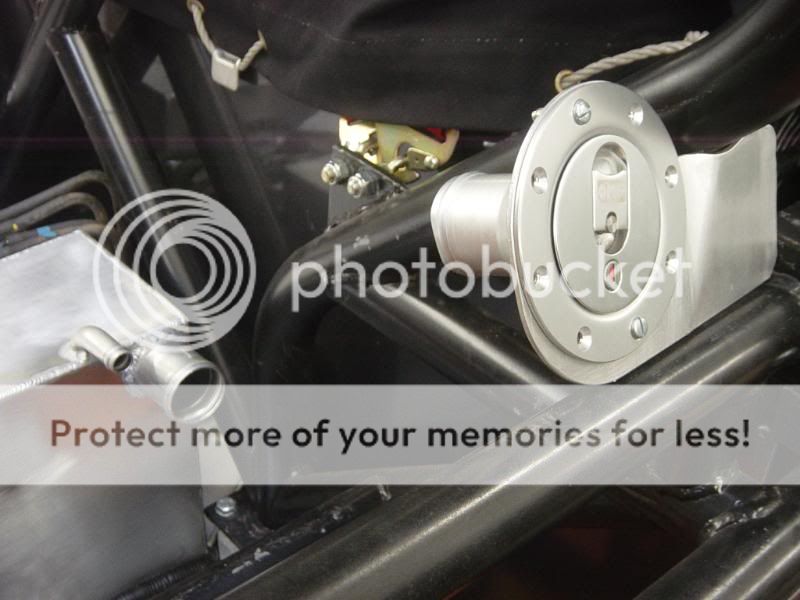
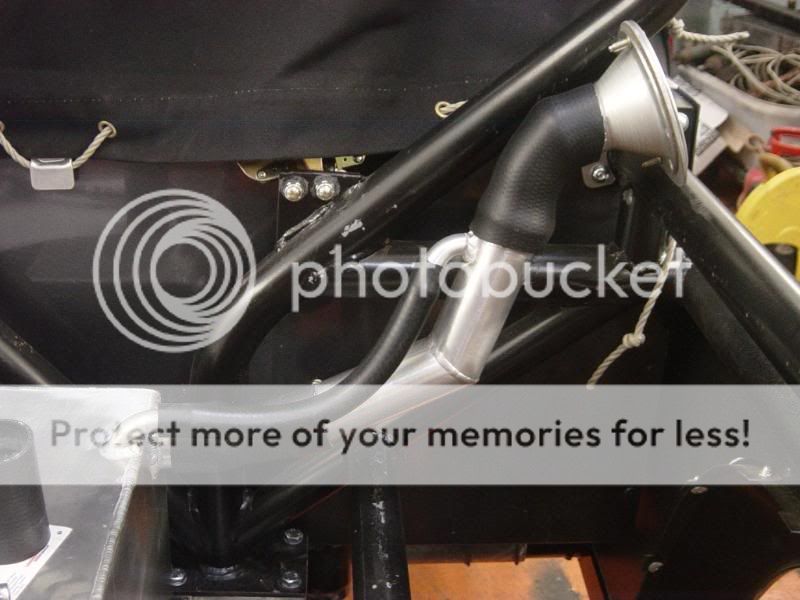
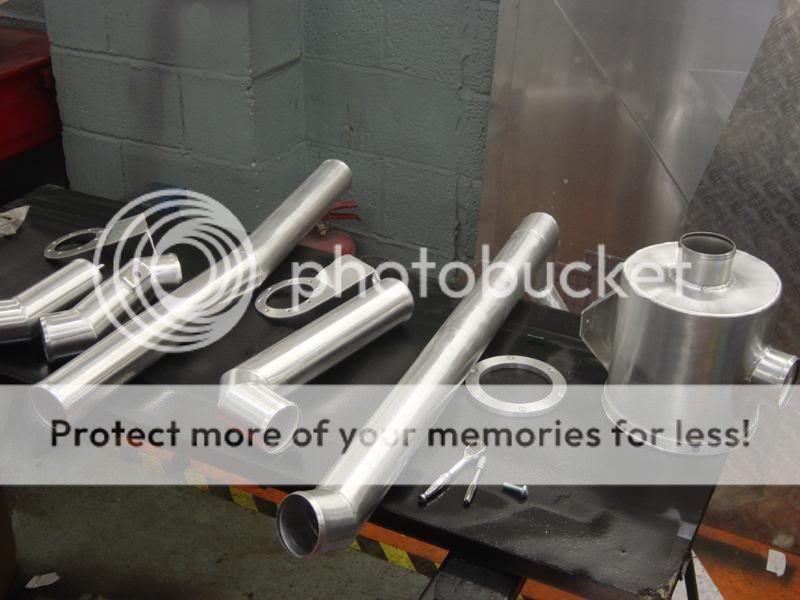
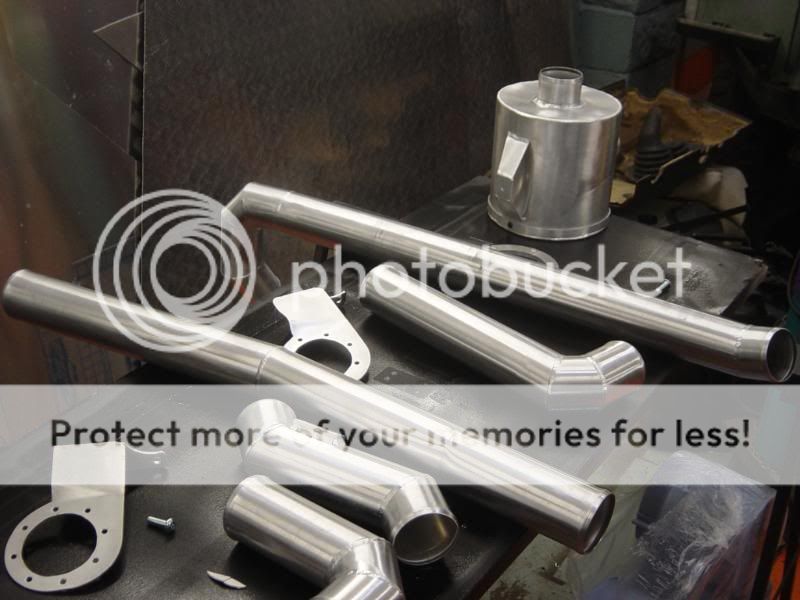
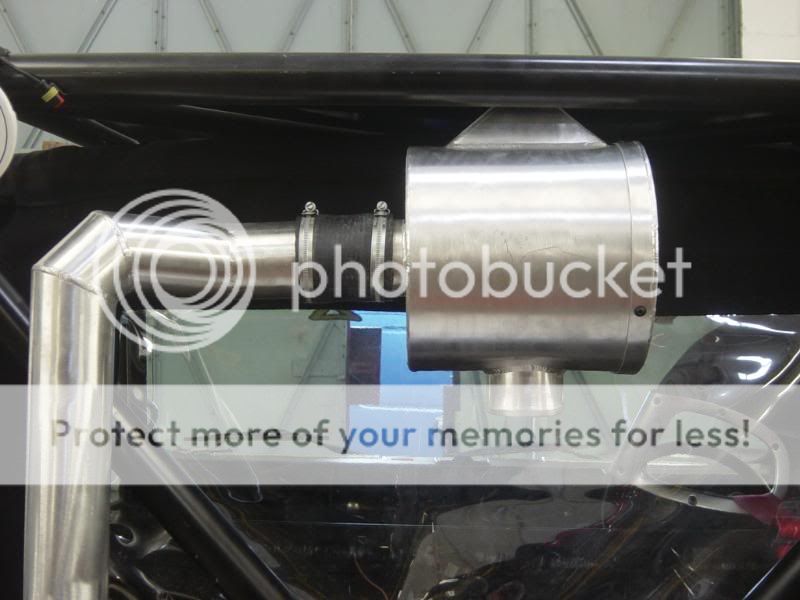
The air intake...
Deciding to move the air intake to the rear of the truck for a couple of reasons
having used "A" pillar snorkels in the past on our challenge trucks we find them vunerable to tree damage when racing through tight sections. Add this to the lack of room behind the engine due to us moving it backwards 4", this lost space is where the orignal air box would have sat.
The parts make up a full replacement system removing the orignal pipe work and air box
The 3" pipe work runs along side the gear box tunel, under the rear bulk head and up the back of the cab into a custom made air box.
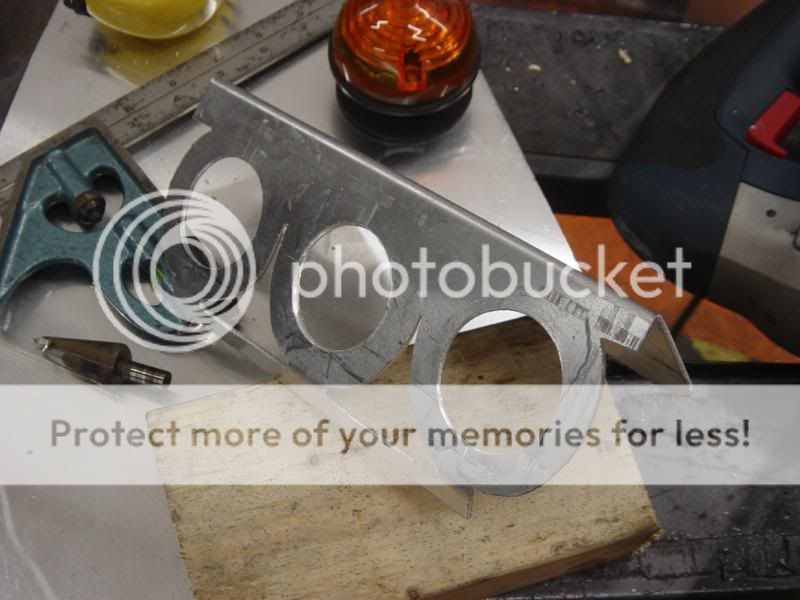
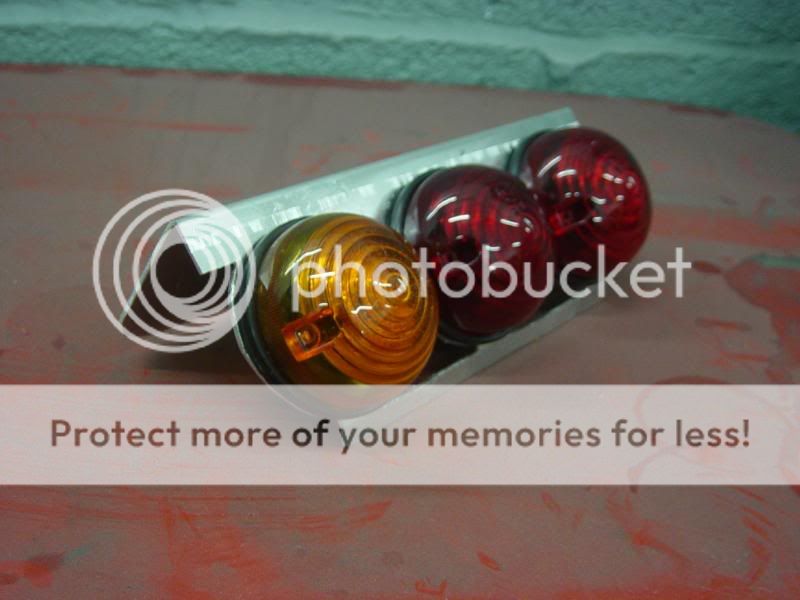
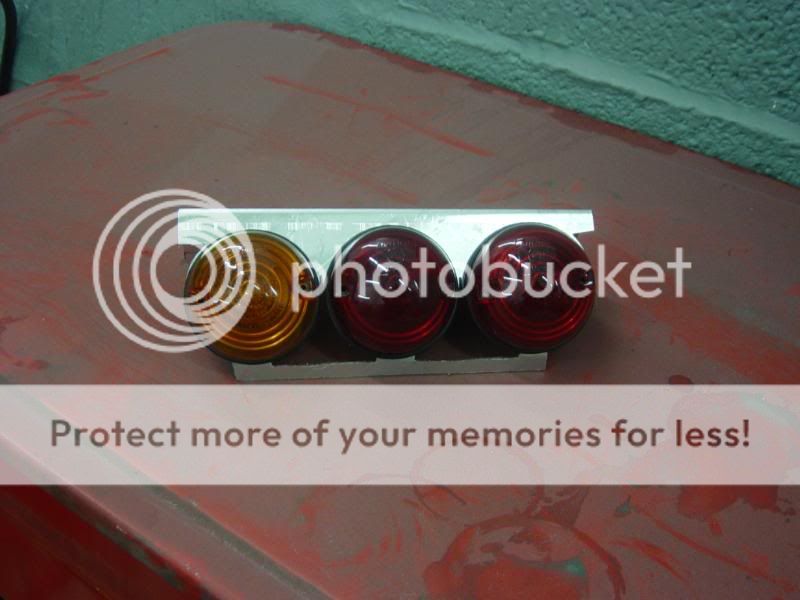
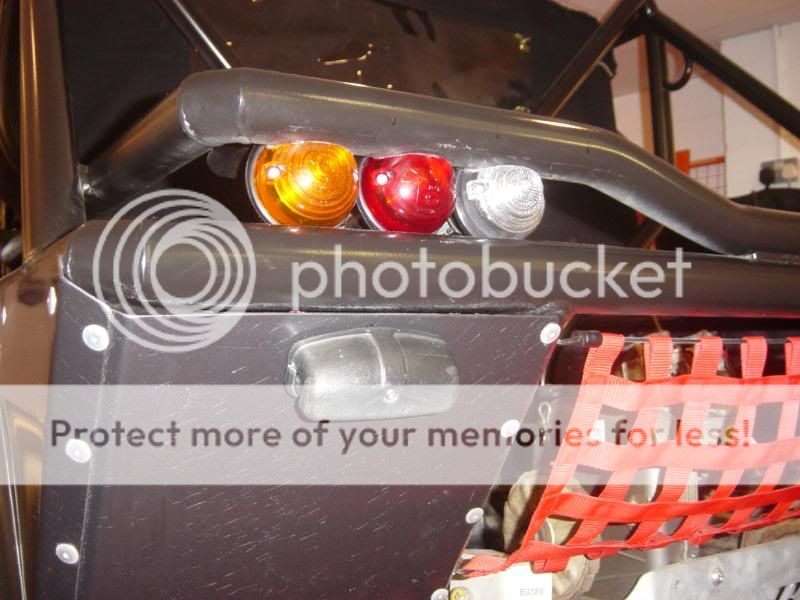
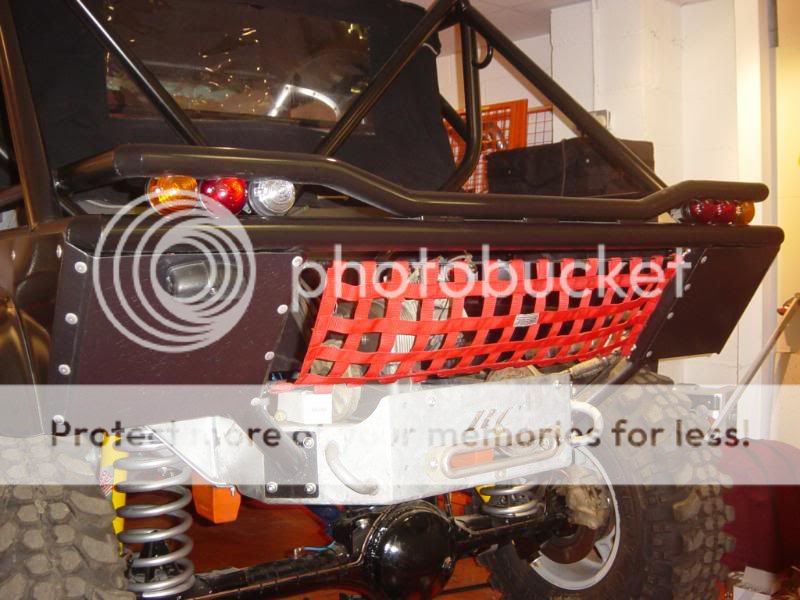
Rear lights took some thought and at one point I think we had 4 different types of light layed out on the floor. Out of them all we was drawn to the standard Land Rover ones, but they would take a little modding to look and fit correctly.
We made brackets to give the lights the appearance of "floating"
The work to the rear lights continued with scribing the lens to the upper tube of the rear this way the lights would sit between the tubes protecting them from damage
Brackets painted and a small bead of silicone added before bolting the brackets into place guaranteed a water tight seal
Hope you liked them.