Giving an old S3 army girl a new lease of life

This site contains affiliate links for which LandyZone may be compensated if you make a purchase.
30f732ff67cef240e4dd59dd1e185609.jpg

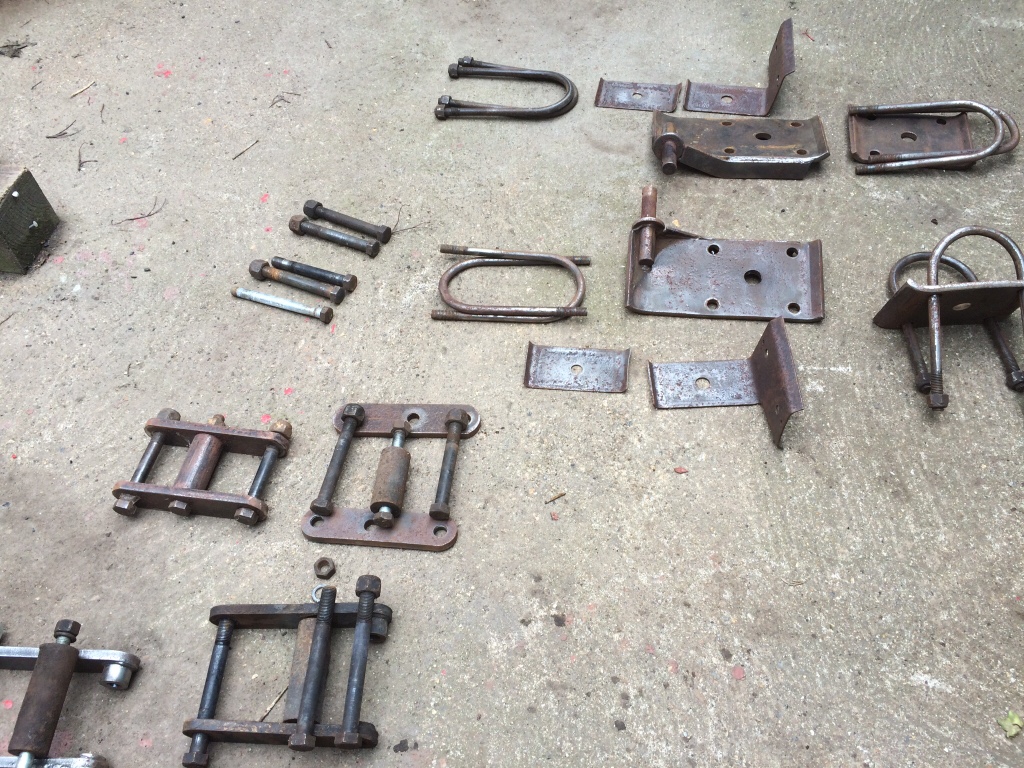
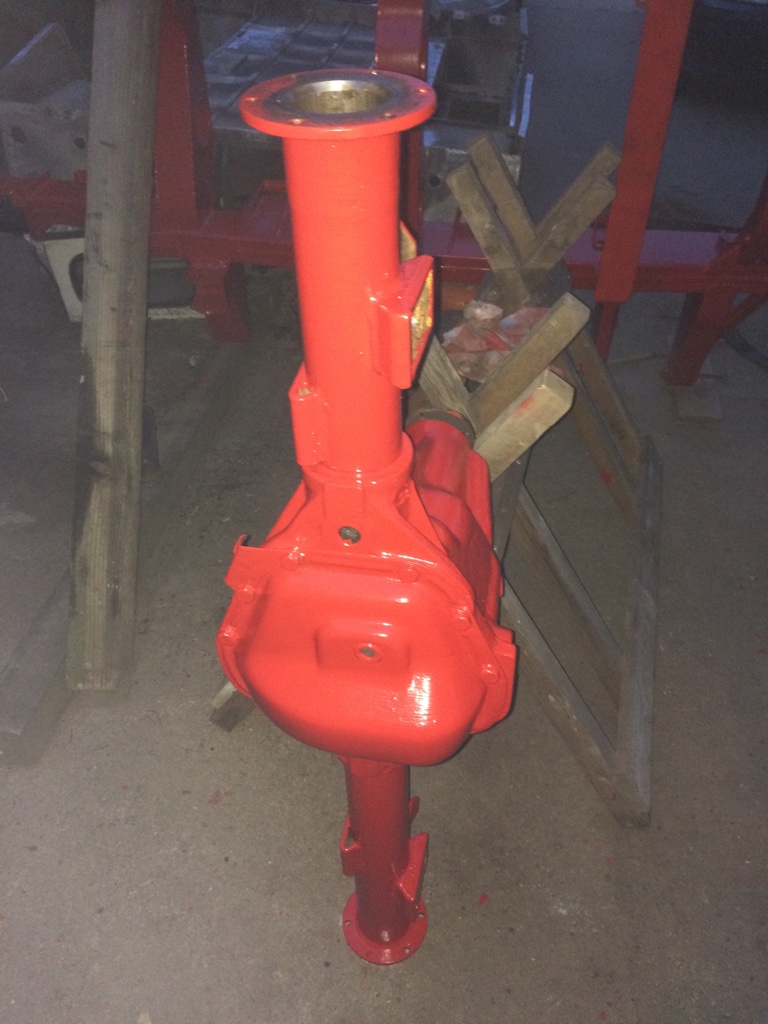
Chassis now complete, all rust cut away and replated, three coats of red oxide and two coats of gloopy chassis paint. And today I reattached the first bit. So the rebuilding begins.
 
You r doing well, a right bugger of a job to do the bulkhead. By the by you appear to have a S2a gear stick.
 
This is a great thread, enthralling!

Just wondering - did you use the knotted wire wheel to clean up the rust throughout or did you use any chemical stripper as well? Just wondering as I have a 109 to rebuild shortly... :)

Cheers
 
Knotted wheel for everything and various versions of the smaller wire attached for the drill for smaller spaces. Manged to get almost all of it down to bear metal before priming and painting. Just done the same with the rear axle and springs. Should be going back on this weekend - pictures to follow soon.
 
OK time for dumb questions. Will I need longer axle straps due to my longer shocks and shackle plates? Or do the extended bump stops cancel the extra out?
561175c31fd9640926a0af0071deebaf.jpg
 
Dear All,

Here we go again with daft questions but........

Putting the rear axle back together after being dragged away camping in Derbyshire (it rained everyday). Putting the brakes in was fine, with the usual help from you lot but now that I've put the drum on I have rather a large gap between the edge of the drum and the back plate.


Should I just hit everything harder or can someone suggest where I have gone wrong?
Thanks as ever for your words of wisdom!

This may be helpful. This is what the other side looks like before the drum goes on.
 
i had one that wouldn't go on, opened the bleed screw and it pushed home, guess the pressure in the system was just pushing the shoes out a bit too far for the drum and opening the bleed screw caused them to relax off
 
Solved my own problem!! I'd fixed the stub axle onto the wrong side of the back plate ( it was getting late!!!) and you can't really assemble this bit without it being attached to the axle! It should give me another inch or two which will allow the drum to drop to the correct depth.
 
doh I just realised as it wasn't on the axle so the hole for the brake pipe would have been open so I was talking bollocks as usual, I wouldn't have been able to spot the stub axle being on wrong anyway :D
 
At last I have a bit of the old girl that looks like it should!

Then

Then

Then

Then

Then

Then

Then

Then

Then

Then the other side

Ready to attach tomorrow!

(Unless one of the wise heads points out something I've done wrong!!)
 
Loving this warm weather! Got all my shackle plates cleaned down and got one set of springs on!!


Othe spring on tomorrow, axle slotted in and then shocks on. Progress scares me, I always assume something is wrong!! :confused:
 
Another full day and it really is starting to look like a proper vehicle again!
Other spring on.

Axle in place. This took some doing on my own!

Both shocks on and all U bolts.

One of my wheels back from shot blasting and powder coating.

Everything in place.

Reminds me how much lift the back end has.

I dooo like those cream wheels....


Front axle tomorrow!
 
Back
Top