Giving an old S3 army girl a new lease of life

This site contains affiliate links for which LandyZone may be compensated if you make a purchase.

davebeccles

Active Member
Posts
328
Location
North Suffolk
Had a good day today stripping my '78 S3 109 back so thought that I've got enough to start a thread. I've posted the odd picture over the past month or so but now I'll try and keep stuff together. Don't expect too regular updates though, too little time, too much to do........


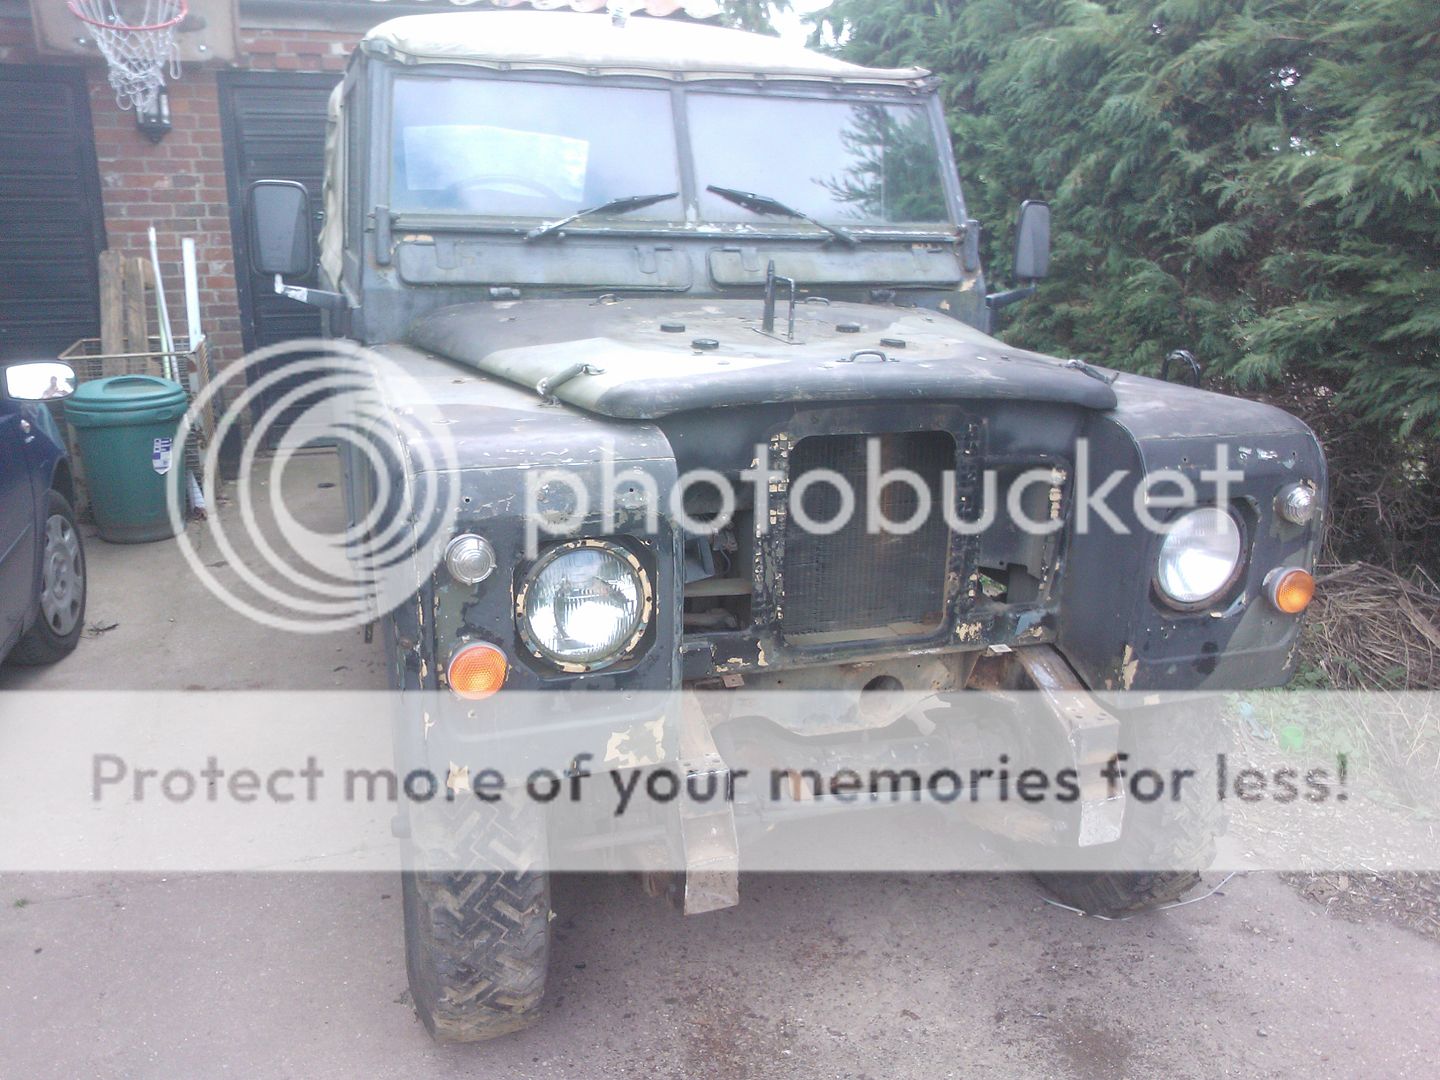
After one day, took the grill off, very excited. Not done anything like this since I was 16 and stripped bikes and mopeds!!:D
 
Insides a bit scruffy but workable. Seats out as they were quite clean and I didn't want to damage them.


Dash off next, fingers crossed for the bulkhead.
 
Dash almost off, some of them screws are hidden in some funny places.


Now I know why it's called the rat's nest!


Last bit coming out.


Looks quite clean underneath all that junk.


Must remember where all these bits go!!

 
Next I'm trying to get the wings off to get to the engine a little easier. Easier said than done.


How am I supposed to get to these bolts without lacerating my knuckles?

 
A few long socket extensions and a 1/2" socket for the wings. Keep taking the photos for us and you when it is time to put it back together. Those front dumb irons look ok in the pics, what will you find on the chassis and bulkhead?
 
Now the wing has moved I can see what's underneath....... oh dear.....


However, let's plough on.

Took the floor panels out, think they were stuck with bathroom sealant (??). Looks quite clean underneath.


Got the wing off at last, 3 extension bars, 2 knuckles and lots of expletives........

 
It seems that you can buy most 2nd hand parts for next to nothing but dash boards are like gold dust. So............ I've tried my hand at rust removal, protection and reupholstery!


Not sure about a leather dash but it gives the old girl a glint in her eye!
 
It's all very well removing these bits but it exposes the devil that lies below. Looks like I'll be getting some extra bits from my ebay friends.


But at least I can now see into the engine space. Rather rusty battery tray (could this have been my earthing issue?)


Next job, front panel and radiator (big question follows soon)

 
This morning I encountered my first example of CBA (can't be arsed) and rather than being patient, cut the radiator pipe because the clip wouldn't shift. (I hope that these are easy to replace???)


However it did allow me to get the radiator out. And here's the big question; does this need to be replaced? It looks a right mess!


What are your thoughts? Are they easy to get hold of or would I be best to look for a "new" one?
 
Some of these pictures are for my own purposes really to remind me what goes where but I'll post them anyway. They may help someone out.

The plates that hold the offside wing to the front panel. (Don't lose them!)


Front panel now off.


Looks quite clean. What is the stringy stuff at the top? Does it need replacing?

 
Didn't want to go too far and the weather was looking a bit black so turned my thoughts to the roof. I picked up a really nice hardtop for £10 on Saturday so decided to remove my canvas and hoops.


Not such an easy job, nuts and bolts in some strange places.


Eventually got everything off and put the sides on (will need new seals all round.


And then, with the help of a reluctant teenage son, got the roof on!


Hopefully now all the bits inside can stay dry.
 
Everything should now stay dry.


Now to clear up my mess.


And leave the old girl alone for another few days.


Catch up done. Now I can post as I do things.
 
The stringy bits just cushion the bonnet against the slam panel. Easy to source and replace, though possibly not your biggest problem! That rad looks yucky, is that some kind of sealant gloop plastered on it?
 
The stringy bits just cushion the bonnet against the slam panel. Easy to source and replace, though possibly not your biggest problem! That rad looks yucky, is that some kind of sealant gloop plastered on it?

Yep, looks like someone's had a hole and bunged it with sealant, earwax, gum and anything else they could find; think I'll replace it.

Rattlegun, if I put my engine in the post, could you make mine look as smart as yours does?????????
 
Yep, looks like someone's had a hole and bunged it with sealant, earwax, gum and anything else they could find; think I'll replace it.

Rattlegun, if I put my engine in the post, could you make mine look as smart as yours does?????????

Flippin eck, I'd need some new wirebrushes and a big tin of paint for that one!! It's amazing the state they get in, it actually looks furry.
 
Great thread ..

So satisfying to 'do' stuff yourself, like the dash wire brushing and fettling to make it work again, looks rather good and deffo better than anything you can buy!

Having time is a good thing ... that's why there's so little of it .. :)
 
Back
Top