Pompey
Well-Known Member
- Posts
- 739
Good work you are doing there, need to do mine however the boat is more important.
I wonder if I could just throw in some black paint to tone down the white to grey or something. I have a small bit of black Hammerite and some other black paint spray gun paint. Just seems a pity to waste the white; I will never use it otherwise. Your FL is very tidy you should be proud of your work dude. Spurs me on a bit too, seeing how good it can get. Got MOT this week then going to put driving 'pods' (ha love it ) on.Used hammerite underseal with waxoyl for the chassis, and buzzweld CIO for the sub frames, prop, tie bars, suspension arms etc. And halfords VHT Matt black for the exhaust.
Hammerite is OK for sub frame etc, not sure about white though lol.....but like your thinking haha.
Also, went to Landy rummage at Beaulieu today. Got an old ammunition box, frog for a bayonet I have, 2 metal signs, series 2 inner wing mud guards and
Freelander 2 flexible roller type load space cover. Which is a shame as I have a Freelander 1 haha.
Quite strange really the stuff at an autojumble.
Good work you are doing there, need to do mine however the boat is more important.
View attachment 124066 Replaced brake shoes and cleaned up and painted drums yesterday. Today top down and enjoy the car. Fantastic. Not seen one any better yet View attachment 124065
Yeah, I should have done that but didn't really get the whole thread thing and it recently did occur to me when I did that I kind of cacked up your thread as well so I am sorry about that! It did make me smile that every time I looked you were doing or had done the same sort of thing I was!! And I have appreciated all advice. MOT this week then driving light 'pods' haha love that name. Have a good one dude
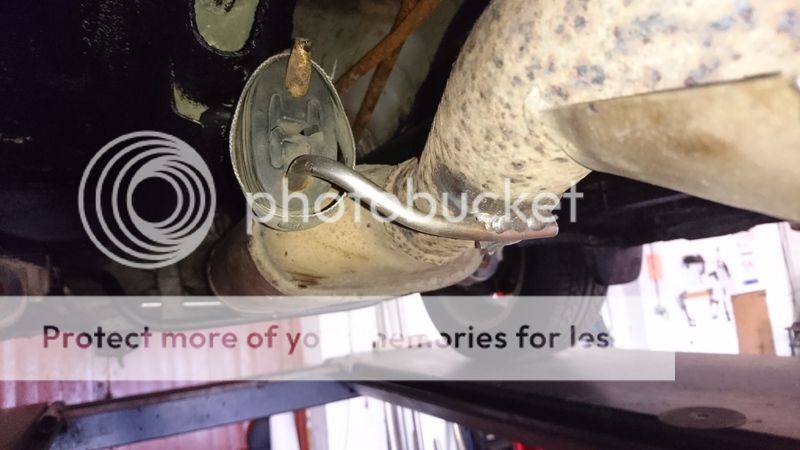
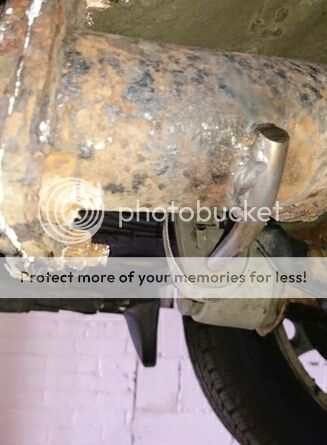
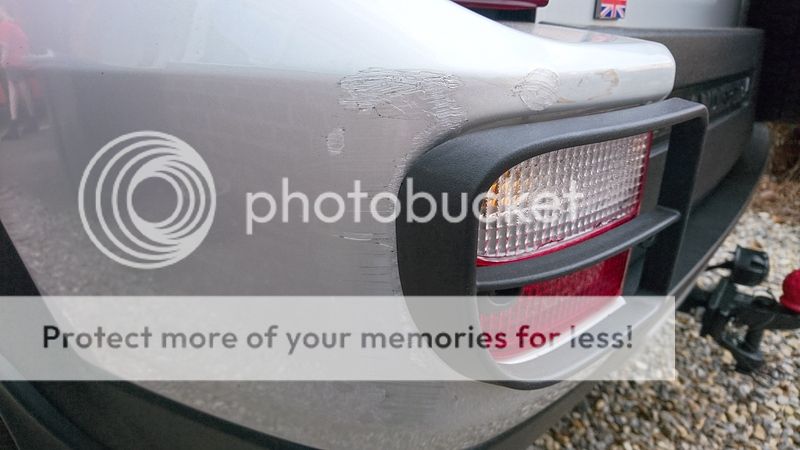
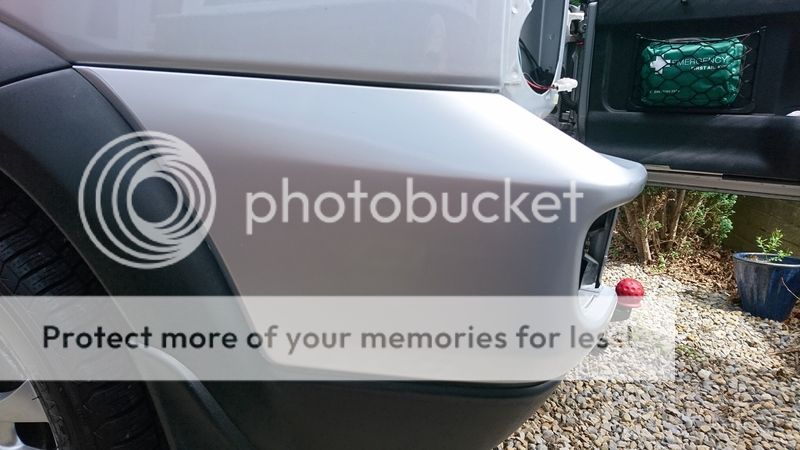
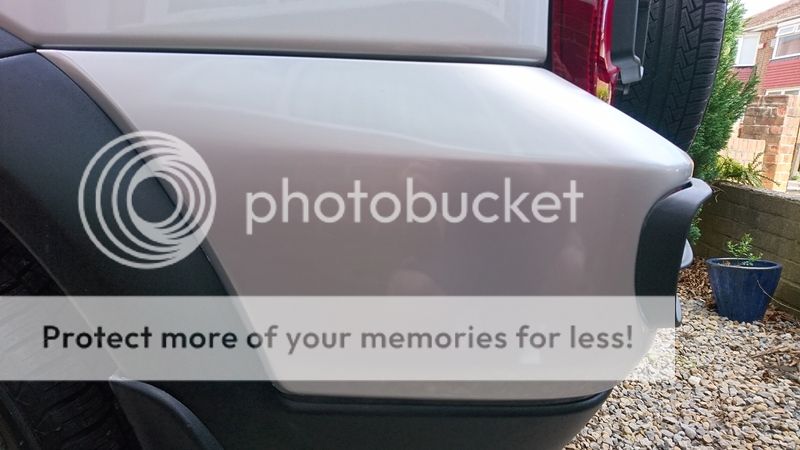
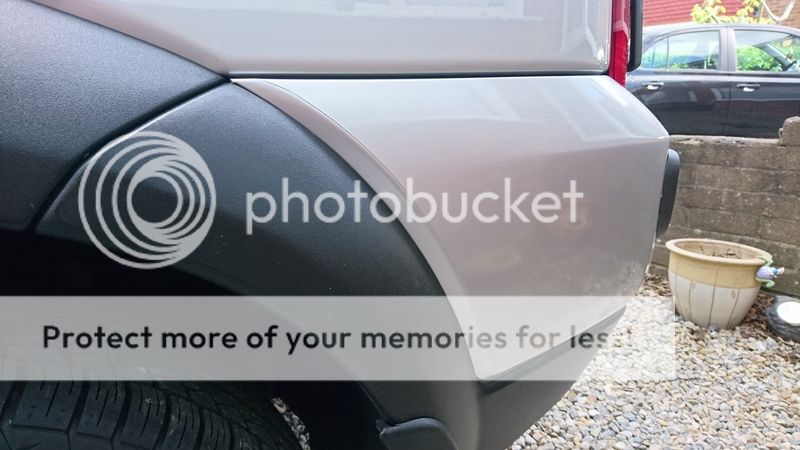
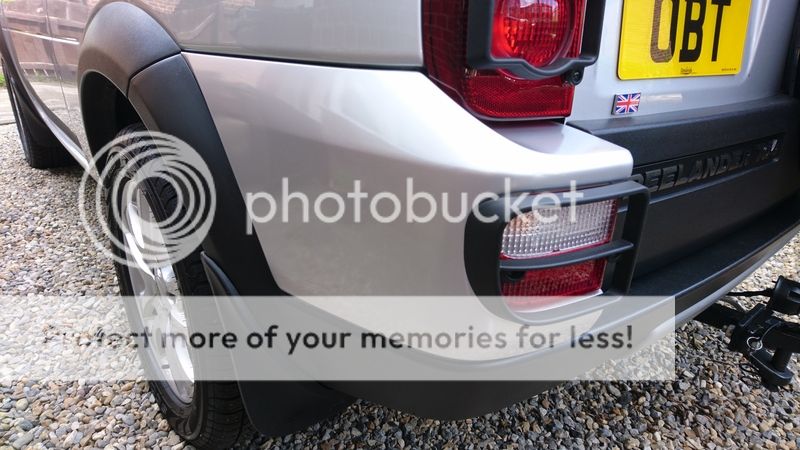
Will you sand it down or fill with plastic bumper filler? I think I'd just sand it down but hard to see how deep the scratches are from here, if I recall plastic bumper filler is a pain to work with and needs longer to harden. You can pop the painted part out of the bumper before you work on it. Some of the tabs will probably snap off but easy enough to glue back on with something like silicone sealant.Got 2 new exhaust hangers welded on today, original exhaust is solid. Just hangers were near enough hanging off.
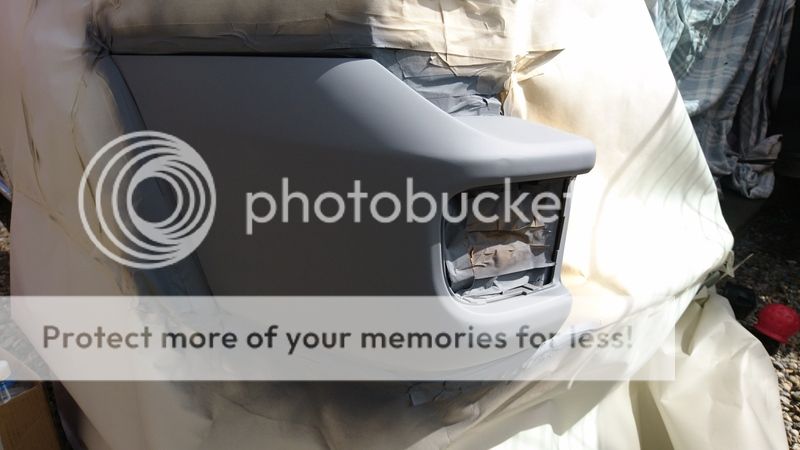
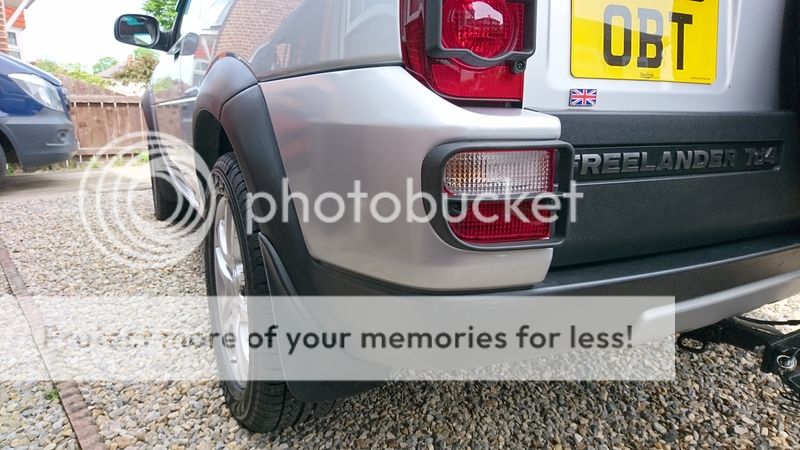
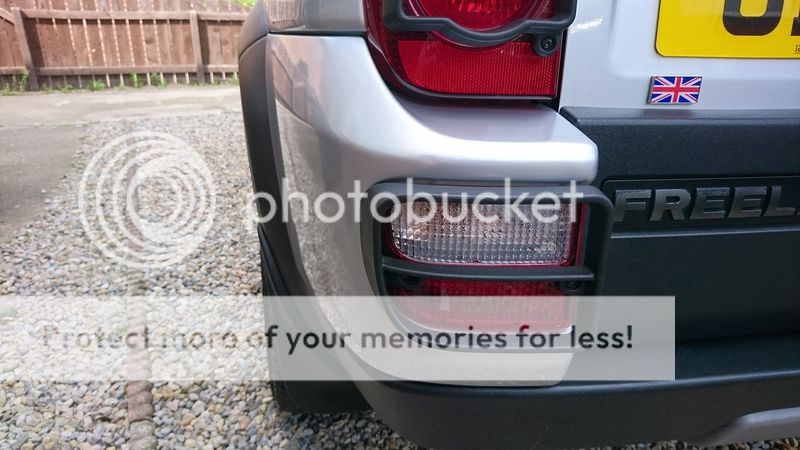
Also sorting this bad repair tomorrow by a previous owner.
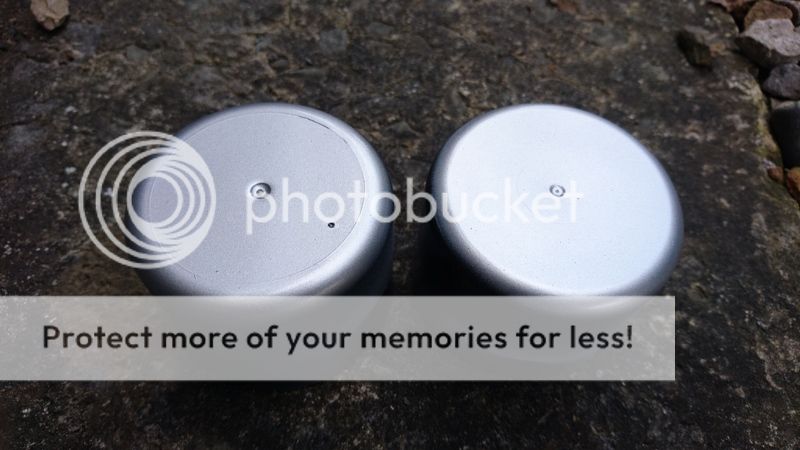
Done a test, with white and gray primer. And to check colour match. Gray primer is the closest. So hopefully all goes well.
Will you sand it down or fill with plastic bumper filler? I think I'd just sand it down but hard to see how deep the scratches are from here, if I recall plastic bumper filler is a pain to work with and needs longer to harden. You can pop the painted part out of the bumper before you work on it. Some of the tabs will probably snap off but easy enough to glue back on with something like silicone sealant.
Good work dude. My least favourite stuff is bodywork repairs I have never got on with them. Also being a bit colour blind doesn't help. I got some touch up paint for the door but can't really tell if it matches or not anyway haha.
I think that's the way I'd do it too. Don't worry about breaking it, they're very flexible.Sand down, then plastic filler primer, primer, paint, lacquer. They don't look too deep, but filled with touch up paint. Was going to blend it in. But better to do full panel. Thought about popping the panel off, but knowing my luck I'd break the hole thing lol
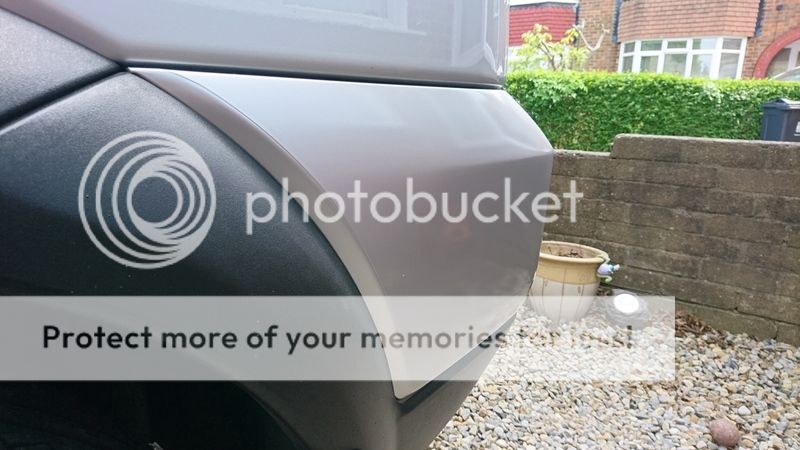
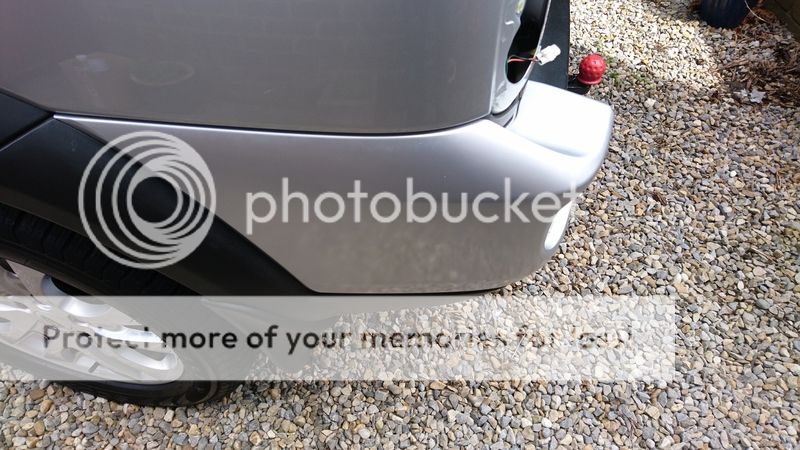
lol......theres some bad touch up marks all over the car, but most aren't that noticeable. And the odd scratch on the other bumper corners. Just sorting the worst parts though.
I think that's the way I'd do it too. Don't worry about breaking it, they're very flexible.
Cheers mate, I've got a mk4 Escort as well. That takes priority over the Freelander.
You're welcome, I dont suppose your escort has an XLD engine has it ? I am finding parts for it difficult to find, looking for a waxstat 1005469, an auto choke for a diesel engine.
I drove an escort Harrier MKII, MK2/3/4/Lotus/pickup cortina.
Good luck with the Escort
You done a good job there mate. It's great when you fix something like that yourself. Anyone can through money at a car and pay a professional but it take a special type of crazy person to do the job yourself.
Welcome To LandyZone, the Land Rover Forums!
Here at LandyZone we have plenty of very knowledgable members so if you have any questions about your Land Rover or just want to connect with other Landy owners, you're in the right place.
Registering is free and easy just click here, we hope to see you on the forums soon!