Jayridium
Well-Known Member
- Posts
- 1,418
- Location
- Pedronapper (Peterhead)
I'm no expert, I'm just a glorified spanner monkey, albeit one with a lot of ideas....
WOW.I've also got an air powered rivnut tool if you want a shot of it Ali? It's one of these, but I've got a selection of mandrels for it, M4,M5,M6,M8 &10 - I don't think I've got M12....
https://www.rivetwise.co.uk/product...el_pneumatic_hydraulic_rivet_nut_tool_552_440
 £1300.
The angle is 3mm so could it be tapped or is it too thin to be strong enough?
I was thinking maybe better to tap the frame than have the lip of the rivnut sitting out a mm or so. Just to help with sealing the box.3mm angle will tap to M5 X 0.8 and hold a reasonably strong thread.
Use a spiral fluted tap and use a battery drill to do the work. https://www.cutwel.co.uk/m5-x-0-8mm...versal-machine-tap-td804-series-yg-1-td804286
You'll be able to tap loads of holes in no time. Make sure you use oil while tapping, for long tap life.
I was thinking maybe better to tap the frame than have the lip of the rivnut sitting out a mm or so. Just to help with sealing the box.
I'll dig out my taps and see what I have.
I bought mine second hand, gave about a third of that price, but it's a damned good piece of kit, hence offering a loan of it for this priject.WOW.
It's very kind of you to offer but I would be terrified of harming or loosing it. I have a rivnut tool so I should be OK.
The angle is 3mm so could it be tapped or is it too thin to be strong enough?
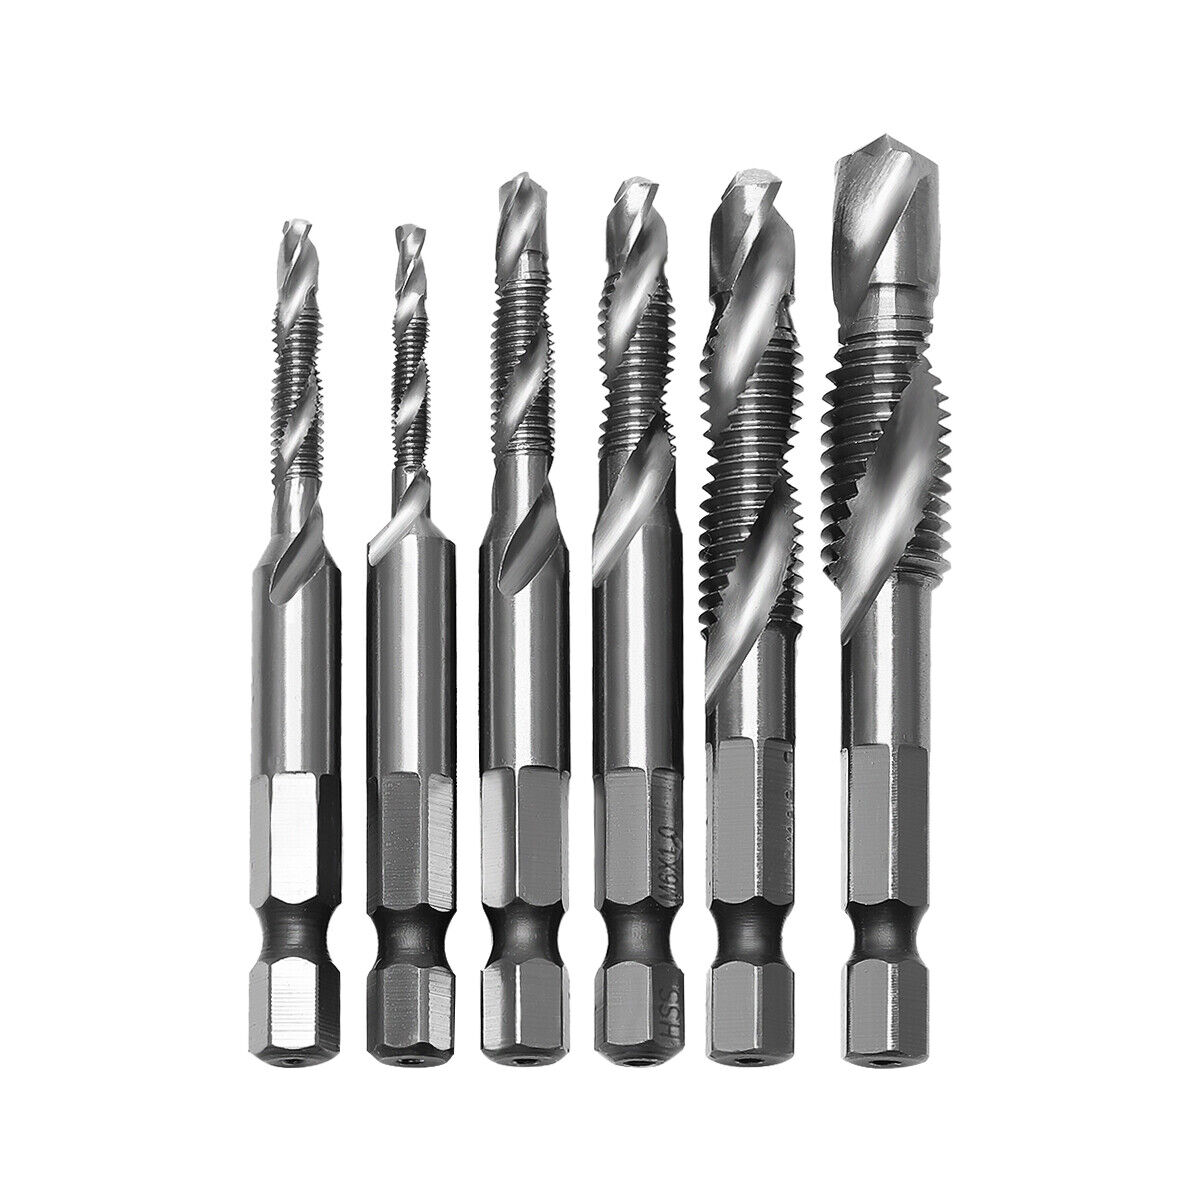
Have any of you guys used those drill taps?
I don't have any drill taps but have a few old normal taps I inherited from my dad and some new taps in a box. I'll take a look this weekend.I bought mine second hand, gave about a third of that price, but it's a damned good piece of kit, hence offering a loan of it for this priject.
Have any of you guys used those drill taps?
. I'll probably do something to block off the ends but it is very strong as it is. I'll also cut the bolts back and use a couple of layers of heat shrink before fitting the pipe.Thanks mate, I copied and pasted this post and I can see them maybe because they are still on my PC.I still can't see those pics?
Yeah, slow but getting there.Making steady progress Ali.
The diff can move about 30mm total (+ or - 15mm) on its mounts, so it's necessary to allow at least that much. It wouldn't be good if the rear propshaft struck the battery box.
It is going together steadily, and that's what matters. Slow and steady wins the race!
Yip, I know that so will ensure they are always good.Remember when the diff mounts fail, it will move a lot more.
Poly the front one for a bit of piece of mind in that respect.Yip, I know that so will ensure they are always good.
Yes it had occurred to me too that a poly bush would be more secure.Poly the front one for a bit of piece of mind in that respect.
Welcome To LandyZone, the Land Rover Forums!
Here at LandyZone we have plenty of very knowledgable members so if you have any questions about your Land Rover or just want to connect with other Landy owners, you're in the right place.
Registering is free and easy just click here, we hope to see you on the forums soon!