Freelander 2 (LR2) Freelander 2 Brake Maintenance.

This site contains affiliate links for which LandyZone may be compensated if you make a purchase.

Nodge68

Well-Known Member
Posts
32,504
Location
Near Newquay
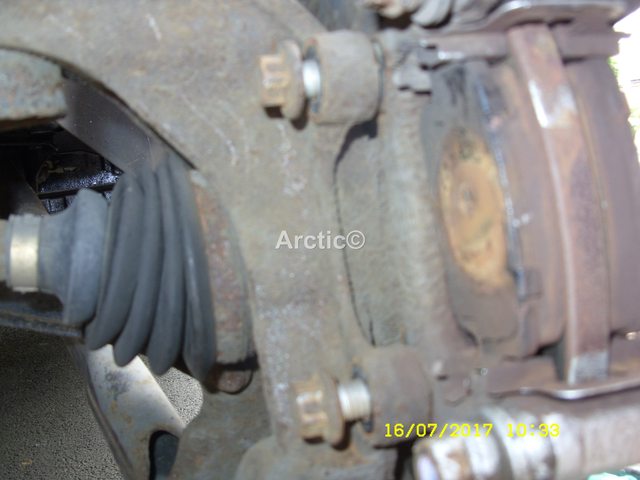
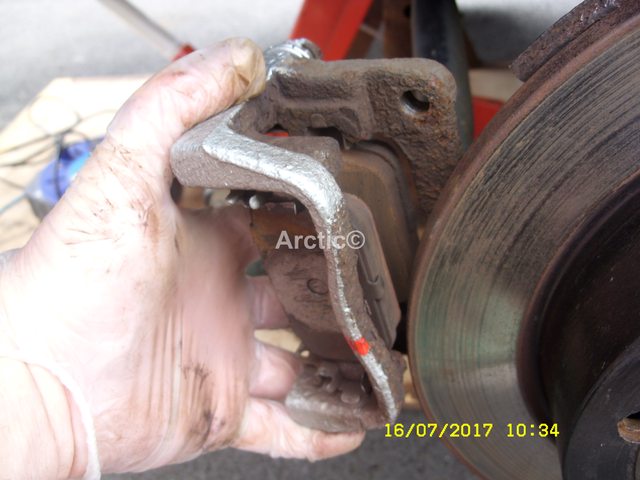
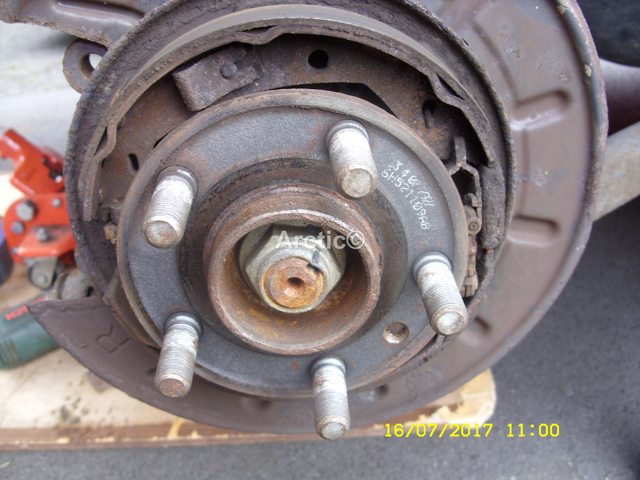
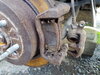
I figured It would be useful to start a thread on the maintenance of the FL2 brake system, primarily the friction assemblies.

This was prompted after my FL2 nearside parking brake/ handbrake decided to apply itself without warning, while I was travelling at 40 MPH, leaving a pretty long skid mark
20201209_082720.jpg
, also leaving me stranded at the side of the road, in a pretty dodgy place.
20201209_082026.jpg


This required me to get home on the back of a friend and neighbours flat back van.
20201209_091651.jpg

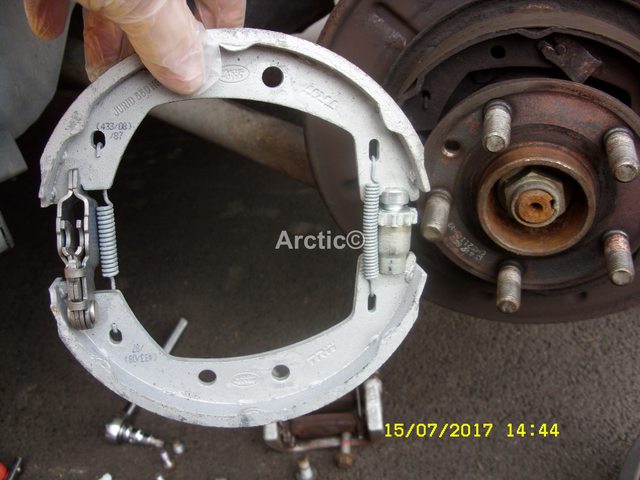
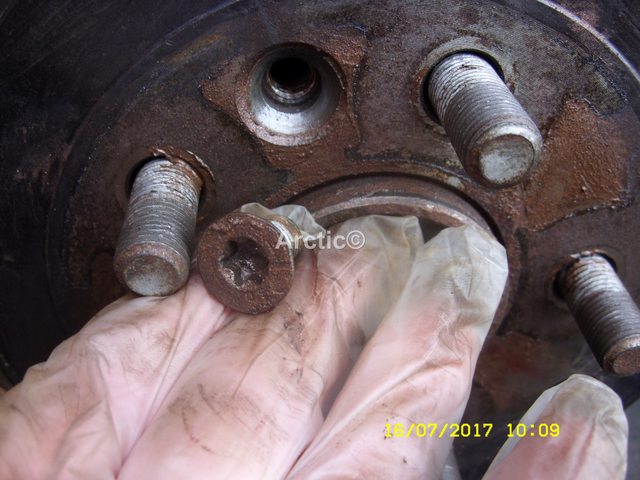
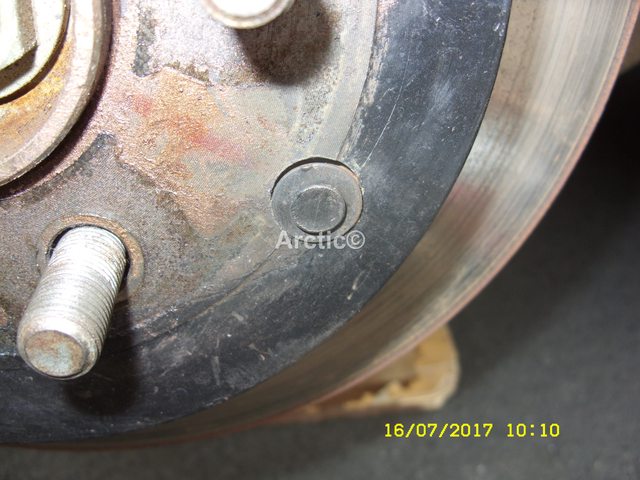
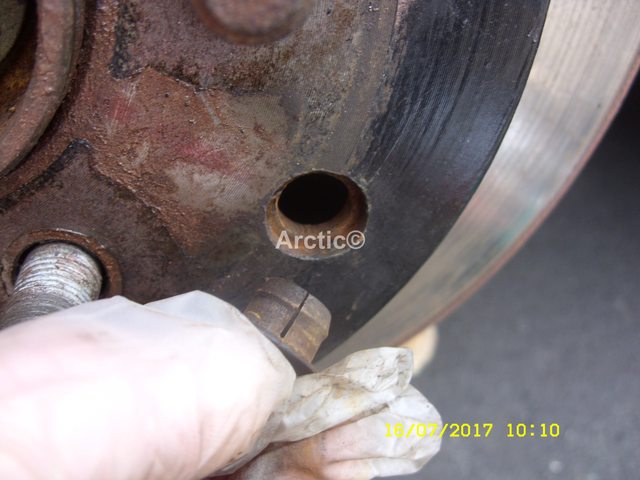
I've ordered new rear rotors (discs), pads, parking brake shoes and a shoe hold down and spring set.
I'd already got the front rotors, pads and fittings to fit this weekend for the up coming MOT, so I'll be changing the whole braking system for the MOT now.

Watch this space!
 
Last edited:
It is a right mission to get the new handbrake pads in..

The springs are the worst, i've lost a few nails and knuckles doing them.. ;)
A stupid design in all honesty.
The lower shoe is almost impossible to remove due to the pins being obscured by the backplate etc etc :mad:


I've seen them where the friction material has lifted off the base and jammed a disk solid.

Good luck! :D

you'll have fun........................................... :mad:
 
Last edited:
Replaced the front and rear discs, pads and shoe's on me F2 last year. Easy enough, did have to readjust the handbrake shoes after a few miles.
 
Hi John.
I should imagine the rear brake change will be quite easy for someone with your experience, the expanders are worth looking at as they can seize up, they may need cleaning up but i bought the whole shoe set up.
42MvHs1l.jpg
1

Normal grub screw.
sICwQEHl.jpg
2

plastic plug which needs removing to slacken off the knurled nut.
nVsQ1rrl.jpg
3

7cEmAhQl.jpg
4

ldjajBhl.jpg
5

Couple of bolts for the pad to be removed.
BP1pJqll.jpg
6

eKV4zJxl.jpg
7

JEQfPRvl.jpg
8

That leaves the carrier
8lbWjzNl.jpg
9

Couple more bolts and pads with be off.
1kV7jP7l.jpg
101

GmWrOzkl.jpg
11

Remove disc drum and shoes are in full view.
PoT2Kkkl.jpg
12

good luck
 
I should imagine the rear brake change will be quite easy for someone with your experience, the expanders are worth looking at as they can seize up, they may need cleaning up but i bought the whole shoe set up.

Thanks for the pictures Arctic2. ;)
I'm hoping the expanders are ok, maybe just needing a bit of TLC. If I find they need replacing, then I will.

I can't imagine the PB system is any different to those fitted to BMW or Ford, so I should be ok, as I've done those systems many times.
 
Today a large box of rear brake parts arrived from my preferred LR parts supplier.
20201210_211612.jpg

This has been added to the box of front brake parts, that arrived last week.
20201202_214158.jpg

So hopefully the weather will be favourable for working on the FL2 at the weekend.
 
I recently did ours as the handbrake had gone digital...
top tip - when working the rear drum off the first bit is awkward but then the shoes are exposed. Rather than pull the drum off the shoes - push back the shoes out of the drum if you get me.

glad no one was hurt and all the best.
 
A FL2 on the back of a Fiat Ducato????!!!!!! or even worse...the Talento???!!!!!!! :mad::mad::mad::mad::mad:
Needs must, and it was only 3 miles.
The FL2 is a little heavy for the that Fiat whatever it is, but it's not as heavy as the D3 I saw on the back of it a few weeks ago. :eek: Although again it was only for a couple of miles. :)
 
So today I spent a cold but thankfully dry 4 hours rebuilding the rear braking system.

The discs were in a bad way, I suspect the originals, although the pads were pretty recent, but bound tightly into the caliper.
20201212_131808.jpg


Getting to the parking brake shoes, the rotor needs to be removed, which means the caliper carrier needs removing first.
20201212_132658.jpg

To remove the rotor, the parking brake adjuster needs backing off. The adjuster is accessed through the hole in the rotor hub face.
20201212_133439.jpg

Once the carrier is removed, the rotor can be removed from the hub, which took a lot of hammering with a copper hammer.
20201212_133554.jpg
 

Attachments

  • 20201212_131808.jpg
    20201212_131808.jpg
    393.1 KB · Views: 96
The condition of the parking brake shoes and drum (which is in the rotor bell) was horrendous.
The drum surface was rough, and appeared to have shoe material bonded to the surface.
20201212_134342.jpg

The shoes weren't any better, with what was left of friction material being cracked and pitted.
20201212_134735.jpg

The spreader, adjuster, springs and hold down pins weren't too bad.
20201212_135201.jpg

The spreader and adjuster requiring nothing more than cleaning and lubrication before being reused.
20201212_140859.jpg
 
Next was to clean and lubricate the brake back plate.
This was done with a wire brush and brake cleaner. The hub was also cleaned, so the replacement rotor would spin with minimal run-out.
20201212_141543.jpg


I layed the parking components out, before starting to reassemble the assembly.
20201212_141526.jpg
 
I was waiting to post a reply to give him a chance to put what I thought would be the final post up with the shoes assembled on the hub and the rotors reinstated and callipers and pads back in place. but like Alibro I'm glad to see its sorted, or well on the way to being sorted.
 
Reassembly of the parking brake shoes was a pain, the lower hold down pin only just fits between the hub carrier and back plate, and required some careful force to fit the new one. The springs are also a pain, particularly the one on the expander one, as it's behind the shoe backing.
20201212_144432.jpg
The small spring on the adjuster end isn't as bad, but a helper to keep the shoes in place while the springs are fitted would be useful.
20201212_144440.jpg

The hold down clips aren't too bad, but I was pleased it was together.
20201212_171051.jpg
 
Last edited:
Glad you're on the road to recovery, or rather a road without recovery!!!

What do you think the failure mode was? Bad finish on inside of drum grabbing shoe??
 
I had to rebuild the rear brakes on my Crafter/Sprinter van and they were a right royal pain too with springs behind the shoes.
Even worse I stupidly didn't free up the handbrake pivot mechanism properly and had to take them apart and redo them again. :eek:
 
The next thing to do was clean the protective oil off the new rotors. This is easy done with a standard brake and clutch cleaner, and some workshop paper towel.
20201212_144915.jpg

Rotor clean, it's time to fit to the hub, which wasn't at all difficult, although the parking brake shoes needed centering first.
20201212_144954.jpg

After the rotor was in place, the retaining screw (T50 Torx) can be fitted and torqued to 35Nm or 26 lb-ft in old money.

The caliper carrier can then be refitted.
The LR manual says new bolts should be used (they are patch bolts), however I simply used thread locking compound, supplied by AF for this purpose. These bolts are torqued up to 110Nm, which is 81 lb-ft in old money.

After the carrier is fitted, it's time to fit the pad shim slides.
These are colour coded, and must be fitted in the correct place.
The silver/gold shim slide with a single hole (petrol) or two holes (diesel) goes in the lower position on the carrier.
The black coloured shim slide goes in the top position.
20201212_145653.jpg

Once those are in place, the pads can be fitted. These will slip in easily, if the slides are new.
20201212_150404.jpg


Once the pads are in, the caliper piston can be retracted.
This best done by clamping the hydraulic flexy pipe, fitting a bleed hose to bleed nipple, which is then released to allow fluid displaced by the piston to be expelled from the system.
When the piston is fully retracted, the bleed nipple can be tightened, and the bleed hose removed.

It's then time to refit the caliper to the guide pins.
Again I used thread lock on the retaining bolts, which are torqued to 30Nm or 22 lb-ft.
20201212_151017.jpg
 
The parking brake shoes now needed adjustment, which is pretty easy.
The idea is to "flick" the adjuster knobbly nut to expand the adjuster threaded section, reducing the gap between the shoes and drum.

I flicked the adjuster until the rotor wouldn't turn, then backed it off 6 clicks, at which point the rotor turned freely.

Next will be to bed in the new shoes using the LR bed in procedure, but that will wait until tomorrow.
 
Back
Top