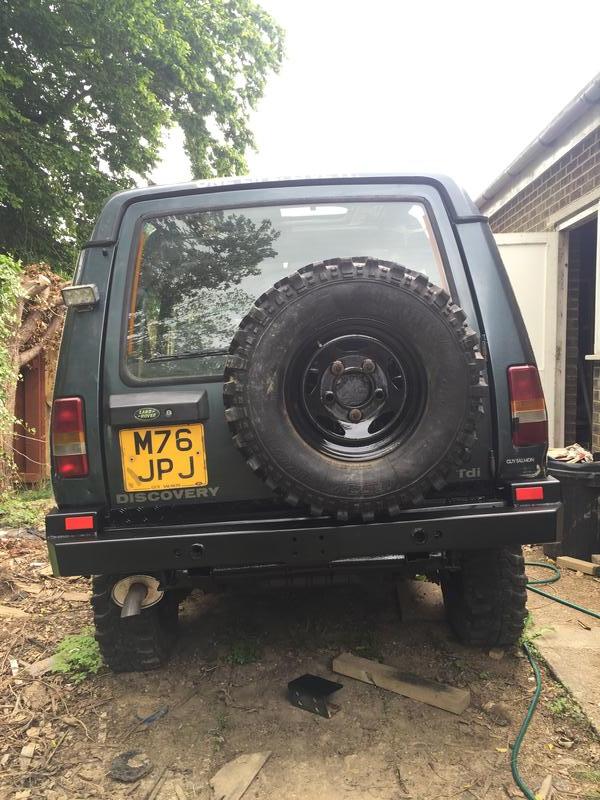
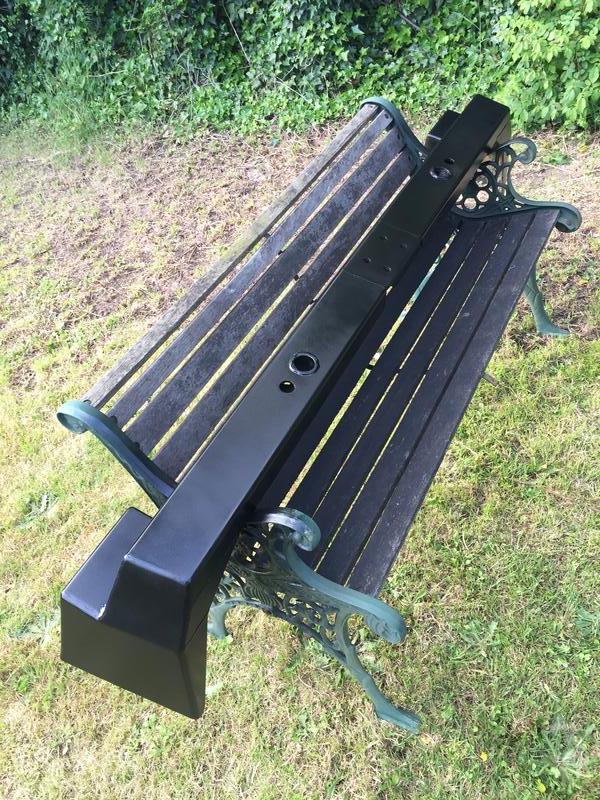
Painted bits all back on
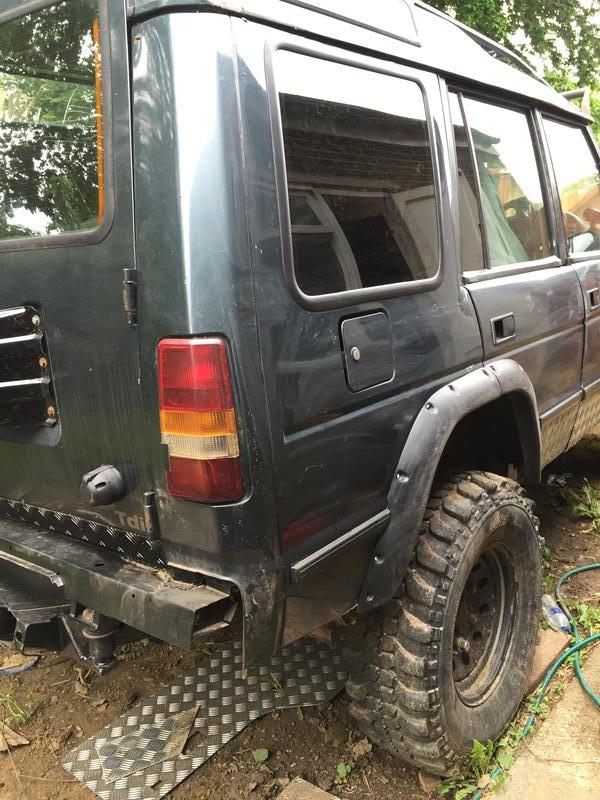
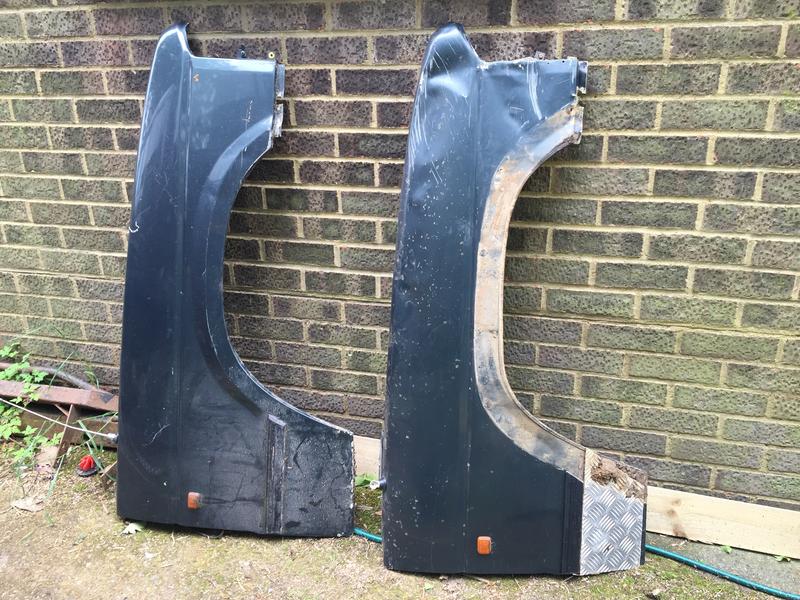
Then I started this task - swapping the rear 1/4 panels over. Basically i didn't like the chequer plate on the rear of mine.
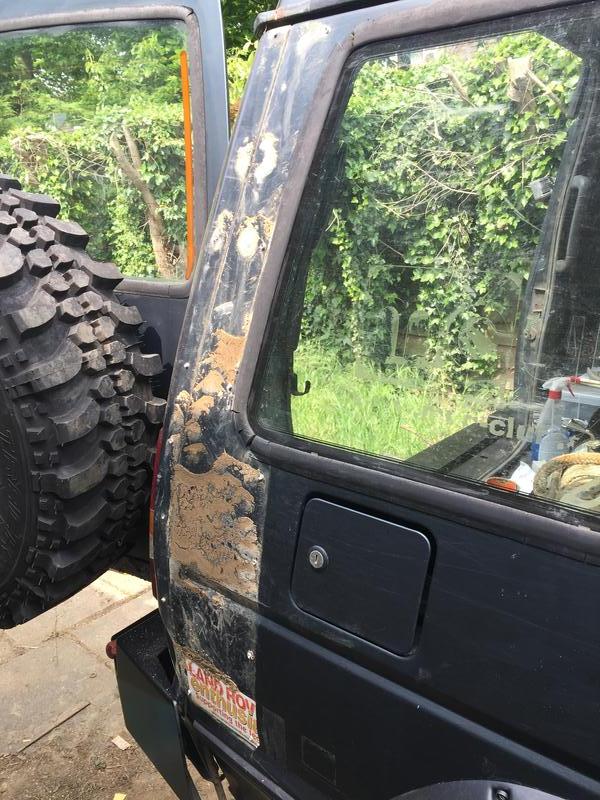
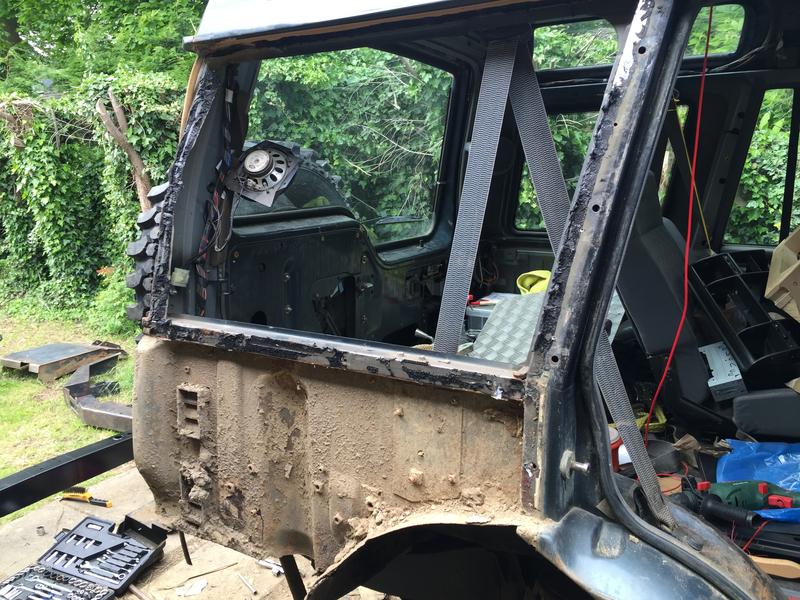
First of all i removed the chequer plate that was attached using rivets.
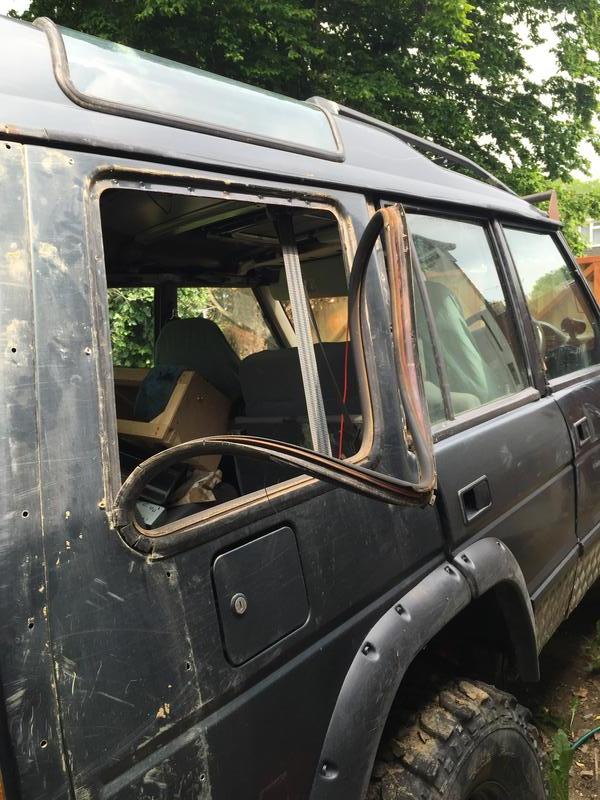
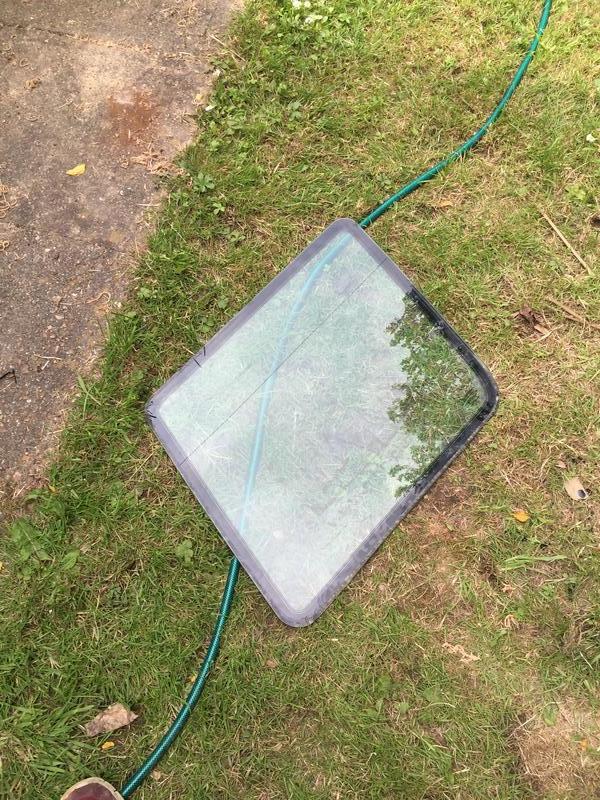
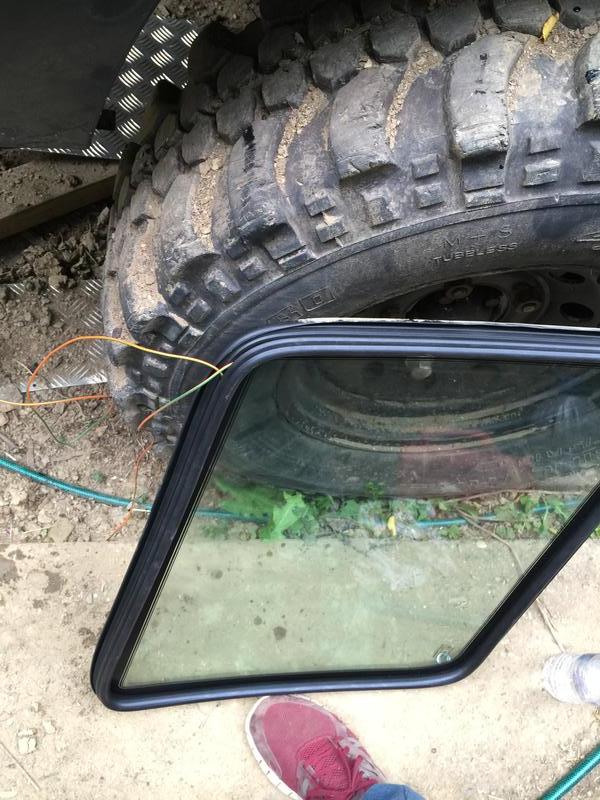
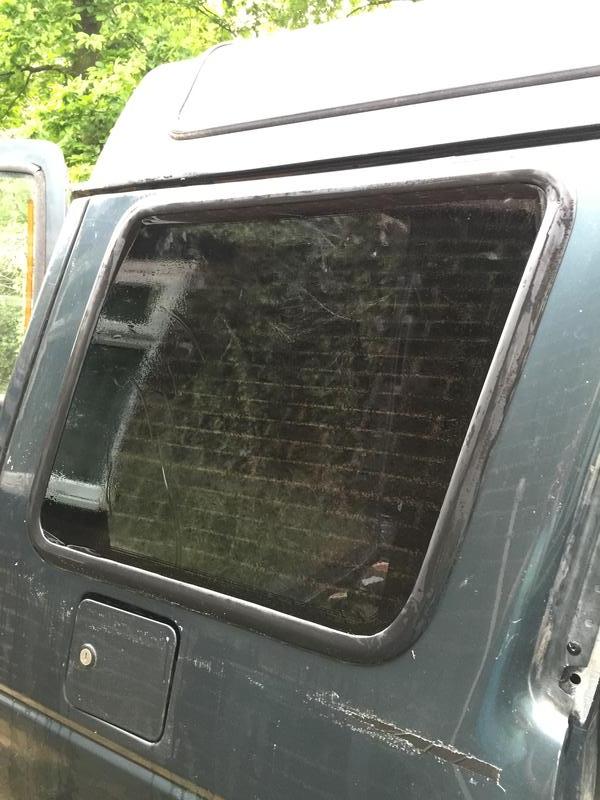
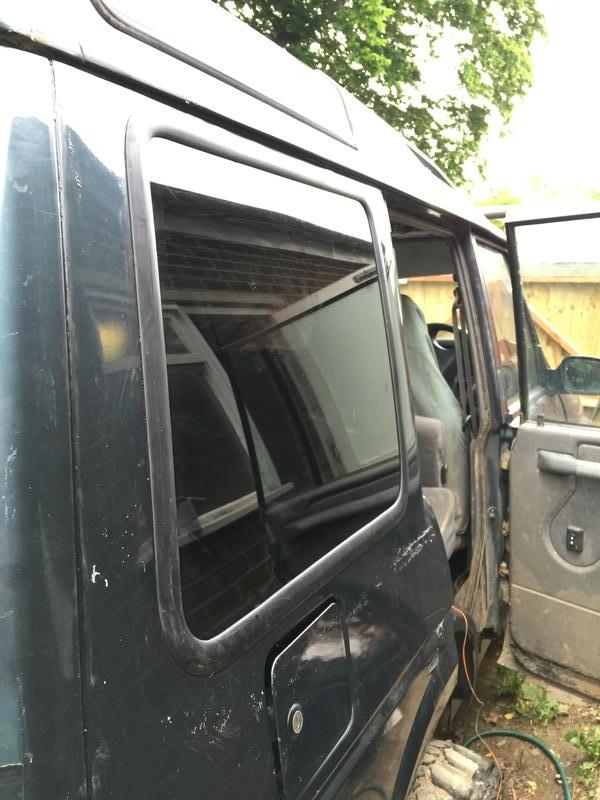
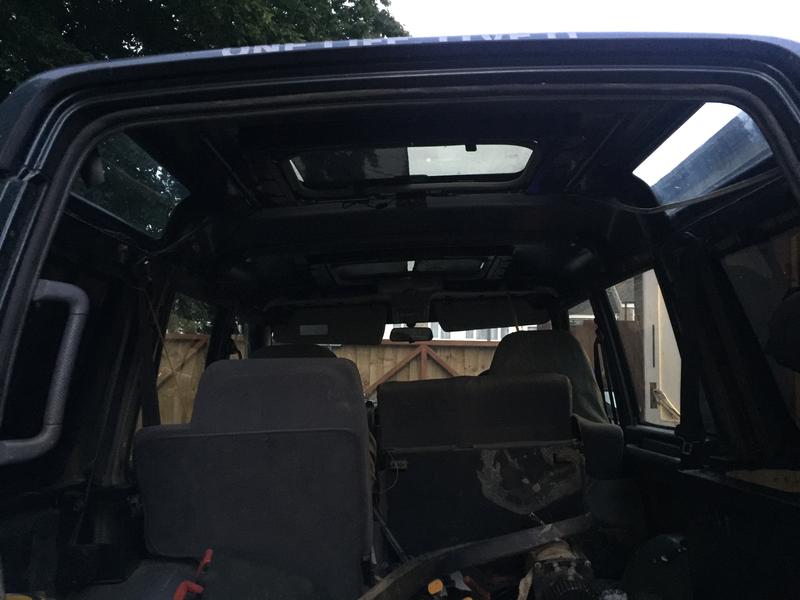
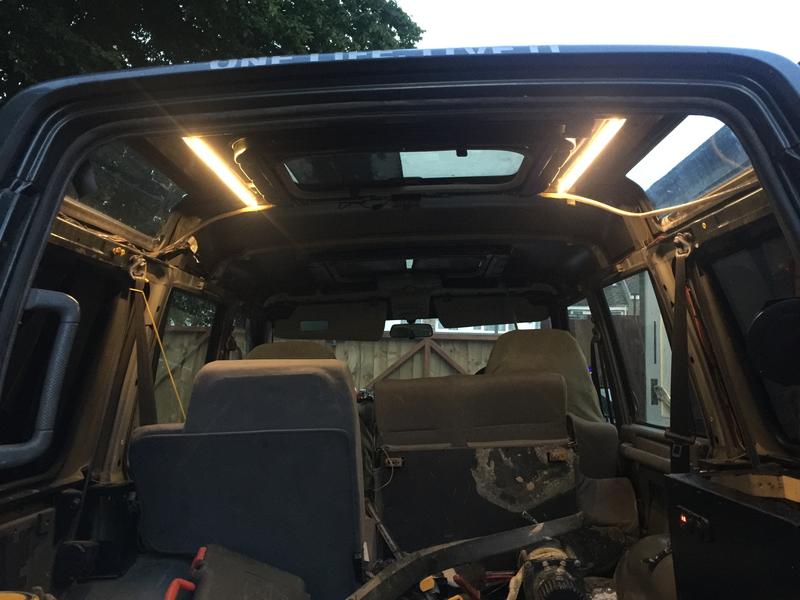
Window out.
Removed the pillar trim (3 bolts on the inside) and drilled out the rivets
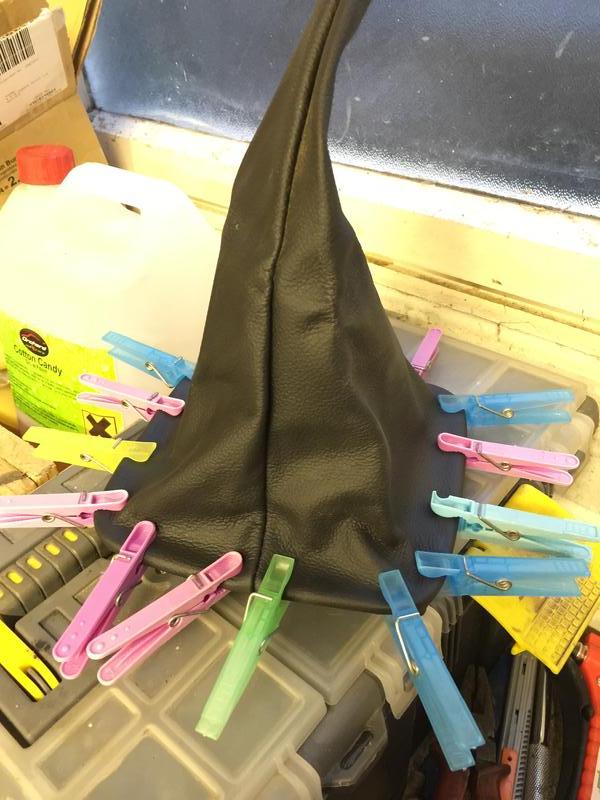
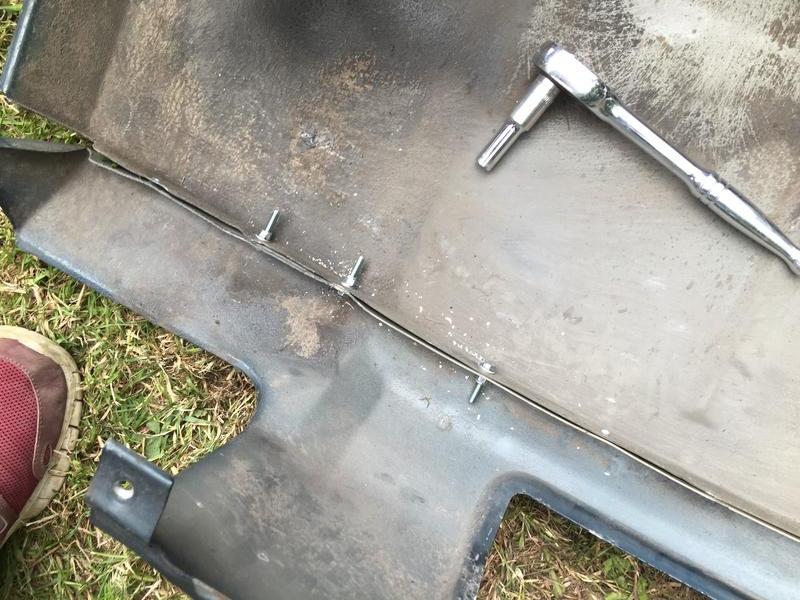
This part is spot welded on to the 1/4 panel, and some screws to the rear. I re-attached it later on with rivets where I could, and some bolts.
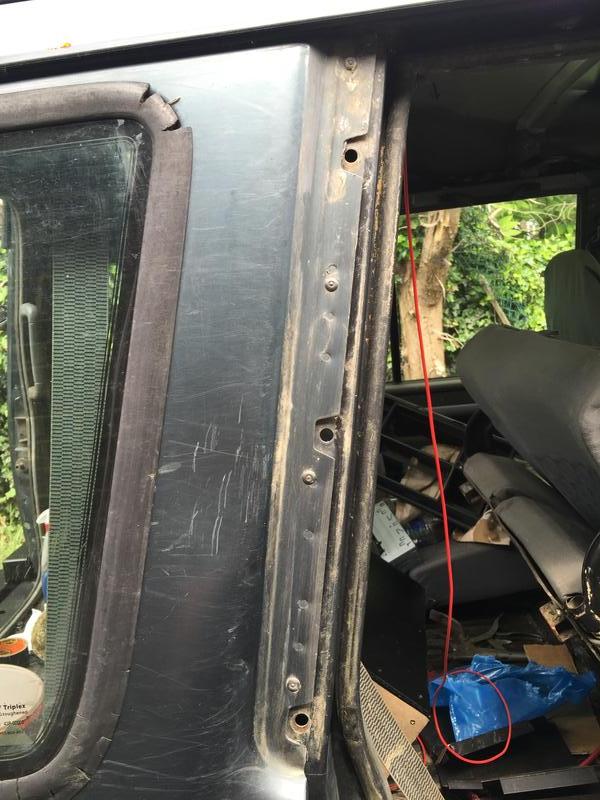
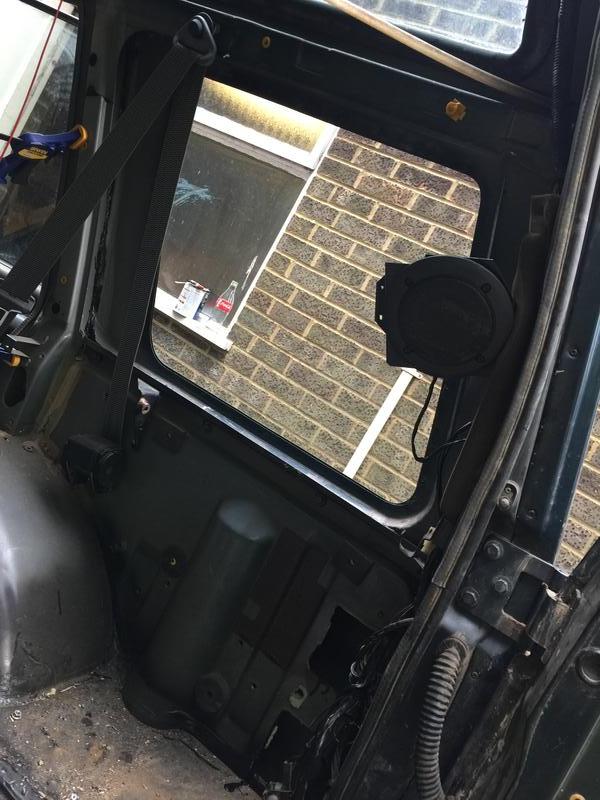
There are bolts along the bottom of the window, at the top and to the right (looking from the inside). There are also a couple of screws at the top. The rear speaker mount is also connected to the panel using rivets.
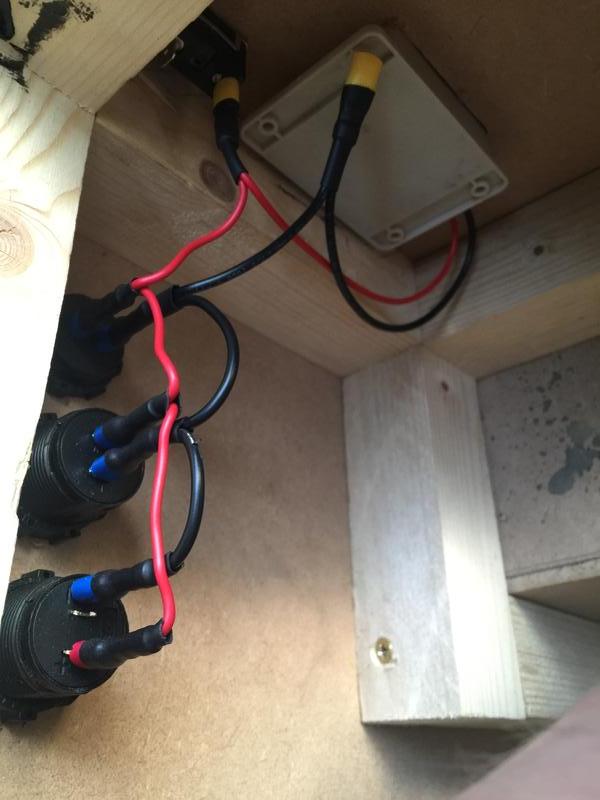
As this was the fuel cap site, there are 2 jubilee clips attaching this to the tank. There is also an earth connecting to the body.
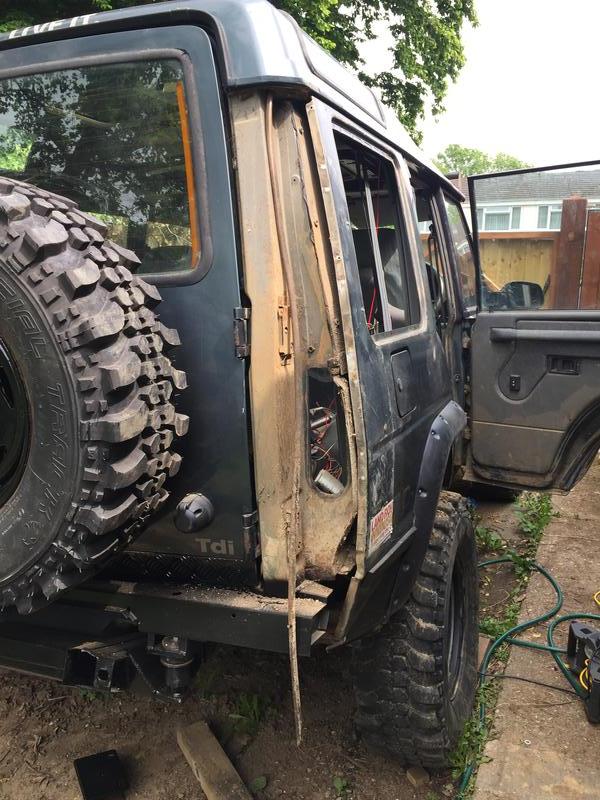
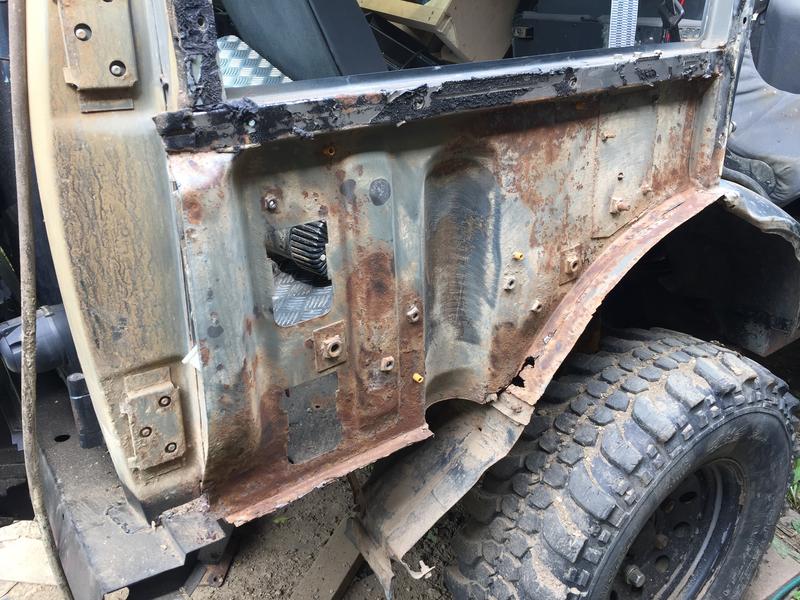
The panel is bonded to the body using adhesive and it's very sticky, I didn't have to be too careful removing the panel as I'm chucking it, but I was as careful as I could be - it takes a while.
I also had to swap the fuel pipes over, and the fuel cap lock - simple enough.
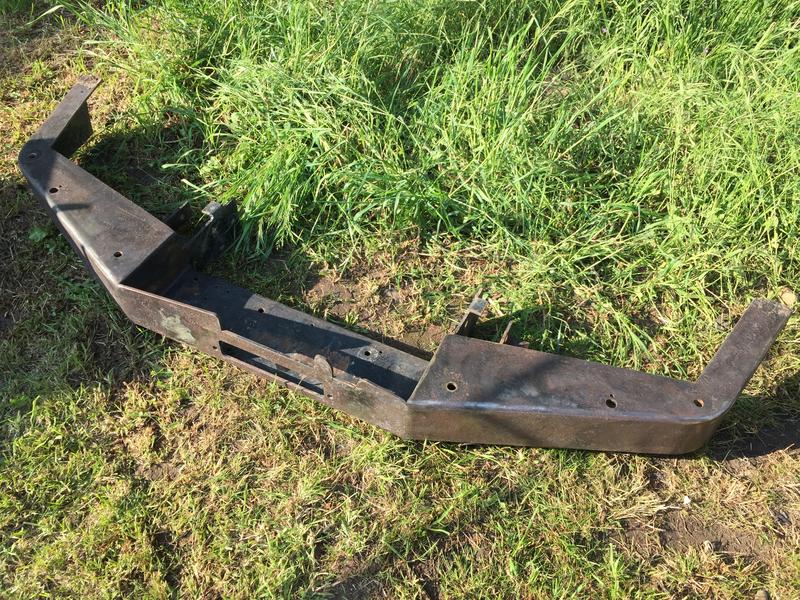
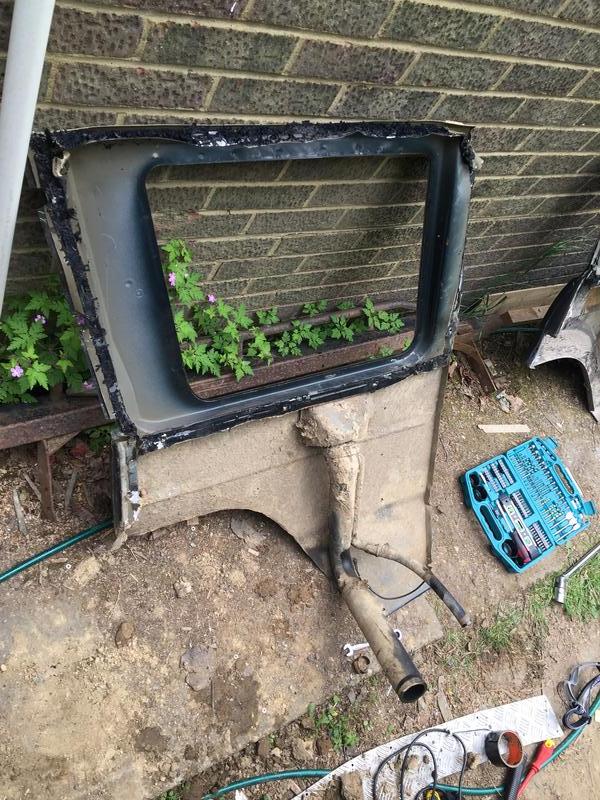
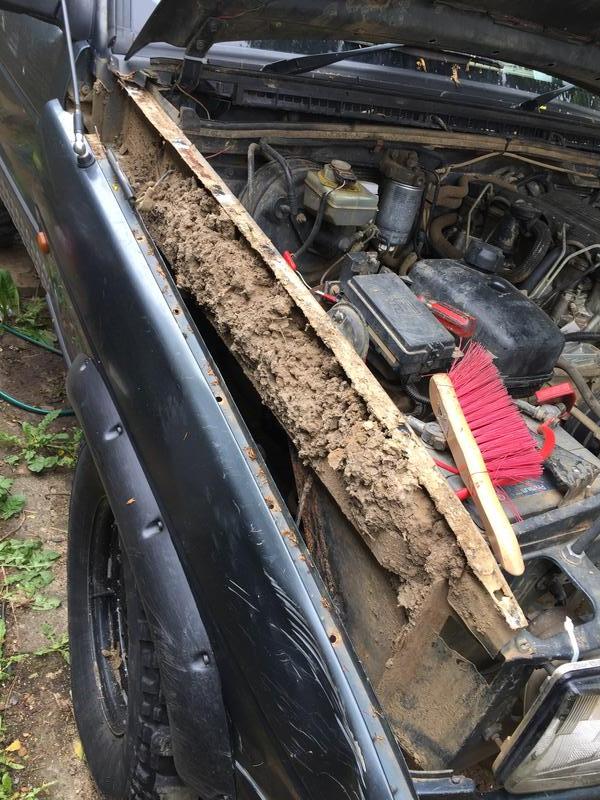
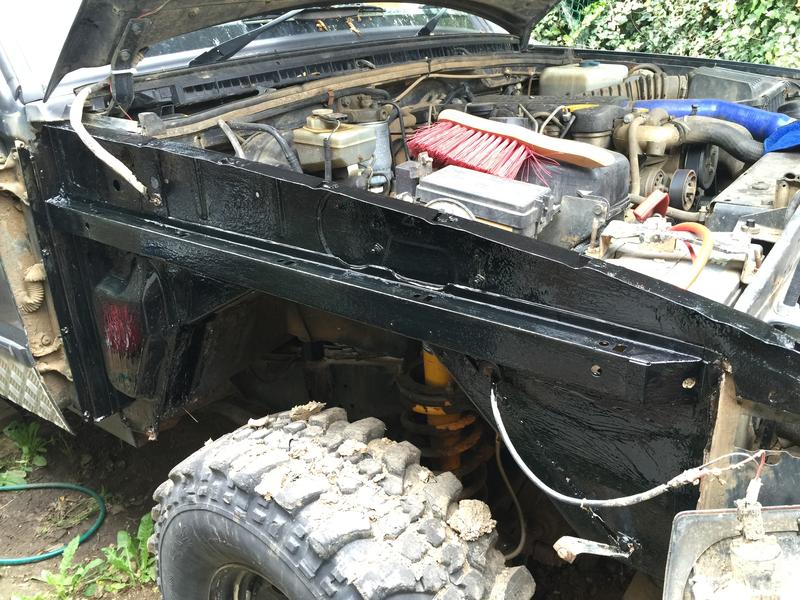
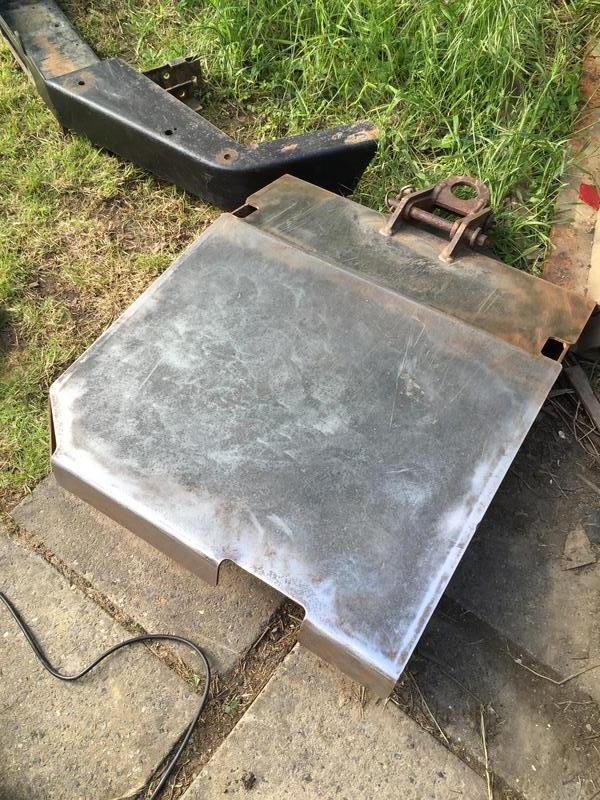
This was what I found behind the panel, not too bad actually so I'm pretty please.
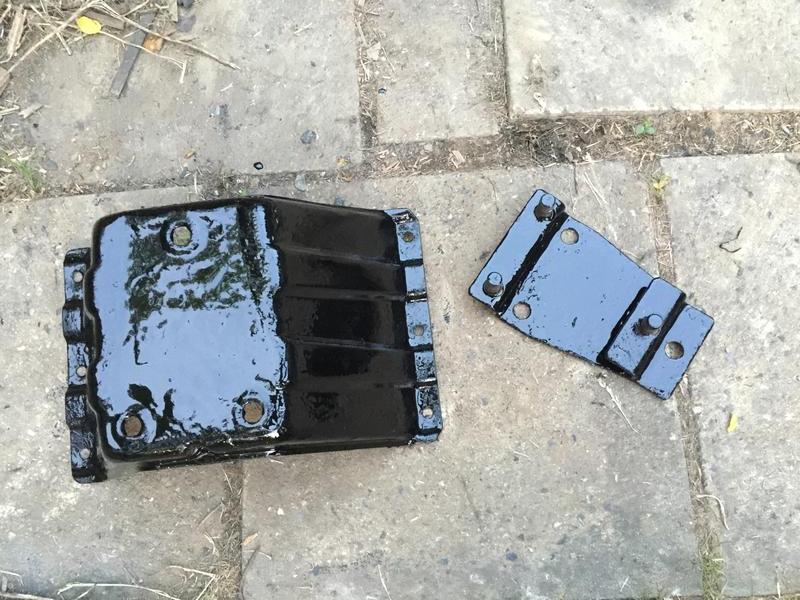
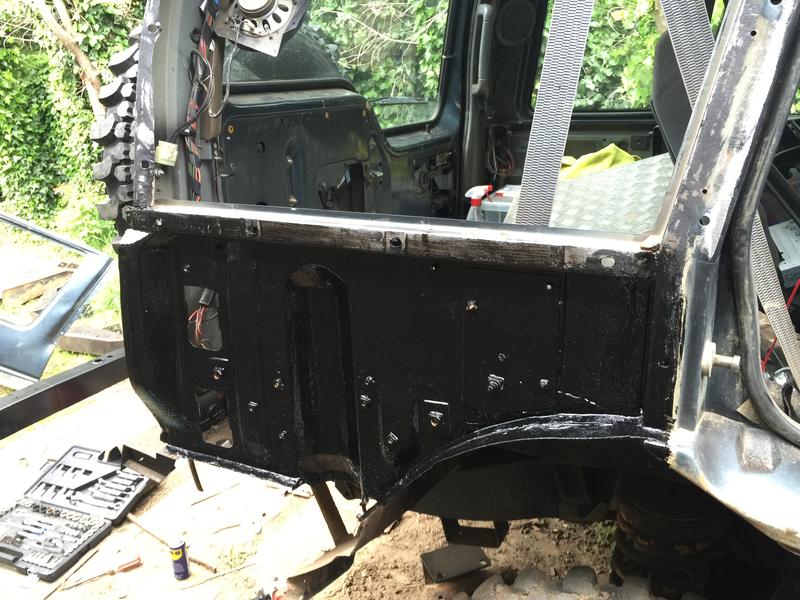
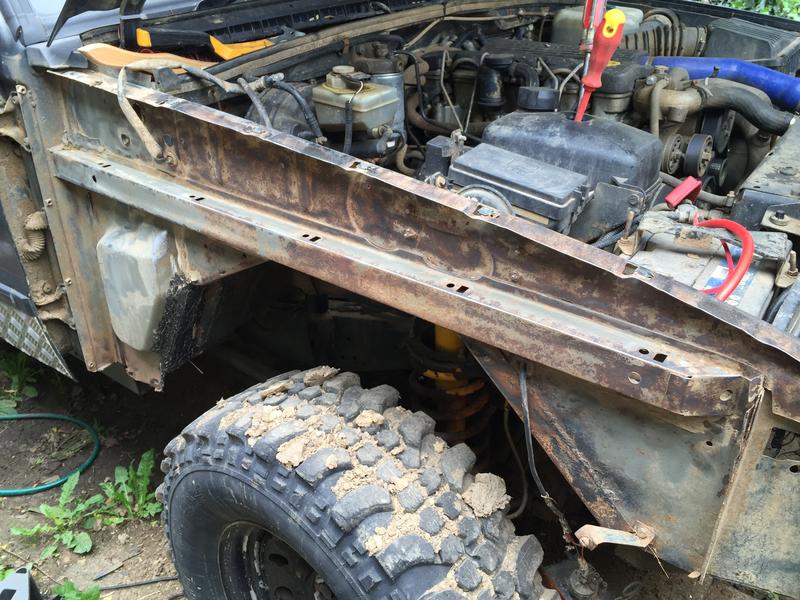
Cleaned up
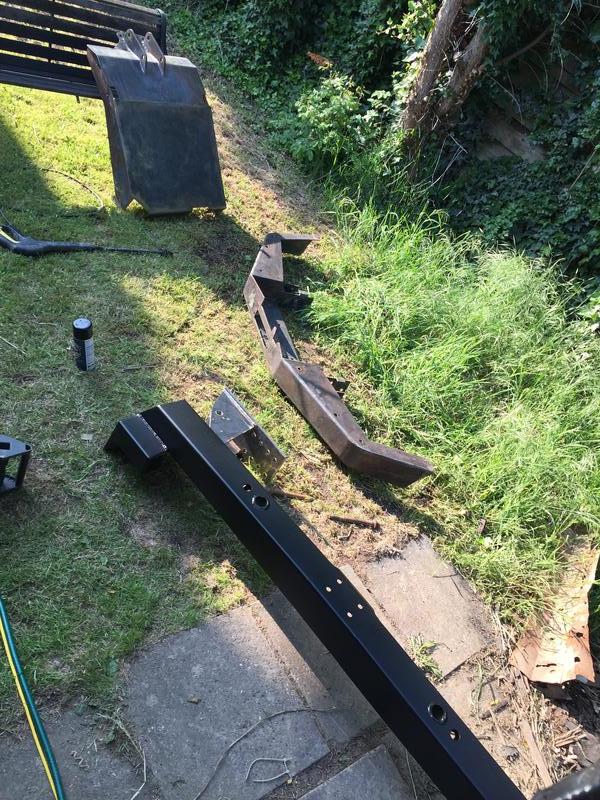
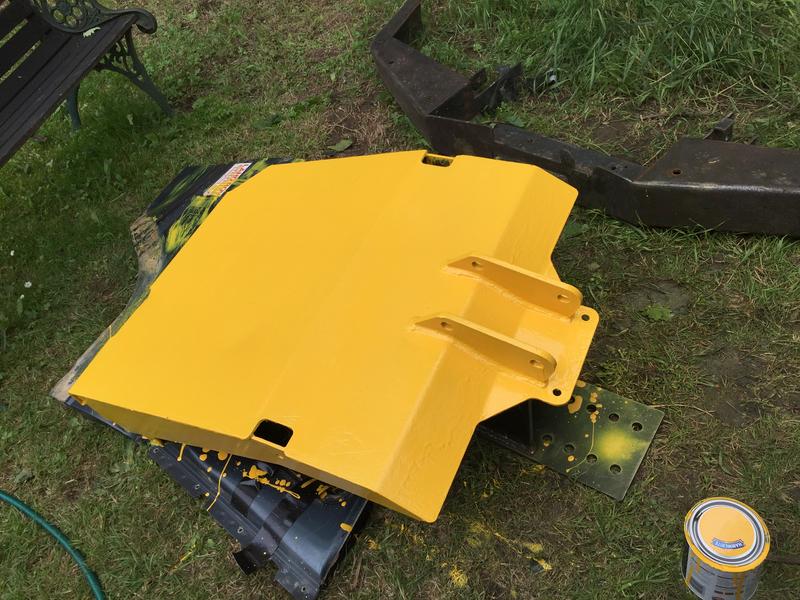
Painted
Work in progress...
I spent most of the time cleaning off the adhesive, it's horribly sticky stuff.
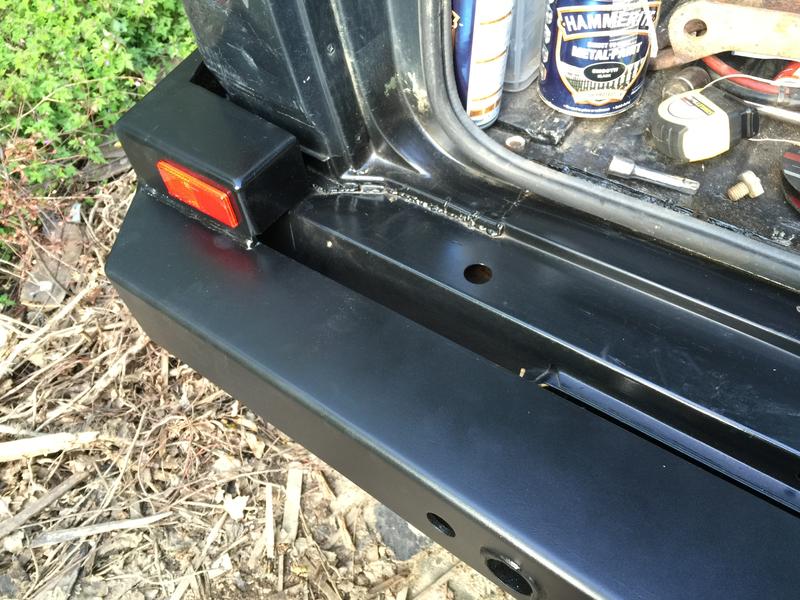
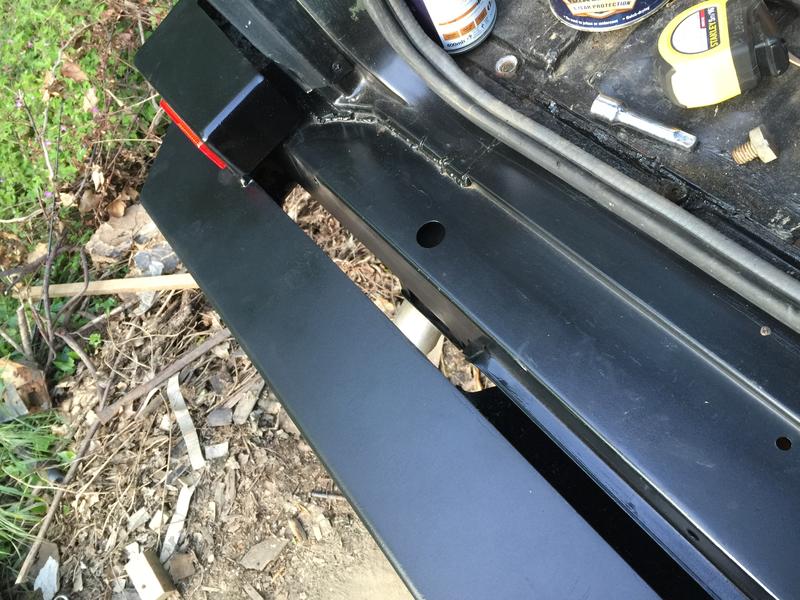
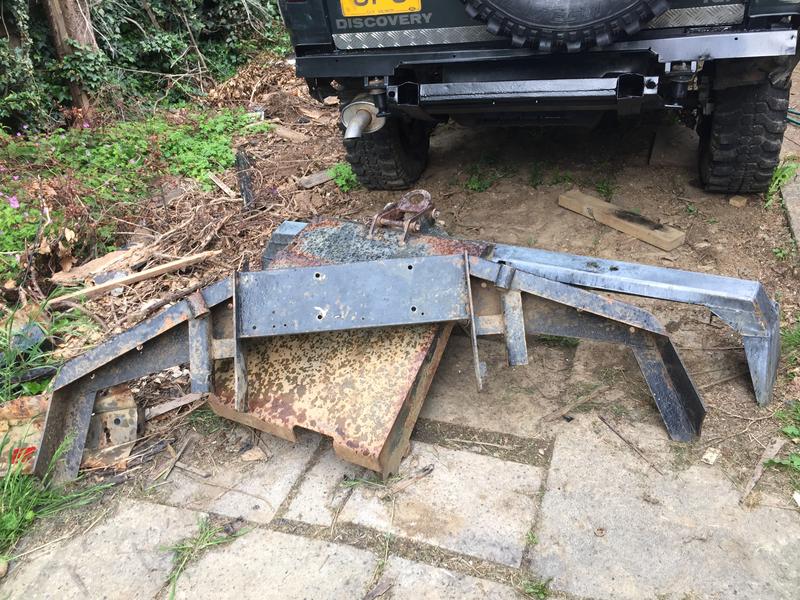
Attaching the rear light panel to the 1/4 panel. As mentioned before, where I could I used rivets but bolts did a better job.
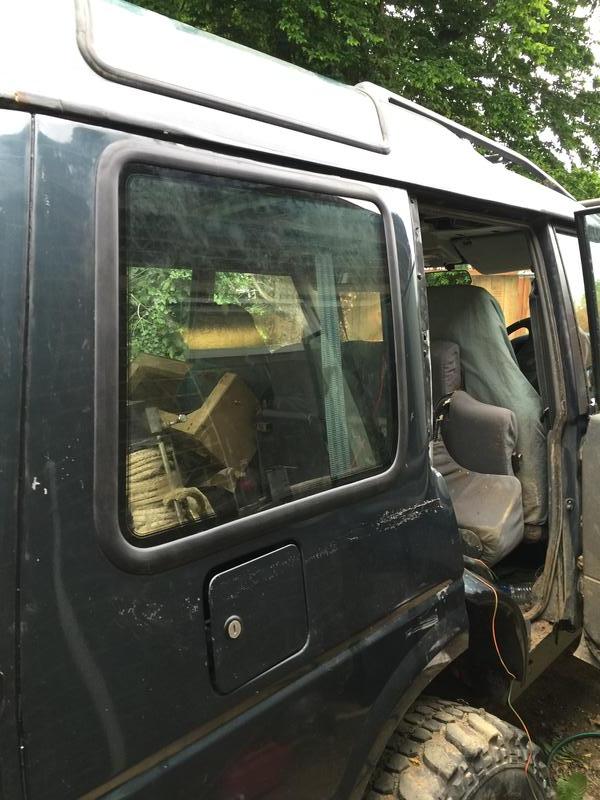
Trial fit
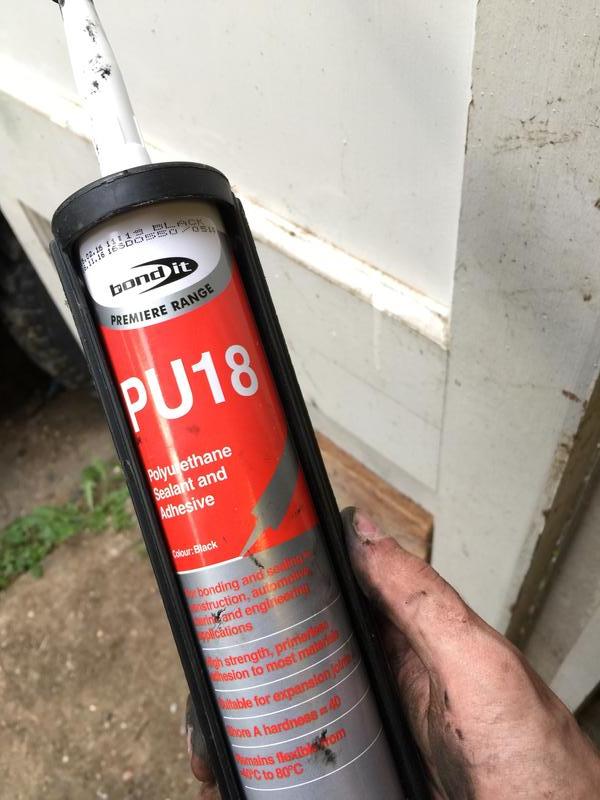
I then put a load of this stuff on to replace the adhesive i had removed.
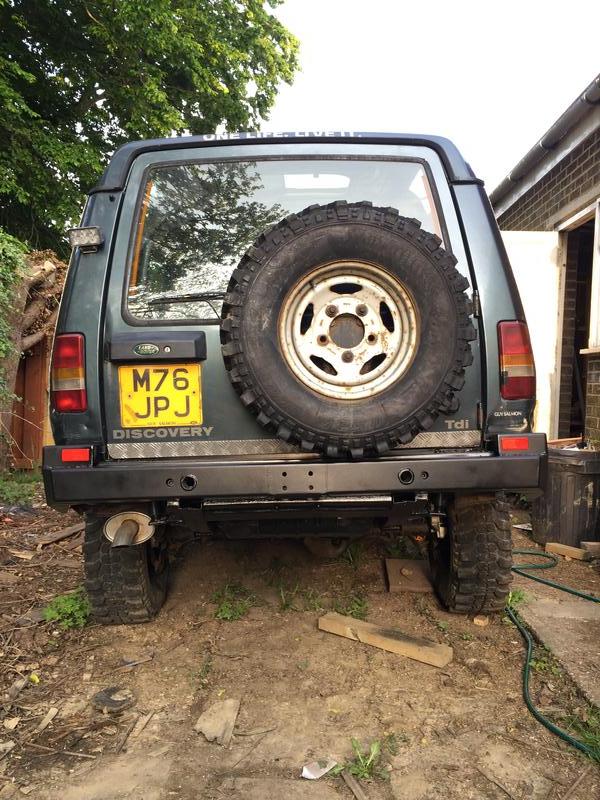
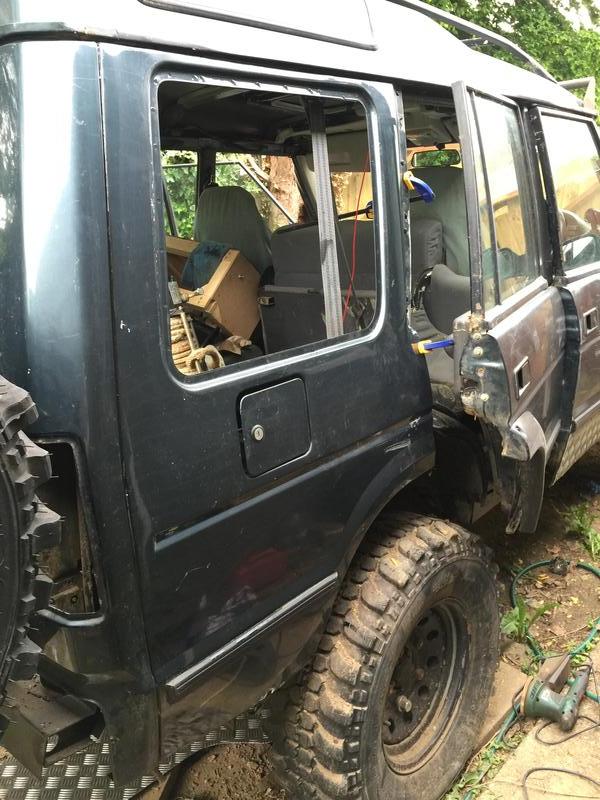
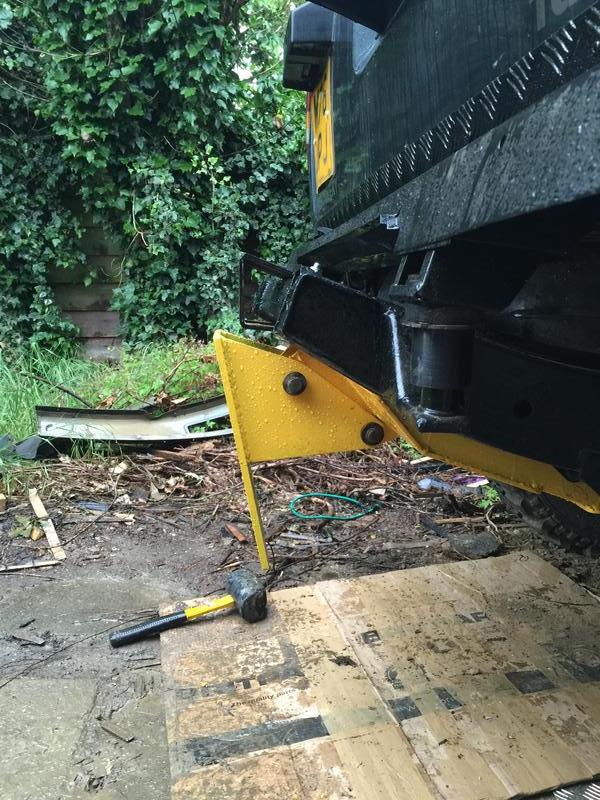
Bolted back in place
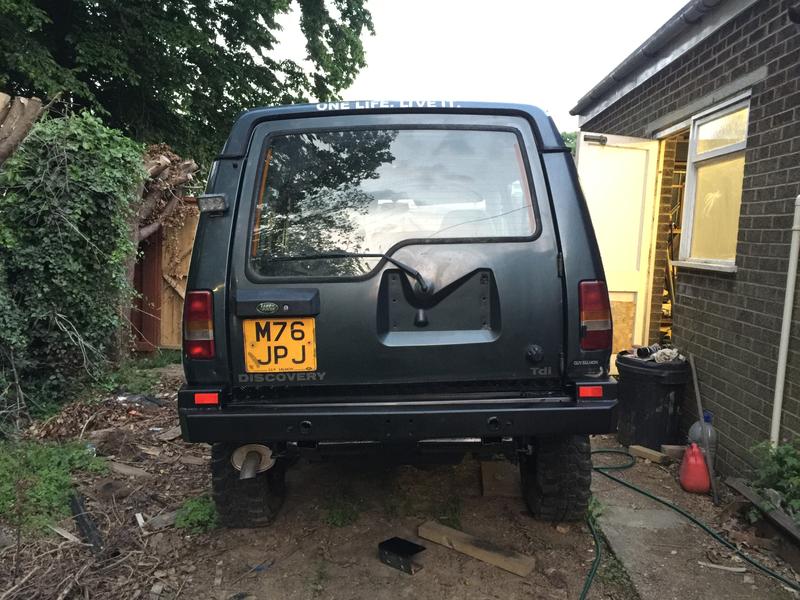
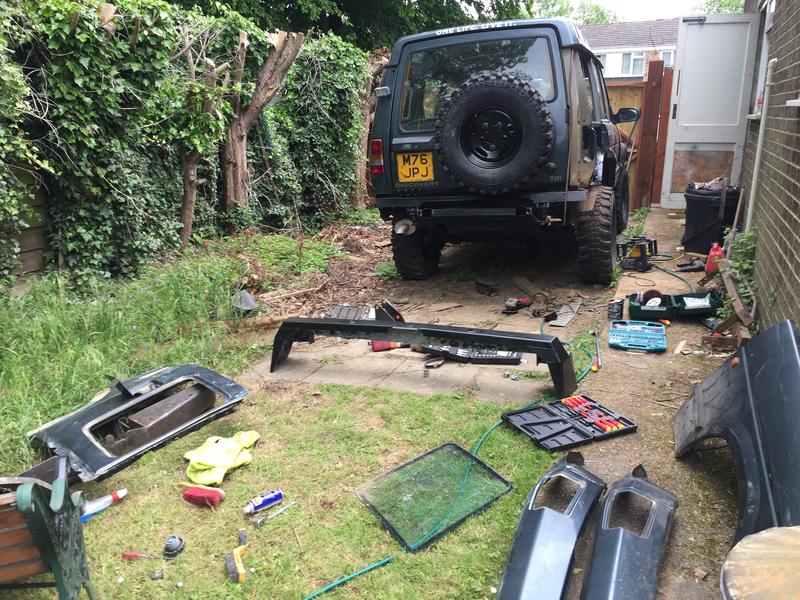
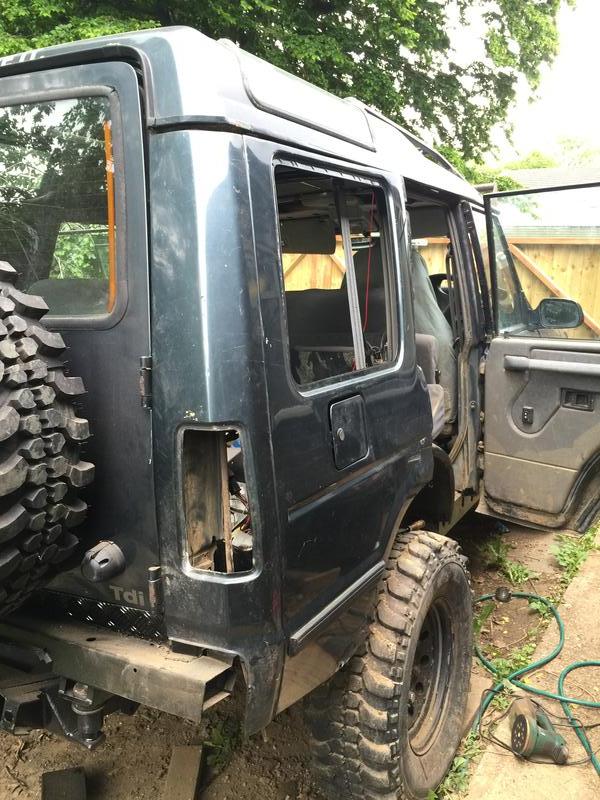
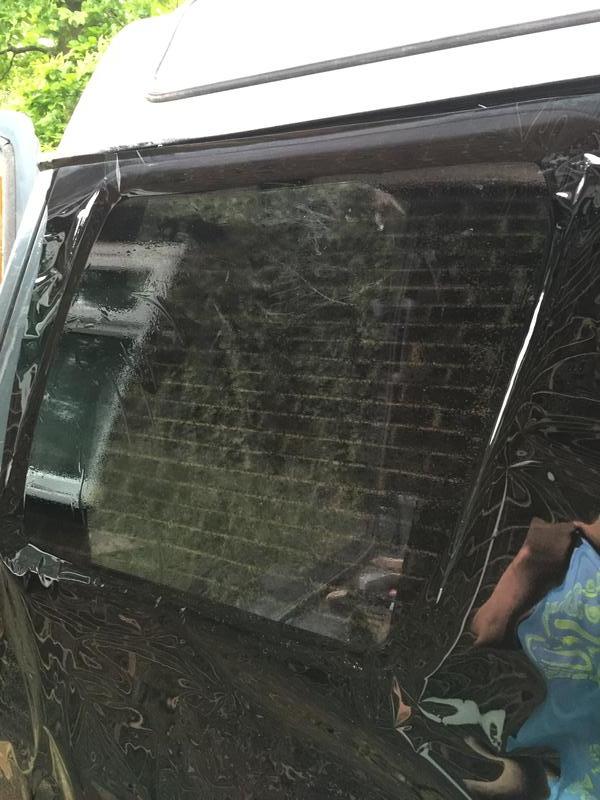
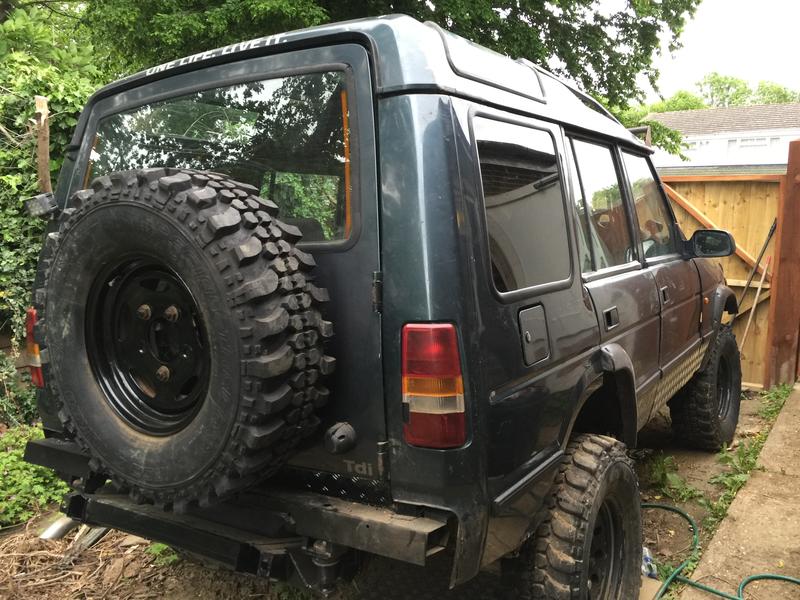
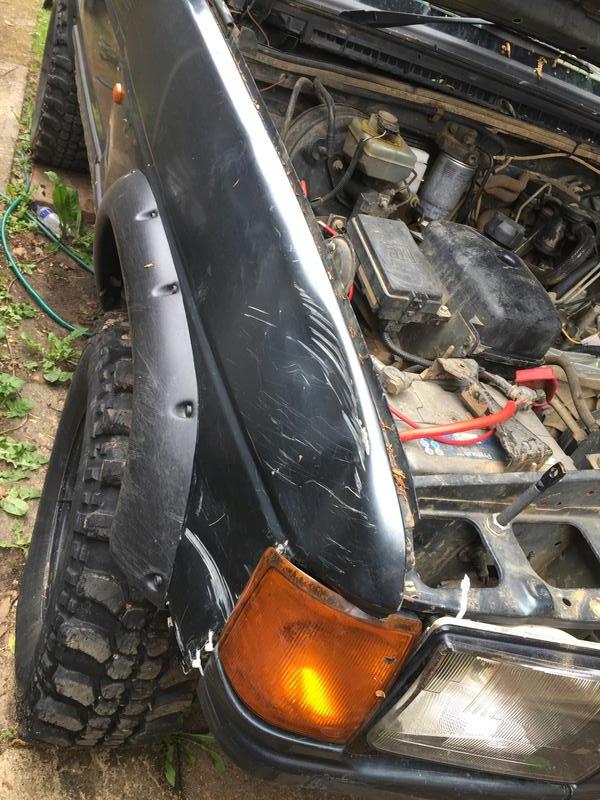
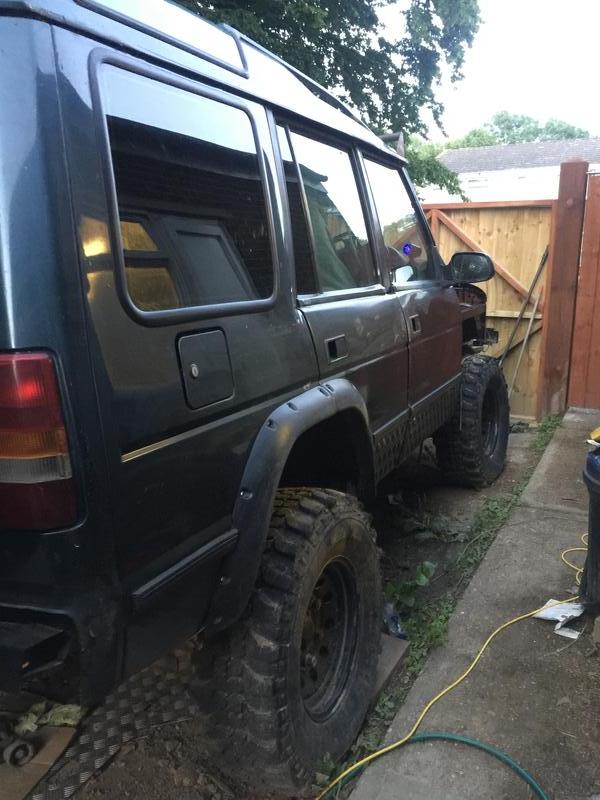
Currently looking a bit sorry for itself.
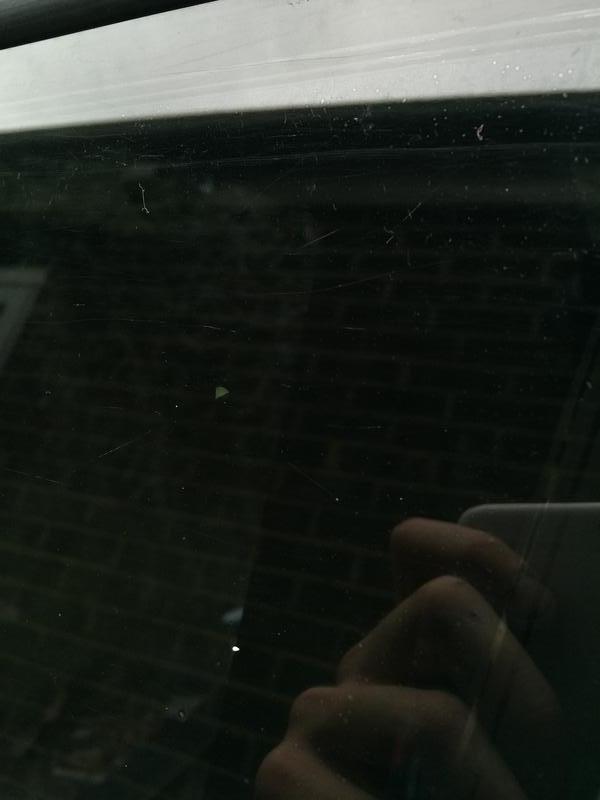
Tomorrow I plan on tinting the window, and re-fitting with a new seal. I need to re-attach the fuel filler pipes. Then I will need to cut away the arch and fit the extended arch from my old 1/4 panel.
Foz
")