Hi,
I got my first discovery back in 2012 (I think). It was an N reg 300tdi - I loved that car and spent a lot of time working on it to get it sorted. I then made the HUGE mistake of selling it, i still regret it!
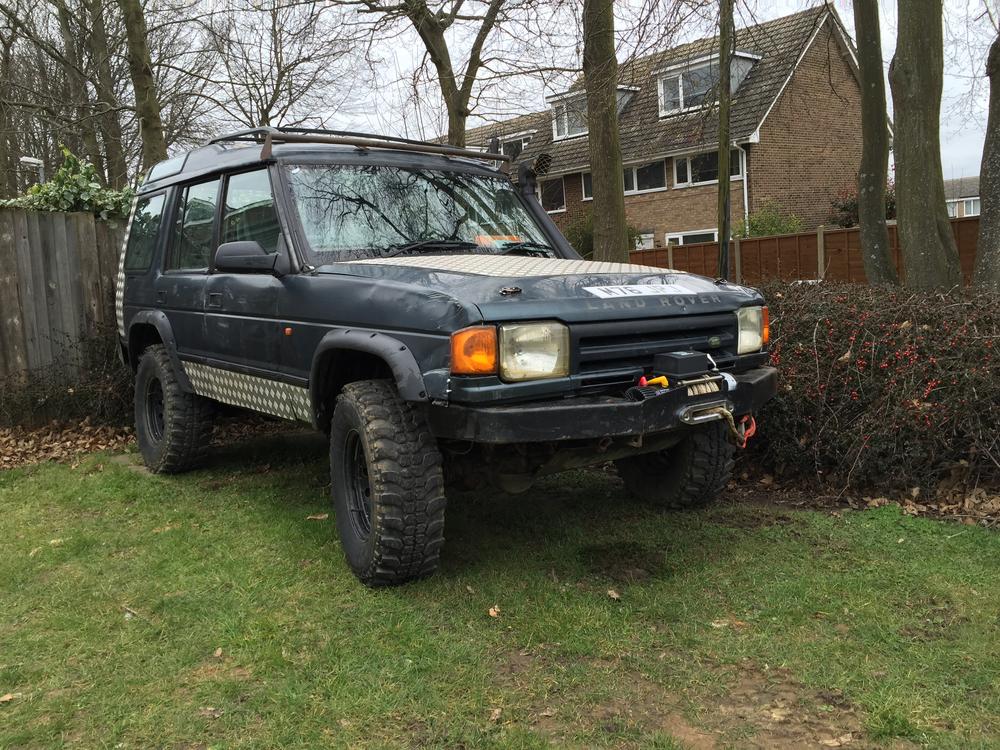
I have recently bought another discovery, it's an M reg 300tdi - Now, this is my "toy", so it's a project. It's been off road a fair bit and has battle scars to prove it. But I do enjoy a project, and plan to sort everything out.
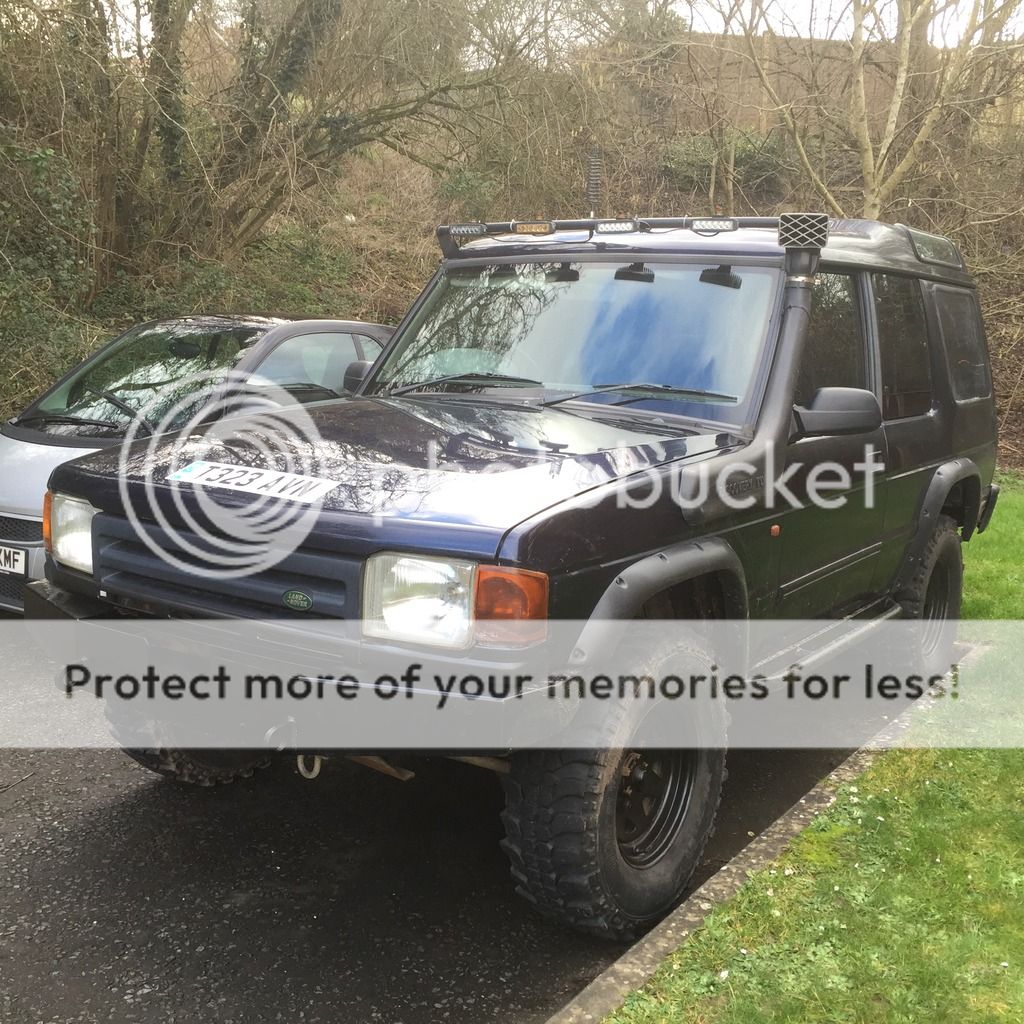
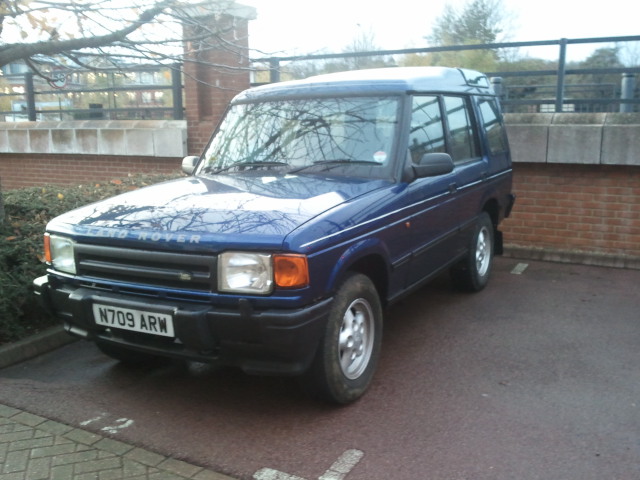
Firstly, this was my first Disco.
Before
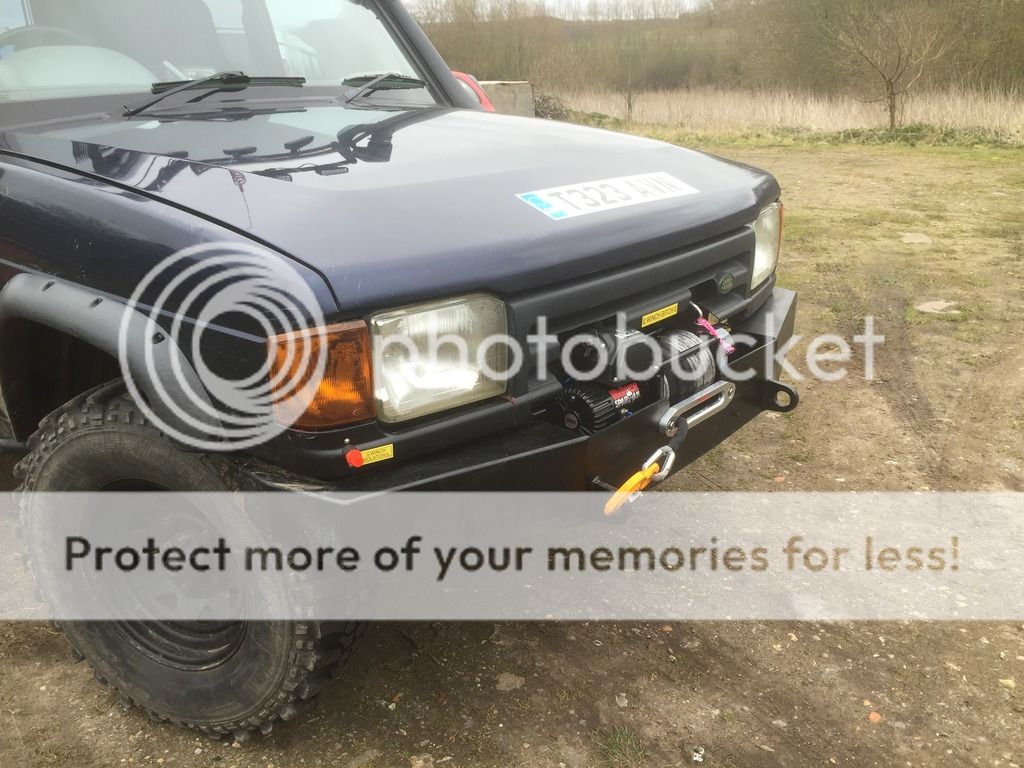
After
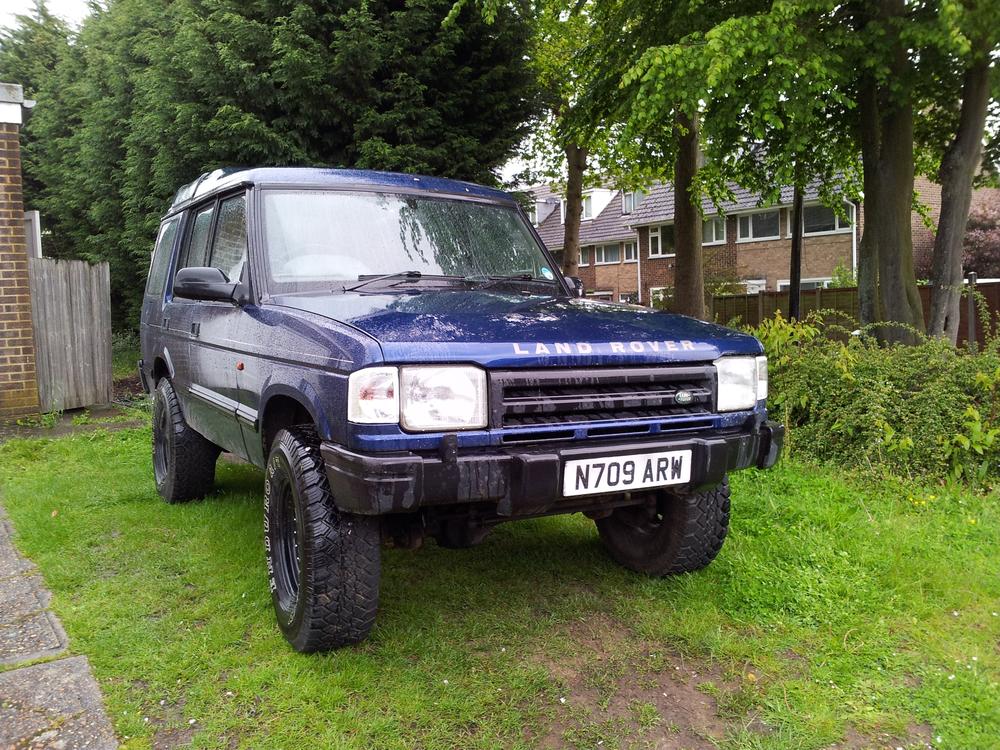
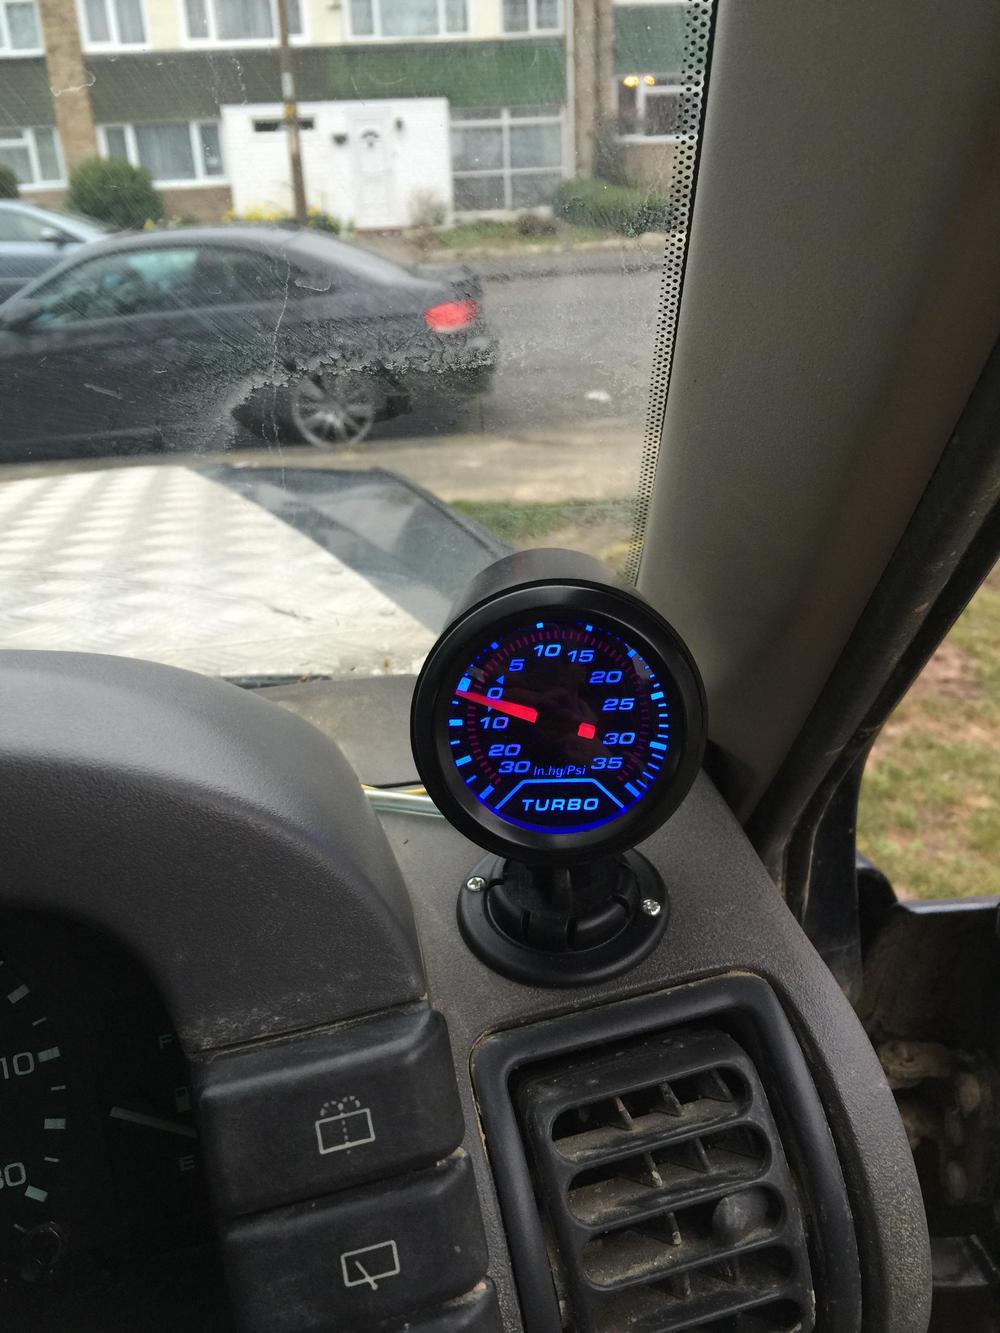
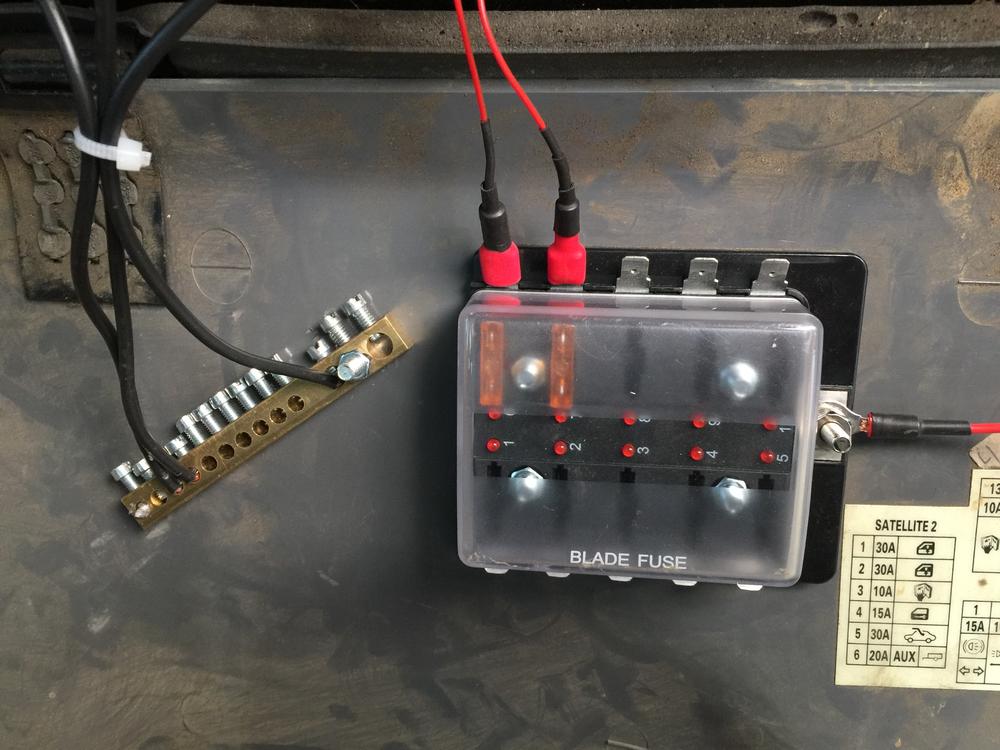
New clutch, no rust, sorted the electrics, de-cat, straight through exhaust, couple of gauges, 2inch lift, larger AT tyres, sound system, hoses etc.
--------------------------------------------------------------------
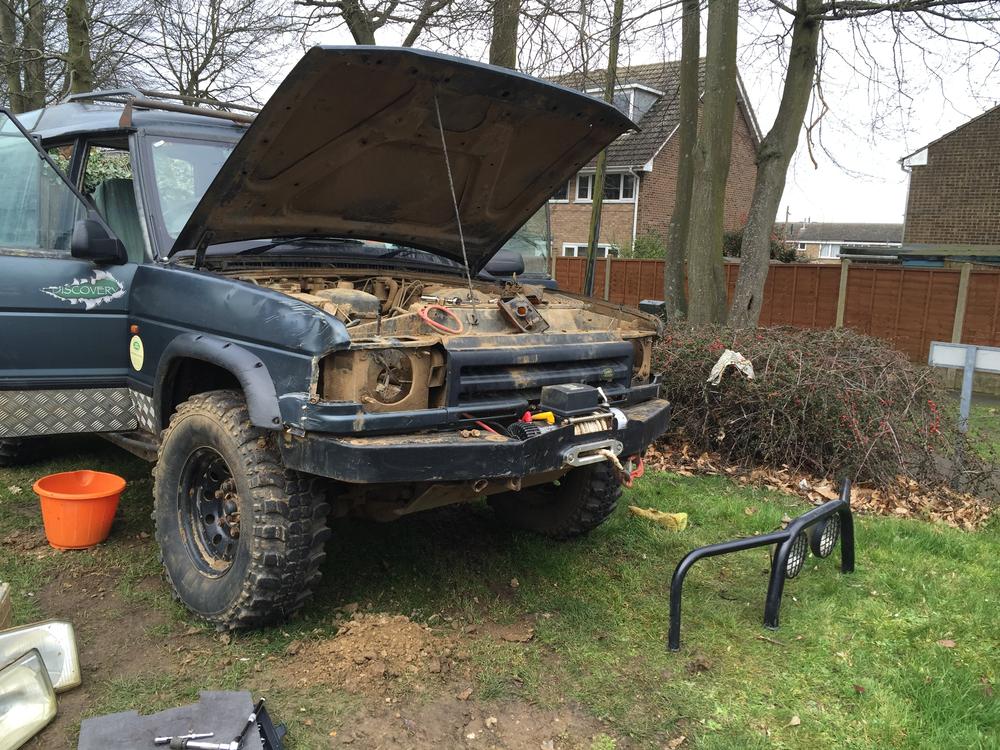
Now on to my new one.
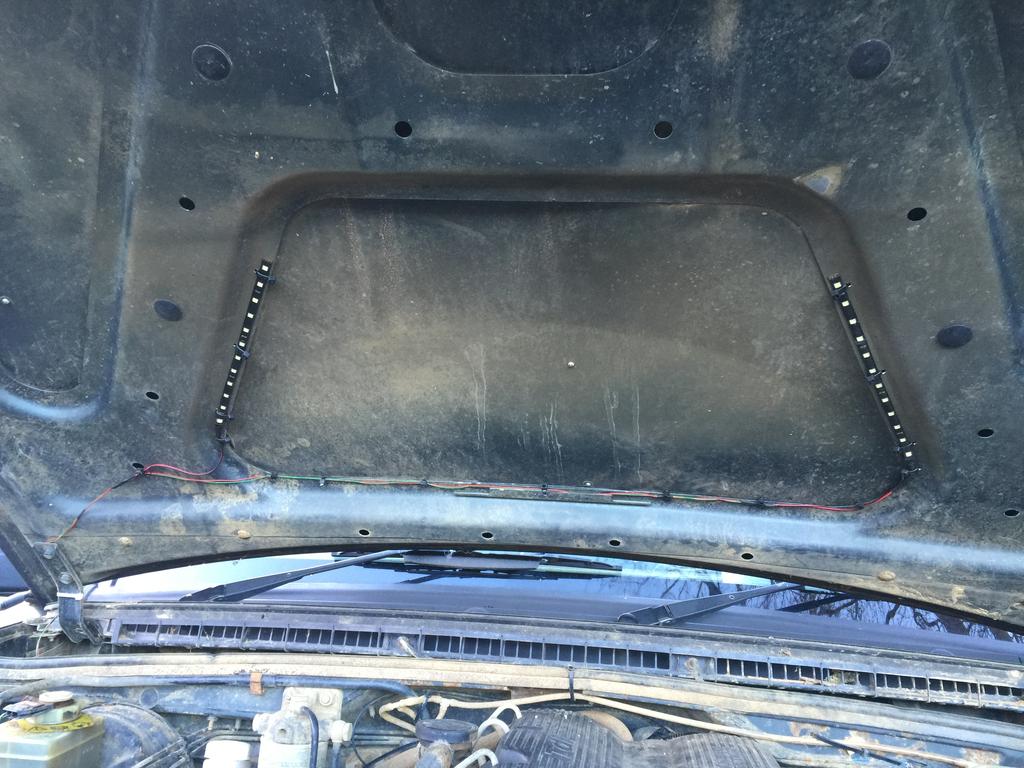
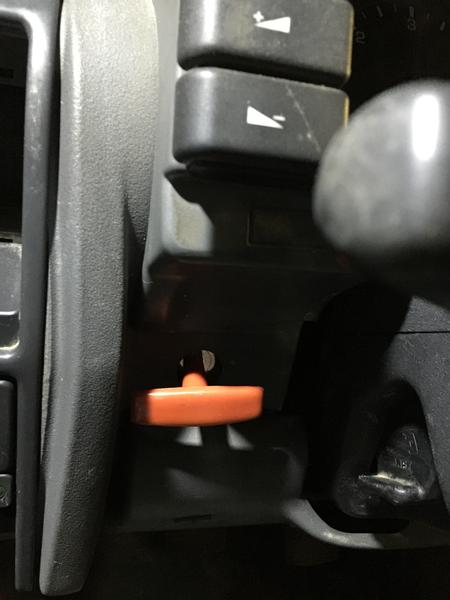
The first thing I set about doing was cleaning it, as it was filthy and hadn't been cleaned for a while. I also removed the spotlight frame from the bumper as i don't like how it looks.
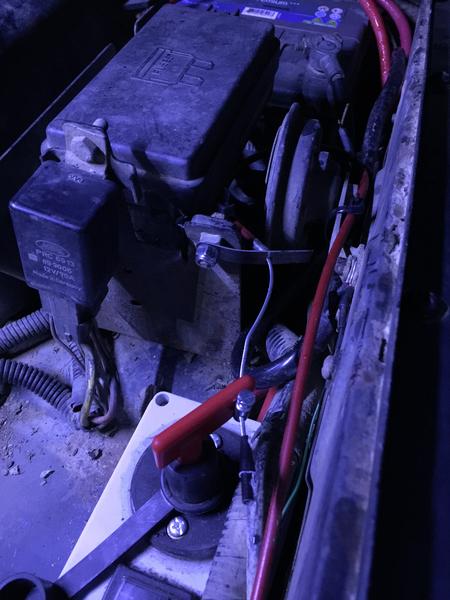
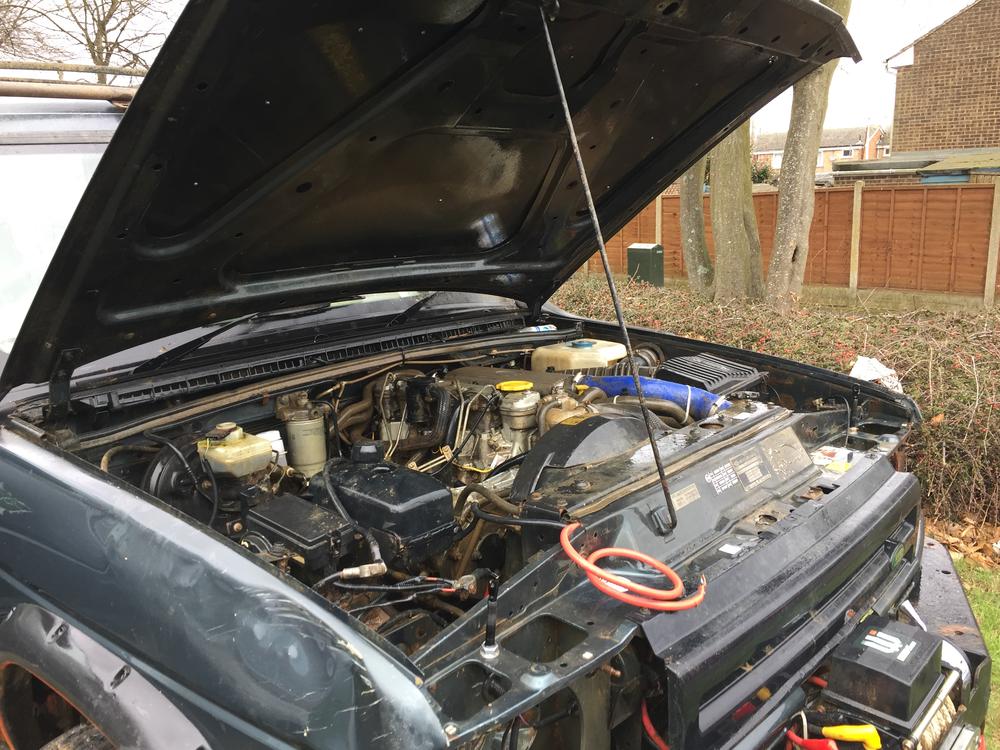
Engine before cleaning

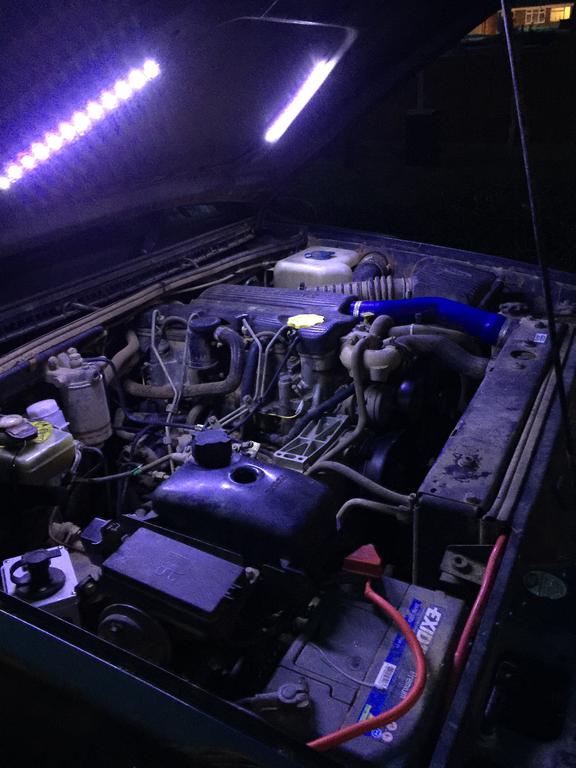
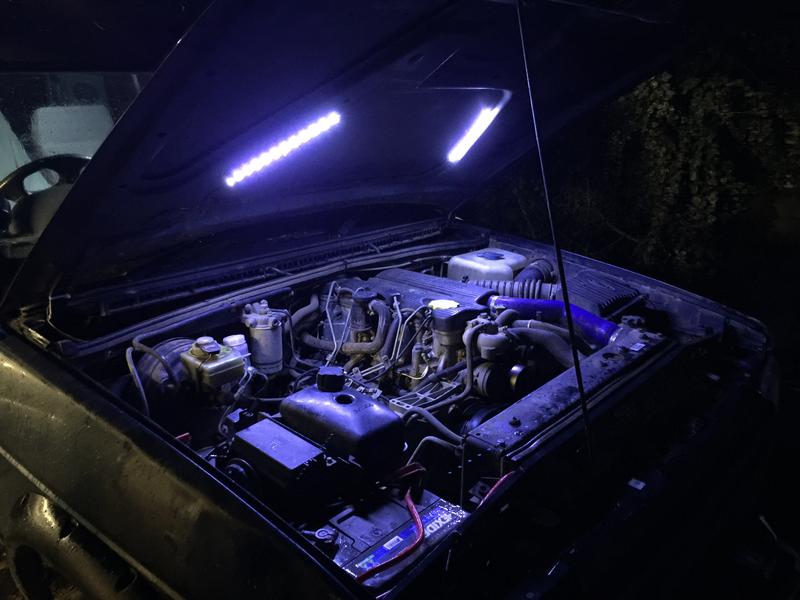
And after cleaning
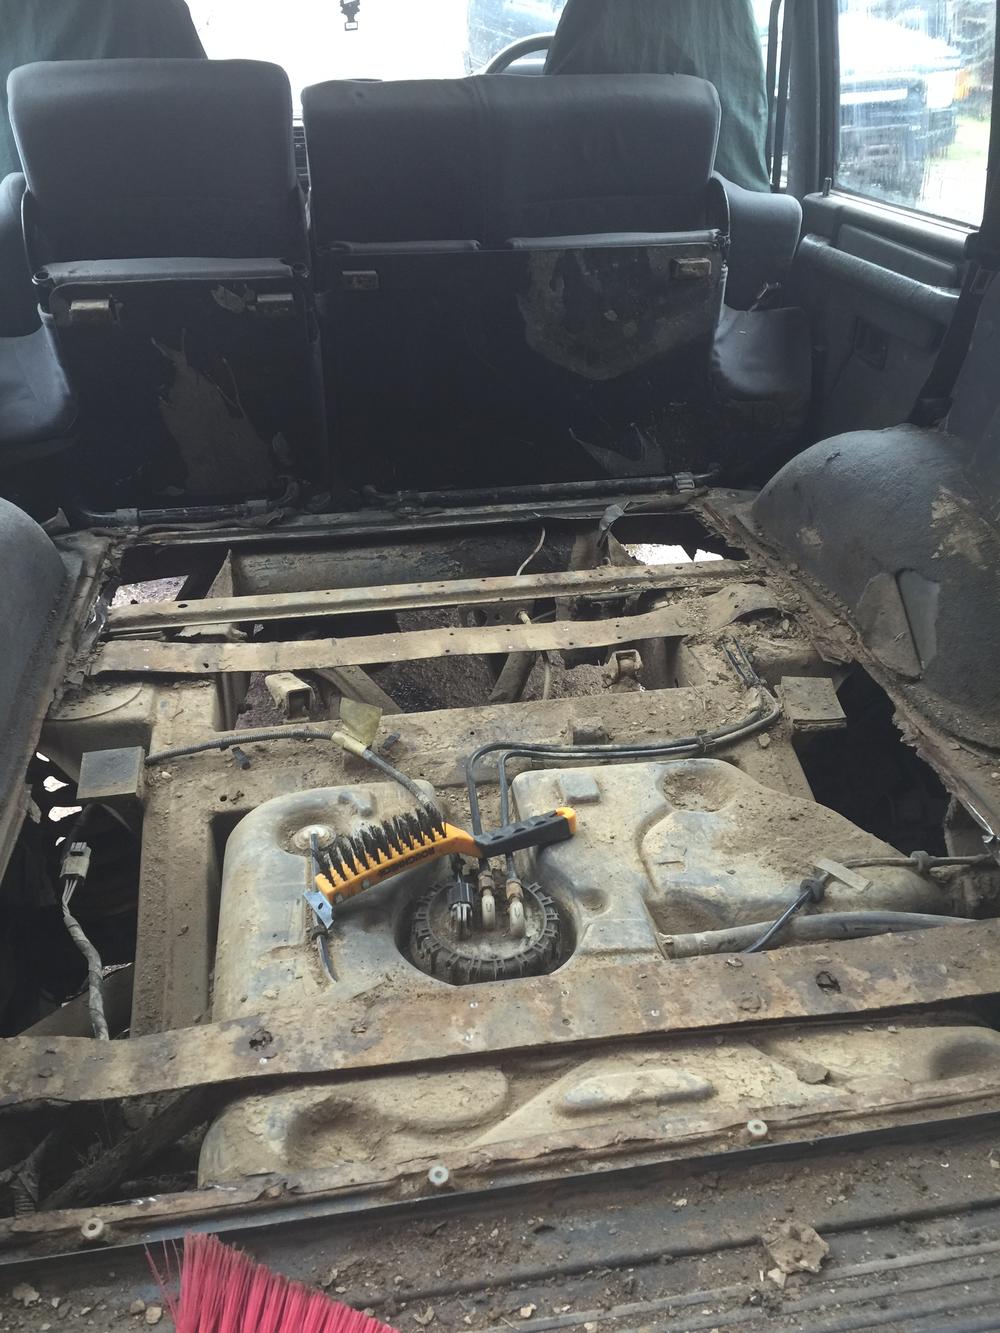
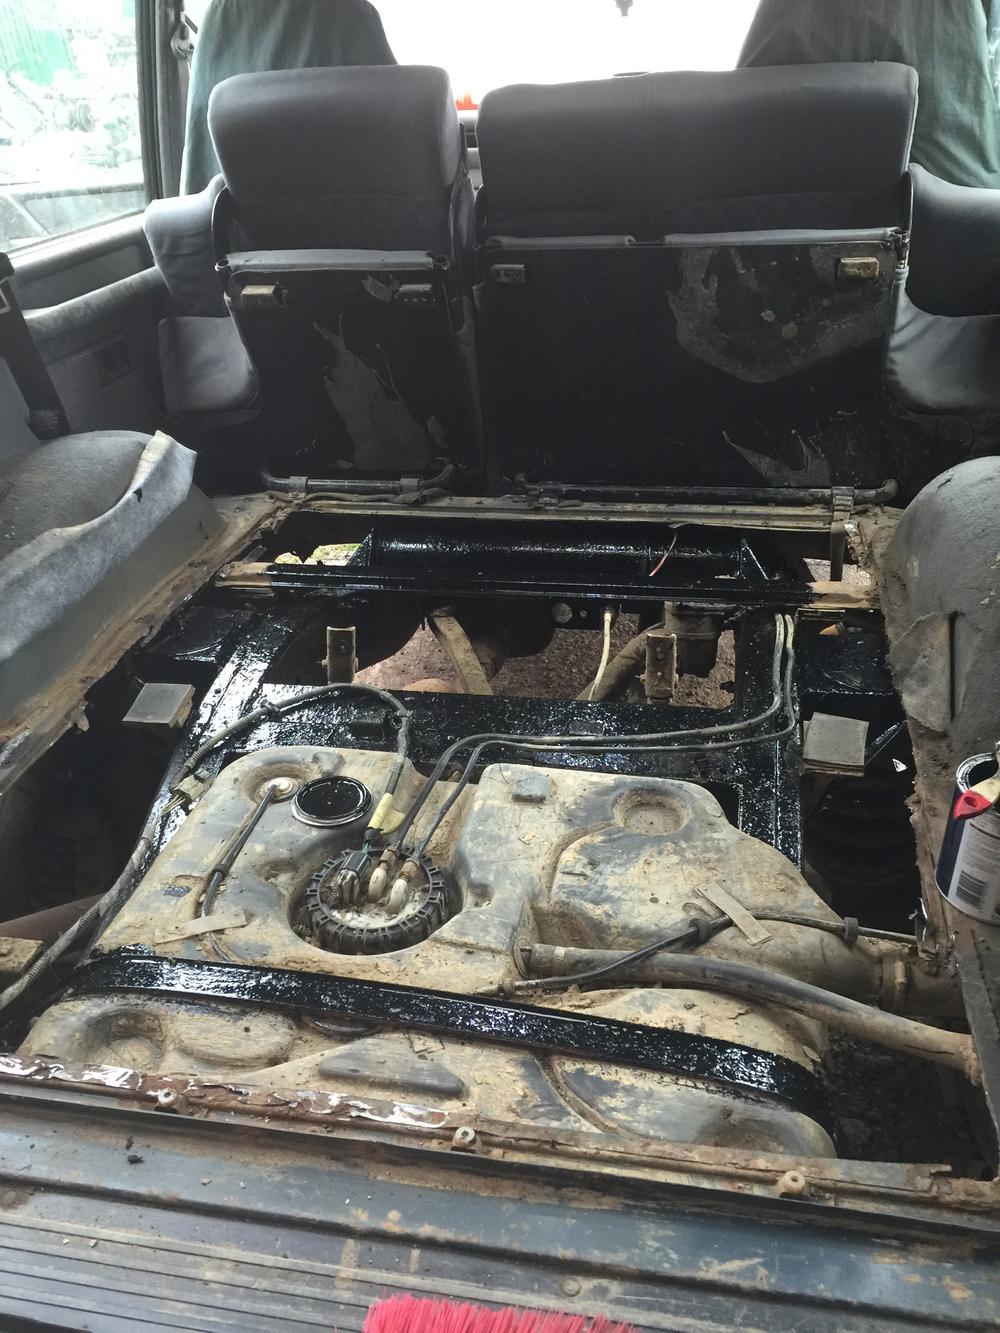
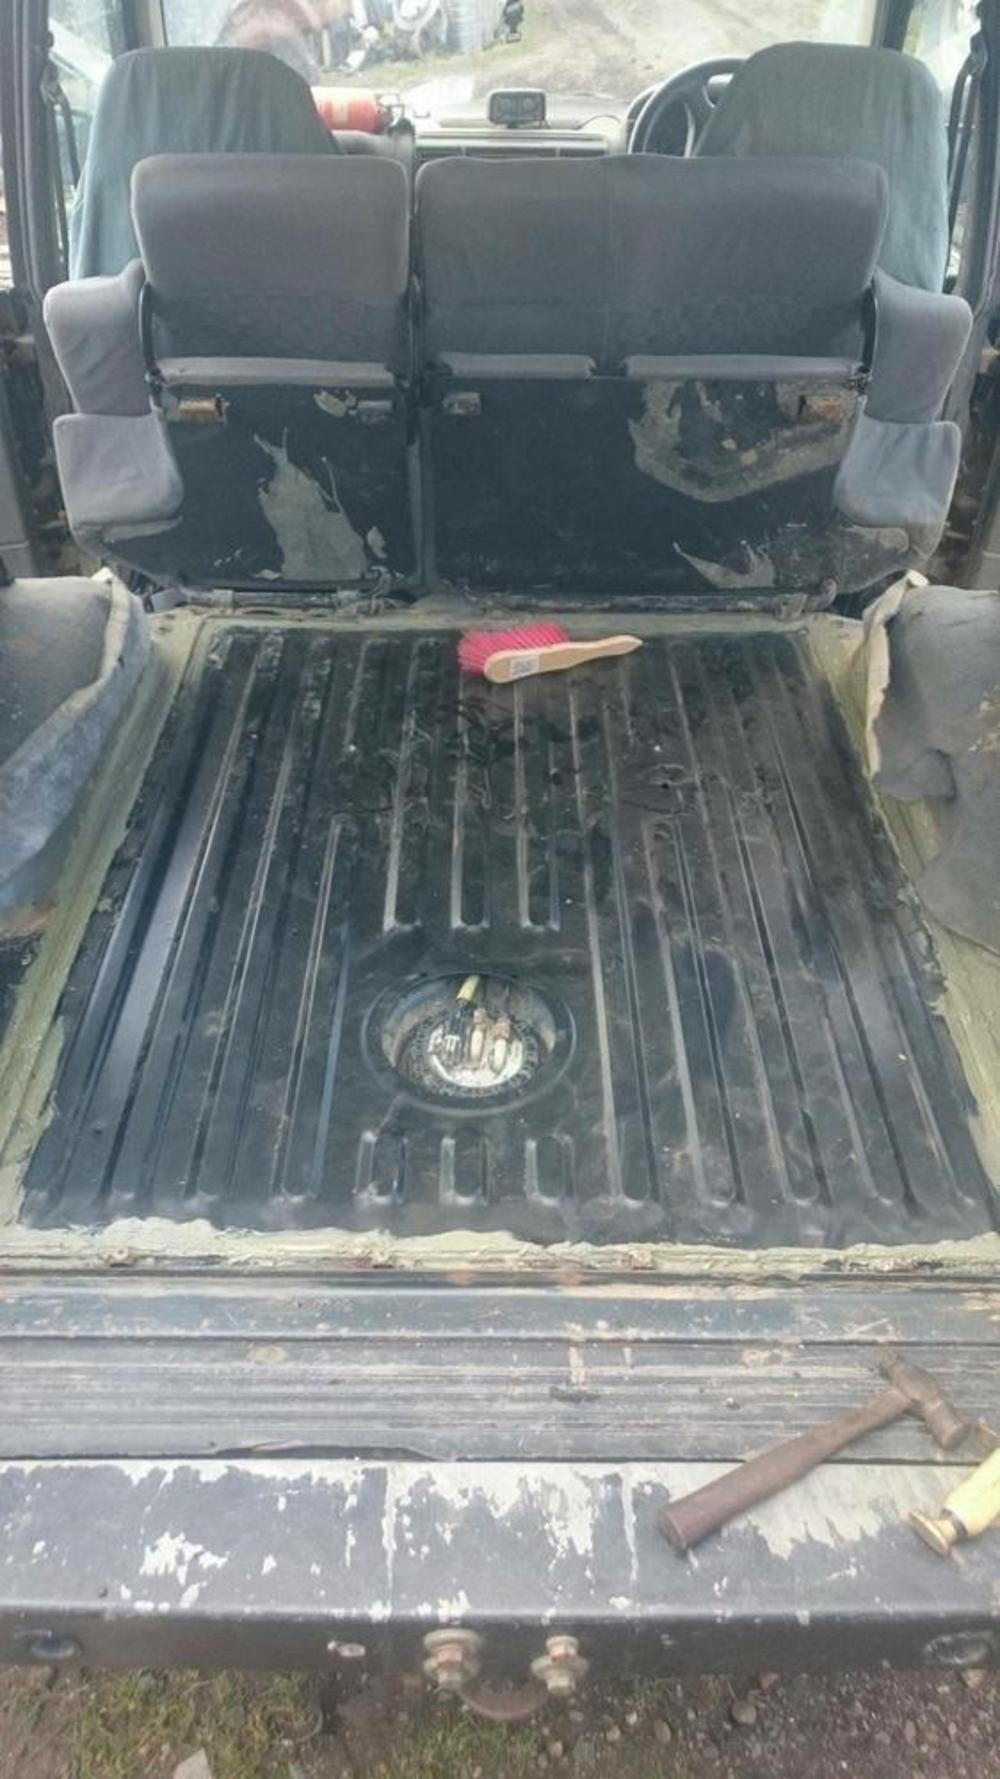
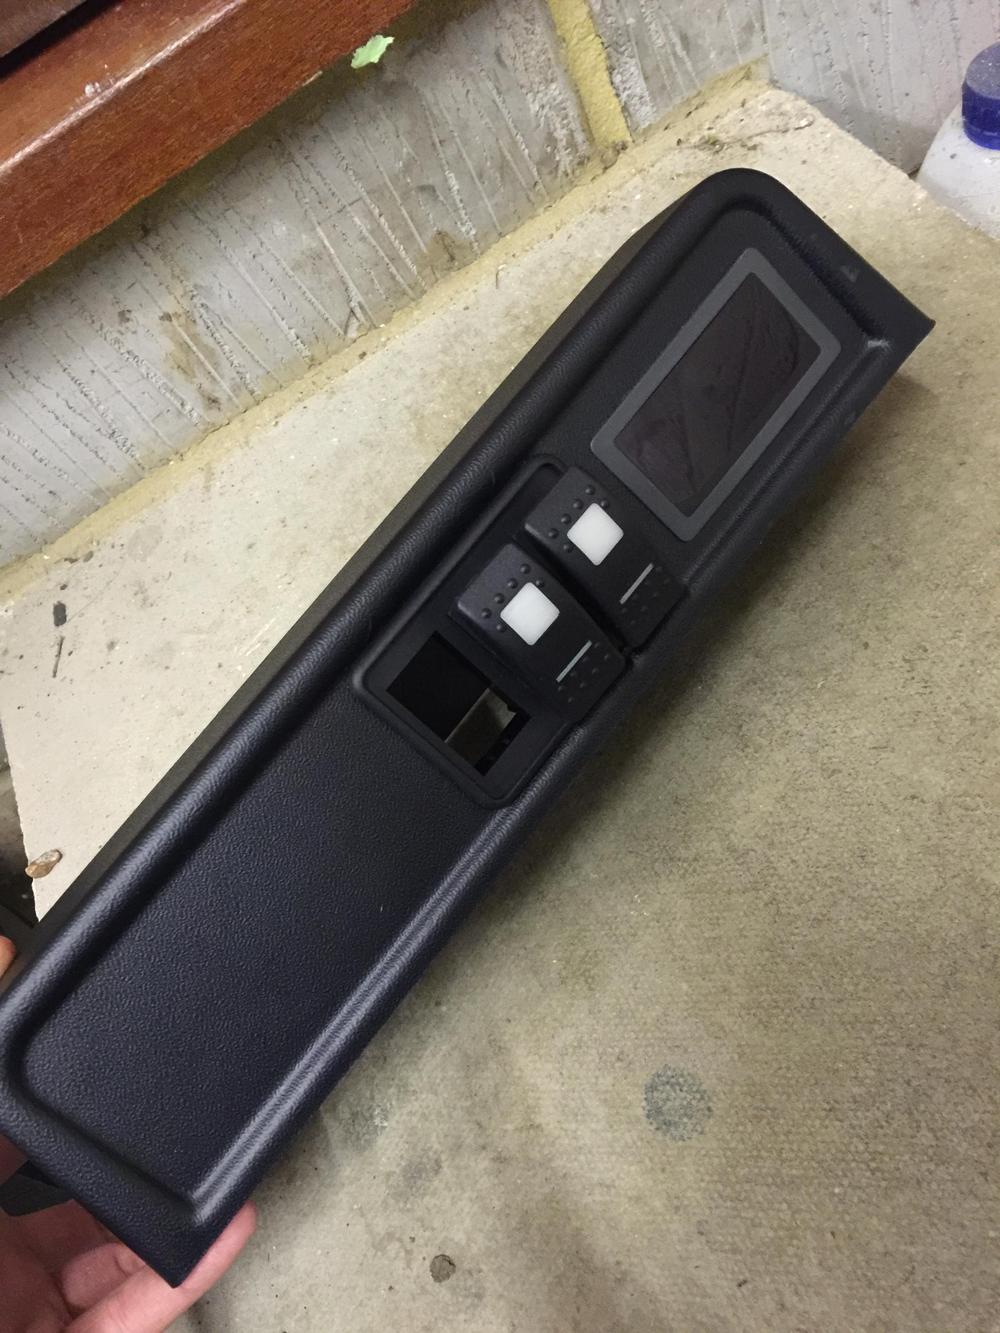
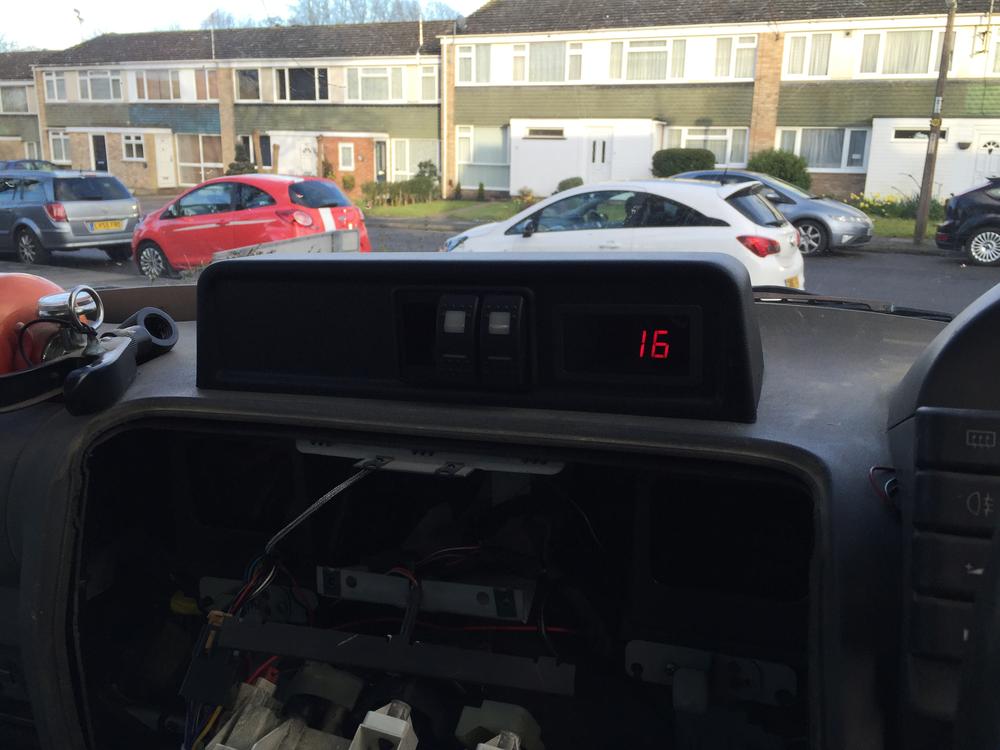
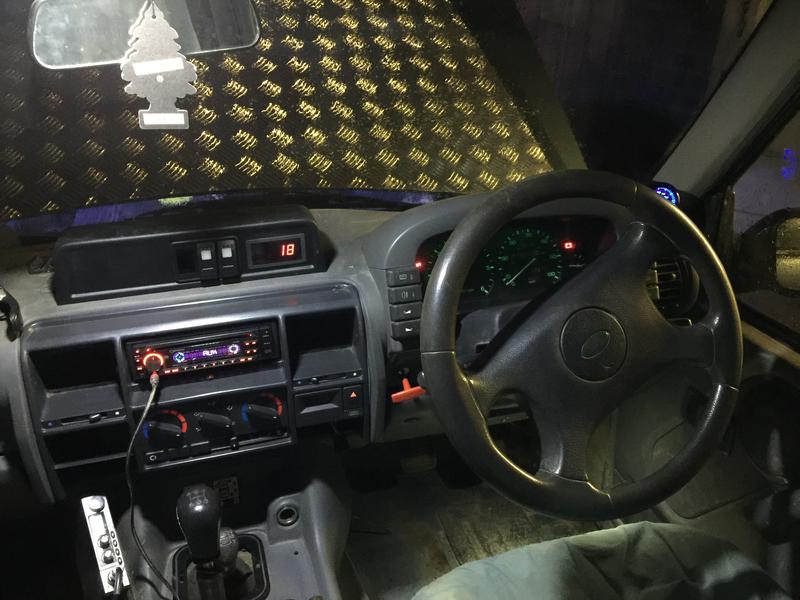
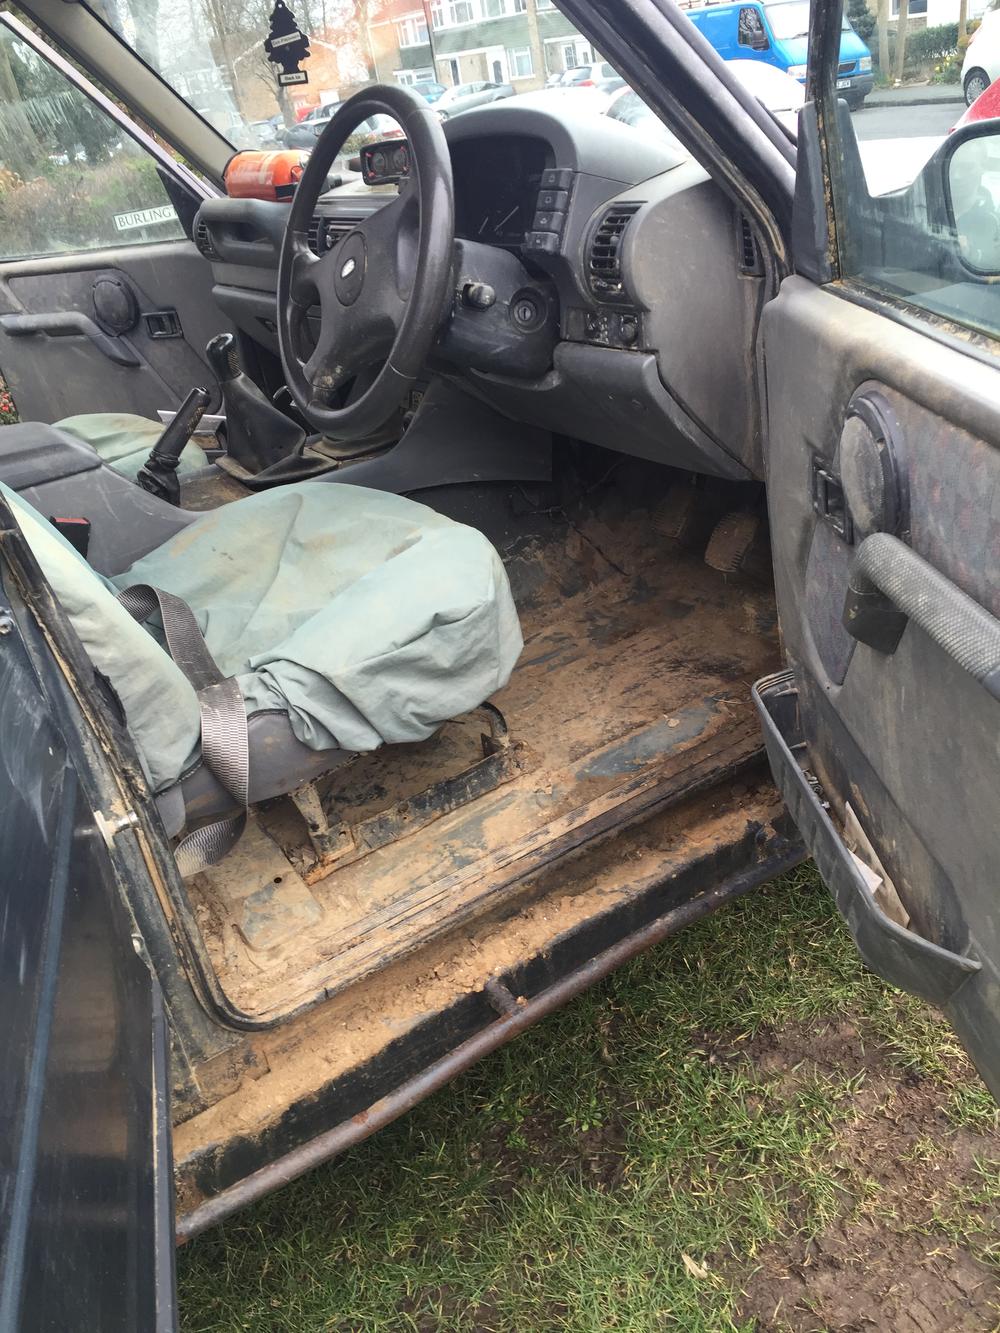
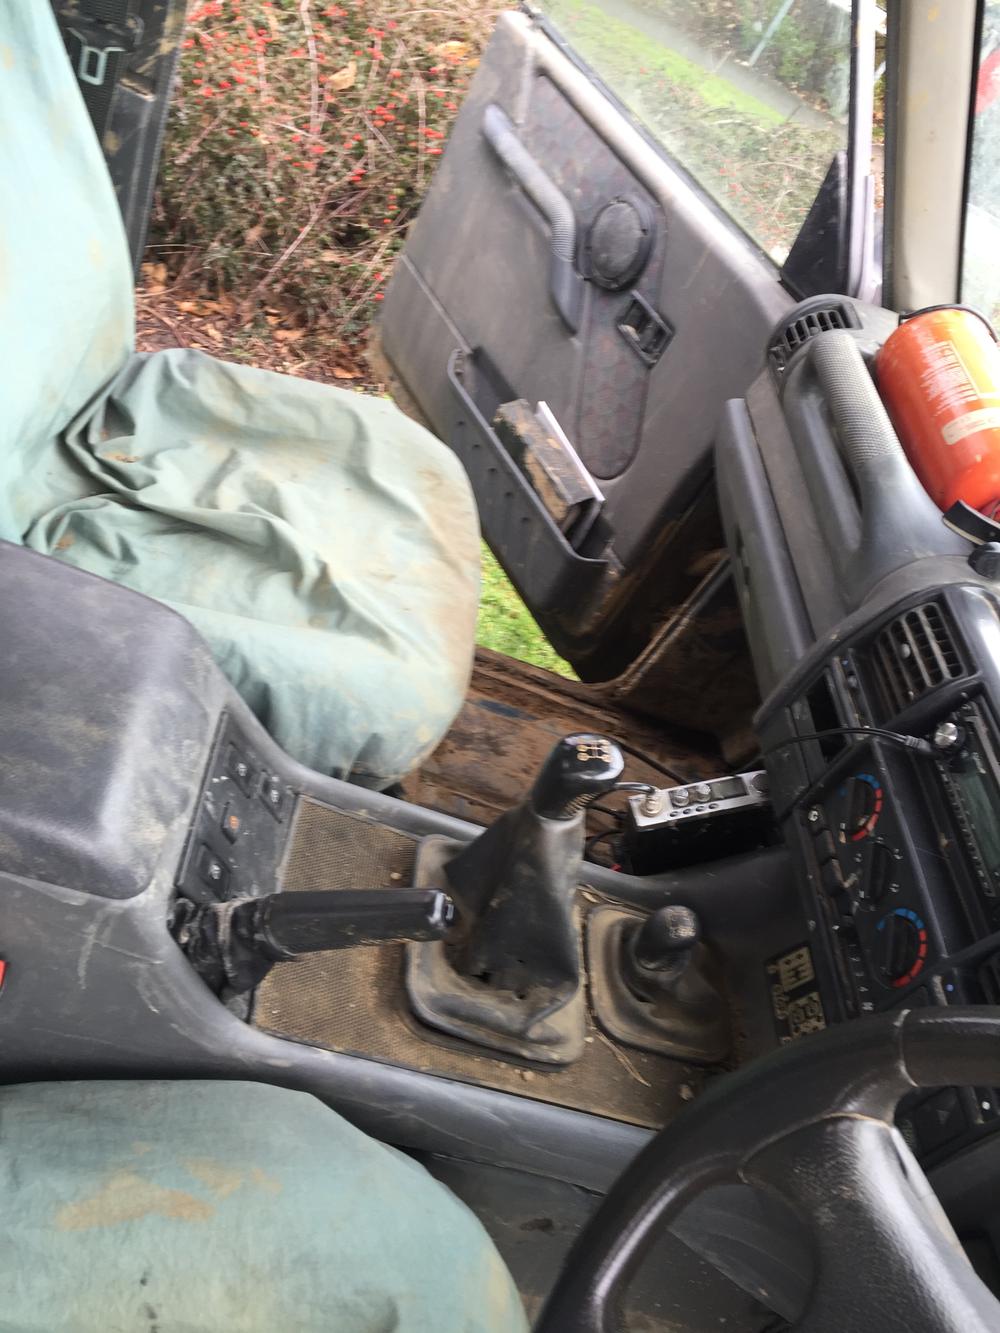
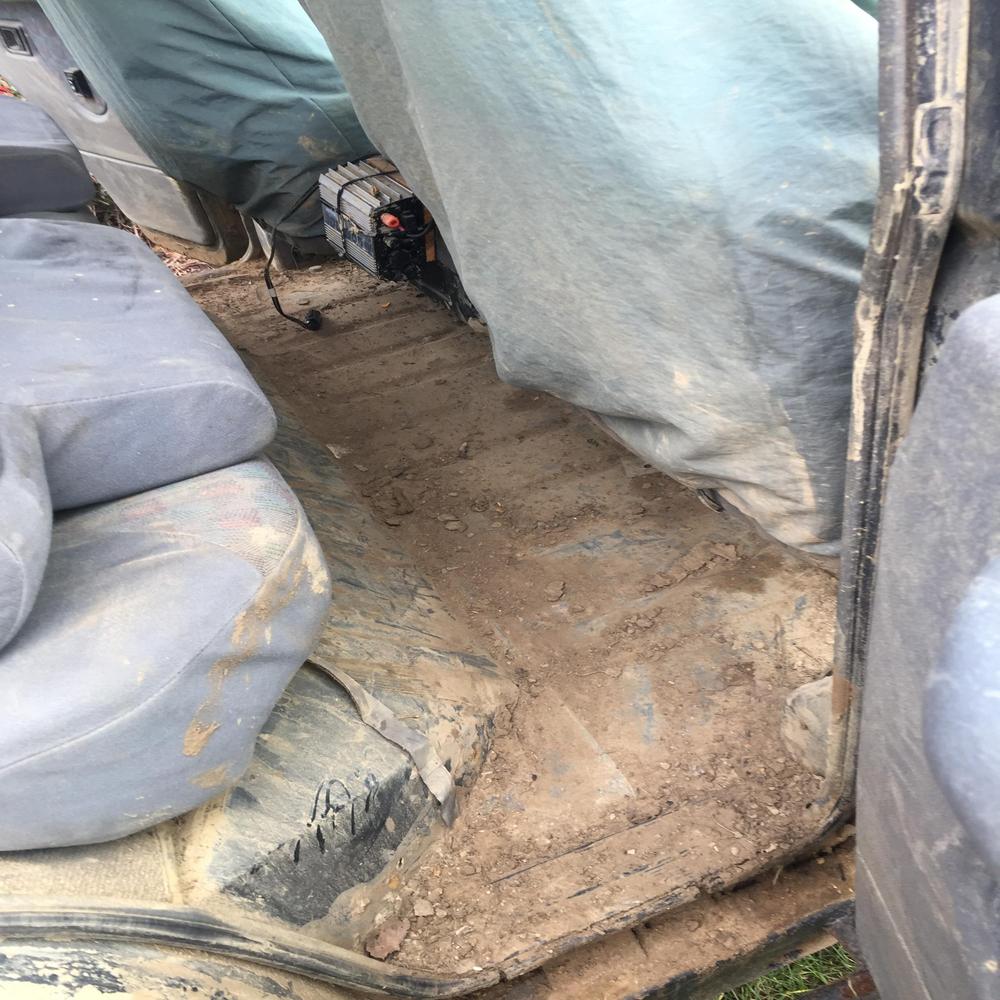
The interior was filthy too - i've cleaned it a bit, but it's still dirty.
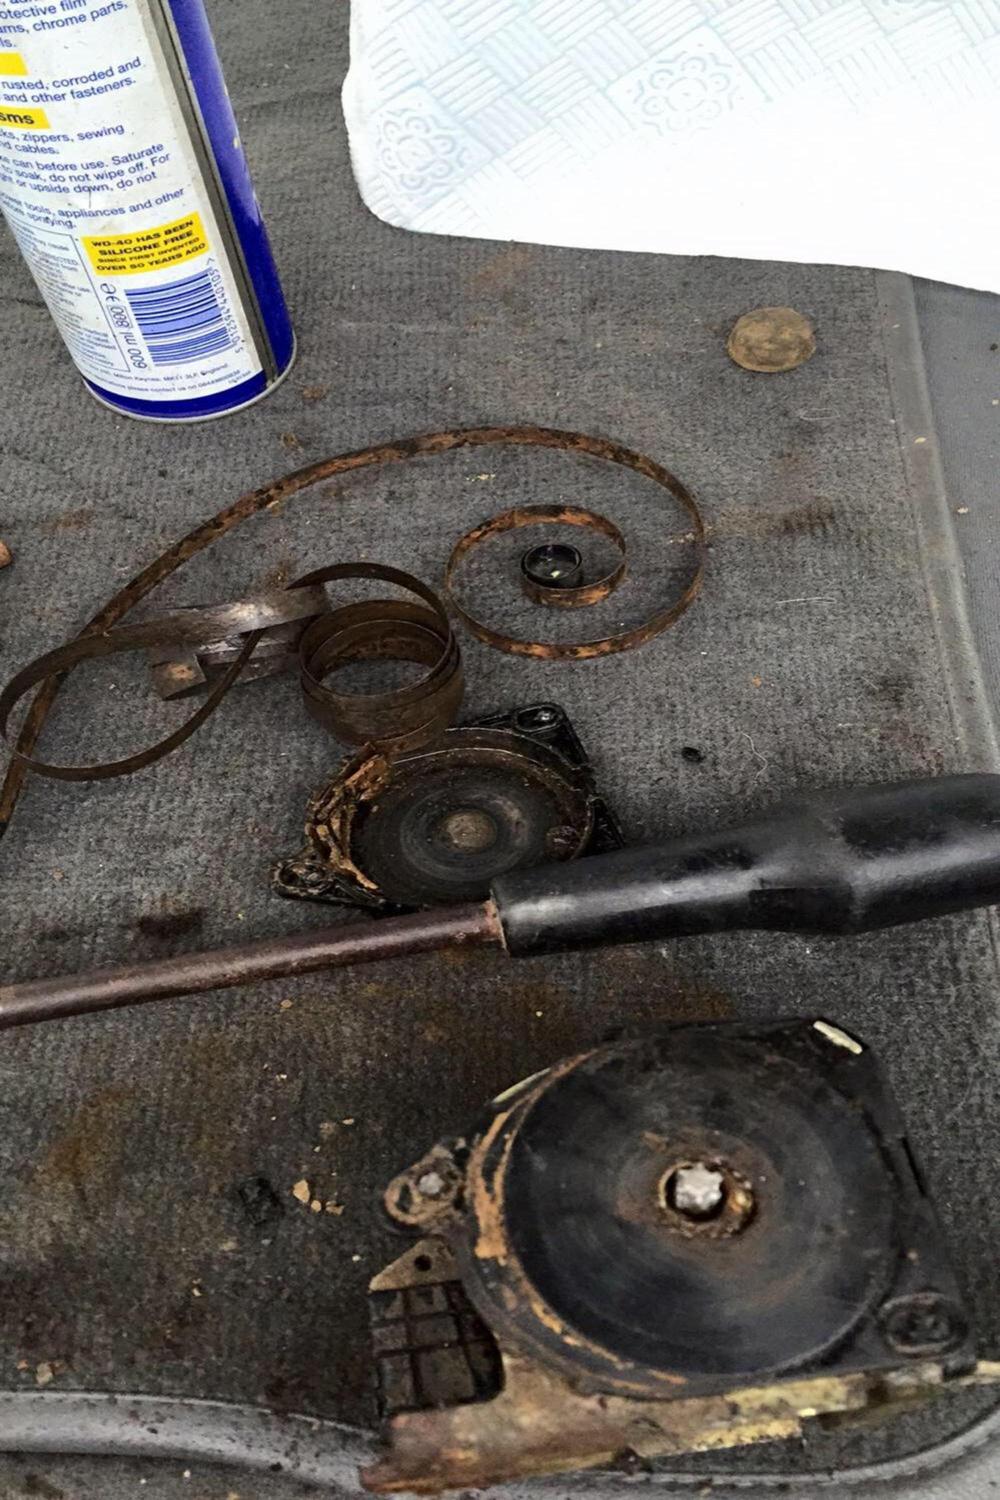
Now, the seatbelt didn't work - it wouldn't retract past my right shoulder so it could not be worn. I took it apart, and it turns out it will full of mud and rust. I purchased a new one, so that's sorted now.
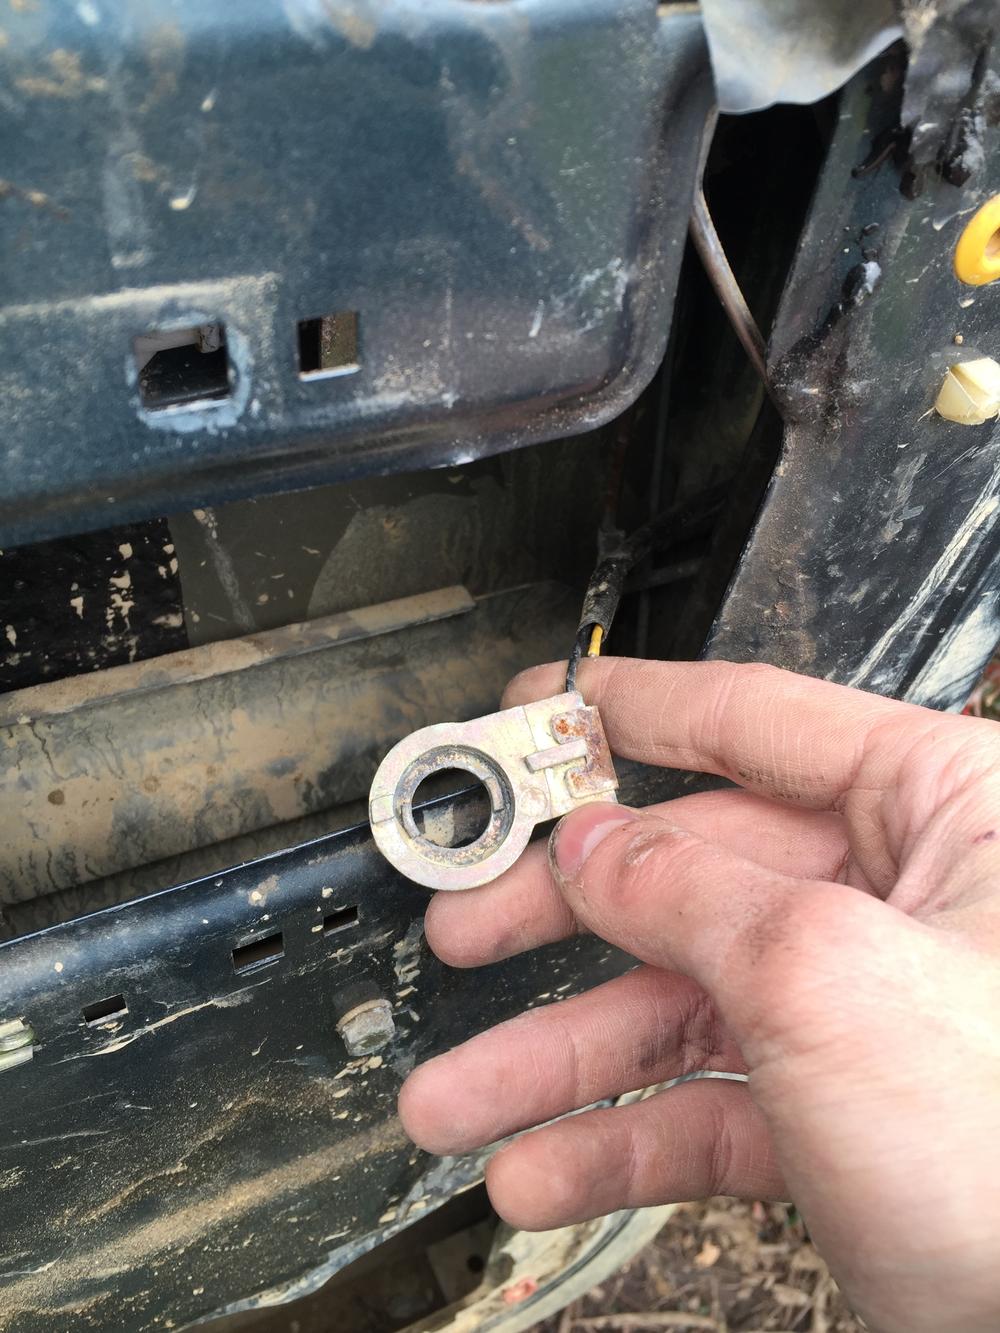
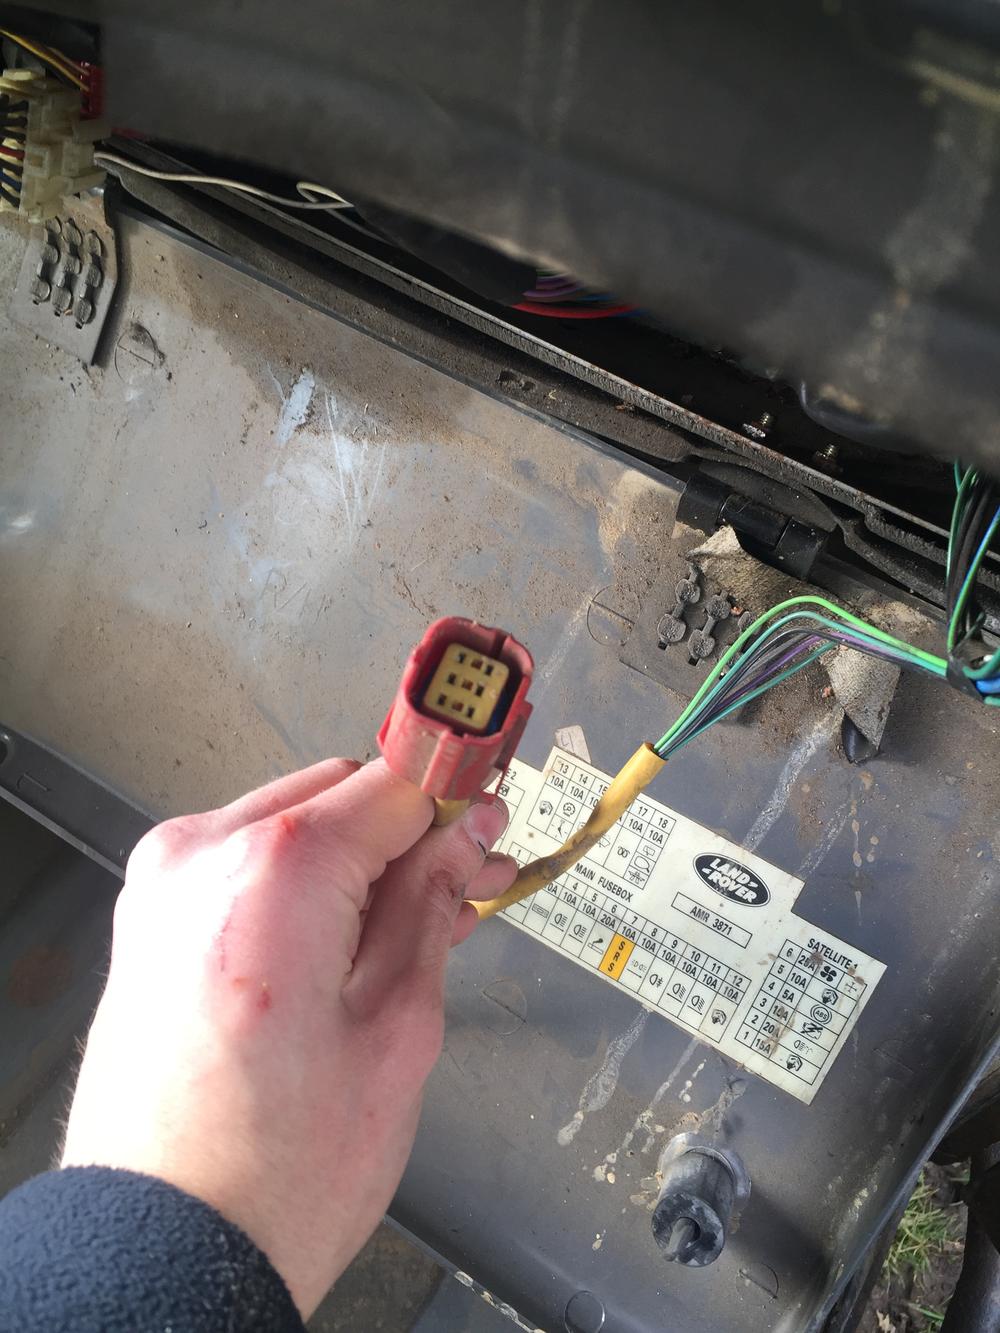
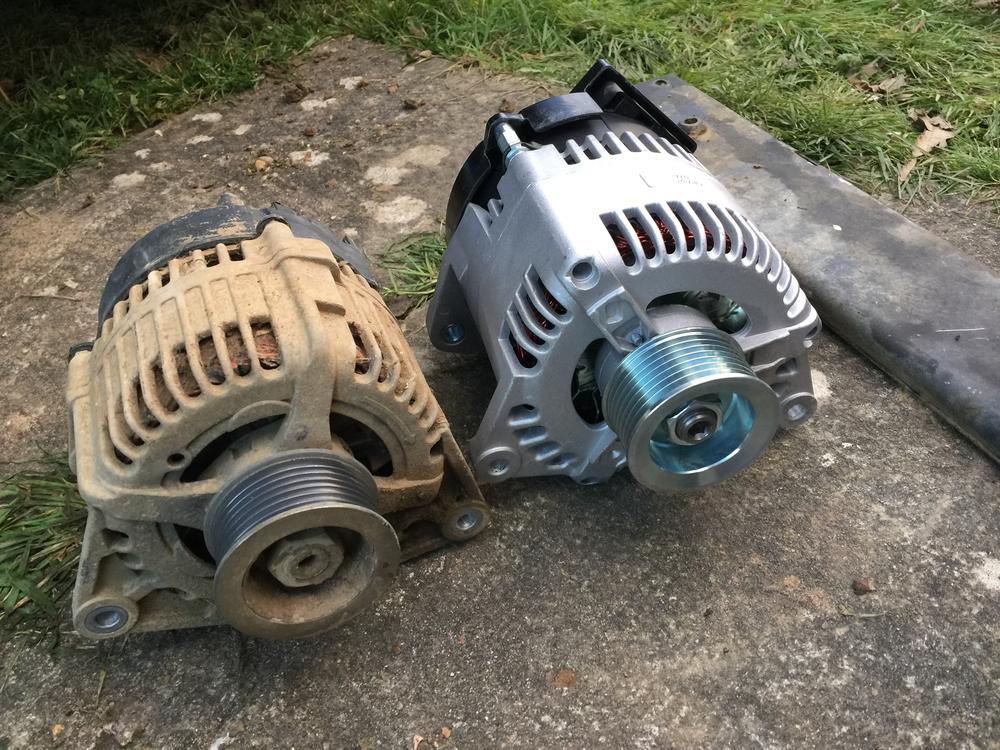
The alternator wasn't working either, so I bought a nice new shiny one. I removed the viscous fan at the same time, as I will likely fit electric fans at some point (I keep it in the boot just incase).
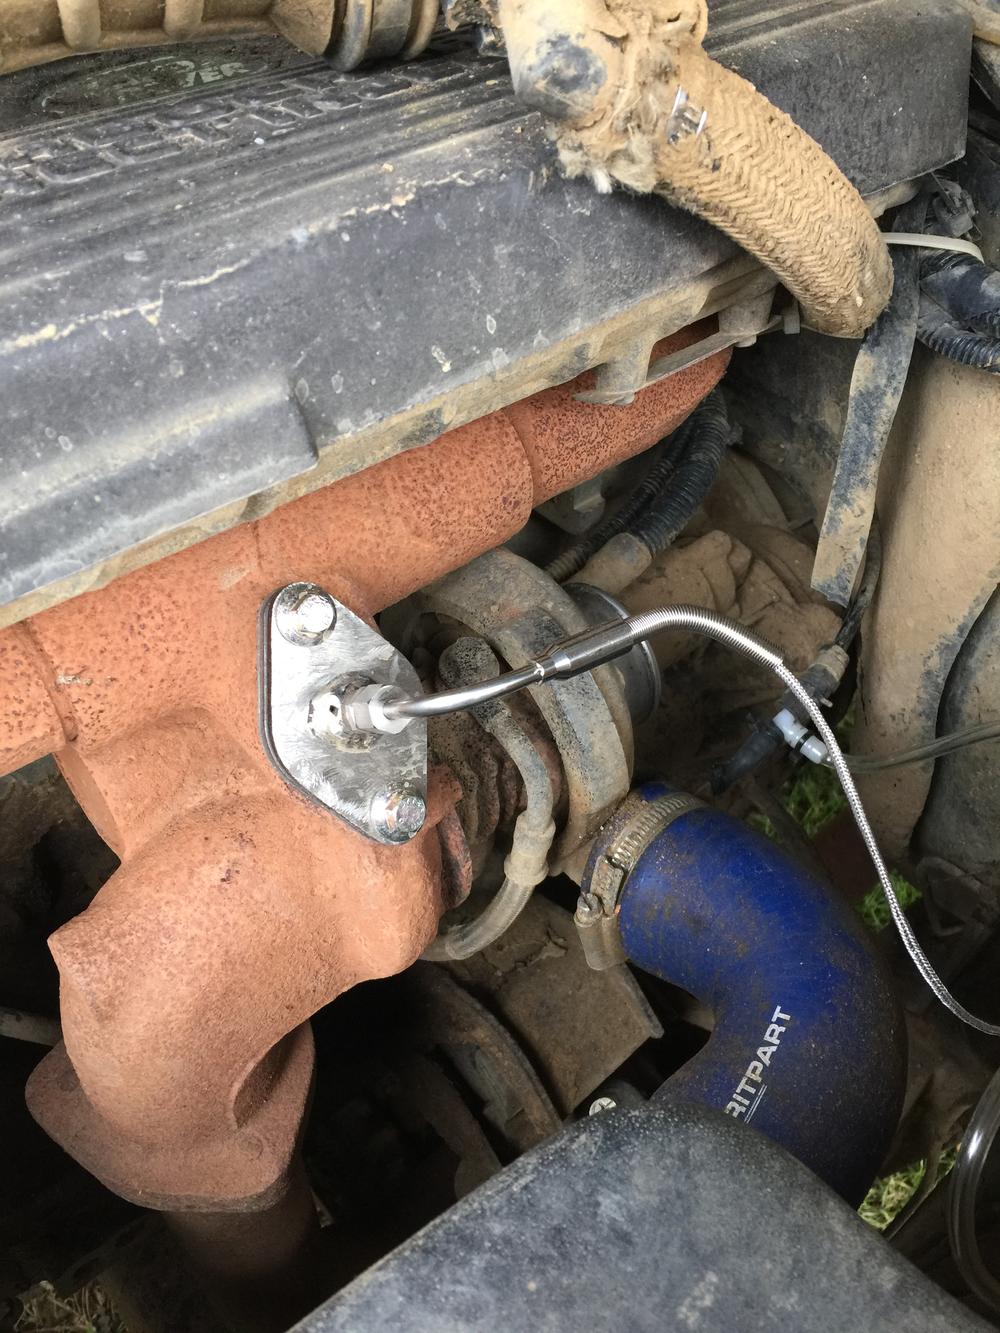
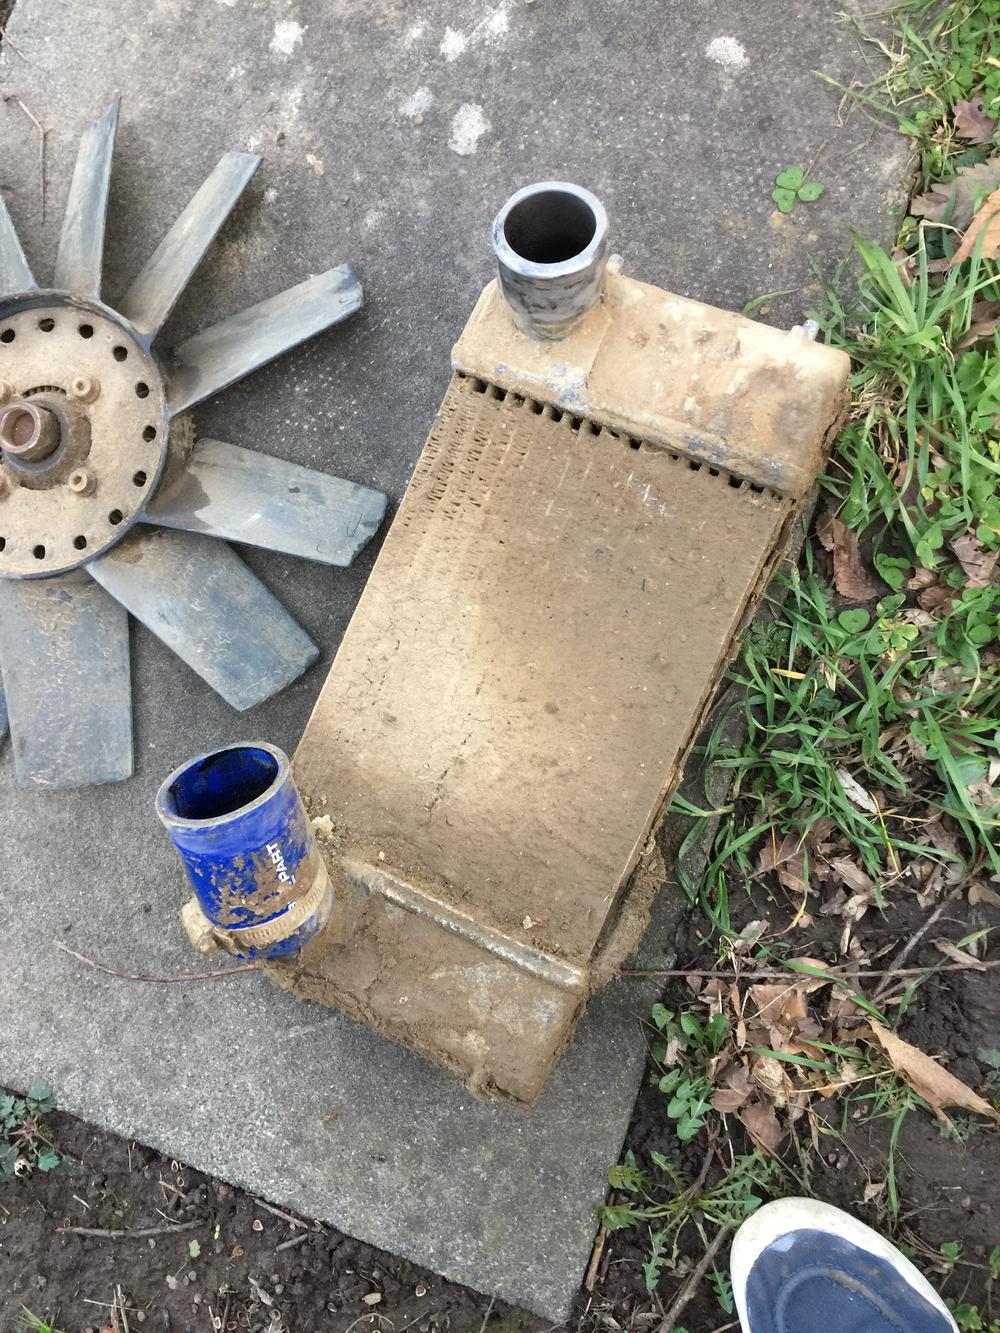
I had some problems with power when i hit boost, turns out the intercooler was packed with mud.
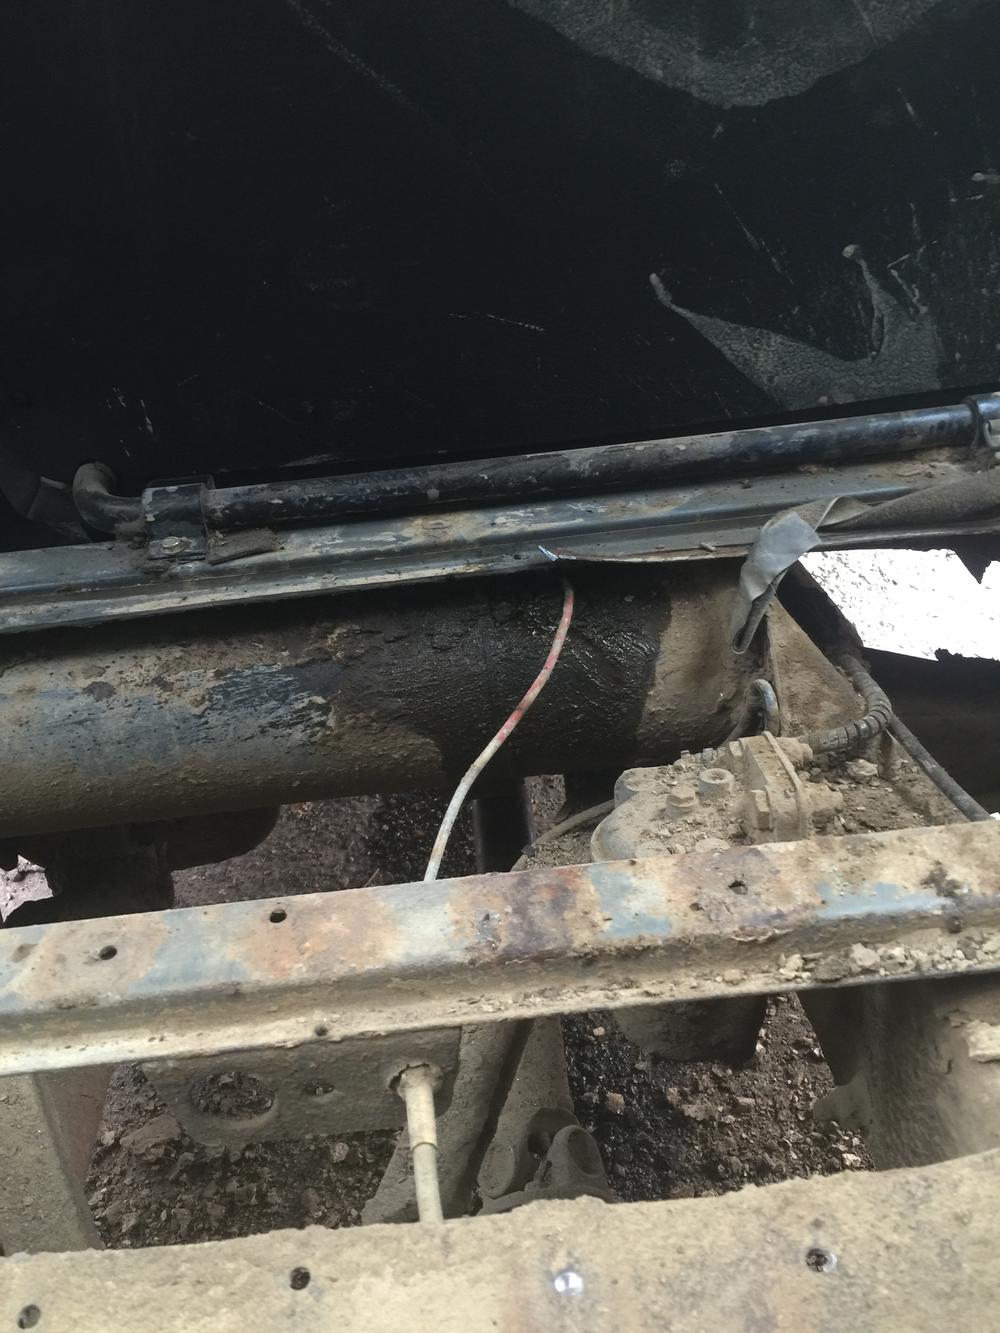
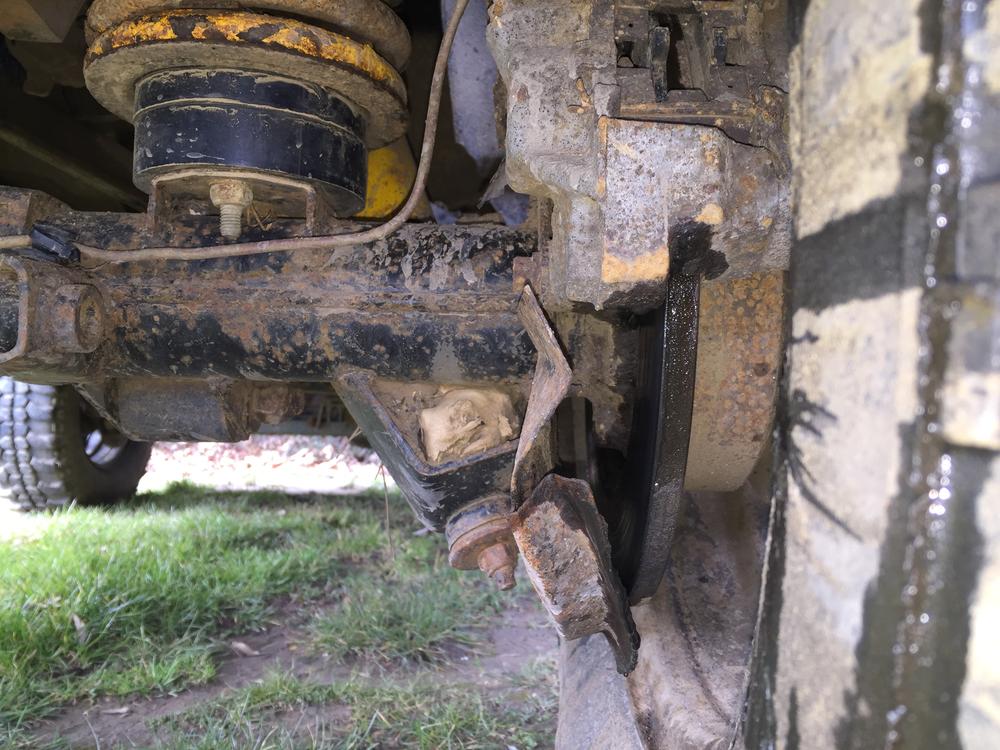
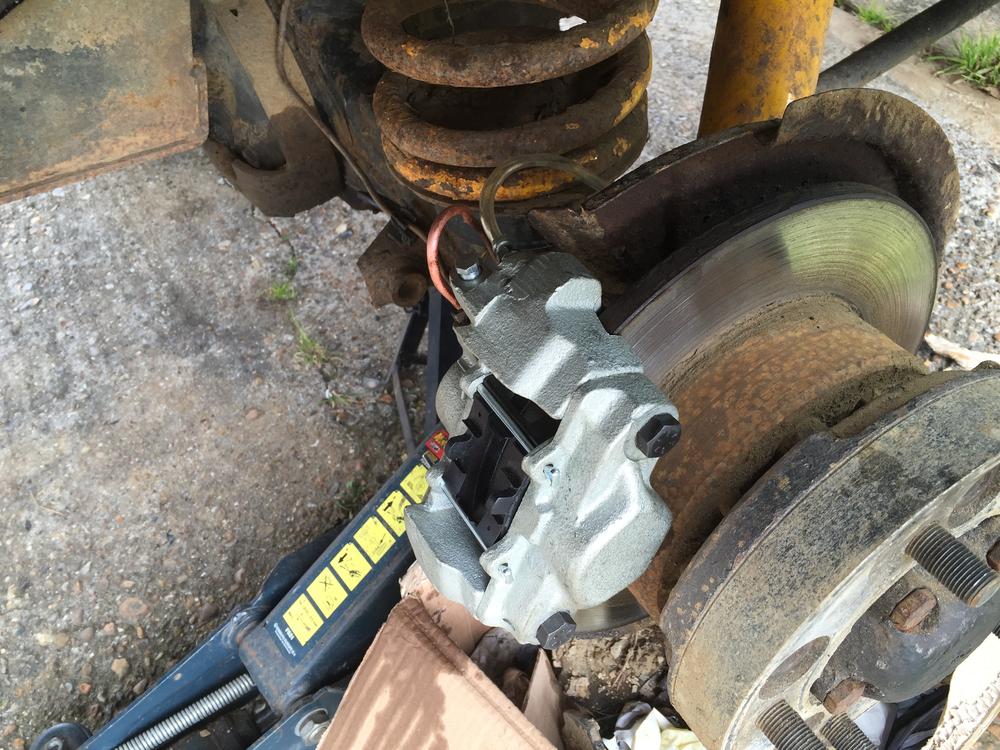
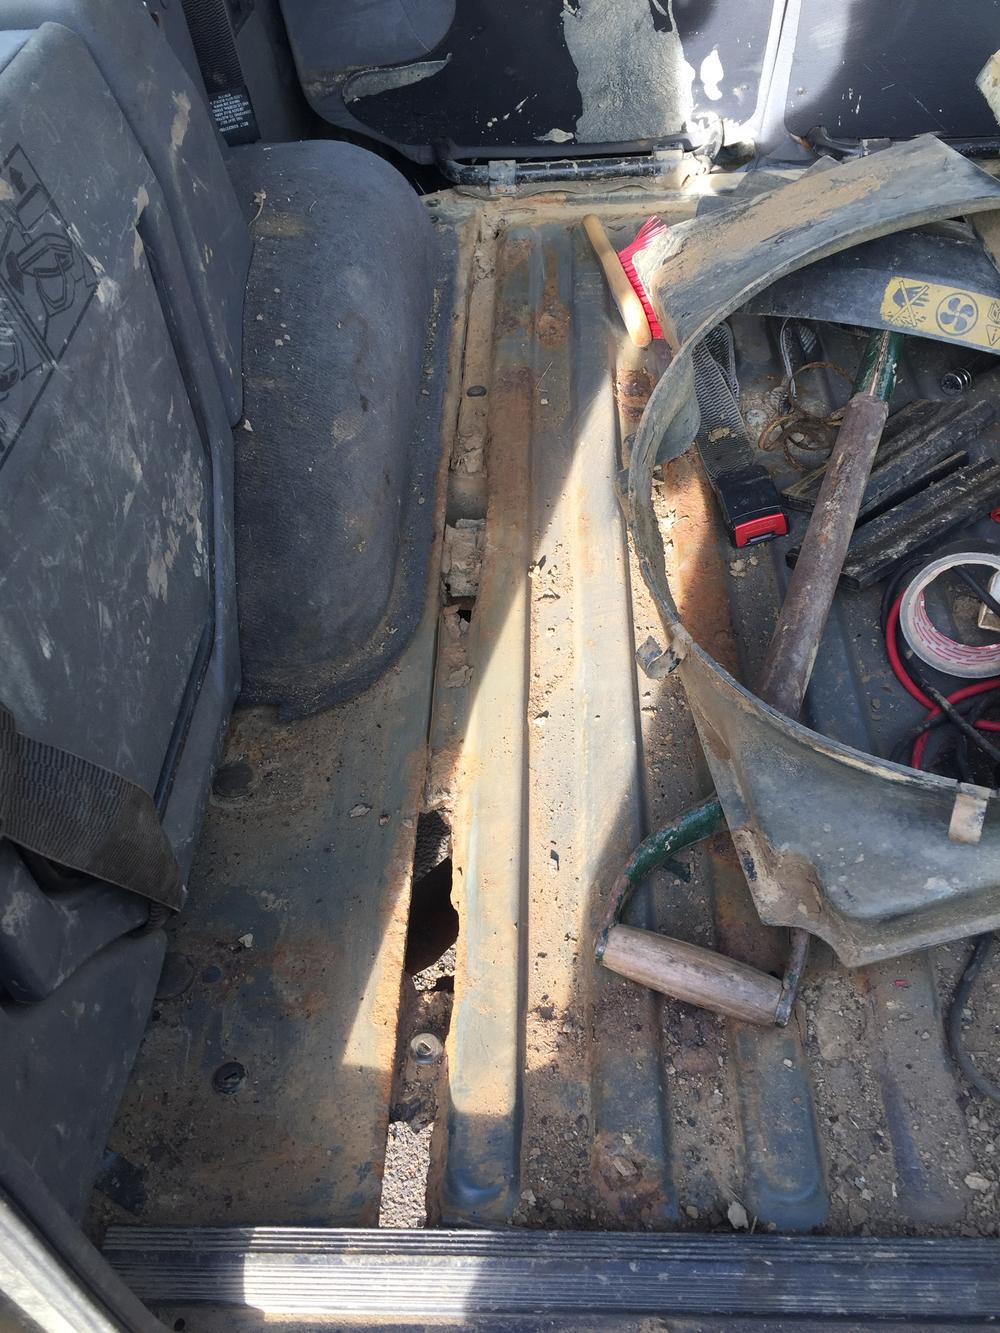
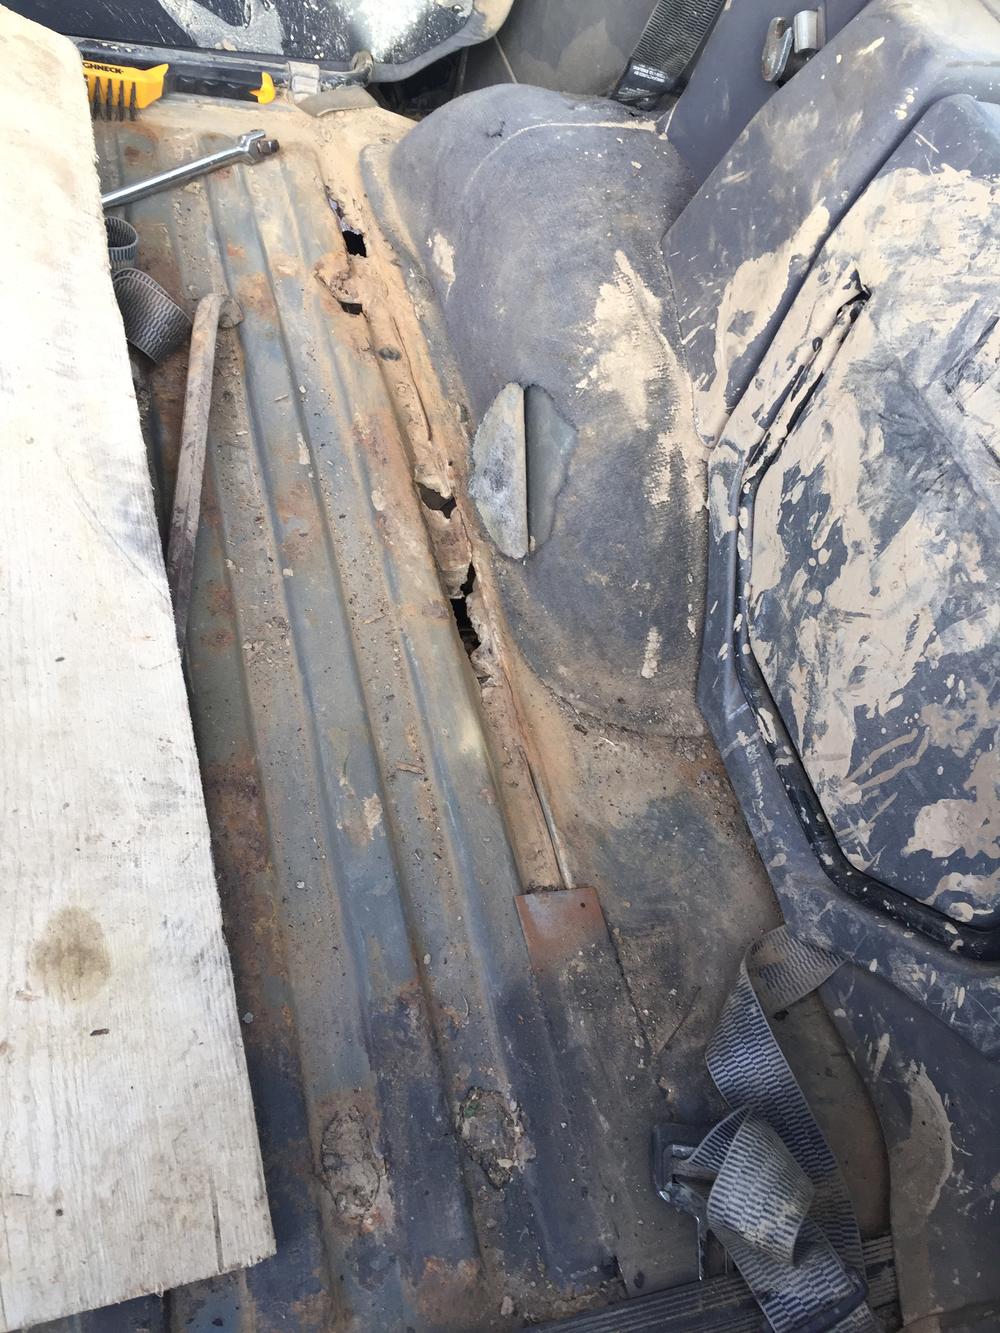
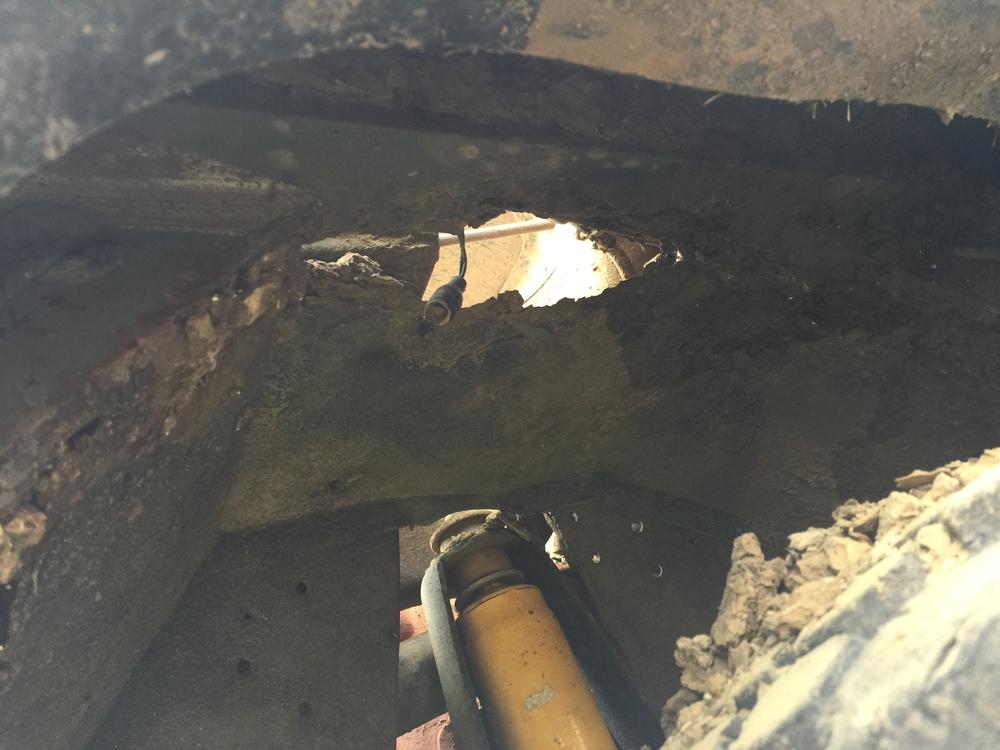
Then we move on to rust - it's actually not that bad really, the chassis looks OK which was my main worry. But the boot and the arches need work.
It has plenty of other bits that need "sorting". I've fitted a new seatbelt, a new alternator, new indicators and cleanred it. It needs a new clutch, the 2 rears have slow punctures, I'm not a fan of the chequer plate on the rear 1/4 panels, a few dents to knock out, the seals around the windows need replacing, door handles don't work properly... the list does go on.
But i'm looking forward to cracking on with my project, and then taking it out to play.
Foz.
I got my first discovery back in 2012 (I think). It was an N reg 300tdi - I loved that car and spent a lot of time working on it to get it sorted. I then made the HUGE mistake of selling it, i still regret it!
I have recently bought another discovery, it's an M reg 300tdi - Now, this is my "toy", so it's a project. It's been off road a fair bit and has battle scars to prove it. But I do enjoy a project, and plan to sort everything out.
Firstly, this was my first Disco.
Before
After
New clutch, no rust, sorted the electrics, de-cat, straight through exhaust, couple of gauges, 2inch lift, larger AT tyres, sound system, hoses etc.
--------------------------------------------------------------------
Now on to my new one.
The first thing I set about doing was cleaning it, as it was filthy and hadn't been cleaned for a while. I also removed the spotlight frame from the bumper as i don't like how it looks.
Engine before cleaning
And after cleaning
The interior was filthy too - i've cleaned it a bit, but it's still dirty.
Now, the seatbelt didn't work - it wouldn't retract past my right shoulder so it could not be worn. I took it apart, and it turns out it will full of mud and rust. I purchased a new one, so that's sorted now.
The alternator wasn't working either, so I bought a nice new shiny one. I removed the viscous fan at the same time, as I will likely fit electric fans at some point (I keep it in the boot just incase).
I had some problems with power when i hit boost, turns out the intercooler was packed with mud.
Then we move on to rust - it's actually not that bad really, the chassis looks OK which was my main worry. But the boot and the arches need work.
It has plenty of other bits that need "sorting". I've fitted a new seatbelt, a new alternator, new indicators and cleanred it. It needs a new clutch, the 2 rears have slow punctures, I'm not a fan of the chequer plate on the rear 1/4 panels, a few dents to knock out, the seals around the windows need replacing, door handles don't work properly... the list does go on.
But i'm looking forward to cracking on with my project, and then taking it out to play.
Foz.
Last edited: