DIFFLOCK66
Well-Known Member
- Posts
- 3,249
- Location
- Chipping, Lancashire
Just spent the bank holiday weekend (Friday night to Monday afternoon) helping (hindering?  ) watching (OK mainly watching!) and learning from a friend how to fix up that part of the Discovery 2 which is endorsed by the Vatican - the (very!) hole-y rear chassis. The rot seemed almost exclusively to be limiting itself to destroying the nearside rail first! Is this because that's the side in the gutter, copping for more salt-watery crap than the O/S ?
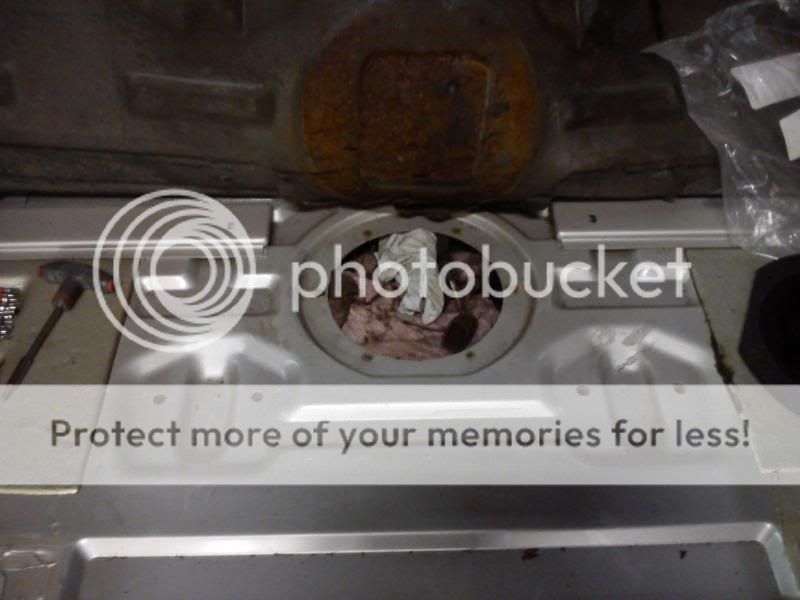
First order of business, out with the diesel then out with the fuel tank. - Removed the fuel pump (cheap one - noisy as hell!) then pumped out the diesel with a pneumatic pump. Land Rover certainly sorted out the D1 rusty floor problem, but it's a shame they forgot to do the bloody chassis!
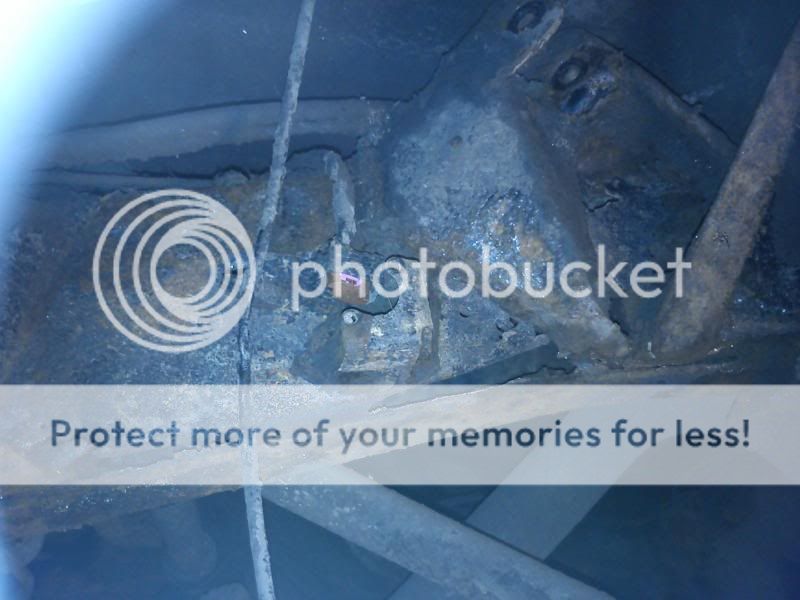
We decided to remove the shock absorber, the spring, the ride height sensors (redundant seeing as she's on coils at the back) & the trailing arm. Then set about with a needle gun - a cracking bit of kit! With the exception of a couple of small holes on the underside for the rail, all the stuff in the photos was hidden by waxoyl and rust scale! Didn't need any persuasion by the needle gun.
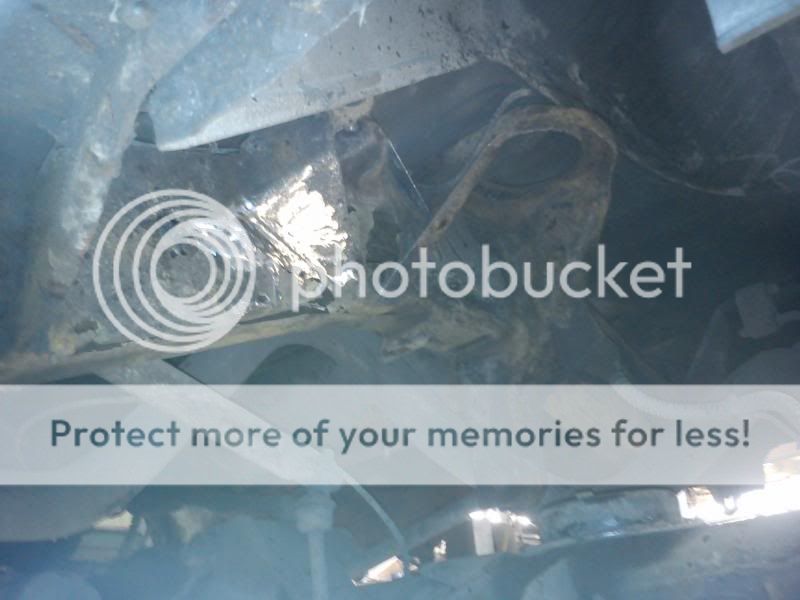
Yes that's some large holes right into the box section near the shock & spring mounts.

You can see the little frame for the ride height sensor - the metal was so thin I broke it off by hand.
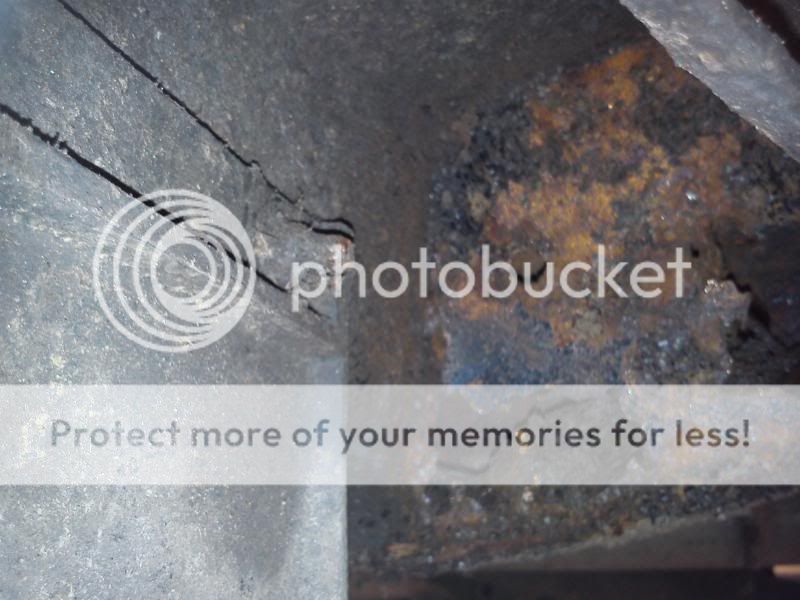
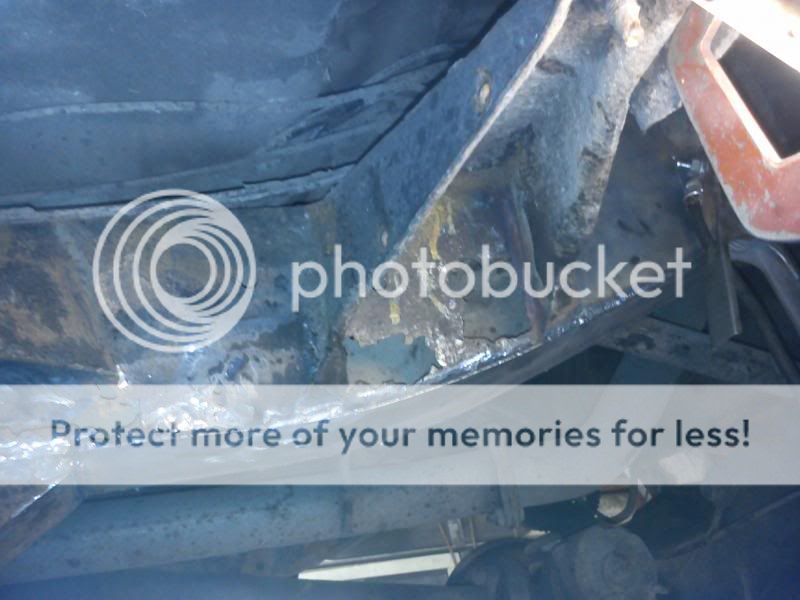
Here's what the rail looked like near the mudflap in front of the rear wheel and near the body outrigger.
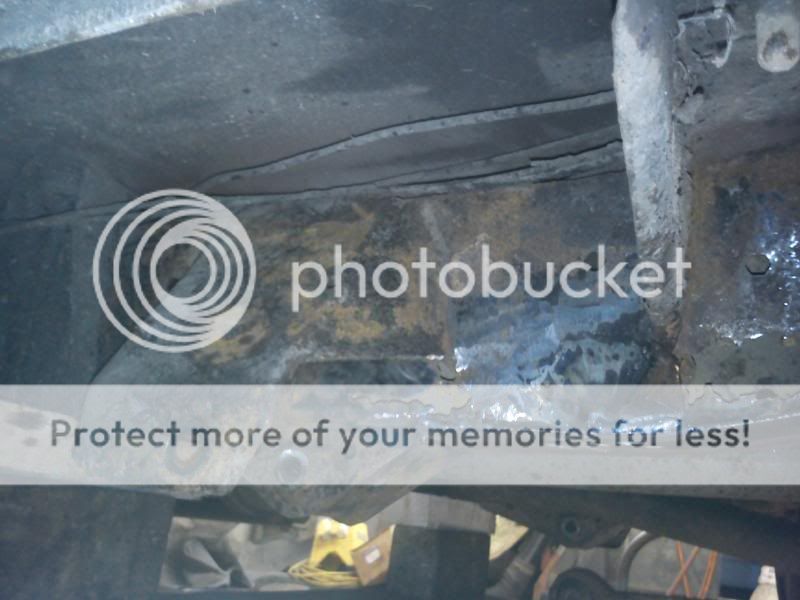
This is looking at the crossmember in front of the fuel tank. The insides of the chassis rails were still intact, just, and not as bad as we had feared. You can see the Phantom of the Disco's hand reaching out for the camera!
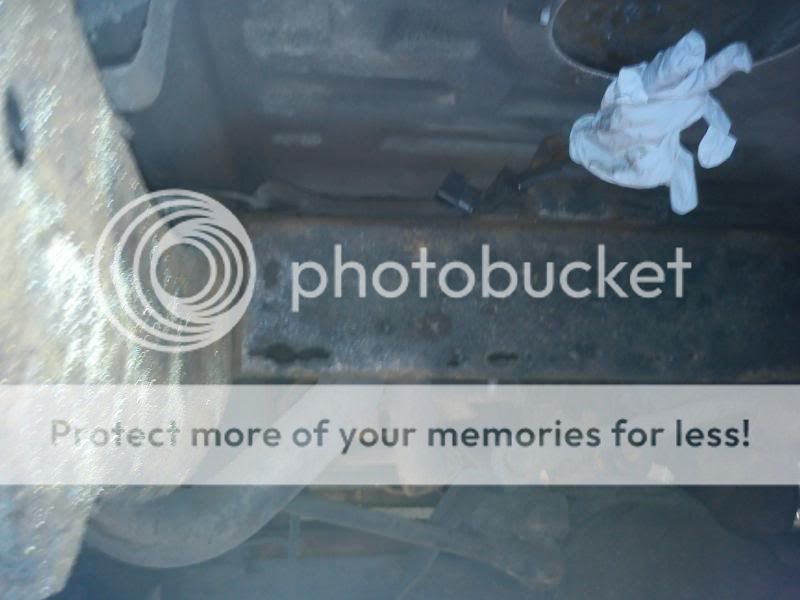
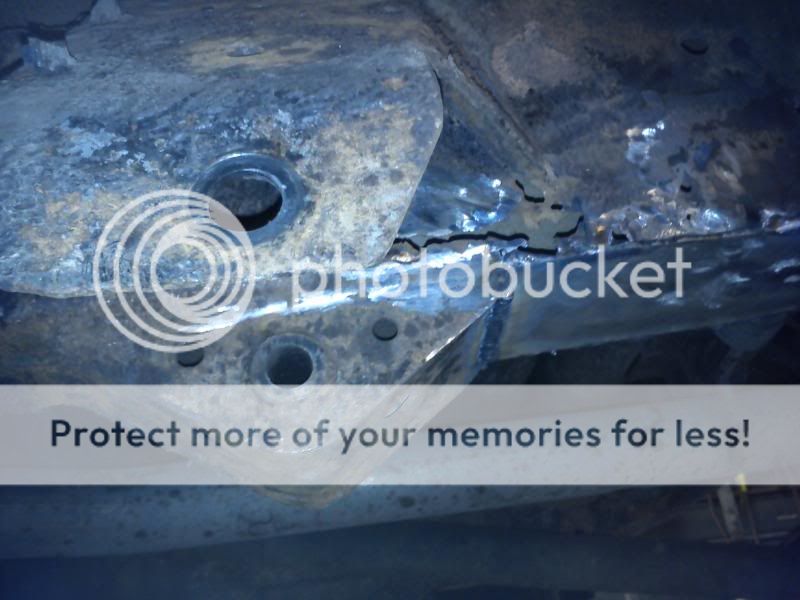
Here's the situation under the body outrigger - there's a couple of patches here already, one underneath the rail.

Prep has just begun - the spring tower area has previously been plated. The bumpstop bracket will be cut off and welded back on later.

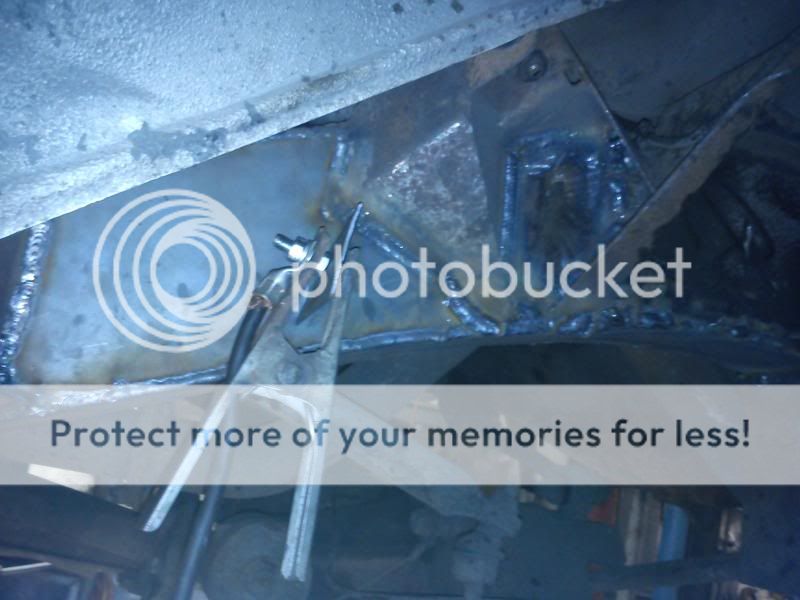
The start of the serious work! What amounts to a 3 feet long piece of 3mm steel welded to the underside of the rail!

The beauty of MIG welding - gash on an earth clamping point at a convenient spot! Here's one of the side plates too.
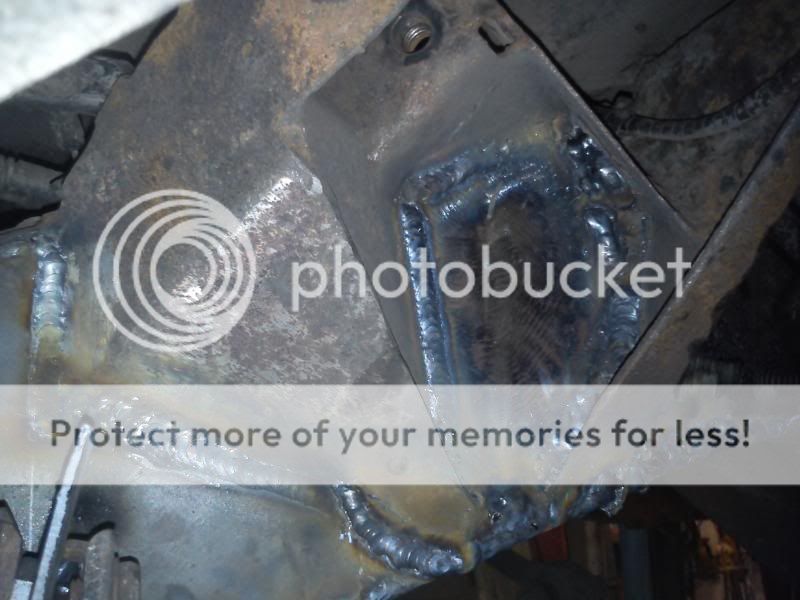
The repair plate for the shock mount - I had fun sorting out a template
Beginning prep near the outrigger & trailing arm mount.
Another view of the new large plate.

Me preparing to try and break on of my friend's welds.

Actually, I did break it by plenty of hitting with a hammer to force a crack at one end
My friend was a little miffed at this so knocked up another sample; I gave up trying to break that one! :doh:
The plating around the trailing arm mount

Out with the red oxide!!


The crossmember at the front of the tank had the bad bits at either side of the tank cradle bracket cut out and a plate welded in the centre. A new pair of captive bolts was made up too.

The red oxide didn't remain red for long - painted some underseal on there for good measure.

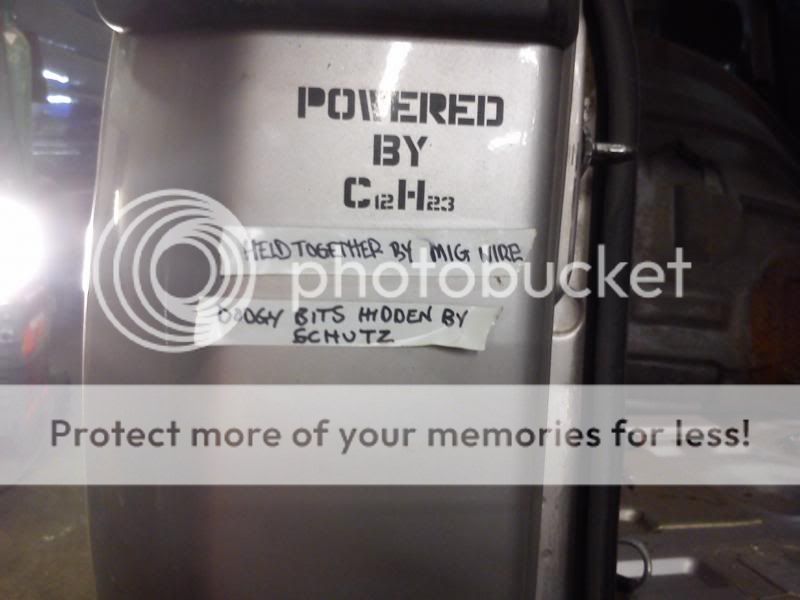
I discovered a couple of new stickers too! :doh:
Reassembly went well apart from me leaving the driver's door open, raising the ramp and promptly smashing a fluorescent light tube :doh: At least it was a safety feature preventing me from crushing the door on the mezzanine floor beam!
The chassis will need another visit for next year's MOT but at least it's a start. Some might say get shut and buy a better D2, but who's to say THAT chassis would be any better? It could well be worse in other places. I now know what the back end is like. There's new rear sections for sale but they're REARWARD of the major damage on Storm's chassis. Nice to know for when the rot reaches her back crossmember, but not for now. Oh, there are new galvanised chassis available...for £2500 at Ribble Valley 4x4 for instance, but I'm not ready to undertake that just yet.
) watching (OK mainly watching!) and learning from a friend how to fix up that part of the Discovery 2 which is endorsed by the Vatican - the (very!) hole-y rear chassis. The rot seemed almost exclusively to be limiting itself to destroying the nearside rail first! Is this because that's the side in the gutter, copping for more salt-watery crap than the O/S ?First order of business, out with the diesel then out with the fuel tank. - Removed the fuel pump (cheap one - noisy as hell!) then pumped out the diesel with a pneumatic pump. Land Rover certainly sorted out the D1 rusty floor problem, but it's a shame they forgot to do the bloody chassis!
We decided to remove the shock absorber, the spring, the ride height sensors (redundant seeing as she's on coils at the back) & the trailing arm. Then set about with a needle gun - a cracking bit of kit! With the exception of a couple of small holes on the underside for the rail, all the stuff in the photos was hidden by waxoyl and rust scale!
Didn't need any persuasion by the needle gun.Yes that's some large holes right into the box section near the shock & spring mounts.
You can see the little frame for the ride height sensor - the metal was so thin I broke it off by hand.
Here's what the rail looked like near the mudflap in front of the rear wheel and near the body outrigger.
This is looking at the crossmember in front of the fuel tank. The insides of the chassis rails were still intact, just, and not as bad as we had feared. You can see the Phantom of the Disco's hand reaching out for the camera!
Here's the situation under the body outrigger - there's a couple of patches here already, one underneath the rail.
Prep has just begun - the spring tower area has previously been plated. The bumpstop bracket will be cut off and welded back on later.
The start of the serious work! What amounts to a 3 feet long piece of 3mm steel welded to the underside of the rail!
The beauty of MIG welding - gash on an earth clamping point at a convenient spot! Here's one of the side plates too.
The repair plate for the shock mount - I had fun sorting out a template
Beginning prep near the outrigger & trailing arm mount.
Another view of the new large plate.
Me preparing to try and break on of my friend's welds.
Actually, I did break it by plenty of hitting with a hammer to force a crack at one end
My friend was a little miffed at this so knocked up another sample; I gave up trying to break that one! :doh:
The plating around the trailing arm mount
Out with the red oxide!!
The crossmember at the front of the tank had the bad bits at either side of the tank cradle bracket cut out and a plate welded in the centre. A new pair of captive bolts was made up too.
The red oxide didn't remain red for long - painted some underseal on there for good measure.
I discovered a couple of new stickers too! :doh:
Reassembly went well apart from me leaving the driver's door open, raising the ramp and promptly smashing a fluorescent light tube :doh: At least it was a safety feature preventing me from crushing the door on the mezzanine floor beam!
The chassis will need another visit for next year's MOT but at least it's a start. Some might say get shut and buy a better D2, but who's to say THAT chassis would be any better? It could well be worse in other places. I now know what the back end is like. There's new rear sections for sale but they're REARWARD of the major damage on Storm's chassis. Nice to know for when the rot reaches her back crossmember, but not for now. Oh, there are new galvanised chassis available...for £2500 at Ribble Valley 4x4 for instance, but I'm not ready to undertake that just yet.
Last edited: