Carry on from 'Project Big Blue'

This site contains affiliate links for which LandyZone may be compensated if you make a purchase.
Just a little update and a few pics from the last couple of nights in the garage.

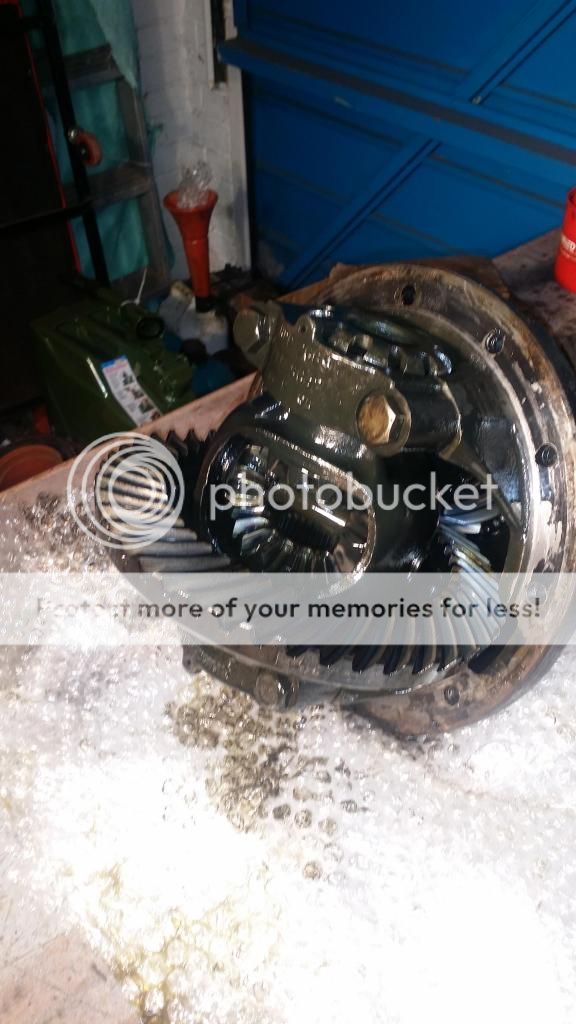
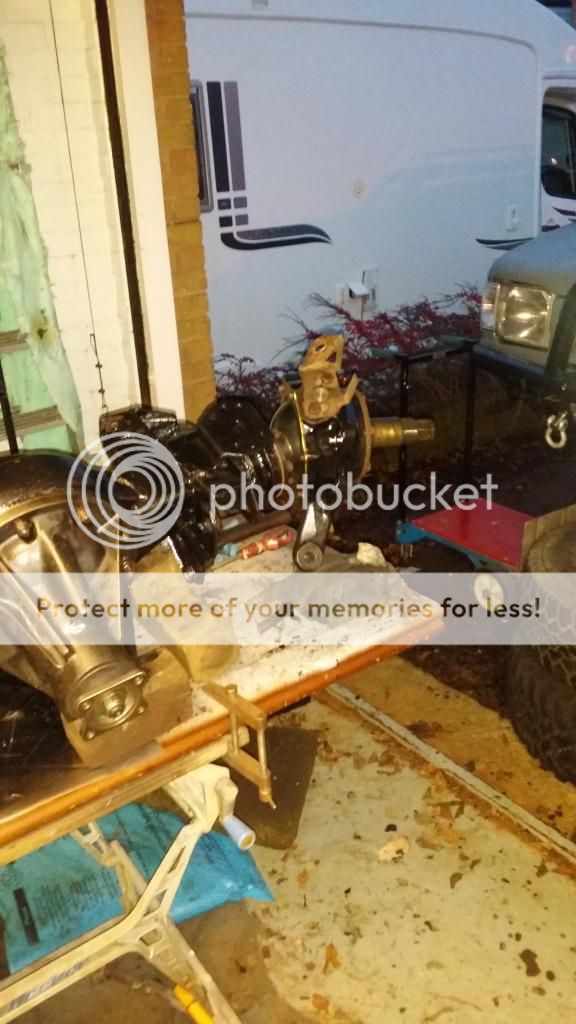
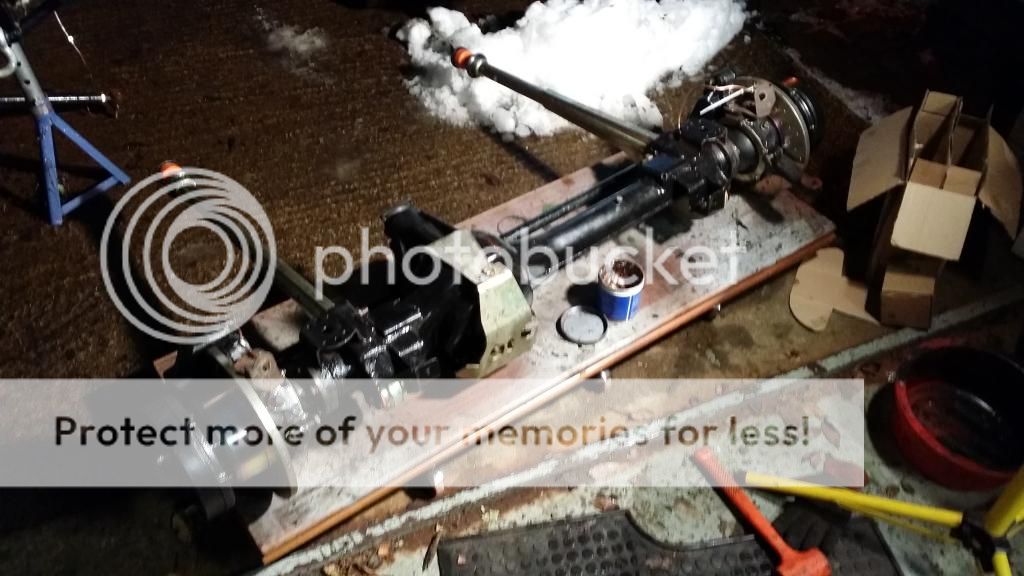
Got the diff out.


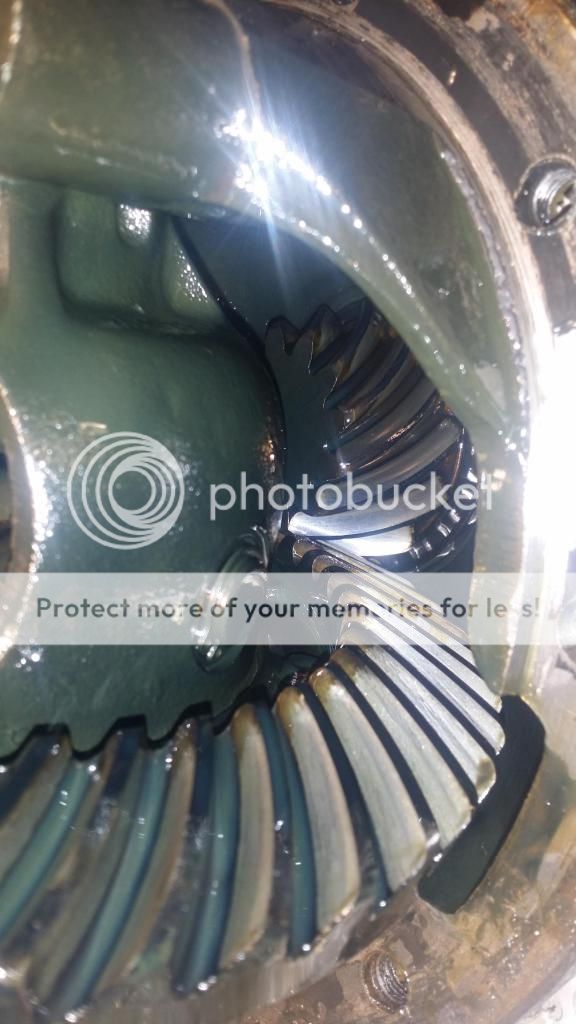
Everything looks ok, teeth aren't damaged and everything feels smooth to turn. One thing i did notice when getting it out of the axle, looks like the previous owner had used silicone sealer where it mates with the axle, should there not be a gasket/seal of some sort?

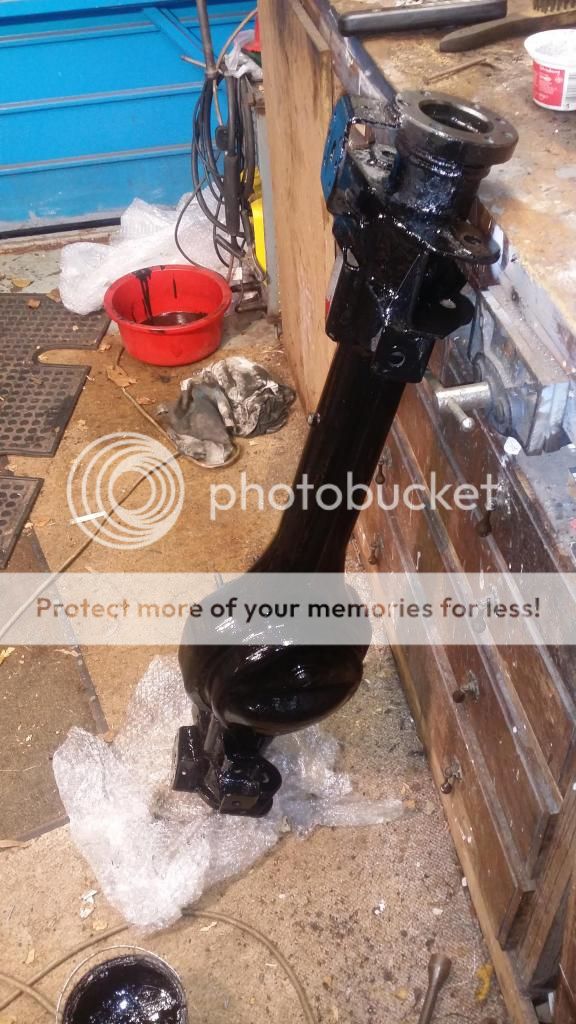
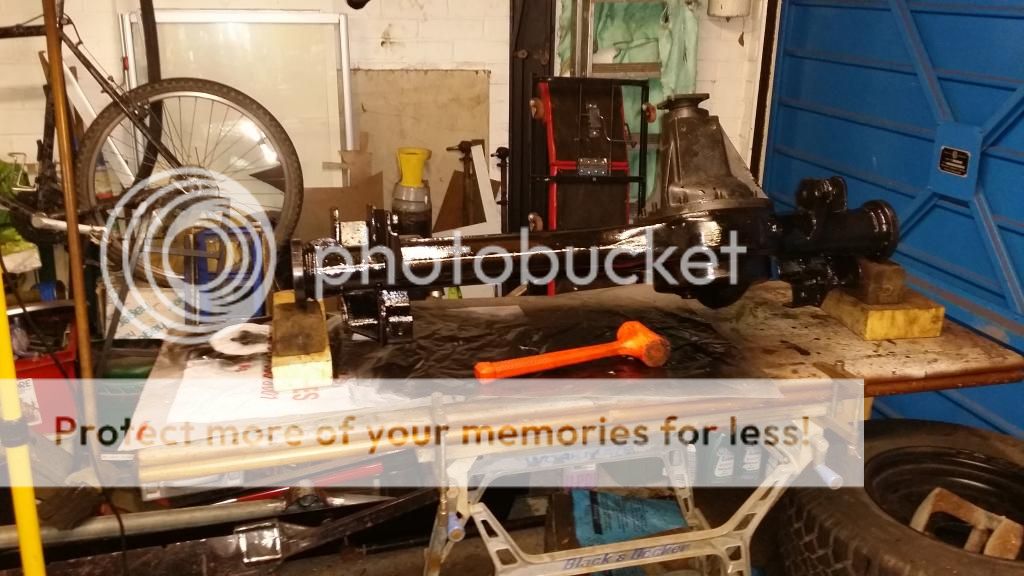
After that just spent a couple of hours de-rusting and giving it a lick of paint. Will give it a second coat tomorrow.


Will be getting everything i need to do the swivels tomorrow so hopefully just steady away and the axle should be back on the landy by Sunday!

Funny how fitting new radius arms turned into a front axle refurb :p

Cheers

Ben
 
Just a quick one. Got all my bits today and my suspension finally turned up :) will put some pics up later.

Question: I took the hub off the swivel hpusing in one. Can I put it back on in one or do I need to dis - assemble and put back on in stages. Got me thinking because will it affect me when I come to test the swivel pre - load if the disc is already on?

Cheers

Ben
 
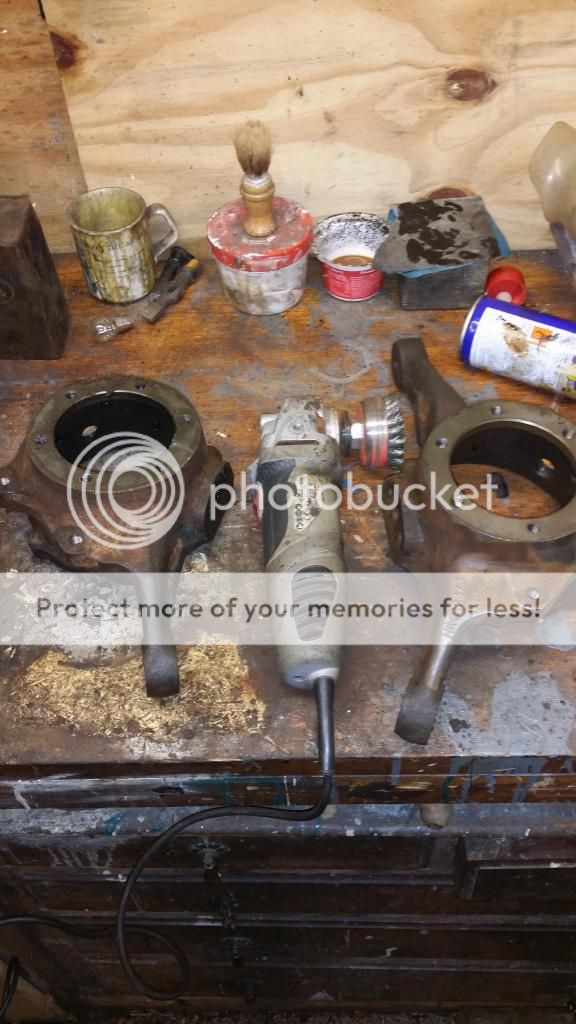
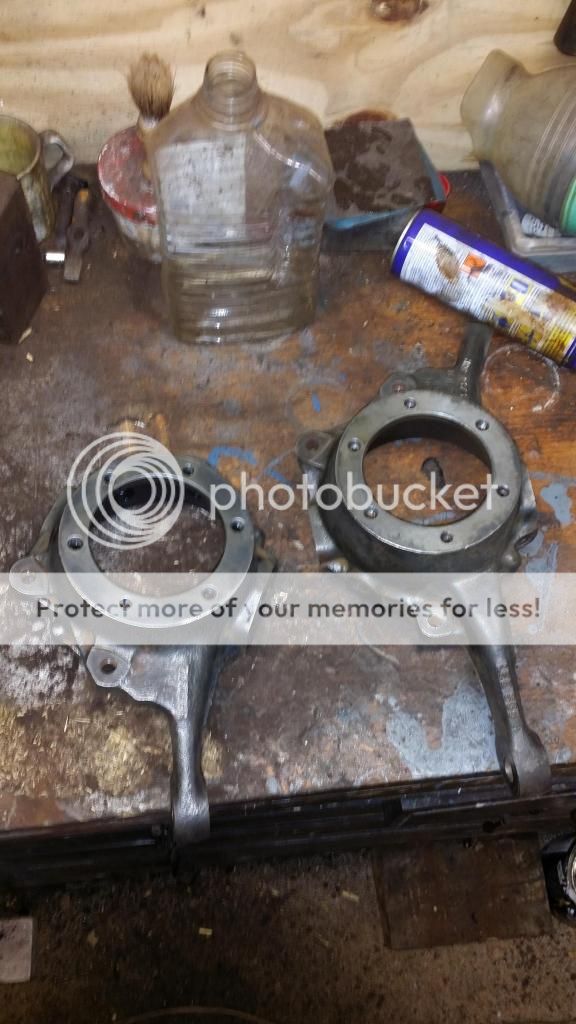
Spent the last couple of days getting the axle ready to be put back together. Cleaned and painted the swivel pin housing along with a couple of other things.


Always enjoy these types of jobs with a tasty ale on the go :)


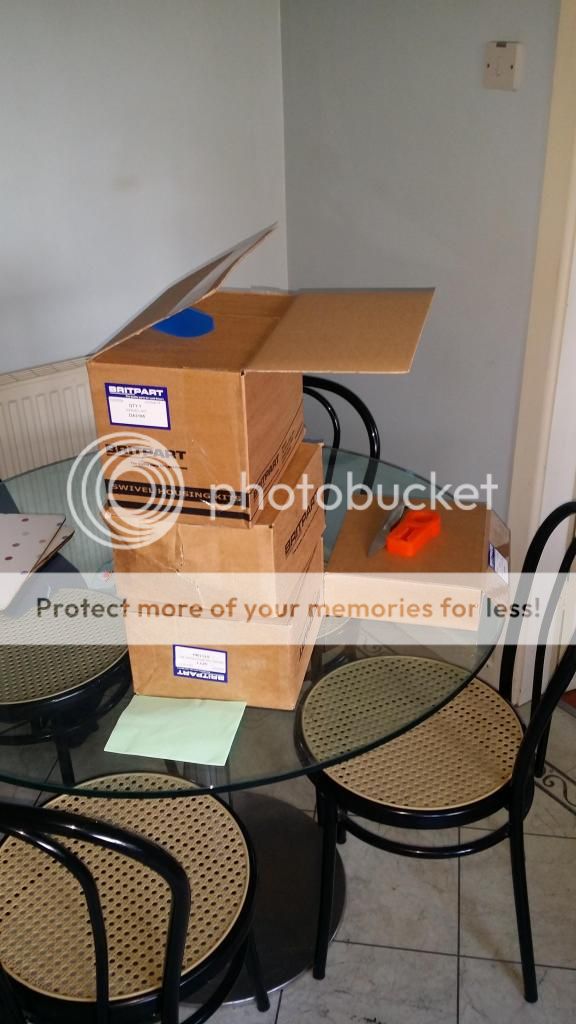
Went to pick up some parts from Paddocks


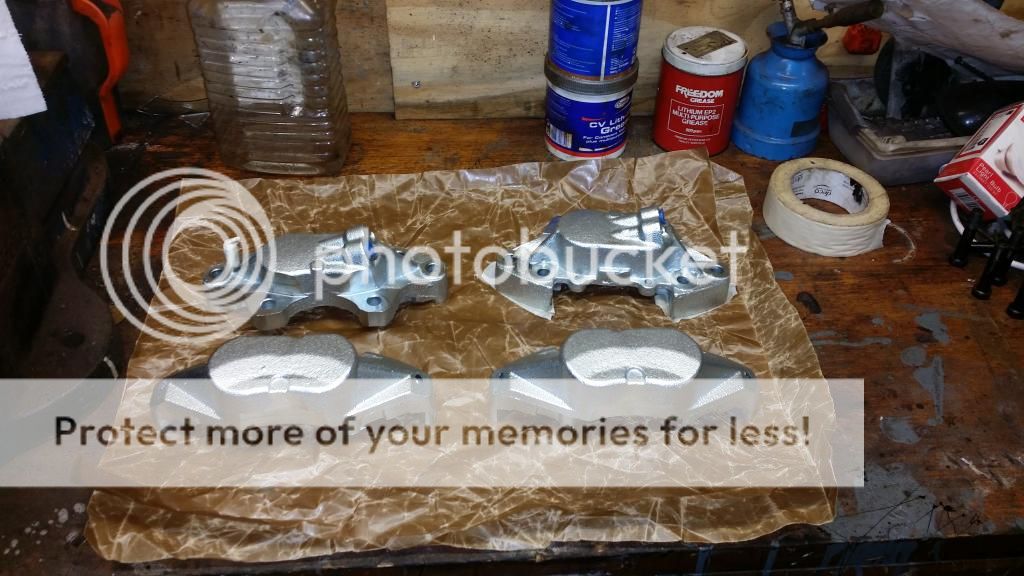
2 new calipers
1 swivel kit
1 swivel kit with ball

And me suspension turned up :) only had a quick peak though, not got enough space to unpack it all and take pics just yet! Spent the rest of me time rebuilding the axle.

Diff back in.


Offside done


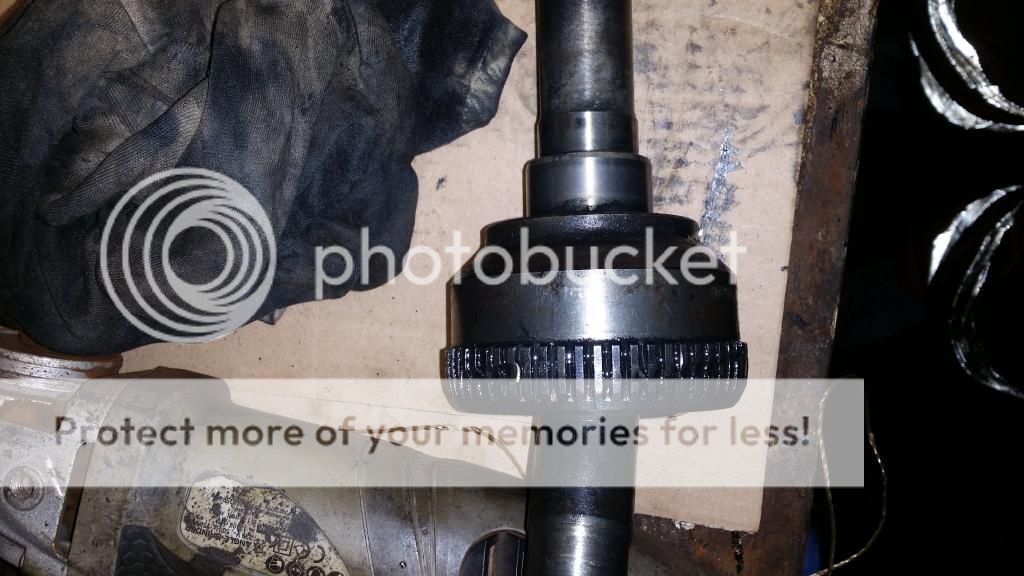
And this is how it looked when i downed tolls this evening. Contemplating getting new discs so i haven't put the re rest on just yet. One thing which puzzled me were the 'scars' i found on the nearside CV joint.


No idea how it could have happened as nothing should be touching it inside the swivel pin housing. For the time being i've used it just because its the only one i have.

Cheers

Ben
 
How very odd that you have two different types of CV joint, one non ABS and one with the ABS ring on it?

Couldn't see on them but do you have filler, level and drain plugs on your swivel housings?

I know that later 300Tdis ran one shot swivel grease as std, where as earlier swivels ran EP90 straight, a great number of people moved over to the one shot grease and negated the EP90 to stem the swivel leaks but ended up with probles with the top swivel bearings seizing and giving steering issues.

What caster correction have you on the Adrenalin front arms?
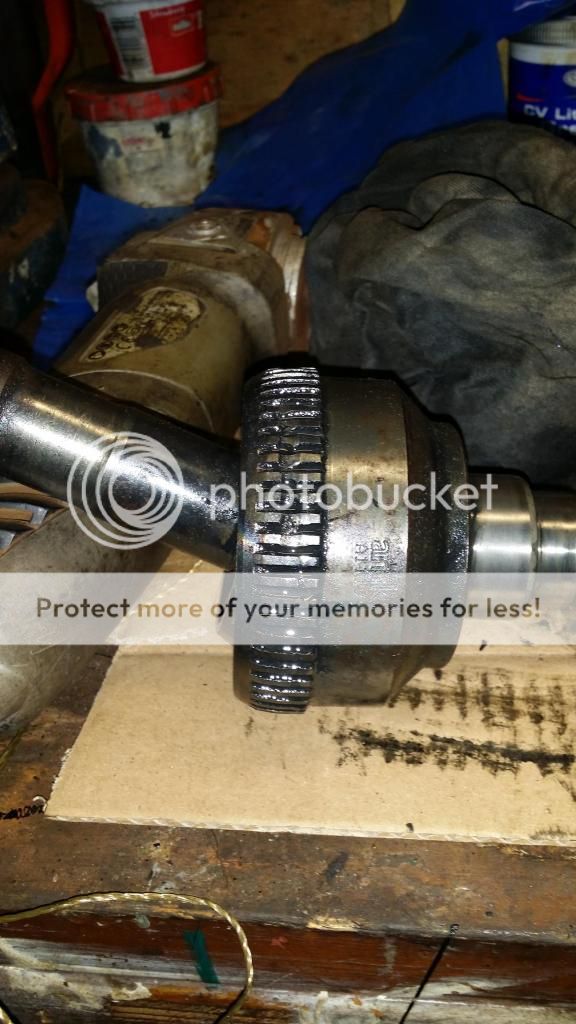
Shows how much i know about CV joints :confused: so which is which then, this the ABS CV?


The swivel housings do have filler, level and drain plugs which i did think was odd. Never new they had level and drain plugs as i thought they always ran on grease.

Went for 3 degree castor correction.

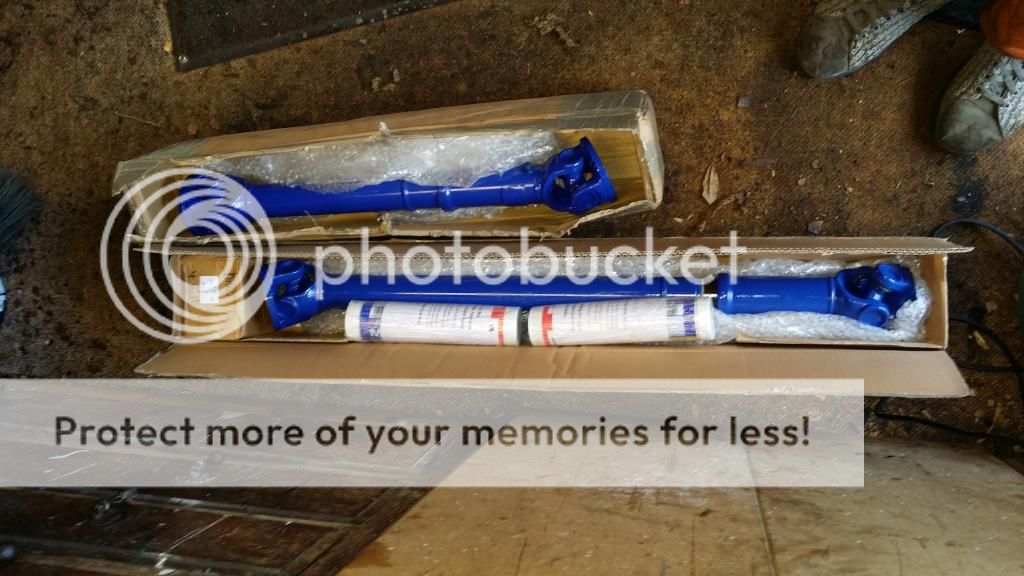
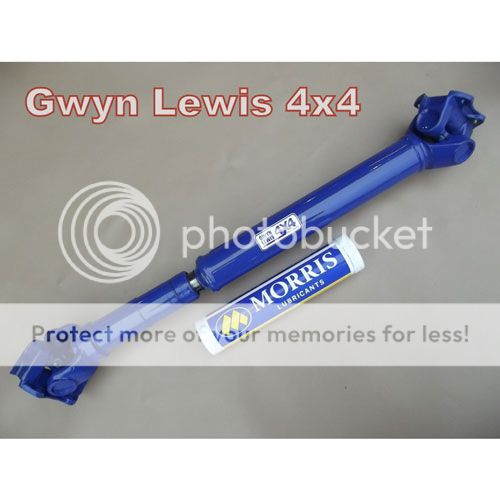
Another little purchase was made the other day as well, front and rear wide angle props.


:eek:
 
How very odd that you have two different types of CV joint, one non ABS and one with the ABS ring on it?

Couldn't see on them but do you have filler, level and drain plugs on your swivel housings?

I know that later 300Tdis ran one shot swivel grease as std, where as earlier swivels ran EP90 straight, a great number of people moved over to the one shot grease and negated the EP90 to stem the swivel leaks but ended up with probles with the top swivel bearings seizing and giving steering issues.

What caster correction have you on the Adrenalin front arms?
its not that odd or unusual often only abs cv is sold as replacement for both
 
So just a little update on the truck. Unfortunately work has took precedence over the christmas period but will hopefully have it back together for the first weekend in Jan.

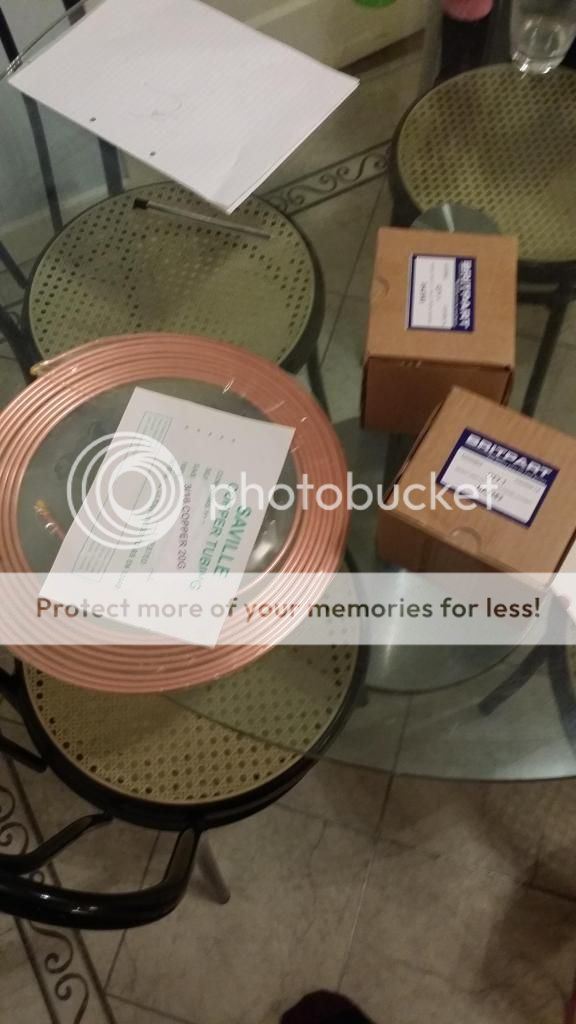
Whilst the axle is off i've decided to do the wheel bearings as well. So it was another trip to paddocks :eek: Ended up buying some copper brake hose so i could remake the section from the caliper to to where the braided brake line starts.


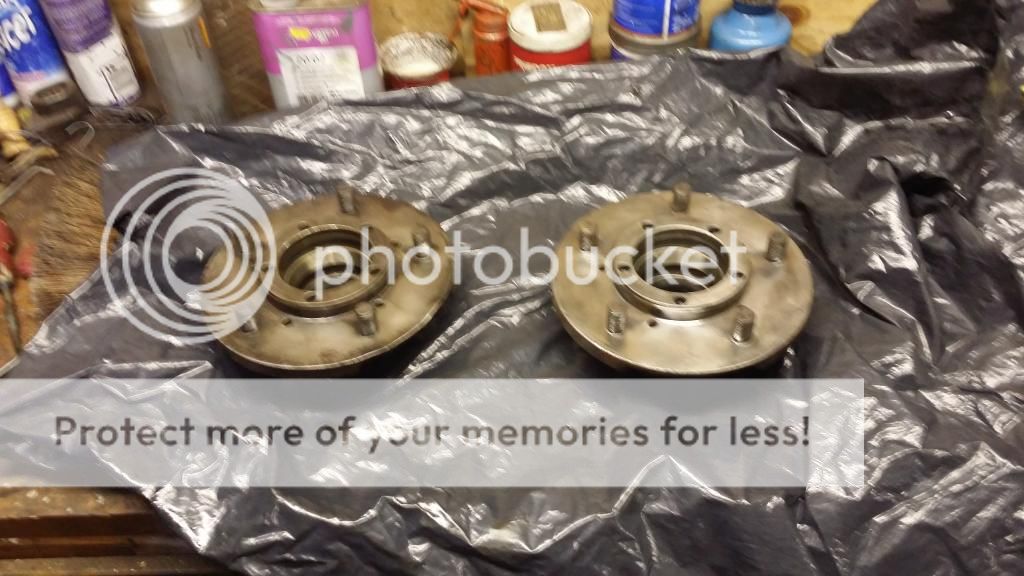
Split the discs from the hubs, gave them a little clean and are ready for a bit of paint. Also split the calipers as i want to paint them as well.


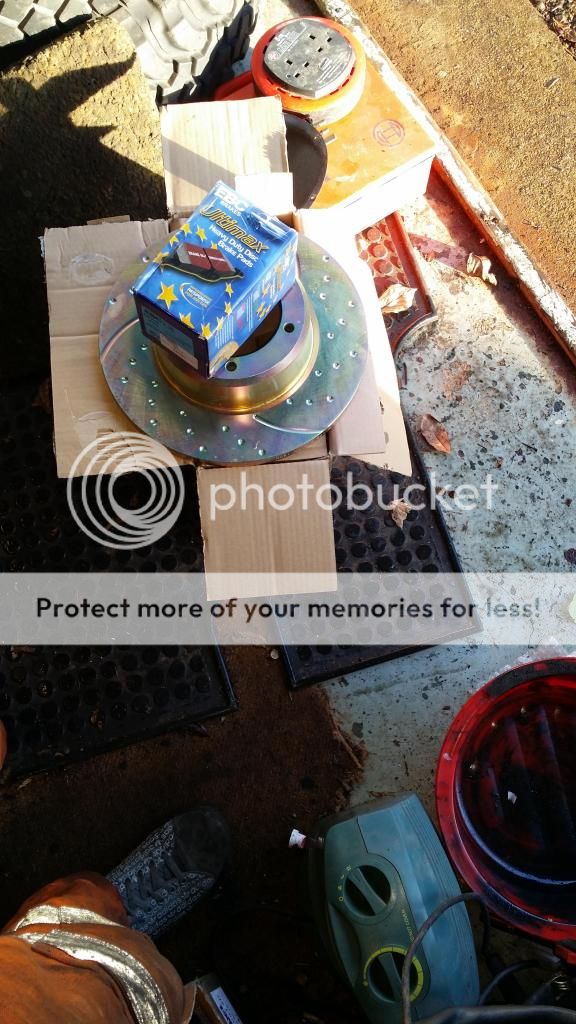
Ordered some new discs and pads to replace rusty buggered ones


Props arrived :)


Thats it for the time being, once work finishes it'll be time to crack on.

Cheers and Merry Christmas to everyone!

Ben
 
Wonder if a 6BT can fit in a disco 1 :eek:

Not sure but it would be a very tight fit!!!

I did like the ISUZU 4BD1T conversion I saw once.

Copy and paste from Wikipedia

The 4BD1 is a 3.9 L direct injection diesel sold in Isuzu ELF trucks as well as marine and industrial applications from 1979. Power output varied. 1979 models had 64 kW (87 SAE HP) at 3,200rpm, 1988 models had 78 kW (106 SAE HP) at 3,200rpm. Peak torque is 263 Nm at 1,900 rpm for the 1988 model. Bore is 102mm, stroke is 118mm. OEM diesel in Australian specification Land Rover SIII Stage 1 and coil sprung 110, 120, and Land Rover Perentie models from 1981 to 1989. In Batangas, Philippines, it has been used in jeepneys as the "Barako".

The 4BD1T is a turbocharged version of the 3.9 L 4BD1, it was produced from 1985 and was fitted to Isuzu NPR trucks from 1986 and sold in the US. OEM diesel in Australian specifications Land Rover Perentie 6X6 models from 1989 to 1992. Different versions feature power ratings ranging from 90 to 100 kW (120-135 PS), peak torque ranges from 314 to 330 Nm at 1,800 rpm, also use in jeepneys built in Batangas.

Found it interesting that it was a standard fitment in Australia for the 6X6 Parentie so it must be a good engine if fitted for military purposes and have enough grunt for a 6X6 Land Rover.
 
Not sure but it would be a very tight fit!!!

I did like the ISUZU 4BD1T conversion I saw once.

Copy and paste from Wikipedia


Found it interesting that it was a standard fitment in Australia for the 6X6 Parentie so it must be a good engine if fitted for military purposes and have enough grunt for a 6X6 Land Rover.

Will have to a have a read up into that mate, looks quite interesting. Just borrowed a break pipe flaring kit off a mate so i'll have all on trying to figure out how to use that haha.
 
Thanks mate, not quite to the standard of your workmanship but having fun doing it all! Wonder if a 6BT can fit in a disco 1 :eek:

Your work is just fine :) mine isn't all that.
6bt.... hmm anything can fit if you want it enough :p
Although in all seriousness no one has done it yet, a few have been talked about doing it in a d2 but nothing has ever happened.
 
Your work is just fine :) mine isn't all that.
6bt.... hmm anything can fit if you want it enough :p
Although in all seriousness no one has done it yet, a few have been talked about doing it in a d2 but nothing has ever happened.

Thanks for the kind words :) Followed all your threads, unbelievable amount of time and effort gone into them fella. You really do have the skills to pay the bills :)

Seen the pics of your engine and it really is shoe-horned in there int it?! The 4bd1t dieseldog69 posted about looks quite interesting. Maybe something to look at in a year or twos time for me, need to get it all back together and just enjoy what i've got for the time being i reckon haha.

Cheers :) Unfortunately I don't have the work to pay the bills (as you probably know :eek: )
Yes, shoe-horned in, although it does fit in the space rather well, it's the weight more than anything, nothing hd spring wont sort though.
I want exactly the same now, just to enjoy what I have, or when it's finished at least.

Not read the link posted by dieseldog69, but I've heard about it in the past and seems a decent conversion.

Really do hope you manage to sort the job situation out soon mate. New year coming up and all that, fingers crossed for a new job as well :)

What's left to get it through it's MOT now then?
 
A bit of an update from todays tinkering.

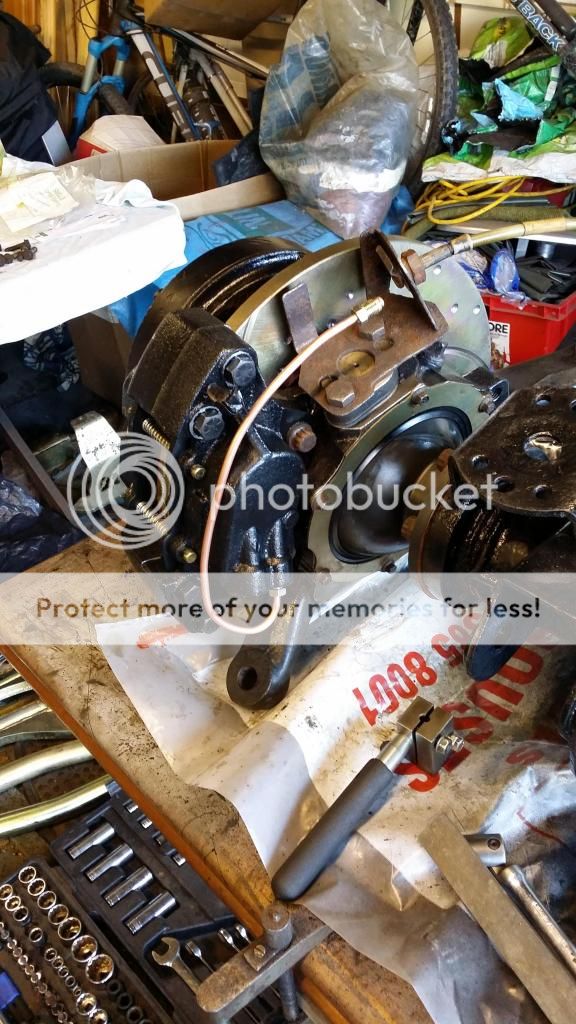
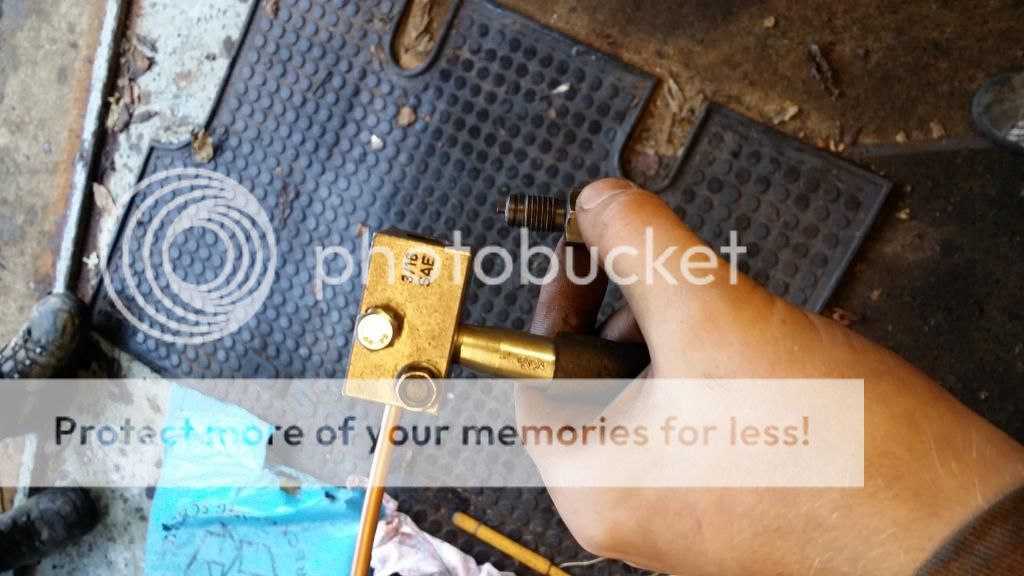
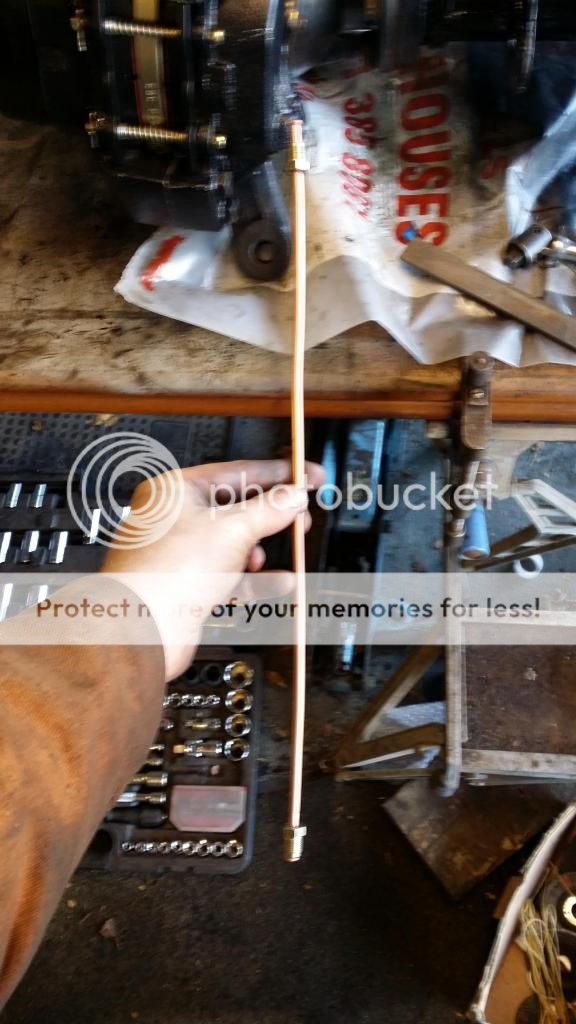
Got the hubs, discs and calipers put back on then made some brake lines.


First attempt just wasn't quite long enough which was bloody annoying!


Got the hang of it after that and surprisingly easy to bend the pipe how you want it.


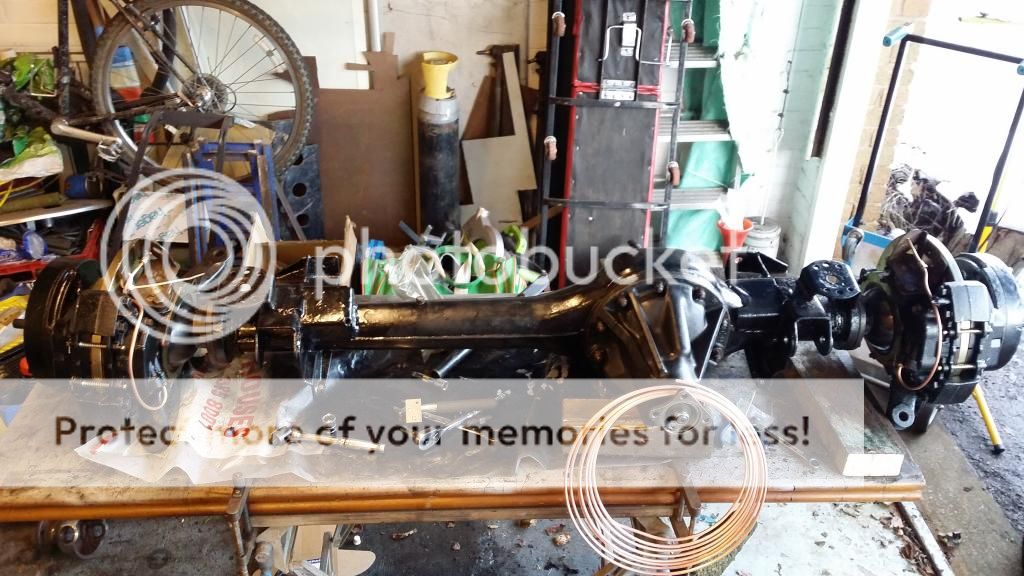
Got the axle ready for rolling back under the truck (the mechanics creeper really does come in handy).


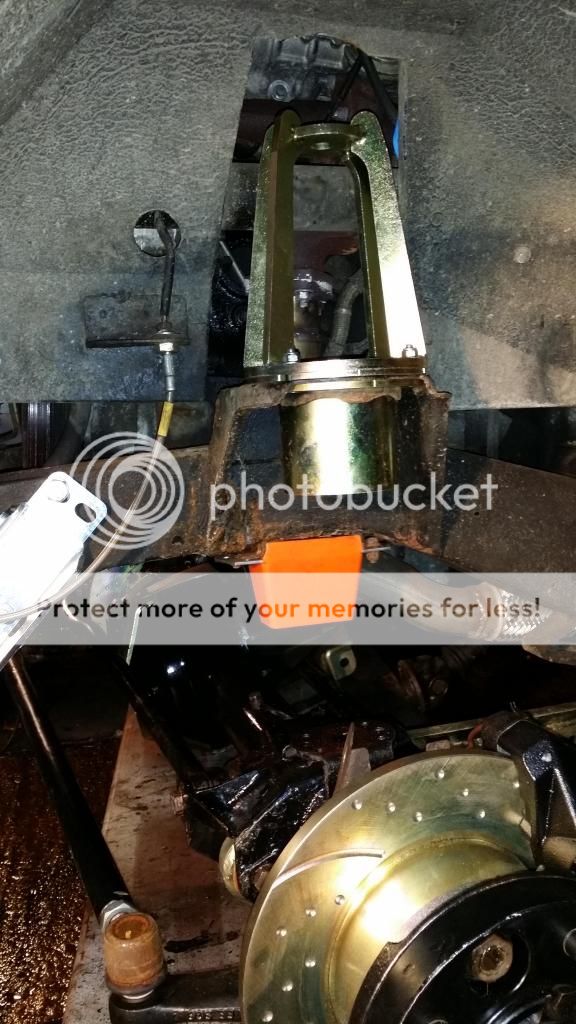
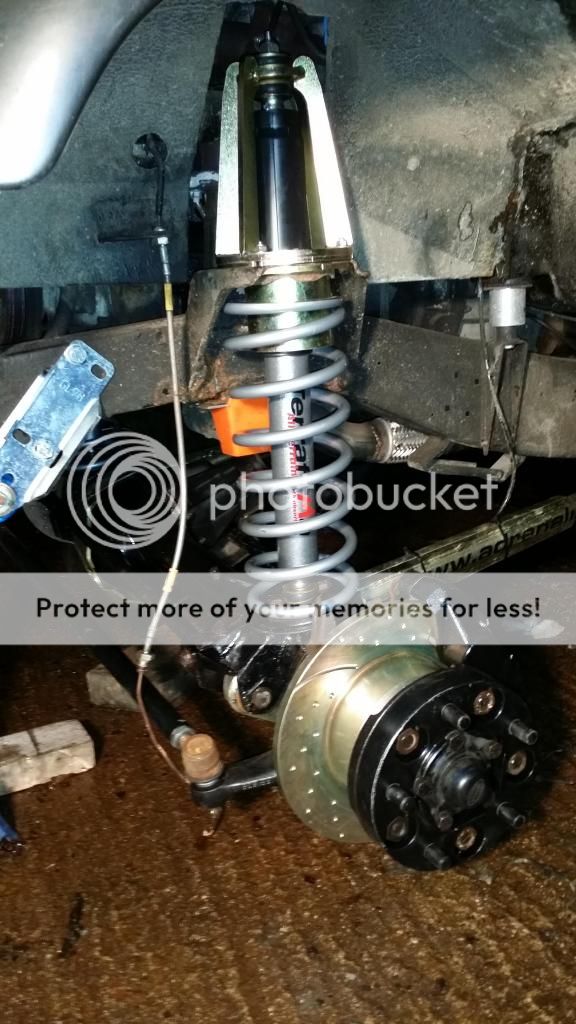
Finally unboxed the new springs and shocks that have been patiently waiting at the back of the garage :)


Then got on with bolting the axle back in place. The hardest part was getting the nut on the back of the radius arms on, but after a bit of booting, wd40 and a few love taps with the rubber mallet they went on.

Once the radius arms were done i bolted on some more shiny parts have been patiently waiting their turn as well.


And this if how the night was finished.


Hopefully get the rest of it finished off in the morning :)

Cheers

Ben
 
Really do hope you manage to sort the job situation out soon mate. New year coming up and all that, fingers crossed for a new job as well :)

What's left to get it through it's MOT now then?

Sadly I doubt the work situation will sort it's self out for a while because I'm a useless c*nt.
I need to make a plan and stick to it, instead of burying my head in the sand like I have been doing of late.
But like you say new year, new start (maybe)
Anyway, what's left,

  • Make an exhaust. Got a little bit of pipe, not sure on best way yet (cut and weld, manufactured bends or buy a bender)
  • HD springs on front. Buy and fit.
  • Shocks all round. Buy and fit.
  • Make diff lock selector.
  • Make high/low selector.
  • Make gear stick.
  • Few jubilee clips on intercooler hoses where I ran out and general check over the hole thing and final tart up.
That's about it I think, probably a few other bits and bobs that I've forgot about as I've not touched it for ages.
So not a mega amount, just lost interest a bit, so now can't even be arsed to do the cheap bits, cold weather doesn't help mind.

Oh and pics of tonight's work looks good mate :)
 
Back
Top