dollydisco
New Member
- Posts
- 184
- Location
- kidlington ,oxford
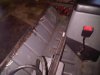
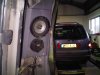
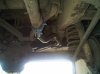
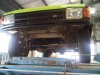
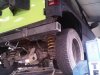
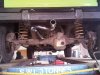
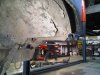
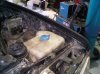
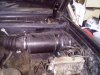
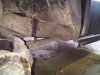
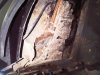
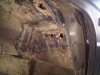
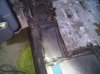
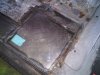
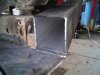
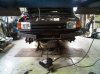
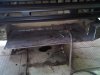
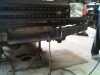
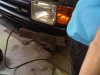
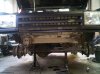
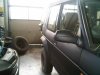
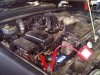
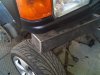
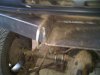
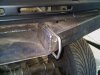
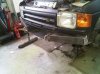
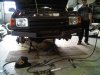
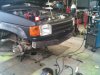
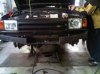
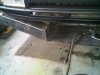
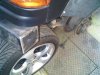
more pictures of the rear fuel tank frame etc,the fuse block for the battery etc and my rear speakers back in!
tis some good news thenhi guys,sorry i havent been on for a while,been working stupid hours!! will upload my recent pictures when i get home later.BUT i have some news for everyone thinking of bobtailing or tray backing a vehicle.
as i write and i quote.all this information has been given to me by VOSA and there website.
Any vehicle that has beed radically altered from its original spec. i.e bobtailing or tray backing .does NOT need an sva test,if the vehicle is an amateur build. i.e you can prove you have done all the work yourself, then it requires an IVA (individual vehicle approval)
as i have retained the original engine,suspension,brakes,axles and steering i score more then 8 point on the iva test scale,therefore i enter the loop hole, because it is an amateur build and i have retained 90% of the original vehicles structure,it will NOT be assigned a q plate, if the test station can prove that the vehicle has been modified using only new materials then it CAN retain its original registration mark OR will be assigned a dated registration plate. I.E the same year (mine being M) but the last numbers and letter will be different) so to answer all your questions. it does not need an sva test,just an IVA because its an amateur build and the vehicle is already registered and being used on the road before the modifications began. i hope that has cleared up an confusion in the matter.
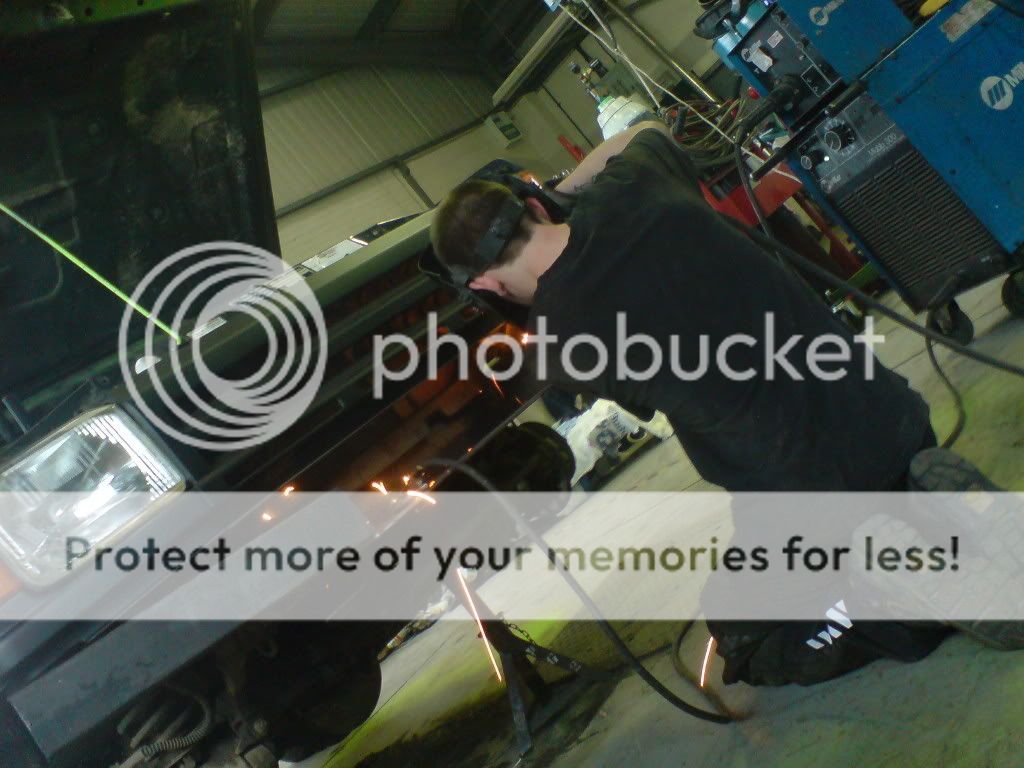
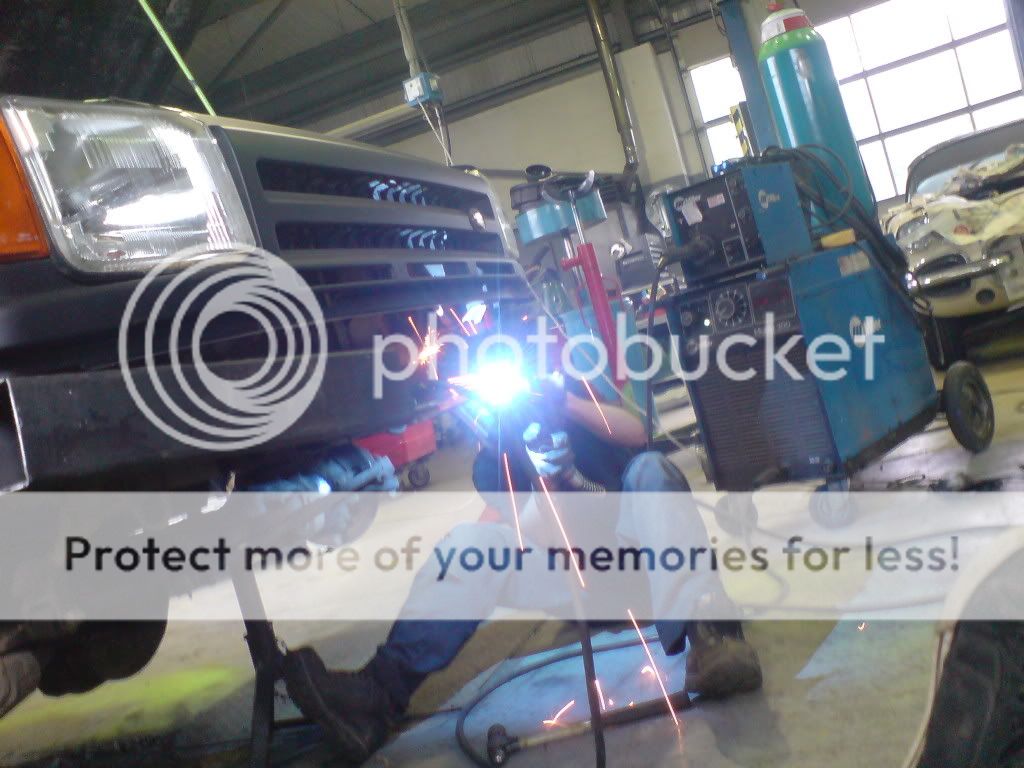
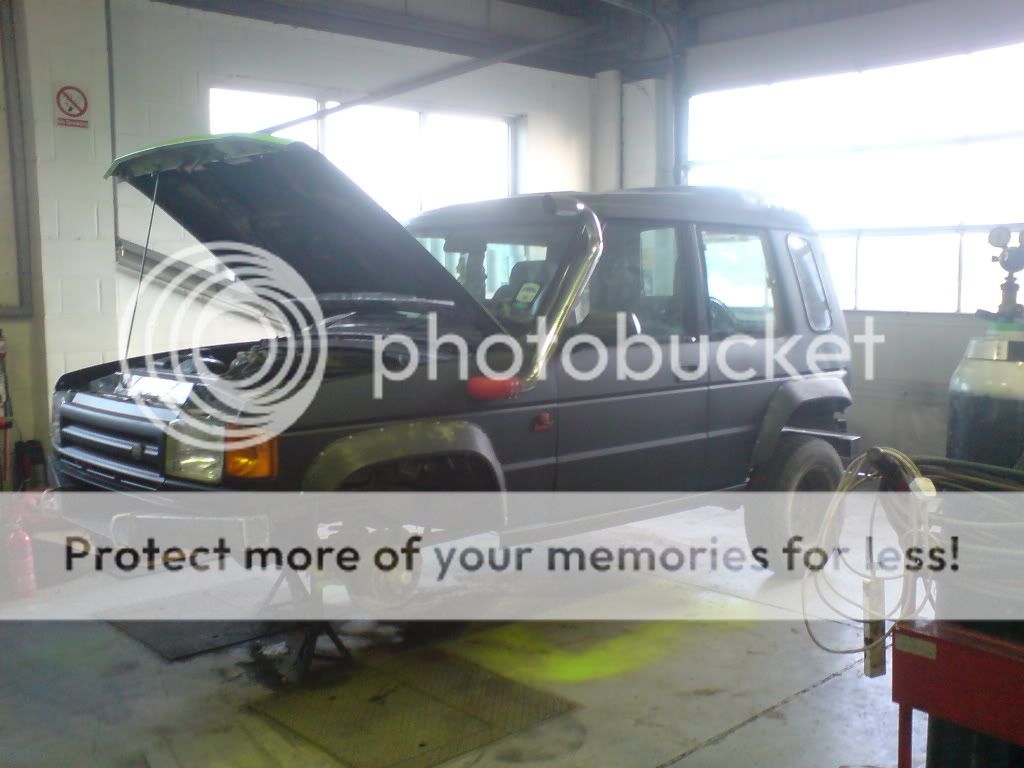
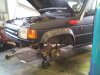
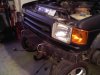
") I was beginning to worry seeing as you've not been about for a while, will be good to see this thing in the metal/on the road at some point give me a minute im just uploading a few pictures for you all to laugh at i'm aiming to be running for billing to high hopes for me i think are you putting a front bumper back on it? i have a rear bumper you can have as payment for the welding lessons if you wish? needs a bit of painting and some weldin but it's basically free it'll look the dogs! or shadow do some nice tubuler bumpers i'm sure i can sort the monster buuut I have built a new front bumper and its sexy! Big picture update tomorow after work not the best but some action shots
I was beginning to worry seeing as you've not been about for a while, will be good to see this thing in the metal/on the road at some point give me a minute im just uploading a few pictures for you all to laugh at i'm aiming to be running for billing to high hopes for me i think are you putting a front bumper back on it? i have a rear bumper you can have as payment for the welding lessons if you wish? needs a bit of painting and some weldin but it's basically free it'll look the dogs! or shadow do some nice tubuler bumpers i'm sure i can sort the monster buuut I have built a new front bumper and its sexy! Big picture update tomorow after work not the best but some action shots


Welcome To LandyZone, the Land Rover Forums!
Here at LandyZone we have plenty of very knowledgable members so if you have any questions about your Land Rover or just want to connect with other Landy owners, you're in the right place.
Registering is free and easy just click here, we hope to see you on the forums soon!