Bennehboy
Well-Known Member
- Posts
- 2,260
- Location
- Huddersfield
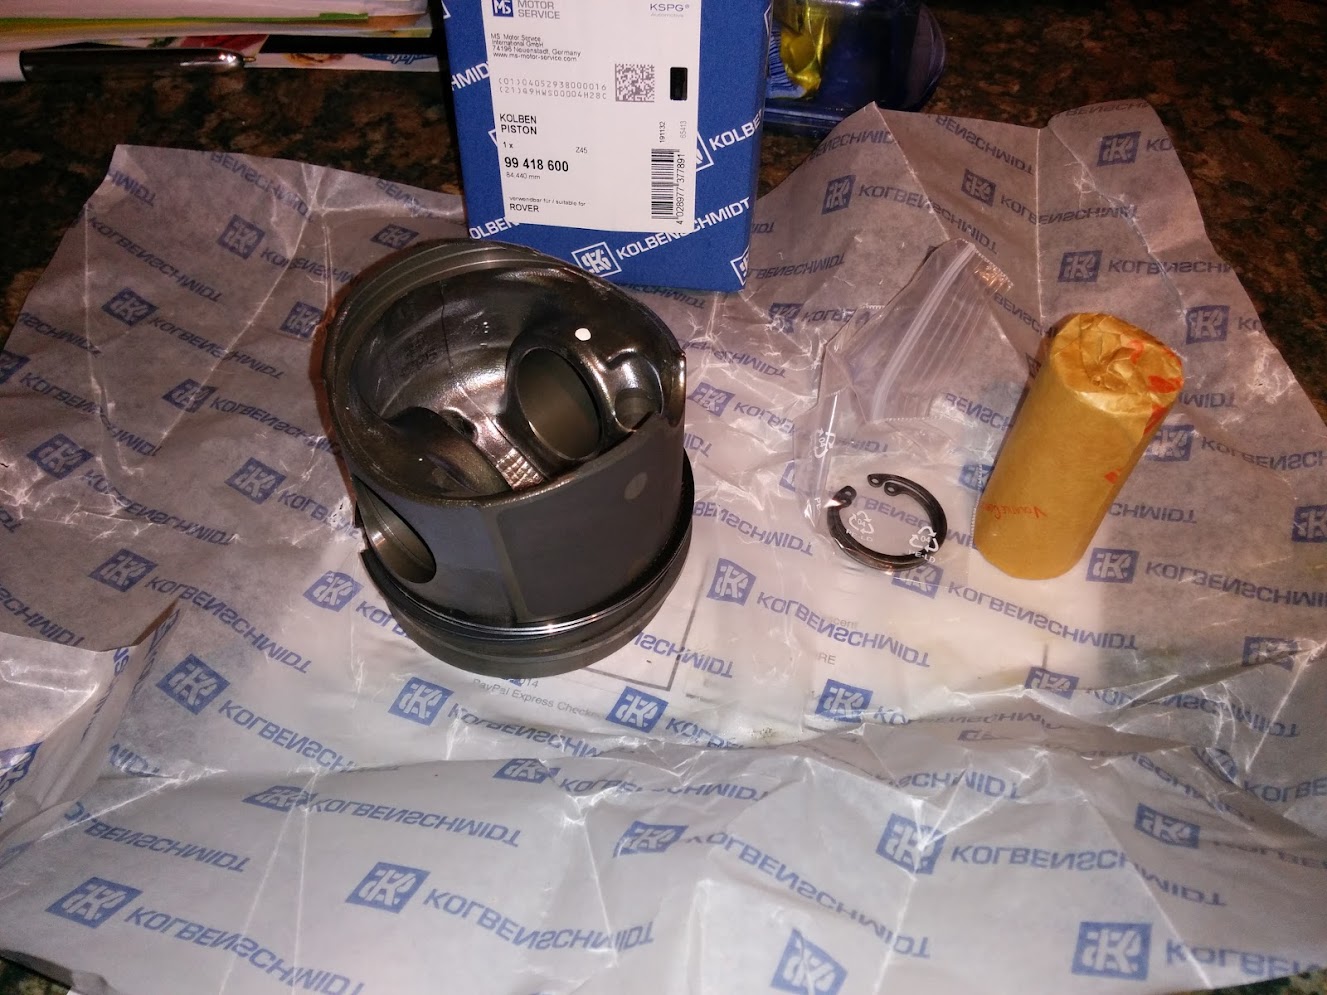
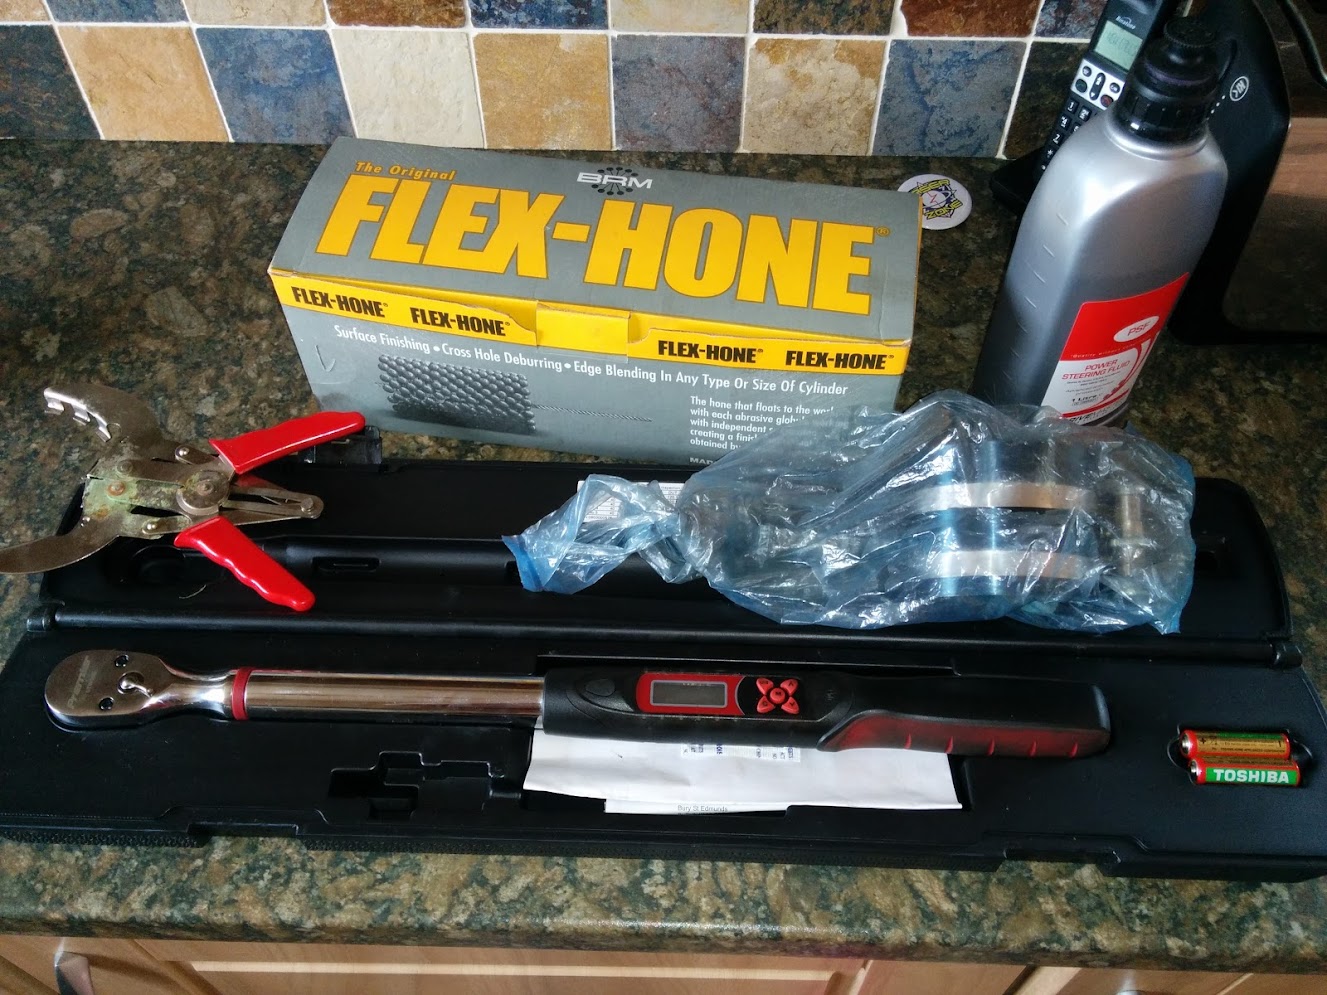
Yeah you're not the first to suggest re-ringing them all - I've just ordered a full set.
Sigh, bankruptcy here I come!
Sigh, bankruptcy here I come!
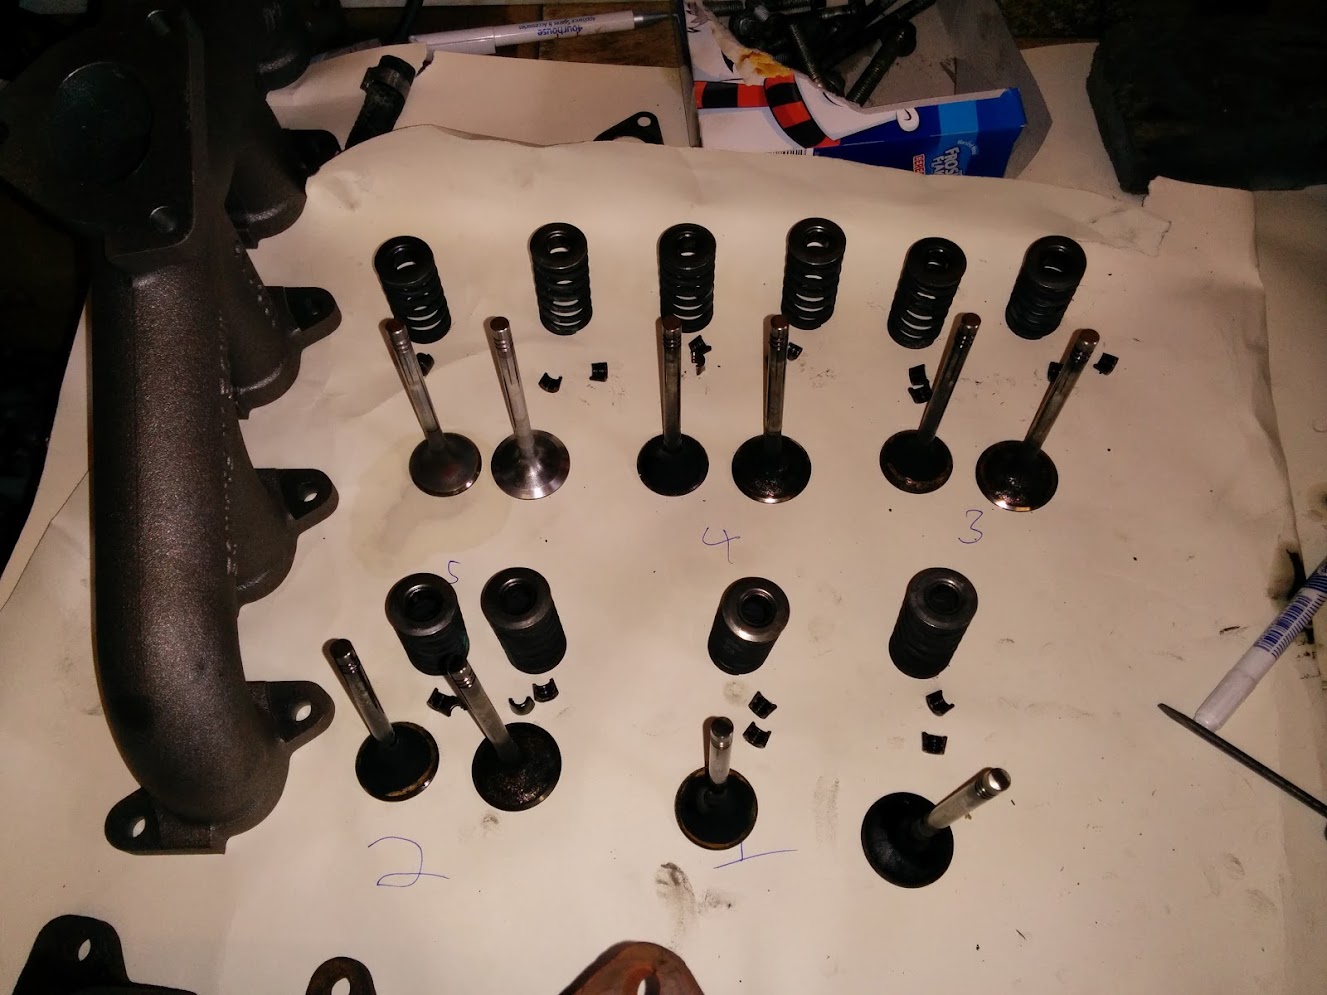
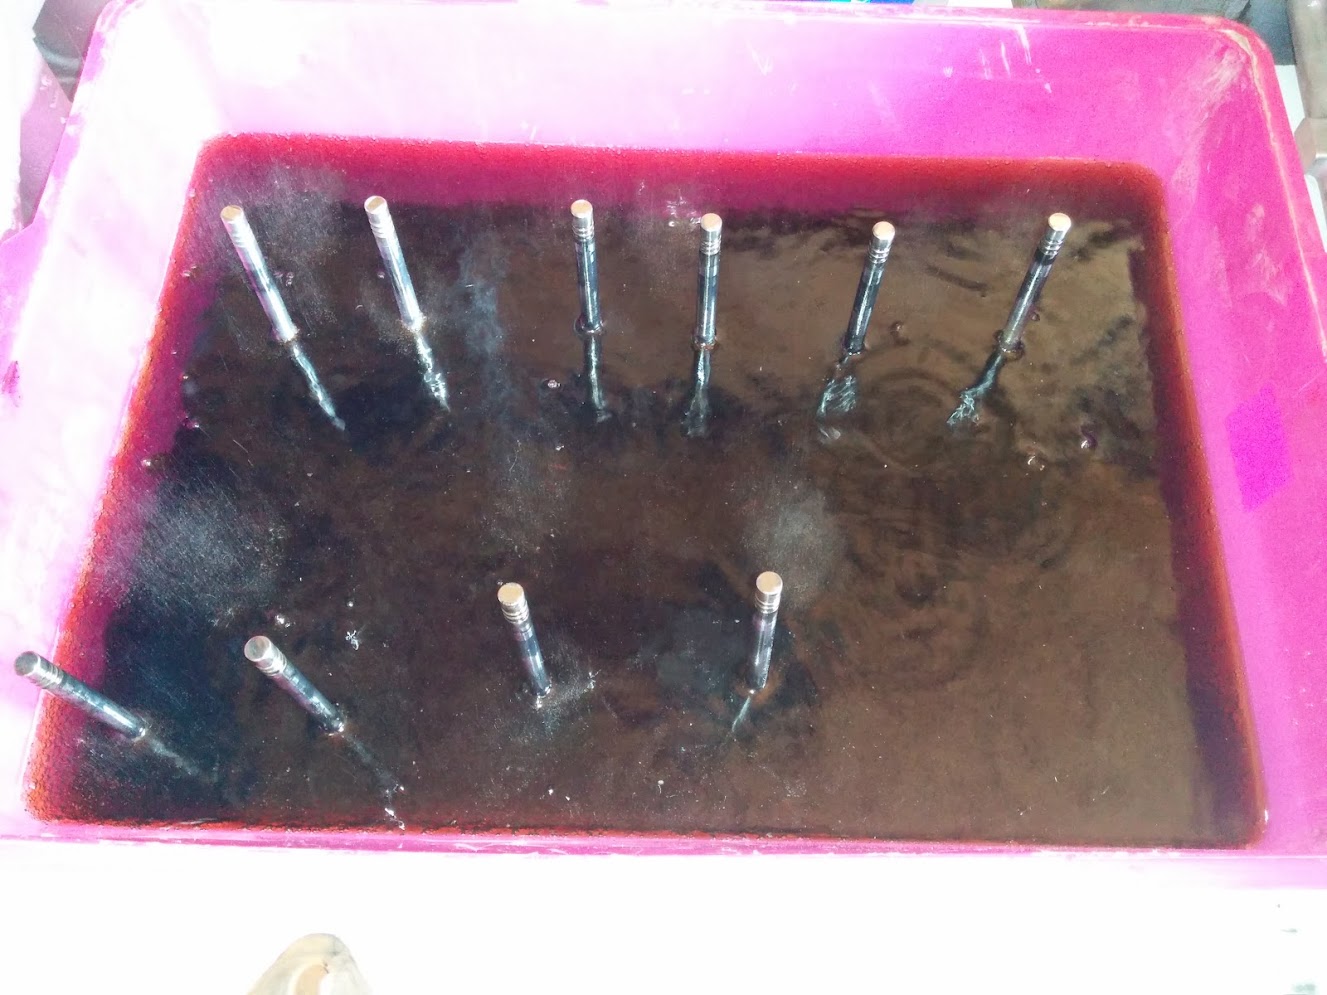
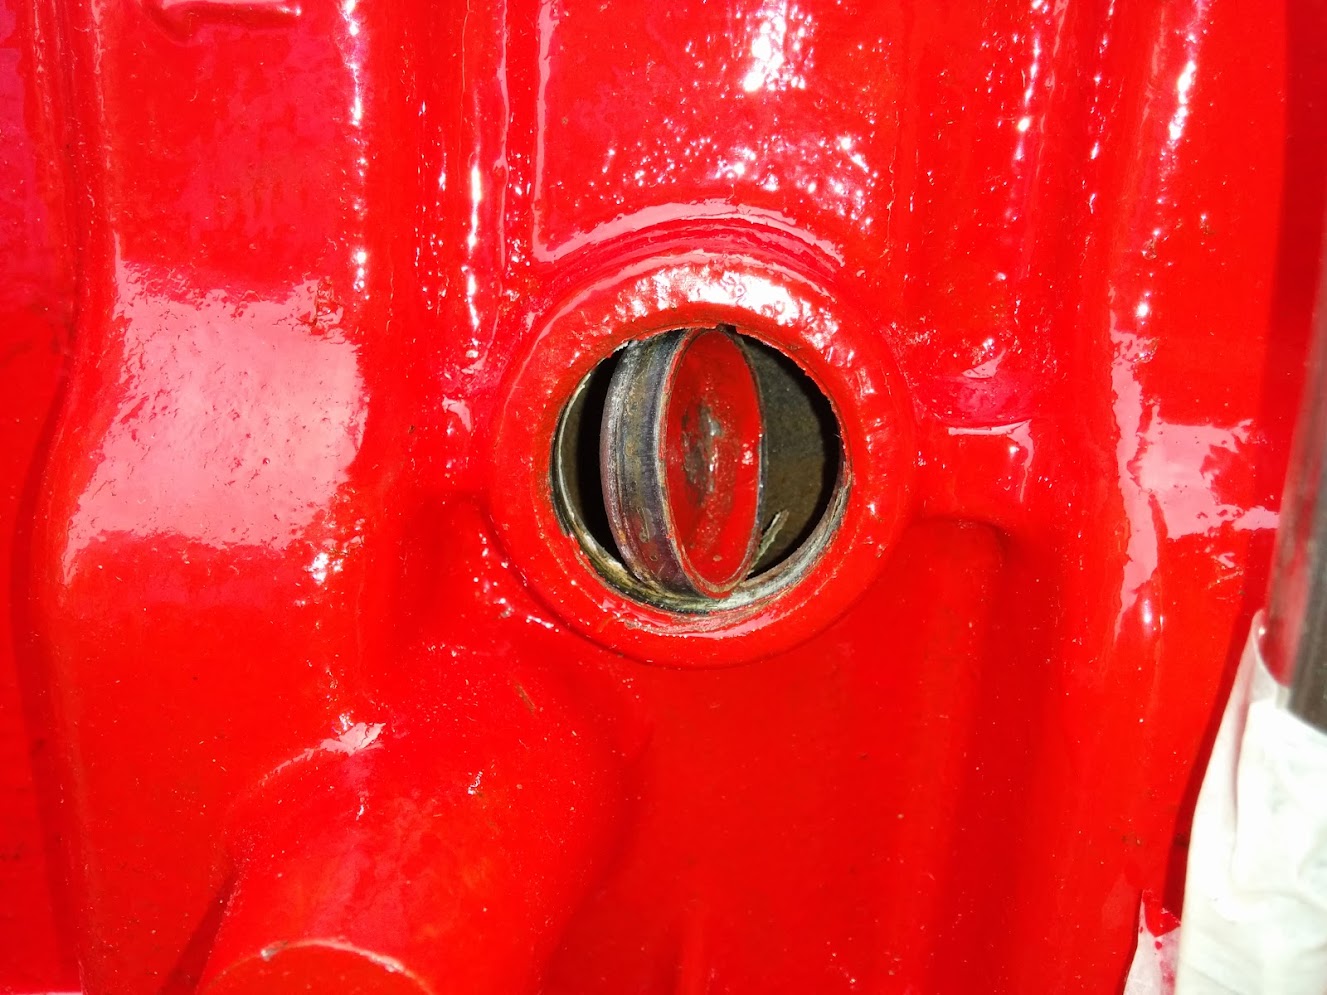
are you measuring pistons and gapping rings ,piston skirt is oval at cold, wire wheel is best for cleaning valves


Really enjoying this thread.you must be minted and have a very understanding mrs lol.been doing chassis and interior on mine for past 4+months.i had sold it a few weeks back. then when the buyer came back and tried to knock the price down i returned his deposit and said sorry cant sell.all that work makes it a forever vehicle.good luck, keep posting.

Welcome To LandyZone, the Land Rover Forums!
Here at LandyZone we have plenty of very knowledgable members so if you have any questions about your Land Rover or just want to connect with other Landy owners, you're in the right place.
Registering is free and easy just click here, we hope to see you on the forums soon!