BennehBoy's D2 adventure

This site contains affiliate links for which LandyZone may be compensated if you make a purchase.
OK, so...

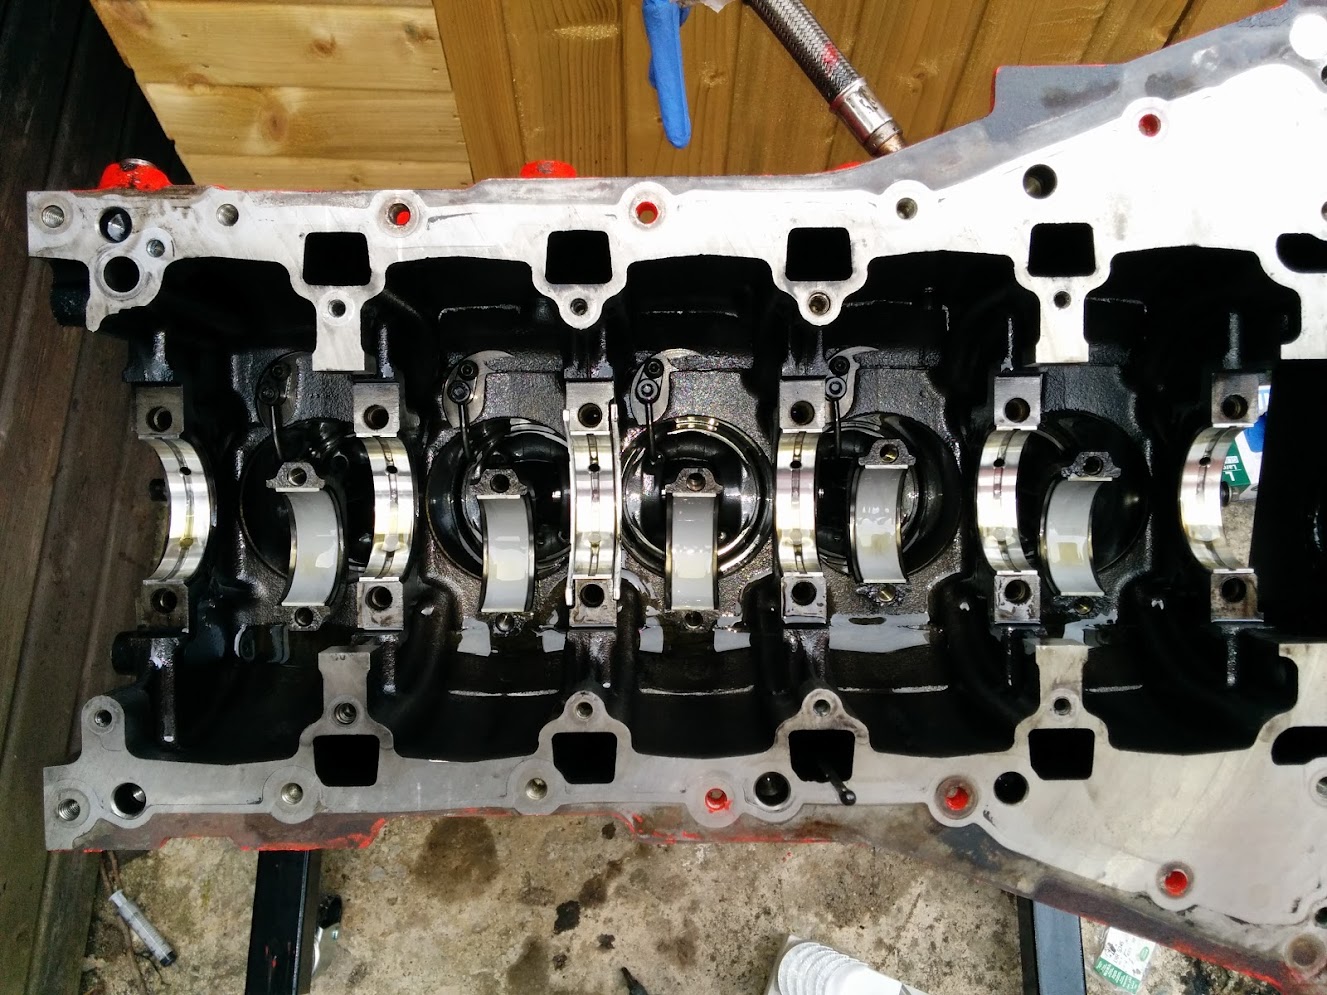
Main cap #6 off, crank looks fine:
IMG_20140707_162513.jpg


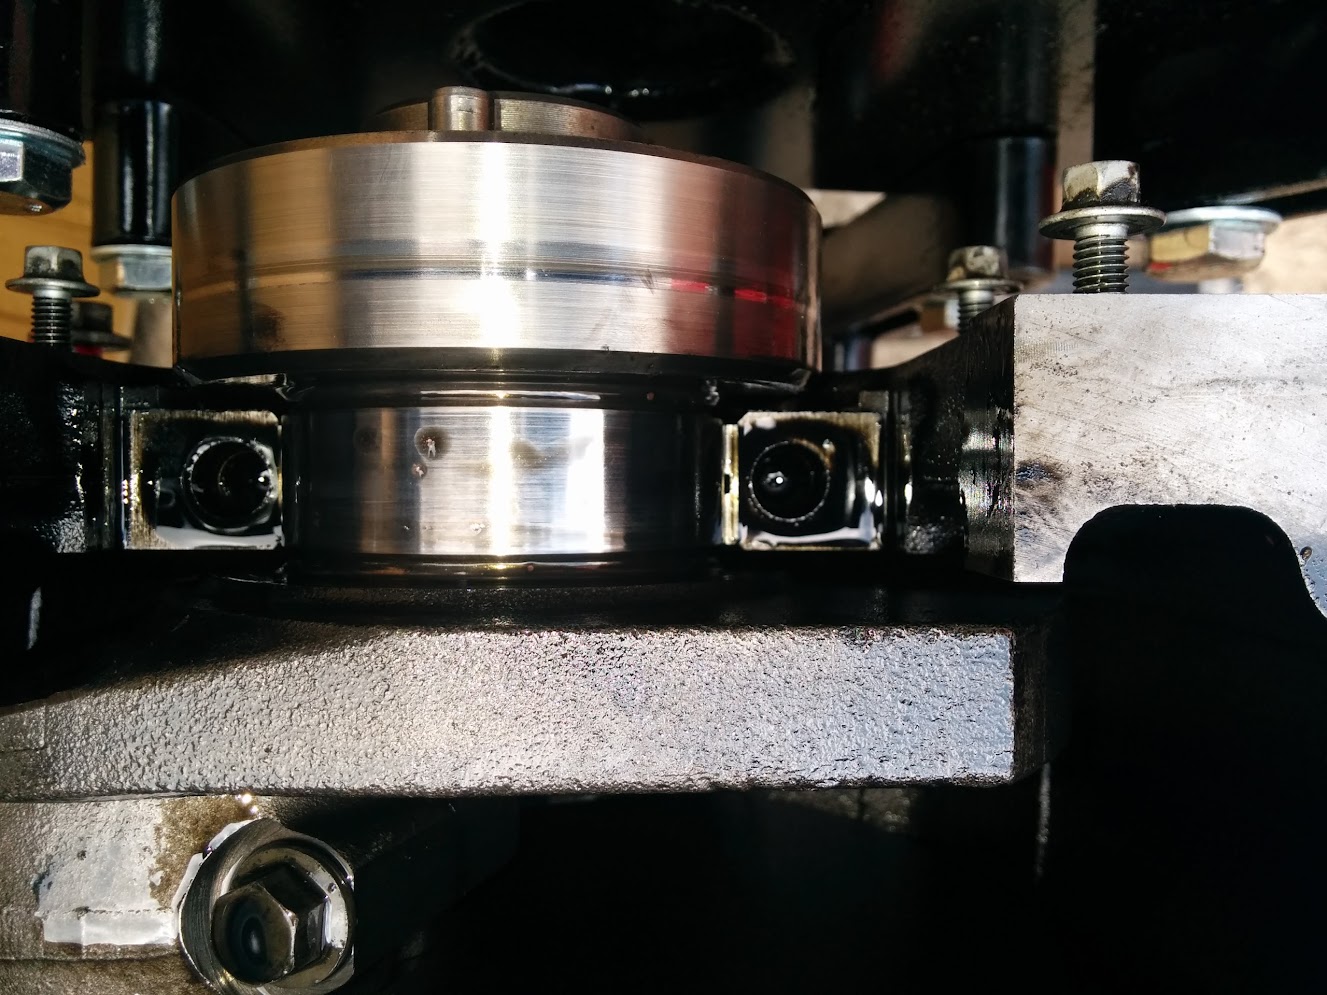
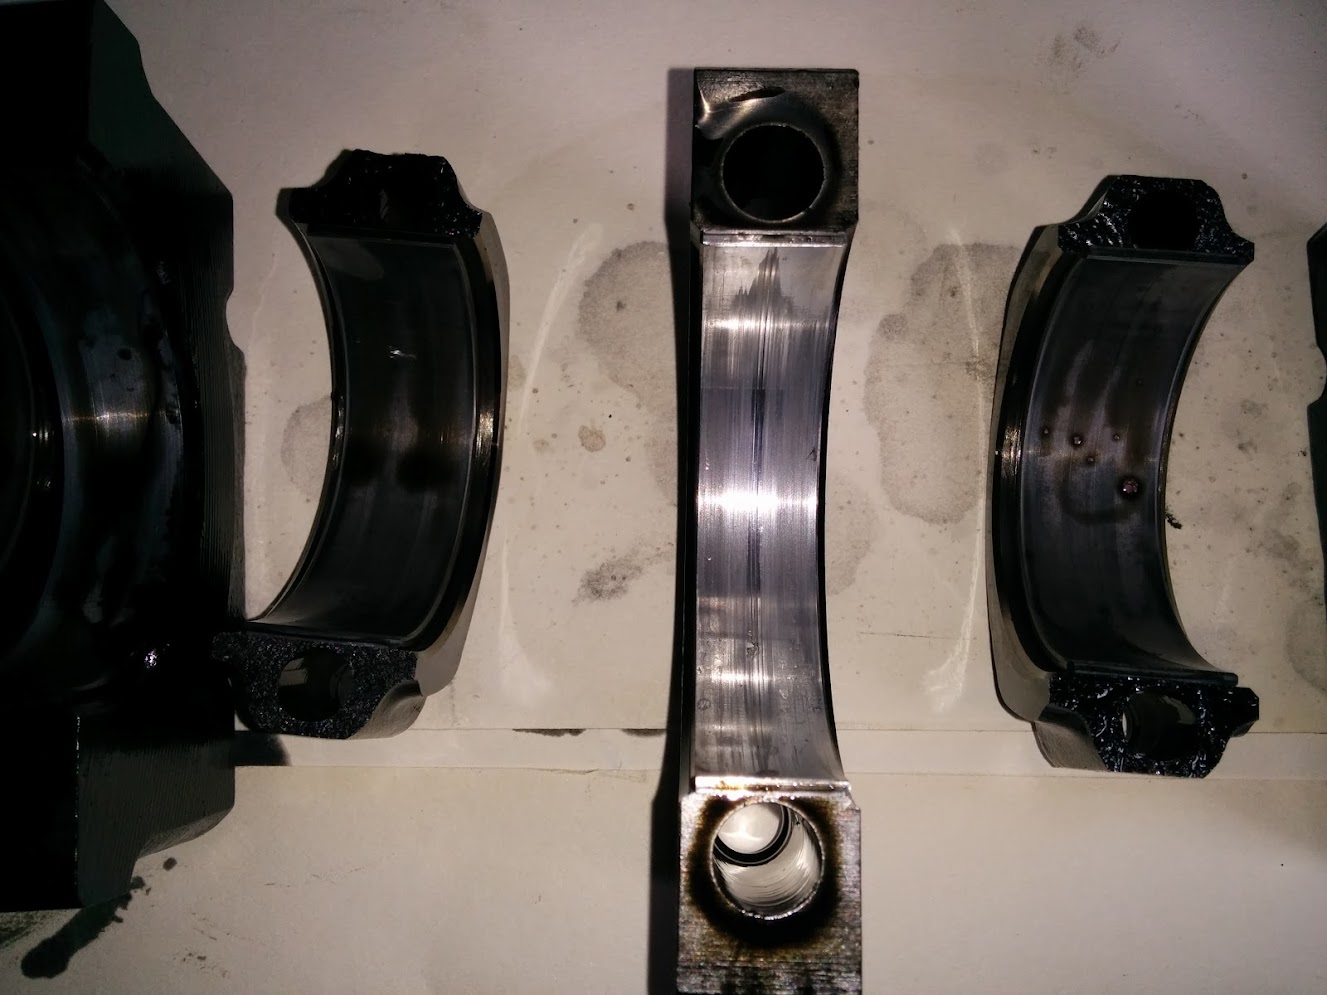
Bearing has very slight wear, and some slight scoring:
IMG_20140707_162508.jpg


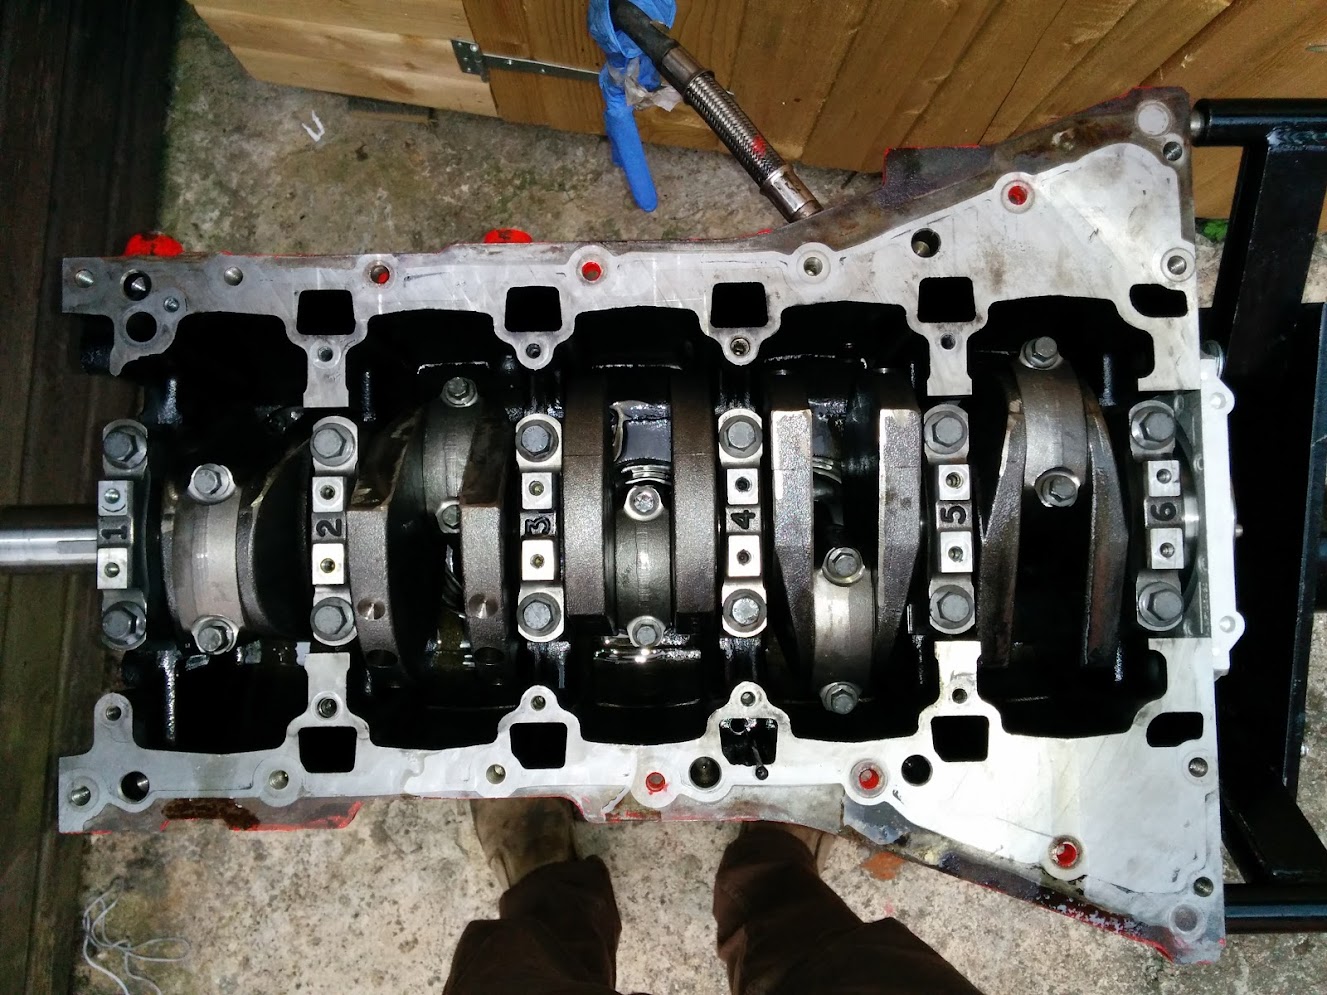
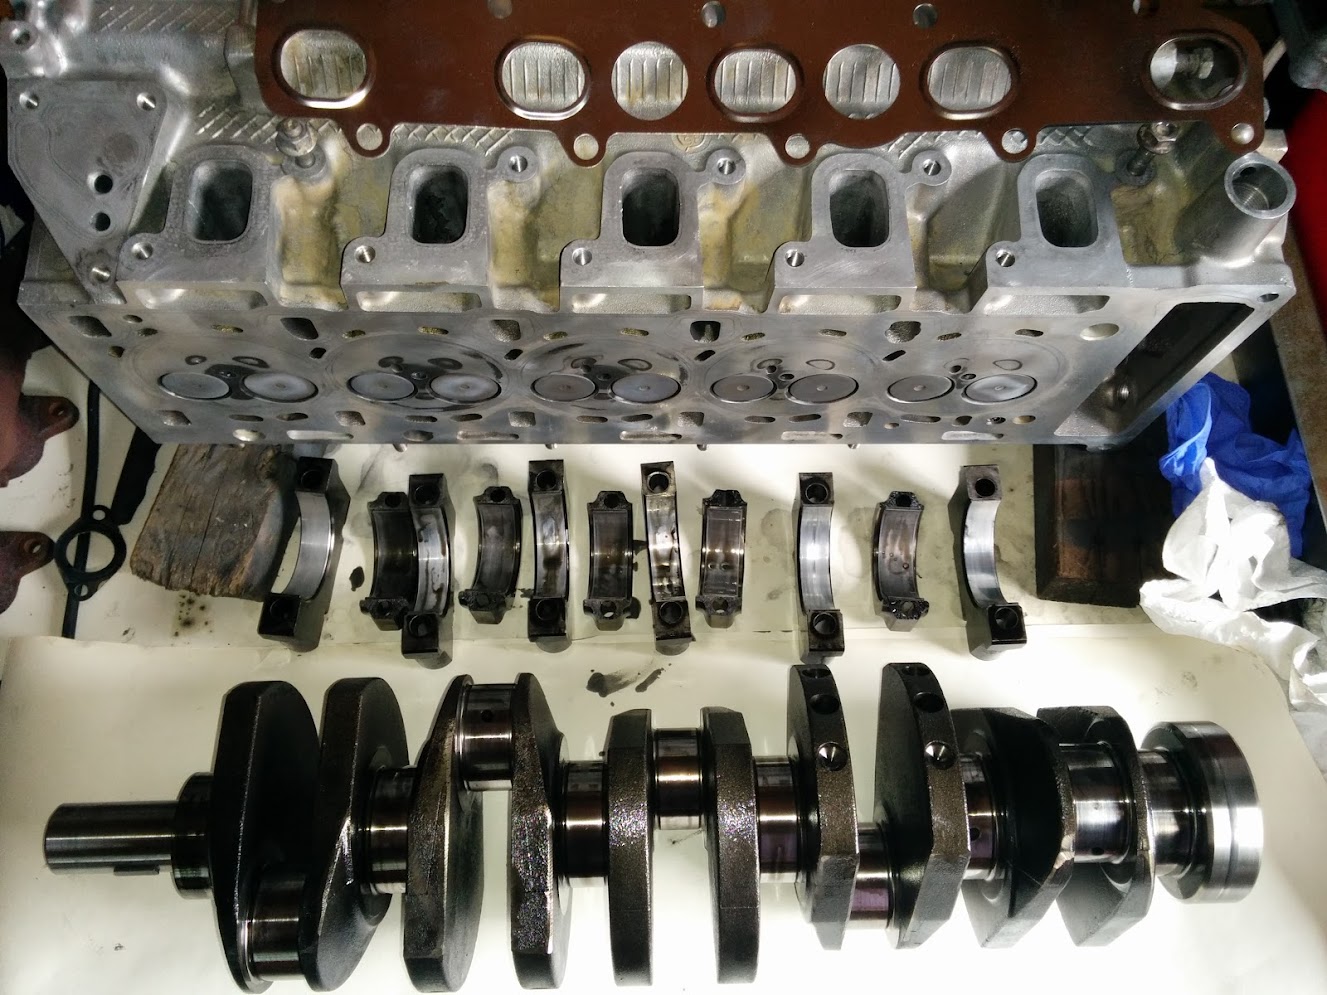
All main and the conrod caps off, and crank lifted out, all the bearings are in reasonably good shape bar number 5 main cap:
IMG_20140707_171121.jpg


Some crud and a big score on number 5, wonder if it's a piece of follower coating:
IMG_20140707_171127.jpg


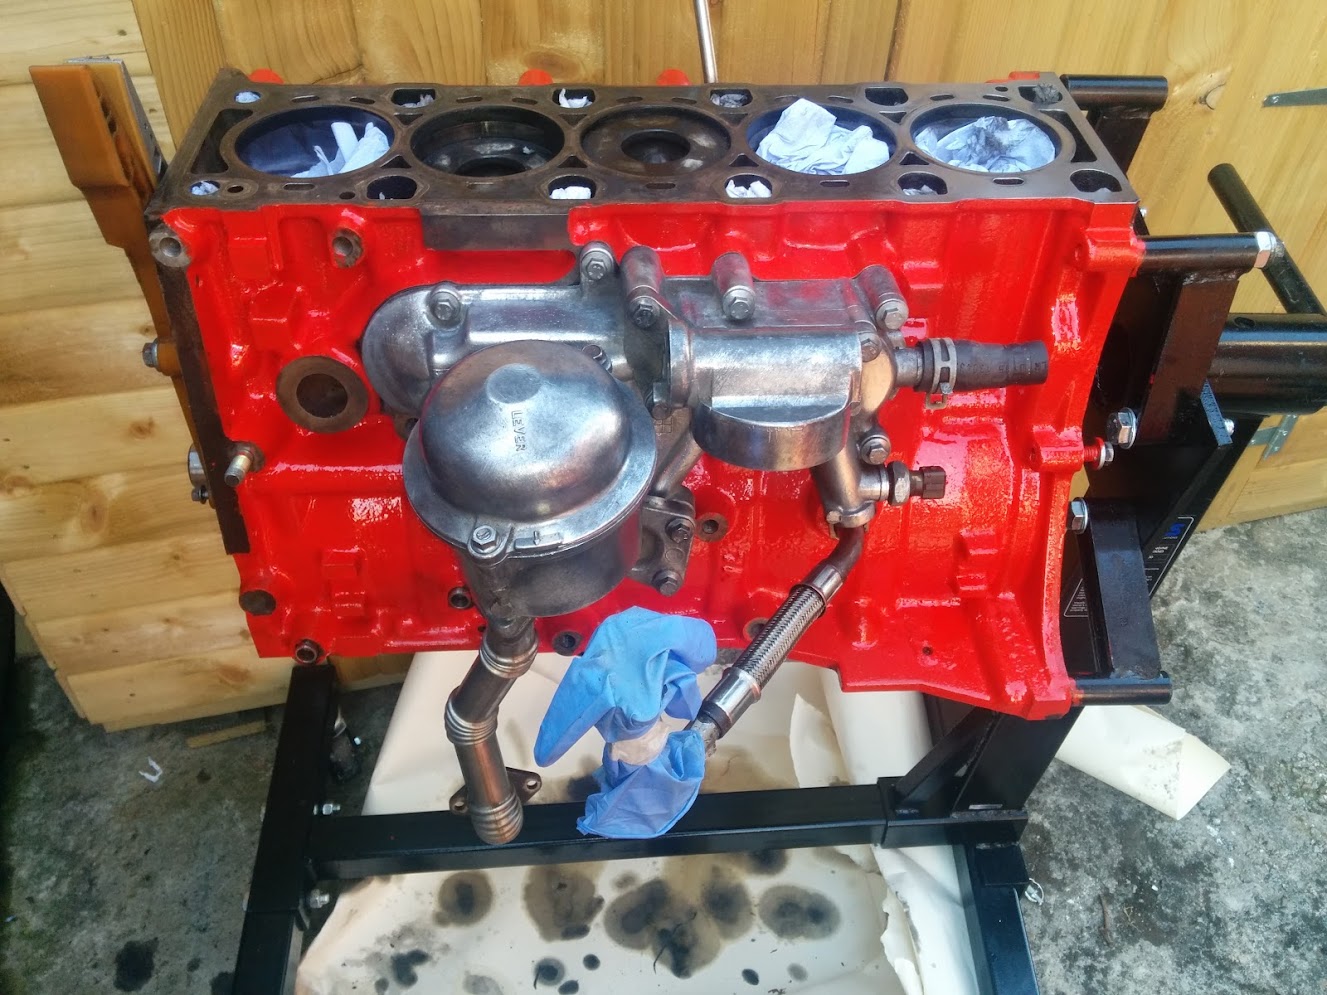
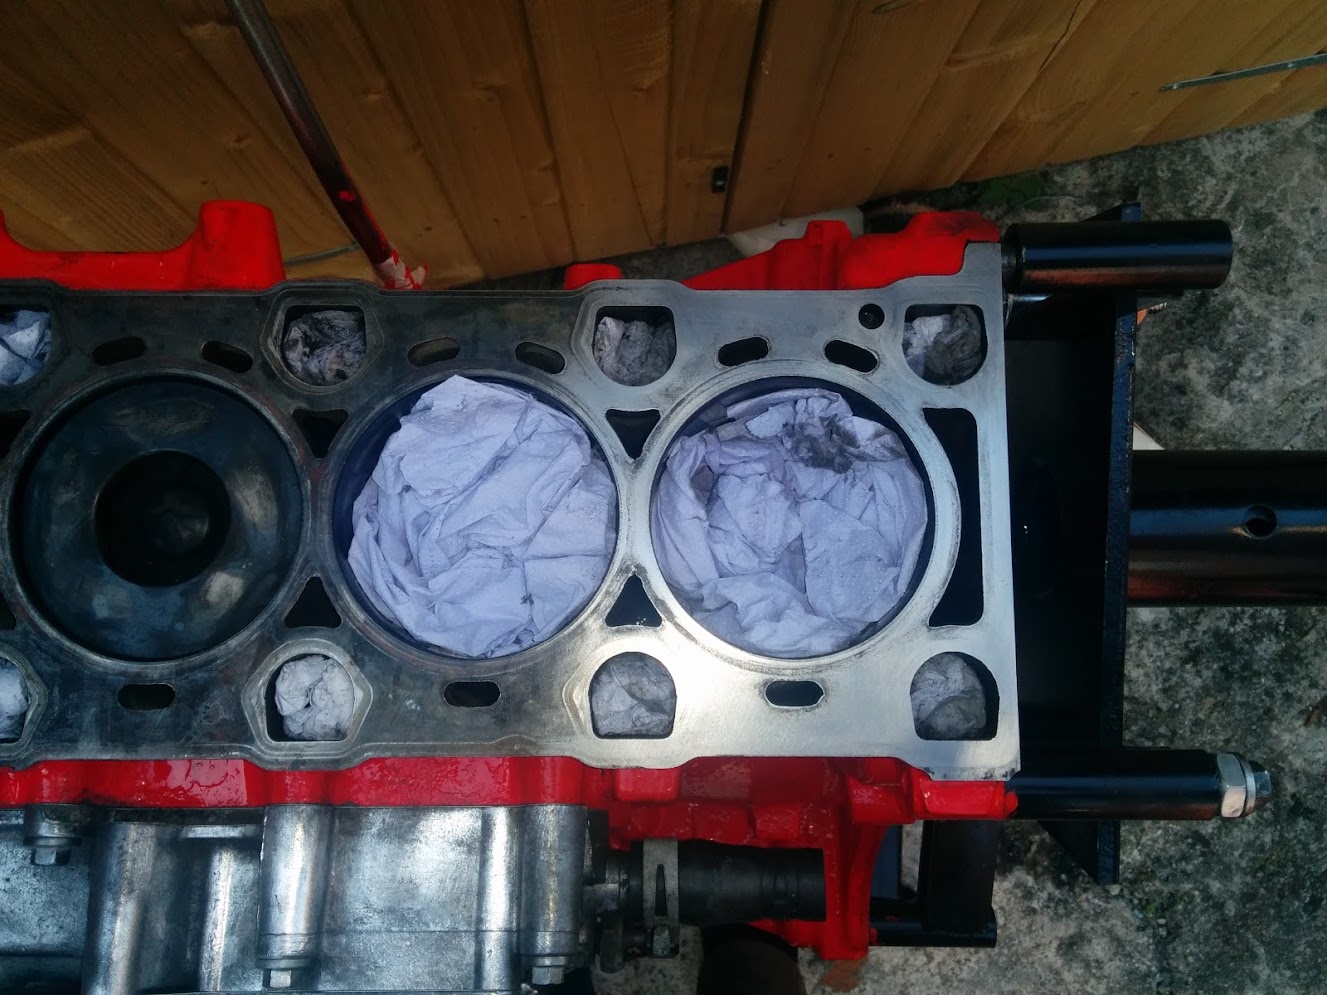
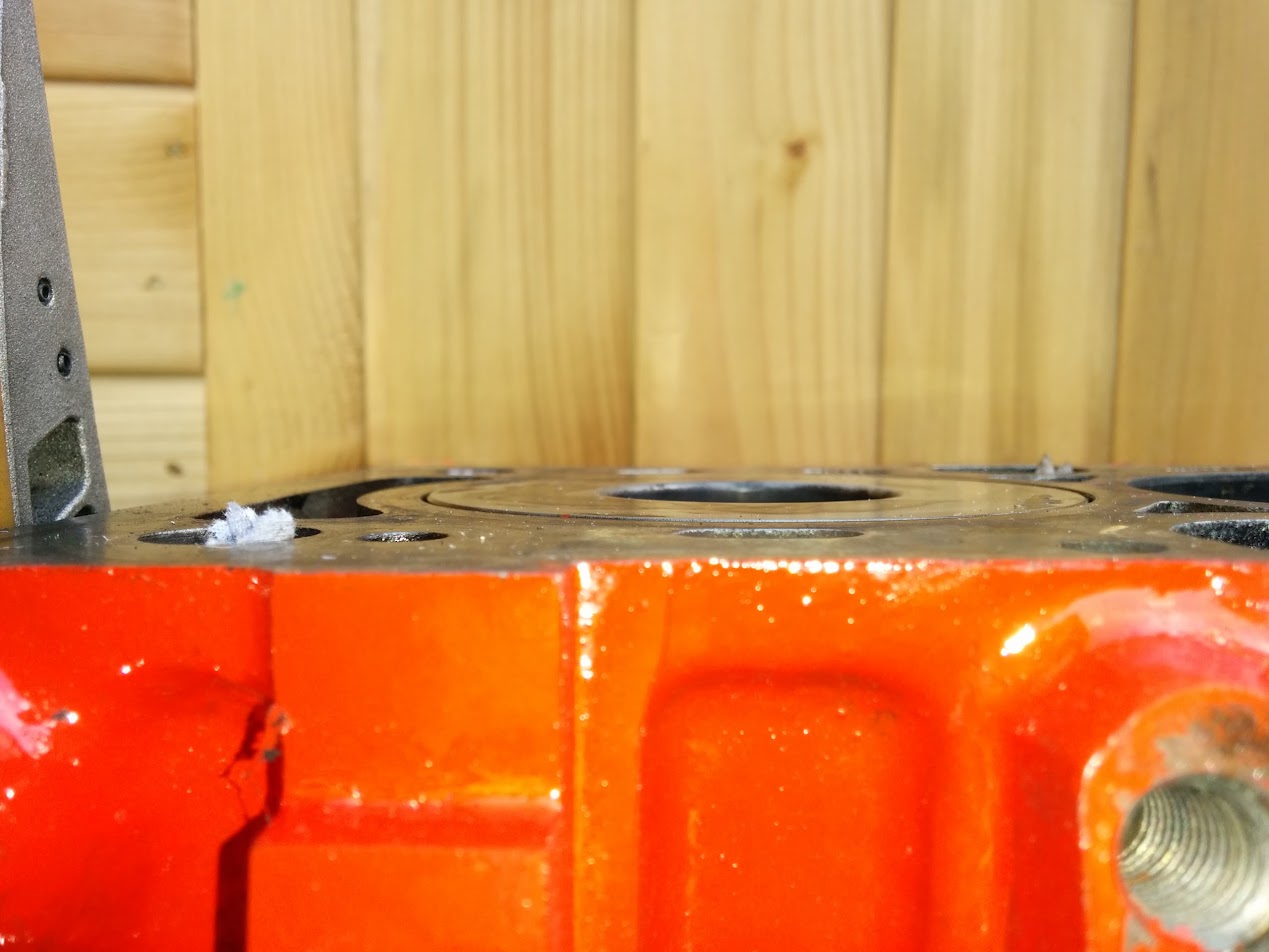
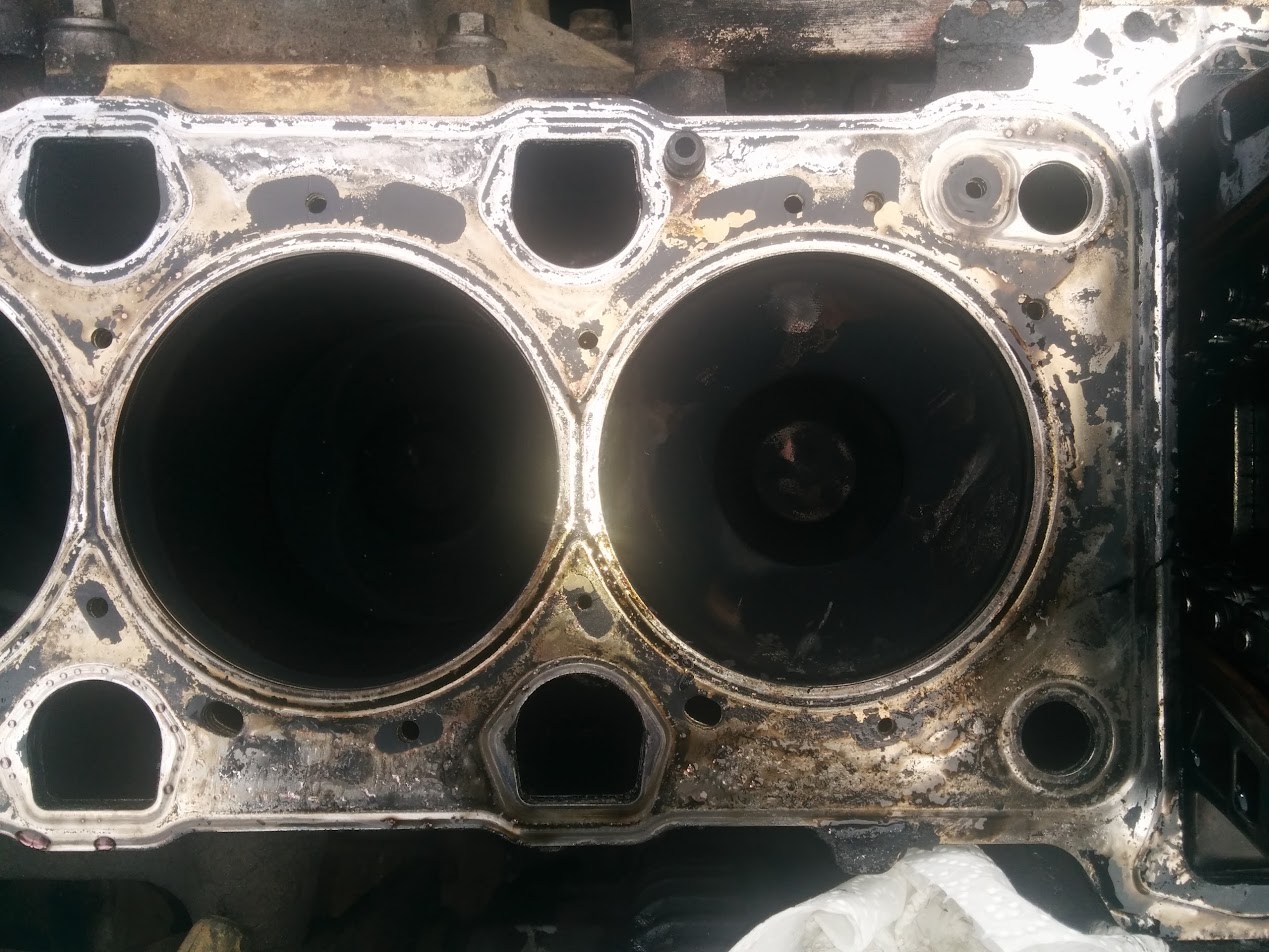
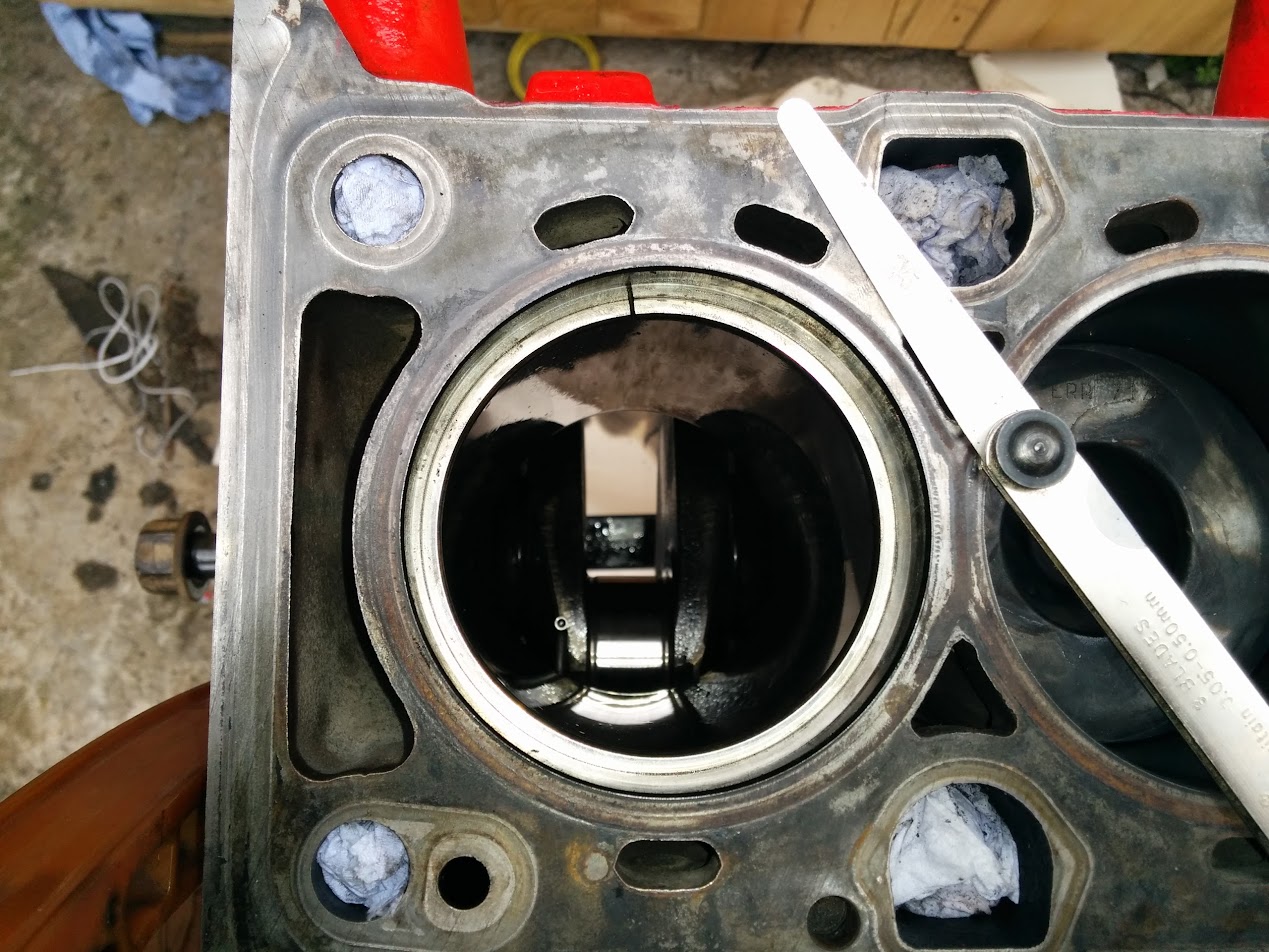
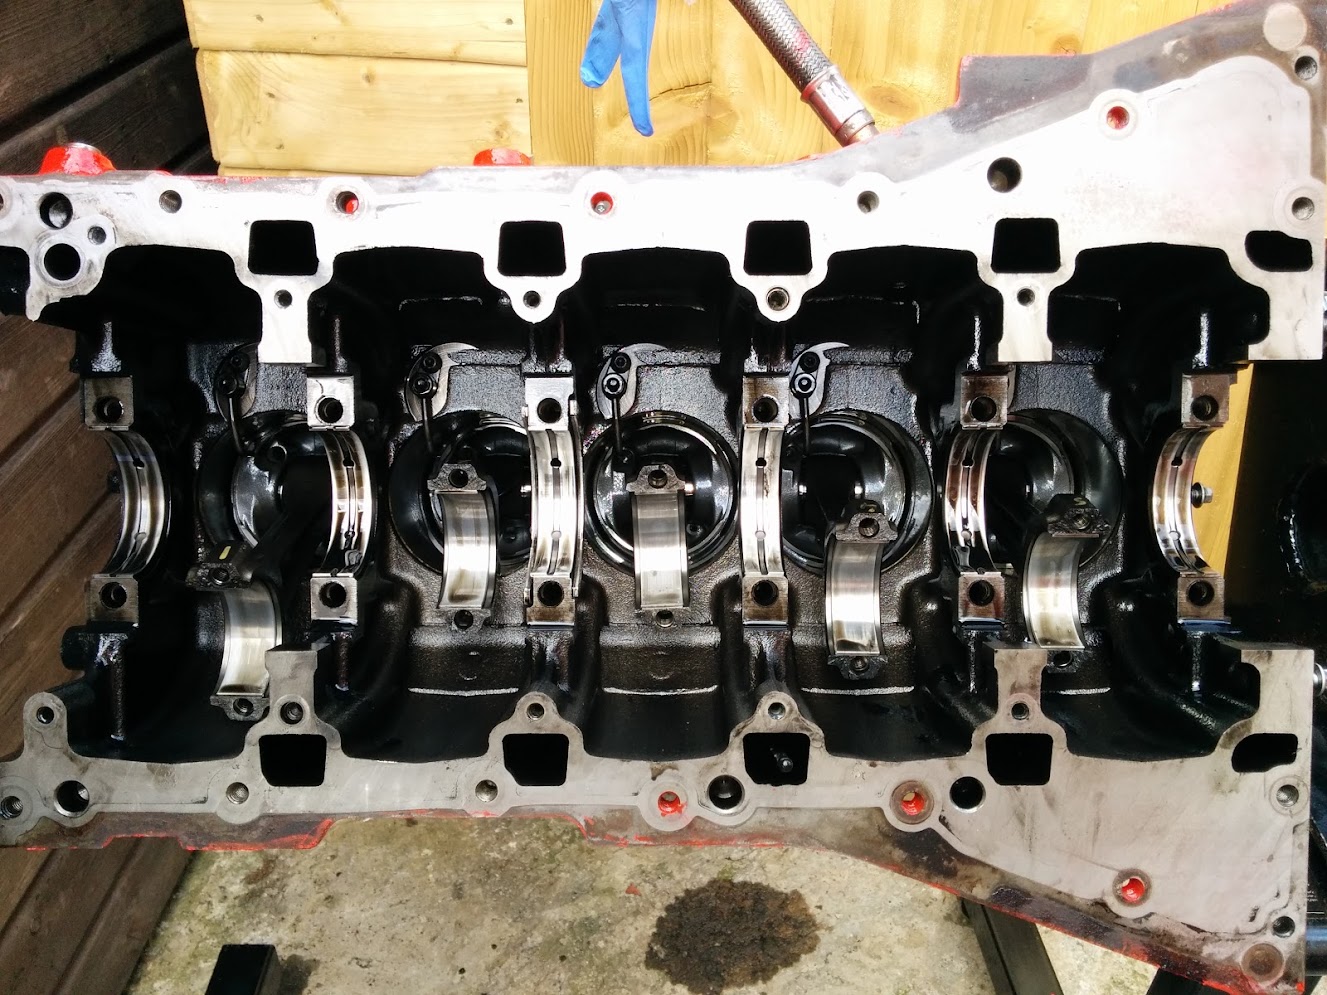
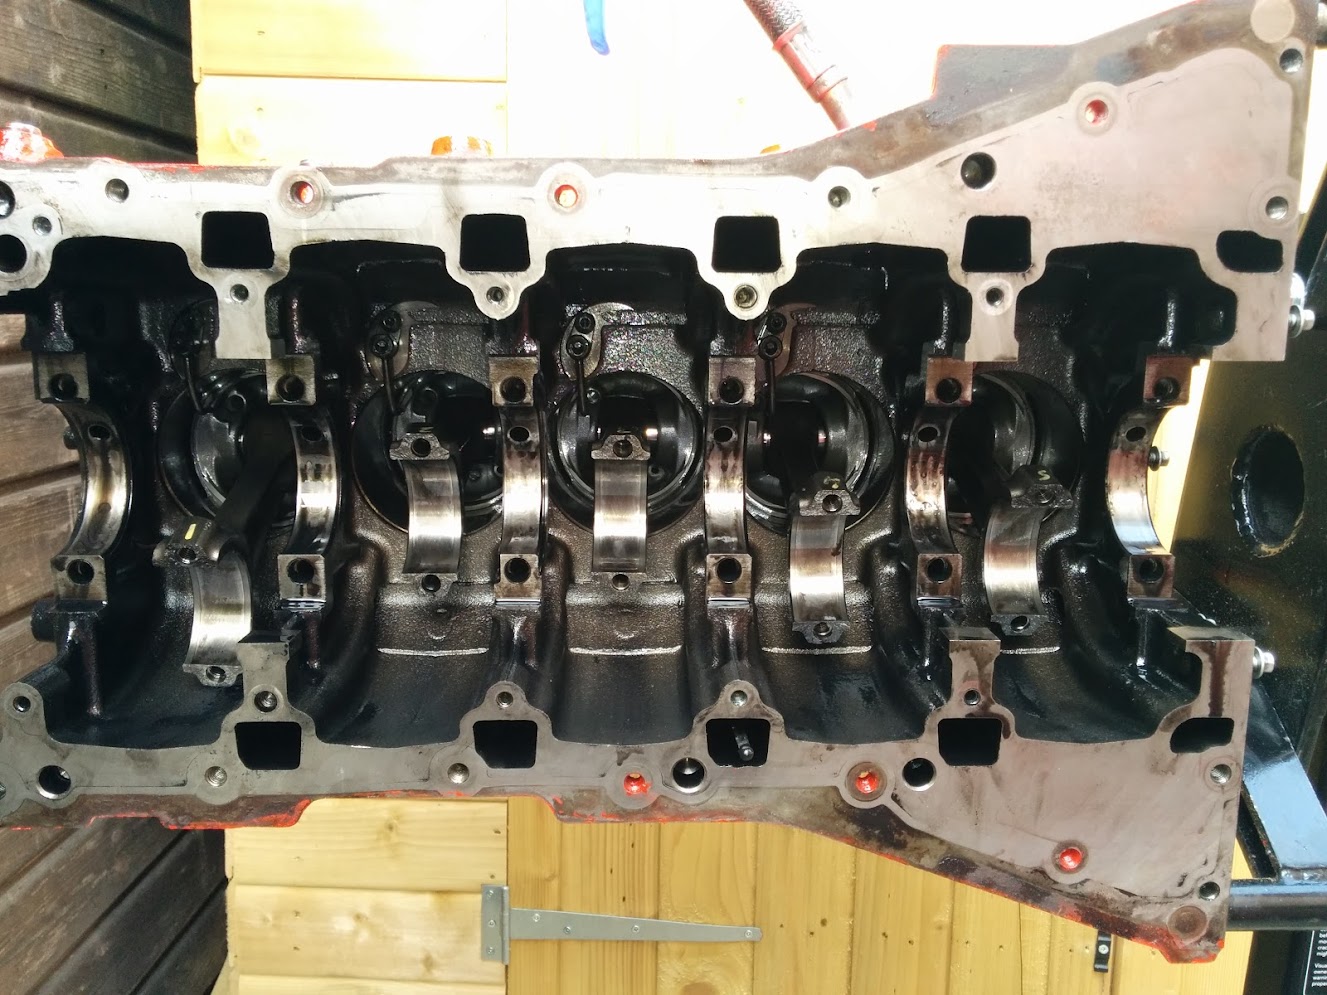
View into the block, no signs of other damage to number 5 main shell:
IMG_20140707_171109.jpg


Shells and thrusts removed:
IMG_20140707_172032.jpg


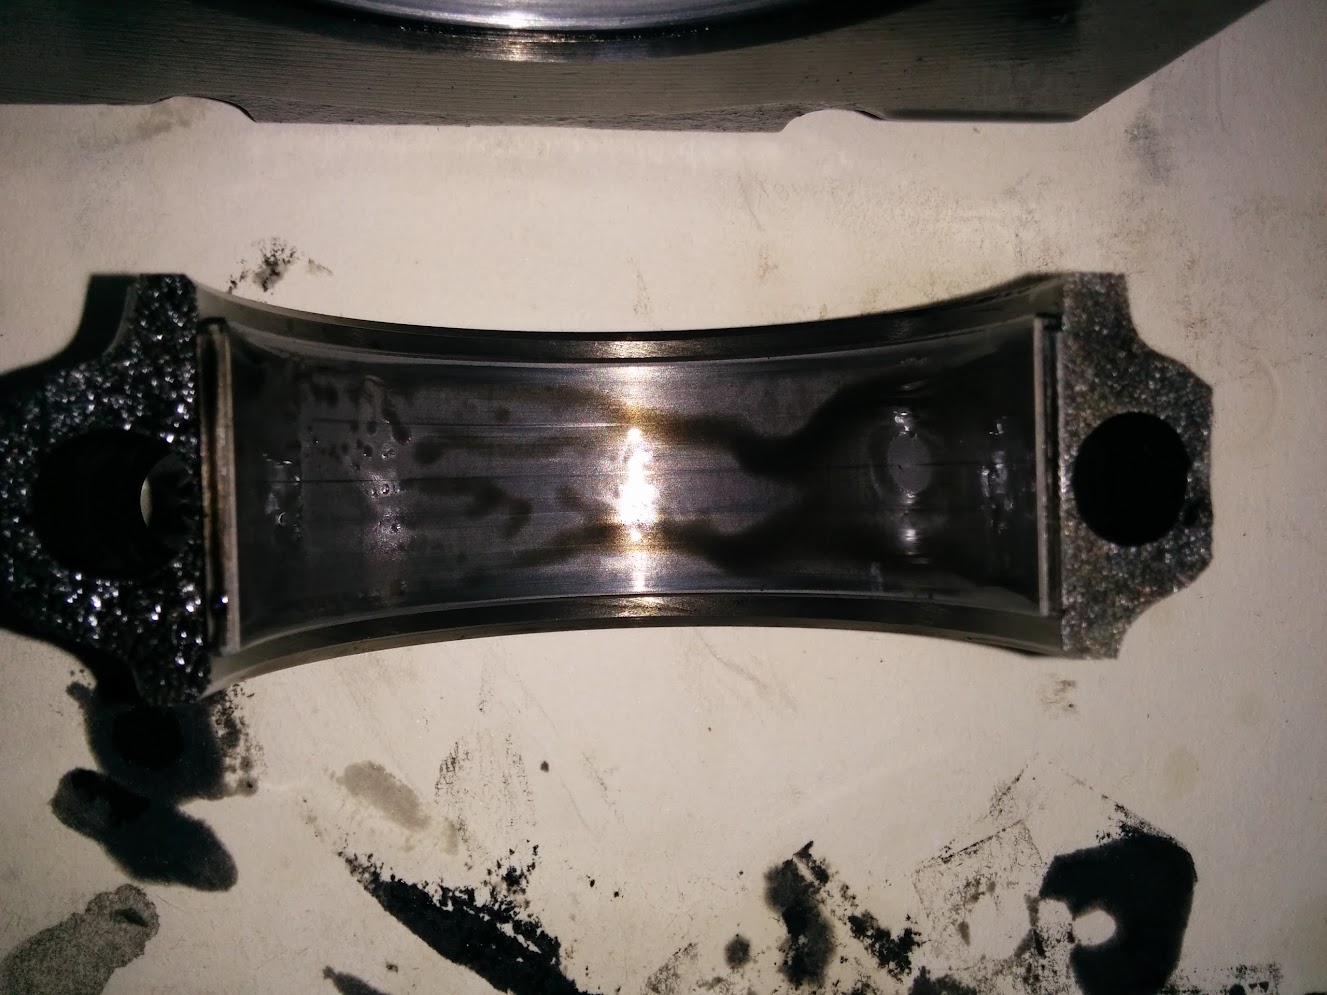
Here's one of the big end shells:
IMG_20140707_164248.jpg


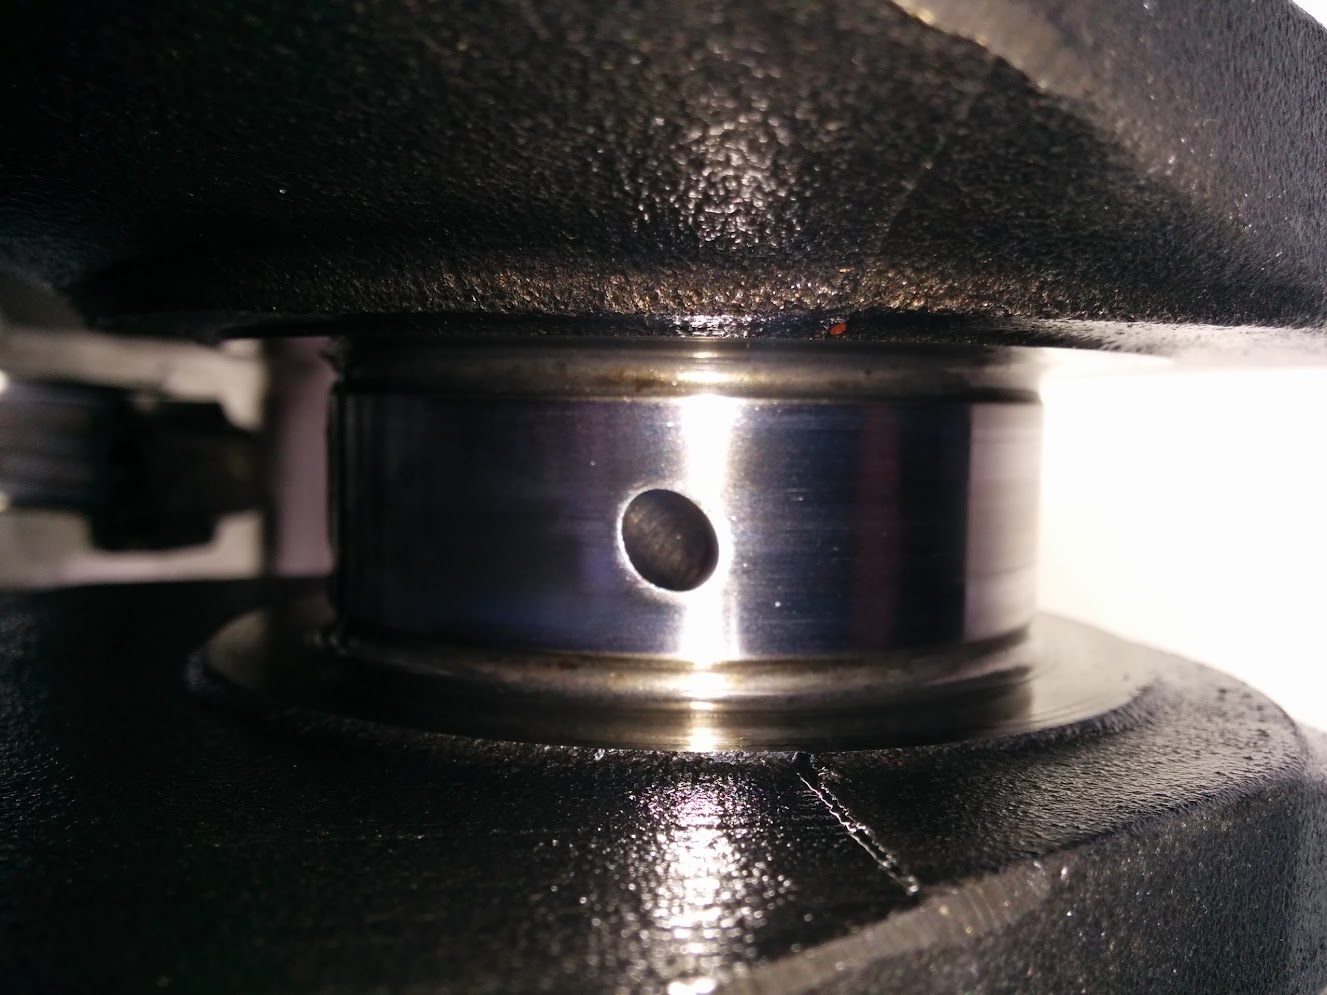
And number 5 journal on the crank:
IMG_20140707_173002.jpg
 
Didn't have any to hand and needed to get cracked on, worst comes to worst I'll be doing the job again lol.

So....

Inside of block swilled out with parrafin and blown out.... new shells fitted to conrods and crank journals, thrusts in place:
IMG_20140707_190506.jpg


Looked like it was going to rain so got stuck in, caps and shells on and torqued, conrod caps and shells on and torqued, new rear crack seal on and torqued:
IMG_20140707_202537.jpg


Just in time for it to start lashing it down.
 
fair enough, you've probably already checked the main caps but if not double check them with the torque wrench slowly, a lot slower than you would for wheels just to make sure they haven't seated in a bit further and loosened up

I lost about a quarter turn on one of the chevy ones just due to it slowly seating itself after original torquing and smacking with the dead blow
 
Rotated the engine to eyeball piston protrusion (going to DTI it later) just to make sure none of the rods are bent - would expect the piston to not lift to full height if that was the case.

Anyhow, all appear ok, but..... Number 1 the piston head is ever so slightly higher at the front than the back - this is the most worn cylinder btw - honing only barely visible at the top end of the pot.

This picture may show it, but it's kind of hard to take a pic of:
IMG_20140709_102128.jpg


This is the piston that had the most crud built up on it at the same side when I first took the head off, see here:
IMG_20140626_172559.jpg


Should I be worried?
 
Last edited:
Some pics looking down the bore:

Rear and left:
IMG_20140709_135344.jpg


Right side:
IMG_20140709_135414.jpg


I lifted all the pistons to top and hand pushed them about to see if there was any rocking, and got no rock on all the pistons, but a very small amount of movement on the rings.

Think I'll remove piston 1 and check the small end bush/wrist pin.
 
Pulled the piston, can't see any play damage/blueing to the wrist pin/small end bush, but there's a definite rime of soot at the piston side that's sitting higher.

Going to clean that off and stick it back in the bore to see if it sits any differently.
IMG_20140709_145934.jpg
 
Pulled the gudgeon out and checked the conrod flatness and it's fine.

Had a closer look at the piston, and there's obvious wear on the rear side - should be concentric rings running round the piston, they're only on the front side (raised side)...

IMG_20140709_154120.jpg
 
Last edited:
So, I decided to check the bore wasn't oval before ordering a new piston - would mean a rebore and 5x oversize if it was...

Popped the top ring off and poked it down into the main worn area of the cylinder using the piston, then tried getting a feeler gauge down the side. Luckily it just get catching on the ring, so fingers crossed a new hone and piston will do the job. There seem to be differences of opinion on whether these can be rehoned or bored out, but turners do it so that's good enough for me...

IMG_20140709_170348.jpg
 
Started looking at replacing the stem seals on the head and cleaning up the valves...

Popped out number 5's valves first, the inlet was totally caked in black goo - so this is either the seal leaking or oil/gunge blow by (or old EGR gunk build up)...

IMG_20140710_182117.jpg


I'm going to give the ports the good news with paraffin and scotchbrite once I've popped all the valves out:
IMG_20140710_182104.jpg


Here's the valves after a bit of a clean:
IMG_20140710_184628.jpg


Glad it was suggested to regrind them, they look a bit knarly.
 
Hi Benneh. As I mentioned the other day, the inlet valves will be OK with a quick grind in with fine paste. The exhausts look like they will need grinding in with some coarse before proceeding to the fine. Replace any exhausts that are really bad, but they should all be about the same unless there is a problem with a particular cylinder.

Now you have had a piston out it may be worth replacing all the rings. I know, MORE expense. But as you have got this far you might as well, especially for the oil control rings. It's something I always do as a matter of good practice.

Also, if you have had a gudgeon pin out, if it has the little circular spring clips at each end to keep it in place, you MUST replace these clips with new as they are single use items. Think of the damage one of those wee thingies will do to a bore if it decides to pop out!

Keep up the good work!
 
Back
Top