owl
Well-Known Member
- Posts
- 1,807
- Location
- Breaston Derbyshire
If you go for the 215 you can weld 8mm + you will prob get a better duty cycle, though I only really notice it on thicker stuff and longer runs.
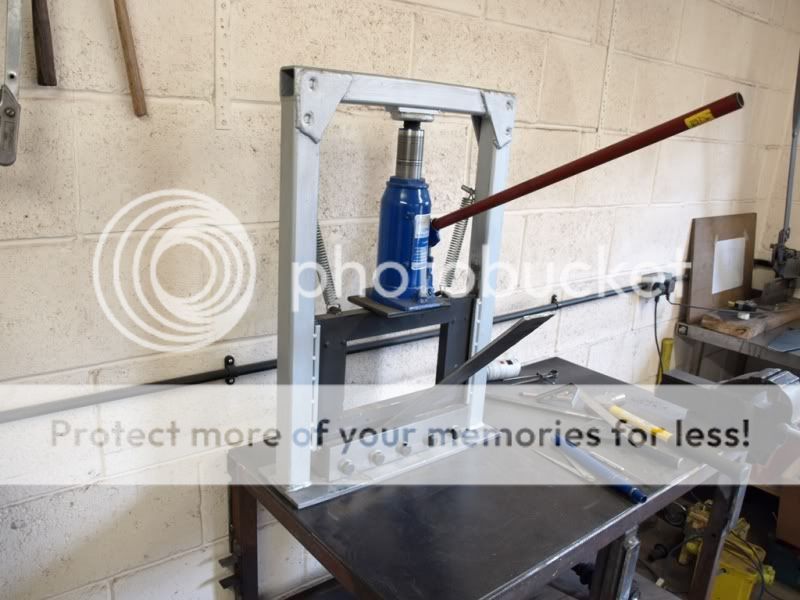
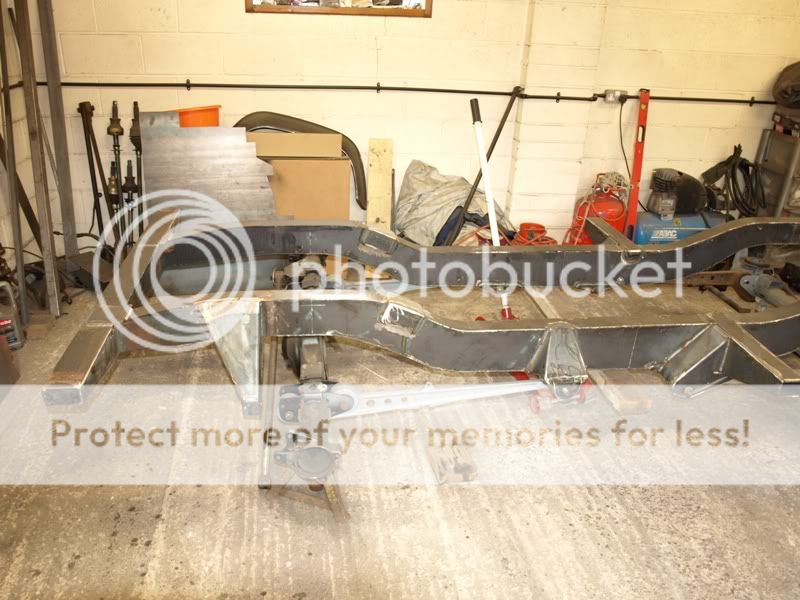

Do you mean like the panhard rod mounting in the pic. Obviously it has it's limitations but a good tool none the less. I would like a box and pan folder but don't spose I will get one but am thinking about making a 36" folding brake.
The build is looking as good as ever. Keep up the good great work.


It looks to pretty to be a trialler!

 another milestone passed.

Welcome To LandyZone, the Land Rover Forums!
Here at LandyZone we have plenty of very knowledgable members so if you have any questions about your Land Rover or just want to connect with other Landy owners, you're in the right place.
Registering is free and easy just click here, we hope to see you on the forums soon!