65deluxe
Active Member
- Posts
- 100
- Location
- Hilperton , Wiltshire
i used the same aerial... from halfords right? bloody useful off road
Yep - good spot
")
i used the same aerial... from halfords right? bloody useful off road
, wish i could paint like yursell!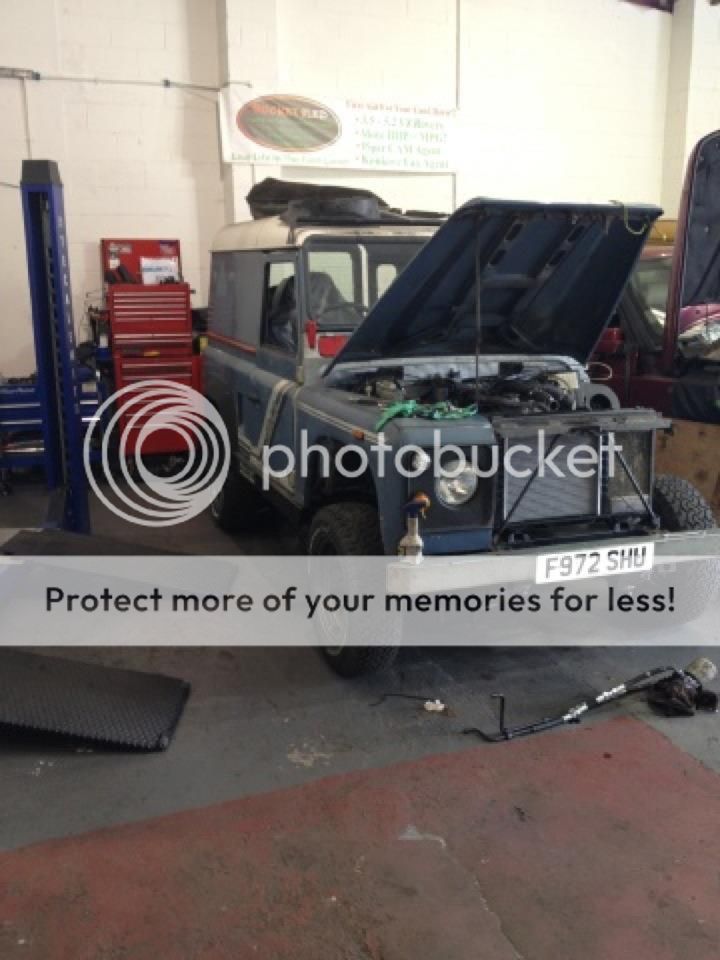
I used Tiger seal.Cracking thread
Enjoying yur tips and progress, question what sealent/adhesive did you use to hold in the new rubber seals on the airvents?
Only asking as thats a job i,m doing when i,m on duty this week and i can take the 110 inside to fit new rubber seals.
I used Tiger seal.
A bit more work done -
I have a bit of a thing about the environment that I drive in and want it all to look like it should belong in there - So the sun visors needed some work - Yes I did say sun visors
So this is how they were - filthy to say the least

Once cleaned up they looked ok but still had some stains

I also thought the light grey would stand out too much from the planned dark grey and black interior - So out came the dye

Once fitted they blend in nicely - They have a few finger marks on here from the powder on new seals

Rear view mirror cleaned up well

New seals for the front vents fitted - hence the finger marks

Next choice is seats - I want 4 the same and had to make a choice between MGF

Or these are MK2 MR2 seats

In the end MGF won through - The MR2 ones are for sale at £35 the pair if anyone is interested
Next up were the vents - This is how they were .

Once bare metalled they went into etch and then primer

Finally painted in body colour and fitted back in place - even go back flat with the new seals

alekos said:when you applied etch on the partialy bare, did you have any problems at the areas that were still having old paint/primers etc??
Cracking thread
Enjoying yur tips and progress, question what sealent/adhesive did you use to hold in the new rubber seals on the airvents?
Only asking as thats a job i,m doing when i,m on duty this week and i can take the 110 inside to fit new rubber seals.
Would you take on a spray job on a 90, ours is almost ready for one!
what dye did you use on the interior !
Outstanding work, really like the headlining. Is it just a relatively low cost interior carpet? The foam I assume is some sort of closed cell thing.
May I ask what adhesive you used to fit it? I've read threads previously saying people have had issues getting a good stick. I guess by your experience you've been using the same stuff on VW's in the past.
How did you dye them out of interest ? I have same problem, have recovered my roof lining with a dark carpet and my sun visors are left grey....... Looks odd ;-)
excellent build!!! I'm in the beggining of respraying mine + rebuilding the hard top and I have couple of questions:
-some parts you sanded to bare metal while others not. when you applied etch on the partialy bare, did you have any problems at the areas that were still having old paint/primers etc??
- any plans for the interior door panels (the plastic ones)?? Mine are a nit battered but good enough to cover with new PVC - just like the seat trim.
Thanks! Today I got in touch with 2 european autocolor companies Technical Assistance here in Greece.Yeah i had that problem. The etch sat nicely on bare metal and ok on the old paint. But at the edges of the old paint it reacted and crinkled. Lots of further sanding and fine dustings of filler primer eventually got me through it.
I'm sure there is a more professional way!
Thanks! Today I got in touch with 2 european autocolor companies Technical Assistance here in Greece.
Both told me that in this case I should not use etch due to the fact that etch primer does not really goes through old paint or primers. For this application a 2 component epoxy primer should be used.
I have not tried it myself but this is the technical advise I was given - I am not saying its correct till proved. I'll try it on my LR and let you all know.
Welcome To LandyZone, the Land Rover Forums!
Here at LandyZone we have plenty of very knowledgable members so if you have any questions about your Land Rover or just want to connect with other Landy owners, you're in the right place.
Registering is free and easy just click here, we hope to see you on the forums soon!