Pricilla
Active Member
- Posts
- 226
- Location
- Gloucestershire
ah that'll be it then.....never looked that closely below the general build up of grime on my two

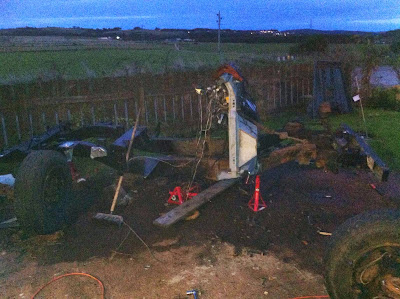
Not quite the progress i wanted today.
Had to go sweep a mates chimney since i sold him my old stove.
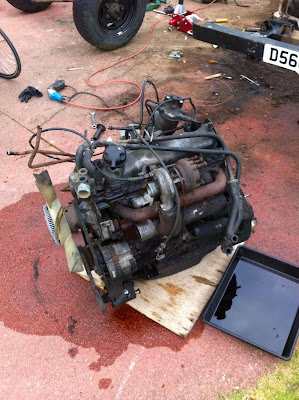
Got back to the landy at 14:00
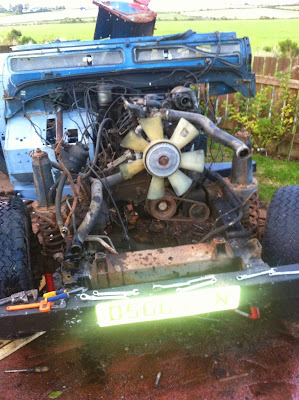
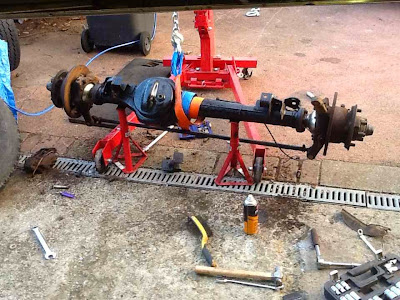
Bulk head is one solid unit again.
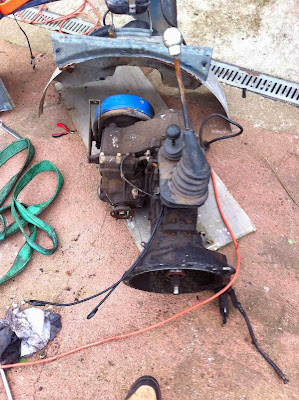
Advice on best way to pull the loom out ? The colours should all add up when it comes to rebuild ?
Found a heap of extra shocking wiring for an alarm and some thin thin wiring for spot lights out front :/
 Pulling it though might be a pain in the ass though...
 Amateur wiring by previous owners is just the worst! I don't envy you!
And as for loom - if it where me, I'd take pictures of everything before I unplug it, and make note of the order. But depending on the condition of the loom pulled out, it might be worth getting a new one... I'd even consider making my own, using multi-core SY cable or something (metal-sheathed and would never ever break just sat in your chassis, even with some rubbing on tight corners and bits of swarf and sh*t that finds it way inside your chassis after a bit of exploring in the wild.
NOOOOOOOOOOOOOO!!!!!
use the correct stuff - but thinwall.
haha fair enough - why not SY then? Just out of interest.
its not designed foe automotive use.
like the cars that are wired up with only red n black - nitemare to work on. use the correct wire, correctly rated and correct colour code.
well named - Plank. feckin nitemare in the making

Welcome To LandyZone, the Land Rover Forums!
Here at LandyZone we have plenty of very knowledgable members so if you have any questions about your Land Rover or just want to connect with other Landy owners, you're in the right place.
Registering is free and easy just click here, we hope to see you on the forums soon!