110 defender rebuild project and v8 conversion

This site contains affiliate links for which LandyZone may be compensated if you make a purchase.
Yeah screed finish I think it's called.. I think its supposed to be less prone to surface cracks. It's not too bad for getting big castors over though tbh... Just noisy. Kneeling on it is quite painful though! Soon to be lined with cardboard!
 
check engine mount positions ,,,they fitted mine wrong on my series and i didnt find out till it was rolling i ended up having to fab new mounts to bolt to the engine to sort it out ,,,did charge them 160 quid though,,,
 
check engine mount positions ,,,they fitted mine wrong on my series and i didnt find out till it was rolling i ended up having to fab new mounts to bolt to the engine to sort it out ,,,did charge them 160 quid though,,,
I'll have to try and find a reference to see what position they should be in....

It's t-wash, primer, and chassis black as a first job on the chassis, but all that will have to wait till after the move.
 
Well, There's nothing like a house move to slow things down!

May 28th Was my last comment on this thread, and we're now just over 2 months on from that point! I have done some more stuff though - including 2 near-serious-injury incidents!

NOTE TO ALL... When taking a landy apart, start at the top and work your way down.... DO NOT remove the axles first!!!

so, as far as the new chassis goes, this is the progression (Photo's to be added this evening):
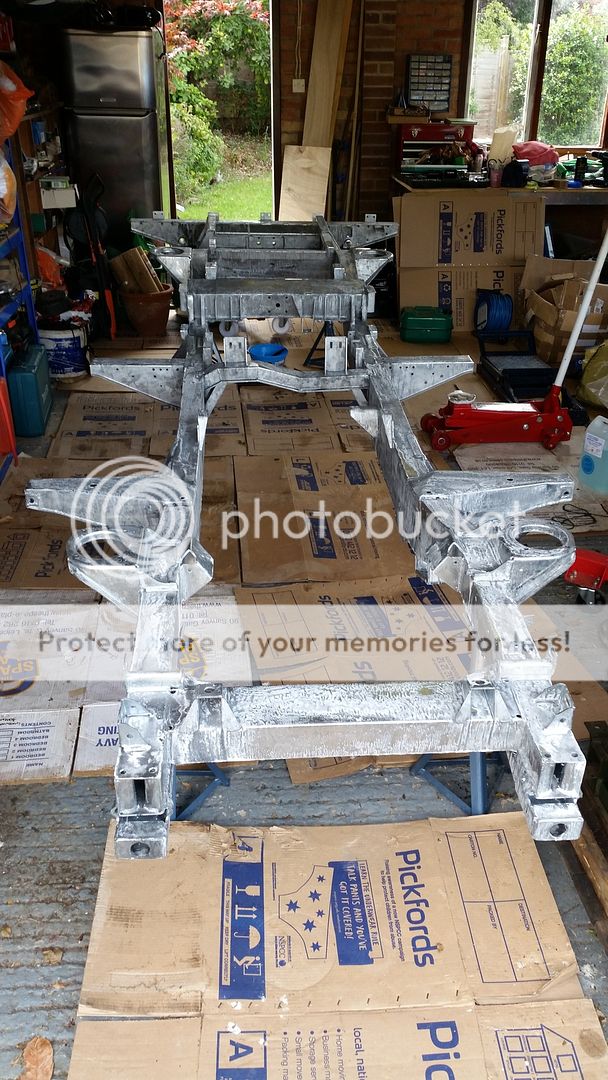
********************
New shiny chassis:


then a thorough wash with soapy water to degrease (use meths if you're feeling flash!)

Then first coating of Mordant Solution (Acid wash / T-Wash)


Then another thorough wash with soapy water

2nd coating of Modant solution


Then a wash with soapy water and about 4 or 5 standard yellow & green scouring sponges.... you'll destroy them as you go, but you need them to scrub the salt deposits off the surface of the metal.

Then a wash with plain hot water

Then leave to dry for 2 days (obviously mop up any obvious pools of standing water)


Then apply a coat of Acid Etch Primer (I use U-Pol Acid #8)... TIP.... wear goggles!!!! This stuff melted through my latex gloves, and then I managed to get a big drip in my eye whilst doing the underside!!!! OMG that hurt!!!! My looked quite dodgy for a good few days afterwards.... it's a nasty acid!


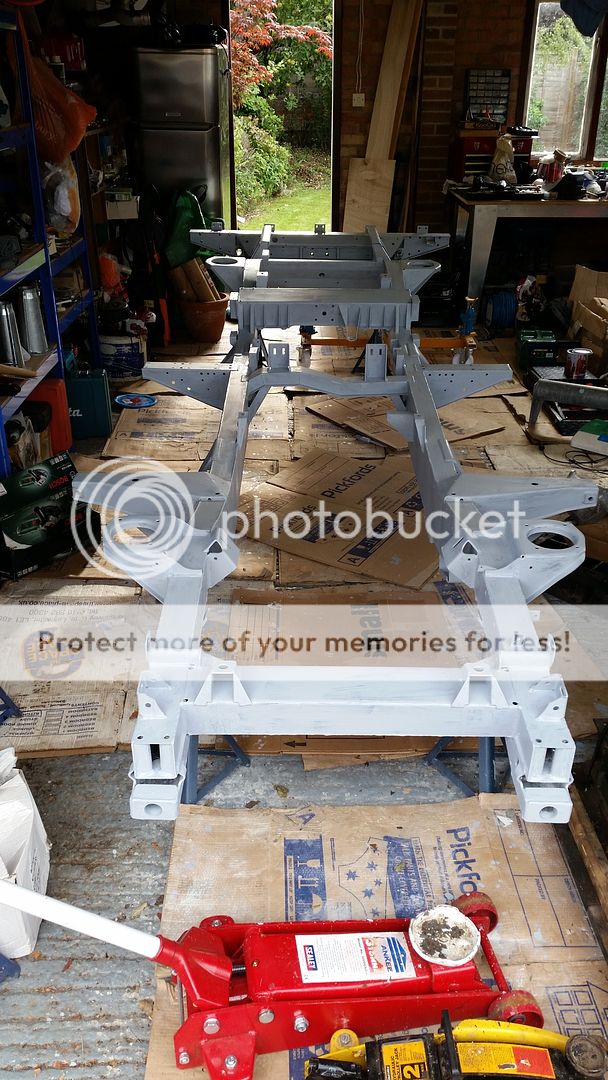
That's as far as I've got with the painting, but I did attempt to do a 2nd coat of acid etch, and realised that was quite silly of me... The acid just eats into the 1st coat!!! I have since bought some grey oxide primer to form the 2nd coat of primer / undercoat. This paint job is only really to hide the galv.... I'll be filling the chassis with something waxy with regularity.

***********************

The other thing that I tried to move forward with (having found a v8 r380 bell housing) was to get the 300tdi r380 box out of the donor vehicle.... After a good couple of hours working in/over/under the vehicle, I got to point where the engine crane was through the cab, taking the weight of the gearbox, and the bell housing was coming away from the engine - only about 1 inch of input shaft left connected......

THEN....


The bloody thing fell over!!! Luckily I had just crawled out of the cab at the time, but it if had been 1 min earlier, I would have been underneath... and would now be dead! It really did give me the willys for a few days afterwards. Clearly the tripod axle stands which were holding the chassis were not fit for this amount of work. In the end I had to get my mate to come round with a 2nd 3 tonne trolly jack, and we managed to get it up, and then set the chassis down resting on the old wheels & tyres.

I guess my next job here is to take the landy apart from the front end, working backwards.... I guess that I can the engine out of the front, and then recover the gearbox after that. The garage needs a serious tidy-up, then I will have room to store all of the body panels.

OK, that'll do for now.... in summary, that chassis is now acid washed, and acid etched. The gearbox is still stuck in the donor, and I have a renewed fear of working under vehicles.

Adam
 
Last edited:
I've managed to get a few personal goals achieved over the past couple of months, and also changed jobs now, which is great.

This means the Landy moves back up the priority list! I spent the weekend adding a coat of primer to the new chassis. It already had a coat of acid etch primer, so I was just adding a layer of proper undercoat with this:

http://www.ebay.co.uk/itm/Grey-Oxid...354471?hash=item3380ce95a7:g:pYwAAOSwBahVCsr0

Next will be 2 coats of chassis black.

In addition:

The 300tdi engine from the donor vehicle is now removed (I finally got over the near-death accident from a couple of months ago).
The original g/box and t/box are removed and palleted up, along with an r380 v8 gearbox & bellhousing. These, plus my front diff, are all being shipping to ashcrofts this afternoon. Ashcrofts will hopefully give me back a refurbed diff, and a rebuilt R380 box with v8 bellhousing, plus rebuilt t/box. The g/box will be having a disco 5th gear fitted to allow for a nicer cruise. Once this pallet is out of the way, I'll have a bit more room to work in the garage!

Next jobs:
finish painting chassis
paint components that are back from blasting: front axle casing, radius arms, pan-hard rod, trailing arms, etc etc
paint rear axle which is back from James Marting following refurb
fit axles & new suspension (new springs & dampers in the post from AMD 4 wheel drive, leicestershire).
 
Well done being honest about the mistakes - I would be too embarrassed! But a good lesson for non-professionals reading your story.
 
I thought you might enjoy a shot of my garage art installation:


who needs the Tate modern eh!?

yesterday's job was supposed to be painting all these thing, starting with the rear axle. Sadly I learned that once you've cleaned a primered surface with meths, you have to wait a while before putting undercoat on. The paint just wasn't sticking. I need to put grey acid etch on all the various arms anyway, so I might just "refresh" the acid etch on the rear axle. Then it's ploughin on through the coats... grey oxide, following by chassis black.

Sadly I have been struck down with strain of a man-flu today, which halts progress a little. I'll soldier on though...

EDIT: you'll notice the old bushes are still in the arms... rightly or wrongly, I planned to get these out after painting. With them in, they protect the bores from overpaint... not sure if I need to worry about that or not.
 
A few more chassis painting shots...

Half n Half... the darker stuff is the "grey oxide" HB primer


1st coat of chassis black


2nd and final coat of chassis black


As long as I keep the cavity topped up with something like dinitrol, this this is never going to rust!


here's me failing to press out the trailing arm bushes:

 
Close call when it fell over - I hate using jacks and stands, having had a similar experience a few years ago. Now I always put a spare wheel under before axle stands, and never get underneath.

The chassis looks great.
 
I decided that worrying about protecting the bush bores from over paint was not as important as avoiding having to repaint after pressing bushes out.

As such:


Trailing arms and radius arm bushes soaking in duck oil. Man flu still has full hold of my senses, so not much proper work going on till it's passed. Will try again to press those bushes out in the next couple of days hopefully. Then back to painting.
 
Man flu update: I may yet survive it!

Bush update: after 3 days soaking in duck oil? I manage to **** one trailing arm bush with 9 tonnes of pressure! Sadly the other one won't shift still. Not even after a good bashing with drift + hammer and chisel + hammer.

Will research friendly local garages tonight.
 
Seems as though I survived the dreaded man-flu. I also found a friendly local garage to help me with the bushes!

one of the trailing arm bushes came out on my press after soaking in duck oil for 3 days... It took 9 tonnes!!! The other trailing arm went to the local garage along with the radius arms... no idea what tonnage they came out at. The garage mechanic did moan about the fact that I had soaked the bushed in oil, as he said it made the rubber swell. meh.

Rear axle and various arms then got a coat of acid etch and a coat of grey HB primer.


I also finally got the front axle outside and presure washed it to get rid of the sandblasting grit. This now needs a thorough meths degreasing inside and out, and then can also be painted.

Need to get the first coat of chassis black on the arms and the rear axle tonight, and also box up those brake calipers to send for refurb.
 
The rear axle and the various arms are now finished... I just need to do 2 coats of chassis black on the front axle, and that's all the currently "clean" stuff painted.

Gearbox, T-Box, and front diff are on their way back from Ashcrofts, and should be here tomorrow! They were very quick turning them around, which is great, but I was kind of enjoying having a little bit of floor space! It'll be after the new year before I'm ready to start thinking about getting the box and engine onto the chassis, so they'll just be taking up room until them.... Garage tidy up is desperatly needed!

Calipers are currently with Bigredd being refurbed and enamled. Standard pistons being fitted, but I'll get some use out of them and change them at a later date if required.

Next jobs:
Order the £100 worth of bushes (traditional type) needed to mount the axles (today or tomorrow)
Order the engine and box mounts
Remove the A frame from the donor including all brackets, and send for sandblasting
Remove the 3 bolt rear damper brackets from the donor and clean them up with wire brush, then paint
Get steering arm and track rod blasted & painted
Fit rear axle
Fit front axle

I'm currently debating whether or not I should be replacing the stub axles on the rear, or if there's no need. I'll need to order all of the gubbins that fits between the axles and wheels shortly too, plus have a go at refurbing the swivel housings.
 
Back
Top