Finally got some time for the landy today!
I decided to tackle the front axle stripping today, and I had hoped that I'd have the whole thing done by the end... sadly not!
I took a good few hours to tackle the "short-side" gubbins - brakes, hub assembly, swivel units, half shafts.... then about 2 hours to do the other side. Obviously I had photos to take during the first side, so that will have slowed me down a little. There were also quite a few bolts done up to the torque setting "all-of-the-torques"!!! bloomin things!
I started off with the radius arms. I undid the 4 x 24mm bolts with a couple of brakers, and then left the radius arms in place, with the bolts just fastened finger tight. The radius arms were invaluable in helping get some leverage on some of the tougher bolts. If you decide to take the radius arms off, then you're going to have to find a way to stop the axle rotating when you reach a tough nut.
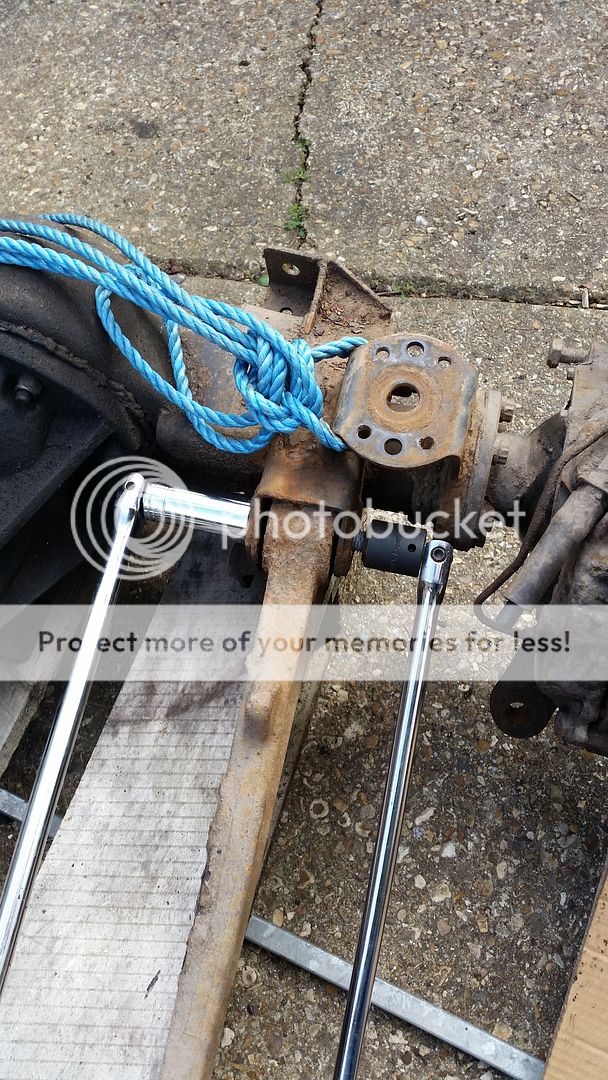
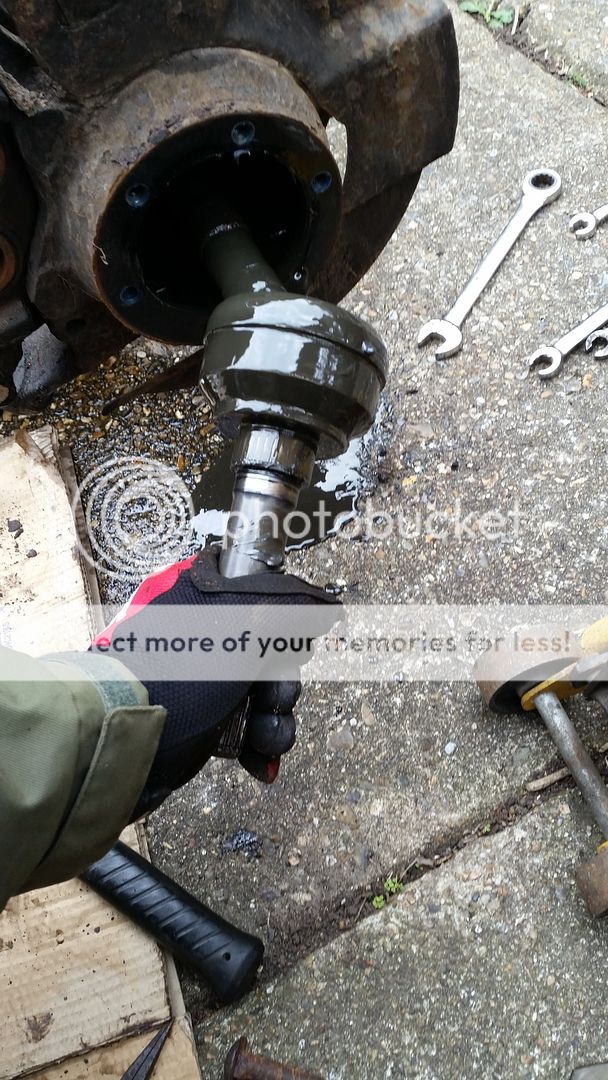
Next I got on with the main job... pop off the rubber hub centre cover, and open up the circlip around the end of the half shaft. There were also a couple of shims behind the circlip... All photo'd & put somewhere safe.
Next it was on to the 5 bolts surrounding that area, which allow you to remove the plate:
straighten out the bent lock washer to give you access to the outer hub nut:
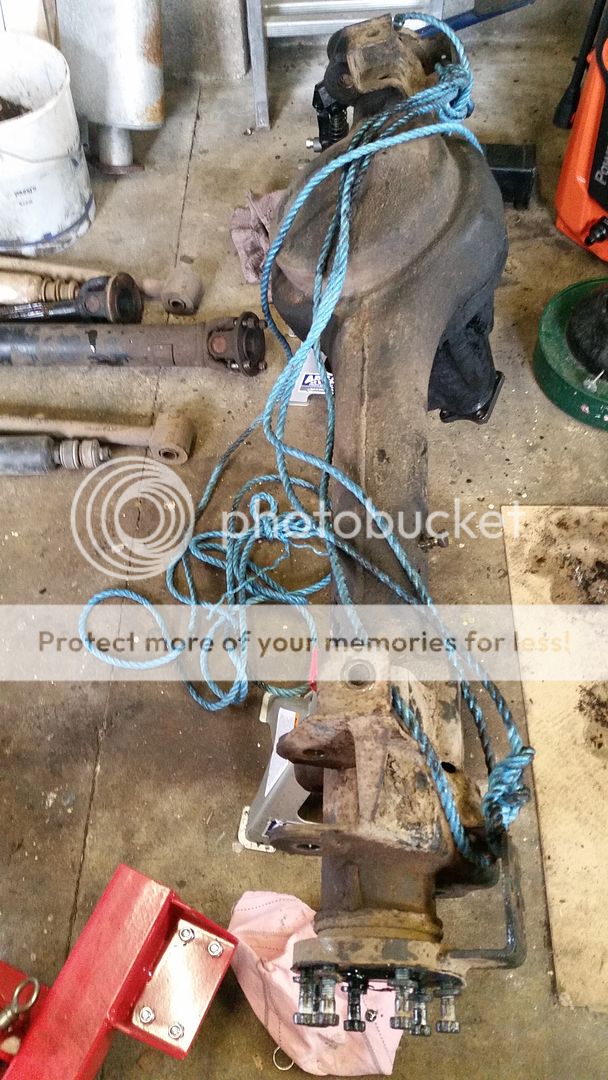
20150419_104911_zpsrcq8wcwu.jpg Photo by farmershort | Photobucket
try and use the poxy box spanner (52mm) to undo said outer hub nut:

Once you've realised that this is one of those nuts which had been done up with "all-of-the-torques", you will no doubt have something like this:
See the little nick in the hub nut? That's the answer! a bloody great hammer & chisel was the only way I could get the hub nut off.

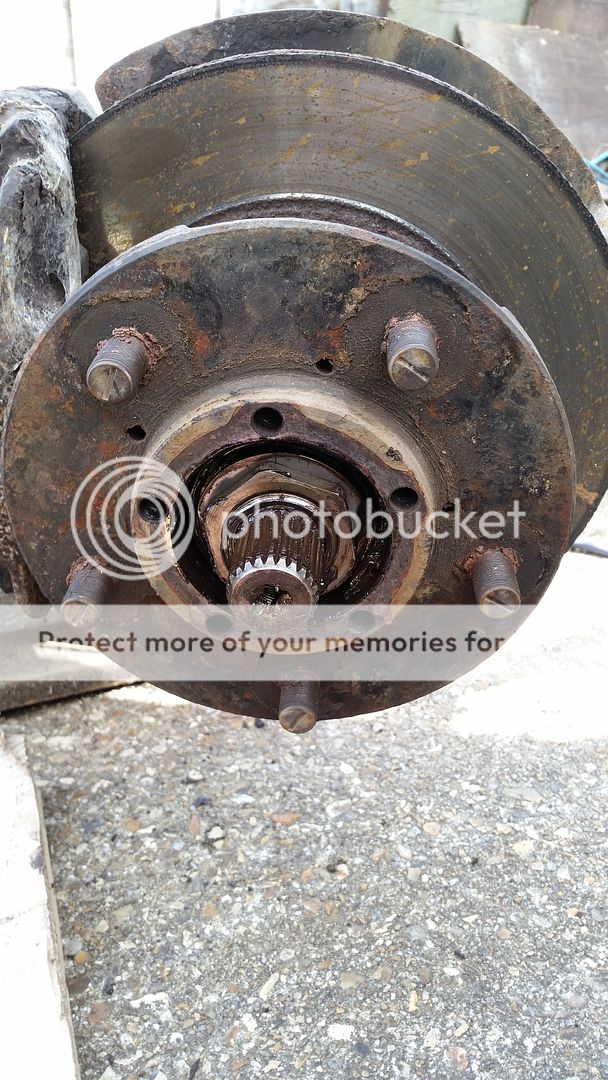
Next I took out the lock washer, and the inner hub nut. The inner hub nut was only on finger tight, so much easier with that poxy box spanner. The bearing can then be drawn out, or left in till you take off those whole disc/hub assembly.

I then decided that It's time to do something about the brake calipers, as they were still attached. I undid the brake unions, and then split the calipers by undoing the 4 x bolts (after removing the pins and brake pads of course):

disc, pads, and half a caliper off:

Next came these 6 bolts:


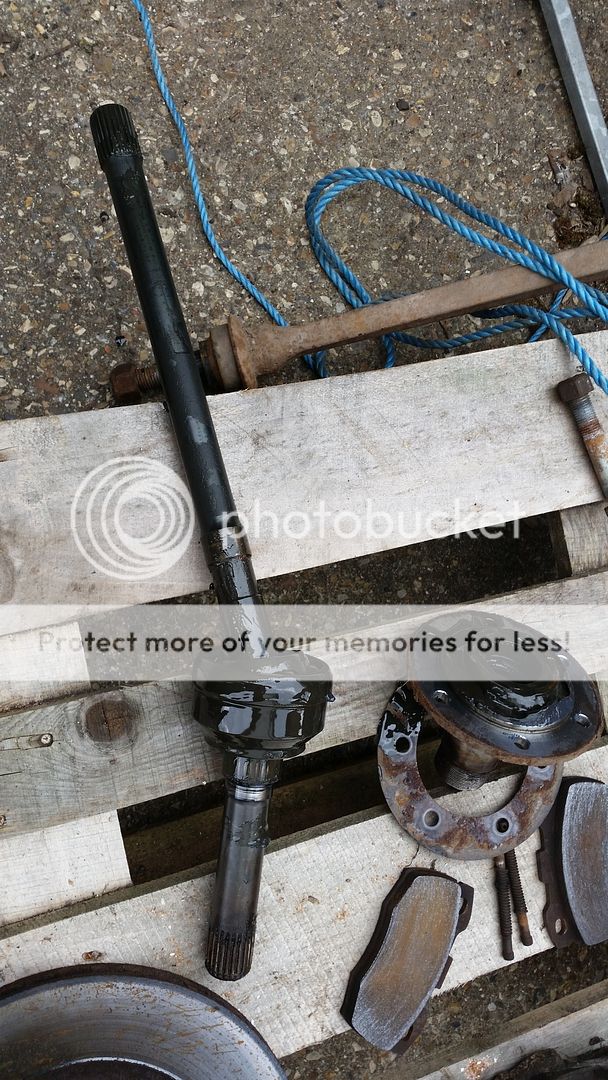
The swively half-shaft was then taken out:
Next came these 2 half inch bolts to remove the rest of the caliper:

and I was left with this:

I then undid the 2 bolts on top of the swivel chamber bit (I have no idea of the proper name of half this stuff!)
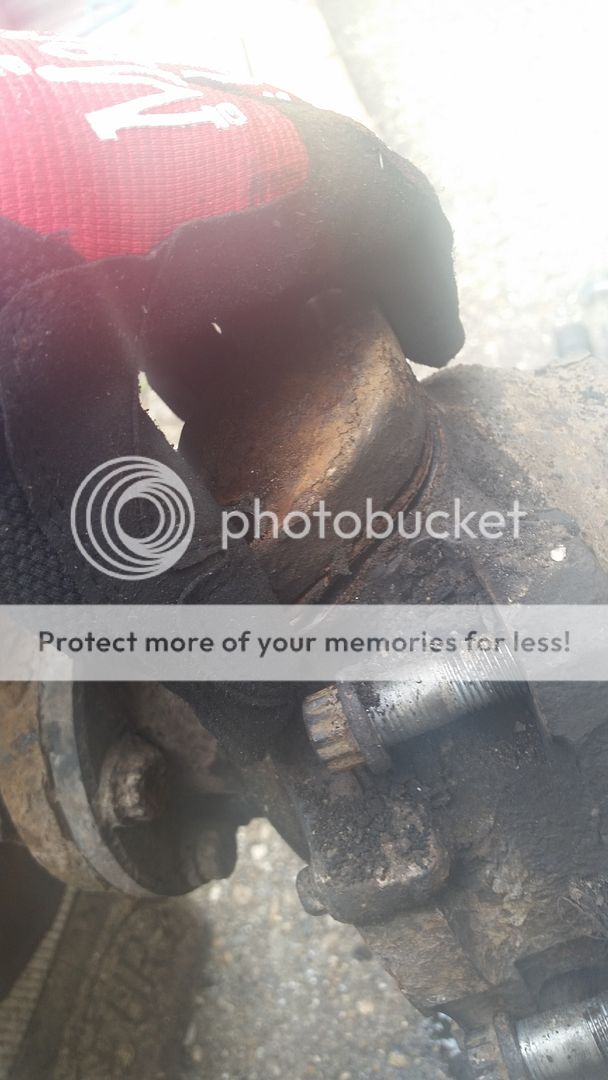
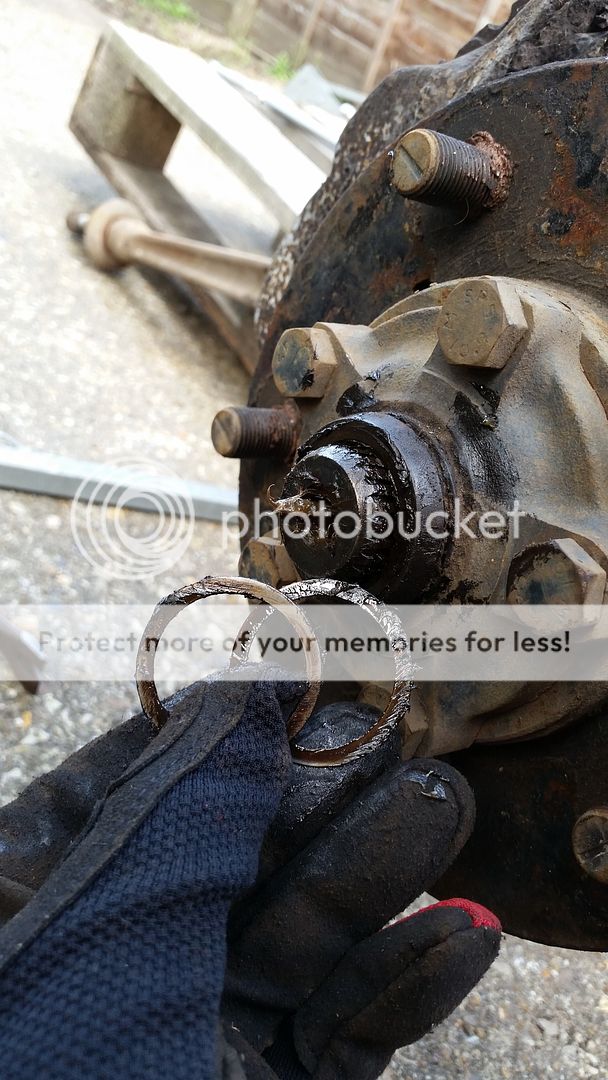
Notice the shims underneath... I'd already read up a little about the dreaded swivel shimming, so I was expecting these luckily.

Same proceedure with the lower pin-module thingy, here's the upper & lower next to each other:

Then on to these poxy little 8mm bolts all the way around the rear oil seal retainer (I'm still making these names up btw!)

outer part removed:
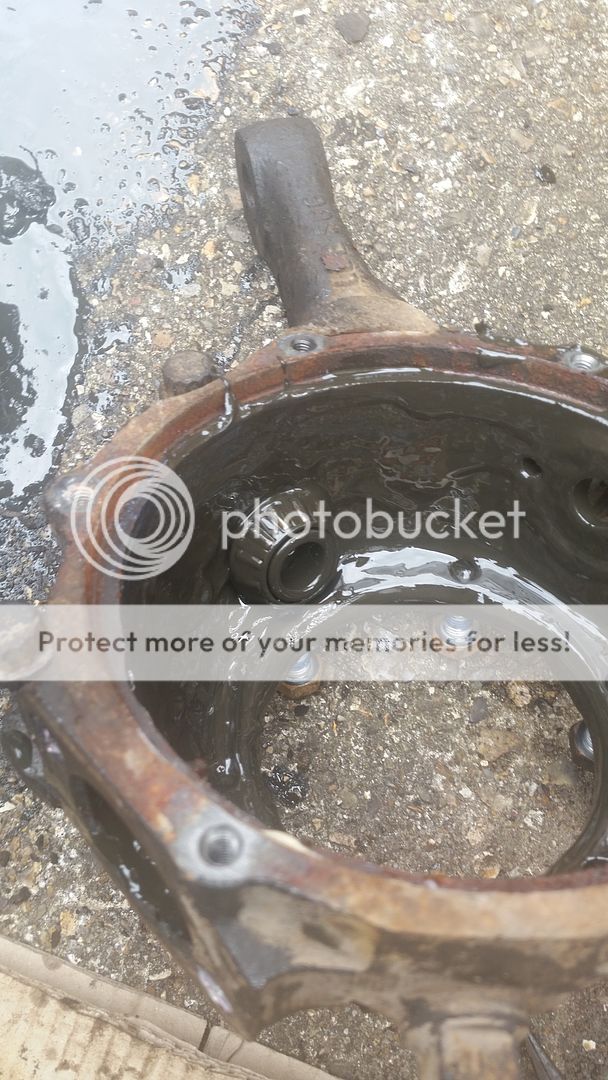
Inner part looking all gunky and horrible:

Then it's on to the worst 7 bolts I've encountered so far! They're 9/16ths I think, and it seems that the really really needed to use up a whole lot of thread-lock glue when they put these in! It really was a total pain to get these out on both sides!

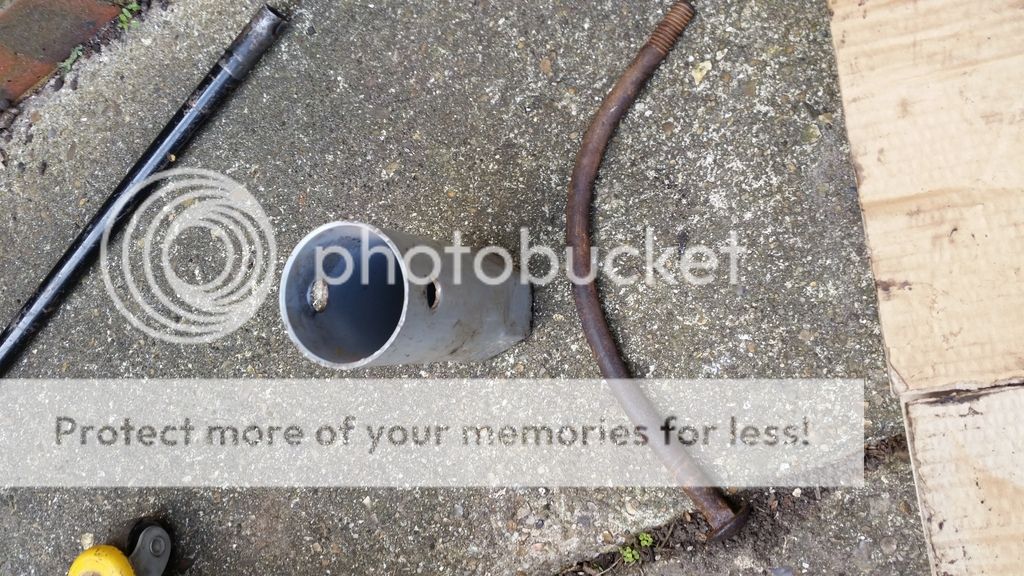
Then I put what I possibly could back together for safe keeping:

Obviously I then had to repeat the whole thing on the "long side"... Long half-shaft that is.
and today's small victory looks like this:
My "next jobs" list always seems to be moving sideways rather than forwards... here's the latest to-do list:
strip "ends stuff" off the rear axle
strip diff in front axle
strip diff in rear axle
send axles to shot blasters for clean-up
rebuild swivel ball units
new discs, bearings, pads, etc
clean up and refurb calipers
paint blasted axles
figure out what the hell I'm doing with these diffs!!
rebuild axles
I still need to get the t/box, g/box and engine out of the donor too.


