Finally got another Land Rover!

This site contains affiliate links for which LandyZone may be compensated if you make a purchase.

Dan_Trials

Well-Known Member
I was happily saving up for a galv chassis for my Defender when almost all at the same time the Missus' car packs in (and she does a lot of driving for her job, no vehicle = no work), we get word that snow is on the way and my mate phones to say he's selling everything, including his Discovery. Had a good look round it and we settled at £1K, which when you consider it's here on the island already so removes the cost and hassle of going away etc and we needed a vehicle asap I was very happy with that. N reg, 300TDi manual, no sun roofs - but still leaks :rolleyes:!

DSC_0044_zps16a3cdb9.jpg


DSC_0045_zps2533be2e.jpg


DSC_0046_zpsaad53773.jpg


DSC_0048_zpsd228c11d.jpg


First job was to give hersel a wee driving lesson as she was working at 7:30 in the morning and it was already snowing, so off we go for a spin looking for as many ungritted roads as possible :D It was at this point, sitting in the passenger seat I notice the window is down about 3/4 inch, I give the button a quick press and hear the sound of an electric motor trying to move. Ah well, light up a ciggy then, make use of an open window! The Dorris got on fine whit her driving and promptly did over 200 miles the next day.

That night we left for a visit to her mother's, slowed down at end of driveway and the driver side headlight falls out! :rofl: Couple cable ties later and sorted.

Next day in town, starts raining and me passenger side wiper goes on strike! :pound: New wiper linkage ordered.

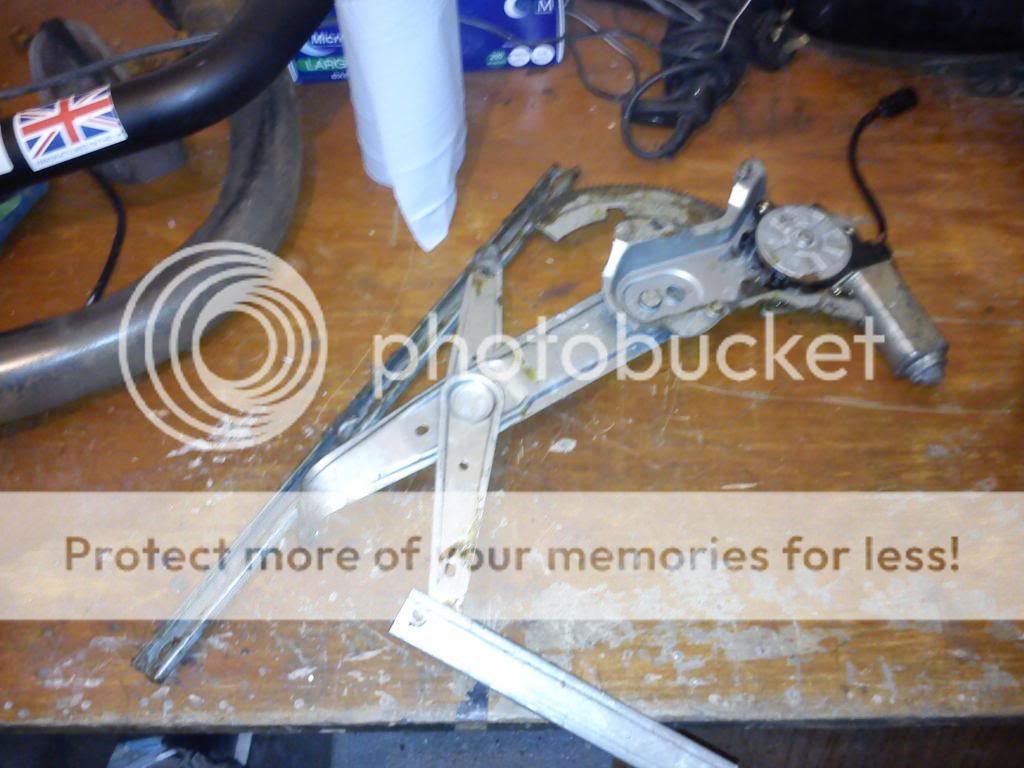
Had a look at the N/S/F window reg and found it like this: :bounce:
DSC_0042_zps5d96a006.jpg


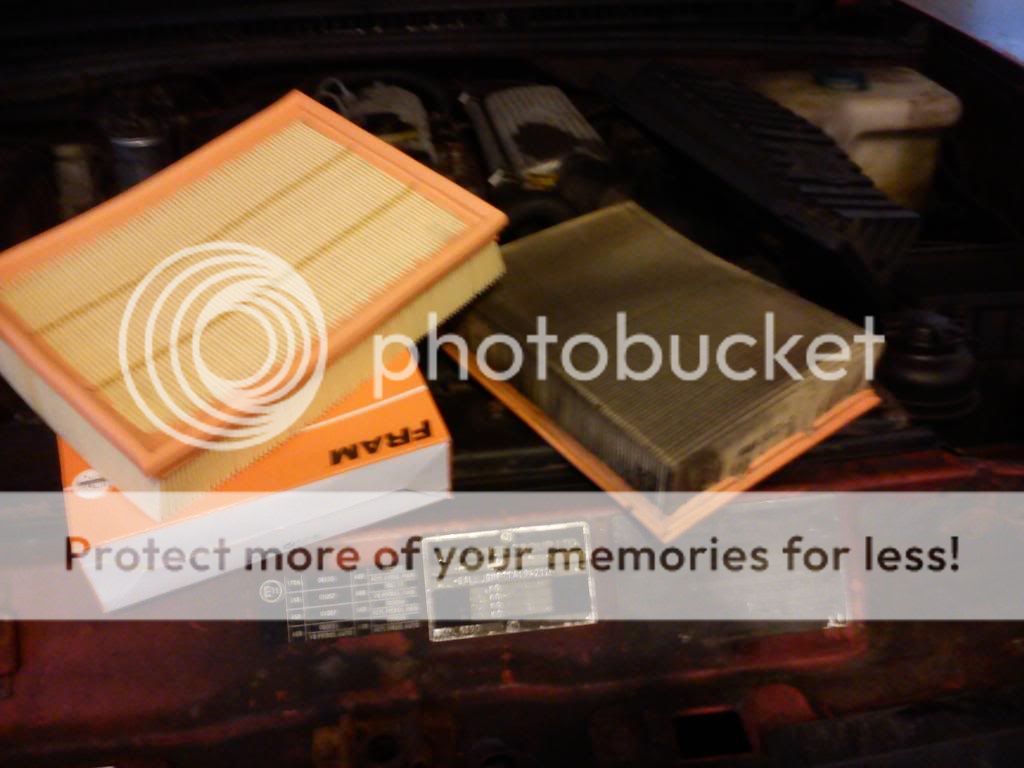
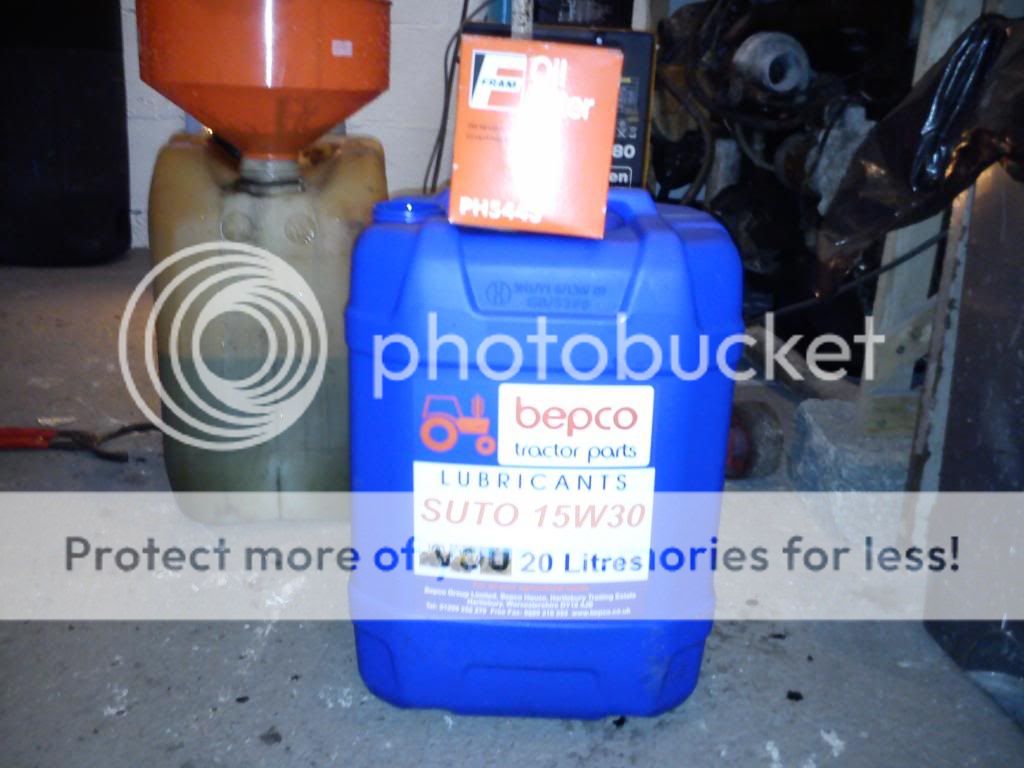
So I decides I best do a wee service since things are going so well. It was a bit sluggish to start, like the fuel was running back so I decided to do the fuel system first. Bled the water trap, plenty gunk came out of it. Started loosening the bolt to drop the bowl off but then thought I best no disturb it since I don't have any replacement seals or anything and it don't look like it been touched in a long time so the ones on it will probably fall apart. Just left it to drain while I done the rest. Popped the top off the fairly new looking Delphi lift pump and cleaned the gauze, it wasn't that bad but there was a blade of grass in there :confused2: Then changed the main fuel filter, closed the tap on the sedimenter and started bleeding it. Which took a very long time and even once I got it running it was still pulling in air. Checked the sender unit, looks pretty new and all is dry. I don't know why but something told me it must be the sedimenter. So after nearly all day spent trying to find the leak somewhere else and generally not admitting that it broke because I touched it :rolleyes: I decided to bypass it. Opened the bleed screw, bit of pumpy pumpy and fired her up and it's running great!

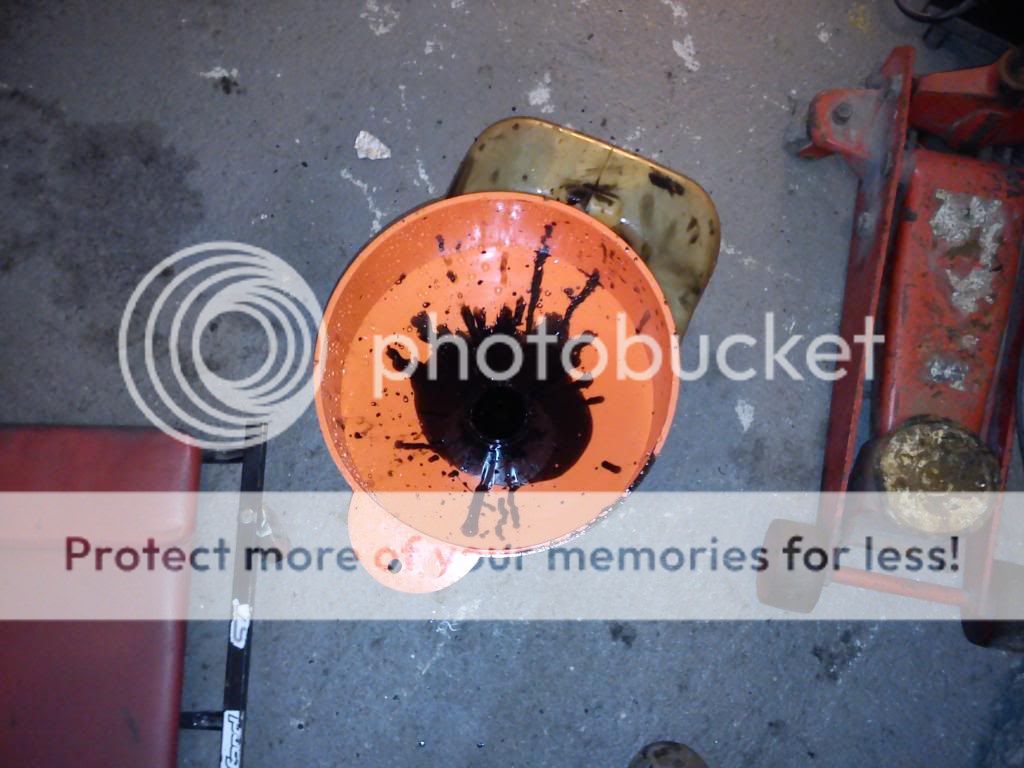
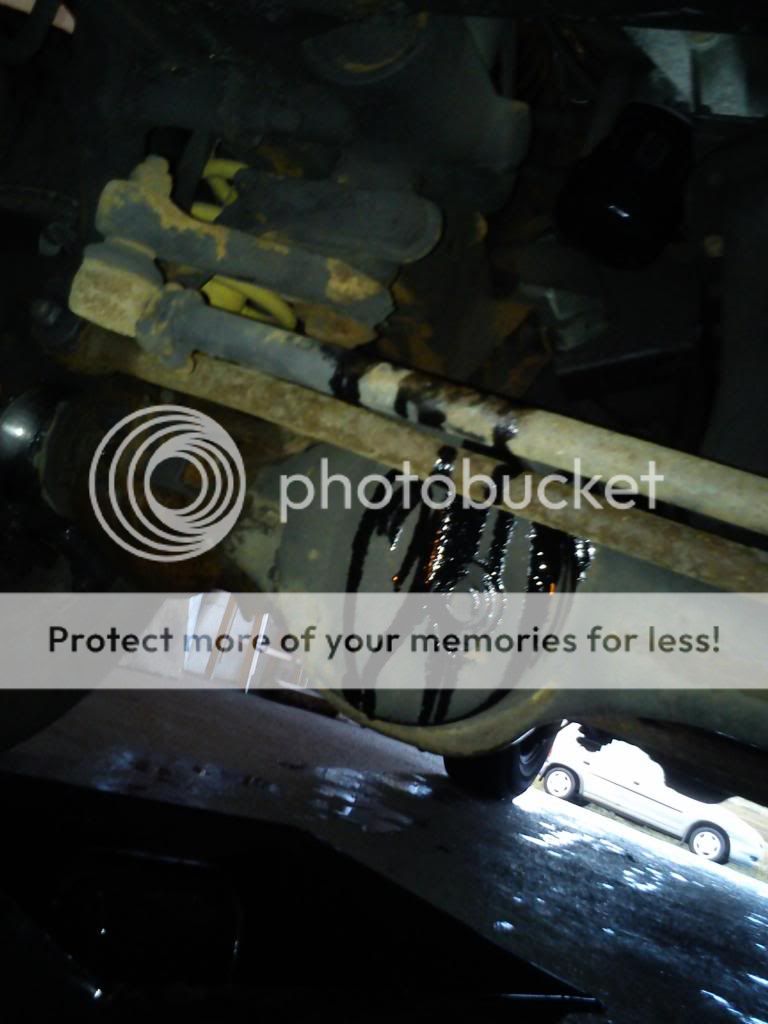
Hopefully my oil change will go smoothly :hysterically_laughi
 
nice, looks clean, hows it for rust?

Yeah it used get polished quite regular and waxoyled every year so it's quite good. All it needs is rear body mounts, sills (I'll probably do the 100x50 box section trick), patch either side on chassis just where it curves up to go over rear axle. Front inner wings and battery tray could do with attention but I'm going to see if it will sneak through and I'll attend to it later in the year when I have more time. Boot floor, rear arches etc are all nice and solid, look like they been painted but no sign of any welding.

Looks good does that.

My 300tdi 3door is N***RHP :)

Haha nice one, they must be siblings!

Looks quite a tidy one! your just having a few teething problems but looks like it will be worth doing

Oh yeah it's worth doing alright. I'd far rather work on something like this than modern stuff. I love how everything is good old British mechanics and engineering, you can fix them with basic tools and stuff you find lying around the shed rather than a fancy computer program at the main dealer!
 
Ok so finally got the chance to do some more work on this, nothing exciting yet just some filters :p

Air filter was badly needed!

DSC_0050_zps0c83c18d.jpg


Found some rust in the bottom of the air box :eek:

DSC_0051_zps7ebcabce.jpg


Bit of poking about revealed the panel that the air intake pipe should attach to has rusted to bits and so some of it got hoovered up in to the air box. There were various remains between the inner and outer wings but nothing to prevent mud and shet getting up in there so I decided to just turn the intake pipe so it's pointing at the radiator. Decided some warm air isn't as bad as mud and water thrown up from the tyres.

Next was the oil and filter, also badly needed.

DSC_0049_zps3b2a90af.jpg


When I removed the oil filter I was careful to make sure I made as much mess as possible :D

DSC_0053_zps43b37fd0.jpg


Then in with 7 litres of good old tratter oil, £50 for almost 3 oil changes aint bad!

DSC_0052_zps80ef48ae.jpg


Got some more boring stuff to do then maybe one day I'll get on to the welding!
 
Right then, I miss having a build thread to post crap in so thought I'd reignite this one :D

Back in 2013 I did all the chassis welding it needed then in 2014 I did all the body welding including both front inner wings and headlight boxes and rear door shut panels. Most of this was done a bit hastily as I was about to move house so some bits might need to be revisited at some point.

Now with enough welding done to keep it happy for a while there would of course need to be summink else go wrong... que elecrickery problems! After some extensive multimetering I conclude it's narffed. I could (and probably should) at this point bin it but something tells me to fix it right good, so that's what I will do... Pics and more waffle coming soon, just wanted to post in a build thread :rolleyes:
 
Right then, so this 300 TDi is difficult to start when it's cold, so I decided to start there. If you're sitting there saying I should replace the glow plugs, I especially need your help with something coming up very soon.

When I do diagnostics I like to make a list of things that could cause the symptoms of the problem, in this case a hard start when cold condition, I put them in the corner of my white board to refer to later down the line:

F094127F-7D2F-45E9-A79C-EC36601427DF_zpswvzctpei.jpg


The list is not in order of investigation, it is simply in the order I think of things. "Glow plugs" does not refer to just the glow plugs but also anything else that could effect the operation of them, the majority of which would be an electrical issue. Compression could be anything that causes any or all combustion chamber(s) to have reduced compression, so head gasket (including anything that might cause a gasket leak like a warped head for example), cracked head or block, worn piston rings etc. Timing would include not only the crank to cam timing but also the fuel injection pump (of which the timing can be adjusted separately from the main engine timing), valve clearances (which technically would be a compression issue but it is adjusting timing related components that 'cures' it so I'm putting it under the timing heading) and so on. Fuel could be something as simple as air in the system, a blocked fuel filter or fuel line, or a bigger issue like a pump or injector problem etc. It is of course possible to have a combination of issues and actually quite likely as something like valve clearance adjustment is a maintenance job many people miss.

So as I said, the list is not in order of execution but I still need a direction to go in, I need a valid logical reason to start with one thing and not another. As it happens, when the engine is cold and the key is turned to position 2 (ignition on) the glow plug light comes on for a moment, probably not even a second, and goes off when it should stay illuminated for a number of seconds. So I have a starting point, the glow plugs and associated circuits and components.

Now, if those who said "glow plugs" at the start are still with me, please answer the following question: on what evidence did you base your decision that the glow plugs need to be changed? Please show references and sources for your information that led you to that decision.

Ok, so now lets look at the resistance of the glow plugs. The supply wire to the plugs needs to be removed as they are wired in parallel (although it looks like they are in series, they share a common ground (the cylinder head) so they are in fact in parallel):

8B4984F8-B7A3-485F-96C4-E75654AE184D_zpssa9qcw9v.jpg


Now I can measure the resistance between the connecting bolt and the plug body:

2F4AE66F-34D4-408F-BF29-46445BE27A64_zpsamozujc9.jpg


After correcting for the resistance in the leads I had the following results:

066D33D8-4AA1-4E6C-8D16-34C84BCAF965_zpsuuqlcrnx.jpg


Now this is where it gets a bit shaky as I do not like to go on general opinion or "every one says" , I like to go on facts and evidence and specifications but I can not find a definitive range or specification for the resistance of the OE recommended glow plugs for a 300 TDi when measured with a multimeter/ DVOM. For this reason, at the moment, I am forced to go with general opinion which is that anything between 0.1 and 6 Ohms is acceptable. Therefor then, these glow plugs should be suitable for use. With that in mind it was time to turn my attention to the rest of the glow plug circuit.

Using wiring diagrams from the Land Rover published "Discovery Electrical Troubleshooting Guide" 2nd edition, for 1995 models, publicacion number: LJBEMENR95, I drew out a wiring diagram that included everything involved in the glow plug circuit. Some bits I have condensed, such as that for the alarm: it was necessary to show the wire going to the alarm but not necessary at the moment to show details of the alarm circuits as there is nothing to suggest we have an alarm issue at this point. Also the ignition switch is shown twice as one is position two (ignition on) and the other is position three (start):

3428ECE3-50C3-4F7C-9CD2-3BCB8B575667_zpscg8zkzf1.jpg


I can now test the components and wiring involved in the glow plug circuit, starting with the glow plug timer relay.
 
I will be watching this with interest as my buggers are playing up but I am just going to throw one thing into the mix here for your consideration before you start pulling all of your wiring apart.

"Brian" my last 300tdi Disco had exactly the same problem you are describing here all of the time I owned him right up until it was tome for the MOT. He failed on emissions and a brake pipe so I lazily left him at the garage for them to do those two little bits and re-MOT...still with me here? They sorted the emissions by filling up the fuel filter a couple of times with injector cleaner and running it through in a condensed form which had two effects.
The first was to sort out the emission issue and the second unexpected bonus was it cleaned the fuel system so well that the preheat now worked properly and thid put down to it cleaning sensors etc (in my head anyway). SO it might be worth trying that as well to see if it has an effect because it did on my old300tdi
 
Ok so, in my last update I had said the next component to test would be the Glow Plug Relay, clearly this was wrong and no one picked up on it or if they did they kept quiet. The next thing to test would be the wire connecting the glow plugs together, since it is disconnected from the glow plugs now anyway, a simple measurement of resistance between both ends shows next to no resistance, so I have no reason to suspect this as the cause of the problem at this time. Next I measured the wire between the glow plug at number 4 cylinder and the relay, using the wiring diagram to reference the correct wire, again an almost unmeasurable resistance was found. Now we are at the glow plug timer relay. Imagine missing out those last two tests and not finding the fault (had it have been there)!

The glow plug relay is basically a normal run of the mill relay with an extra out put for the light on the dash and an inbuilt switch, in this case sensitive to time and temperature. It has six pins of three different sizes. The two smallest pins are for the dash board light; the two biggest pins are for the glow plugs; and the two middle sized pins are for the relay to operate. You can reference what I have just said to the wiring diagram to confirm. First I checked there was battery voltage going to the relay by unplugging it and connecting my multimeter in series between the middle sized terminals on the plug and turning the ignition on: I got battery voltage. I then plugged the relay back in and measured resistance in parallel across the two biggest terminals for the glow plugs, ignition back on and I get almost no resistance, indicating that the relay is completing the circuit as it should. I then measured for voltage between the out put on the relay for the glow plugs (pin 87) and the negative battery terminal, ignition on and..... nothing, 0 volts. Why then, if it is all working as it should, are we not getting any current going to the glow plugs? Lets look at the wiring diagram and it will all become clear.

This is the Glow Plug Timer Unit (or relay) circled:

1_zpsl1ie6ozv.jpg


Since the light on the dash board won't influence the operation of the glow plugs, I can ignore that bit:

2_zpspqeh8i0v.jpg


Everything from the glow plug at cylinder number 1 to the relay checks out ok so that can be removed:

3_zpsjqfrw2aq.jpg


I know I am getting battery voltage to energise the relay so all that part of the wiring can be taken out of it:

4_zpsvncbtmqp.jpg


Therefore, the fault has to be between the battery positive terminal and pin 30 on the relay:

5_zps4xuokb8h.jpg


As we can see there is a fused link here, so a continuity test across the relay pin and battery positive shows an open circuit. I wanted to remove the wire from the battery end so I could check it out properly. I looked at the battery connections to the positive terminal and there was no brown wire as shown on the wiring diagram, but I did find one on the negative terminal.

34FCAD3D-6F77-448B-90AA-F04411C27E39_zpslt6tg4mn.jpg


A continuity test shows this is indeed the wire I am looking for but also because it has a very low resistance the fused link must still be intact. At this point it would seem reasonable to question the wiring diagram, but lets look at the logic here if we were to say the wire going to the relay should be connected to the negative. The glow plugs are connected to the negative via the engine block, there is a relay and a connection the the battery negative. Here is a simple circuit using a switch to represent the relay, as that's basically what a relay is:

circ%201_zpsne5kcn4u.png


Clearly that circuit won't work, but if we connect the wire from the switch to the positive on the battery it will work:

circ%202_zpsxs89cuaa.png


I removed the wire from the negative side, and connected it to the positive, then did the test for voltage between the relay pin 87 and the battery negative and hey presto we get battery voltage! Now, you haven't fixed something until you establish why it happened and how to stop it happening again. It is clear that this fault was caused by human error but I can not say with certainty that it was myself as I have not, to my memory, taken the nuts and bolts off the battery terminal clamps, I have had no need to. It is possible a previous owner or mechanic may have and I suppose it is a reasonable mistake to assume the brown wire is negative, certainly some Vauxhalls have brown negative cables. Anyway, with it all connected back up, I put the ignition on and...... it's just the same!

I removed the glow plug relay and took it into the shed to test it using a batter and two bulbs to represent the glow plugs and the dash light. I wired it up as per the wiring diagram. I found that the supply to the glow plugs is operating as it should but the is no current for the dash board light. I put the relay back in the vehicle, turned the ignition on, waited ten seconds and turned the engine over..... It fired up very quickly! It would appear then that the relay has an issue with the dash board light part of it's internal connections but it operates the glow plugs as it should. I might replace the relay at some point, but for now I can live with counting to ten before starting it.
 
Been reading this with great interest.

My brown wire that should be attached to the battery has not been connected for the past couple of years, for some reason. (I did not remove it). However when I connected it the positive terminal, I am pretty sure I saw smoke, coming from it. Since then I have left it off, as my 300tdi ok ish. I may have another look tomorrow if it is not raining.

Thanks for the thread :)

Thank you for the interest! I should have a disclaimer that says if you set your Landy on fire don't come crying to me :p:D It is possible that there is a supply via a different route. Measuring voltage across the relay pin connection and battery positive would tell you this.

EDIT: Sorry, that should be negative terminal, I had a teething baby screaming at me :rolleyes:
 
Last edited:
I have a quick video clip of the results of using a voltage reader from the brown wire, to the negative battery terminal. Voltage is at 0, when glow plugs are on goes to 0.05, engine starter it jumps to 0.61, then goes to a -0.57 voltage reading, which then reduces over a short time back to 0

I have left the brown wire for now where it has always been, not connected to anything.


Any thoughts please, or is this normal. I would of thought the reading would have remained 0 all the time.

Thanks
 
Those small numbers are likely ghost or residual voltage, particularly as it changes polarity. Being that the supply from the battery to the terminal is a constant, that being it is not switched, it would be possible to determine it's state without running the engine. Try measuring voltage between the black and yellow wire and the glow plug at cylinder 4 to see if it is getting a supply at all.
 
Back
Top