Finally got another Land Rover!

This site contains affiliate links for which LandyZone may be compensated if you make a purchase.
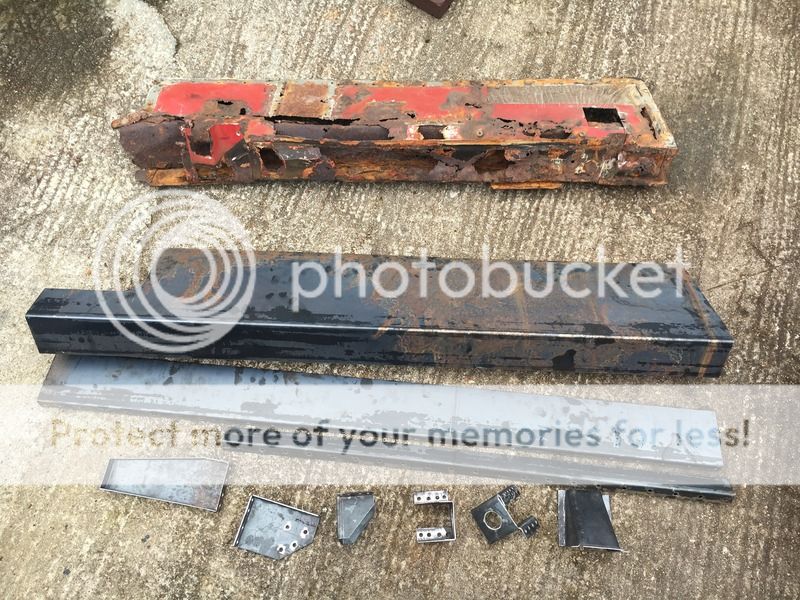
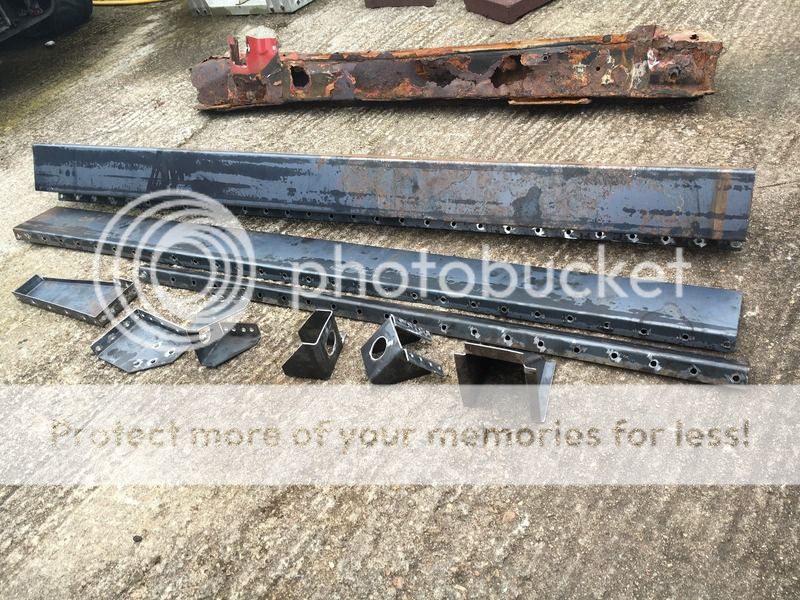
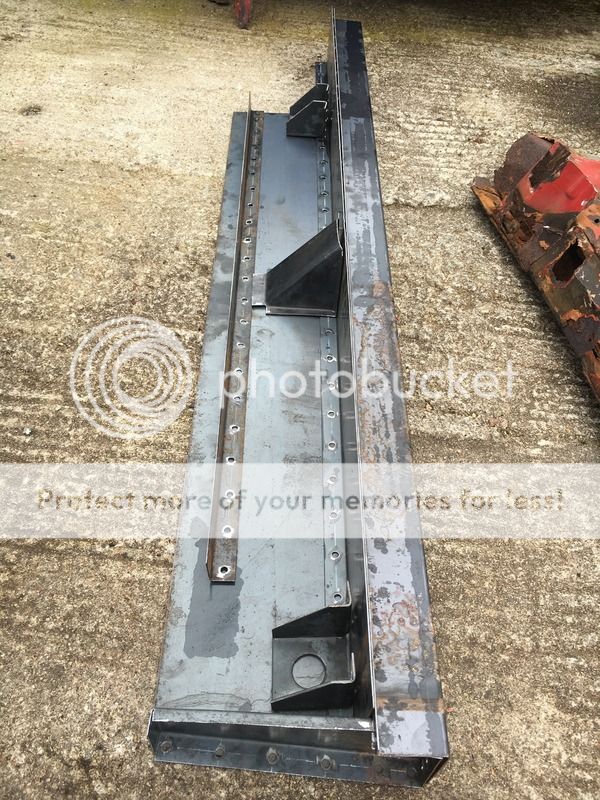
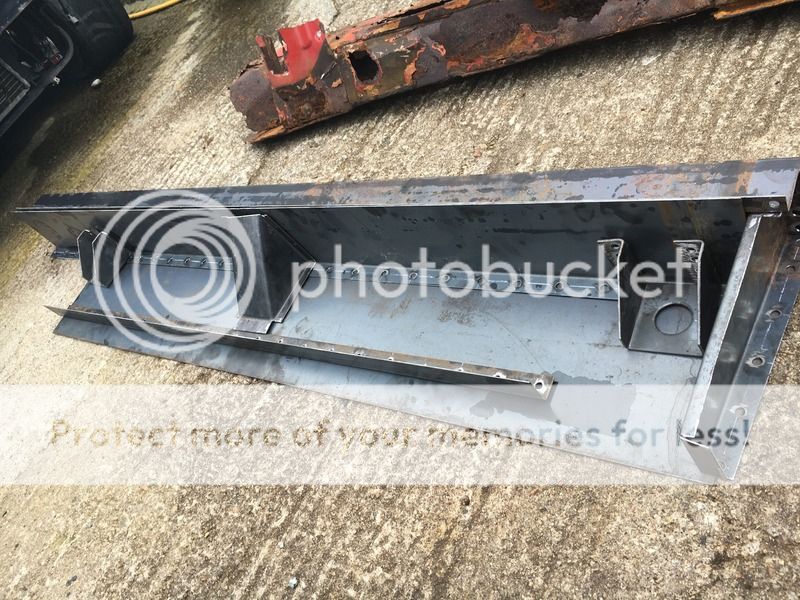
Today removed pretty much all I need to in order to weld it up. It is not as bad as I expected under the carpet.

This is yukky mold on the carpet:

7D19321B-A91B-4043-AF9E-F957D17EAADA_zpsxmmbtxss.jpg


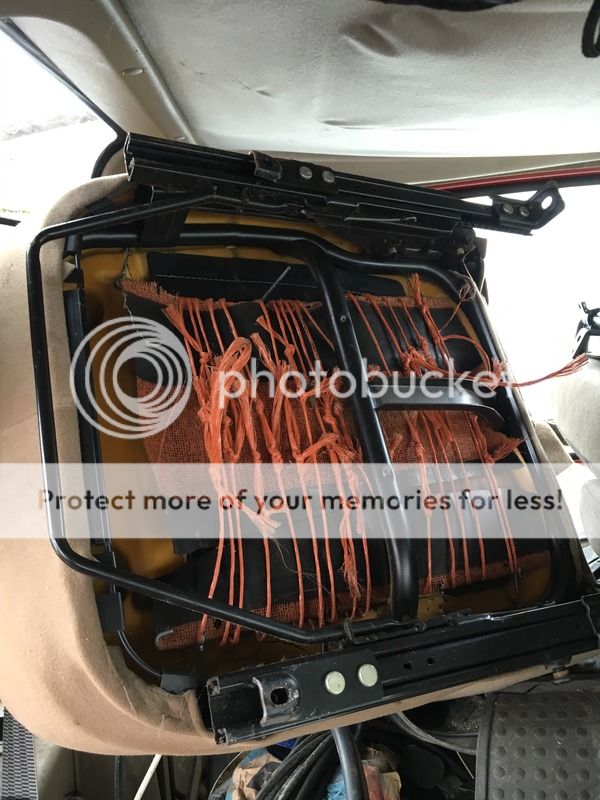
Driver's seat removed:

6646E1DD-04E7-4DE6-99F8-C074727CA958_zpsufr2aiyl.jpg


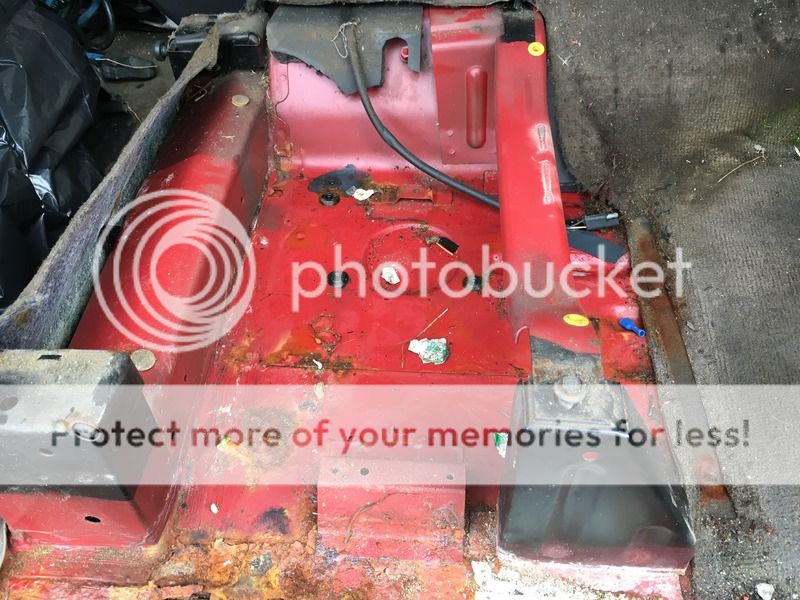
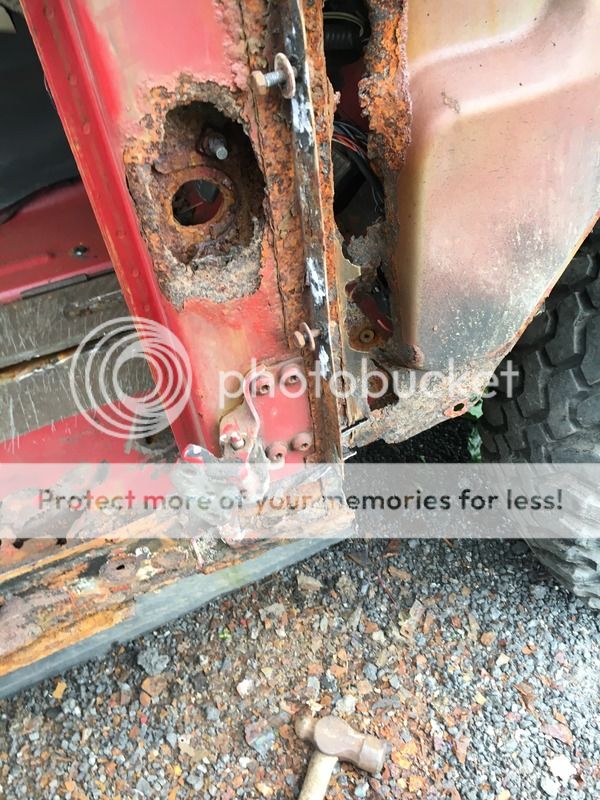
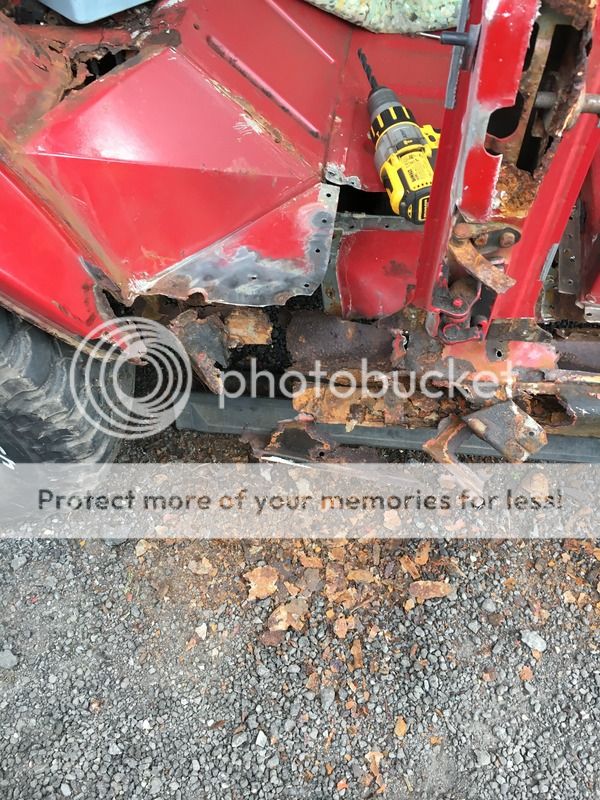
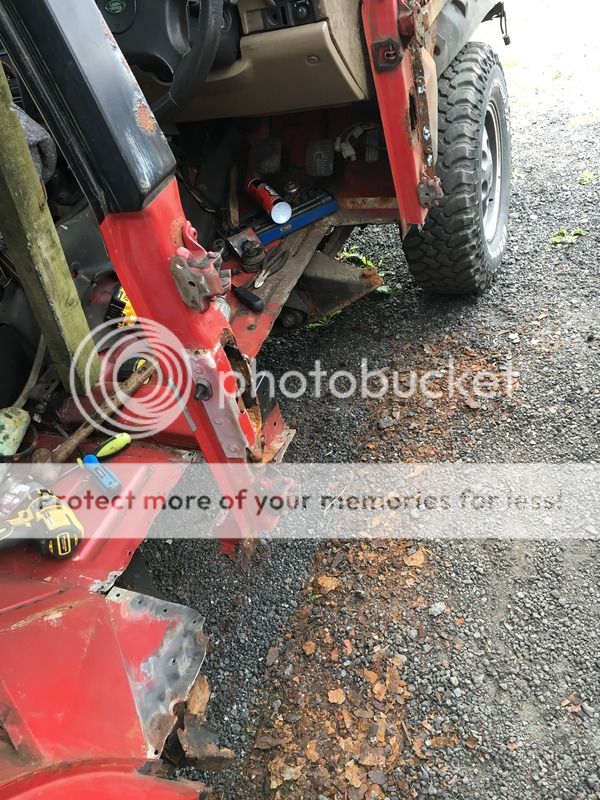
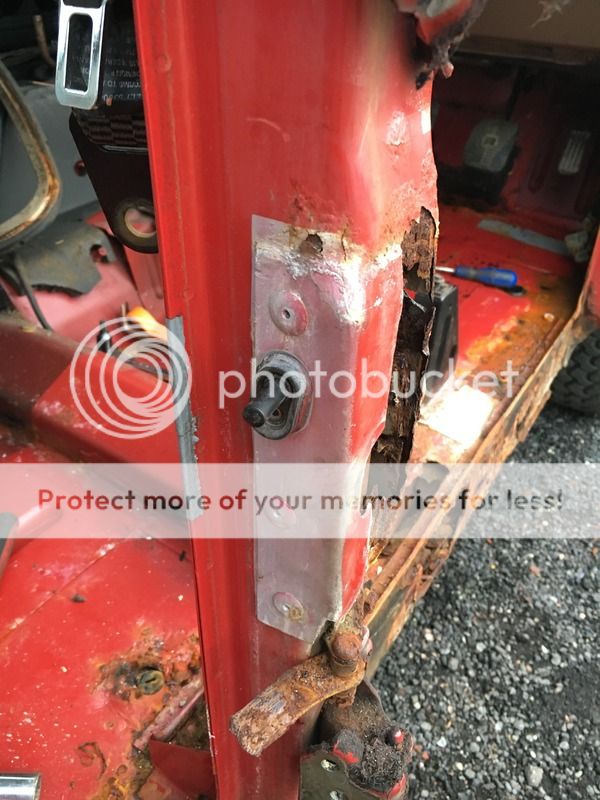
Some one has been at it already:

B9E13F14-9F7B-46D1-8B60-B56C35E61AA5_zpsbdn4gbkr.jpg


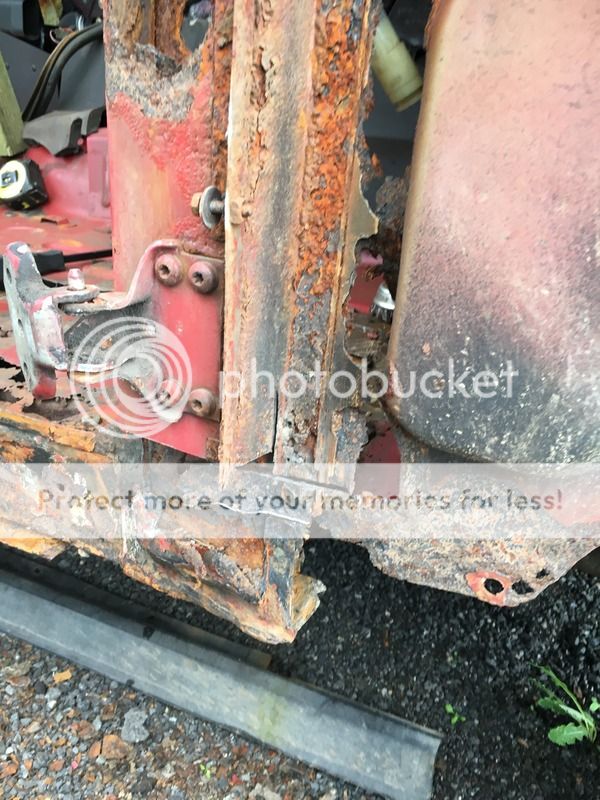
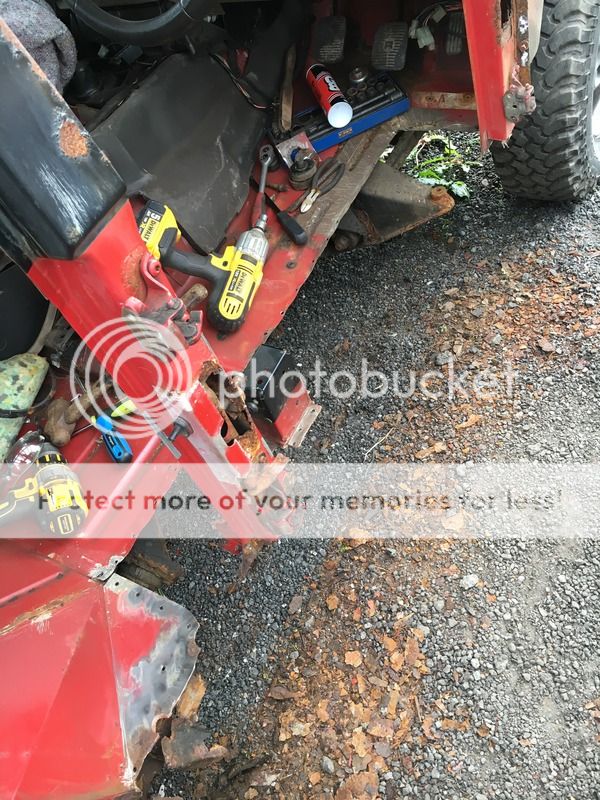
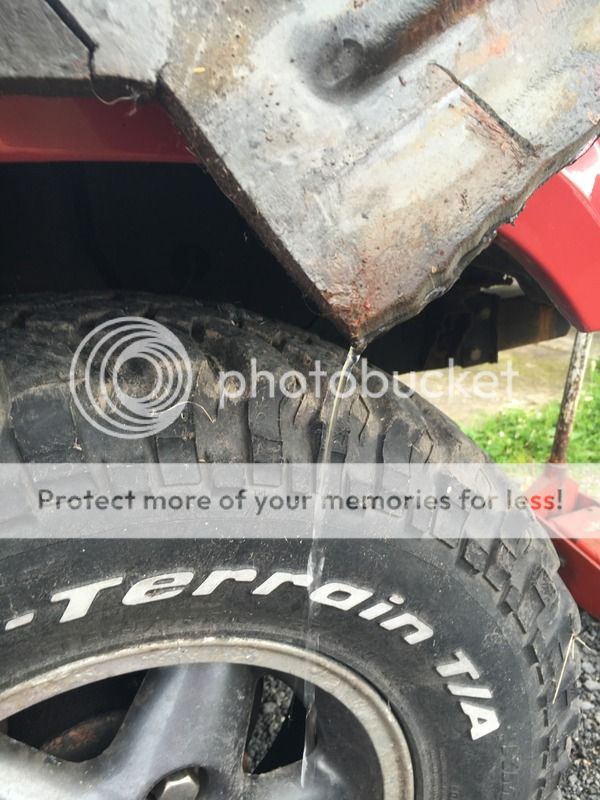
Bits of my Landy are doing a wee:

1F66B925-7D6D-4090-BBC6-9C11EF30AFCC_zpsvknwxtnm.jpg


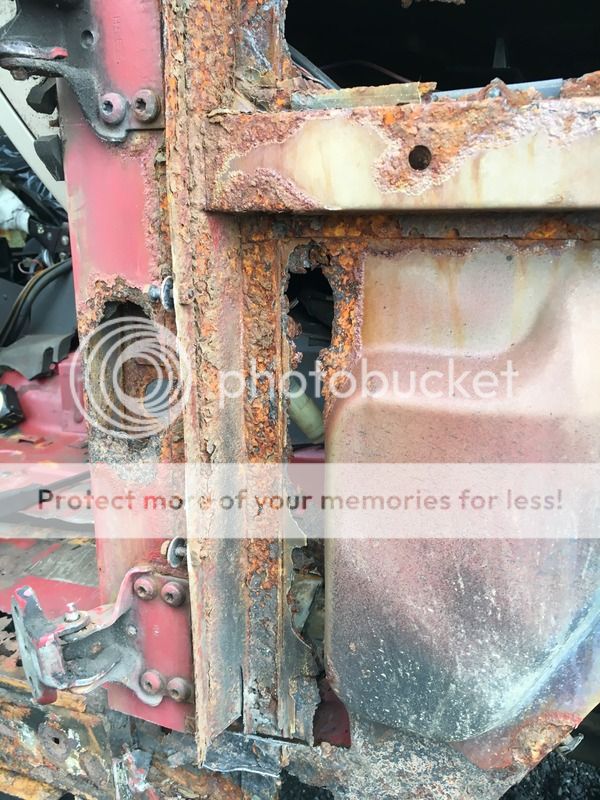
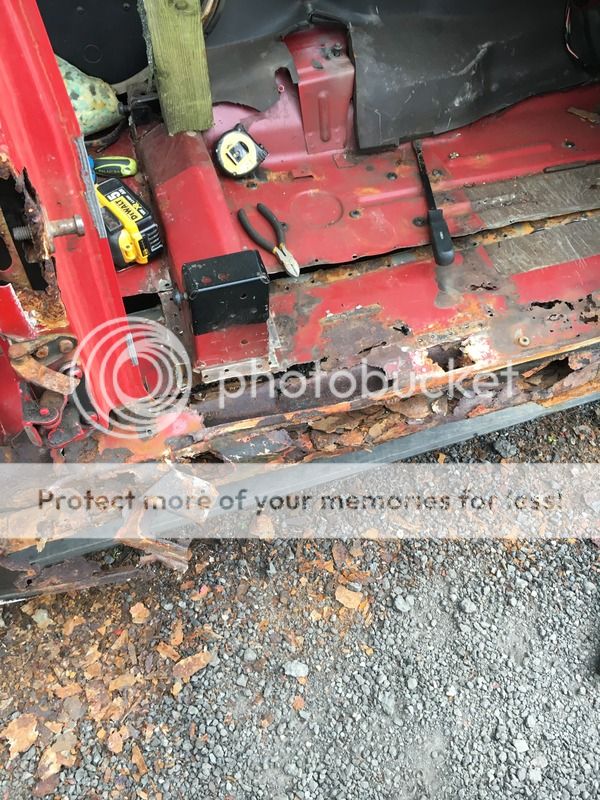
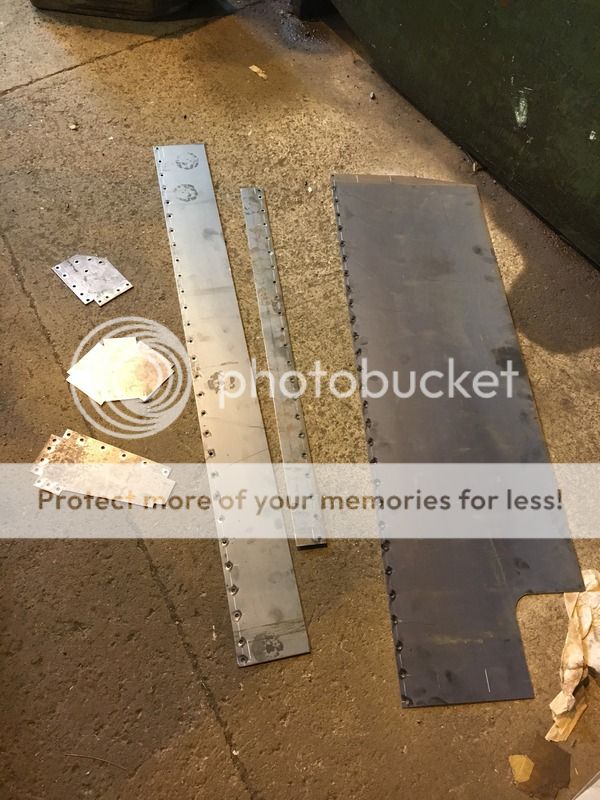
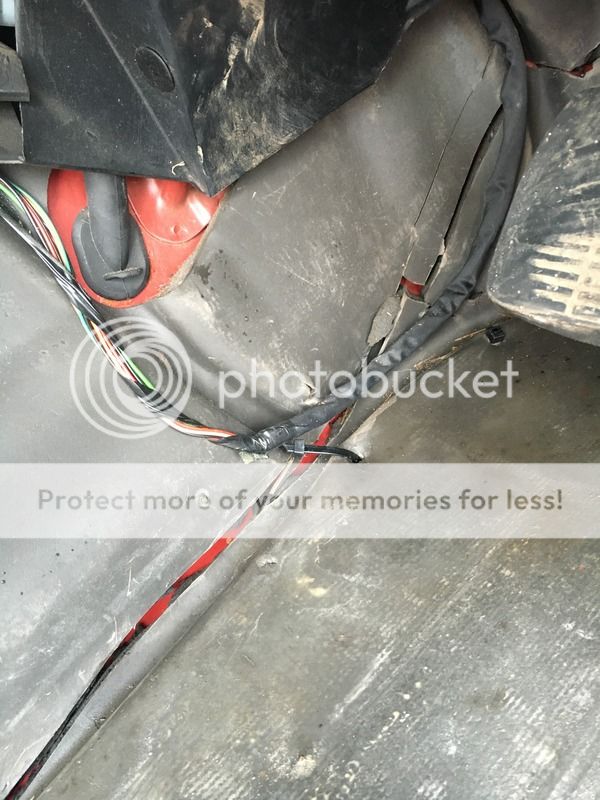
I have no idea what this is supposed to be:
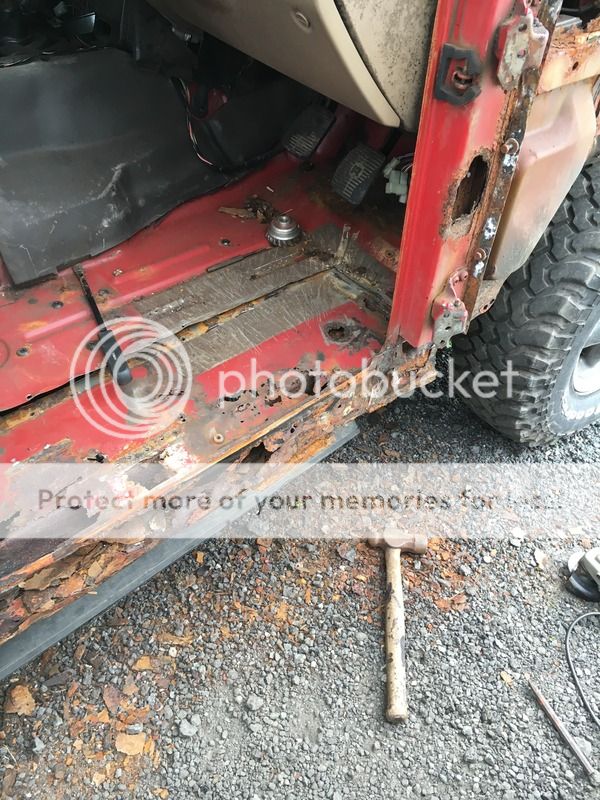
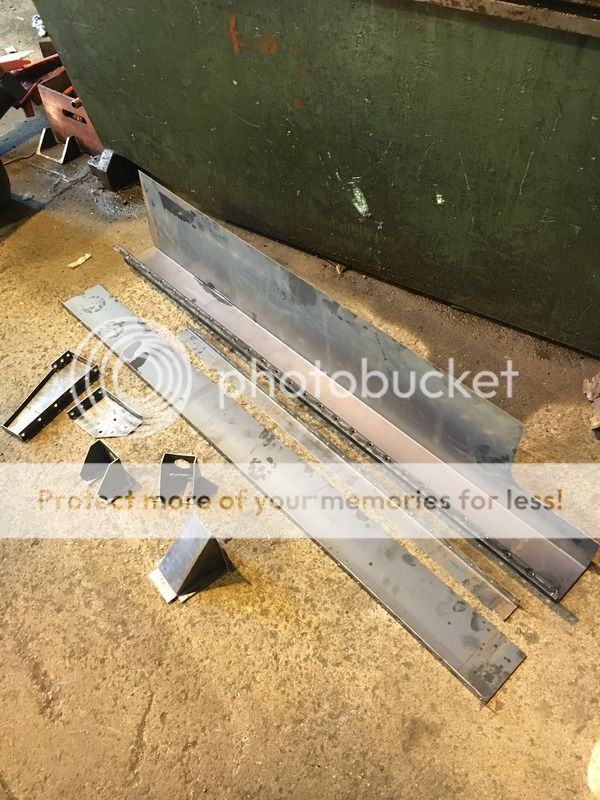
DB45EFC5-5C38-433E-AB19-F1F03657FE4A_zpsdyl9lq8y.jpg


More of it:

62B9CF0E-E9B4-41D2-9BE3-5BFF63AFA11E_zps8i5cgawf.jpg


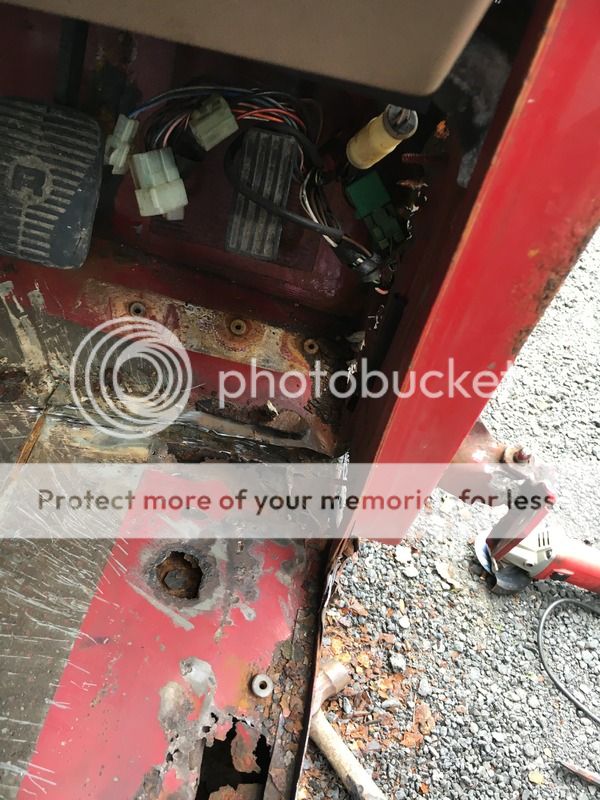
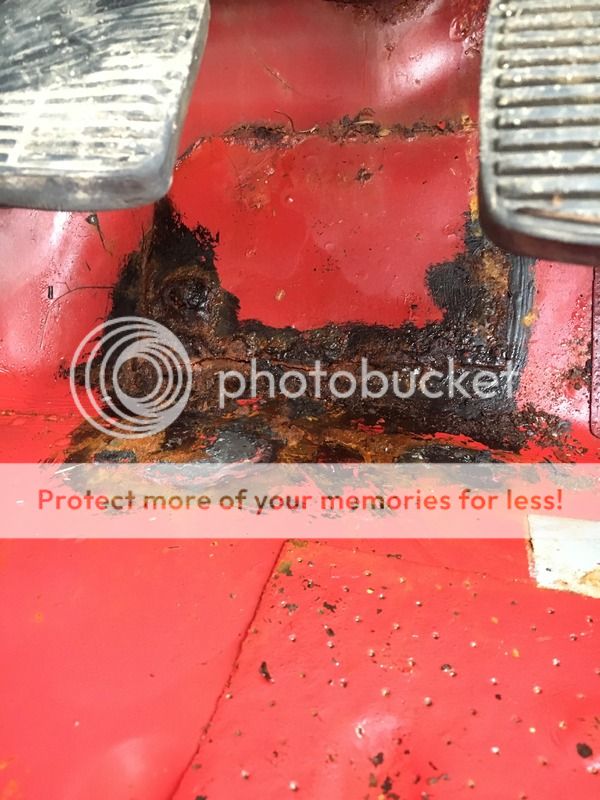
Ready to start at it with angle grinder:

5D1A3B6B-A2E7-4BA4-A784-5F060BDA8743_zpsnfkv04vj.jpg
 
I have been having thoughts about the sills, my original intention was to use 120x60x3 box and put a tree slider/side step type deal on it but I now don't like that idea because if it were to take an impact it would bend the door post and floor etc. In my opinion the tree slider should be attached to the chassis, much like the bumpers are, so I am going to replace the sills as per original spec and then make and fit some sliders/steps for protection.
 
Day off today (Monday) so went down the yard and made the floor-sill assembly and the various brackets and bits that go with it. I will clamp it all together on the vehicle first to ensure it all goes in the right place, and any trimming or adjusting is much easier when it is all in it's component parts.

E8328D0D-5DD5-4651-94AA-6421D3474C61_zpsace4it7e.jpg


2400CAF5-BFF1-4A75-BDD1-FB0221B42976_zpsucusk5kz.jpg


C53853AB-F5B7-4F6C-A732-97A4BD608066_zpsizgif6q3.jpg


CA8A93AC-5A94-451B-8C3F-6A94D1ABCFA1_zpschzq2tio.jpg


CD90EF33-497A-4A96-B57C-3B54A8C6270B_zpsfje9tdac.jpg


7D294254-6EC2-471C-9B87-CDD30E85B042_zpsydbr3dqc.jpg


I would like to coat it all in a two part epoxy sealer before I close off the box and I will apply lots of cavity wax after all the welding is completed.
 
Don't worry Vin the fronts were crakerd as well but Dan as fixed them !:rolleyes: So you do win a tenner !:eek::)
Wolf in sheep's clothing that one Dan !:eek::eek::eek::eek::rolleyes: Good metal bending tho !!

Steve
 
Man i would have cried, but im not great with a welder
good luck with it
looking forward to updates
Thank you. Don't be put off if your welds are what you want, just keep practicing and maybe try watching some YouTube videos, there are plenty out there! Just keep at it, get bits of scrap, keep the joints and the nozzle clean, try different settings, just keep going man!
 
Back
Top