the story so far.
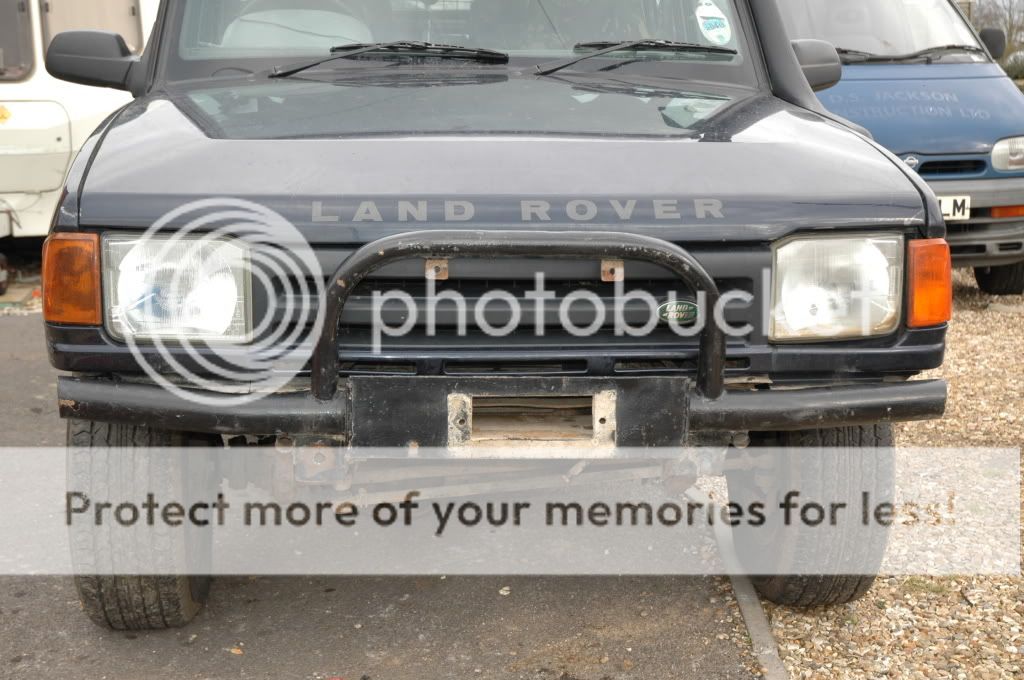
Land Rover Discovery 300 tdi 1997
Purchased in September 2011 for £1000.00
300 TDI 131500 Miles
Some service history 4 MOTs with advisories.
X5 16 Land rover Alloys with insa turbo tyres (+ X1 worn insa turbo)
2 Body lift
2H D Spring Lift,, GAS 4 shocks
Part Poly bushed (full kit supplied)
Extended braided brake hose
EGR blanking plate
Powerflow exhaust
Under sealed
Light bar with X4 spot light
X2 spot light on rear
South down snorkel
Rebel steering guard
Diff guard rear.
Rock/tree Sliders.
X4 Wheel spacers.
Bull bar front bumper, rear bumper standard (no plastic end covers, bent)
Bad Bits 
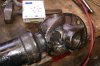
Slight Leak from the Transfer box casing bolts
Rear passenger window U/S
Slight Play in steering
Squeaky belt tension bearing
A frame bearing U/S
September 2011
Removed the Passenger foot well and took out the window control relay, soldiered contact and replaced.
30 min to do this, just look on the board to see the contact that has no solder.
Released the nut on top of steering box and took up some of the slack in the steering by turning Alan key either left or right then tightened back up the nut. Takes 10 mins with a test drive to check.
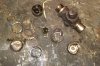
Replaced the belt and tension bearing but it still squeaked 
Replaced the water pump and P gasket and now squeak free 
This I took my time with, I opened the header tank and the thermostat then drained the coolant from bottom hose, removed the water pump housing as a bolt had seized and replaced the P gasket the water pump housing the water pump and the serpentine belt and belt tension bearing  happy days
October - December 2011 SORN off road while i did the following.
October 2011
Removed Gear gaiters and centre console, drilled out several rivets, removed frame/rubber/foam, removed Philips head bolts, removed case, loosened X4 bolts, selected 3rd gear and tightened the X4 bolts back up.
Removed the rear seats, removed all carpet , foam sound proofing, caps and rubber bungs, removed the rock sliders and went at the LAND ROVER With a grinder attached with a wire brush, a large wire brush and chisel removed rust from the pan, cleaned and painted with X3 brush coats of green hammerite, I left the interior out with floor heaters on to make the paint solid.
With the rock sliders I have took back to metal and over a period of 10 days( it is October !) I have give 4 coats of hammerite (x2 yellow x2 black) on the top of the rock slider I have given an extra 2 light coats of black gloss spray.
A great tip for drying off the foam floor from the interior is to lay it on a black bin foam side down until touch dry then place on the floor foam side down and stamp out to the edge excess water will splurt out, I did this over 4 days ( I say again it is October , this takes a day in the summer)
Replaced the front and rear seats to grey leather with the LAND ROVER logo. The door cards, trim and dickie seats, seat belts etc also got replaced.
I cut out rubber foam and stuck it to the bottom of the rear seat feet to stop friction when interior foam and carpet is removed.
I went around the front of the landy and checked for rust. I cut out the foam so it can be removed to help dry. 
i rubbed down with a wire brush and gave the foot wells a good scrub then painted with a mix of green and yellow hammerite. (Shows rust spots easier and looks ok)
January 2012
I Made X2 brackets for a standard bumper with lights to fit the 2 body lift.
I also rubbed back to bare metal a tow bar and gave it 3 nice coats of green brush on hammerite.
January 2012
Removed the radius arms for poly bushing, Picked up an A frame and sent the bearing off to be pressed out and removed the bushes gave the arms a brush back to metal then X2 spray coats of black hammerite and X3 brush coats of yellow hammerite and put in poly bushes.i must say this is a hard job its physically demanding work due to the nyloc bolts, my hands are still wragging !! But well worth it. Happy days 
I removed all plastics from a front bumper and removed any rust and gave it 2 coats black hammerite spray front and back. I put all the plastics back on to the bumper and measured up for the fitting, I used the brackets from the bull bar that was on the disco and fitted it. I had to cut a small triangle shape from the bottom of the plastic for the large tyres to clear
January 2012
I removed the bull bar front bumper, grill and both wings off the LAND ROVER
With the rock sliders off I spray painted the sills and bulk head with black hammerite, the sills will get another coat then a final coat of black spray.
I took the wings off and gave the LAND ROVER a good de rust and spray behind the wings; it also gave me good access for the cables for the light bar.
And with the front end off I decided to put some new horns in and rather than cut into the cables I cut out the connector from the old horns 
While the rock sliders were off I rubbed back to metal and coated with x2 yellow brush on hammerite followed by X2 coats of spray on black and x2 black gloss on the tops. Im not really bothered about the bottoms.
Took the light bar off and all the lights, removed all the paint and cables. I gave it X3 coats of black spray hammerite.
I then routed new 13amp cable to all the relevant holes in the light bar. I used connectors at the light end to enable the removal of the lights without the need to remove the cables.
I tested the lights then marked them up before sealing the holes with black silicone and wrapping the cable bunch at the bar end in self amalgamating tape.
February 2012
I managed to pick up a CB unit and installed it in the chubby box. I took the power from the black and green cable under the centre console. If the inline fuse ever blows I can access it via the window control panel 
I managed to just lift the centre console to cut out the bottom so the CB drops about 2 this allows you to close the chubby box and takes up very little space.
While the front and wings were off I washed and rubbed down then sprayed with satin matt black, I also scrubbed and sprayed the 4 doors.
I also put an original LAND ROVER discovery bumper and plastics and chopped a small triangle shape from each corner to allow for the wheels. This is a temp before the wide arches go on.
I tested the spare wheel for the satin black and I liked them.
(132737) now miles and ready for me to do all the lubes and oils seals , whatever needs replacing.
how do you upload pics ??