That’ll get me to the garage for a refill then!
Rich.

That’ll get me to the garage for a refill then!
Rich.
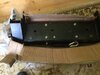
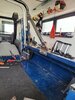
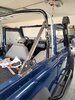
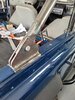
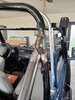
Progress so far. +30mm lift and I’ll make it so I can move the rails back too, although with the bulkhead still in, that’ll be a limitation.Started making some seat risers today. I’ve the old style seat frames and seat box so the MUD ones don’t fit hence the DIY approach.
Have to say though, MUD were most helpful on the phone.
View attachment 263799
 .... .
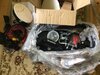
So wired up and managed to use the new smokeless electrickery, all good
Now just got to find a relay and some connectors to light the way forward at night
It had some spots on at some point and the wiring is still there so will trace that and she whats what
@Shippers it has a new home, thanks
J
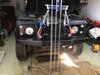
Looks smart mate I have a very similar bumper might look at a similar set up. Did you have to cut the grill at all for the winch? Think I will struggle with space but might be wrong got the winch bumper ready.
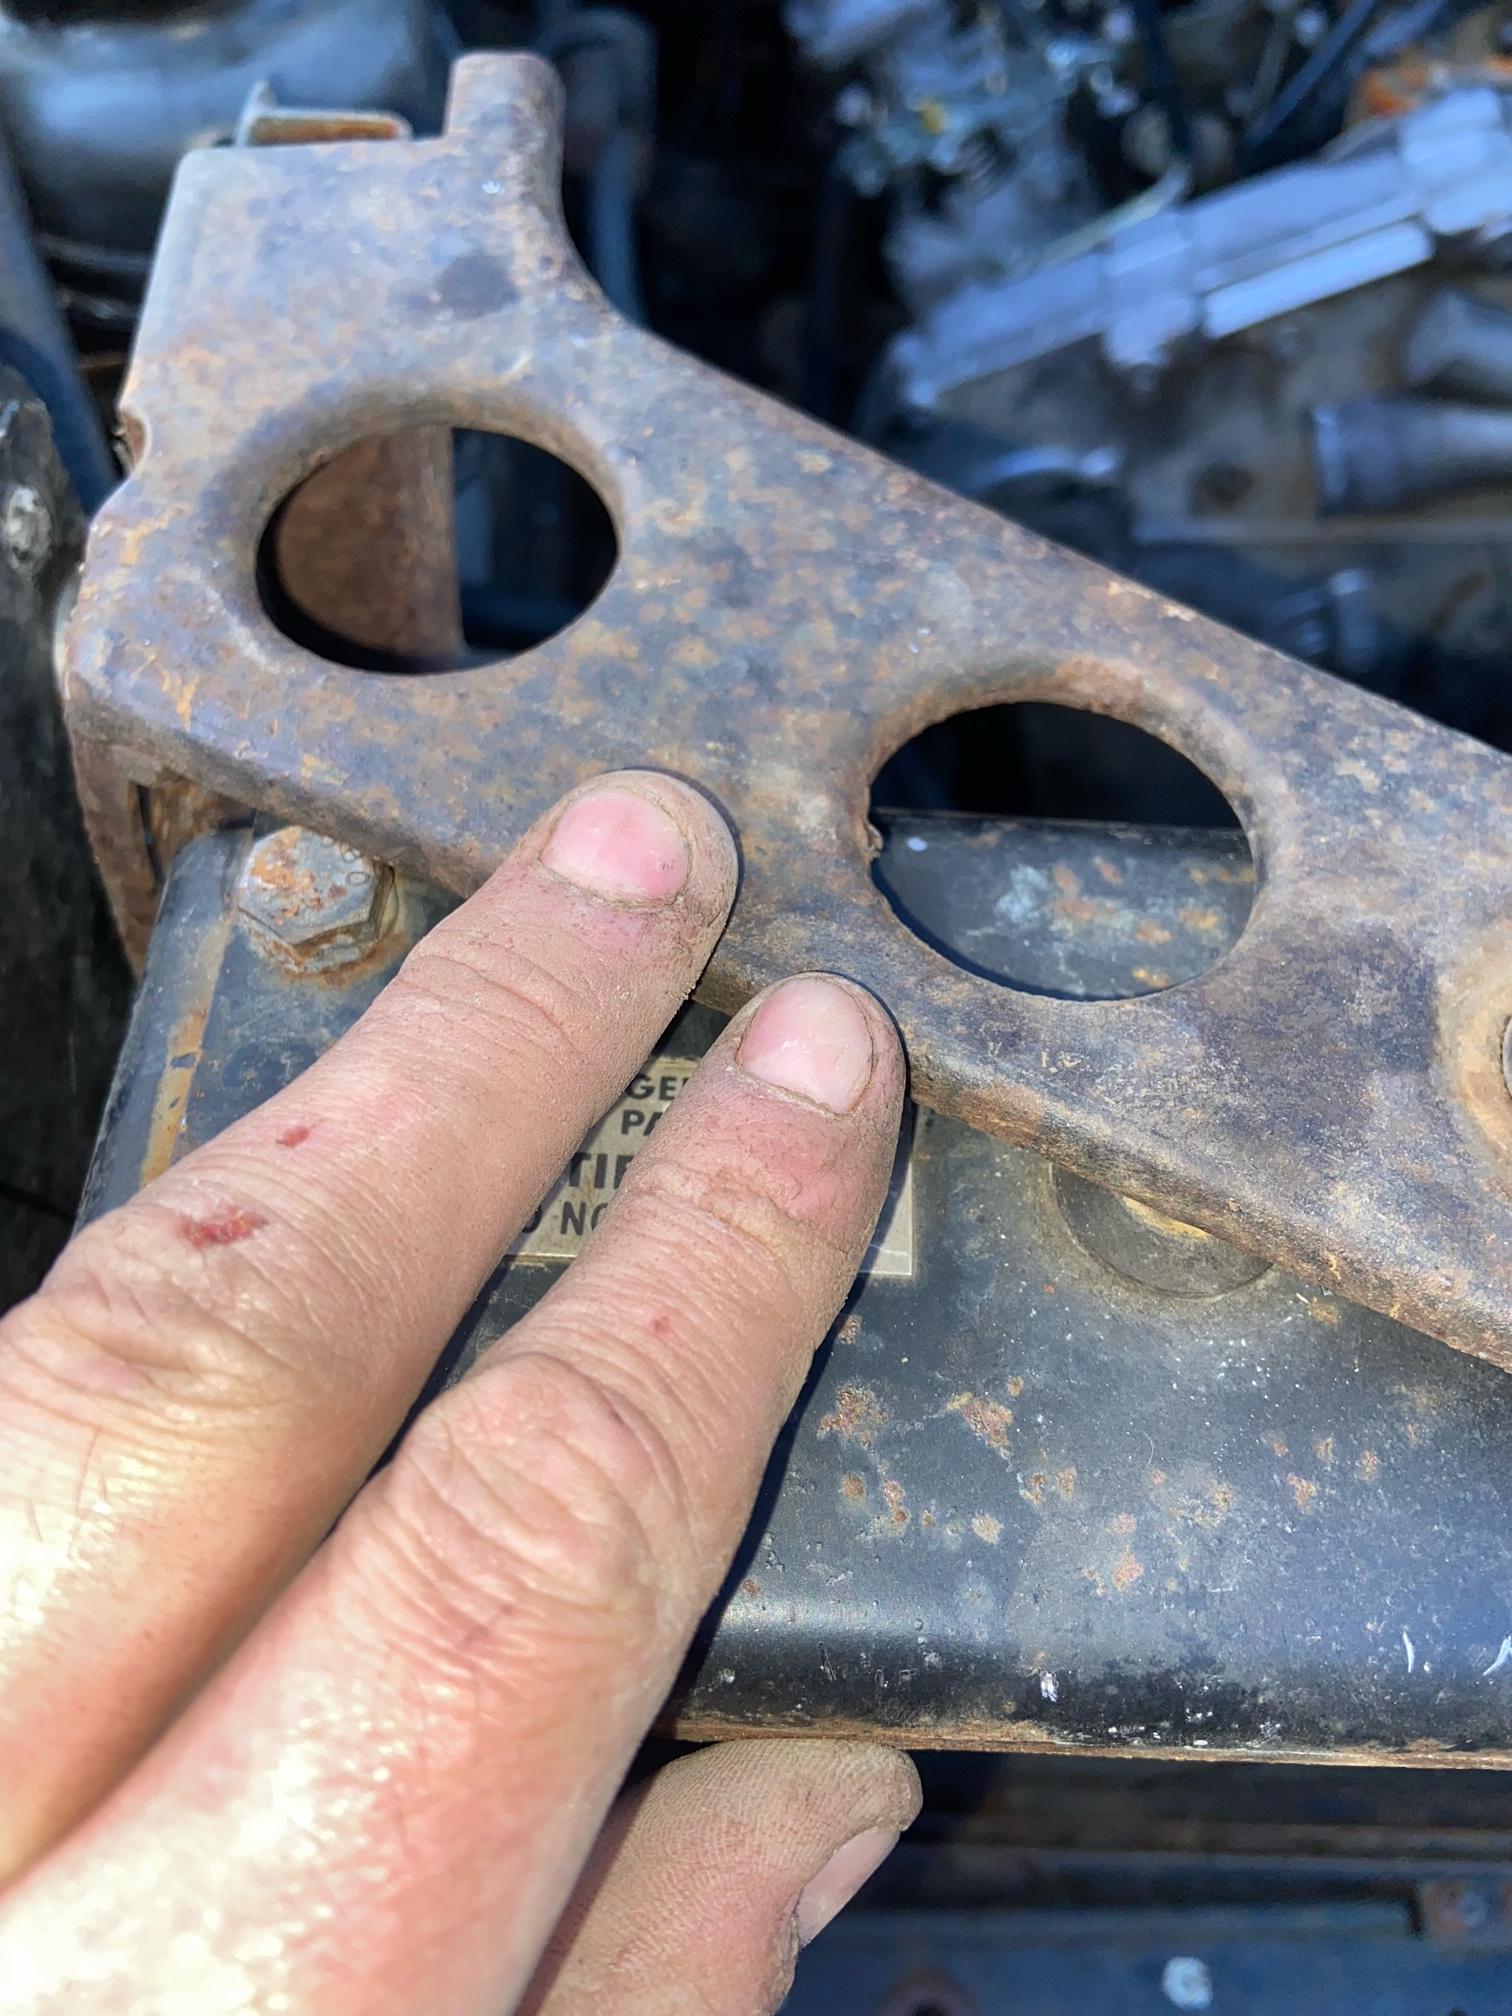
. Then when I did get the bumper off, there was a hole in the front of one of the chassis legs and the other had previously been plated, and not very well too. So I’m unable to put the new bumper on and need some welding done… 
Welcome To LandyZone, the Land Rover Forums!
Here at LandyZone we have plenty of very knowledgable members so if you have any questions about your Land Rover or just want to connect with other Landy owners, you're in the right place.
Registering is free and easy just click here, we hope to see you on the forums soon!