well needed restoration of my series 2a

This site contains affiliate links for which LandyZone may be compensated if you make a purchase.
thanks mate, started to drivvle bollocks at the end, it has the problem of goin off topic on ere :D but back on track , been out all day today doin the axles, just ordered another couple of undred quid of bits so should be more pics to come next week ,

yeah , all in all its coming on nicely :)
 
right done a bit more since last week,

DSC00326.jpg


DSC00328.jpg


DSC00327.jpg


DSC00333.jpg


DSC00322.jpg


DSC00323.jpg


DSC00324.jpg


DSC00329.jpg


then i sorted me self out with one of those expensive parts washers,

DSC00330.jpg


works well

DSC00332.jpg
 
looking good bud,that crownwheel looks like a new one.is it the one you took out of the axle.

tis funny that, i took it out and it were bloody mint, has pen markings on it, thers a few numbers written on it , but the out side were so ****ty it looked like the old one, so i dunno if it were changed just before i got it ?
 
the swivells are original too by the look of the fixings, so ther near mint, the old props made me laugh, some even had needles missing out if the caps, some half arsed effort the first tim i spose, or half way thru the job they dropped all the bits on the floor :eek: least ther right now, proper hardy spicers too, not yer brit parts ;)
 
as yer thort id given up again, iv been busy today and yesterday :)

DSC00392.jpg


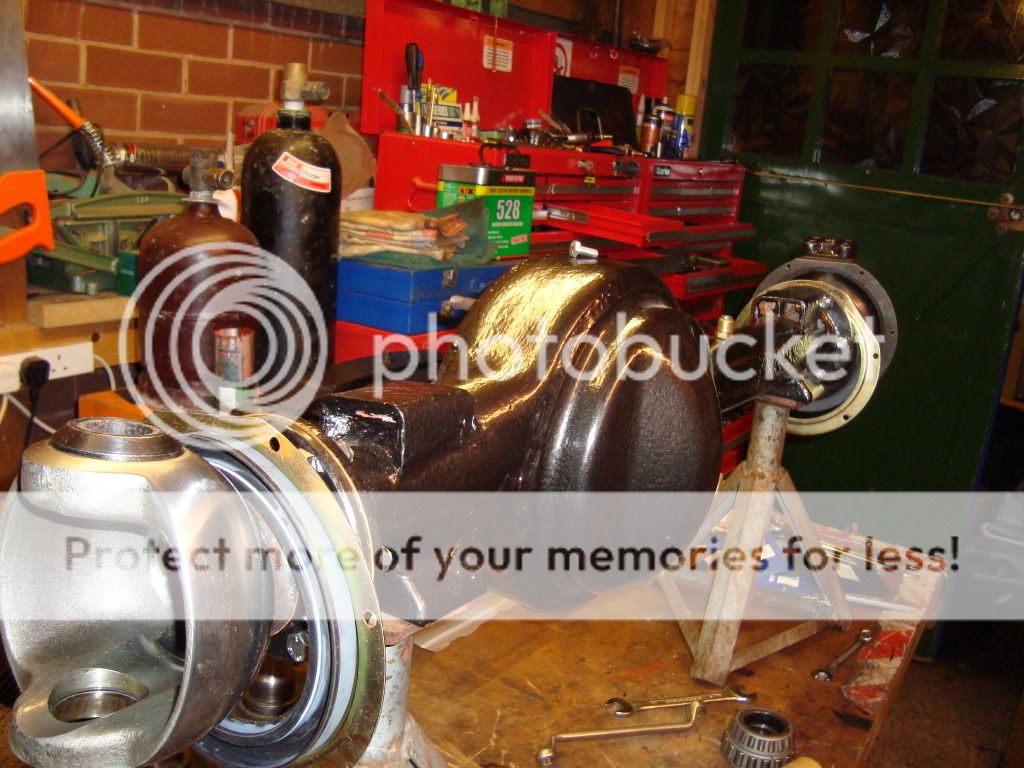
as everythins painted up i cleaned the mating gasket faces with brake cleaner,

then tapped in the swiv bearings to start them , then pressed them in with grease in the press

DSC00391.jpg


DSC00393.jpg


bolted to axle with new oil seals in the casing ,

offer uo the pin housing and locate the top pins, with shims , then place bottom taper roller at same time

DSC00394.jpg


DSC00395.jpg


installing the same componants both ends and working in order

DSC00397.jpg


crackin off old bearings from harf shaft

DSC00398.jpg


new ones swetted on with gas torch

DSC00401.jpg


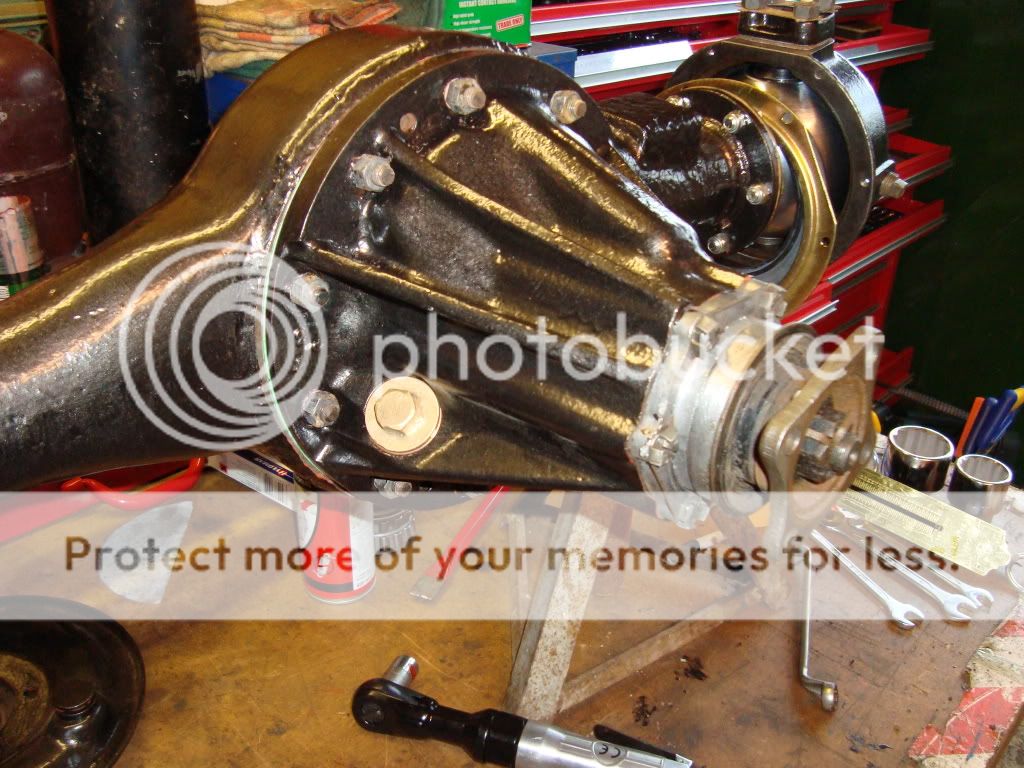
install reconditioned diff, with new gasket

DSC00400.jpg


both housings on and shimmed up

DSC00403.jpg


DSC00402.jpg


to set up steering / pretension on railko bushes / shims using a spring balance

DSC00403.jpg


bearings fitted and packed with grease

DSC00409.jpg


then oil seals

DSC00410.jpg


gaskets fitted with hylomar one side grease the other for easy removal on stubbs

DSC00404.jpg


stub fitted

DSC00405.jpg


back plates fitted

DSC00406.jpg


brakes fitted

DSC00407-1.jpg


hub

DSC00408-1.jpg


bearings set up

DSC00412-1.jpg


using a socket not a chisle !

DSC00411.jpg


finished pics to come tomorrow :)
 
Back
Top